
Alexander Grabovetskiy, woodcarver, School of Woodcarving · Published 2020
When is it too late to fix a mistake in a wood carving?
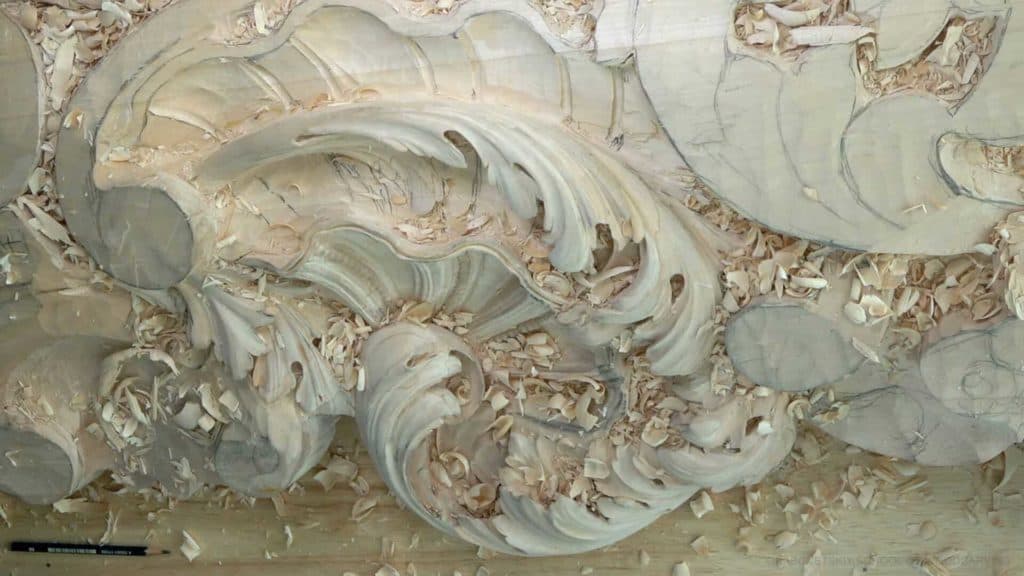
Quick answer: A carving mistake is fixable until the wood needed for a second try is gone. On a Venetian acanthus head in workshop 25, I added a tiny extra eye, blended it, disliked it and carved the whole section away, which only worked because material was still left there. Near a finished edge, that window closes.
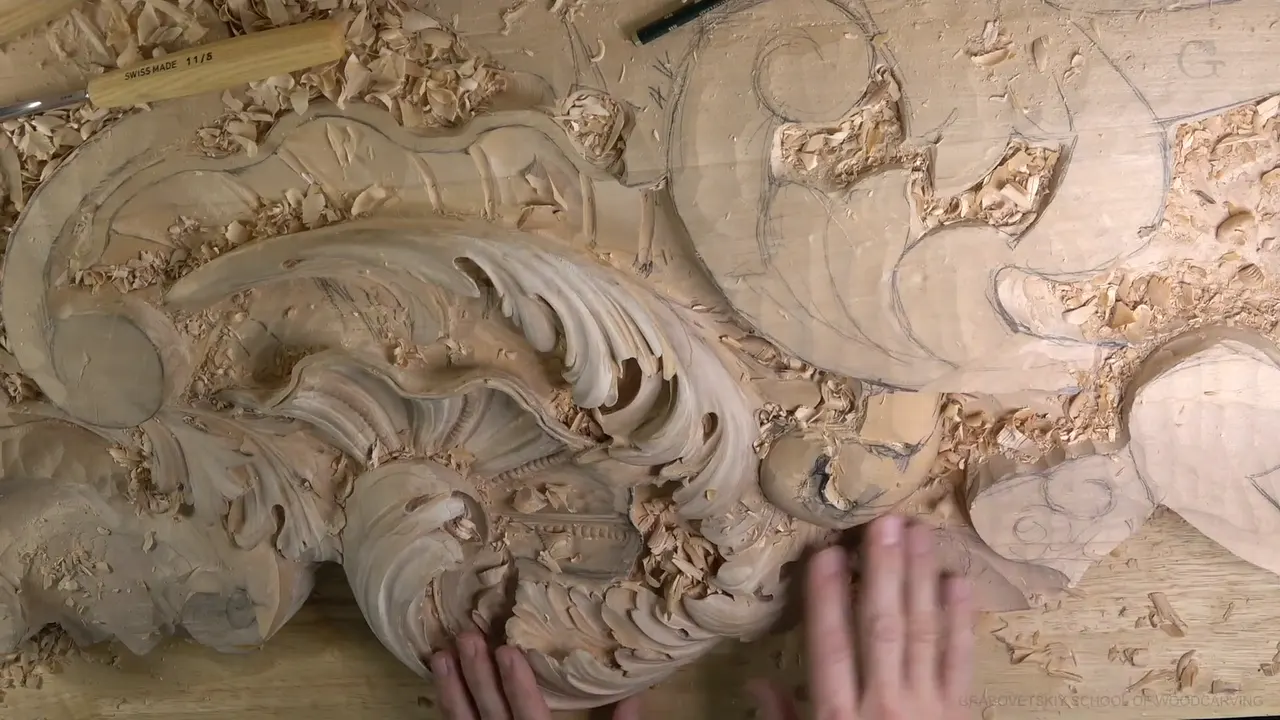
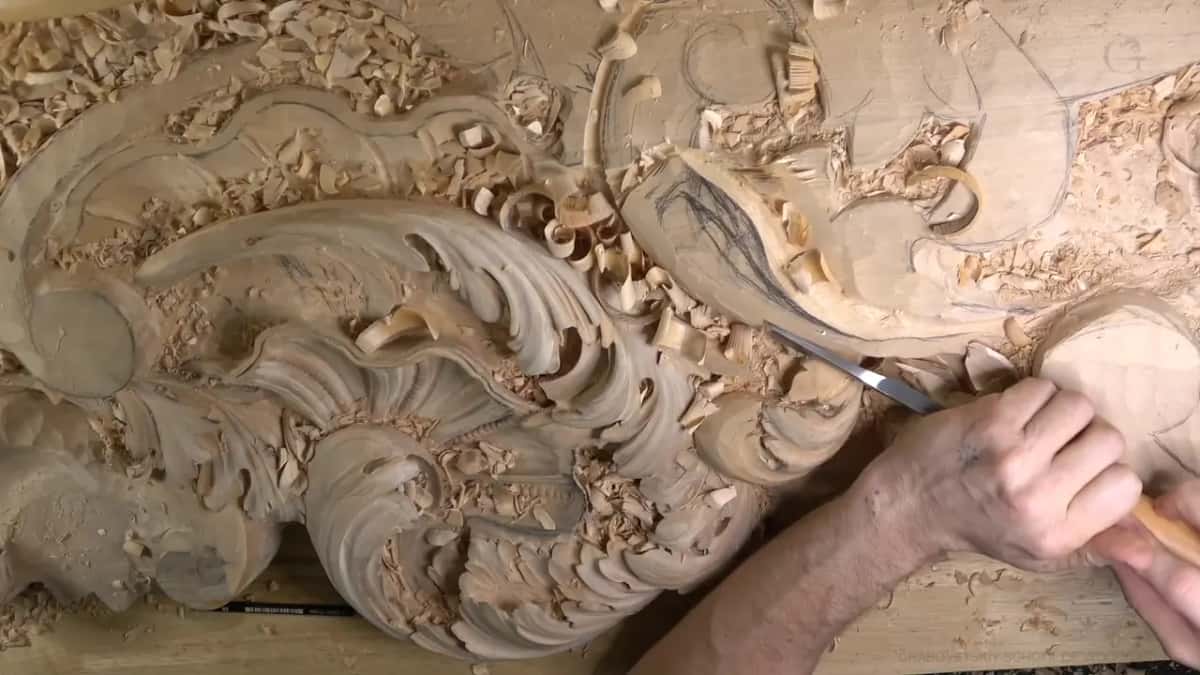
A mistake in a wood carving is fixable for as long as there is spare wood behind it. That's my plain answer on how to fix wood carving that went wrong. You carve the wrong part out and carve the spot again, while the blank still has material to give you. In workshop 25 of the Venice Room I did that on a high relief acanthus head for a ceiling, and I left all of it in the video, doubts included.
Would you like to know when a wrong move can still be carved away? And would it help to watch a carver change his mind halfway through a leaf and fix it on the spot? You will see that moment here, with the smaller fix that came before it and the wood that made both of them possible.
I have carved for over forty years, and I still change things all the time. You'd never know if I didn't film it. Nobody sees that part of the work in a finished piece hanging on a wall or a ceiling, and I think a student deserves to see it.
Five facts about carving a mistake away
A wrong shape can be carved out only while there is still wood behind it.
Blend a new detail before you judge it.
Leave material for the parts you haven't decided yet, like a raised point or the next eye.
Near finished work, take smaller passes.
A piece can be fixed a few days later too, if the wood allows it.
When does a carving mistake stop being fixable?
The window closes once the wood you would need for the fix is gone. I said it plainly in part 9, right after I carved the extra eye away. At this stage I can make a mistake and fix it, but a stage is coming when I won't be able to, and then I have to be really careful.
On this head, this stage meant the big movements were set and the subdivisions were just starting. Most of the leaves were still rough from the gouge.
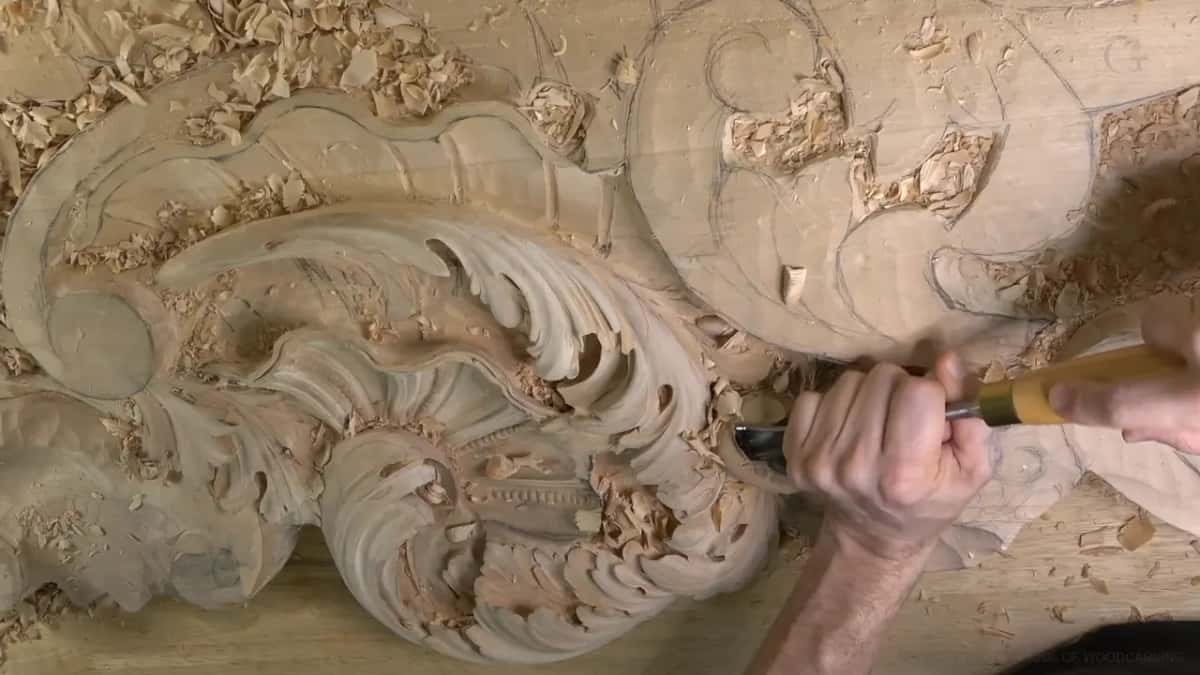
The window closes part by part, too. Beside a section that was almost done in part 4, I slowed down to keep from damaging it and sliced a little at a time instead of rushing. And in part 1 I went only a little way into a thin wall, with about 1/8 inch (3 mm) left, so the tool would not come through the other side.
By part 11 one area was ready for a light rasp, which I said I could do off camera, and the final details waited for later. That part was close to its final form.
What happened with the extra eye in workshop 25?
The idea came in part 8. By then I liked the overall movement of the leaf. One spot gave me a choice between a plain separation and a part that seemed to go inward.
Earlier in that same part I had deepened one concave from almost nothing with a quarter-inch (6 mm) #9, just for the shadow. Then a third option showed up for the new spot. A micro eye, with one part flipping a little above the other. I said out loud that I wasn't sure, and before anything else I made a relief cut in that triangle.
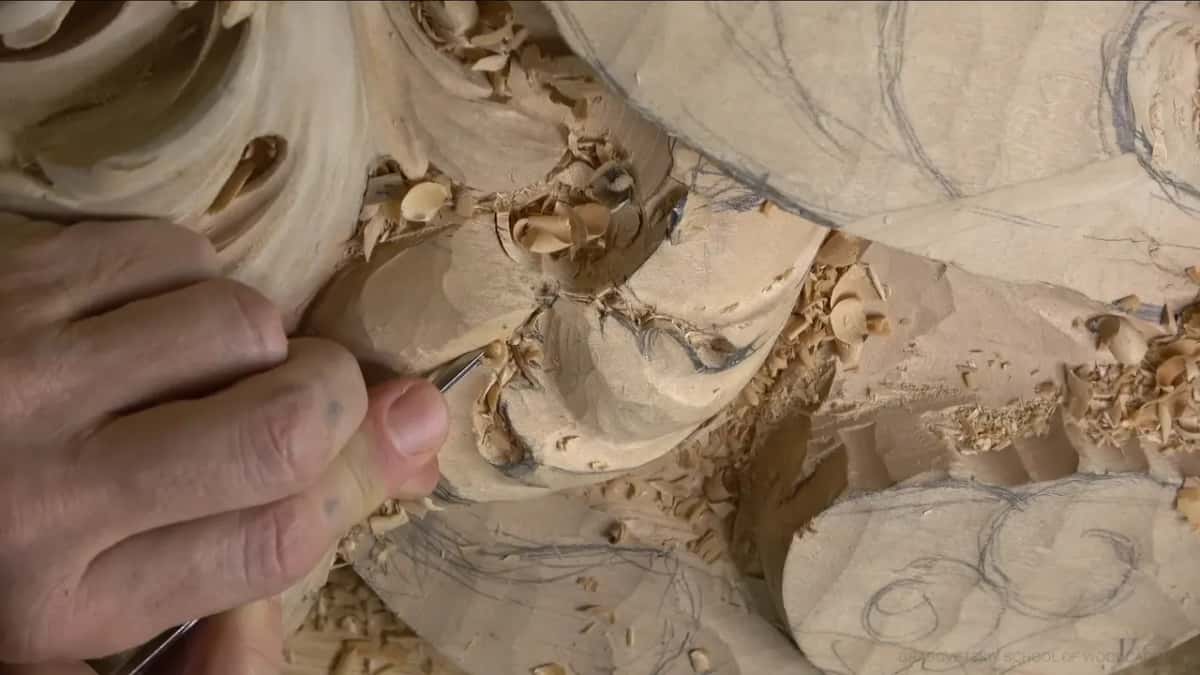
I did the arithmetic at the bench. An extra eye needs an extra concave. That concave takes more wood out of the leaf, and I wasn't sure I wanted to spend it. But the spot was almost asking me to do something about it.
I went in with a small #11 so as not to overdo it, and started right at the eye so I wouldn't hit the edge I meant to keep. Then I went down to a 2 mm (5/64 in) #11, wondered aloud about 1 mm or 1.5 mm, and later used the 1 mm to clean up.

Doubt came halfway through, so I blended the area with a #3, the flatter gouge, to see if I liked it. I told you I could always take care of it and remove it if I didn't.
I didn't. It did not look too good, and I said I had made a mistake I should not have made. Then I took the word back. What I had made was a decision about the movement, and my only question was whether that decision belonged there.
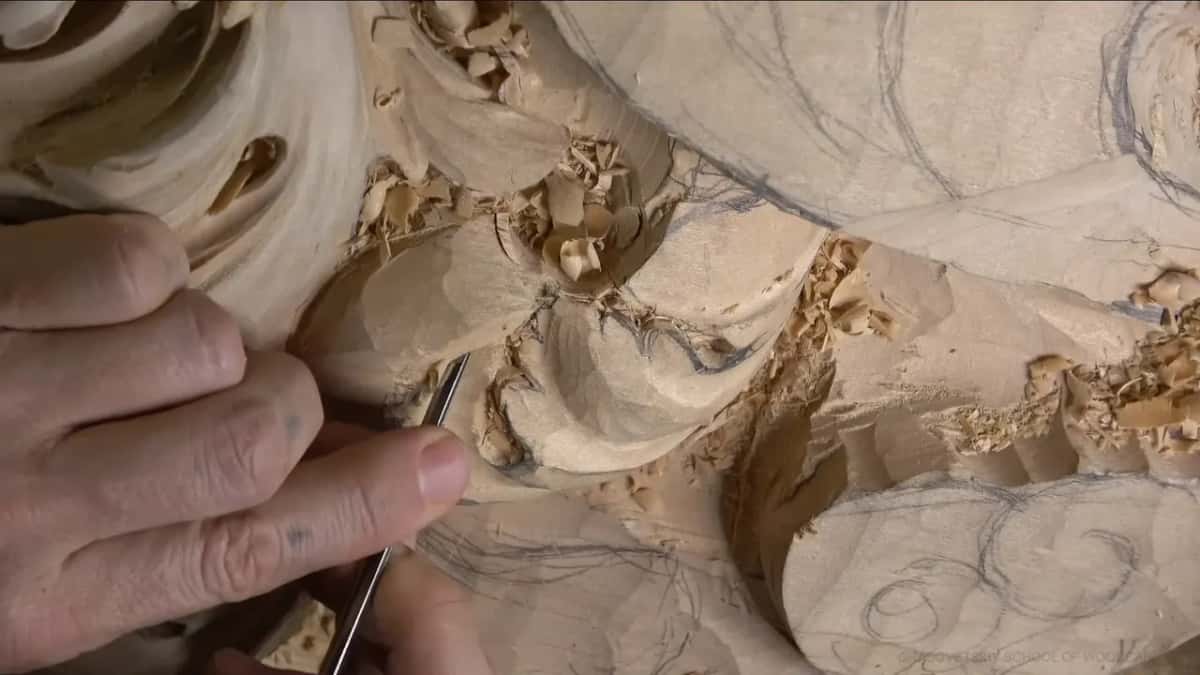
I gave it one more chance. I carved the next subdivision and thought a little more depth would make it look much better, but I still wasn't happy, and part 8 ends with me saying the whole thing had to come out. You are watching me work in real life there, thinking through each next move before I make it.
How do you fix wood carving mistakes with a gouge?
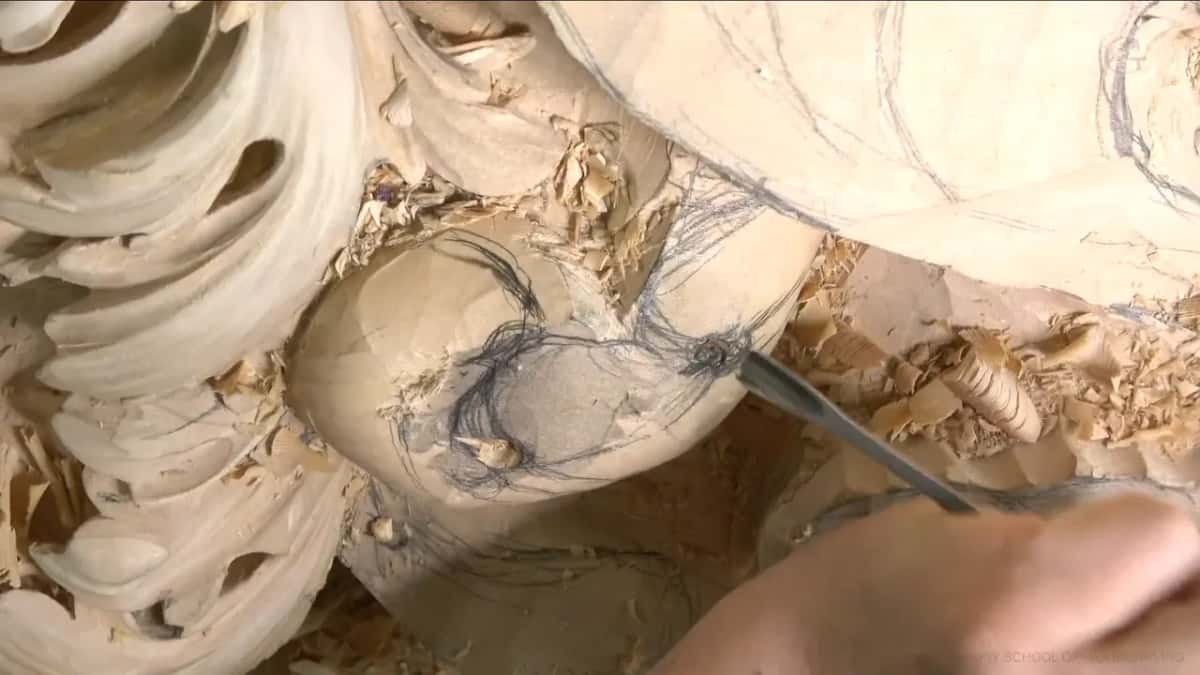
Knock the wrong area out while there is extra material under it, then carve that spot again. That is how part 9 opens. There might be extra material there, I said, so I would knock the whole section out, and I did, and cleaned it.

I was honest about why it happened. I had done what I didn't have to do and put in extra stuff that should not have been there. Once this area is finished, nobody is going to know that thing was even there.
The fix itself is plain carving. I planned a concave running from one point all the way back, cleaned one side and gave the area a better shape. The concave stayed shallow, a #7 and no more than that, and a relief cut went in first so I could see later where the separations would fall. That concave raised the side of the eye opening a little, which was the reason for it.

I blended out the ridge I had just made, since I really didn't want to see it, and carved the separation, and it made more sense that way. Getting rid of a ridge like that is its own subject, and one furniture panel lesson is about blending ridges.
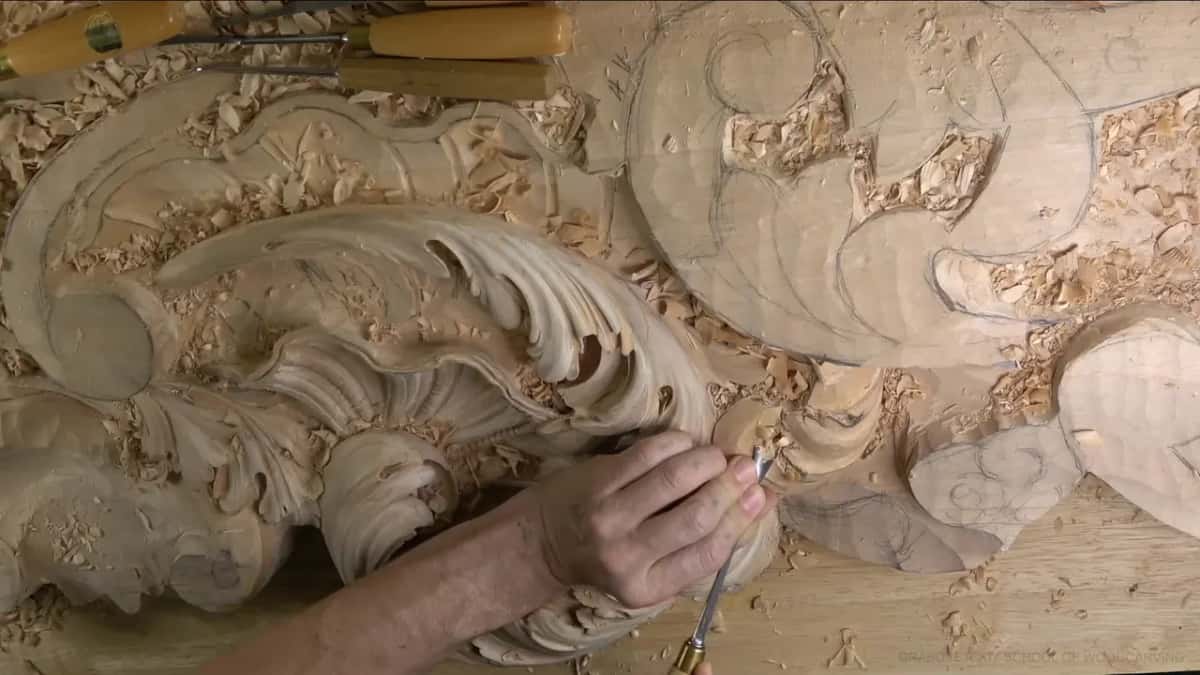
Whether to carve a mistake away or keep it and design around it is a separate question, and the page on carving mistakes from the Hashemi flowers course weighs both. Why nothing ever goes back on the wood is covered by a lesson from the Greek acanthus course. When a piece breaks off, glue comes into it, and that same course covers what to do when a carving breaks.
Where is the cheapest place to catch a mistake?
Before the tool goes in deep. An eye sat in the wrong position in part 5, so I raised it. A minute later I wondered if it was too high now. Moving it further would make that leaf much bigger, so I checked, and then I said I would just undo the old position. Only then did the first plug go in, with a #9 at 1/4 inch (6 mm), and the second one right after it.
I redraw lines more than once in this workshop. The boundaries got redrawn in part 2 so we were getting somewhere, and in part 7 I redrew everything once the main subdivisions showed. When a pencil line you need gets carved away, a second copy of the pattern close by brings it back, which is how workshop 19 handles it.
One line from part 3 sounds strange until you see it. I know it doesn't make sense as of now, I said about the eyes I was planning, but it will. Any of those plans could still move, and in part 5 one did.
Why does spare wood keep a fix possible?
A fix is more carving, and more carving needs wood to carve into. The extra eye came out in part 9 because there was still material in that lime for me to take it out of. I kept that kind of reserve on purpose, in part after part of workshop 25.
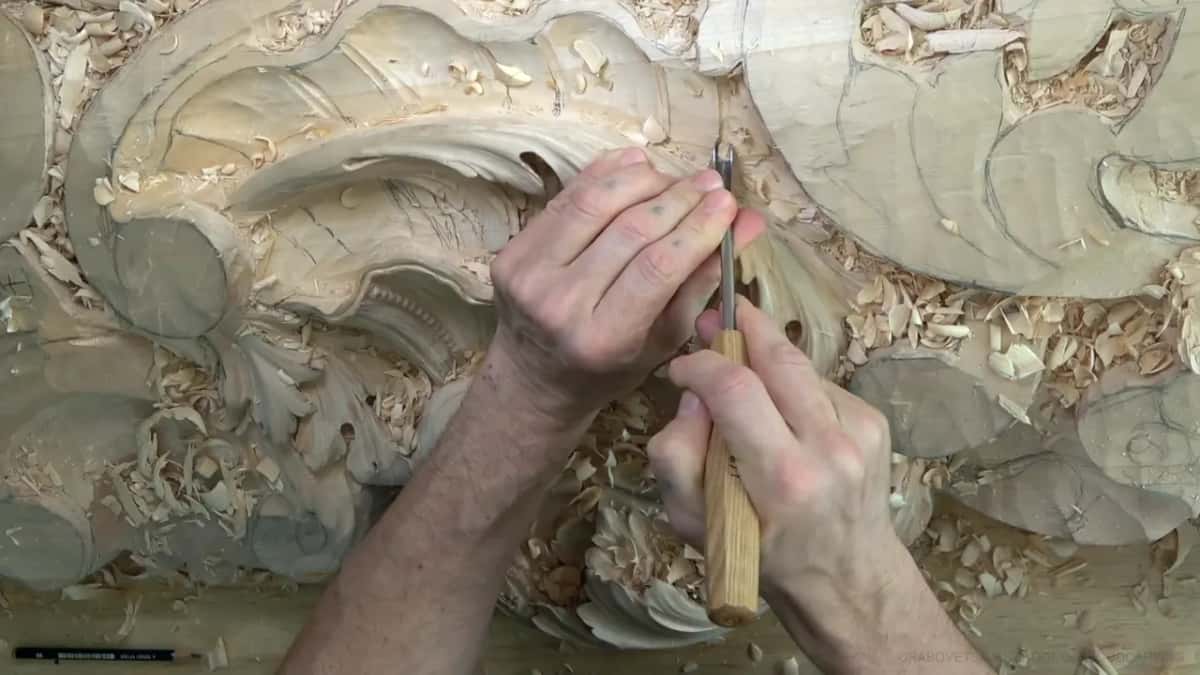
Part 12 has the plainest version. I told you why I hadn't carved one area deeper. I still had to bring it all the way down later, and I needed that extra material.
On the shell in part 2 I held back because I still had to develop that part, and I said it was important for me not to overdo it. The point of one leaf, in part 3, had to be raised so people would see it from the floor, so I kept enough material for it, plus some extra for the subdivisions.
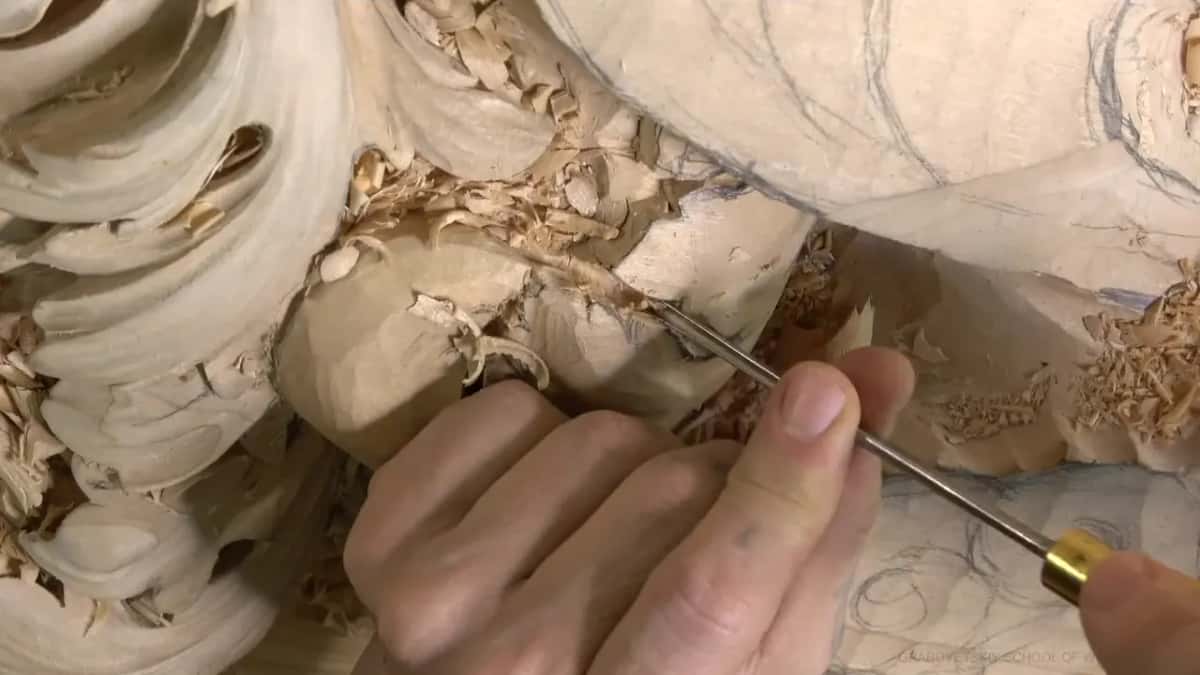
Back in part 4 I could have gone deeper, and I stopped to ask myself if I needed to. That's the question.
Paint makes the same argument on this room. A hollow dug too deep is hard for the brush to reach, and this client wants to see brush marks. Later in part 10, under an extra leaf, I went only as deep as the main level of the background.
My finger became a leverage point in part 7, and I raised one edge with it, just slightly, because I didn't have too much material there. And in part 12 I stopped a hollow early, because going too deep there would be a problem for me.
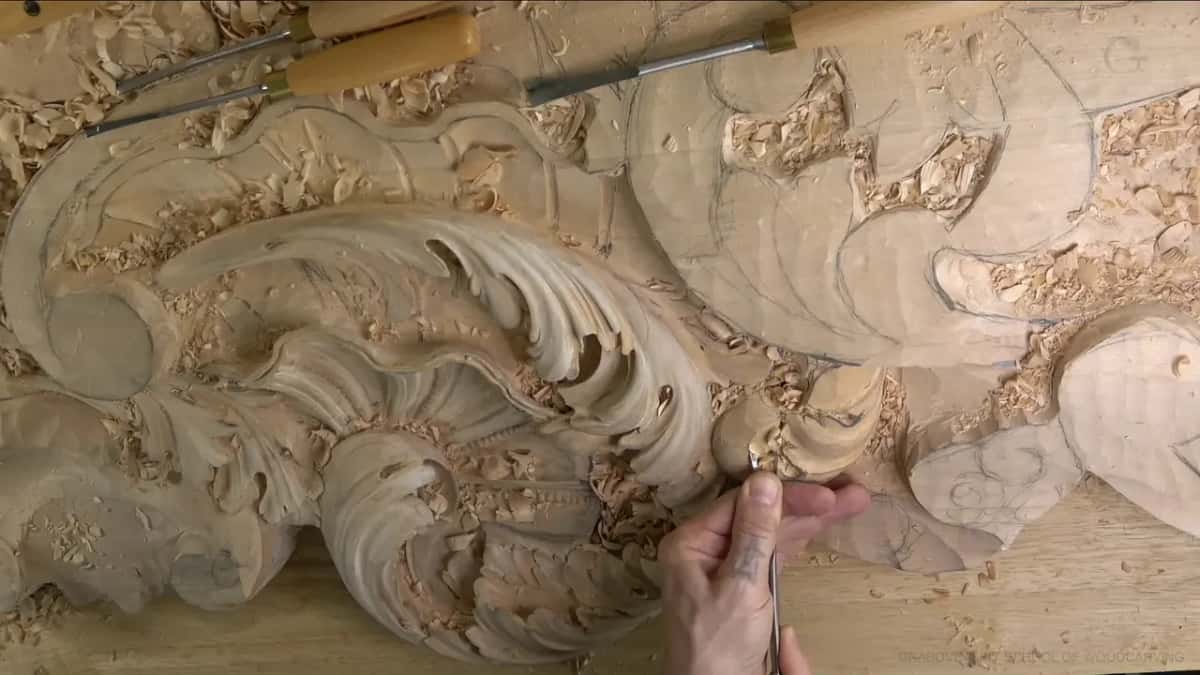
How much to leave in the first place is its own topic, and the Byzantine acanthus course has a page on how deep to go at the roughing stage. Workshop 22 shows the same habit with concave depth. If you'd like to watch these calls happen with the doubts left in, the tuition covers all fourteen blocks of this room.
How do you tell a mistake from a part that isn't finished yet?
Clean it up enough to see it, then decide. Early in the workshop, in part 6, I told you straight out that a leaf didn't look too good yet, and that it would. A part later I said the same about a leaf that was taking shape but didn't look clean and nice, and I promised to clean it.
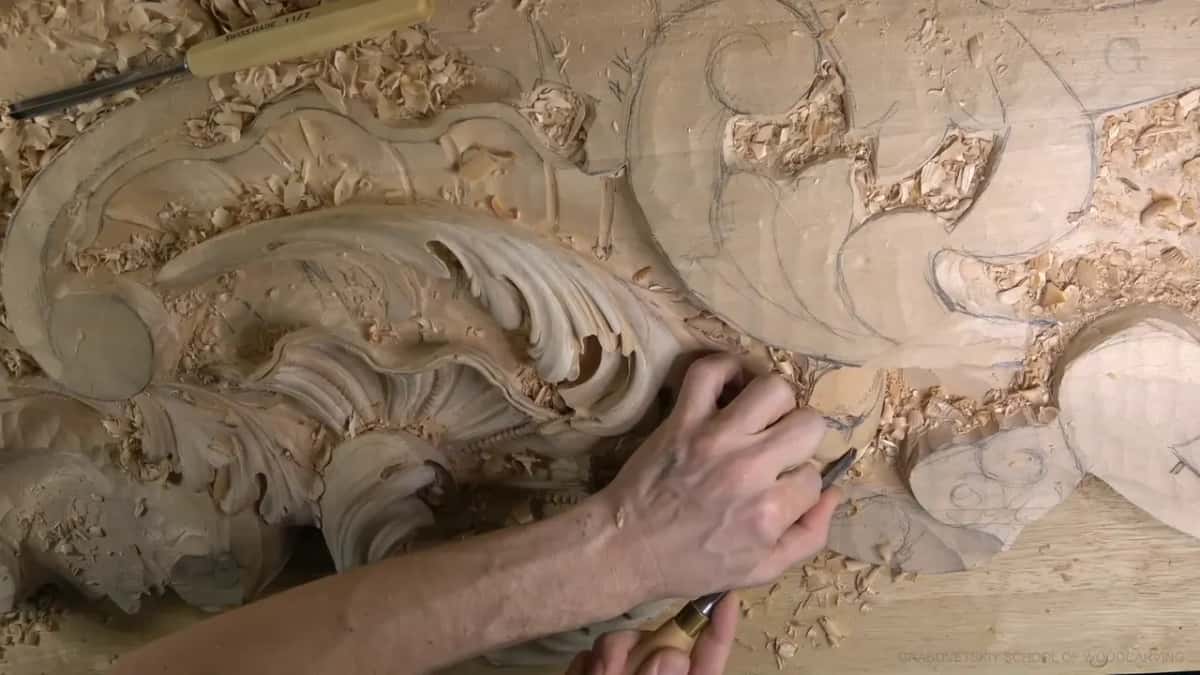
At that stage I don't worry about how clean my tool marks are, only about the main shape. The extra eye was different. It failed after the blending, which is why it came out.
Look from more than one side before you decide. Near the end of the workshop I told you to look from all the sides, and that if a shape doesn't move smoothly the whole way, it's no good. Part 5 has the head from above, where it made much more sense. This head hangs high, so every part has to read from below as well, which is why I undercut so early.
Which habits keep a mistake small?
Relief cuts come first. I made them before I carved my triangles in part 7, because I learned that lesson a long time ago and I want to keep the details. They take a couple of seconds.
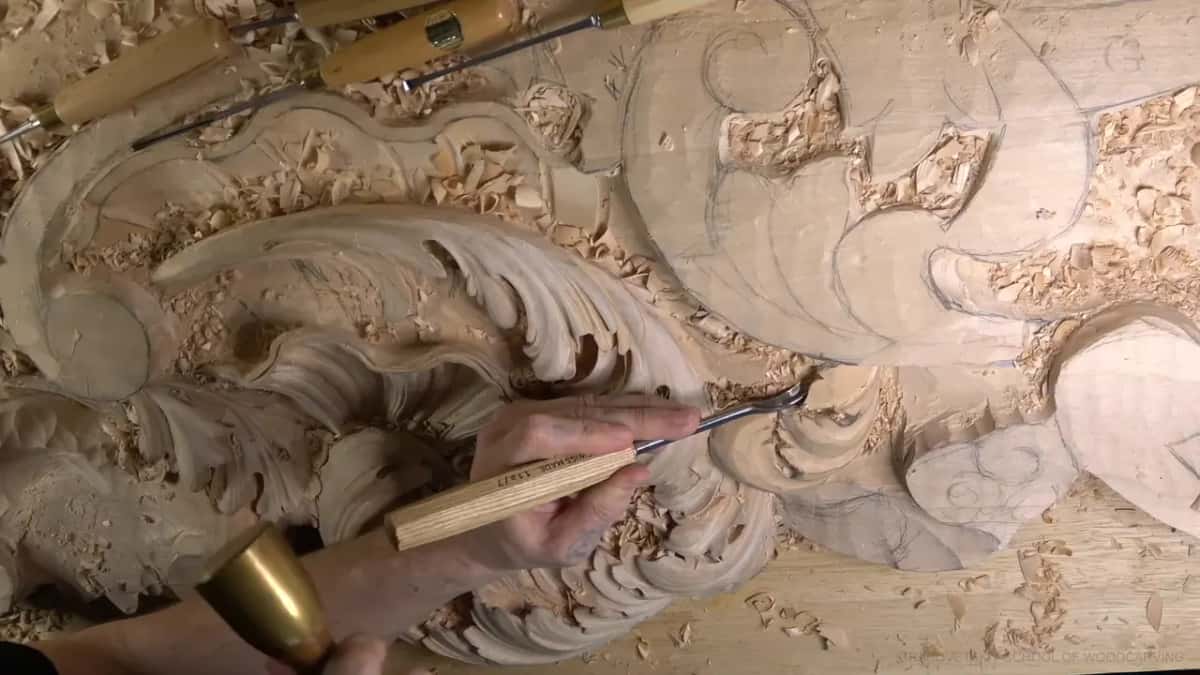
A smaller tool is the next one. A 3 mm (1/8 in) #9 was a little too big for one spot in part 9, so I said I should use 2 mm or 1.5 mm. For a small eye in part 10 I said I like smaller tools, a #5 or a #6 coming at it from two sides.
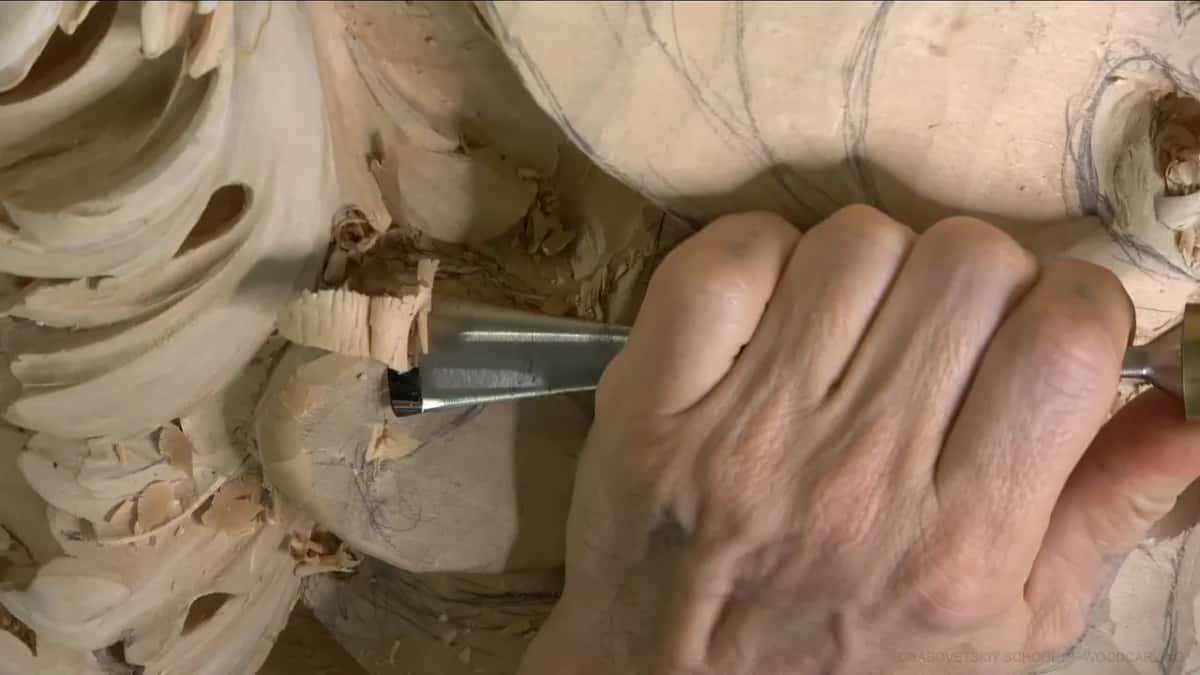
Watch the grain. The first part caught me going against it, and I said it would help to come at that spot from the right position. The same care went into a spot in part 12 that wasn't gradual enough yet.
Some habits are about the bench. My tools went back in the tool chest right away in part 4, pretty much, so I can always grab the right profile, size and sweep. This head is too heavy for my carver's vise, which I really love to use, so on this project I can use one only to a certain degree.
Seven calls from workshop 25 and the room each one left
Each row is one call from workshop 25, with the tool and how much room I had left to change it.
| Moment | What I did | Tool | How much room I had left for a fix |
|---|---|---|---|
| Eye too high | moved it and undid the old position | #9 gouge | plenty, the plugs came after that |
| Upside-down #7 slip | kept shaping, since that pass was preliminary | #6, #5 | enough, the shape was still rough |
| Tiny extra eye | tried, blended, disliked, and knocked it out | Small #11 | enough, there was extra material there |
| Shell part lowered | held back so it could develop later | Straight #7 | wood left standing there on purpose |
| Raised leaf point | kept material so the point shows below | Number five | extra left for the subdivisions too |
| Hollow under part | stopped early, still needed that extra material | A #11 | the area still comes down later |
| Excess inside leaf | said it was a little too big | Narrow #9 | fine, the work was preliminary then |

The work carries on in part 3, workshops 26 to 37. Workshop 24 comes right before this one, and if you are new here, the room begins in part 1, workshops 1 to 12.
Pick one leaf of your own, leave wood where you haven't decided yet, and try one small detail you're not sure about.
How it's done
- Leave wood you may need. Keep material standing wherever a point, eye or subdivision is still undecided.
- Relieve the corner first. Before a new detail goes in, make a relief cut in the triangle beside it.
- Try it small. Start the idea with a narrow #11, so very little wood is spent if it fails.
- Blend before deciding. Clean the area with a flatter gouge such as a #3, then look again.
- Check every side. Turn the piece. Look from above, from below and from each side.
- Take the whole section out. If it still looks wrong, remove the entire area, clean it and set out the main movement again.
- Carve it again, shallower. Rework the spot with a shallow concave and a fresh relief cut, and blend away any new ridge.
Frequently asked questions
What are some common mistakes in wood carving?
Rushing beside finished work, digging deeper than the design needs and grabbing a tool that is too big are the ones I guard against in this workshop. Going against the grain is another, and I caught myself at it in part 1. As a rule you shouldn't carve toward yourself either, though I did there, hands locked on the wood.
Can you fix a wood carving mistake days later?
Days later can still work when material is left. Sometimes I come back to a piece after a few days, spot something else and put it right straight away. On a part that is already thin and finished, there may be nothing left to carve into.
Why keep extra wood on a carving until the end?
Every decision still ahead of you needs material. On this Venetian head I saved wood for a raised point, for subdivisions and for an area due to come down, and the extra eye could be carved away only because there was material under it.
What to carve next