
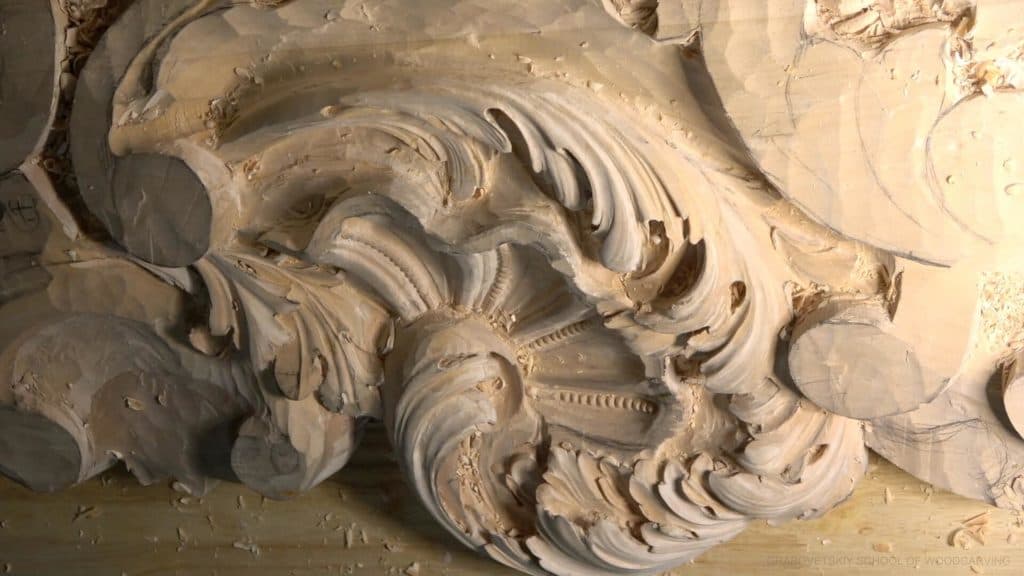
Alexander Grabovetskiy, woodcarver, School of Woodcarving · Published 2020
How deep should you carve the concaves on an acanthus leaf?
Quick answer: Concave depth on an acanthus leaf is a limit the whole leaf sets. Working on a Venetian ceiling head, I kept each hollow at the side of a pipe shallow, let it grow deeper near the pipe and under an edge, and stopped wherever a thin part would turn weak or the blank ran out of wood.
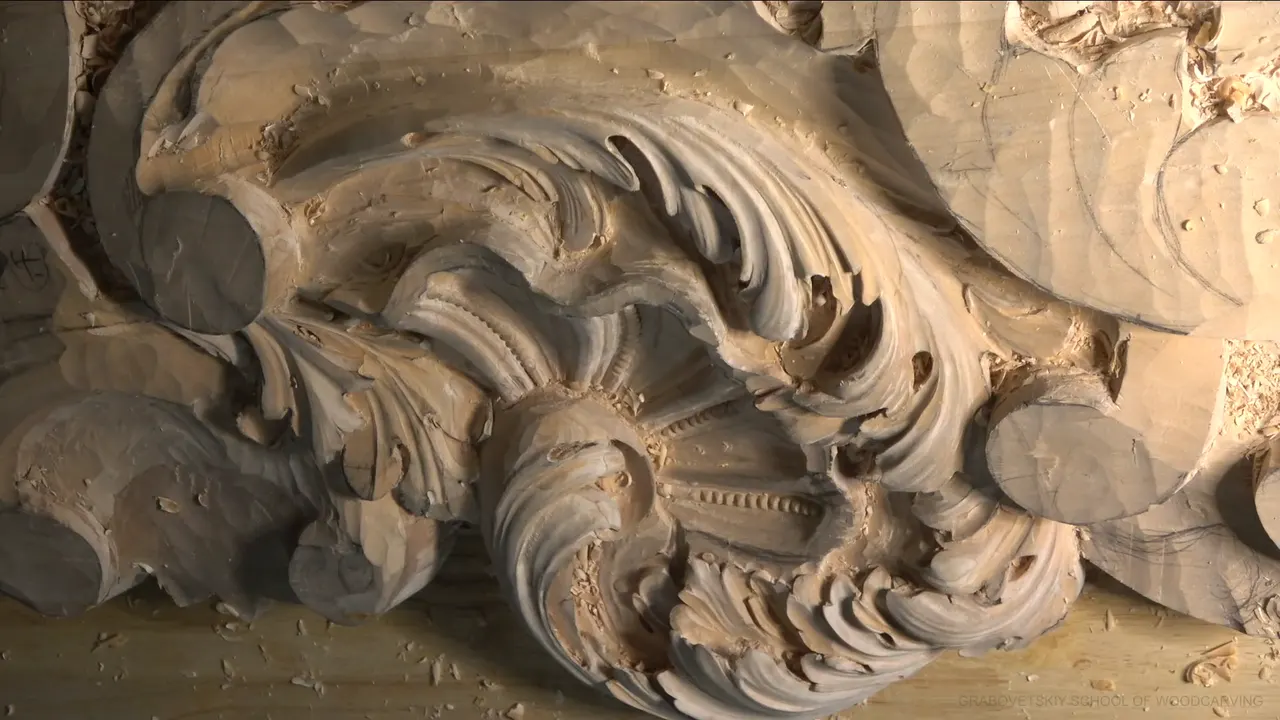
Concave depth on an acanthus leaf is decided by the big movement of the leaf, and the gouge only does what that movement allows. In workshop 22 of the Venice Room I was carving acanthus leaves for a ceiling head, and many of my concaves stayed shallow on purpose. Beside a pipe, where logic asks for a concave, I kept it shallow so the overall shape stayed whole. Near the pipe and under an edge, I went deeper. More than once, the wood stopped me first.
Do you want your leaf to keep its shape after the hollows go in? Would you like shadows that read from the floor, with every thin edge still in one piece? Then set the depth one spot at a time, and let the whole leaf have the last word.
I have carved for over forty years, and I still stop to look before any hollow of mine goes one pass deeper than the leaf can take. Four limits did the work in this workshop. Each one fits your bench.
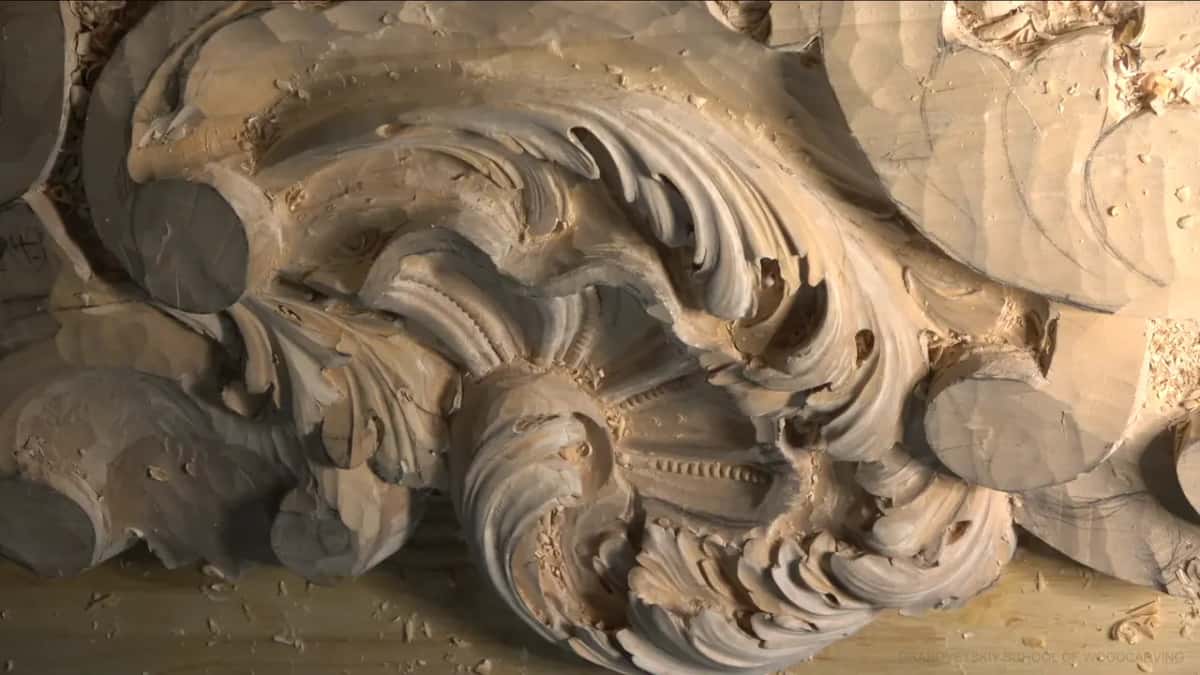
Four limits on concave depth from workshop 22
The big movement comes first. A hollow next to a pipe stays shallow when a deep one would cost the leaf its overall shape.
Depth is allowed next to the pipe and underneath, where the shadow is worth the wood.
A smaller leaf gets a gentler hollow, even with the tool you just used. A thin part or a glue line stops you sooner.
Some hollows barely show, and I still carve them, knowing the light alone decides when anybody will see them.

What decides concave depth when carving acanthus leaves?
The big movement of the leaf decides it, and I fix that movement before any separation goes in. I think of the overall form as a boat, a fishing boat more or less, and I keep the main structure in mind first and the subdivisions after it. Depth comes last in that order. Every hollow has to respect a shape that already works.
At the start of workshop 22 I had two pipes on the leaf and two eyes beside them. By logic, the side of a pipe gets a concave. A deep one there would have eaten into the overall shape, though, so I made it shallow and said so out loud. I tried a #8 first and was not sure it would do. Most of that hollow ended up as blending, a gentle dip that runs into the big form, with only a little more concave near the middle line.

That habit runs through the whole workshop. In 22.1 I went a little deeper on one part, and in the same breath I added, not much. When I didn't like the movement in one spot of 22.3, I used a shallow concave, only shallow, and swapped to a smaller gouge because the first one was a little too big. Later I told you I could carve a lot of different movements in one place, and that I really didn't need to.
Where can a concave go deeper?
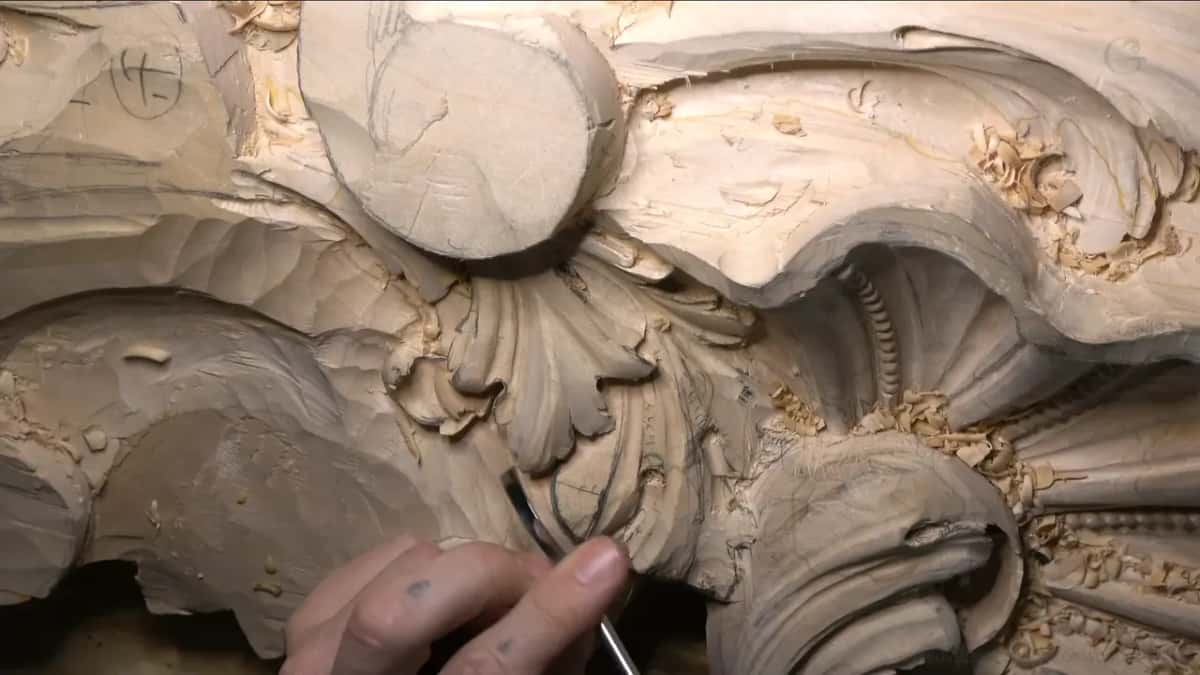
Close to the pipe, and underneath an edge. In 22.1, the closer I got to that part, the deeper I let the hollow go, and I switched to a #9 at 5 mm (3/16 in) to do it. A little exaggeration helps. On the other side I used the same #9 and held back, because there the overall movement was at risk.
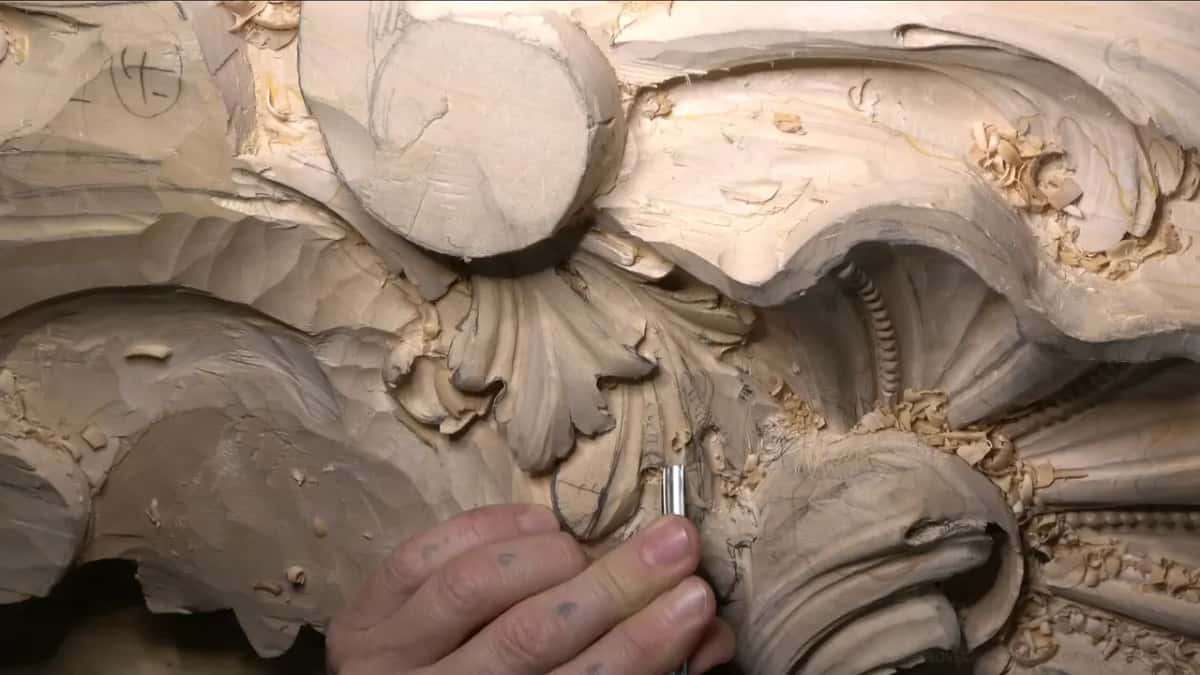
Earlier in the same part I took a smaller #11, about 2 mm (5/64 in), and went even deeper on the inside, which gave me a beautiful shadow. In 22.2 a little more depth let me see my concave and my convex, and a minute or so later I had plenty of space to work around, so I dug deeper again. Later, in 22.10, I went a little deeper right beside the pipe.
When a hollow looks flat and throws almost no dark line, that is the opposite trouble, and it has its own page from workshop 7. A concave that starts from almost nothing and deepens as it runs is a cousin of this one, and workshop 17 covers it.
What changes on a smaller leaf?
The hollow gets gentler, even from the same gouge. In 22.10 a second, smaller leaf got its concave from the same #9 I had used just before, about 3/8 in (10 mm) wide. It came out more gradual and not as deep, because the leaf itself was smaller. For the second concave that #9 was too big, so I took a #11 at 1/4 in (6 mm).
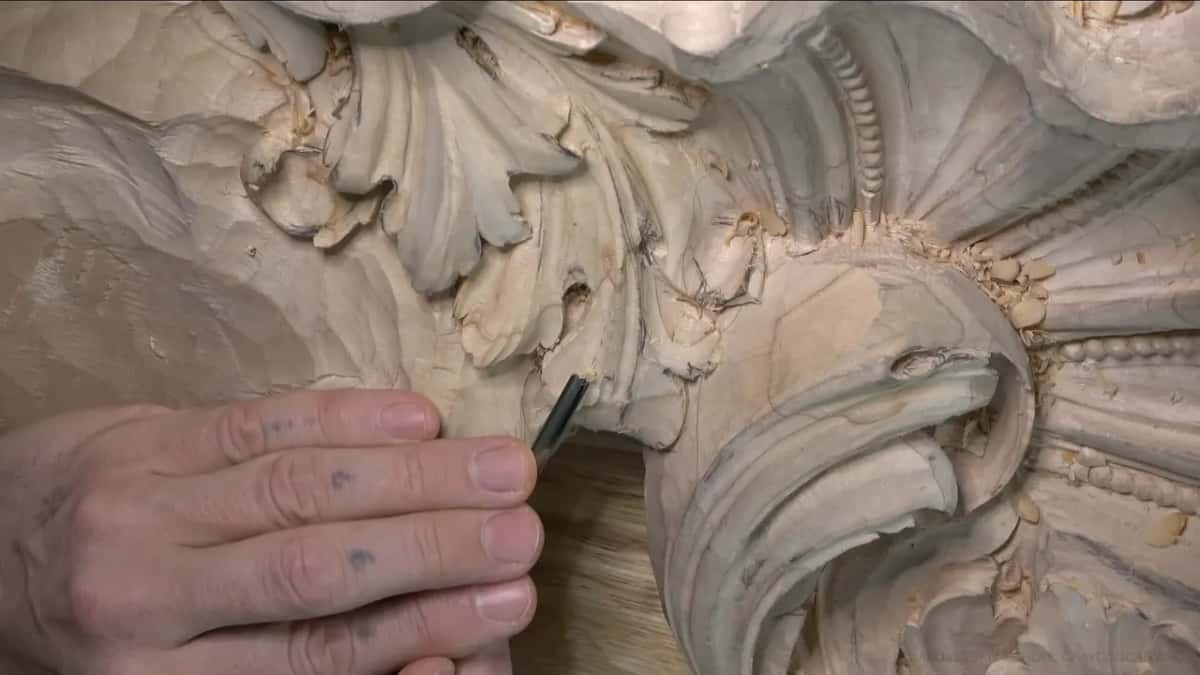
The wood you have left matters as much as the size of the leaf. In 22.5 I still had to carve a point at the end of a movement, so I stopped to check how much wood I had. I asked it out loud. How was I going to get that point without giving up too much of the acanthus head? I ran a narrow #11 around it first, moved up to 7 mm (9/32 in) where there was plenty of wood, and set myself a limit. No deeper than 3 mm, or 1/8 in, in that spot.
What stops a concave before the drawing does?
Two things, the strength of the part and the wood left in the blank.
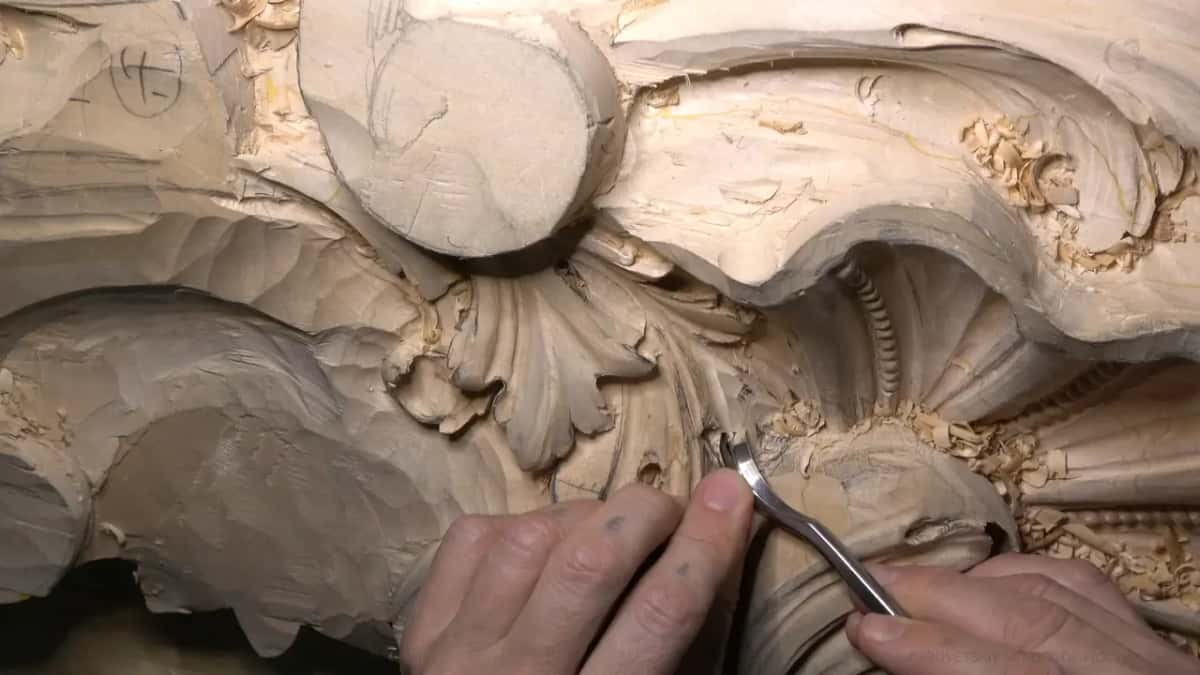
In 22.8 I was working the sides of a detail with a 2 mm #11, just over 1/16 inch, going underneath. I didn't need to go deep, and I said why. I did not want to make that detail weak. Right then it was strong enough to bump without trouble, and I knew one pass too many could change that. So I brought a #1 double bevel to the separation and left it there, no deeper.
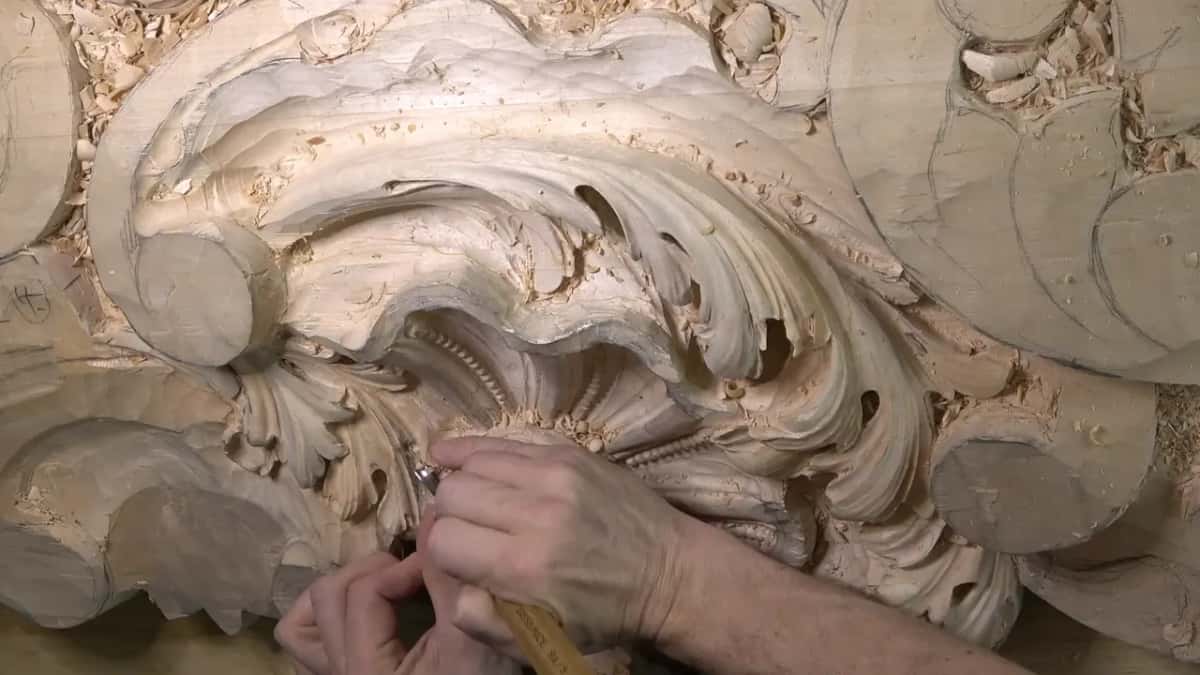
The second limit is inside the blank. This room is carved from a thick glued-up lime blank, so there are glue lines in the wood. In 22.11 I was starting a concave with a #9 of about 5 mm (3/16 in), and I kept it small because there was not much wood left. A few seconds later I said it. I was at the glue line. I finished that one hollow right there and went on to the next.
Wood you mean to use later counts too. In 22.2 I left material standing because I might carve some detail underneath it, and in 22.4 I stopped knocking a side down because I still needed some of that wood. Undercutting pushes the same question further. Workshop 11 has a page on undercutting a leaf without making it weak, and a later part of this room has one on how much to undercut at all.
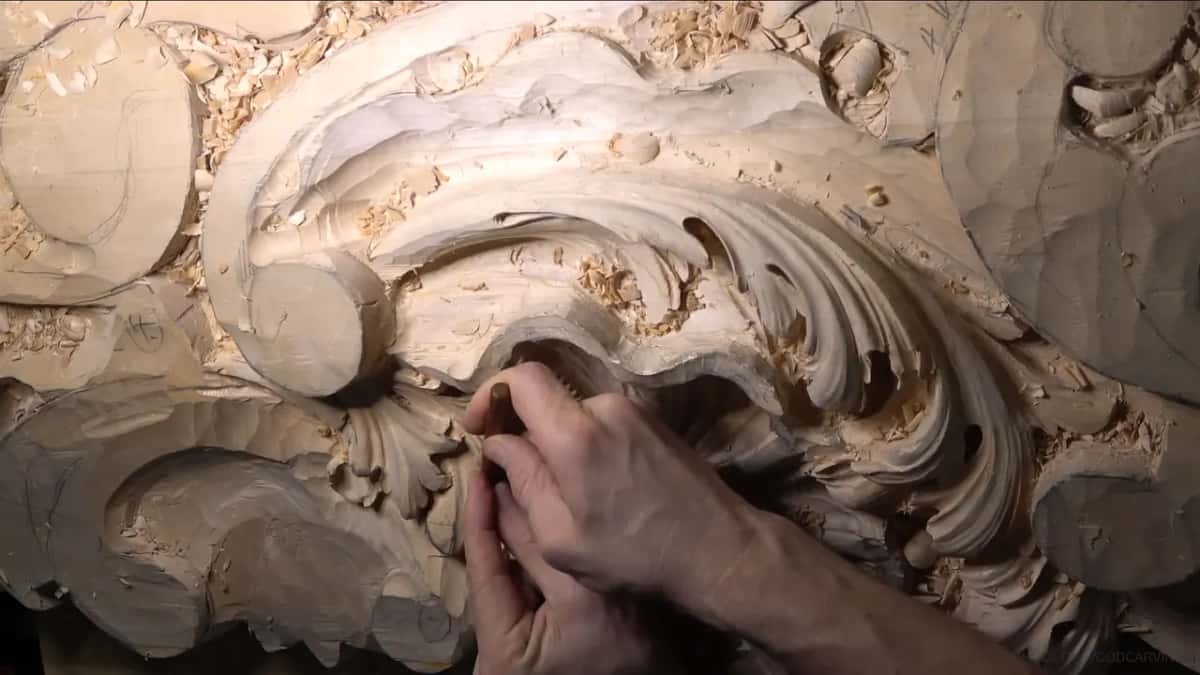
If you would like to watch me make each of these calls at the bench, the tuition covers all fourteen blocks of this room.
How shallow is too shallow for a concave?
Almost invisible is still fine, as long as the light can find it. In 22.5 I shaped a convex and a concave together on one small part. Afterward I admitted it was almost impossible to see. But it was there.
My #7 went in beside the middle line in 22.10 for a few very shallow concaves, just to draw attention to that line. You can't always see a hollow that shallow. It depends on how the light hits, and in that shot it hit strong. Once I put a shadow across it, the extra ridge showed.
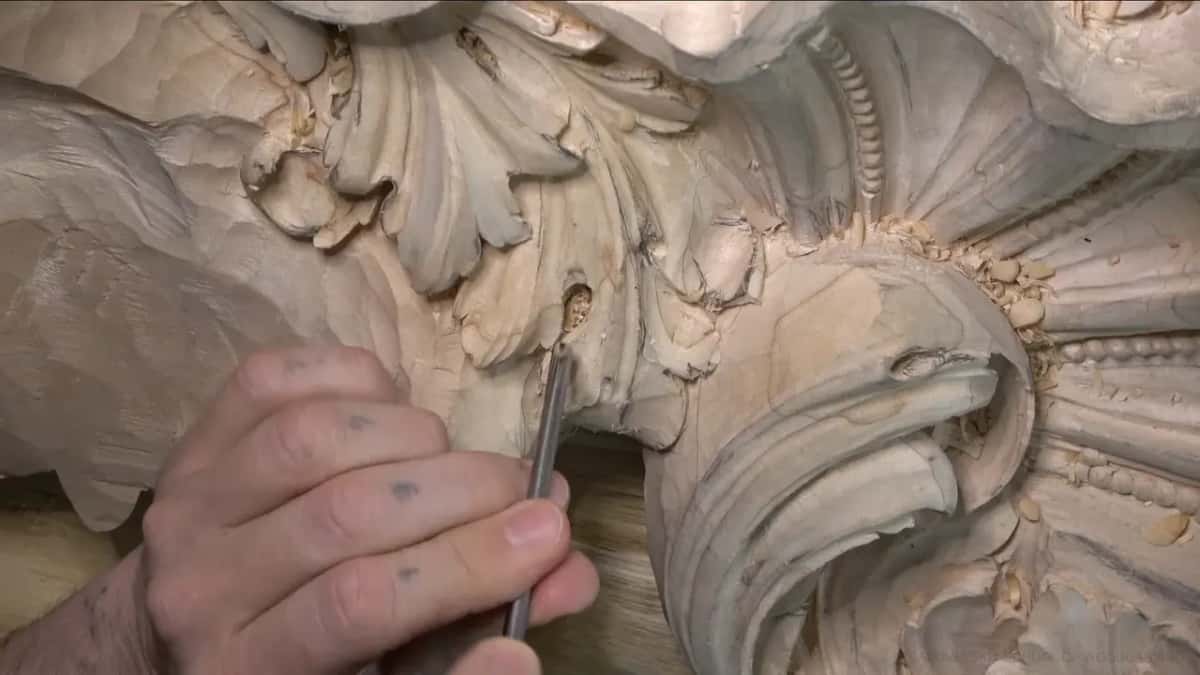
In 22.9 I used a 4 mm (5/32 in) #7 the same way and didn't take the hollow all the way along. There was an opposite side already, and it showed. So move your lamp. In 22.6 I moved the light to a new position, and you could watch the shadow travel. I liked how deep those shadows looked.
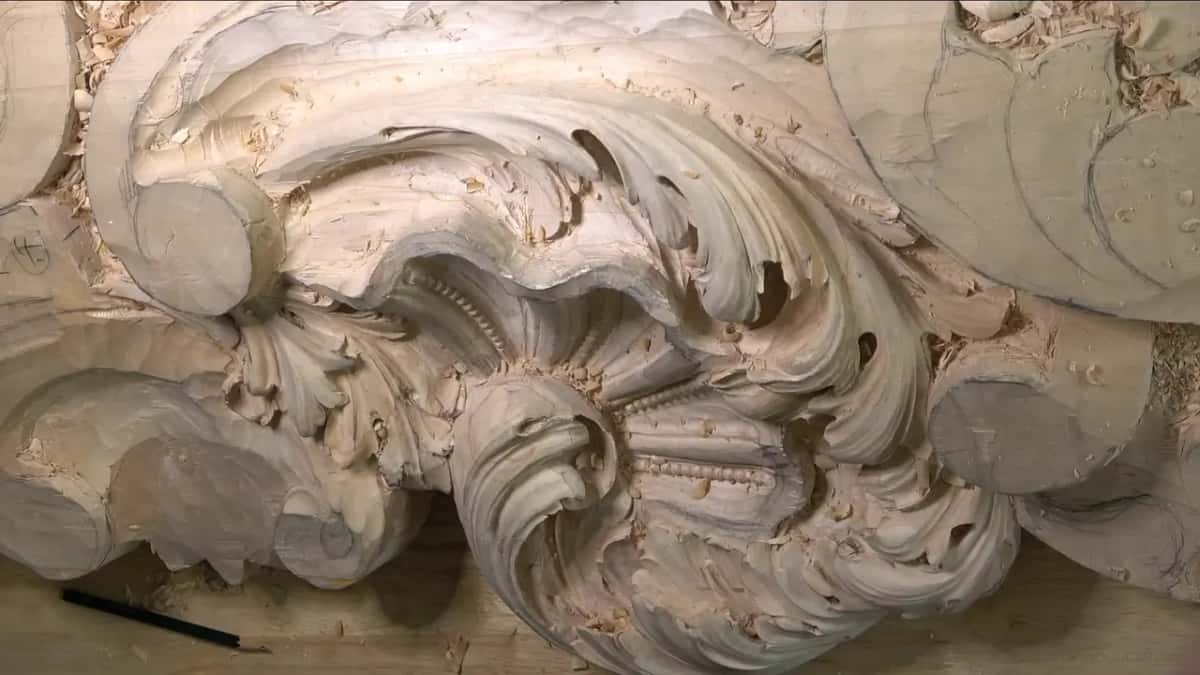
Which tool makes a shadow in a tight spot?
A very small veiner. Near the end of workshop 22 I had a tight spot with no room for a deep shadow, and I said so. I first thought of a 1 mm (about 1/25 in) #11, then went down to half a millimeter, about 1/50 in, and took the wood out underneath a little at a time. The half millimeter worked much better there. It still gave me the shadow without digging deep.
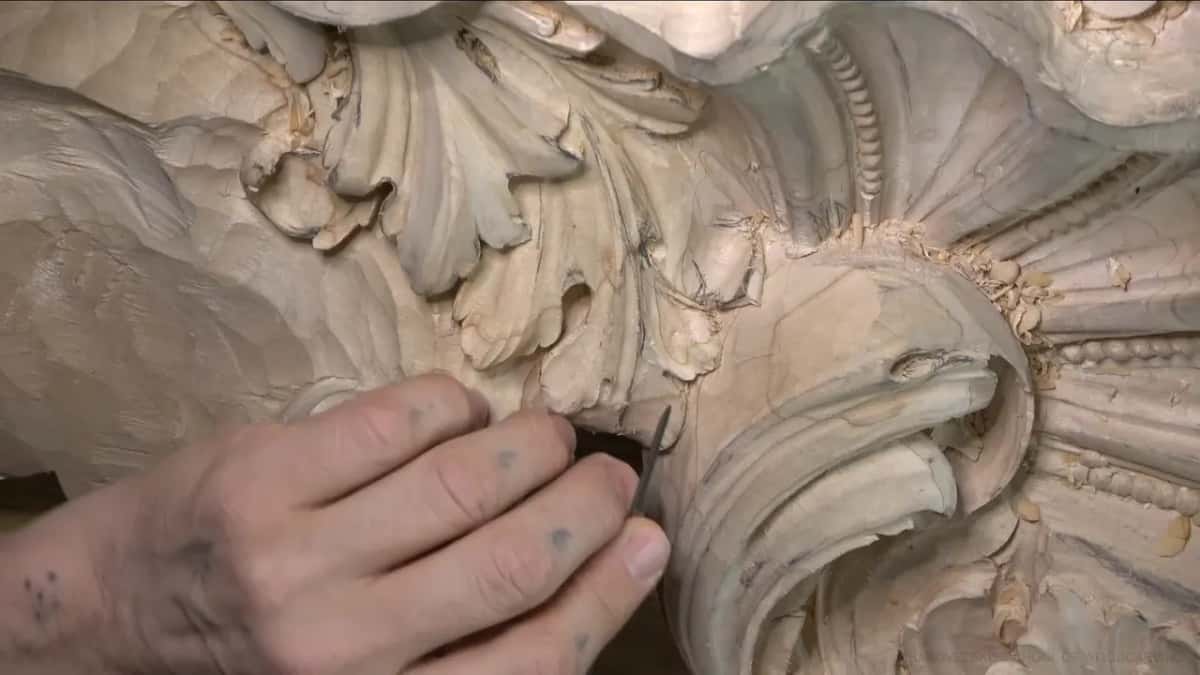
Tiny tools need a careful hand. In 22.9 I began a small undercut with a 1 mm veiner because the spot was really tiny, then cleaned it with a #8 micro tool by Dockyard, 3/32 in, about 2 mm. Later, in 22.11, a 1 mm #11 came in from another direction and connected two hollows, and I called my way of doing it a little dangerous. A straight #1 then undercut from that side, and a 1 mm spoon #11 hooked the waste out.
Keep those small tools clean, too. Black marks turned up on the wood in 22.10, left by a #8 of 4 mm, about 5/32 inch, that I had sharpened not long before and hadn't wiped clean. A #7 took the marks out.
On this Venetian head, where does each concave start?
In the middle of the split, and not down inside the separation. Before that, in 22.7, I made my relief cuts with a 2 mm (5/64 in) #11, and I did the ones for the other separations right away, since that saves time. I didn't want sharp triangles left inside. On the originals you often see a tiny eye in that spot instead, in the Venetian style anyway.
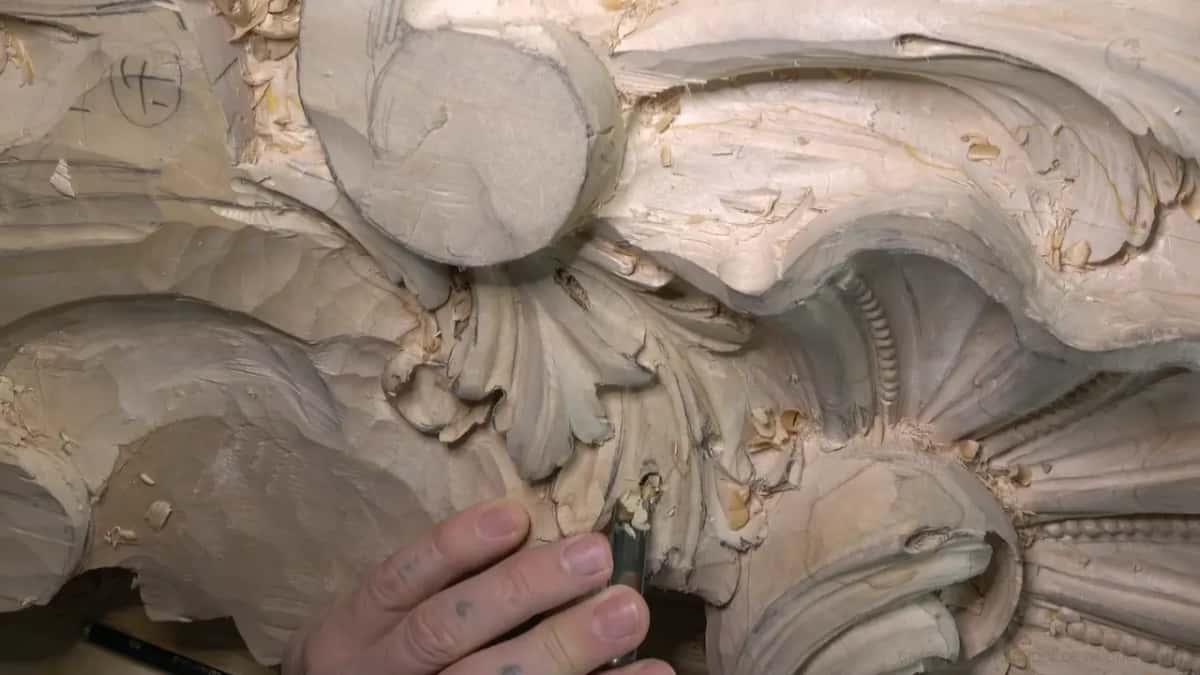
Then I raised both sides a little, which is commonly done, and carved the concave between them with a #9 about 3/8 in (10 mm) wide. The surface goes down and comes back up, like a wave. In 22.11 I put it plainly. The concave does not go in the separation. It starts in the middle of the split, and the edge of the split becomes the edge of the concave.
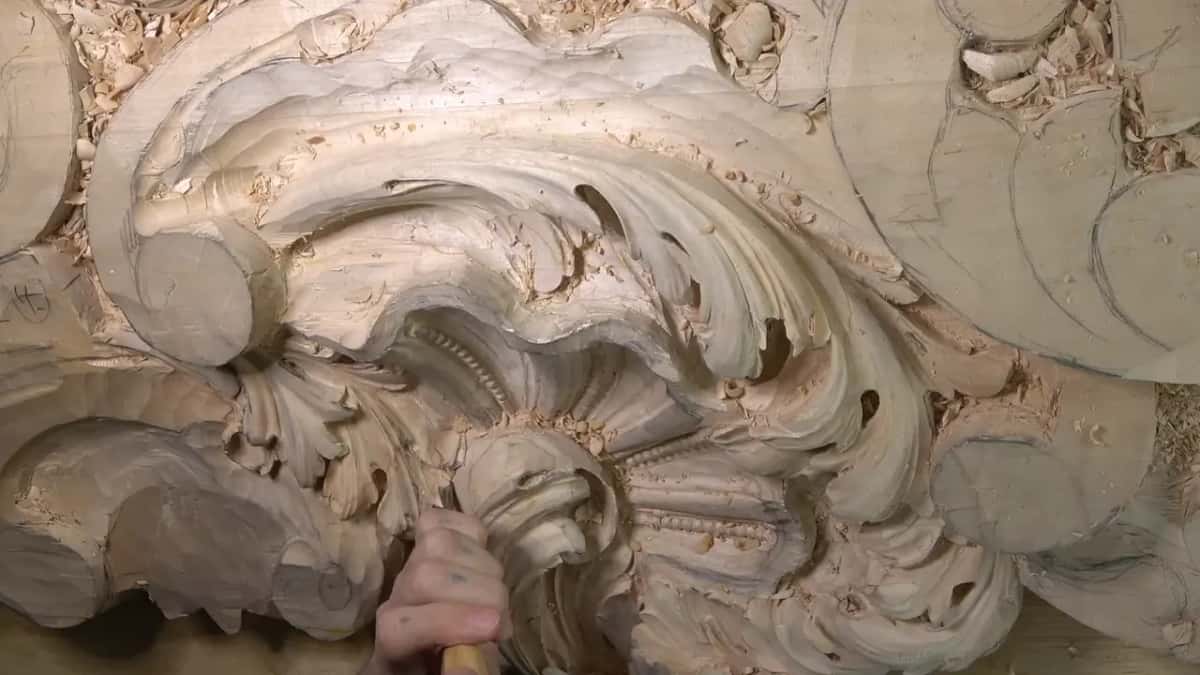
In 22.9 and 22.10 the aim was the same, to keep that edge high and carry the hollow all the way to the pipe. Even this wave is kept small. The wave doesn't have to be extreme, I said in 22.11, just a little.
This wave belongs to this style, and I said so on camera. Other kinds of acanthus handle it differently, and there is no one rule for all of them. Two close cousins have their own pages. One covers the hollows inside a lobe on a Corinthian acanthus, and the other explains why the outer line of a leaf stays high on a carved rosette.
When is paper-thin worth it?
On a flower that people will look at up close. I said this in 22.8, near the dome at the top of the leaf. On a really complicated flower composition, knowing people will look close, I sometimes go to the extreme and make a movement as thin as paper. This leaf didn't need that. It sits high, and its upper part will be joined to the ceiling.
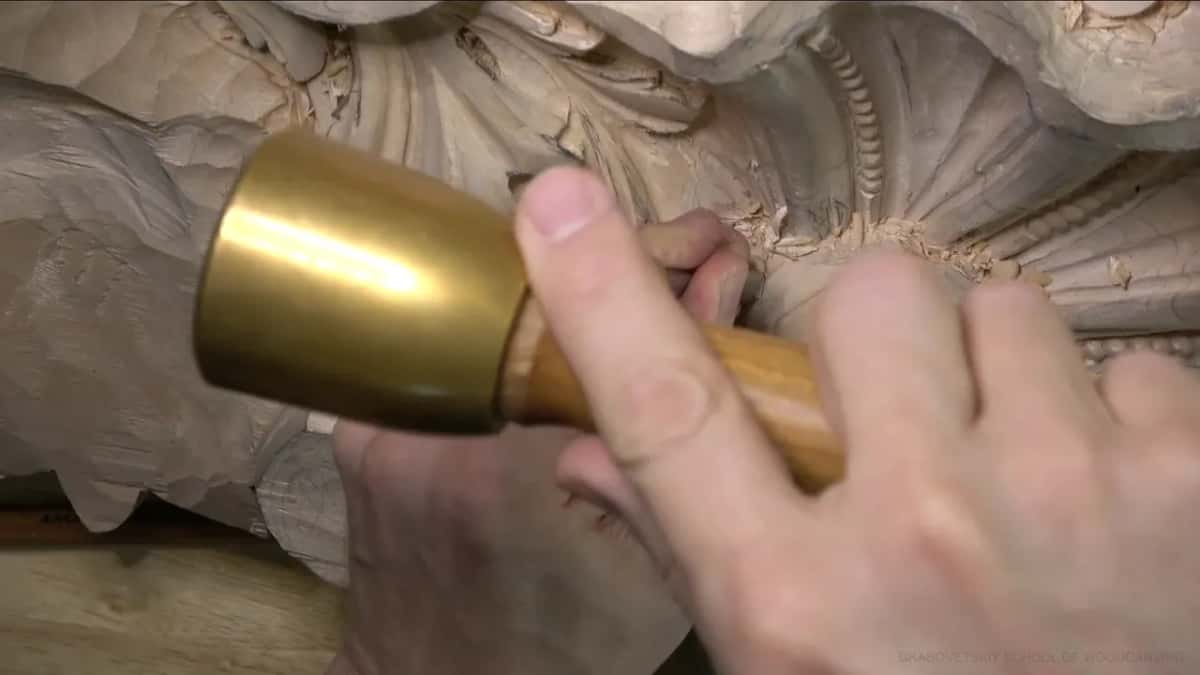
Depth is a choice, and a choice can change. In 22.6 I thought about curling one part fully backward and decided against it, since from the bottom that part sits too high to show much. The next day, in 22.12, I changed my mind. I said it might not show much and carved a small curl back anyway. A Dockyard #8 about 5/32 in (4 mm) wide started it, then I rounded that section, and a 1 mm #11 went underneath, slowly, because the grain was not in my favor. Without the rounding, it did not look like a curl.
Eight hollows from workshop 22 and where each one stopped
Each row is one hollow from this workshop, with the tool and the place I stopped.
| Spot | Decision | Tool | Stop |
|---|---|---|---|
| Beside the pipe | held back to protect the overall shape | #9 gouge | went deeper toward one end only |
| Inside the leaf | a smaller #11 went even deeper inside | Small #11 | dug for a beautiful shadow there |
| Point of movement | checked the wood left before going deeper | Narrow #11 | 3 mm (1/8 in) at most |
| Sides of detail | went under, but kept the part strong | Small veiner | stopped at the separation, no deeper |
| The smaller leaf | same #9 as before, a gentler hollow | Wide #9 | shallower, since the leaf is smaller |
| Beside middle line | shallow hollows that only raise small ridges | Narrow #7 | the light decides if they show |
| Near glue line | little wood left, so kept it small | #9 gouge | finished small, with the joint showing |
| Tight shadow spot | no room there, so I went smaller | Half-millimeter veiner | a shadow with far less digging |
Chips pile up in every one of these hollows, and in 22.6 they gave me an idea for a business. Someone made money on duct tape and a banana, so why not sell carving chips at $3 each and be a millionaire in a couple of months? Before any finish goes on, an air compressor blows the small stuff out.
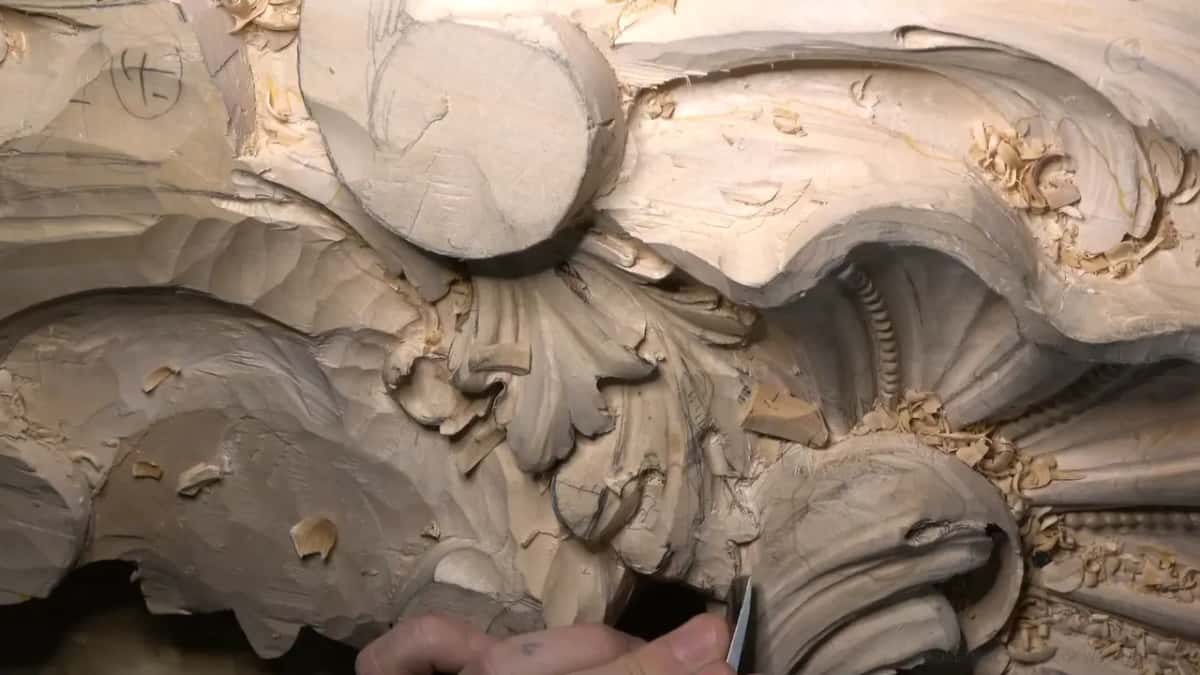
This head carries on in workshop 23. Workshop 21 comes right before this one, and the convex at the center of the leaf has its own page from workshop 20. If you are new here, the room begins in part 1, workshops 1 to 12.
Pick one leaf of your own and one gouge, and set the depth beside the first pipe before you touch anything else.
How it's done
- Fix the big movement first. Shape the whole leaf and its main divisions before a single hollow goes in.
- Keep the pipe-side hollow shallow. Start the concave beside each pipe with a flatter sweep, and let it blend into the big form instead of eating into it.
- Go deeper by the pipe. Right by the pipe, and below a lip of the leaf, let the hollow grow. Exaggerate it a little there.
- Check the wood before a thin part. Before you shape a point or a thin edge, look at how much wood is left, and stop while the part can still take a bump.
- Swing the lamp. Move the light across the leaf. Some hollows only show when it rakes over them.
- Finish tight shadows small. Where there is no room, drop to a 1 mm or half-millimeter #11 and take the wood out from underneath in small passes.
Frequently asked questions
Is a deeper concave always better on a carved leaf?
Deeper helps only where the shadow shows and the leaf can spare the wood. For this Venetian head I kept the hollow beside each pipe shallow and the leaf held its big form, then I let it grow deeper next to the pipe and below the edges.
How deep can a concave go on a small leaf?
Less deep than on a big one, even when the gouge is the same. In workshop 22 a second, smaller leaf got a gentler hollow from my #9, and at one spot where I still had to carve a point, I held the concave to an eighth of an inch, 3 mm.
What if a hollow reaches the glue line?
Keep that hollow small and move on. I reached a glue line in workshop 22 while carving a concave with my #9, and with little wood left, I finished that one where it stood and started the next one on the leaf.
What to carve next