
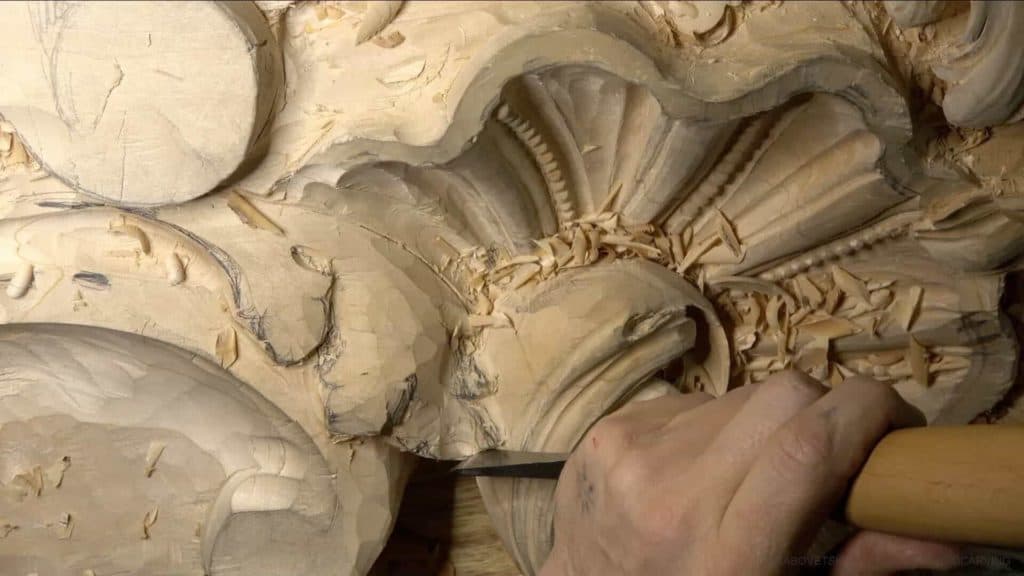
Alexander Grabovetskiy, woodcarver, School of Woodcarving · Published 2020
How do you decide where the eye goes on an acanthus leaf?
Quick answer: Placing an eye on an acanthus leaf is a judgment made with the wood in front of you. On this Venetian head I put one where it looked good, left one out where a flower will cover the spot, moved one farther so the lifts stayed long, and carved an early one away.
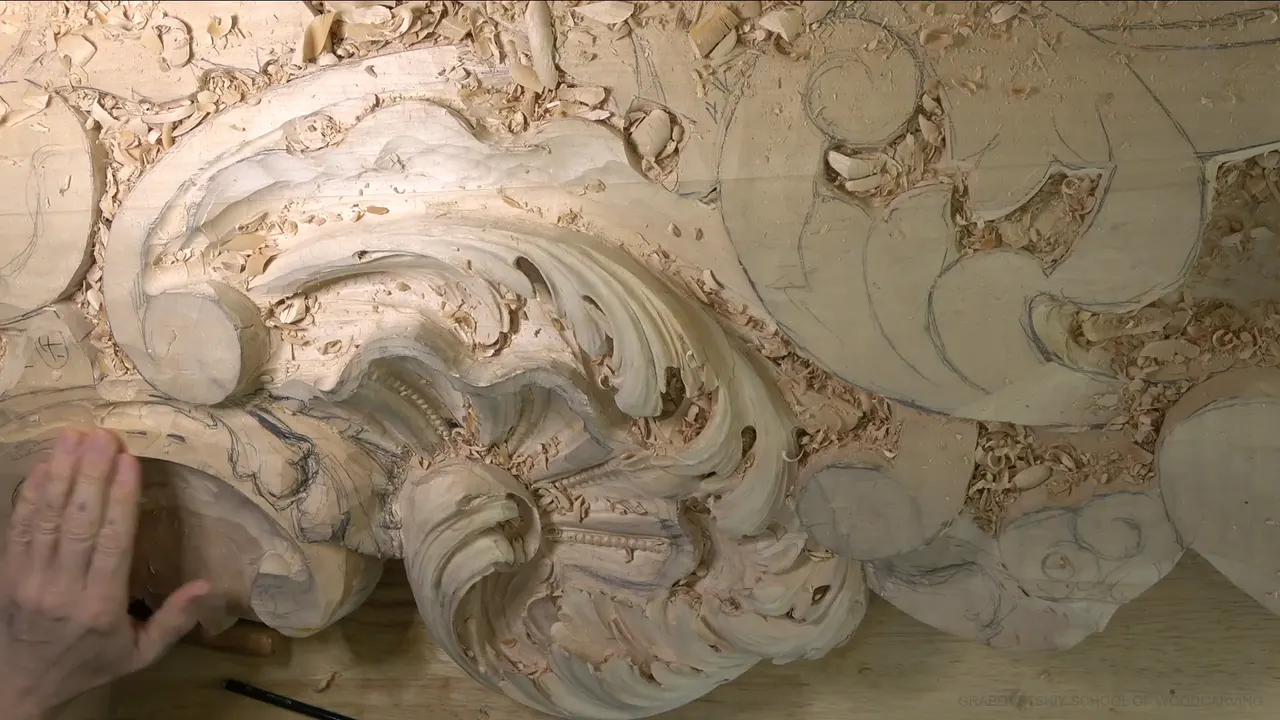
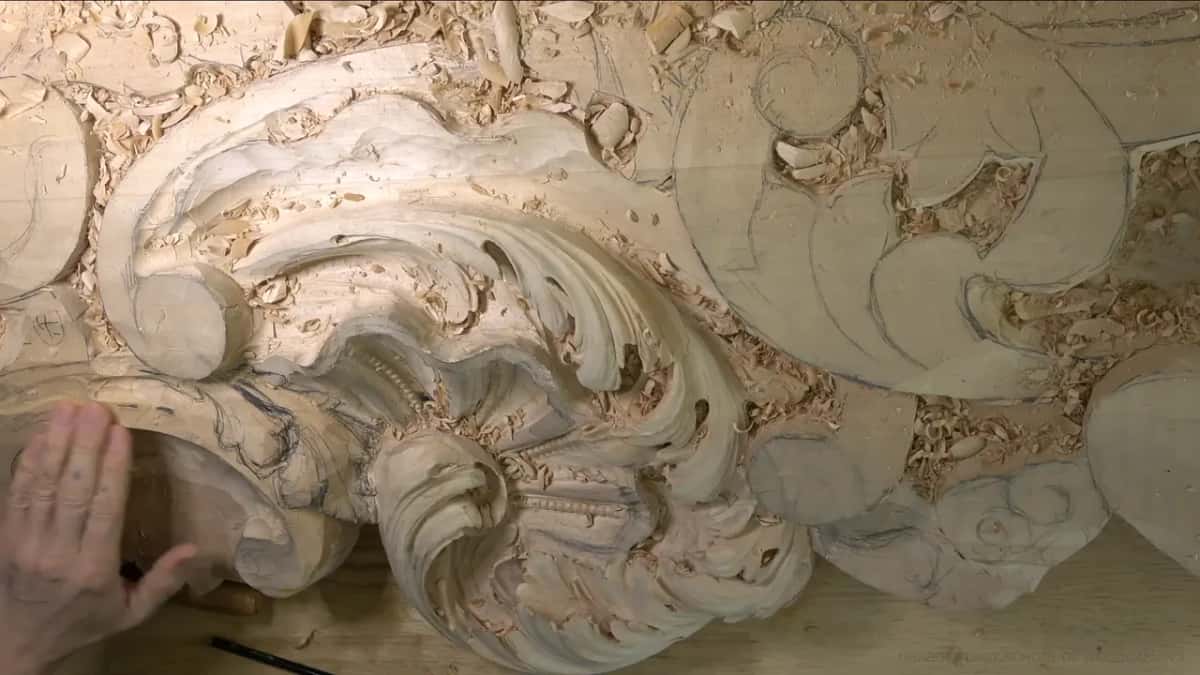
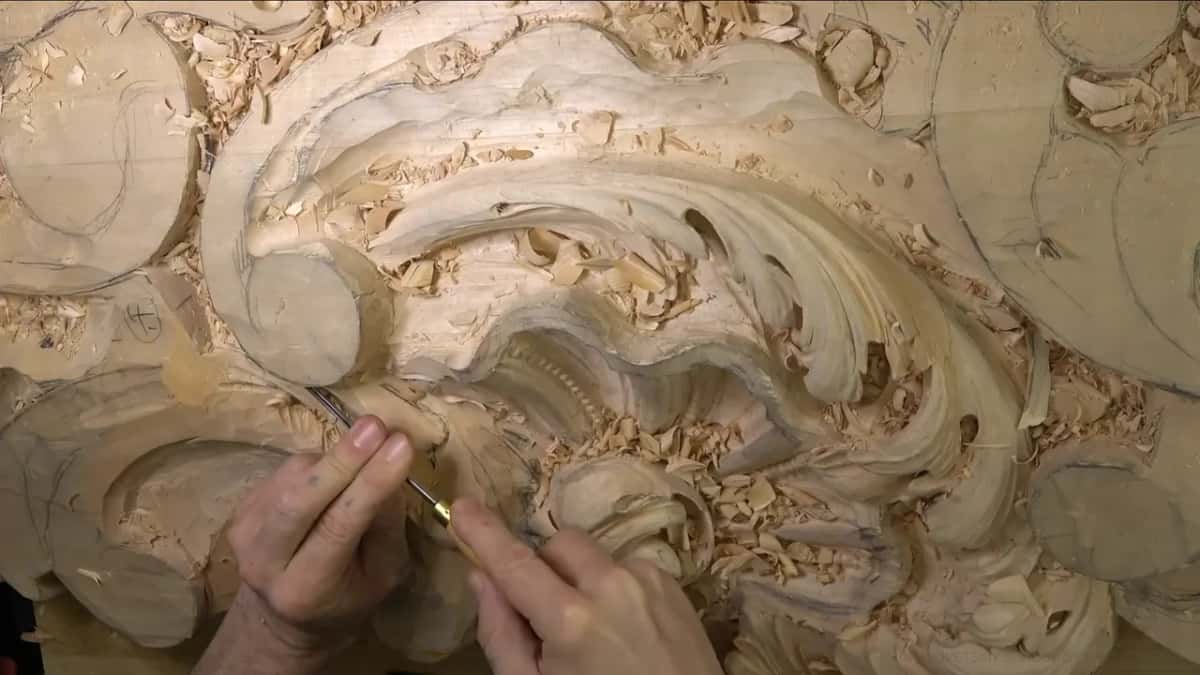
Placing the eye on an acanthus leaf is a choice I make with the wood in front of me, and on this head I made it again and again. What you see in workshop 19 is acanthus leaf design worked out with a gouge in my hand, on a head for the Venice Room commission. One eye went where it looks good. None went where a flower will sit on top later. One slid farther along the leaf so its lifts stayed long, and an eye I had already carved came out and went in again somewhere else.
Do you want each eye on your leaf to sit where it helps the whole leaf? Would you like to know when an eye is better left out? Then choose every eye against two things, the movement of the leaf and the person who will look at it.
I'm going to be honest with you. When this workshop started, I did not know where every eye would go, and you can hear me say so out loud, more than once, while the gouge is still in the wood. You get every one of those calls here, including the one that went wrong beside an edge.
Five eye rules from one Venetian head
Carve the big movement first, then give the eye a place inside it.
Leave the eye out of any spot that gets a flower glued over it.
If an eye makes the lifts beside it too short, move it farther out, even after you have already planned it.
Rough it in early if you like, since a thick blank lets you take it out and carve it again.
Take the deep part using a narrow gouge, and stop before the steel is in danger.
What decides the eye in acanthus leaf design?
Movement decides it first. Every acanthus on this panel starts from its overall movement, the big curve that tells me where each lobe will stop, and the eye has to sit inside that curve. During part 3 I carried one movement all the way in and said right away there would be an eye there, as a piece of that same movement. On camera I even call an eye one of the separations.
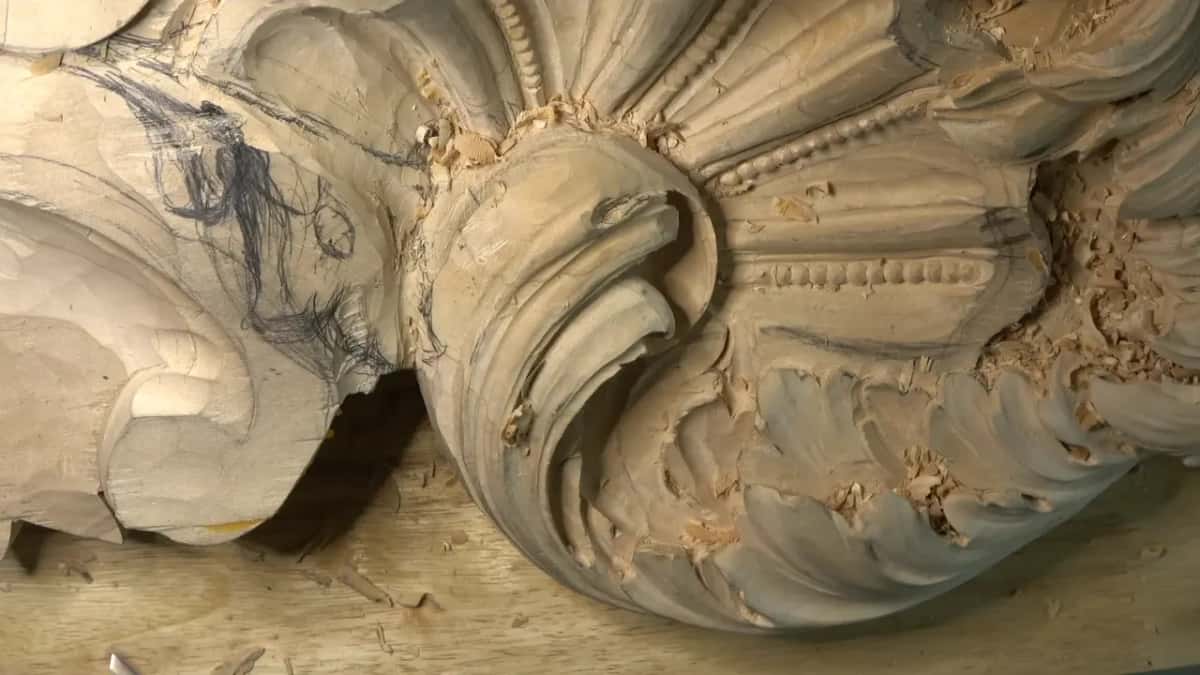
If the words eye and pipe are new to you, the Greek acanthus lesson explains them, and I will not repeat it here. The second thing that decides an eye is who will ever look at it. Most of this head will be seen from below, and I say so again and again through these twelve videos.
Why want an eye there at all?
I wanted one mostly for the look of it. Early in part 1 I said I still wanted to see an eye somewhere, because I wanted the section to look good, and in part 2 I added that I really like the idea. It is my opinion, and I say so on camera more than once.
For a minute I thought about more, maybe a double. Maybe yes, maybe no, I said, and then I let it go, since flowers were coming to that area anyway. By the end of part 1 I had it. That part could flip over, and with the flip I could create my eye, so I would still see some kind of eye there.

When is an eye not worth carving?
When a flower will be glued over the spot. I was still doubting the position of one eye in part 2, and I asked myself out loud whether I had to carve it at all. Of course not, I said, because it is going to be covered with the flower. Maybe I should not even bother with it.
Flowers go onto parts of this head later, and I knew where. So part 1 has me saying I did not have to do too much in one area. The shell beside this section got the same treatment. I had not carved it completely on that side, because I knew I was going to do something else there.

What changes near the spot where flowers get glued?
Depth changes first, because a flower needs something to sit on. I kept from going too deep in one place early in part 5, since flowers go there and I need a connecting point for them. Another area stayed high on purpose in part 9, and I told the camera it would be my gluing point for the flowers.
Wood left standing for later works the same way. Back in part 4 I left about 5/8 of an inch, 16 mm, for a detail I had not carved yet. Around it I kept the digging shallow, so the part would look like it lay on top of that future detail, and so it would not be hard to clean. A change I made in part 9 left me a big chunk to develop later, a lot more thickness, and before the next separations I made sure those areas still had some meat on them.

An eye that a flower will cover is an eye I do not have to carve, so it stays out, and what is left of that area still needs a logic behind it, as I said in part 1. Hidden parts still got some care. Later in part 11 I took a bit off a side that will be invisible completely, as I put it, and rounded that area, because otherwise the movement would not make any sense.
On this head the flowers go onto spots left high. Other pieces hold a flower another way, and attaching a carved flower to a panel shows a socket in the layer below, while running out of wood under a flower is a different problem again. The flowers themselves are the kind of rosette work taught in Venetian Flowers Rosette, carved on their own and glued on afterward.
How far along the leaf should an eye sit?
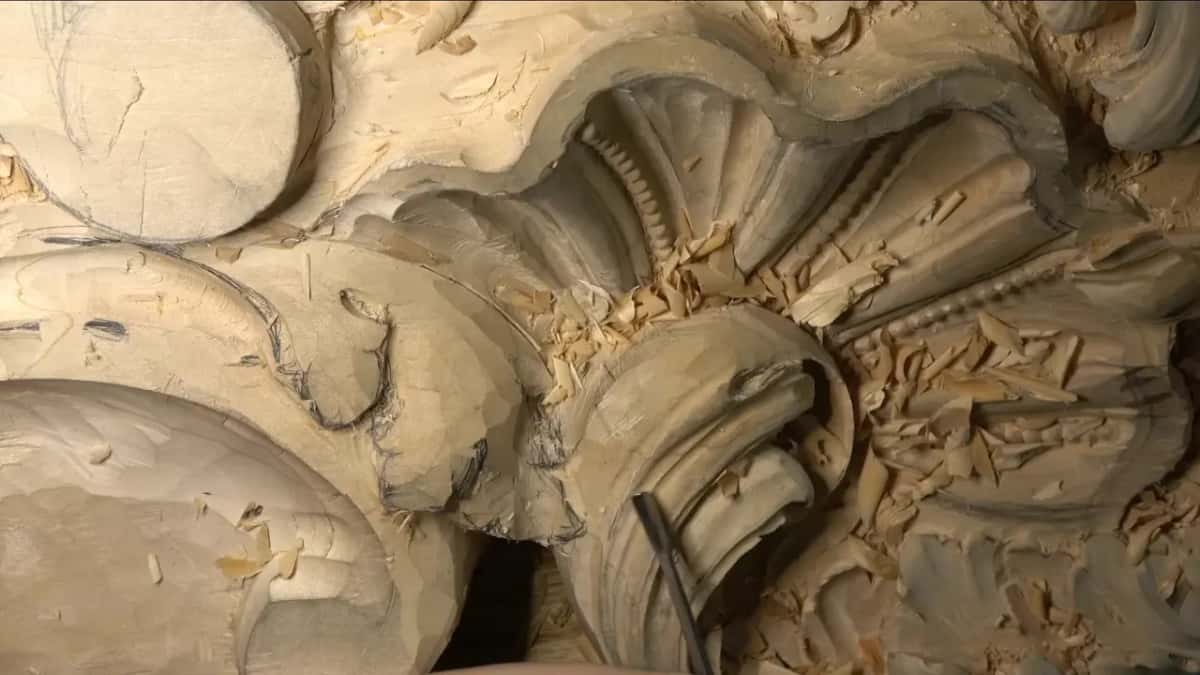
Far enough that the lifts beside it stay long. Five minutes into part 6 I looked at an eye on my plan and said I needed to bring it a little farther, because I still wanted to keep the dynamic, and I did not want to make the lifts too short. Then I asked, the way I often do, whether you understood what I meant. A minute or so later I pushed it further still. Farther, I said, even farther.
I had already said in part 3 that I might have to bring my eye a little farther. My word for it came in part 1, where I said the section had to be more flowing, and added that this is how I call it anyway.
One eye in part 6 has two possible homes. First I warned you that from above, where my camera looks, neither one looks as appealing, because the point of view will be different. Then I showed both. The eye could sit right here, with the movement starting just after it and the pipe running one way. Or I could carry that whole section further and create the eye out there, which would also be a good idea.
Can you move an eye after you have carved it?
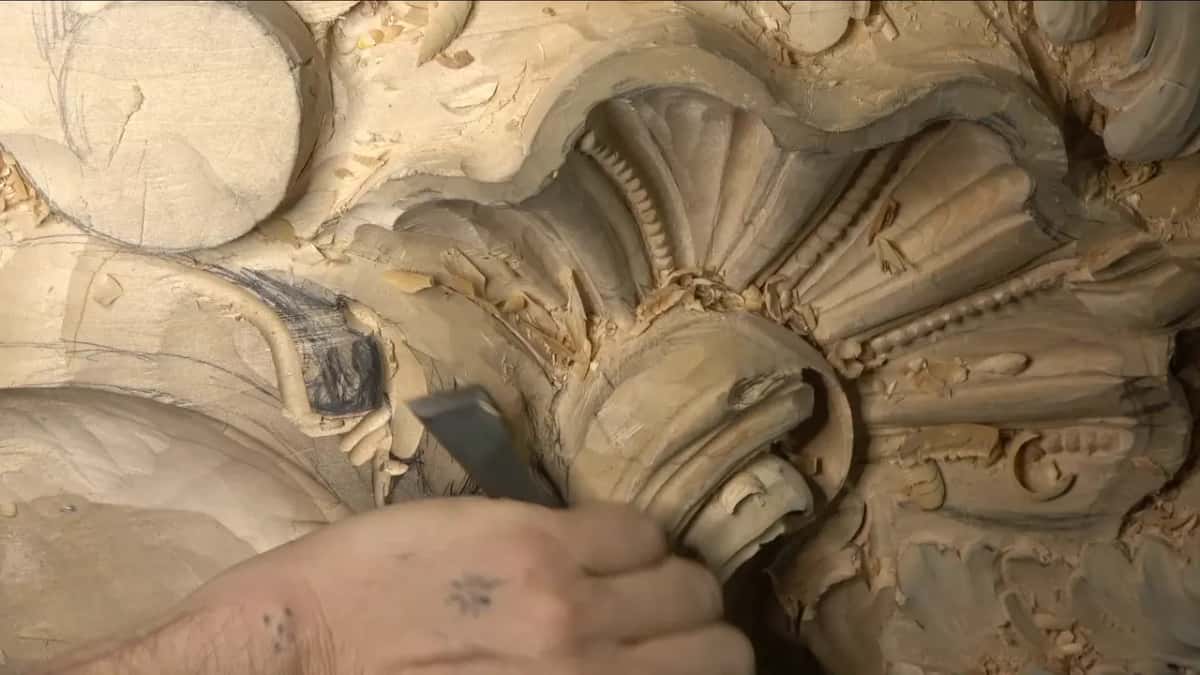
You can, with wood around it. My first rough eye went in during part 3. I hit it from two sides with a #7 and told you I could always fix it later. By part 6 the plan had changed. The more I looked at the section, the more I wanted to change, and the reason was a thick spot, a couple of inches (about 5 cm) still standing, a space that somehow had to be filled.
So my middle point went clear down to fill that spot, since it will be seen from the bottom, and one more section came in. At the end of part 7 I said I needed to get rid of the eye I had created before. I wanted to make sure it looks nice, and that was my whole reason.
That only works because the blank is thick. I glued so much wood up so I could excavate as deep as I wish, as I told you in part 4, and in part 5 I said that with a piece this thick you can do anything with it.
Where does a small eye fit?
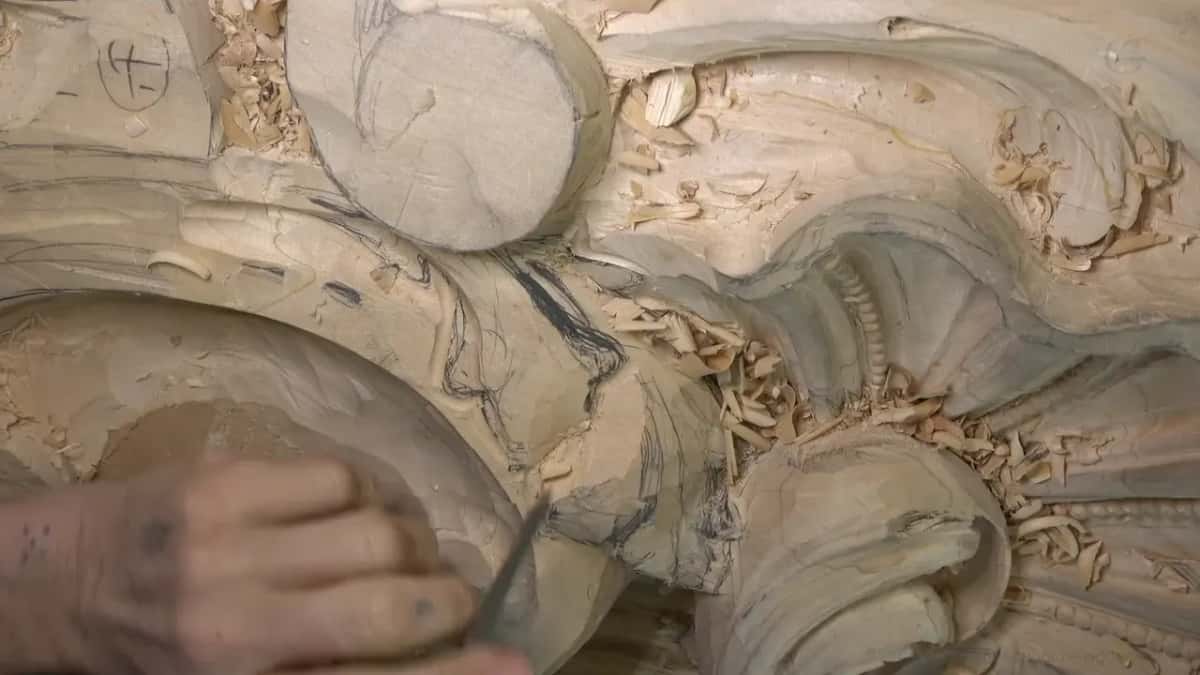
Where there is room for a mini eye, which is what I called one in part 5, right after a little separation relief. A minute or so later I placed another eye and said I thought it was a good position for it. I chopped a little way in right after, with the same #9 I had already used a lot on this project, so I knew exactly what I was dealing with. Right after that I said there would probably be one more separation too, because I really like those.
Which gouge takes the eye deep?
A narrow #9 took the deep part, 3 mm across, which is 1/8 of an inch. That big eye came in part 10, and it is big because I really like big eyes, and on this project that is what they did. I dug it kind of deep. But there is a point where it gets too deep and too dangerous, and a thin tool can break, so right there I was careful.
How to carve an eye and its pipe, pass by pass, is in the furniture panel lesson on acanthus movements, so here I keep to where it goes.
What if the eye takes the edge beside it?
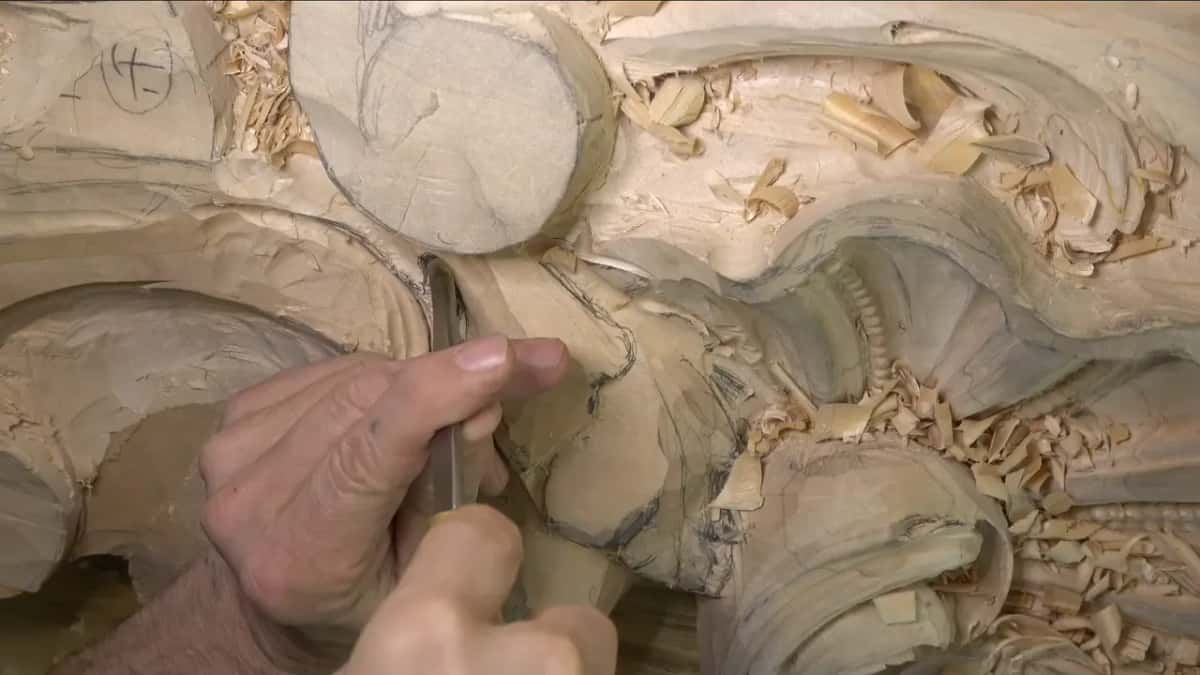
Change the plan around the damage. In part 10, while I was making that big eye, I dug in too near the edge and lost a piece I wanted to keep. That is no bueno, I said, twice. Keeping that part a good size mattered, so I went down to the 1/8 inch (3 mm) tool, and said it was still not too late to fix it, though it is better not to make that mistake at all.
Moving over a little was the other way out, and it was still possible, so the lost piece would become part of the movement. I still did not like it when part 11 began, even though it would most likely end up under the upper layer. That line was worth keeping, and I also did not want the leaf to look stupid. It should look like an acanthus. So I flipped that piece from the opposite side, and the old line became the new one.

The eye decisions on this head, part by part
Here they are side by side, in the order they came.
| Eye | Decision | Part | Reason |
|---|---|---|---|
| Eye under flowers | left out where the flower sits later | Part two | a flower goes over it later |
| First rough eye | hit from two sides, to fix later | Part three | I can always fix it later |
| The next eye | chopped in where the position looked right | Part five | I think it's a good position |
| Eye moved farther | moved farther out, then even farther again | Part six | keep the lifts from getting short |
| Old eye removed | carved away, since the plan had changed | Part seven | I want it to look nice |
| The big eye | dug deep with a narrow number nine | Part ten | stop before the tool can break |
Does the view from below change the plan?
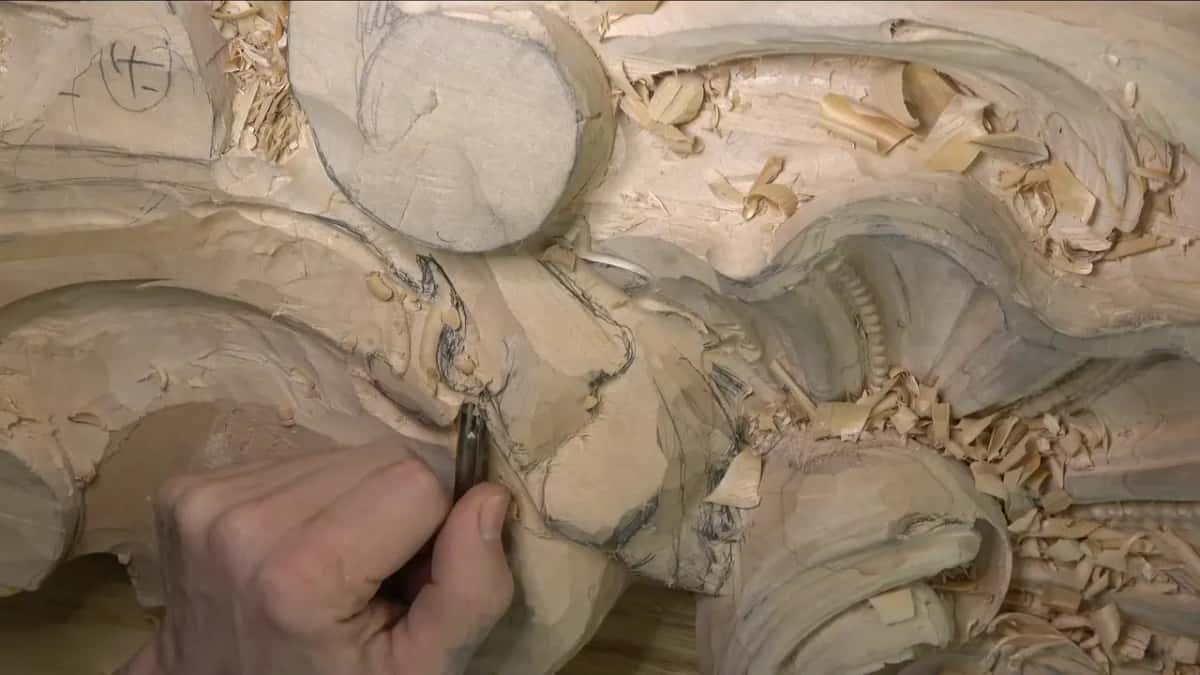
It does, and my camera sits on the wrong side to show it. I asked you in part 6 to understand that the camera view does not look as appealing sometimes, because it looks from the wrong side. From the bottom, and from the front, it does look good.
Part 8 shows what that means for a small piece. A point sat almost level with the edge beside it, which for me is not too good on something people see from below, so I ran a movement in underneath and made that little piece visible from down there. The workshop 12 page covers judging a detail from below, if you want more.

What else happens in workshop 19?
Around those eyes, twelve videos build the whole section, a little over an hour and a half of them. Parts 1 through 4 rough it into what I call my canvas. A quarter inch #9 (6 mm) and a #7 do a lot of that, with a 20 mm (3/4 in) gouge for one long, smooth transition. The skew chisel gets plenty of work too, and I really like mine, because some brands make the angle so big it would not help me there. That stage even gets a name in part 8. Catching the overall shape.
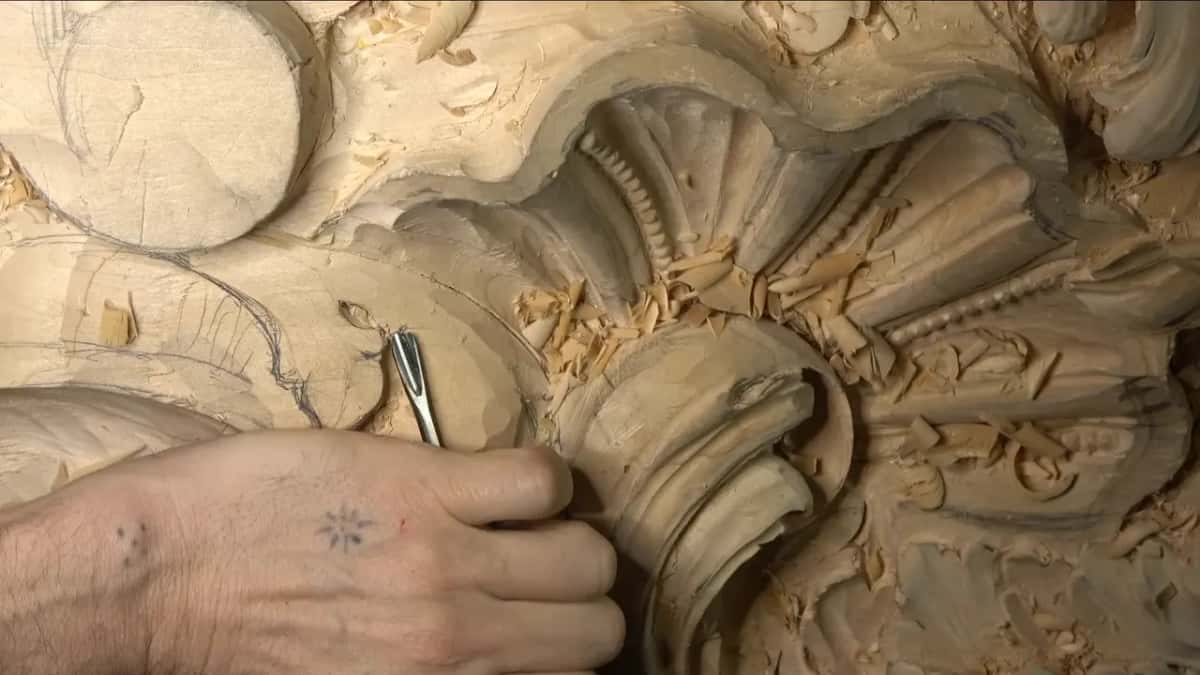
A rasp came out on one edge in part 5, and I said I don't really need it there, but since I have it, why not. Some of you asked how I know when to sharpen, and part 7 has my answer. A dull edge starts leaving trails, and sometimes it grows a little wire edge you can find with a finger; the sharpening course picks up from there. Part 12 ends on a pipe with a concave on each side, and a spoon gouge where the handle of my straight tool was already touching the wood.
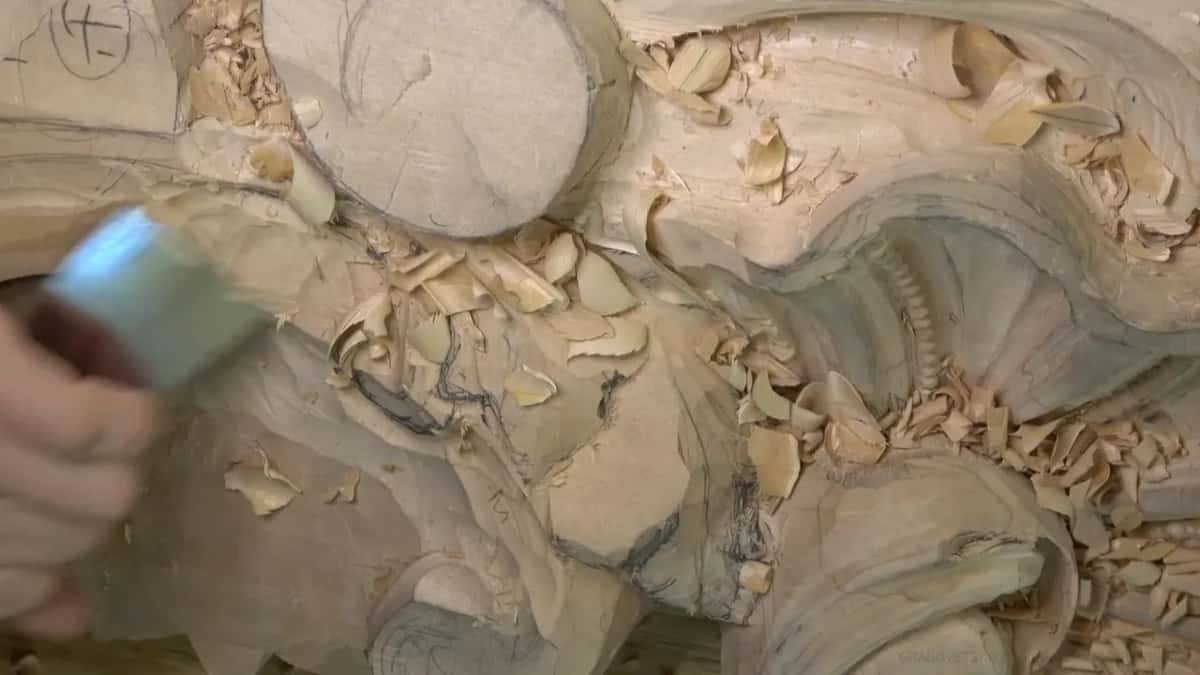
Losing your drawn lines is probably the number one fear when you start, as I put it in part 12, and my answer is a second copy of the pattern close by; the Greek leaf lesson on refining an outline covers the redrawing. I also say sorry for mumbling in part 9, and in part 5 for my lamp being in the way. Sometimes I forget to move it.
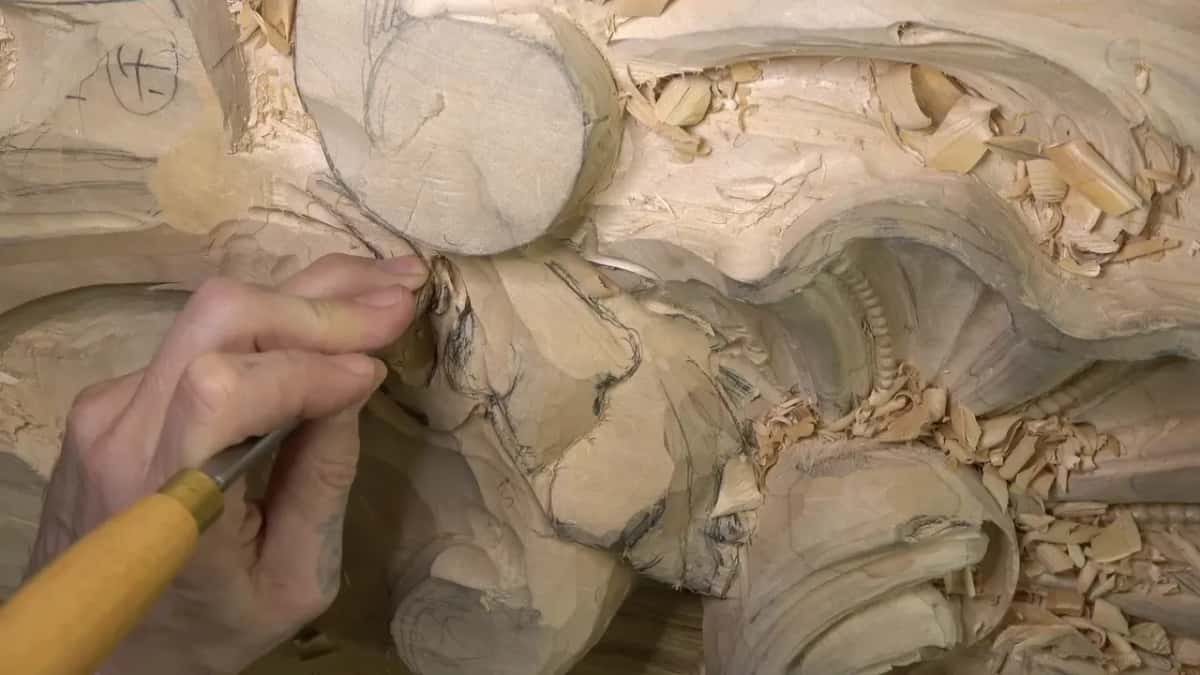
It is slow wood carving, and you are just digging, digging, and digging inside the wood, one lobe after another.
Every workshop of this room comes with the tuition. Watch workshop 18 first if you want the curl before this section, or carry on to workshop 20 from here. The panel starts in workshops 1 to 12. The room it goes into follows 15th century Venice, the city of Venetian Gothic palaces like the Ca' d'Oro, and this head is high relief carved in lime.
Would you like your own leaf to keep its lifts long and its eyes where people can see them? Then carve the big curve first, rough the eye in, and be ready to move it.
How it's done
- Settle the big curve. Carve the overall sweep of the section before you pick any spot for an eye.
- Mark what gets covered. Note where flowers or an upper layer will sit. Keep a gluing point standing there and plan no eye in that zone.
- Rough the eye in. Work it with a #7 from both sides. You can move it later.
- Check the lifts. Slide the eye farther out when it leaves the lifts too short.
- Deepen it slowly. Use a 3 mm (1/8 in) #9 for the deep part, and stop well before the blade is at risk.
- Judge it from below. Look at the eye from where its viewer will stand, and decide from there.
Frequently asked questions
Does every acanthus leaf need an eye?
Only where it helps and shows. I skipped one spot because a flower goes on top of it later, and I dropped the idea of a double eye for the same reason. Where people will look, I kept one, since the section looked better with it.
Can a carved eye be moved later?
With enough wood around it, a carved eye can come out and go in again elsewhere. I roughed one in early during workshop 19, changed the plan three parts later, and took the old one away in part 7. A thick glued-up blank is what made that possible.
What stays high under a glued-on flower?
The gluing point. I kept one area of this Venetian head standing on purpose as the place the flowers attach, and went shallow in another spot for the same reason, to keep a connecting point. Other pieces fix a flower differently, so check the method your design uses.
What to carve next