
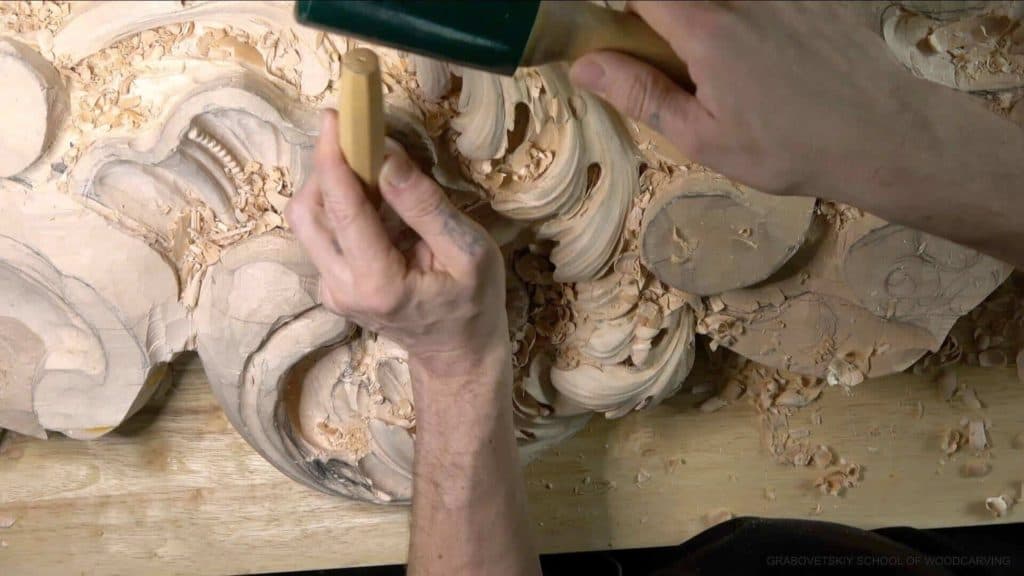
Alexander Grabovetskiy, woodcarver, School of Woodcarving · Published 2020
How do you carve an acanthus leaf that flips over on itself?
Quick answer: A full flip is a part of an acanthus leaf that rolls over and runs inside, so a person below looks up into it. On this Venice room panel I hollowed the inside first, chopped away wood so the top could curl back, and then rounded the inside until both parts locked.
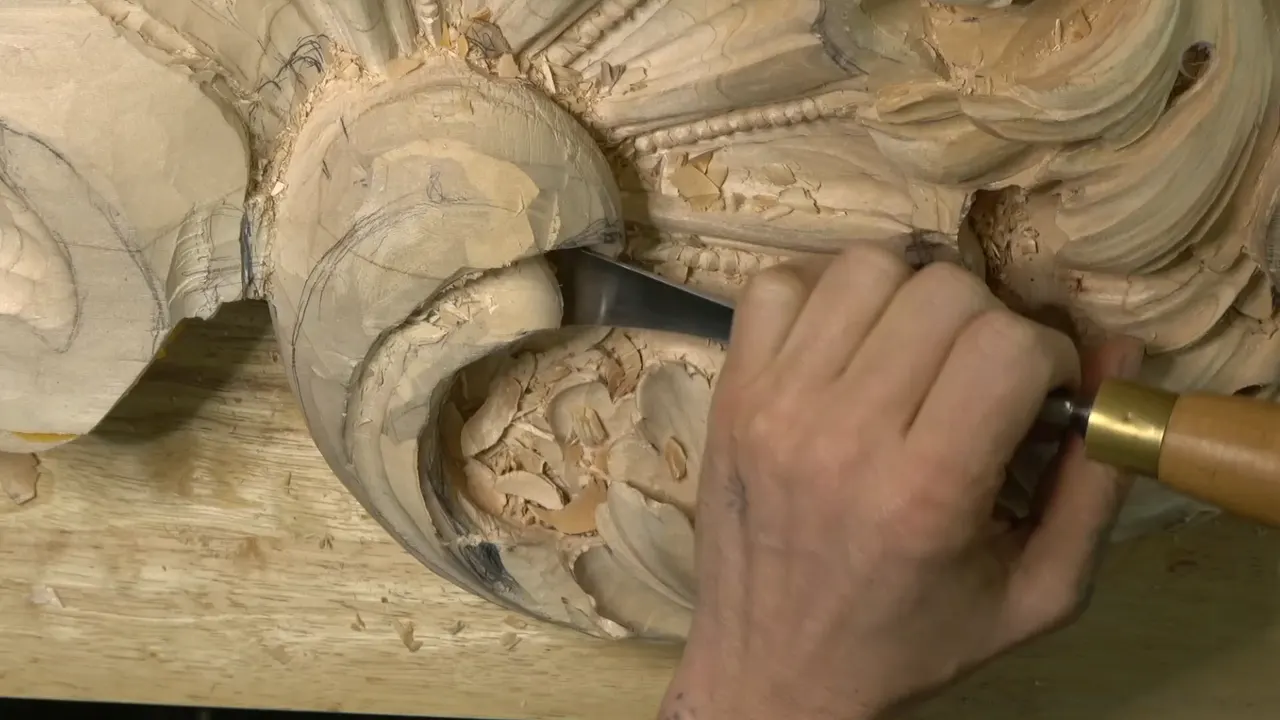
A full flip is the top of an acanthus leaf folded over onto itself, so its hollow goes in and locks against the part below it. In acanthus leaf wood carving the head is the focal point of the leaf, and this head sits on a Venice room panel that people will look up at. I built its flip across five of the twelve parts of workshop 16.
Would you like a leaf tip that rolls over? Would you like to see how a gouge gets inside that curl, even where my camera can hardly follow? And shown honestly? Workshop 16 is where I carve one on the main head, rough moments and all.
You will see how I chose what turns over, what went in first, and how the two parts ended up locked together.
What workshop 16 shows about the flip
The flip is the top of the leaf folding back.
Decide first which piece rides on top.
Hollow the inside while there is still thickness, and let the first cuts be rough.
Chop away whatever hides the top so it can curl.
Round the inside until the two parts nearly lock, then hook out the loose chips.
Stay off a weak edge, or it can go mushy.
Where a flip fits in acanthus leaf wood carving
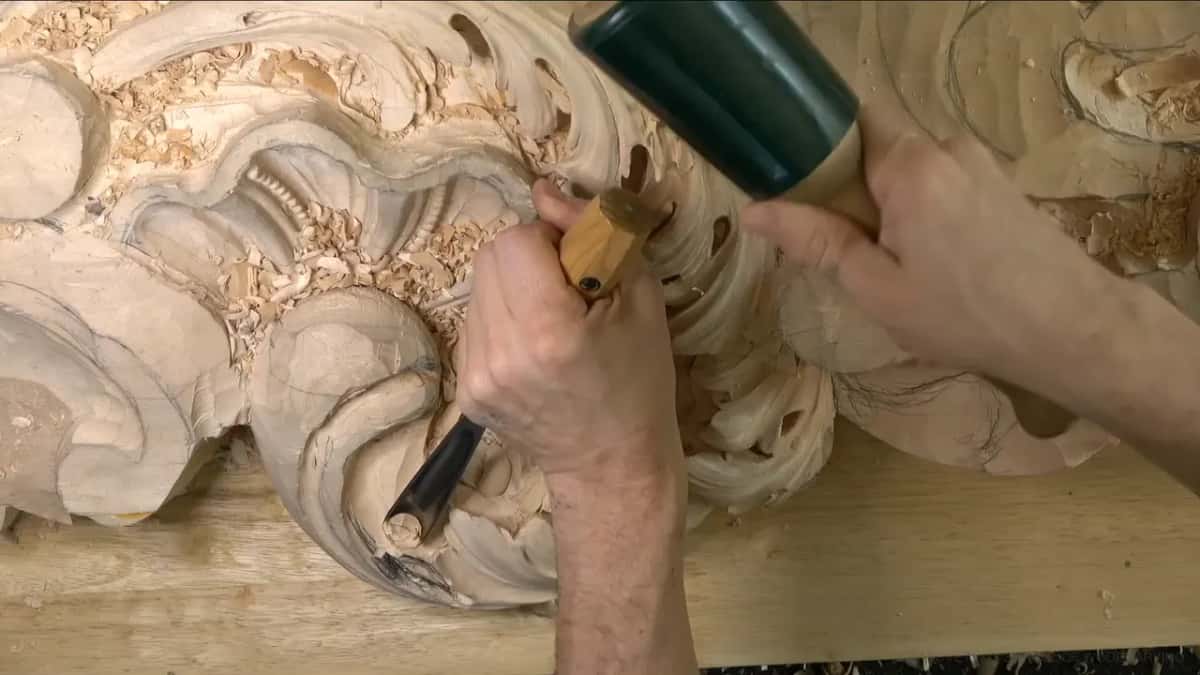
In wood carving, a flip belongs to the head of the leaf. Lots of different designs exist for those heads in carved ornament, and I have carved many styles of them, but the head is nearly always the most important part of an acanthus. On this panel it is the focal point of the whole composition, in my opinion, so I would not rush it.
It's easy to mix this up with the tuck I carved in workshop 13. There, one lobe slid in under a neighbor's edge, started from almost nothing with a 3 mm (1/8 in) number 11. A flip goes the other way. The upper movement curls back over itself and locks together, so I hollow under it and chop wood away to let it curl.
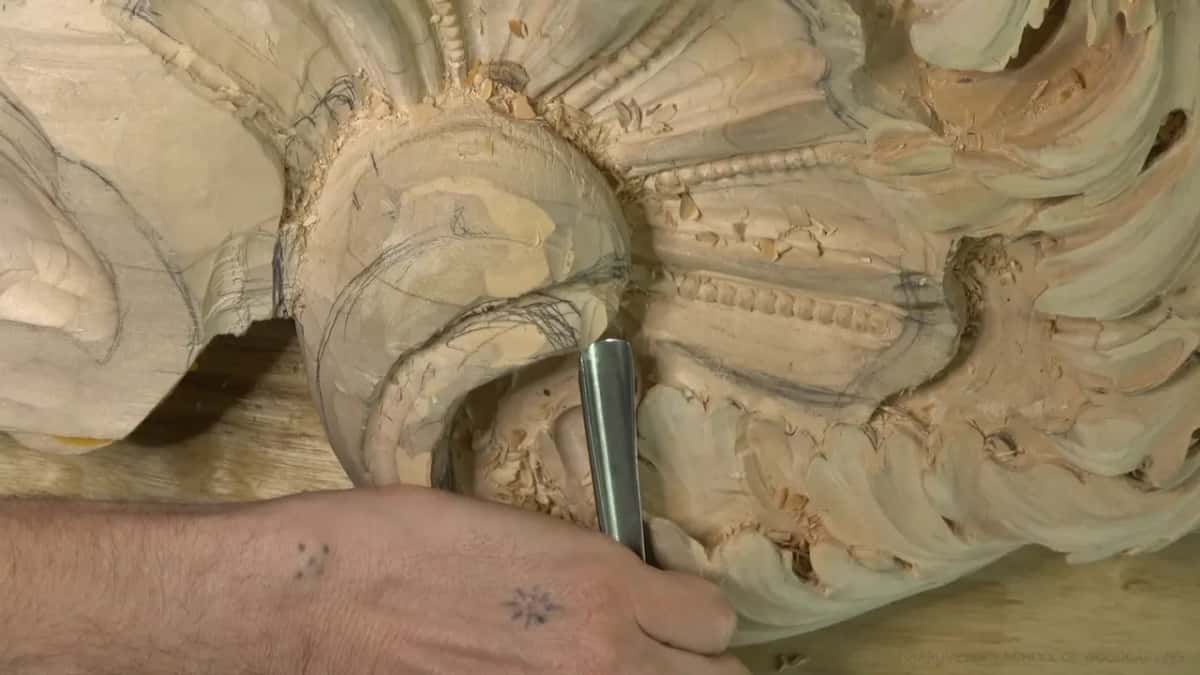
How did I choose which part turns over?
I picked the piece whose movement could start inside, and I only saw it after changing my plan in the middle of explaining it.
First I made sure there would be an eye somewhere, and I moved it once. My first idea was to dig under one piece and keep it separate, with the piece above riding on top, so I could go really deep there if I needed to. Then I stopped. Or actually, you know what, I said, I just thought of something else.
That whole movement could be part of the top one, with its own movement starting somewhere inside. I really, really liked the idea of an inside there. There was a big chunk of wood in that spot, and I wanted to see some movement in it.
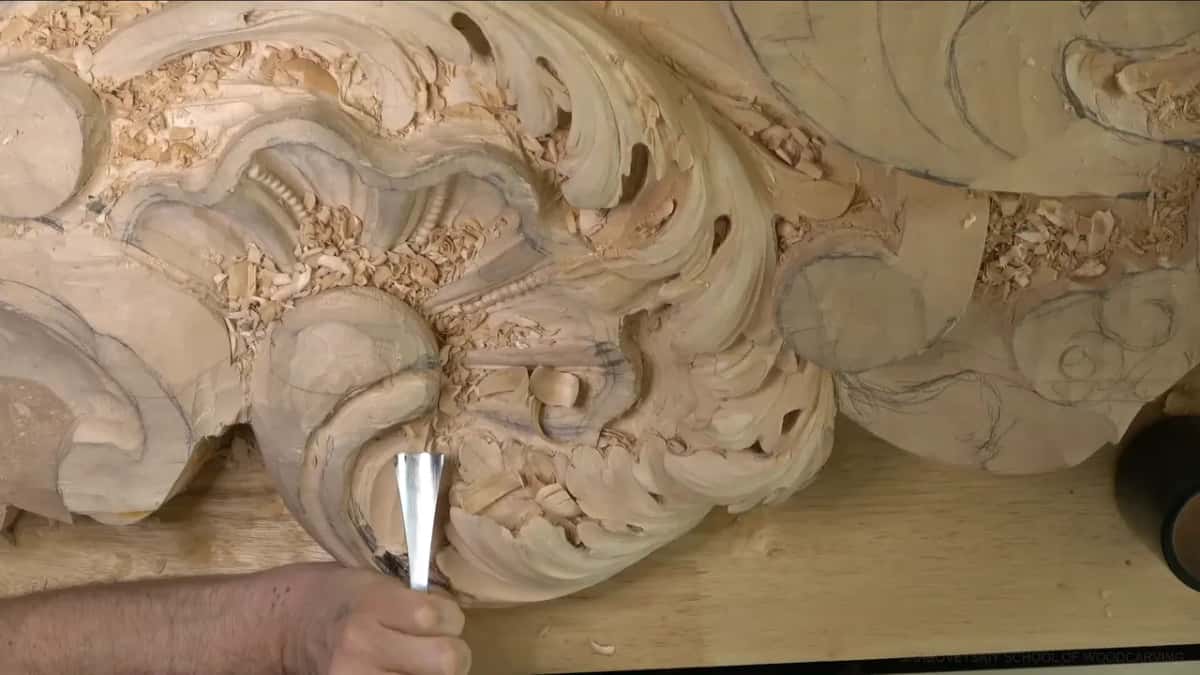
So the top became part of the upper movement. I carved around it to make the lower part. Once it was outlined, it was just a big chunk that did not look good at all. My number seven took it down, though not too much yet. Where I wanted a smooth run into the inside, I took a lot out with an even bigger number nine, and then I checked how deep I could go.

What goes in first, the hollow or the curl?
The hollow went in first, and the curl came a whole video later.
Before I committed, I checked whether a full flip was even possible there, or whether I should keep some wood and go around it. I went as deep as I could inside after that. I was wiggling the gouge and leaving a really rough cut, and that is all right. All I cared about was getting in. I can always cut it again.
Where there was thickness, a bigger number nine gave me a hollow almost like a boat. Where the wood ran out, with about a quarter inch (6 mm) left, I stopped going down and moved under the big chunk instead. I also stopped the hollow below one line, to keep wood there for movements running downhill later. The hollow is for a really deep shadow, and in the next part a number 11 made it deeper still.
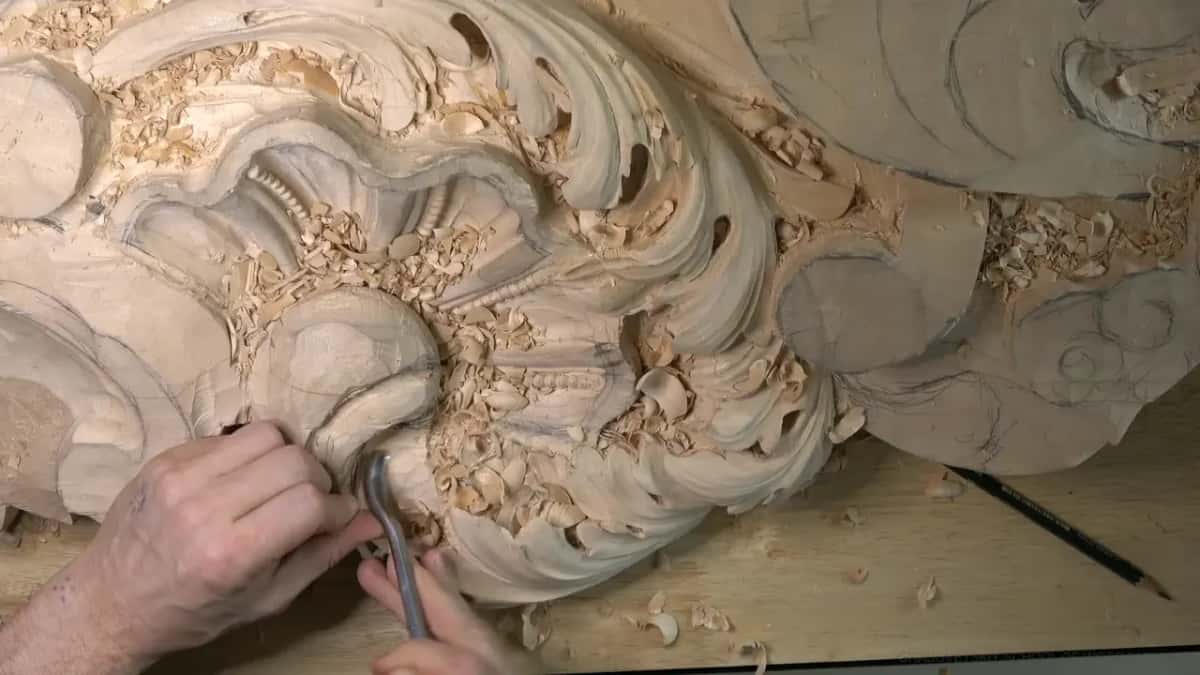
Near finished work I would not crank against it. I changed my position and came in from another side. Somewhere in the middle of all that, I said the gouge in my hand needed sharpening.
How does the top part curl back?
You chop away the wood that hides it, then carve it down and back up until its end just touches the part beside it.
Before the curl I made an addition, not a change. A weird-looking area next to the head bothered me, so I added part of it to the head itself. That made a kind of complicated head. Look down from the top and you won't see what happens inside, and I still wanted it as beautiful as possible.

The head's movement ran right out to the edge. I did not like that. I wanted part of it exposed, curling backward, which meant chopping some wood away. I used a number nine on one side first, just to get it out of my way. The piece went in and curled back a little, leaving some work going on underneath.
Next, a number seven curled the next piece down as well, since that side will be seen too. It went a little lower, then up again, so it ends just touching the part next to it. That was the full flip look I was after. From there I only cut around that section, little by little, because I still wanted movement in it and meant to keep it.
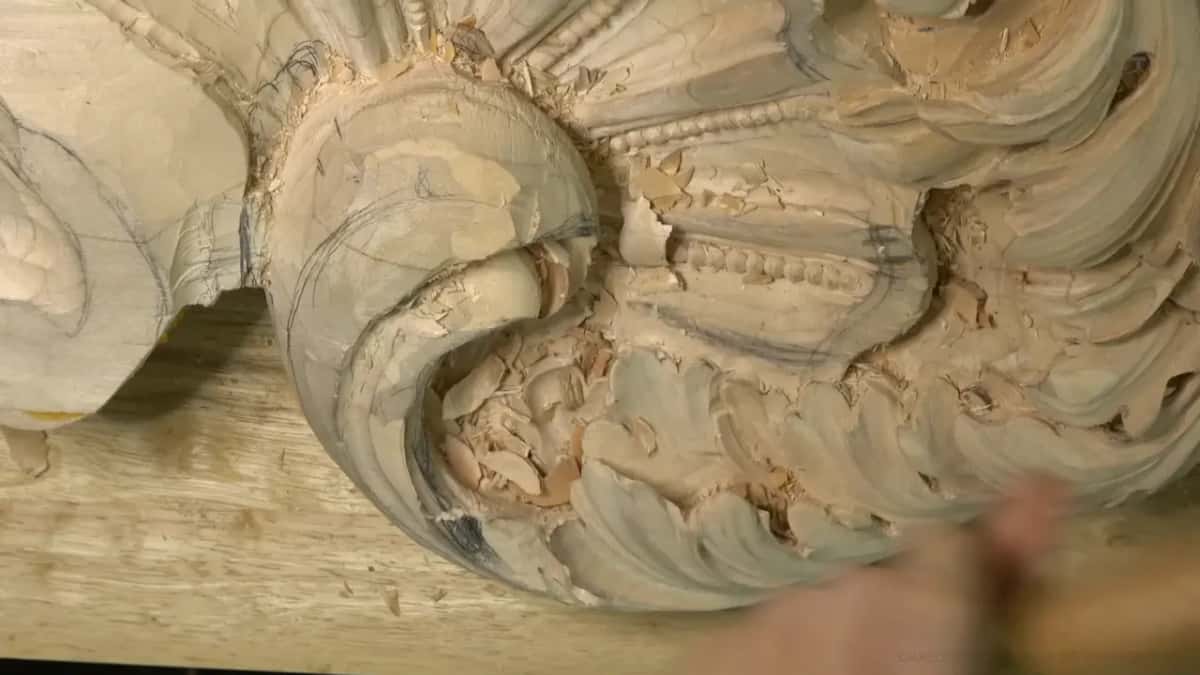
The trick of removing one piece so an edge can roll back works on flowers too, as in a petal that curls backward.
Where do the two parts lock together?
They meet deep inside the head, where the hollow of the top part runs in and ties in right under the detail below it.
A few plug cuts side by side took out the bulk. By then I had the full movement inside, though it still looked choppy. From above you can't see how it moves. It goes all the way in, in, in, and finishes up inside.
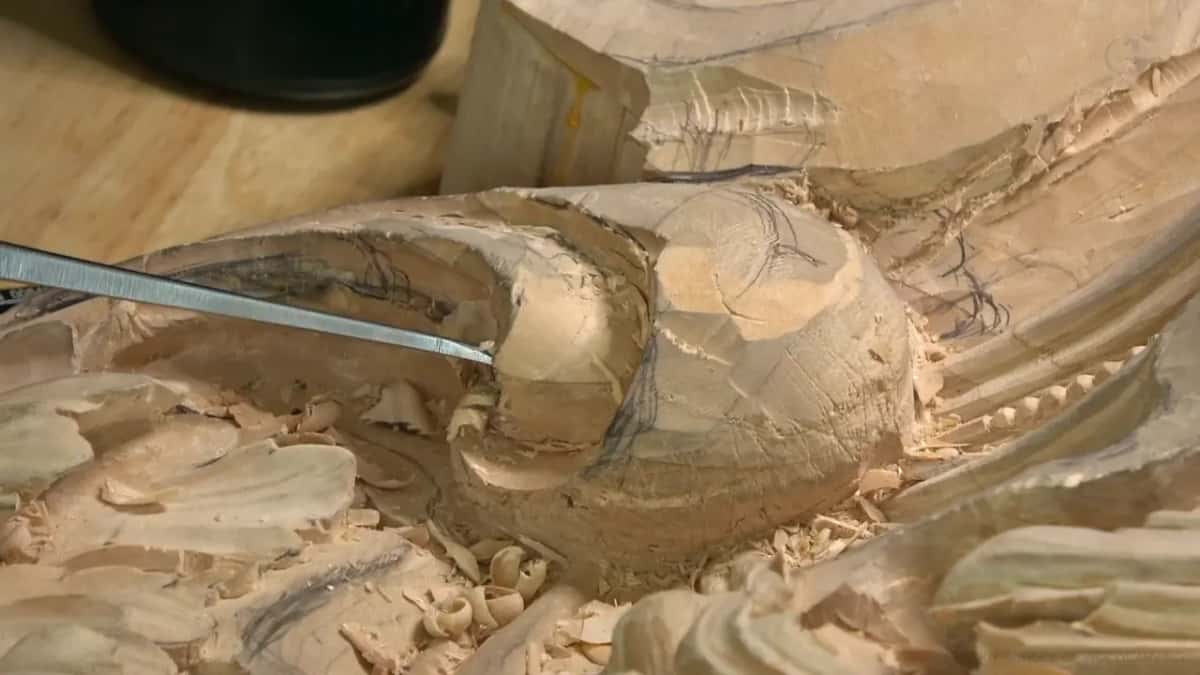
I made the inside a little more round, so the two parts almost lock, this part and that part. A number three chopped a little off one side. When I checked the curve in 3D, it still looked wrong, so I made it a little lower, careful not to break it, which is always possible. Last, I hooked out all the junk inside, and the whole run turned smooth.
Why is the inside so hard to film?
My camera sees the panel from above or from one side, and the flip is made for people looking up at it.
I apologized for that. While cutting inside, I told you that you probably could not see it, and a minute later I said you would get the idea anyway. Later, in part nine, I showed it to you from another side. It goes like that, like that, like that, then it just goes in and ends up on the inside, I said.
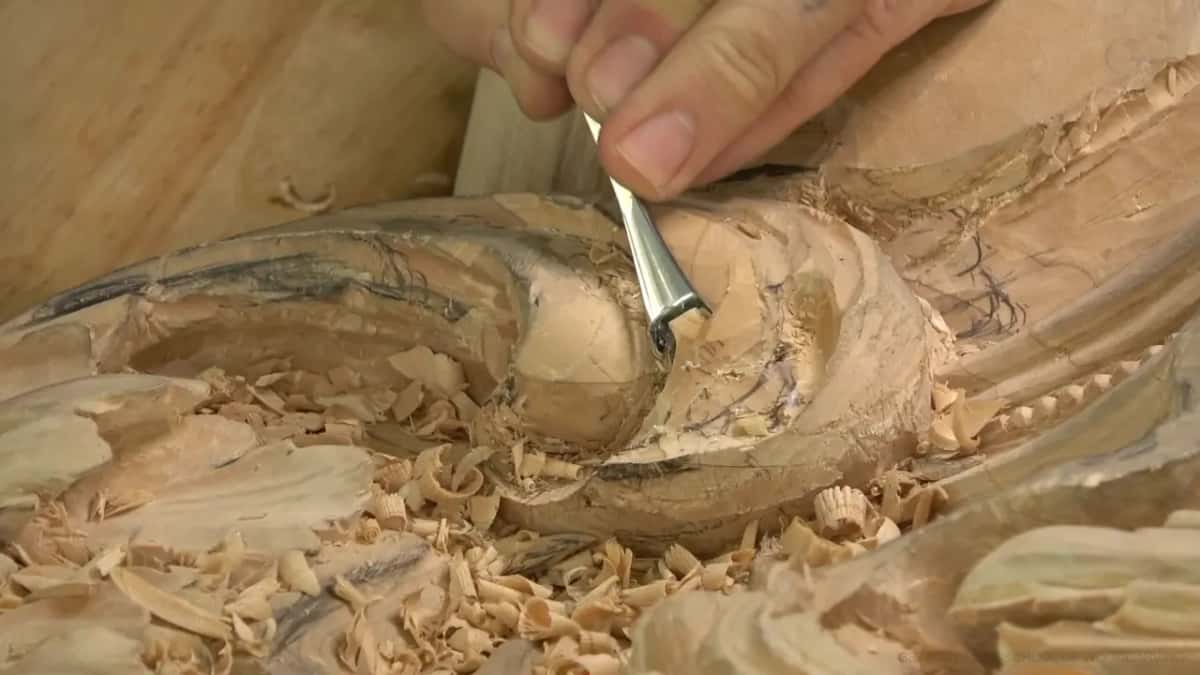
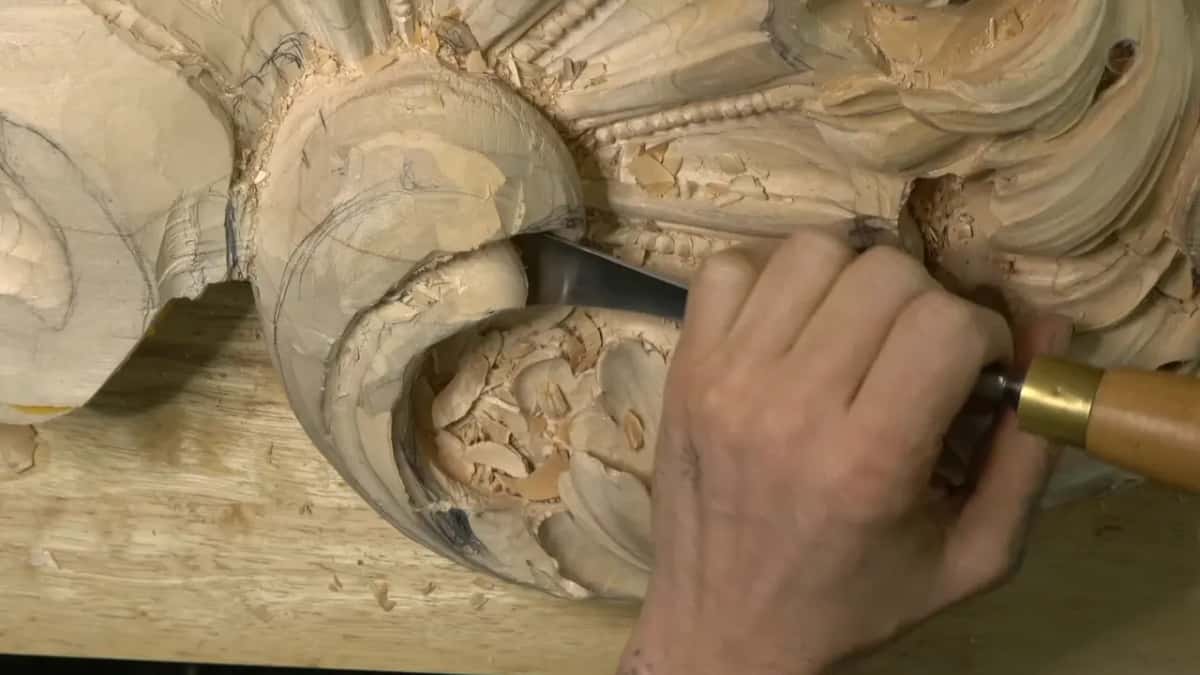
The pictures on this page show the flip from outside, the way my camera caught it. This panel is one piece of a long commission for a whole room, and the view from below drives all of it, which the course page explains.
Can a second flip sit above the first?
It can, and in parts eight and nine I worked one in on top, starting from the eye.
Before that I was stuck for a while. It was already flipping, but something bugged me, and it did not look the way I wanted. I told the camera I was taking my time to think, and that it is worth it sometimes to think hard. I'm still not going to lose the overall movement, I said. Don't panic.

In part nine the new flip had to run much longer before it turned down, and it needed a small turn. Then it made more sense. I got rid of a ridge as well, because the whole thing has to move the right direction.
I slowed down there for a plain reason. If I mess up in that spot, I can't glue it back. It is one of those areas where it's better not to make mistakes, so I thought about every cut. My number seven took it down, and I shaved a little more off the side to leave a thicker chunk. Past that point it flipped above the chunk and ran downhill, and when I could not see well, I removed some wood and could see much better.
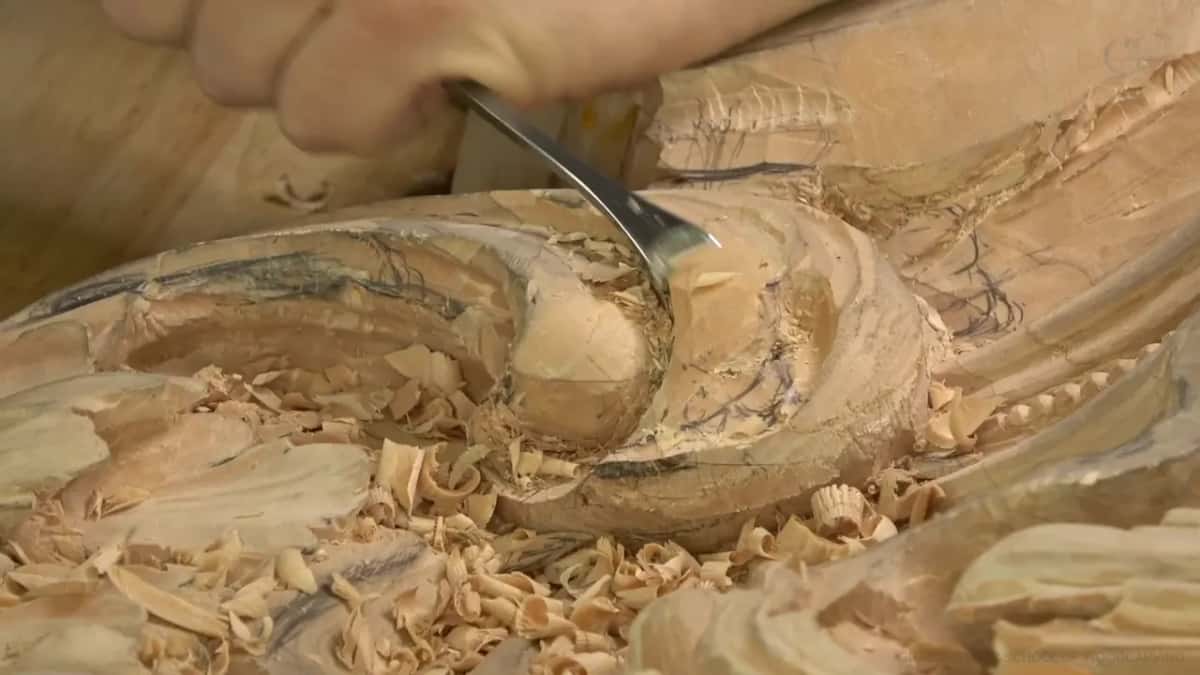
A separation had to be chopped out right away, or it would give me a problem later. One side had to come down more to make it stand out. Ask me why. I have no answer. I just think it looks much better, and that is only my opinion.
That part is extra detail I don't even need. But something extra like that makes me happy. It's not boring, the same thing every day, and workshop 14 is full of extras like that.
What did I do when an edge went mushy?
I took the mush off with a small gouge and kept my next deep cut away from that edge.
It happened in the first part, while I was fixing a detail. Something had gone wrong there, and I said it was not good but still fixable. The nine recut the concave, the same one, only a little lower, and a number 11 made a cleaner cut under it. Then the nine hit the edge, and it went mushy. No bueno.
A small number five knocked the mushiness off. The deeper cut with the eleven went in at the side, not too close to the edge, because I don't want to see that mushy thing. On the other side I used a number five about half an inch wide, 13 or 14 mm.

By part eleven the same warning came back. One edge was getting really weak, and I said I can't go really close to it, or I will create a mushy look. Back in part eight I dug really deep in one spot, because people will see it from elsewhere in the room, and even there I had little space to spare.
In these videos I don't explain what makes an edge go mushy, so I won't guess here. What I show is where it happened and what I did about it. If weak edges worry you, workshop 11 of part 1 is about undercutting a leaf without making it weak.
| Spot | Move | Tool | Why |
|---|---|---|---|
| Plan for inside | made the separate piece join the top | #7 gouge | I liked the idea of inside |
| Deep inside hollow | went in rough, then shaped a boat | bigger #9 | I can always cut it again |
| Hidden top movement | chopped wood away so it could curl | #9 first | running to the edge looked bad |
| Two parts meeting | rounded the inside until they almost locked | #7 again | the inside was still too choppy |
| Flip above flip | ran it longer before it turned down | #7 downward | the flip made more sense then |
| Weak mushy edge | knocked the mush off, cut deeper beside | small #5 | it was becoming mushy, not good |
Those rows are the flip, in the order I carved it. The tool column is just what was in my hand at the time.
How can you practice a flip at home?
Start with a scrap of lime or basswood and one leaf with a thick top, and pick the piece that will roll over before you cut.
Hollow it first and let the early cuts be rough. Then chop away what hides it, curl it back, and work the inside round until the parts meet. Stay off any edge that turns weak. If it still looks wrong, try a smaller concave first, since you can always chop that out, and look at it from below the way people will.
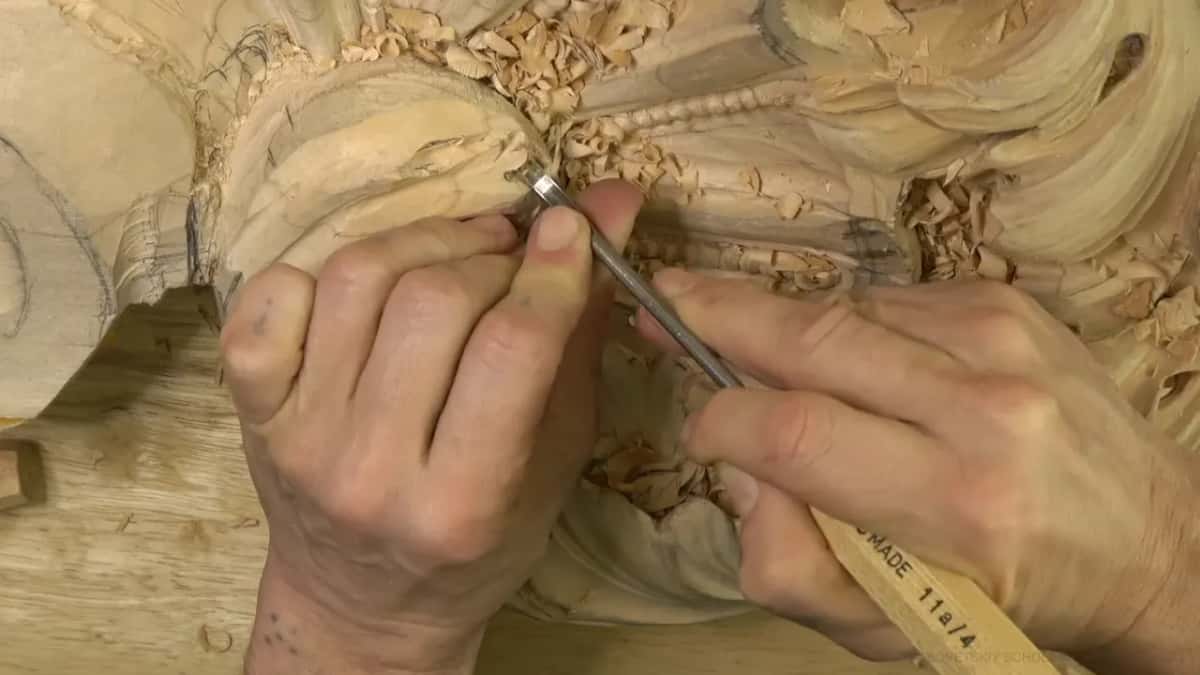
And if a spot keeps bugging you, workshop 12 of part 1 is about judging whether a detail looks right. At the very end of part twelve here, I saw that two distances on the head came out the same, and the fix goes on in workshop 17.
Workshop 16 and all twelve of its parts are in the tuition, with the rest of this relief panel for a Venetian room of the 1400s. It picks up where workshop 15 leaves off. If you have not seen how the panel was started, part 1 of the Venice room begins at the layout.
Choose a leaf, leave its top thick, and let it roll over. Shall we carve?
How it's done
- Pick the piece that turns. Look over the head and choose which part will roll over. Everything else becomes the lower part you carve around.
- Lower the big chunk. Take the bulk down with a medium sweep and leave plenty standing.
- Scoop out the inside. Dig a boat-shaped hollow while the top is still thick. Ragged passes are fine for now.
- Free the curl. Clear whatever hides the top part so it can roll back, then take it down and up again until its tip meets its neighbor.
- Join the two parts. Smooth the inside until upper and lower nearly meet.
- Hook out the chips. Pull loose bits from inside so the fold reads clean.
- Look up at it. Check the flip from underneath, then fix small things before big ones.
Frequently asked questions
What is a flip on an acanthus leaf?
A flip is a piece of the leaf that turns over and ends up inside, meeting the part below. On my Venice panel I gave one to the main head, because that head is the focal point, and anyone standing under the finished room will see into it.
What do you do when a carved edge goes mushy?
Mine went mushy in part one, after a number nine hit it. I cleaned the mush off with a small number five, then kept my next deep cut, a number 11, well away from that edge. Where an edge is already weak, stay off it and dig somewhere else.
Can you glue a flip back on if it breaks off?
On the second flip, above the big chunk, I said plainly that I could not glue it back if it went wrong there. A spot like that forgives nothing, which is why each cut got thought through before I made it.
What to carve next