
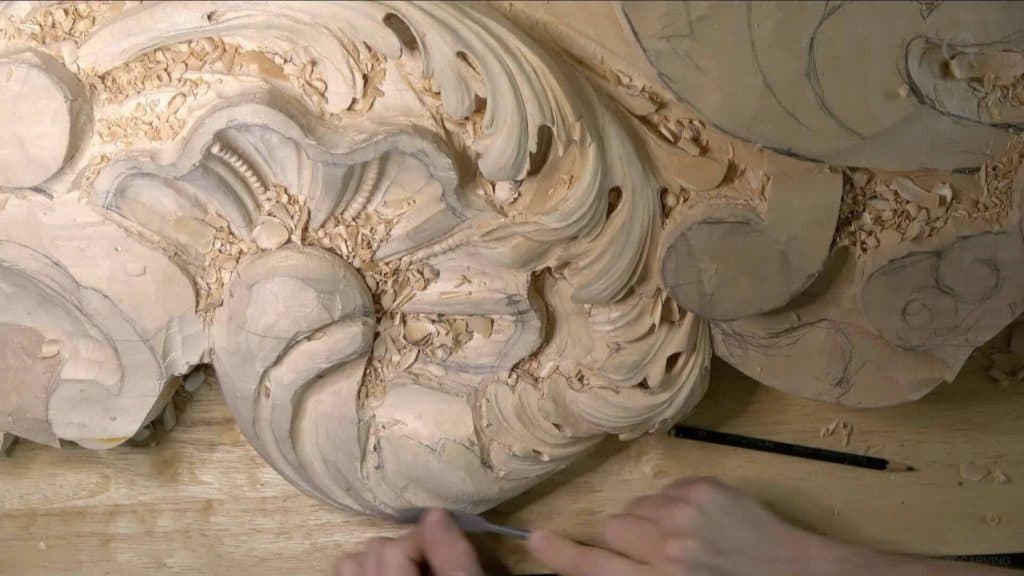
Alexander Grabovetskiy, woodcarver, School of Woodcarving · Published 2020
Why do old acanthus carvings have extra separations?
Quick answer: Extra separations are small second divisions inside a lobe, carved for curl and not for structure. Venetian carvers of that time put them where people rarely look, so a copy of their work needs them too. I cut in first, then start each hollow with almost no pressure and let it deepen as it runs.
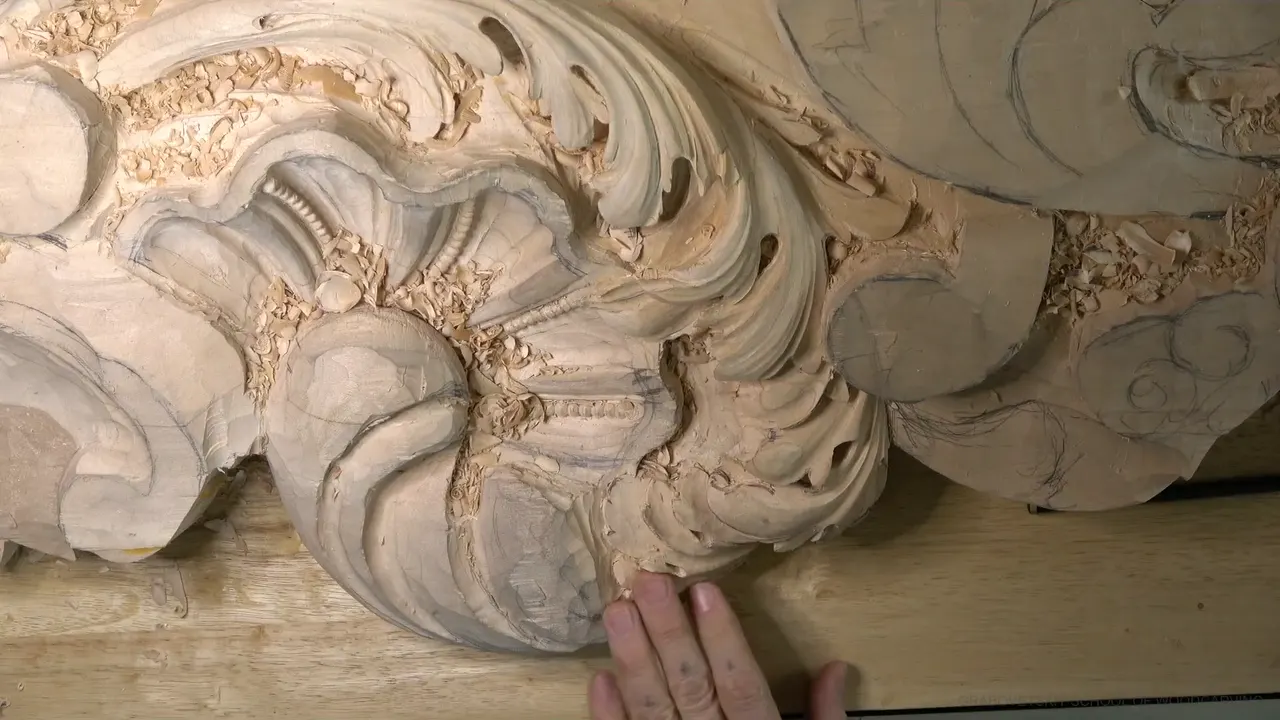
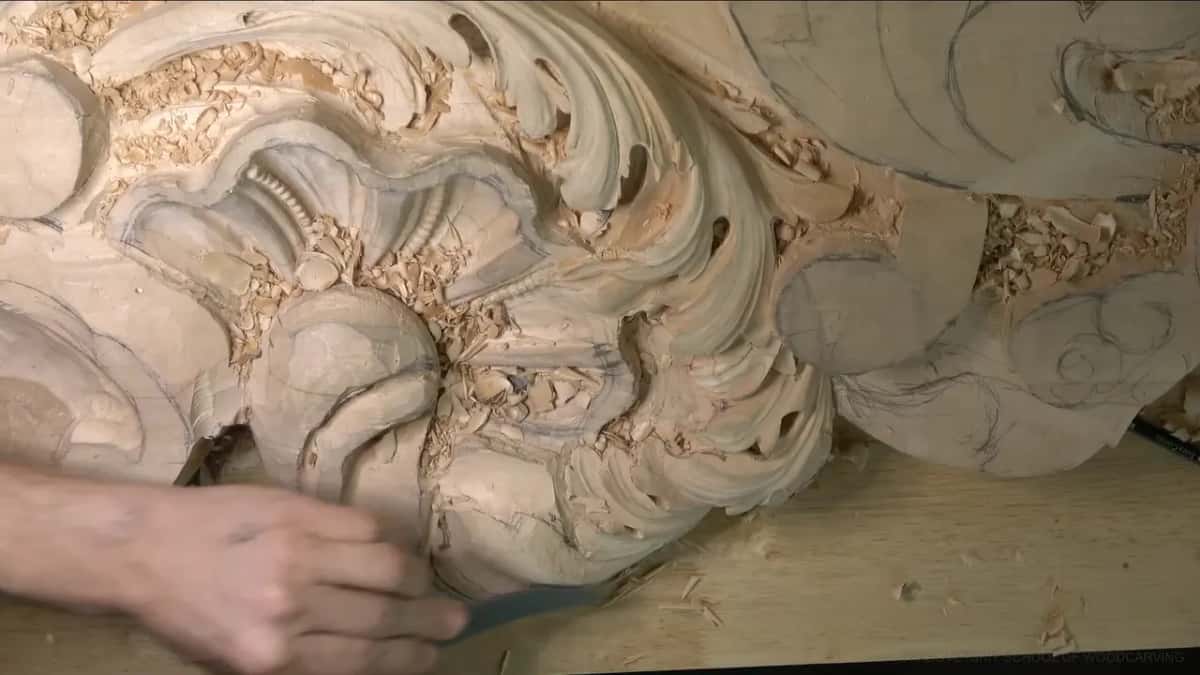
An extra separation is a small second division carved inside one lobe of an acanthus leaf, added for curl rather than for structure. The old Venetian carvers put them in places most people never look at, and in workshop 14 of this Venice room commission, a long stretch of acanthus leaf carving, I carve one after another, the way they did.
Have you ever looked at an old leaf and felt it was busier than it needed to be? Did you count more little hollows than the drawing had? Could you tell why they were there? This lesson is me carving those small cuts on a client's panel, with a gouge in my hand, and saying out loud what I think of each one.
You will see where they go, how I carve one start to finish, and the places where I got it wrong.
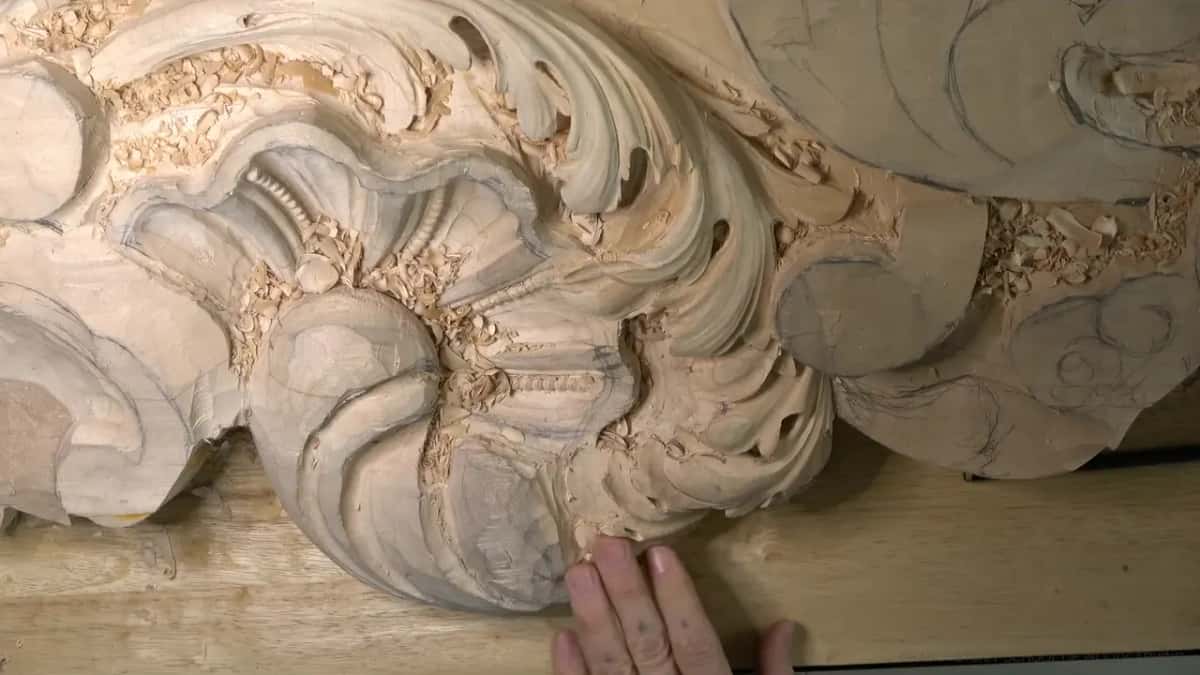
What workshop 14 shows about the extra cuts
I add them for curliness, even when the reason makes little sense to me.
Too bulky means one more subdivision.
Every triangle gets a straight-down relief cut before the shaping starts.
Concaves begin at almost zero.
One lobe turns into a double, with one part set below the other.
Where the grain wants to break, smaller tools and a slower pace.
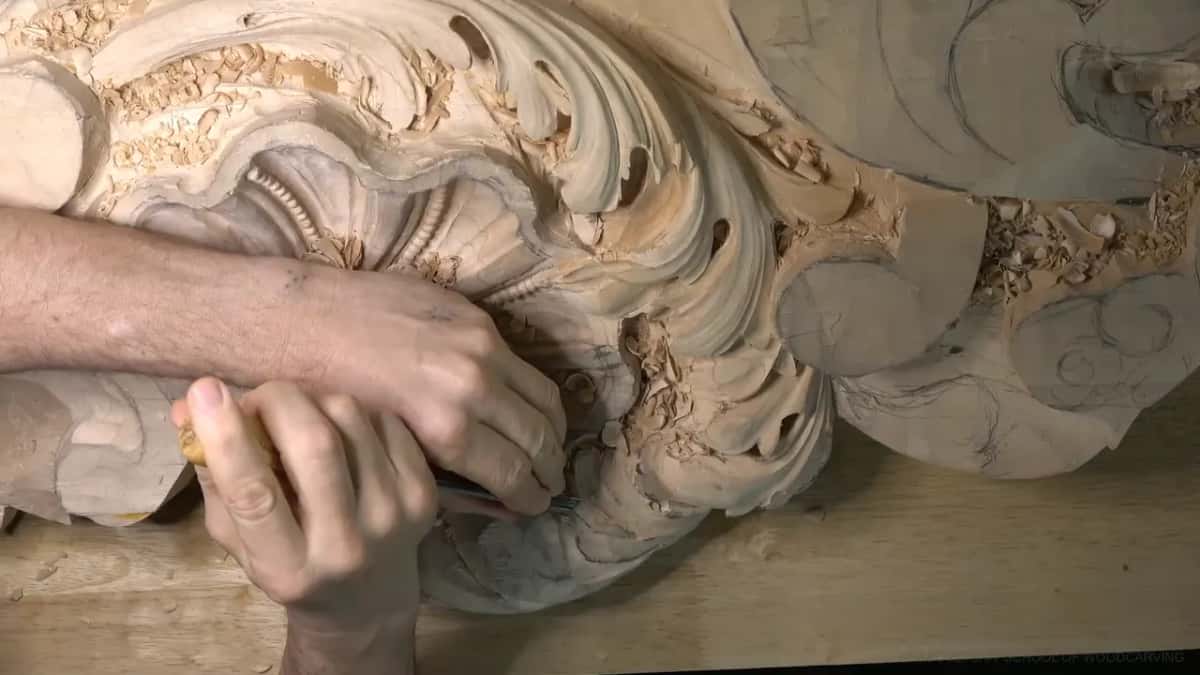
Why would a carver add a separation nobody sees?
The honest reason is that the original carvers did it, and I am carving this room to be authentic to them. Early in the workshop I stopped with a small tool in my hand and asked the question myself. Why would I do that extra separation? The point is to create extra curliness.
A few minutes later, still holding the number 11, I said it again in plainer words. It does not necessarily make sense, why they would do that. But it is original to those guys. They put those divisions in the spots where you normally don't see.
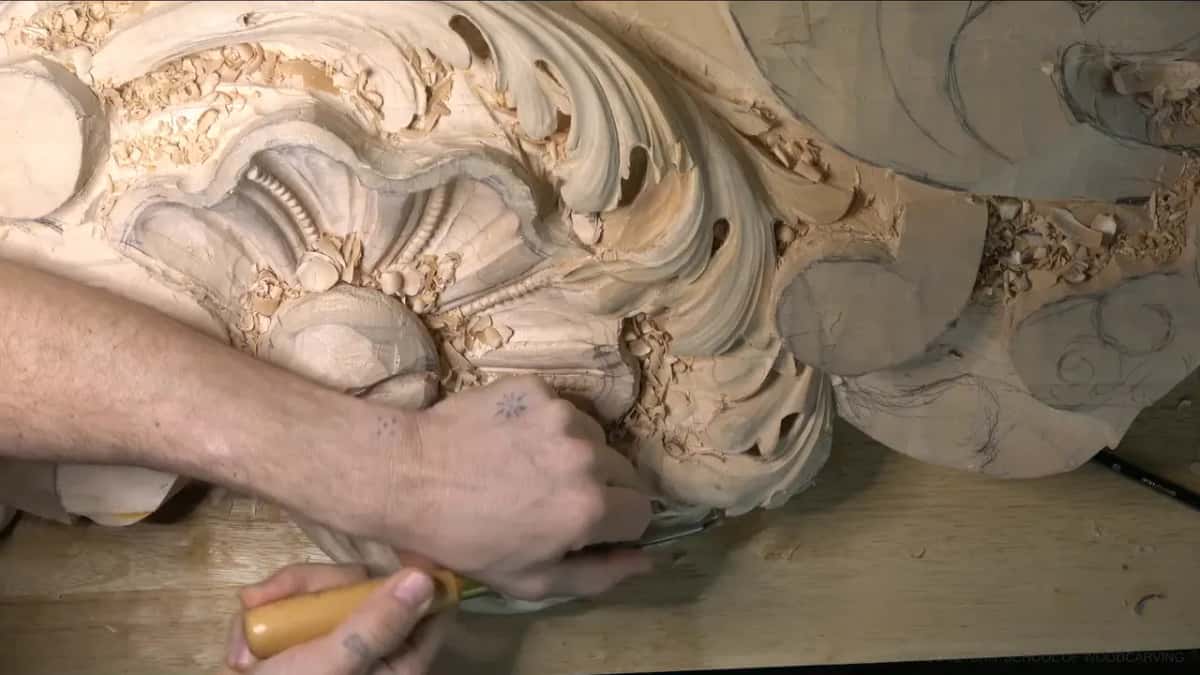
I don't pretend to know their reason. What I know is what I see in the old Venetian work, and on this panel I copy it rather than argue with it. At one point I called the whole leaf parsley. This acanthus looks more like parsley, I said, Italian parsley. Maybe they loved parsley so much. A joke, of course.
Please don't take that to mean every acanthus should look like this. It's just that style. Plenty of periods carved the acanthus other ways, many of them with sharp points.
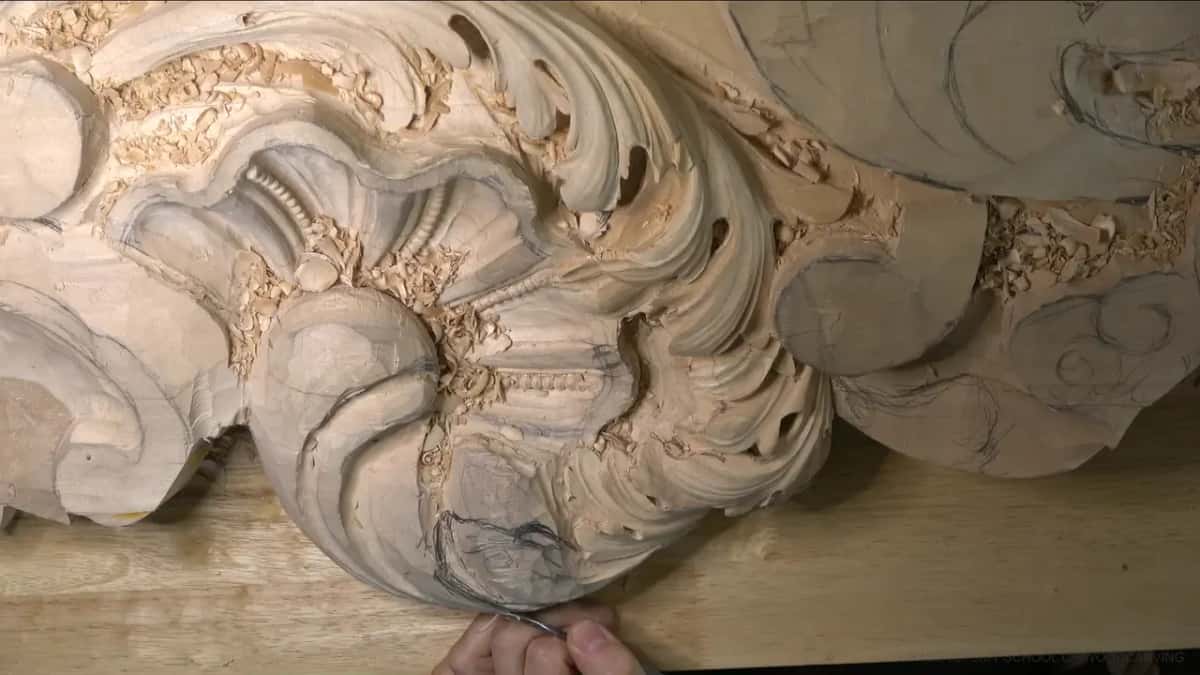
How is an extra cut different from a main separation?
A main separation divides the leaf into its big lobes, and an extra one lives inside a lobe that is already there. The main ones, and the boat shape they hang from, are in the course overview, so I won't repeat them. Workshop 14 starts after that. The big movement is set, and now each lobe needs its small divisions.
You can see the difference when a lobe has none yet. Partway through part four I looked at one and said I still had not made any divisions on it, and that is why it did not look nearly as nice. A minute later I called it just not too appealing a piece.
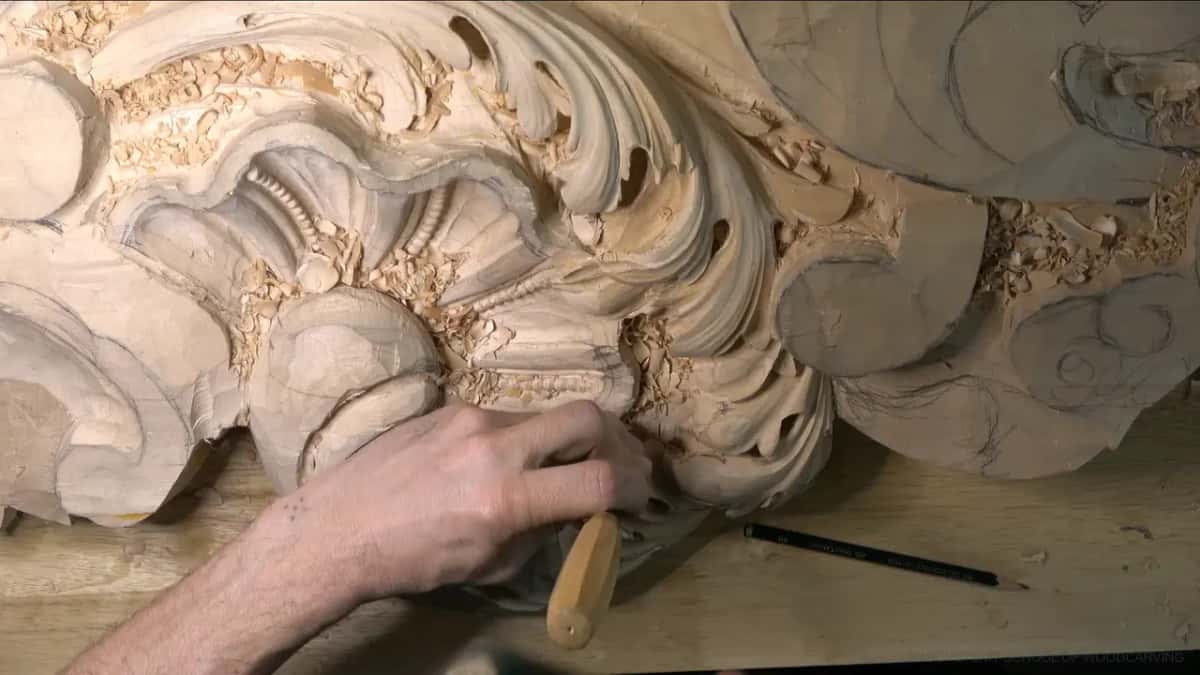
On a smaller scale there is a close cousin of this, the micro concave that breaks the light across a leaf, which I carved in workshop 9. Those are shallow marks on a surface. The cuts in this lesson go into the lobe and split it.
How do I carve acanthus leaves with these small cuts?
My order stays simple. First I find the triangle, then I cut in, then I start the concave, and only then do I clean. Here is how that went on the first one, near a ridge.
I wanted a stronger concave there first, so a number nine, 10 mm (3/8 in), went in to cast a really good shadow and raise one side a little. Next came a 3 mm tool, about 1/8 in, for the extra division, and I stopped. Not too quick. That concave going up was casting too much shadow. No bueno, not good.

The big concave got fixed first, with the same number nine. Only after that did I make the cut underneath, using a number 11, 3 mm, very shallow at the start and much deeper at the end.
Wherever I see those triangles, I make the relief cut first. A number nine goes straight down. I know I can rush, try to make it quick, but it is not the best approach, and I have learned that lesson too many times. The relief cut on its own has a page of its own if you want the whole idea.

Why start the concave from almost nothing?
Starting light is an original way to do it, and I like to work the way those old carvers worked. I said it in part four while I was working on a piece I didn't like the look of. I could just chop it like that and clean it. But that is not the way I like to do it.
Well, I shouldn't say it like that. What I like is to do what the original carvers did. My concave cut starts at next to zero, then I start excavating, and I take it farther until it casts a better shadow. There are lots of different ways to do that, and this is one of the original ways.
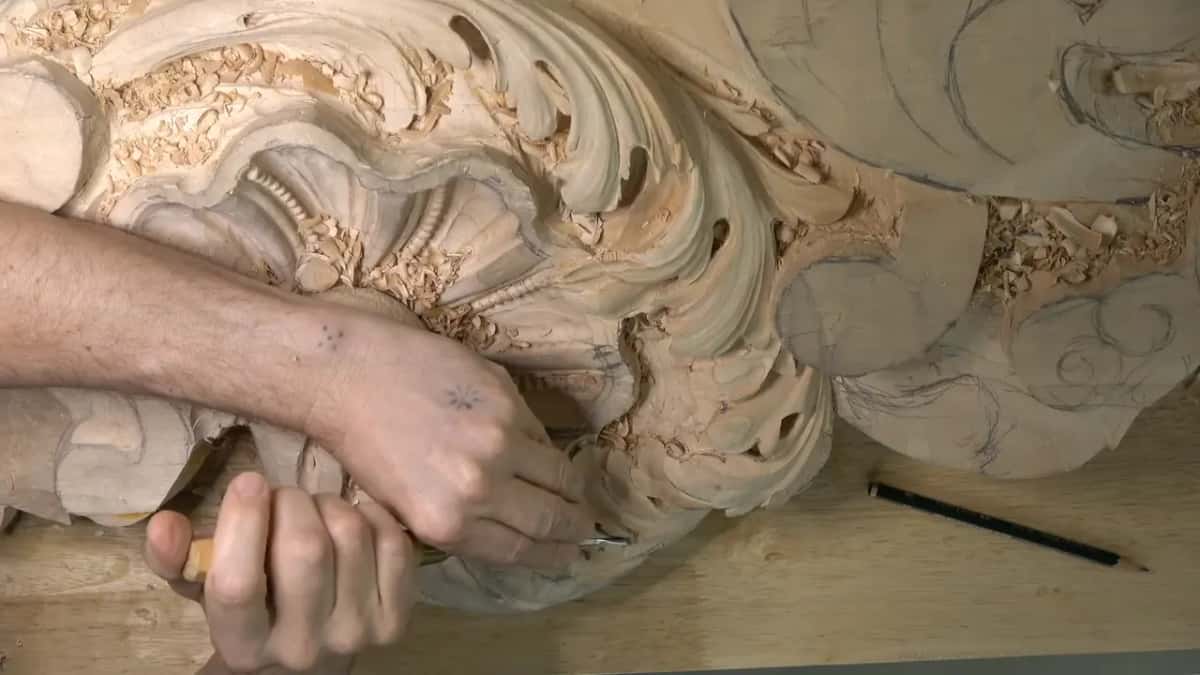
On one of them I finished the separation on the far side too, because that side will be visible from the bottom. After that a bump I still did not like caught my eye, and I kept at it until the whole thing smoothed out.
When does a lobe need a second subdivision?
A lobe needs another division when it looks too bulky, and in this workshop that call is made by eye, standing over the panel with the gouge still in my hand. Part four has me telling the camera it was just too bulky for me, to my taste, and that there would be a second subdivision, then a couple of them.
Then, in part five, I found two more places. This one, I said, I can give a couple of separations, nice ones, and that will give me some curliness.
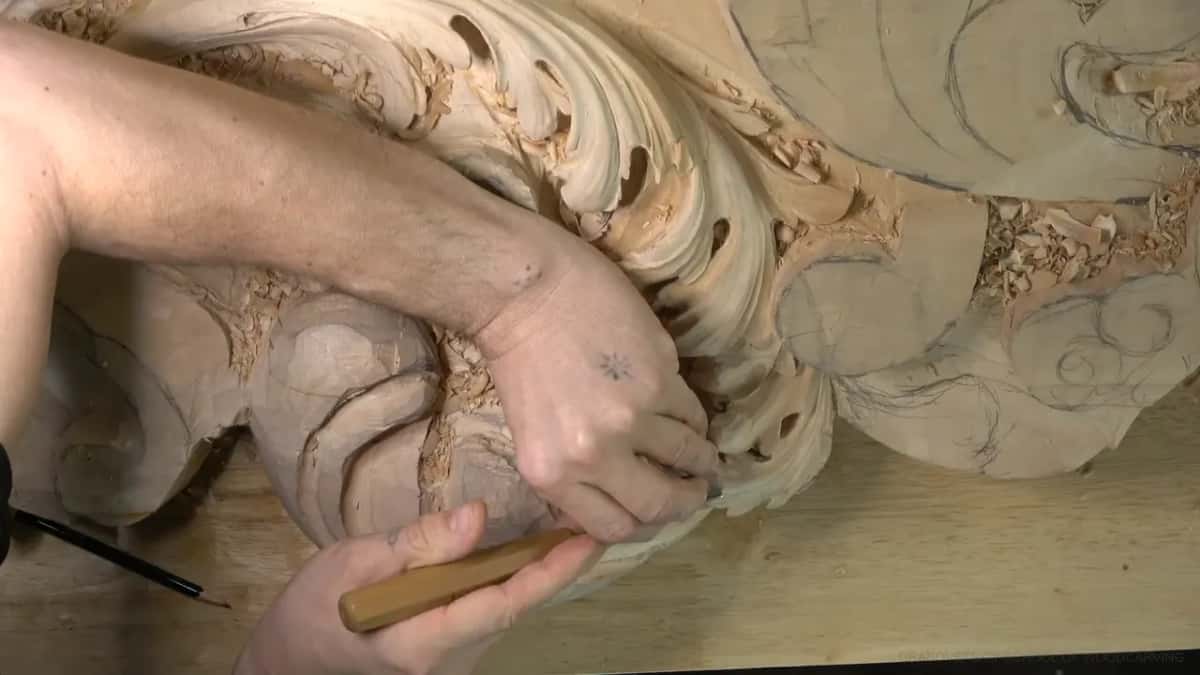
Part eight has the same thing at a smaller size. Looking at one piece, I said it is supposed to have an extra separation right there, and maybe even an extra one right here. Just a little bit. The small ones come last, after the bigger movement looks right.
How many is too many? I don't have a number. What stopped me in part five was focus. I can get carried away, lose focus, and lose time, and I don't want to do that. So I left one lobe for later and finished the one in front of me.

| Spot | Move | Tool | Why |
|---|---|---|---|
| Lobe by ridge | cut under it, starting from almost nothing | #11 veiner | Venetian carvers put curl right there |
| Too bulky piece | second subdivision, started with almost no pressure | light start | chopping works, but not my way |
| Tight triangles first | straight down, before any shaping comes near | #9 gouge | a lesson learned the hard way |
| Curve of lobe | fixing the curvature so the movement reads | #5 gouge | that gives the lobe better movement |
| Small clean notches | less stress on wood, still a notch | tiny gouge | sometimes the quickest clean way in |
| Double lobe outline | one part above, the other set below | #9 first | a far look stays more interesting |
Those six rows are the moves I made most in this workshop. The tool column is what I held, and the last column is what I said on camera about it.
What is the double lobe in part eleven?
The double is one big piece of the leaf split so that one part flips over on top and the other sits below it. I called the next one really interesting and started by outlining only what would be above, using a number nine, and making sure it ended in the right spot.
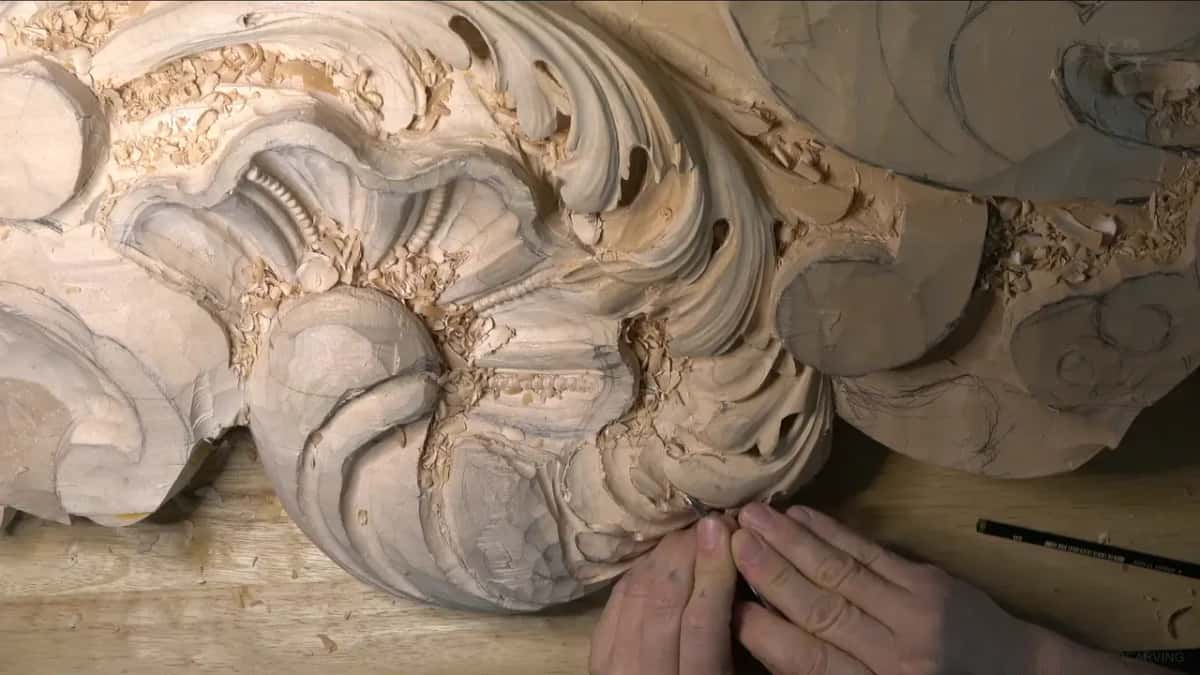
The top part is the main movement. The other part goes below that. And because I had an eye right there, the lower part had to come from underneath. I told the camera I was sorry if I was mumbling, but I wanted to be sure I was doing the right thing.
Why bother? Even though it will be seen from the bottom, those details sticking out from underneath give it a more interesting look when you stand farther back. I kept it from going too low, because then I would have to carve too much away underneath. Then a number seven, one inch (25 mm), gave the first concave, only a preliminary one, with the edge raised a little.

Part twelve finished the sides of it. One small piece got chopped out because it was distracting my eye. Then I put in a small concave there, and another one a little farther on, because I really like to see good movement. For the convex side I tried a number five, then a number three.
Why switch to a small gouge for the notches?
A small gouge is gentler on the fibers, and in a tight notch it can even be the quicker tool. For removing mass a bigger gouge is quicker, and I have said so in another lesson. A notch is a different job. I used a number five, 16 mm (5/8 in), on the curvature of one lobe, and then said a small 3 mm gouge could do the sections, because it does not create too much stress on the wood and still makes the notch.
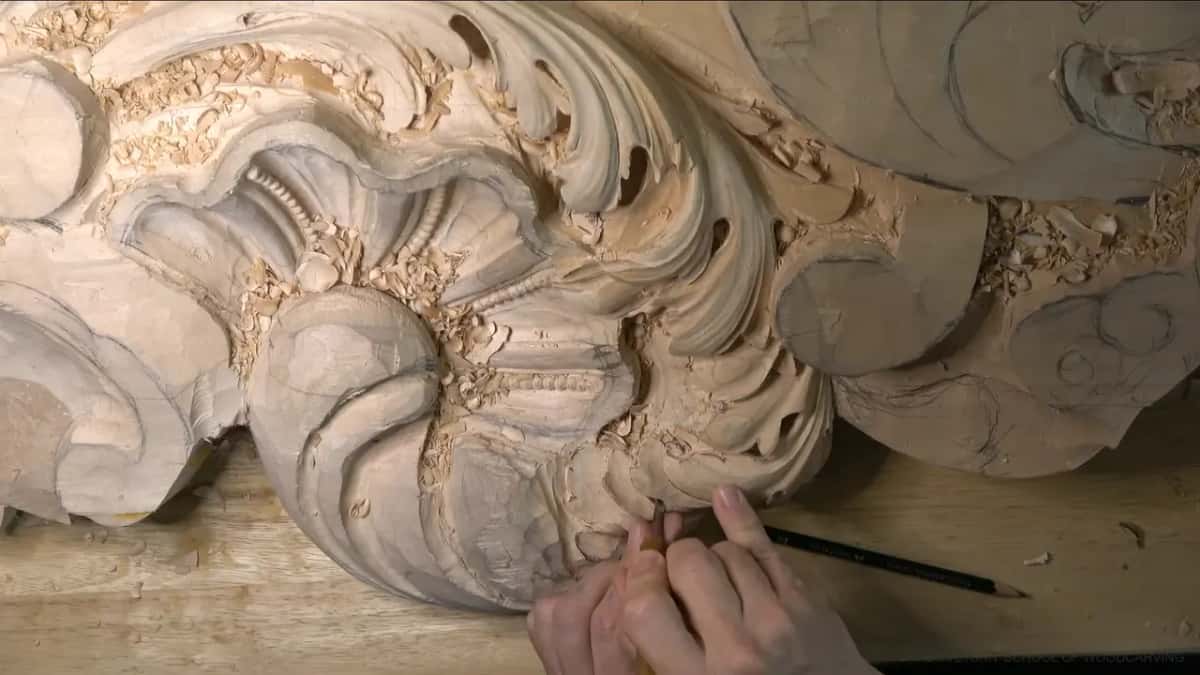
Sometimes that small tool is actually the quickest way to make a clean notch without making a mess. In part six the grain ran the wrong way for me in one spot. Because of the grain direction there it was easy to break, and I didn't want to break it. So I used smaller tools. It took slightly longer, but it was safer.
Part three ran the same thinking down the sizes. A 5 mm number 11 (3/16 in) went along the side of a pipe. Then a 4 mm one (5/32 in) came in from the opposite direction, then a 2 mm (1/16 in), and at last a 1 mm (about 1/32 in) number 11, a straight one, because a spoon veiner was not needed there. That last one left a really deep shadow.
Even the mallet was part of it. I barely hit, but the mallet gave me a lot more control than my hand alone for that relief cut. The separation itself came with the small tool, and where even that was too big, I took a straight one.
What went wrong along the way?
A few things did, and I left them in. At the start of part two I made a too quick cut. That is what happens when you try to run ahead. I wanted to keep that part high, and now I couldn't, so I took a number eight and fixed what I had just messed up. It was not a big mess, but still, I shouldn't do that.
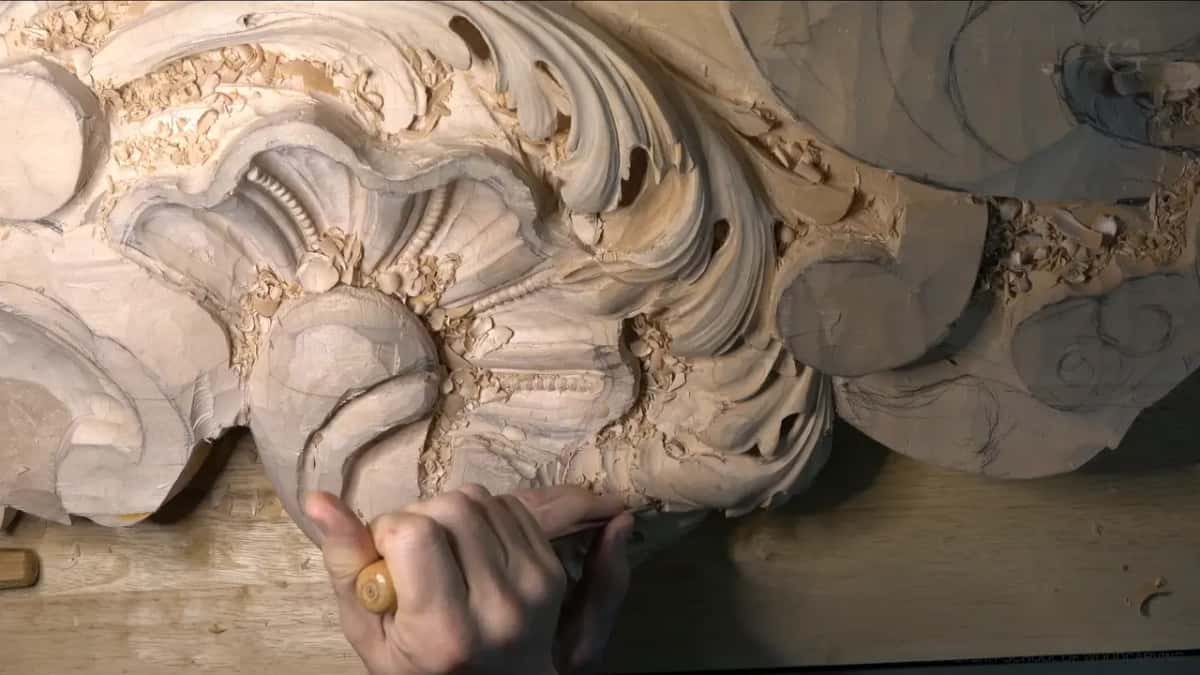
Right after that I asked myself whether any of it was even distinguishable. Maybe that pipe was a little too big, so I took a number seven, turned it upside down, and softened it. I was digging in a little, but that was fine, because it was only a primary cut anyway.
A crack showed up in part three. I had stressed the wood too much earlier, I guess, and as I kept carving that area it was almost gone, and then it was gone completely. Later in part six a dull tool made me stop and change it. The sharpening course is where I teach that.
Back in part two I had wanted to keep that first piece a little bigger than it ended up, and I said so. But that's okay.
How can you practice extra divisions at home?
Carve a plain leaf first, on a scrap of lime or basswood, with only its main lobes. Then pick one lobe that looks heavy and give it one extra division, relief cut first, concave started light. Look at it from below and from across the room before you add a second one, the same way I judge every ornament on this panel.
If you want a leaf built from divisions inside divisions, the grape leaf lesson is a good next step, and what makes a carving look complex is about the small dark spots these cuts leave behind. The parsley leaf itself, a real one, has its own Maine class page.
Workshop 14, all twelve parts, sits inside the tuition with the rest of this relief panel. The lesson before it is workshop 13, the one after it is workshop 15, and the panel starts back in workshops 1 to 12. It is wood carving the slow way, one small shadow at a time, with the grain deciding more than I would like.
Pick one heavy lobe and give it one more division. Shall we carve?
How it's done
- Set the main lobes first. Leave the small divisions alone until the big movement of the leaf looks right from where people will stand.
- Choose the heavy lobe. Pick the one piece that reads as a lump. That is where a second division belongs.
- Relieve each triangle. Drive a number nine straight down wherever two lines meet in a point, ahead of every shaping pass.
- Begin the hollow at zero. Enter the wood barely pressing, then let the gouge sink as it travels, so the fold grows out of the lobe.
- Go small on weak grain. Where fibers run toward a break, change to a narrow gouge, tap lightly with a mallet, and accept a slower pace.
- Stop and step back. Leave the next lobe for later if you feel yourself rushing, and judge the work from below.
Frequently asked questions
Did the old carvers have a reason for the extra cuts?
My own answer on camera is that it does not necessarily make sense. I carve them anyway because they are original to those Venetian carvers, tucked where hardly anyone looks. On this commission the brief is to be authentic to them, so their habits become mine.
Which gouge do you reach for on a small division?
Most often a 3 mm number 11, about 1/8 inch, for the pass underneath, with a number nine for the relief cut. On a longer curve a 16 mm number five did the shaping first. Very tight corners got an even smaller straight tool.
Why not chop a separation in and clean it up?
Chopping is one of the ways, and I say so in part four. I just prefer the old way, so each concave begins barely touching the wood and gets deeper as the gouge travels. Taking it a little farther gives better shadow casting, which matters on a ceiling.
What to carve next