
Alexander Grabovetskiy, woodcarver, School of Woodcarving · Published 2020
How do you carve a long, flowing curve on a leaf?
Quick answer: A long flowing curve on a carved leaf is one concave, begun far out with almost no depth and deepened as the gouge travels, so its two sides close toward a single point. Decide where it starts before the gouge goes in, then clean the edge with a sharp skew.
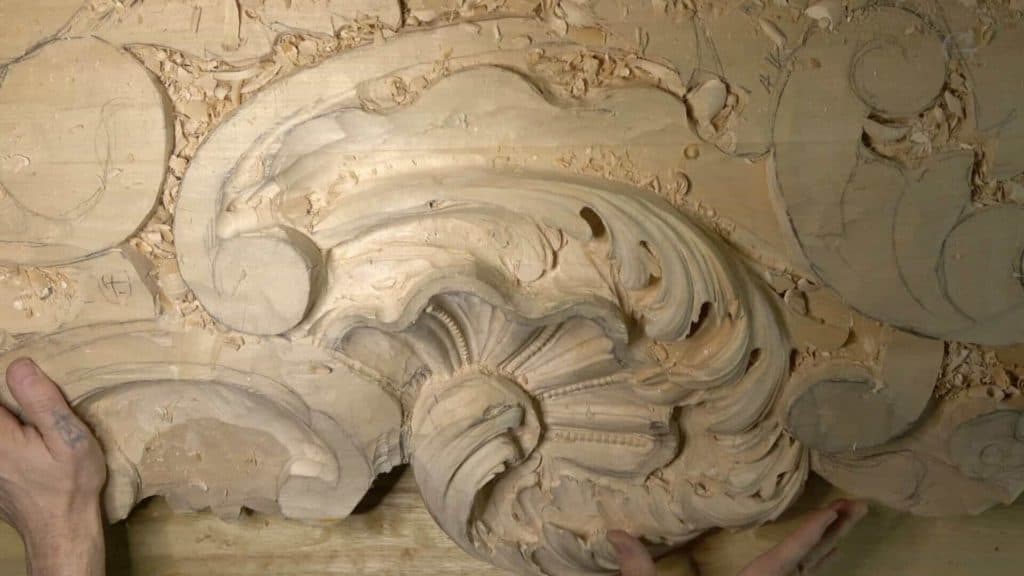
A long curve in an acanthus leaf is a single hollow that starts far out, barely touching the wood, and sinks deeper as the gouge moves along. Its two edges close in toward one point, so the groove never runs parallel. This is how I go about carving curves in wood on a leaf, and workshop 17 of my Venice room commission has one long hollow after another, on the acanthus head I called the focal point.
Do you want the curves on your leaf to flow? Would you like each groove to pull the eye along? Does it help to watch one go wrong and get fixed on a real panel? This workshop is exactly that, twelve parts of it, filmed at my bench while I fix an idea that looked much better in my head than it did in the wood.
You'll see where each long concave begins, which gouges I held, and the moment I moved a line because a hollow looked too same. Parts of it bugged me.
Six things this acanthus head taught me about long curves
A line that runs almost straight is not good on a leaf.
Start far away, with almost no depth.
Two lines side by side should close toward one point somewhere, a lot narrower at one end than the other.
When a hollow looks too same, move the middle line and widen it, by eye.
A big skew leaning on the edge gives a smoother pass.
Check the surface with your fingers.

Why does an almost straight line look wrong on a leaf?
A line like that looks wrong because it has to look like a leaf, not like something else. That is what I said in part three, while fixing one movement on this head. And I asked the camera, see what I mean by movement? It has to be gradually moving like that.
Near the end of the lesson I found another one on the same head. See this line right here, I said. It's almost a straight line, so that's not good. Of course I hadn't finished it yet, and my goal was to judge it from the bottom, from the position people will see it.
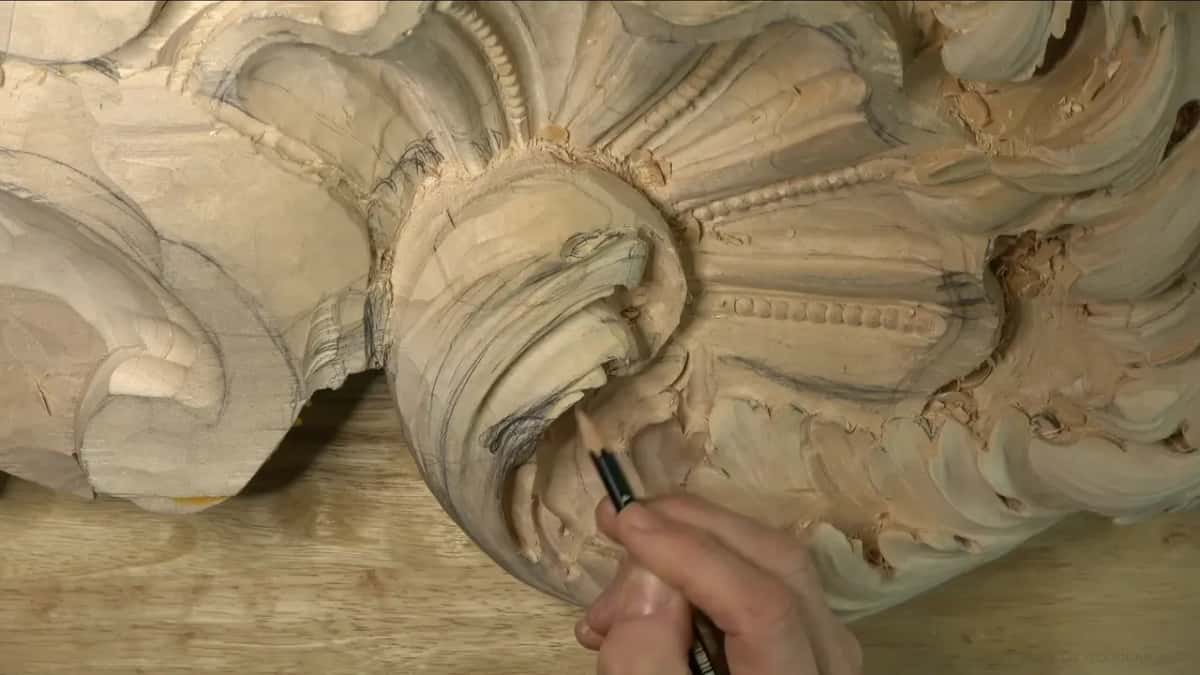
The eye needs a line to follow. When I started the line work in part three, I found the middle part of the movement and ran one concave along its side, using a number seven 6 mm (1/4 in) wide. It wasn't even the line work yet. Just one of the concaves, and it already looked good.
Where should a long concave begin?
Far out, really far, is where a long concave begins, and I choose the spot before the gouge goes in. During part eleven I took a number six, about 6 mm (1/4 in), and started it really far away. A ridge still stood beside it. After that the gouge moved toward the inside, and a little more downhill.
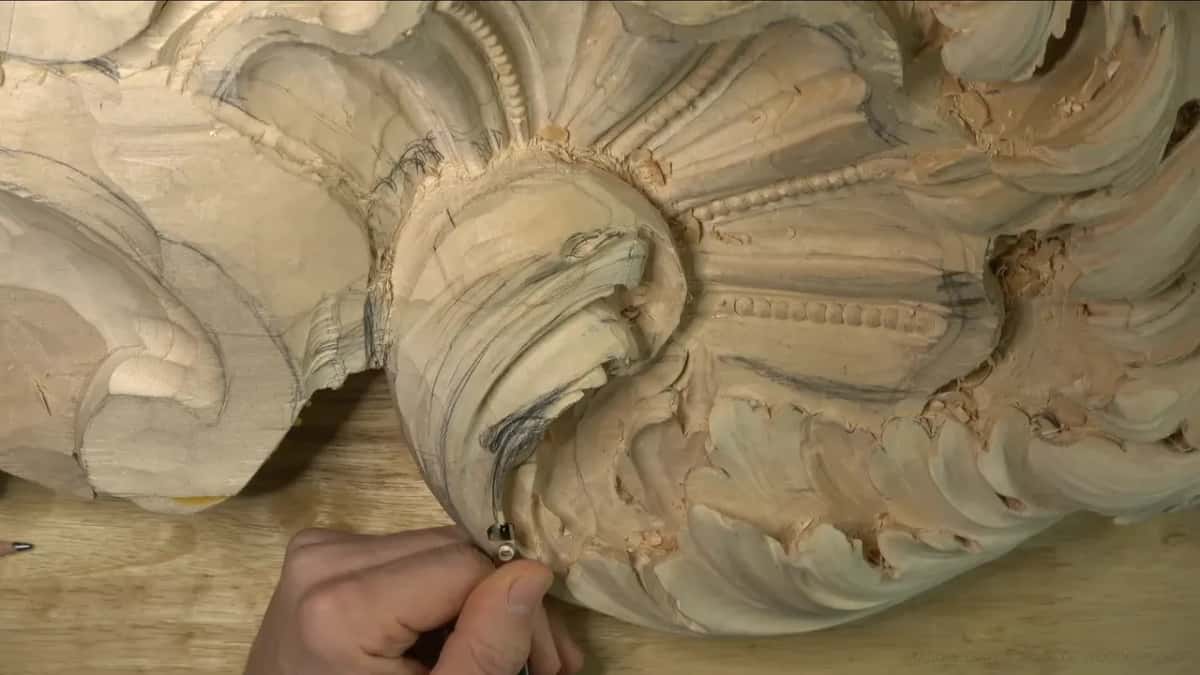
The same kind of pass comes back in part twelve, this time from an Ashley Iles number 11. I stopped first to work out where to start, because I didn't want to overdo it, and I pointed out which edge would be the right side of my cut. Then I started way over there and went up, carefully. I wanted that long movement.
Sometimes the start moves while I'm in the middle of it. Once, in part four, I was already going in when I stopped and said maybe I could start from a farther point.
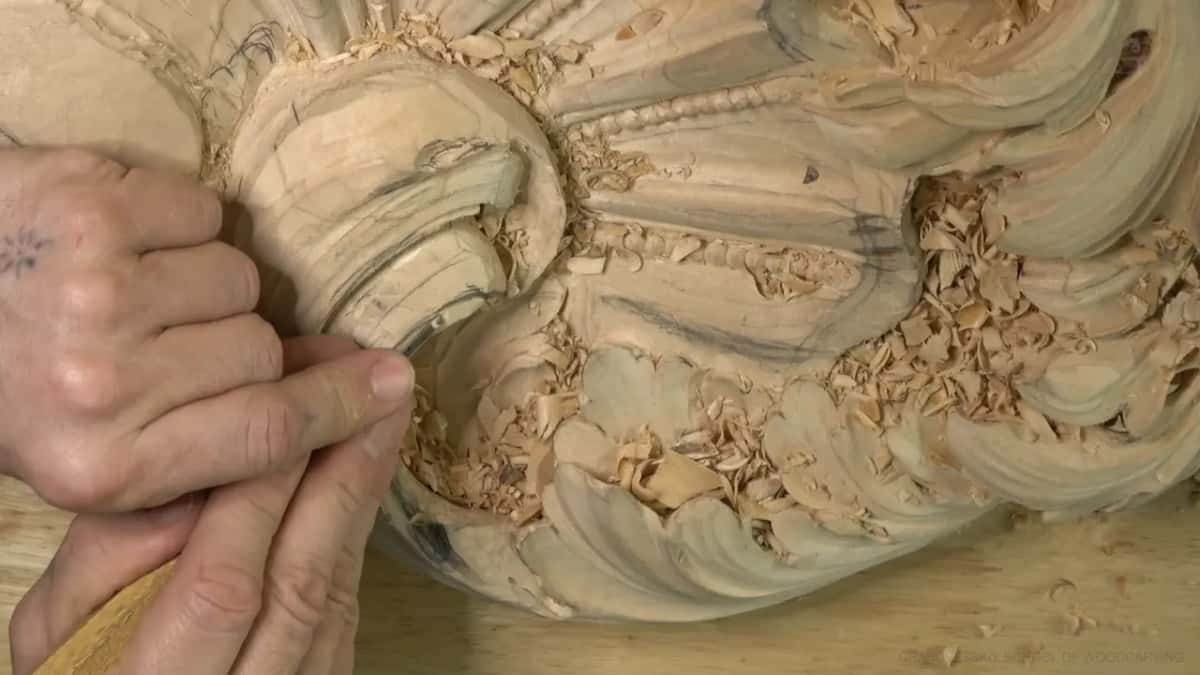
Part three put the whole idea in one breath. Start from all the way right here, make the cut long, otherwise it just doesn't look right.
How does the concave get deeper as it runs?
Little by little, by going in again and again along the same line. My first try in part three went a little downhill, the quick way, and I stopped myself. Shouldn't rush it.
The right way, the one that is authentic to the period, is to begin with almost nothing and go inward gradually. I followed my line without touching the edge, going in, then in again, then even deeper in.

Part four has the clearest one. I made a preliminary pass, like a concave, from way over there. Almost invisible at first. Then much deeper, until it was really deep.
The eleventh part got its depth from a second tool. After the number six I ran a number eight over the same line, the same width, beginning at the far end once more and carefully going all the way. That gave it the concave look I wanted.

Short concaves that begin at zero turn up earlier in this room. In workshop 13 one curls under an edge, and in workshop 14 they become extra separations. The long one is there for the eye to travel along.
Why shouldn't two lines on a leaf run parallel?
Two lines on a leaf shouldn't run parallel because they should head for the same point somewhere, a lot narrower at one end. I said it that way in part three, looking at the distance between two lines I had just carved. It has to be narrow right there, a lot narrower than here. Hope it makes sense.
A couple of minutes before that I had seen a related problem. This distance right here and that distance right there were just a little too close. It should not be like that, I said, and I added a little concave right there.
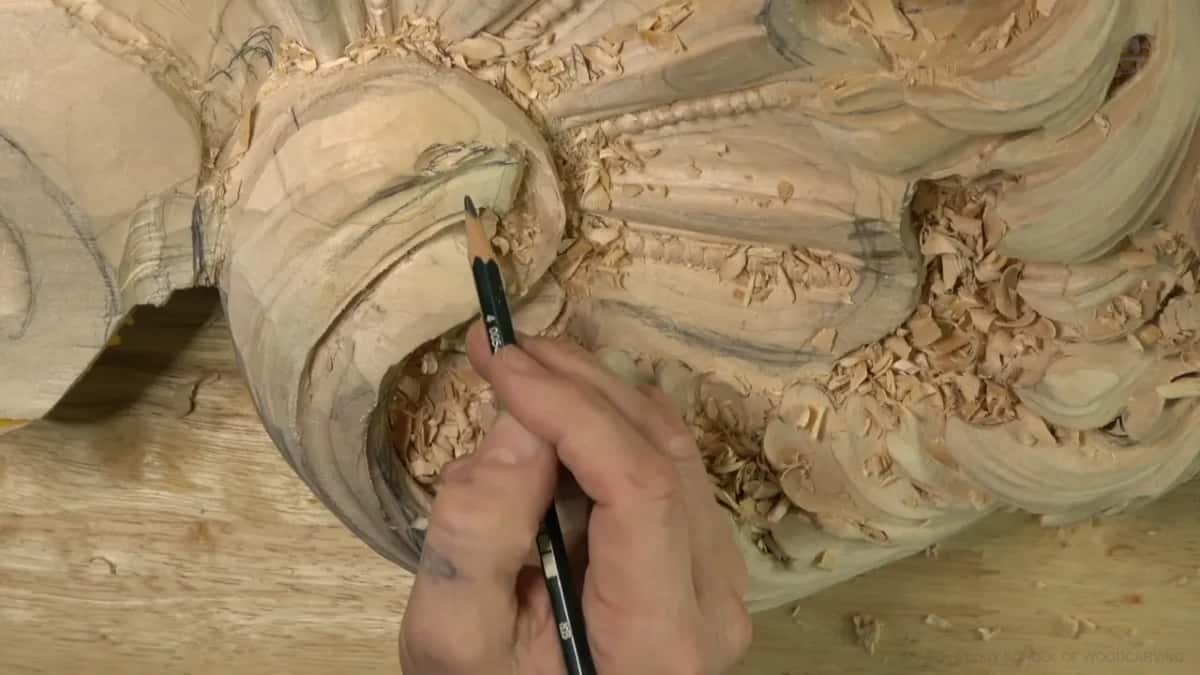
Nothing in this lesson gets measured. I look.
Part five is where it came back. I had a number four, about 10 mm (3/8 in), carving along one side when I stopped. But I am actually wrong, I told the camera. I looked at the concave I had just made, and it looked, in my own words that day, too same.
So I moved my middle line a little closer toward one side. Then a number seven made that concave a little wider and let it fade out right there, and once I chopped one more side, the bridge I had made looked much better.

That spacing trouble showed up at the end of workshop 16, where I pointed at two distances that came out the same and said they should not be the same. Where a middle line belongs on a leaf in the first place is a separate subject. I carve it on a Greek acanthus, and a later block of this room works it out with the golden ratio.
What made me choose one long concave over an extra eye?
Keeping the overall flow of the leaf mattered more to me than one more nice detail. Out loud, I explored a couple of options in part eleven. An extra eye right there, with an extra separation, would have been nice. But I didn't want to lose the overall flow.
So I decided on a long concave, because this head will be seen from the bottom and I thought it would look much better that way. Some of the details I had already chopped from inside were getting lost. That was absolutely okay with me.
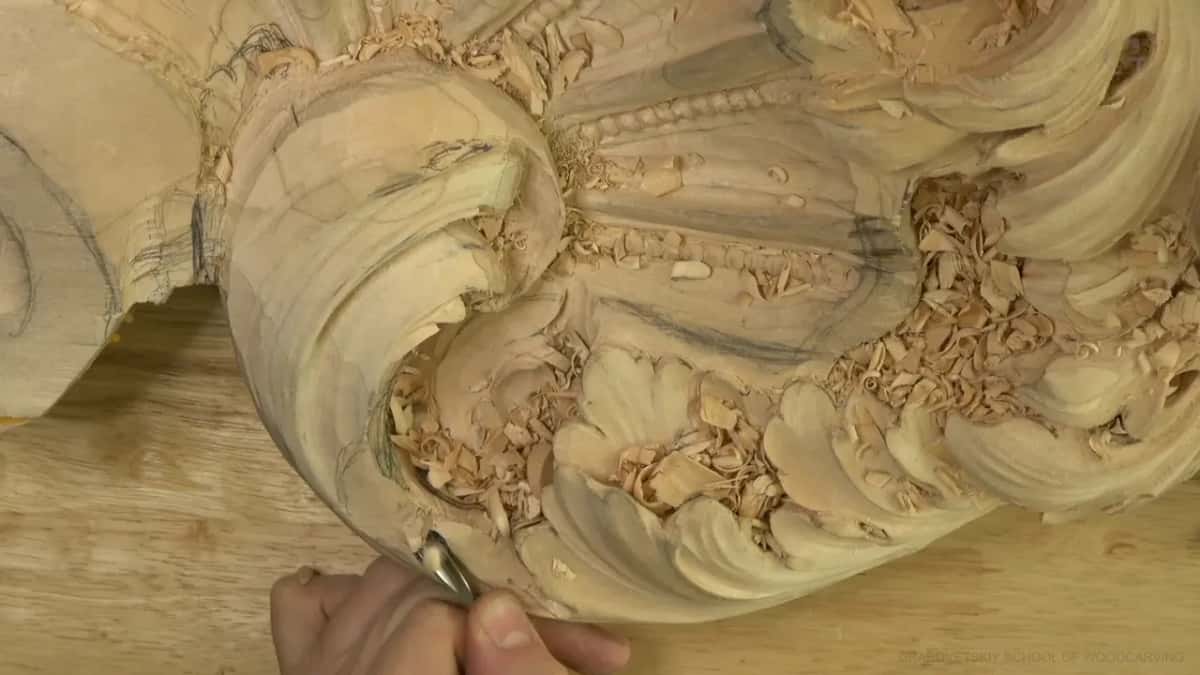
Please understand, I said at one point, I'm not trying to confuse anybody. I'm trying to develop an idea that is pleasing to the eye and logically accurate too, because you have to look at it from different points of view.
Which gouges help when carving curves in wood?
Middle sweeps did most of the long passes on this head, and a big skew cleaned the edge of a long curve in two places. Here is what I held for each curve, and what I said about it.
| Spot | Move | Tool | Note |
|---|---|---|---|
| Nearly straight groove | one long concave begun far out instead | #6, quarter-inch | keeps the flow of the leaf |
| Same long line | going over it again, deeper this time | Number 8 | gives that concave look I wanted |
| Leaf's middle part | one concave so the eye follows it | Quarter-inch #7 | not even the line work yet |
| Middle line placement | moved it over, then widened the concave | #7 gouge | judged by eye, nothing was measured |
| Long rising movement | began at the far end, went up | Ashley Iles | barely any U shape to it |
| Along the edge | its side levers against the edge itself | Big skew | smoother cut and much better control |
| A small bump | planing it off, then checking with fingertips | #5, quarter-inch | fingers give a better idea sometimes |
Those sizes are simply what I had in my hand that day. Sizes and sweeps get their full argument in the tools course, and the grain decides a lot too. Back in part two, it was not the biggest friend in one spot, and I did not want to break the upper piece.
How does a big skew clean the edge of a curve?
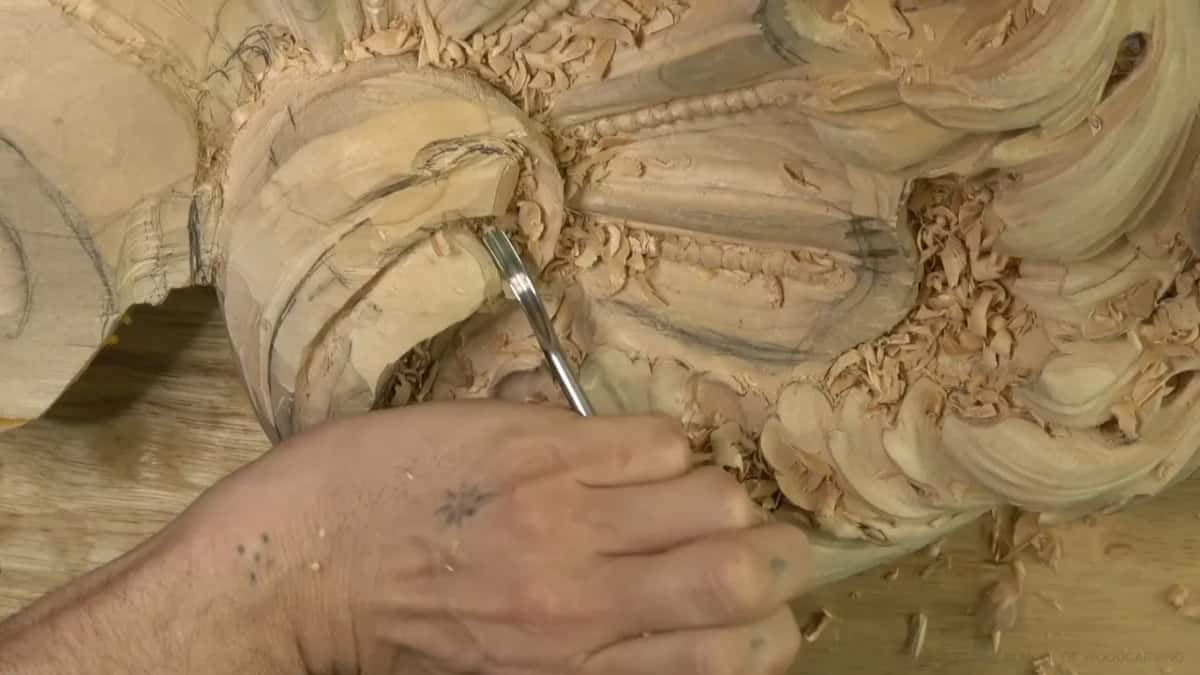
One side of the skew leans on the edge as a leverage point, and that makes the pass much smoother for me. A skew or a knife would work there, I said in part eleven, pretty much any tool would do the trick. I still picked the big skew for that leverage point, and it gave me a beautiful curvature.
Next I cleaned a little on the bottom and brought it to the edge without making it too weak. And that edge was not too weak. It was actually really good, and that movement made me really, really happy.
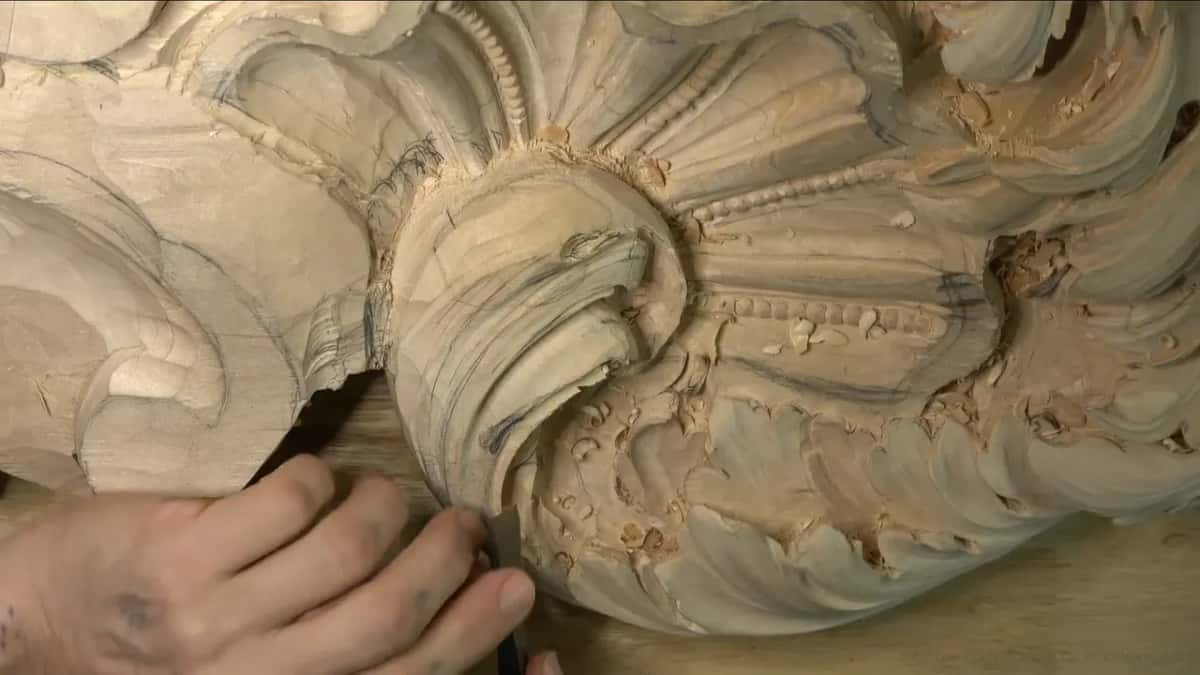
I took the same skew along another edge in the last part. There are different techniques to do that, I said, but here one of the sides is leveraging, cranking against the edge, and the pass comes out much smoother. It gives me much better control, this way and also here.
One warning mattered more than the skew. Your tool must be sharp. It doesn't matter what kind of skew you use, because if it's dull, it won't help you at all. The sharpening course exists for that reason, and what a skew chisel is for in general gets covered in a later block of this room.
How do you find a bump you can't see?
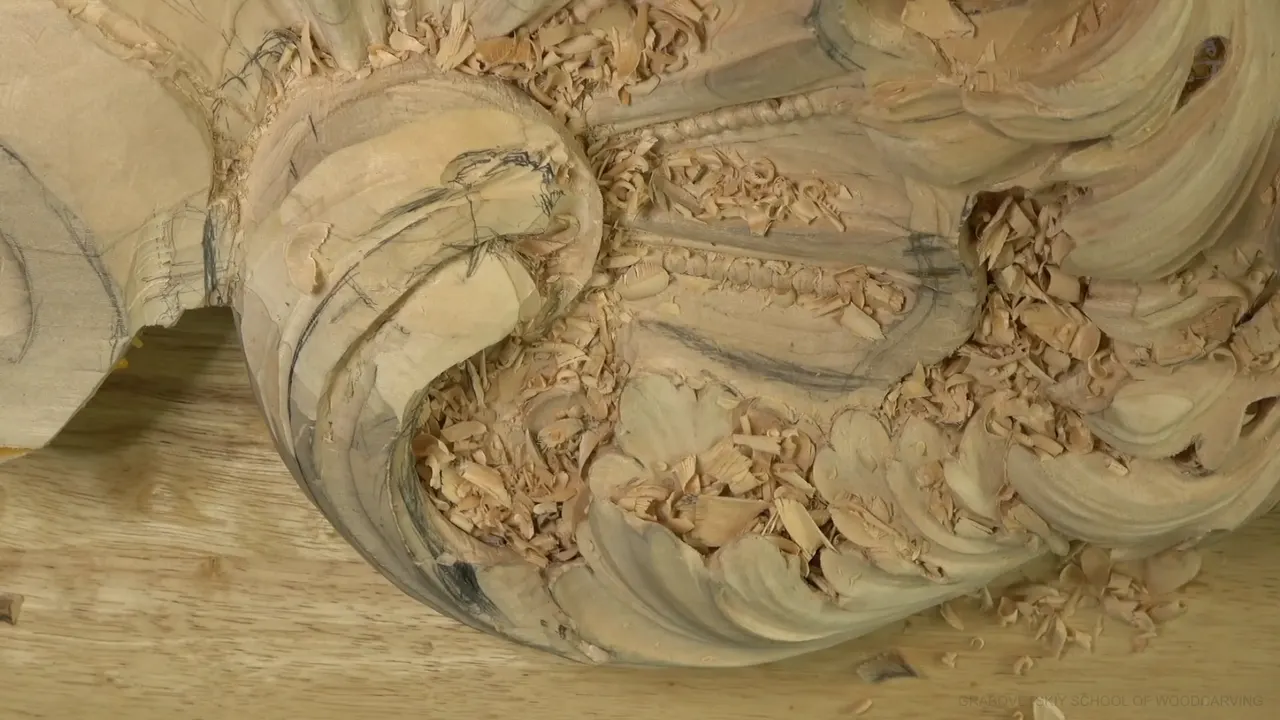
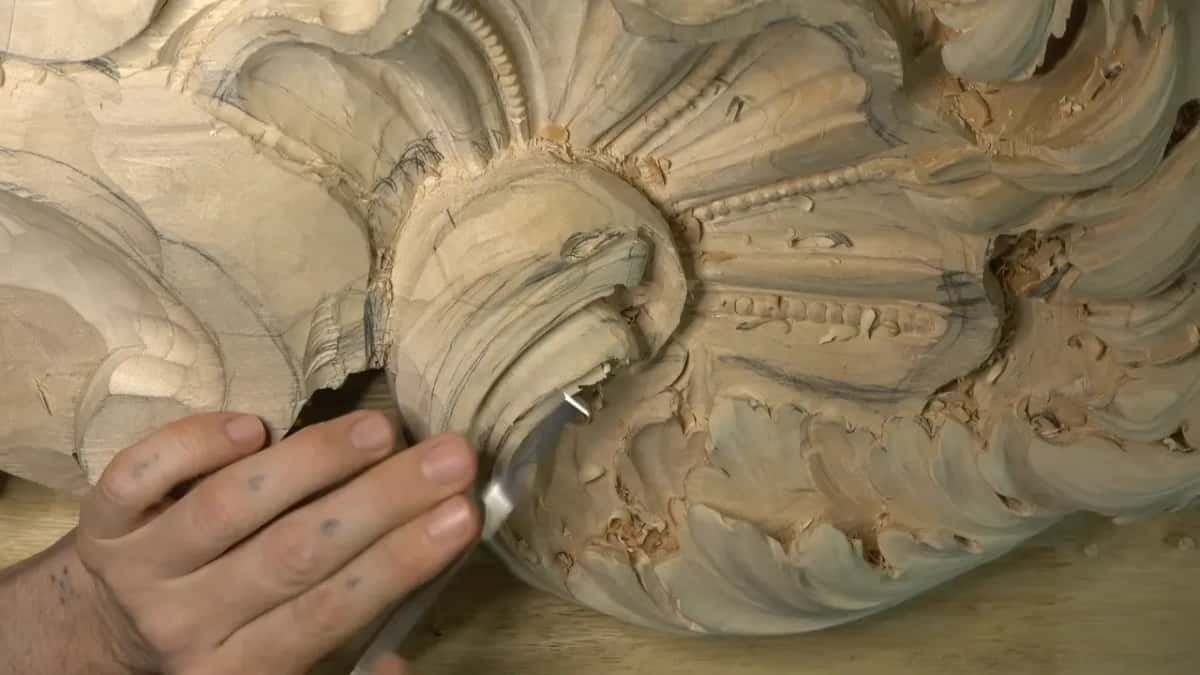
With my fingers, which sometimes give me a much better idea of what is going on. Part twelve opens with one. On that side sat a small concave with a bump in it, so a number five, 6 mm or a quarter inch, planed a little right there and took it out. I checked it again with my fingertips.
Sometimes a fix makes the next problem. Deeper inside the long concave I wanted one more line, so I took a micro tool, about 1/8 in (3 mm), to bring out the ridge. It needed sharpening. Before long I stopped, because I was making an extra ridge I didn't want, and I went back to the number eight for a little blending pass. Even my pencil needed sharpening.

For the last softening I had just ordered some cheap diamond rasps, a few of them curved, with a finer grit that leaves no abrasive in the wood. The rasp itself has its own lesson in this room. Turning the panel to judge a flow line is another habit of mine, and I show it on a flower panel.
What happens to the rest of the leaf when a curve changes?
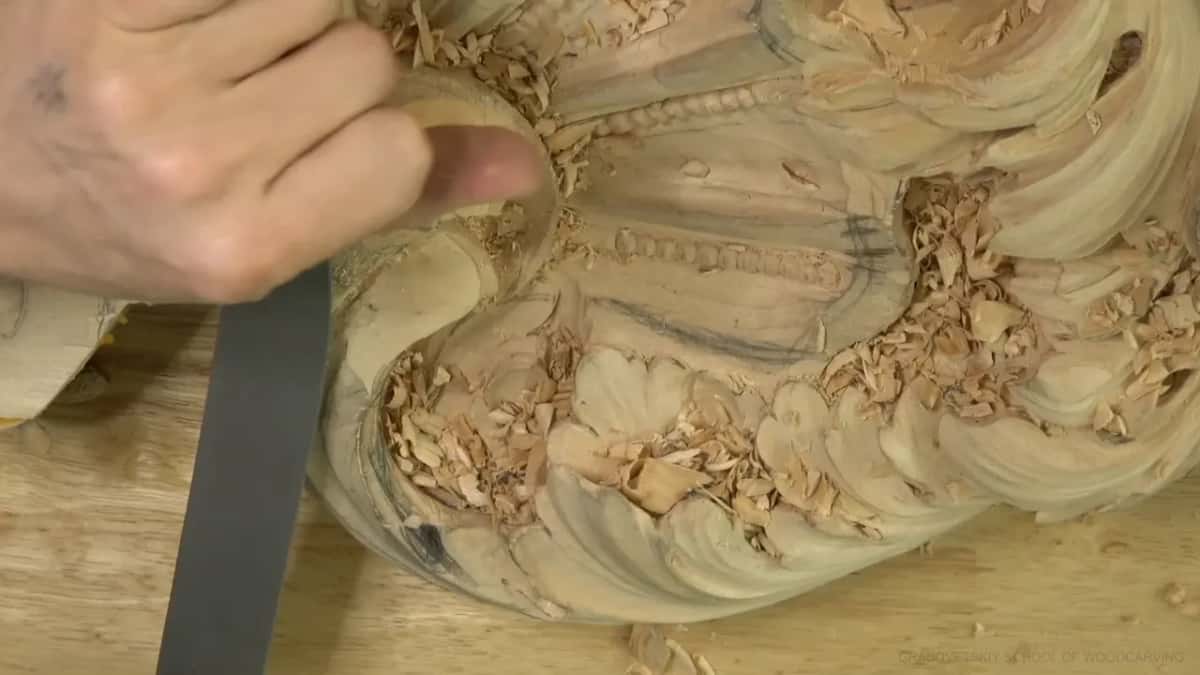
Details get lost, and I let them go when the movement gets better. Let me tell you a story. The whole day began with a part I didn't like. It just bugged me, plainly. This was the focal point of the acanthus head, and there is no way of fixing it later, so that piece became part of a separation and I started the overall shape with a number six.
Today is the day of solving the problem I created myself, I said. In my head it had looked really nice. In the wood it didn't.
The rasp in part four made a really nice curvature and cost me a moment right there. That was fine, and I would take care of it a little later. In part six I went the other way and protected what I had, lowering a whole area only as long as I didn't lose the details I had just made.
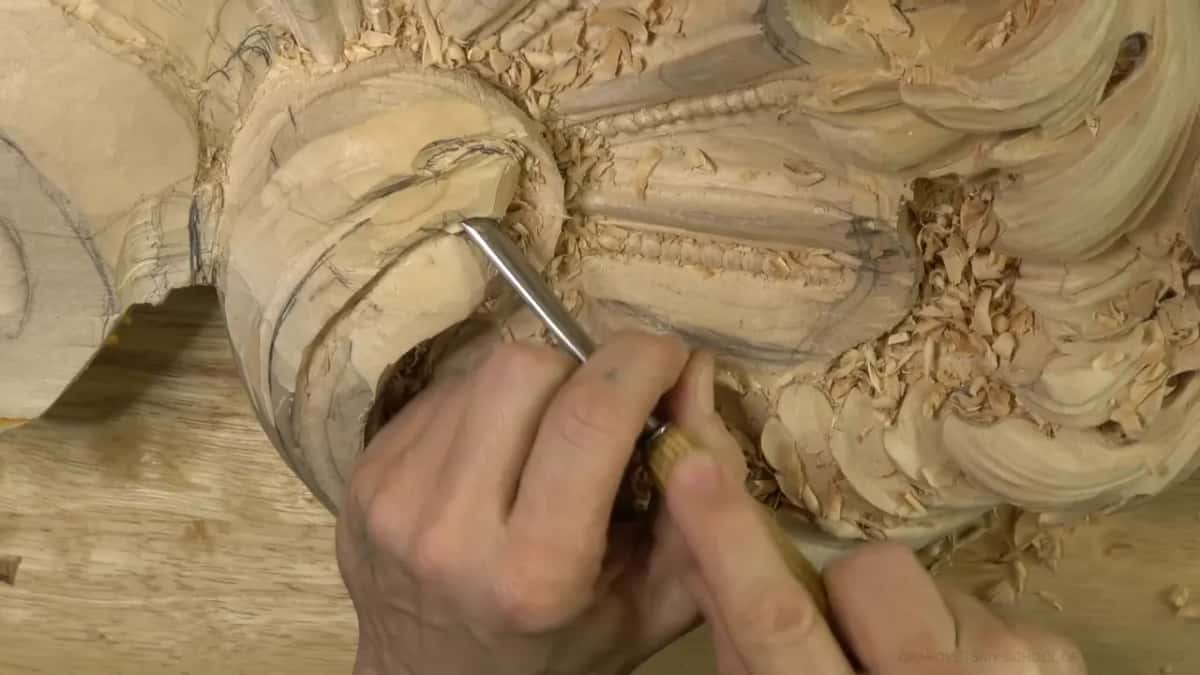
By part ten I said it out loud. It's one of those days when something bugs me. The work wasn't bad, but something didn't add up, so I took a number seven, 4 mm (5/32 in), and carved a couple more lines. One and two. It helped. Then my separation turned out not so good after all, and a 3 mm (1/8 in) tool gave it a semi-round shape instead.
Where the long curves lead on this panel
This area of the head belongs to one huge shell. Once we get to the shell part, I said at the end of part ten, everything is going to be moving in the same directions, and when the other sides are tied together it should look beautiful.
The next lesson is workshop 18, and the panel itself starts back in workshops 1 to 12. For movement and direction in ornament, Principles of Design is where I teach them. Workshop 17, all twelve parts, sits in the tuition with the rest of this relief panel in lime, carved in the manner of Venice in the 1400s.
Find the straightest line on your own leaf and give it a long hollow, begun far away. Shall we carve?
How it's done
- Spot the stiff line. Look along the leaf for a groove that runs nearly straight, or two hollows that match too closely. Judge it by eye.
- Pick the start. Choose where the hollow will begin, far out, and which edge it will follow. Mark it in pencil.
- Enter with a shallow sweep. Set a number six into the wood at that far point with hardly any depth, then push inward and downhill.
- Deepen along the same path. Follow the first pass with a rounder number eight of the same width, starting again where the first one began.
- Let it fade. Stop where the movement dies out, and widen it using a number seven if it looks too same.
- Ride the edge. Lean one side of a big skew on the edge and draw it along for a smooth curvature, with the tool freshly sharpened.
- Feel for bumps. Run your fingertips over the hollow and let a number five plane off any high spot.
Frequently asked questions
Where should a long curve end?
Wherever its movement runs out. One hollow in part five faded away on the spot, and in part seven I carved the finish line of another movement going downhill. Both endings on this head were decided by eye, right there at the bench.
How deep can a long concave go?
As deep as the wood allows. I checked for plenty of material in part six before going much deeper, and in part four, short of wood, I tried carefully first to see if there was enough. Turn the panel over now and then so you never come through the back.
How many divisions should one leaf get?
A single division made no sense to me in part three, so I carved a second one. Later, in part six, I stopped to ask whether one more would be too many, since I need to make sure I'm not overdoing it.
What to carve next