
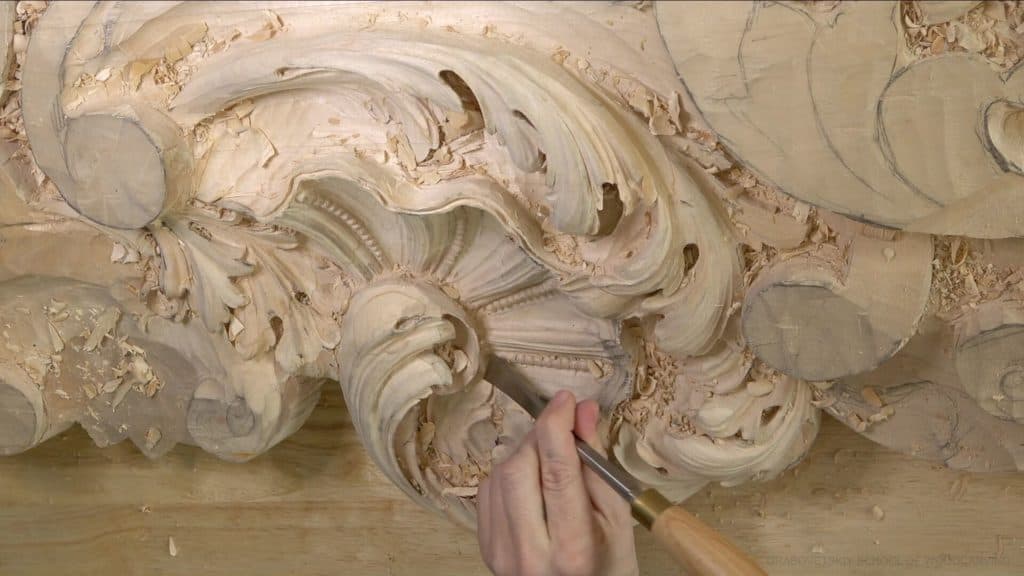
Alexander Grabovetskiy, woodcarver, School of Woodcarving · Published 2020
How do you carve fine details on a big wood carving?
Quick answer: Fine detail on a big carving is the last pass, made slowly by hand with small gouges. On a shell for a Venetian room I cut a groove about 1.5 mm (1/16 in) inside the rim and kept the wall strong. A 1 mm #11 went deepest, and 2 and 3 mm sizes did the rest.
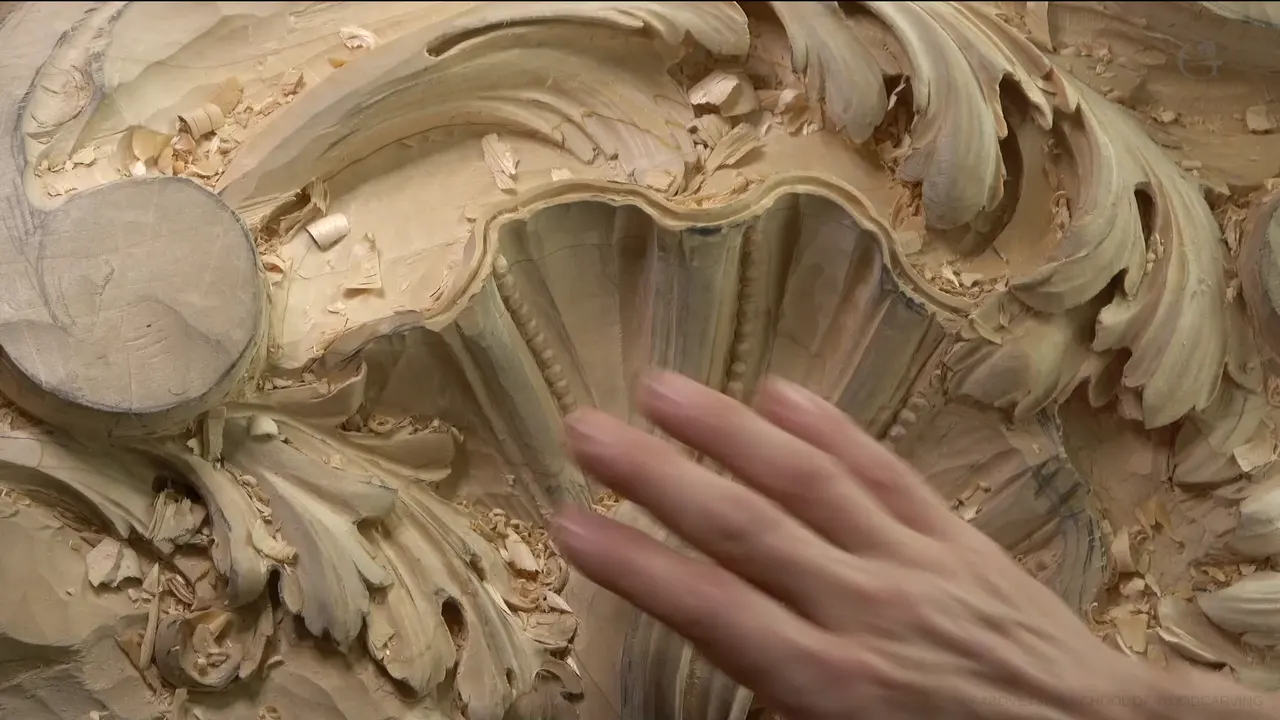
Fine detail wood carving is the last pass on a big piece, and I make it slowly, by hand, one small gouge at a time. In workshop 24 of the Venice Room, the fine work was a groove along the rim of a shell on a panel that goes up near the ceiling. I left a wall about 1.5 mm (1/16 in) thick between that groove and the edge, because from the floor it reads as a second edge with a line of shadow behind it. Every cut in this workshop is made by hand.
Would you like the last small lines on your carving to stay crisp and clean? Do you want a thin edge to come through the work in one piece? Then slow down at the very end, once the big shapes are in and only the small work is left.
I've carved for over forty years, and I still catch myself wanting to rush. So I'll give you my sizes on that shell and why I left the wall so thin. You'll also hear which size I called too much.

Six rules for the last small cuts on a big piece
Shave the pencil marks off first, barely touching the wood, so the true edge shows.
Choose each gouge by what the spot needs. The 1 mm went deep, a 3 mm took wood off where the wall stayed thick, and a 2 mm cleaned up.
Keep both walls of the groove strong.
Let the groove wander a little in width.
A pair of small concaves turns one convex into three ridges.
When you catch yourself grabbing your tools too fast, slow down right there.
What counts as fine detail on a carving this big?
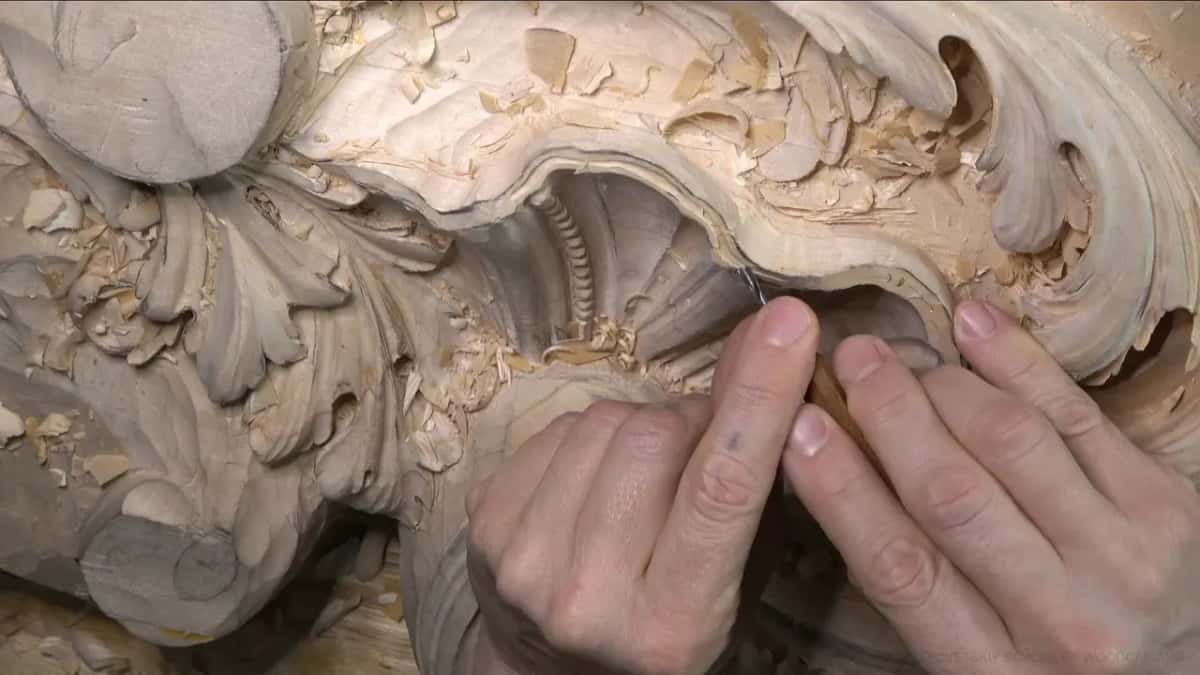
Small work that comes once the big shapes are right, and on this shell that meant a groove just inside the rim and two little hollows down a convex, plus a lot of looking in between.
This is paid work, a whole room in lime for a client, carved the way the old Venetian shops did it. I want to be true to the original. If someone stands right up close one day, I want them to say it was done in that period. And no, that's not forgery. Even forgery takes talent, though.
The shell came into this workshop already carved into its ribs. Its band and ribs were the first pass, in workshop 5 of part 1, and the waves along its rim went in during workshop 23. Now it was time for the small stuff.
Why leave a thin wall at the rim?
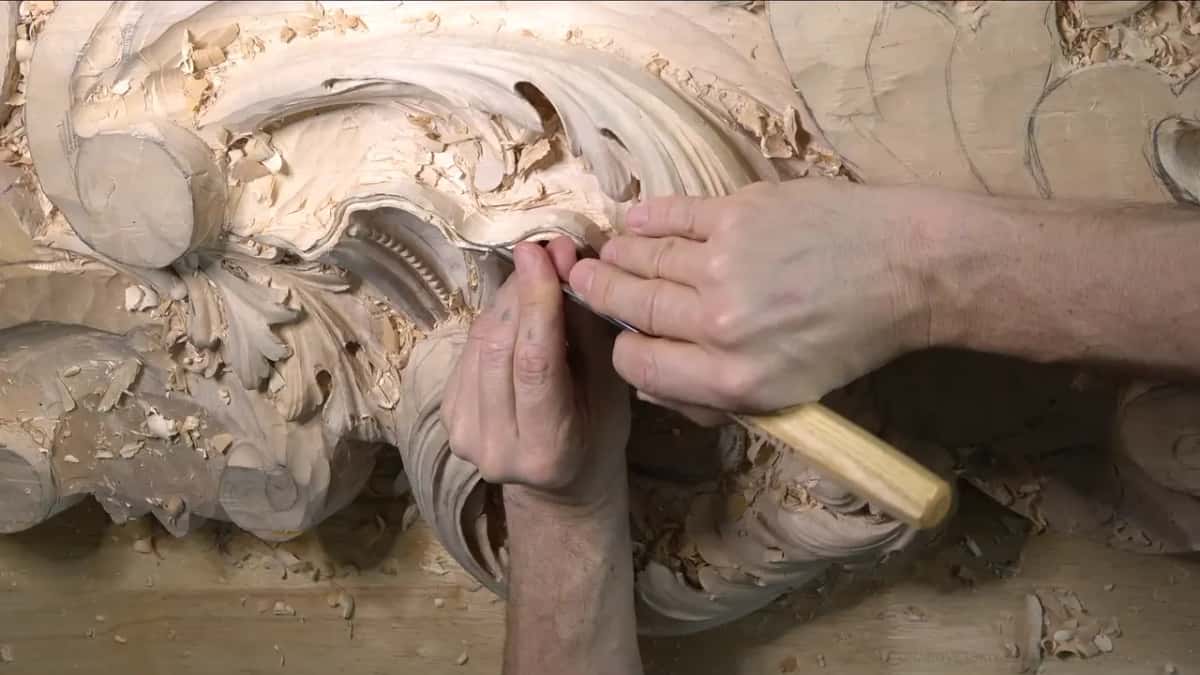
A thin wall standing in front of a groove gives the shell a second edge, and when you stand on the floor and look up, that second edge is what shows. I made a preliminary cut first. The secondary cut went deeper after that, because I wanted a really good shadow in there.
It's all about the shadows, by the way. Wood isn't the only material you're working with. You're working with light and shadow too, and you have to think about how to use them as a means of art. The design and the pattern are only part of it.
My goal was a wall about one and a half millimeters thick, a sixteenth of an inch, from the groove to the edge. The goal is to make both of those walls strong, and I said it more than once that day. It looks easy until you try it. The grain moves around a lot in there, and one mistake means you can forget about that edge.
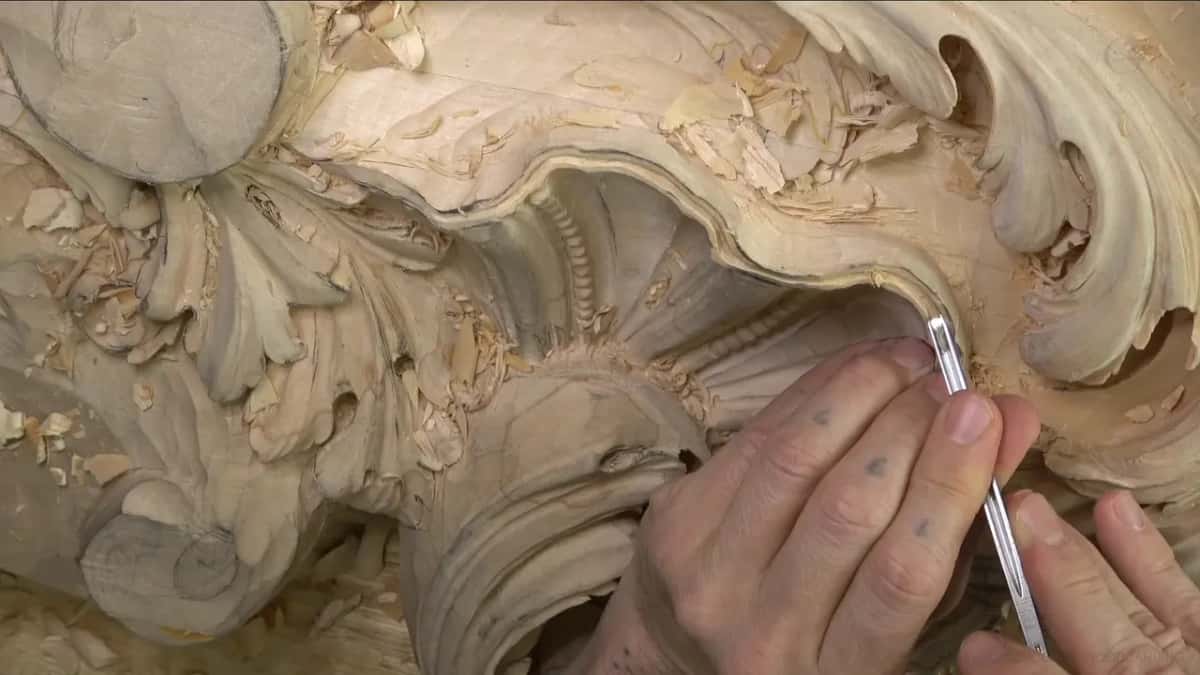
If I need to wiggle the tool a little, I will. I'm going to be honest with you, most of this operation is patience, because I don't want to force the edges. They break easily.
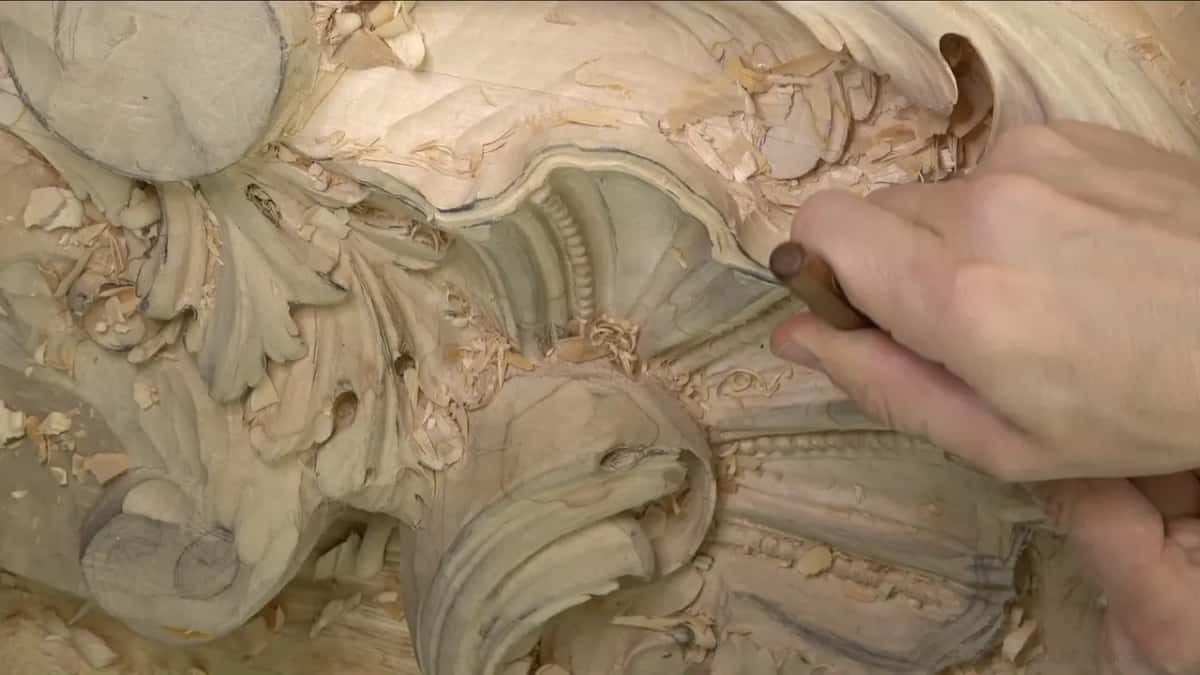
Which gouges cut the finest groove?
Small #11s did most of the digging, and I picked each size by what the spot needed rather than in any neat order. The deepest cut came from a 1 mm #11, about 0.04 in wide, which went in much deeper and cast a good shadow.
One stretch of the wall was still a little too thick, so I went up to 3 mm (1/8 in) to get closer to the inner edge. My 2 mm #11, about 0.08 in, cleaned it even nicer. After that the 1 mm came back to go deeper right in the middle, for a deeper shadow still.

I thought about going down to half a millimeter. I kind of liked what I had, though, and half a millimeter was too much, so I left the groove like that for the time being.
One spot gave me trouble with a #8. It was digging too deep, and I didn't want that, so I went smaller. Choosing a gouge size for each cut runs through workshop 18 as well, and the thickness of the steel gets a lesson of its own in part 1.
Let me tell you a story. I had just told the camera I was going really slowly, slice by slice. About half a minute later I chipped a little piece off the edge. That's what I was talking about, I said. It was still okay, but I didn't want to lose the overall shape of the shell, and losing it would have been a mistake.
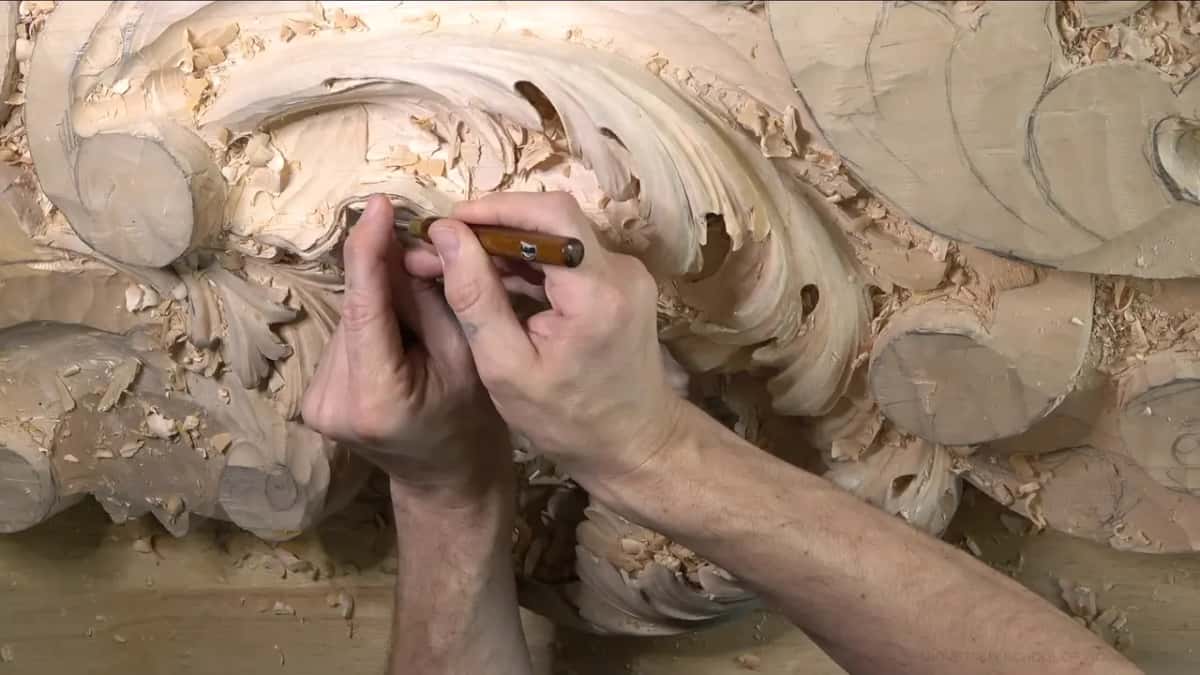
What tells you to stop and change tools?
Small signs, and the same few kept coming back all through this workshop. Each one sits next to what I did about it.
| Sign | Fix | Said |
|---|---|---|
| Pencil hides edge | Shaved the marks off with a skew | True edge |
| Wall still thick | Went up a size toward the inside | Inner edge |
| Tool digs deep | Set the #8 aside and went smaller | Too deep |
| Wood moves underneath | Stopped pushing and came from another side | Too weak |
| Tool keeps slipping | Slowed down, then tried cutting upward instead | Go upward |
| Corner looks sharp | Rounded it off so nothing looked choppy | Round it |
| Grabbing tools fast | Took it as a sign to slow | Slow down |

Why fine detail wood carving needs the true edge first
Pencil marks hide the real edge, and on this shell I couldn't see the true line under them. So first I took a skew and cleaned them off. Even cleaning takes some wood out, which is why I barely shaved it. Barely.
Then I could see much better, and the edge got closer to its final look. Sorry about my hands covering the work in that part. Sometimes I really have to.
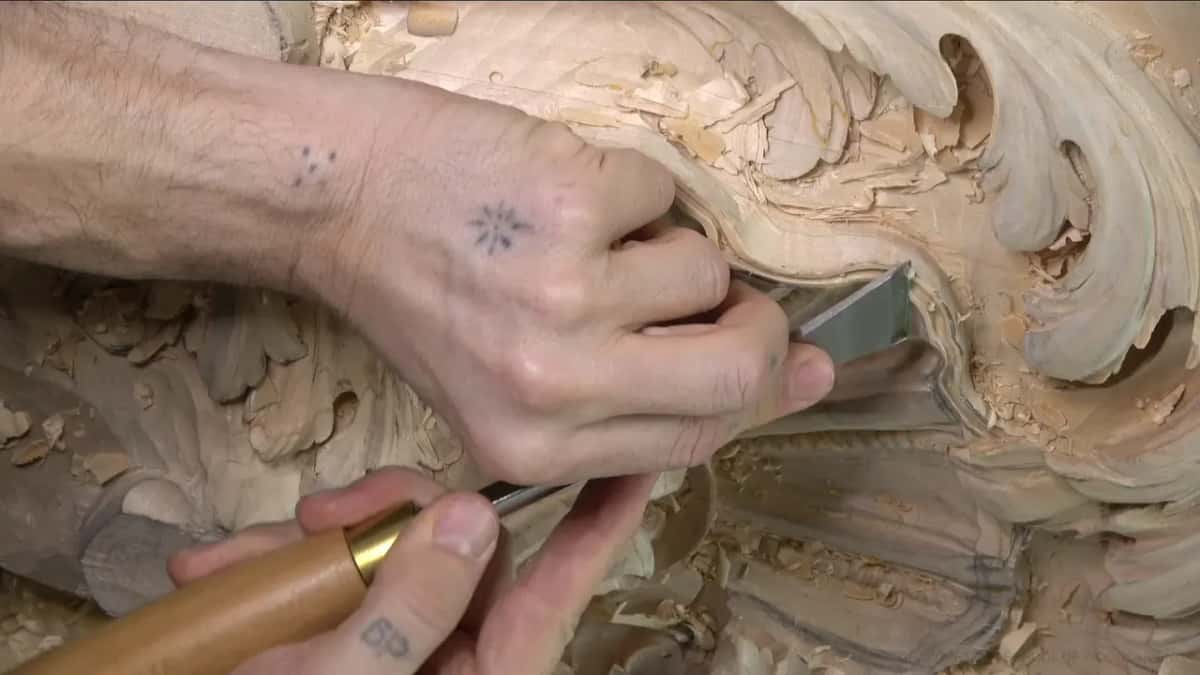
With the edge showing, I picked up the pencil again and outlined the next section almost perfectly. I gave that spot a small movement of its own, the same idea again, and I'll admit it wasn't really necessary. Its inside got cleaned out with the 1 mm veiner. Past a certain depth a groove this small gets hard to clean at all, so I kept an eye on how far down I went.
Wood carving tools for small details on this shell
Every tool on this shell is worked by hand. A lot of advice online for fine detail sends you to a rotary tool with little burrs, and nothing in this workshop has a motor.
For the groove I used #11s at 1 and 2 mm plus that 3 mm, and for the ridges a #7 near 4 mm (5/32 in). The skew took the pencil off. Where a small area needed it, I went in with a detail tool from Peter Benson, and later with a small knife from his collection.

At one point I reached for a special tool and then told you that you don't really have to use it. A double bevel #1, a straight chisel with a bevel on both faces, is actually a really good tool for cases like that.
For the tiny spots on a Greek acanthus leaf I use a different small kit, and when to pick up tiny tools at all is a question I answered in a Grinling Gibbons class. Small details on an acanthus leaf have their place in part 1 of this room too.
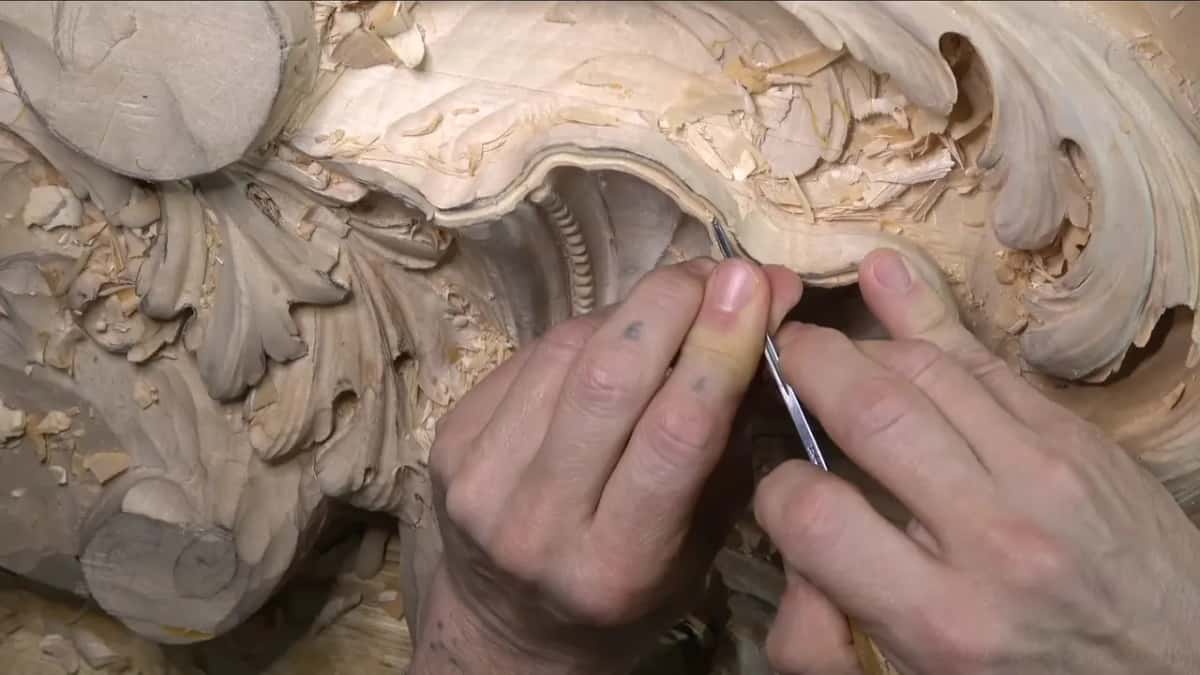
Can two tiny concaves make three ridges?
Two tiny concaves cut along a convex leave three ridges, and that alone gives a small part really nice movement. First I found the middle of the convex. I didn't draw the whole line. I eyeballed a mark in one section, then looked at the edges and placed a mark in the next, and those marks showed me how to move the tool.
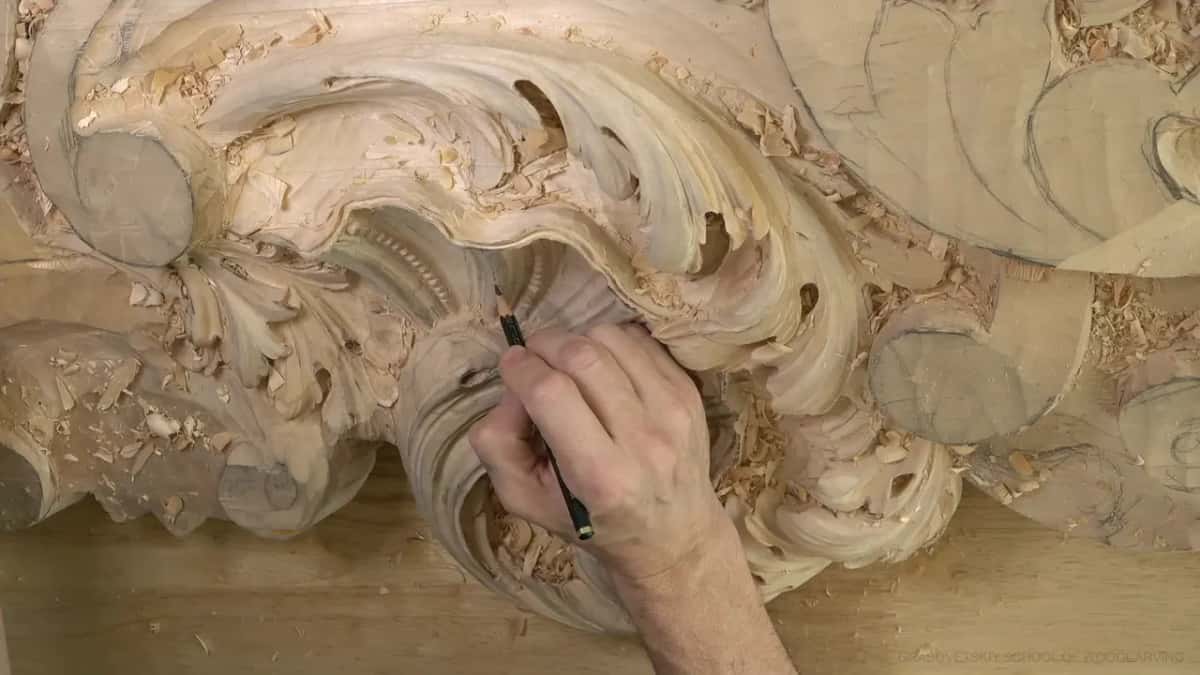
From your side of the camera you probably can't see that center line, since I'm looking from the right angle and you aren't.
Then a #7, about 4 mm wide, started a concave on one side, all the way along. The other side got exactly the same. I left the middle ridge a little higher, and it's the same idea as inside an acanthus leaf, a few tiny concaves. I already saw a little problem I'd made there, but I could fix it.
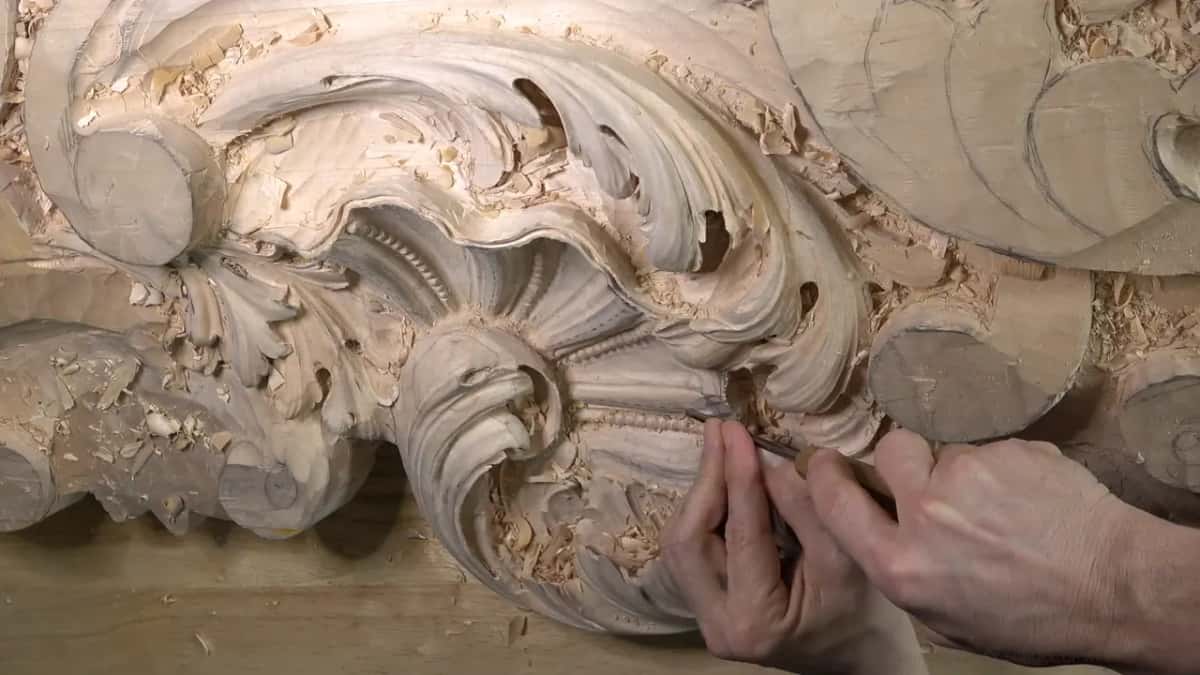
I slipped twice on those lines. Not too quick, I told myself, and when the angle felt wrong I tried going upward instead. Afterward a rasp run inside the cuts brought the lines almost to perfection.
When does the magnifier lamp come out?
Later, for the last pass that takes the groove to perfection. While I cut it I worked with my glasses on, and even through them it already looked clean. On the ridges I said out loud that a magnifying glass would help me much more, and I left that for later too.
My groove came out wider in some places and narrower in others, and that is absolutely okay. You can see the waviness in it. It follows the movement of the edge, and it still looks right to me.
Fine work is hard to film. More than once I asked whether you could see what I was doing, and then showed it from another angle.
What else did the shell need that day?
Rasps softened the inside of the shells. They're quick, and they leave no abrasive in the fibers of the wood. The panel will be painted, so I didn't take the hollows all the way to really smooth, and the rasp left tool marks that make me happy.
Furniture people know rasps, the ones who build antique reproductions. Some students in my school do beautiful reproduction work, Chippendale style and so on. That day I was bleeding again, from the same cut I'd made earlier, so I wiped it off and went back to the rasp.
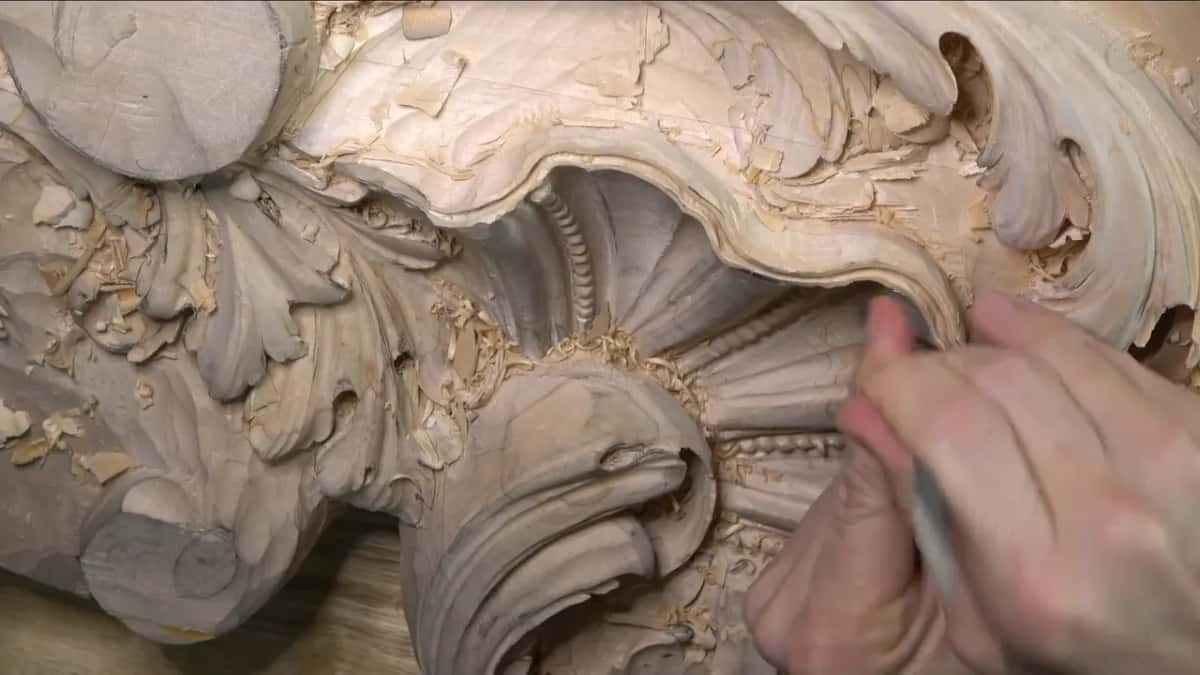
The side that will never be seen got some cleaning and refining and no more. It has to stay strong. At one point I pushed a 7 mm gouge in, a little over 1/4 in wide, and the whole thing moved. That was close to the extreme, so I eased off.
Later on I hit a point with the tool and knocked it right off. So now there was an extra notch. I cleaned it up with a #7, and it looks like it was done on purpose. It also told me I was grabbing my tools too fast, and that I had to slow down.
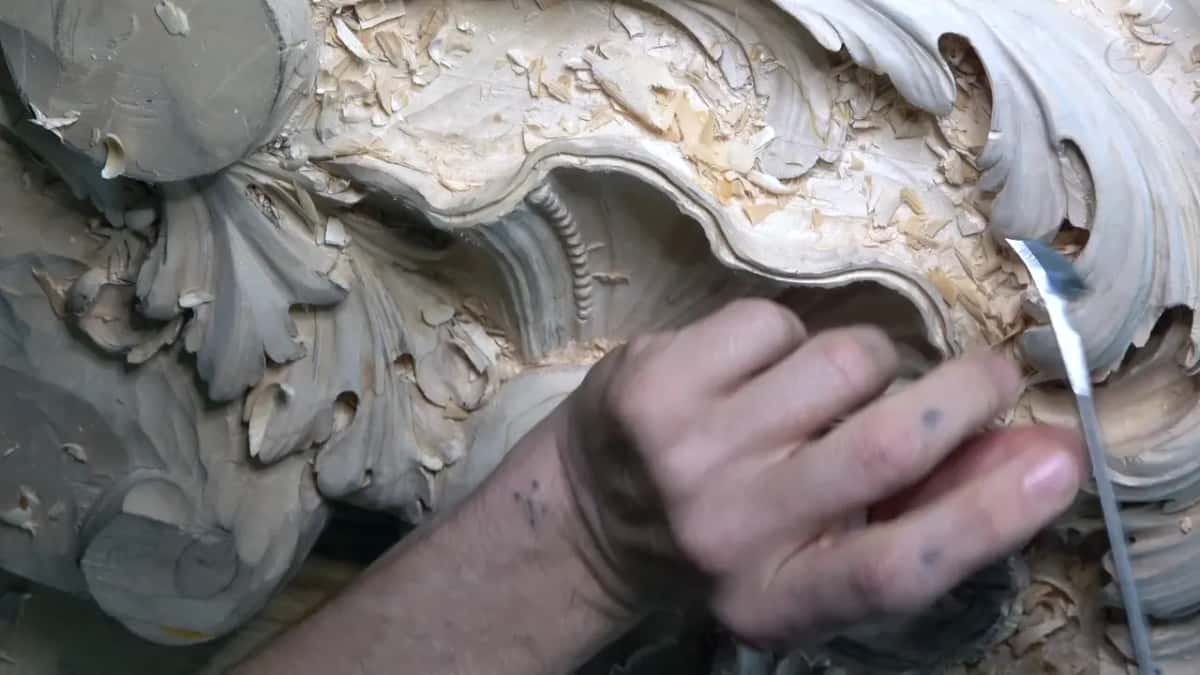
This is a huge piece, and there's no way I can rotate it, so I kept having to find the side to work from.
Where does the bigger shell begin?
Then I moved the camera to the upper part of the main shell, the same movement only much bigger. I wanted half an inch (13 mm) of extra material there and found about 3/8 in, 10 mm at the most, so 10 mm is what I left. I eyeballed that mark. Ten millimeters or nine, I'm close, and half a mil off doesn't worry me.
A big tool ridden almost flat on its bevel caught the high spots, just like a hand plane. I checked that the distance stayed about the same everywhere, or as close as I could get it, and I looked at it from the bottom.
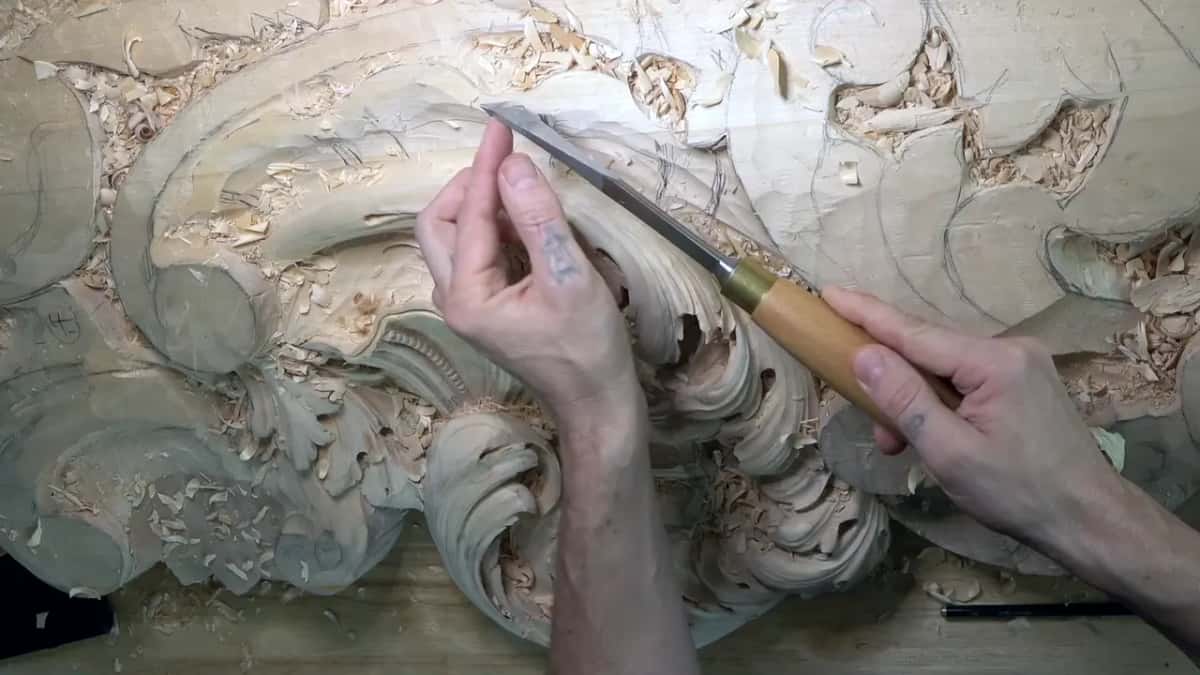
I was working toward myself there, and part of the carving was in my way, so I switched to a spoon gouge. That shell won't go as deep as the first, or it would lose the idea, and it needs room inside for beads. A #7 spoon gouge one inch (25 mm) wide worked it from different positions until everything met. How deep a concave should go on this room is workshop 22.
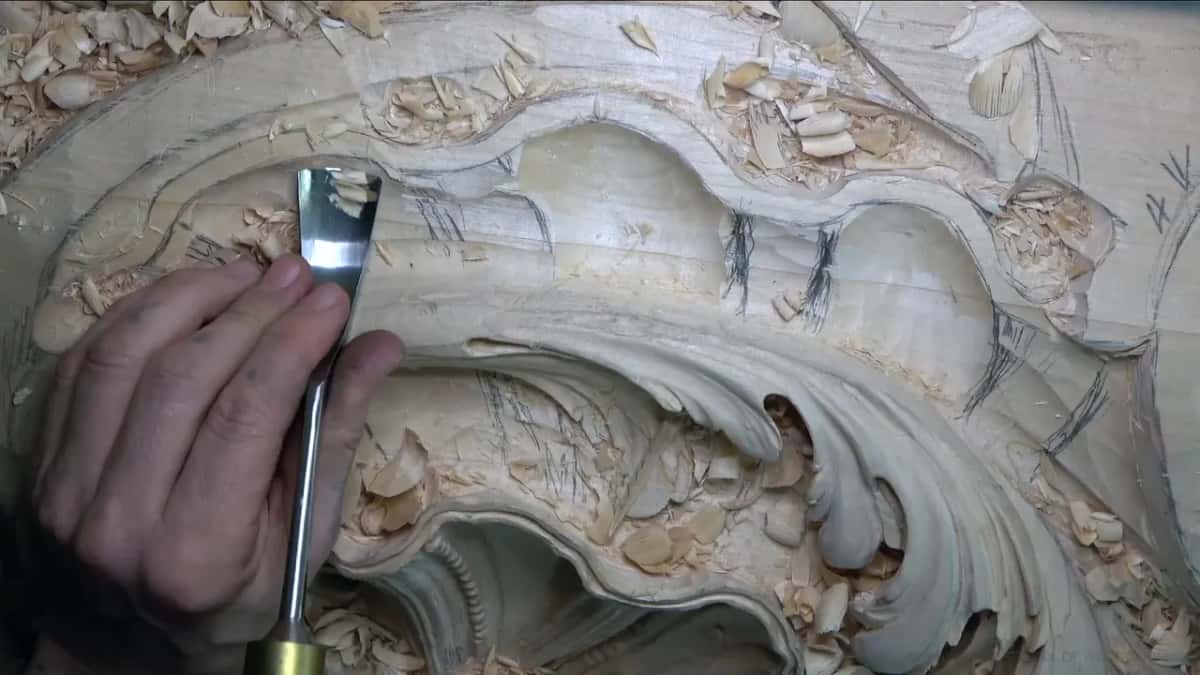
Would you like to watch every one of these small calls at the bench? The tuition covers all fourteen blocks of this room. The whole of workshops 13 to 25 is on the course page, workshop 25 closes this block, and the room carries on in part 3.
At the end of workshop 24, the groove on my shell was still waiting for its magnifier lamp.
How it's done
- Shave off the pencil. Run a skew over the marks with almost no pressure until you can see where the edge really runs.
- Make a preliminary cut. Set the path of the groove a little in from the edge, leaving room for a thin wall.
- Go deeper in the middle. Sink the center with a #11 one millimeter wide for the darkest line, then tidy both sides of the groove with a 2 mm.
- Stop when the wood moves. If a push shifts the whole part, back off and try another side.
- Split the convex. Tick its middle by eye, section by section, then run a tiny concave down each side with a #7 of roughly 4 mm (5/32 in). Leave the center ridge a little higher.
- Finish under a magnifier. The last clean pass waits for the lamp.
Frequently asked questions
What size gouge carves the finest groove?
On this shell the deepest, darkest line in the groove came from the 1 mm size, a #11 just 0.04 in across. A 2 mm cleaned both walls, and a 3 mm (1/8 in) thinned the stretch that stayed too thick. I weighed going to 0.5 mm, looked at what I had, and called it too much.
Do you need a rotary tool for fine carving?
Every fine cut on this shell was made with hand tools. Small #11s did the groove, a #7 split the convex, a skew cleaned off the pencil, and rasps softened the hollows inside. Each one moves under your own hand.
Why keep both walls of a groove strong?
One slip where the grain moves can take the whole edge off. I aimed for a wall close to 1.5 millimeters, a sixteenth of an inch, between the groove and the rim, worked slowly, and still chipped a little from the edge once. It stayed okay, and I kept the overall shape.
What to carve next