
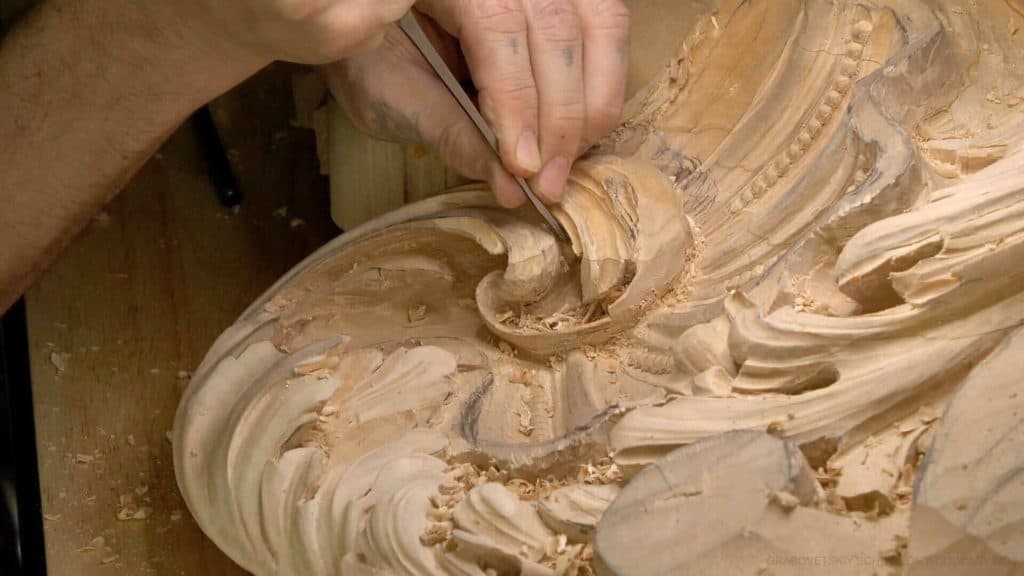
Alexander Grabovetskiy, woodcarver, School of Woodcarving · Published 2020
How do you know what size gouge to use for each cut?
Quick answer: Gouge size is the width of the edge, and on this Venice acanthus head I picked it one cut at a time. I dropped a size when the tool was too wide for the opening, bit too deep or strained a thin edge. I went back up once the opening grew, and for the last smooth pass.
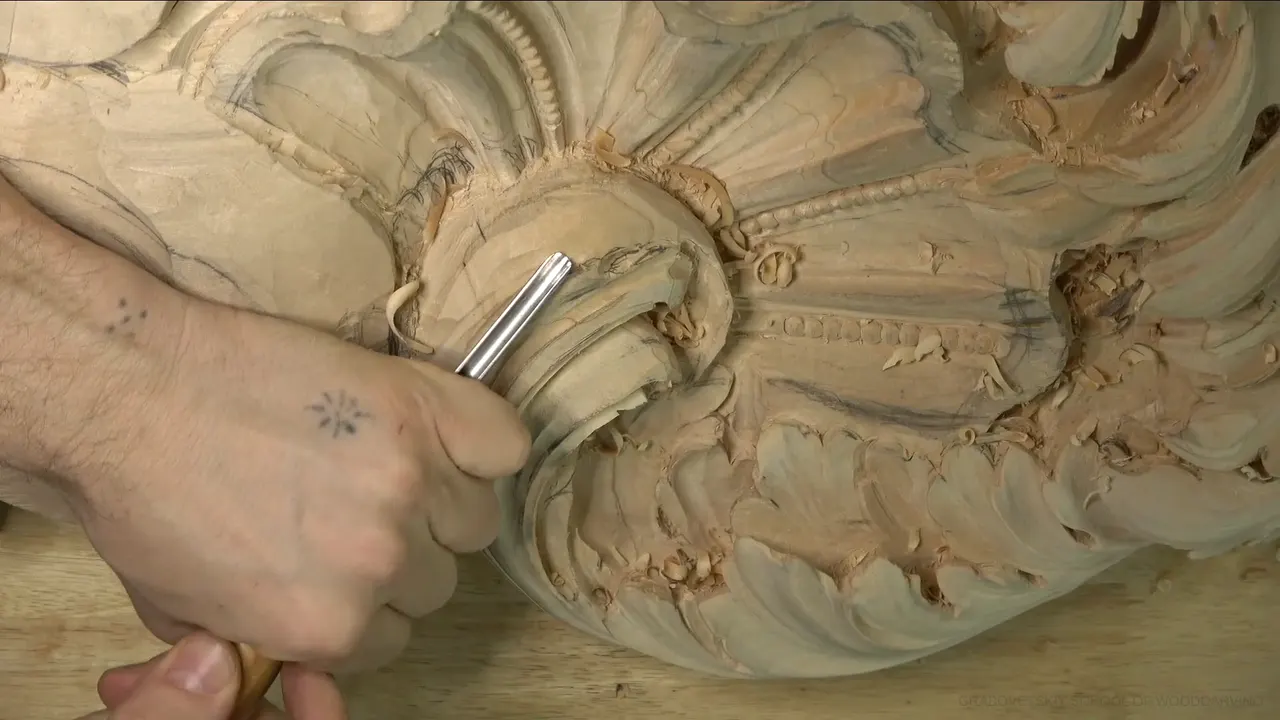
Picking a gouge width is a choice I make again before every pass, and it does not stay made for long. Inside one acanthus head in workshop 18 of the Venice Room, my #11 went in at 5, 4, 3, 2 and 1 mm, roughly 3/16 inch down to 1/32, and most of those changes came with a reason I said out loud. That is what wood carving gouge sizes look like at a real bench. A narrower tool comes out when the wide one will not fit, bites too deep or strains a thin edge. A wider one goes back in once the opening has grown.
Do you want the gouge to slide into a tight spot instead of jamming there? Would you like the thin wall beside a hollow to come out of the work in one piece? Then choose the width for the spot in front of you, and choose it again at the next one.
My teacher in Russia, when I was sixteen, taught me to think like a tool. You can hear me doing it all through this workshop. "Let me think. What tool should I use?" I say it, and then I look at the spot again before I pick anything up. The pause is short.
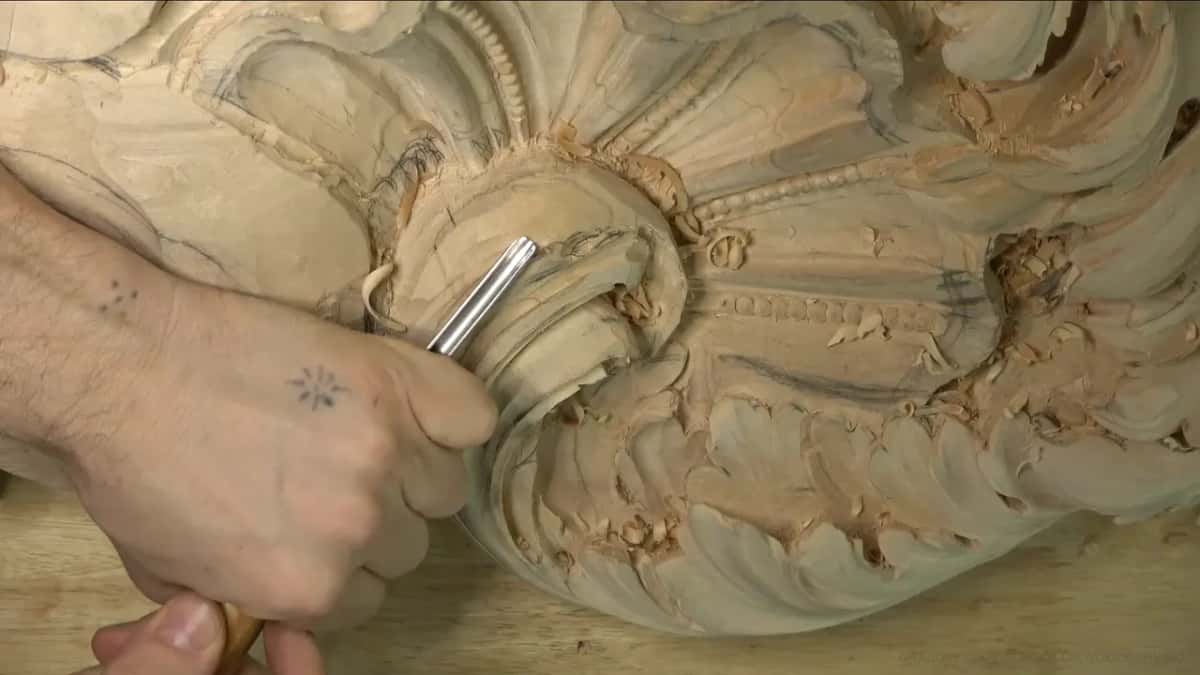
Five tool changes from workshop 18 worth copying
When a gouge stops fitting, keep the sweep and take a narrower width.
A pass that bites too deep asks for a smaller, flatter tool and a lighter hand.
If the thin wall beside a hollow begins to shift, stop and pick up the thinnest gouge you have.
Of two widths that might work, start with the bigger one.
Once an undercut opens the space, go back up, and make the final smoothing with the widest sharp tool that fits.
What do wood carving gouge sizes actually measure?
Size means the width of the gouge edge, measured straight across, corner to corner. Sweep is how much that edge curves, so a #11 is one curve, a deep U, sold in a whole row of widths. Going to a deeper sweep when a hollow looks flat is a different decision, and it has its own page from workshop 7.
In this head I used the #11 at five of those widths. My #7 went in 14 mm and 10 mm wide, close to 9/16 and 3/8 of an inch. On camera I called the bigger one half an inch, then said 14 millimeters to be exact. The #9 worked 5 mm wide and a quarter inch (6 mm) wide, a plain #3 that size, and a micro #3 at 1/8 inch, which is 3 mm. You do not need all of them to start, and the tools course is where I talk about buying.
When is a gouge too wide for the spot?
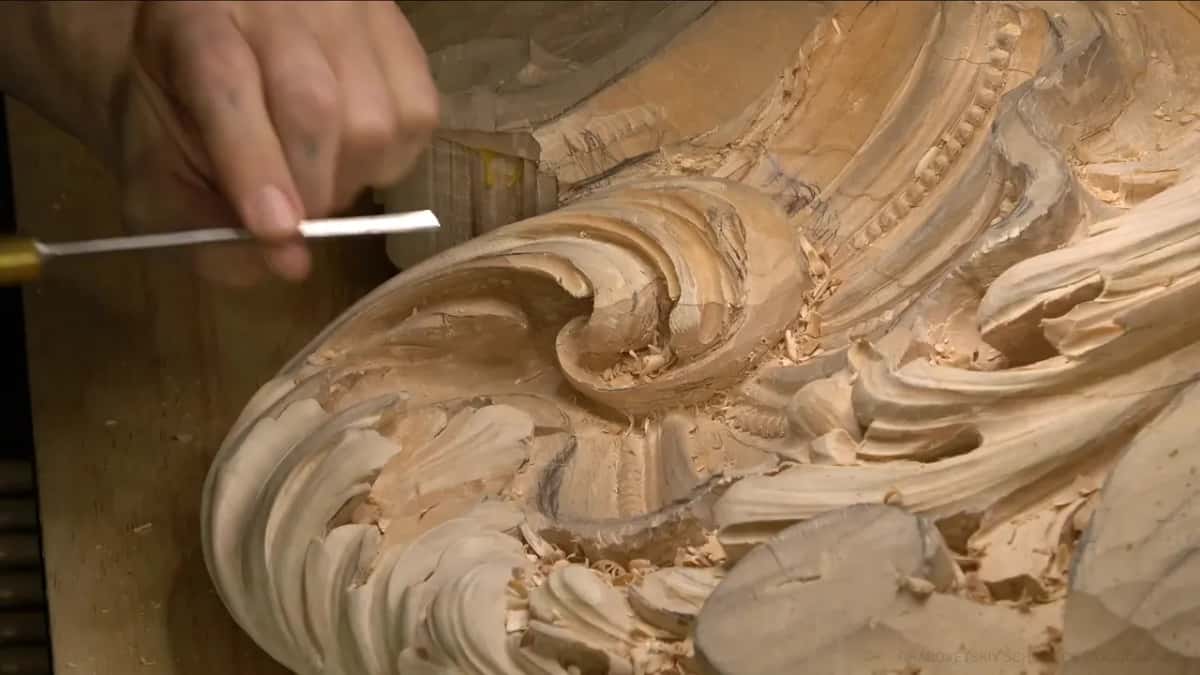
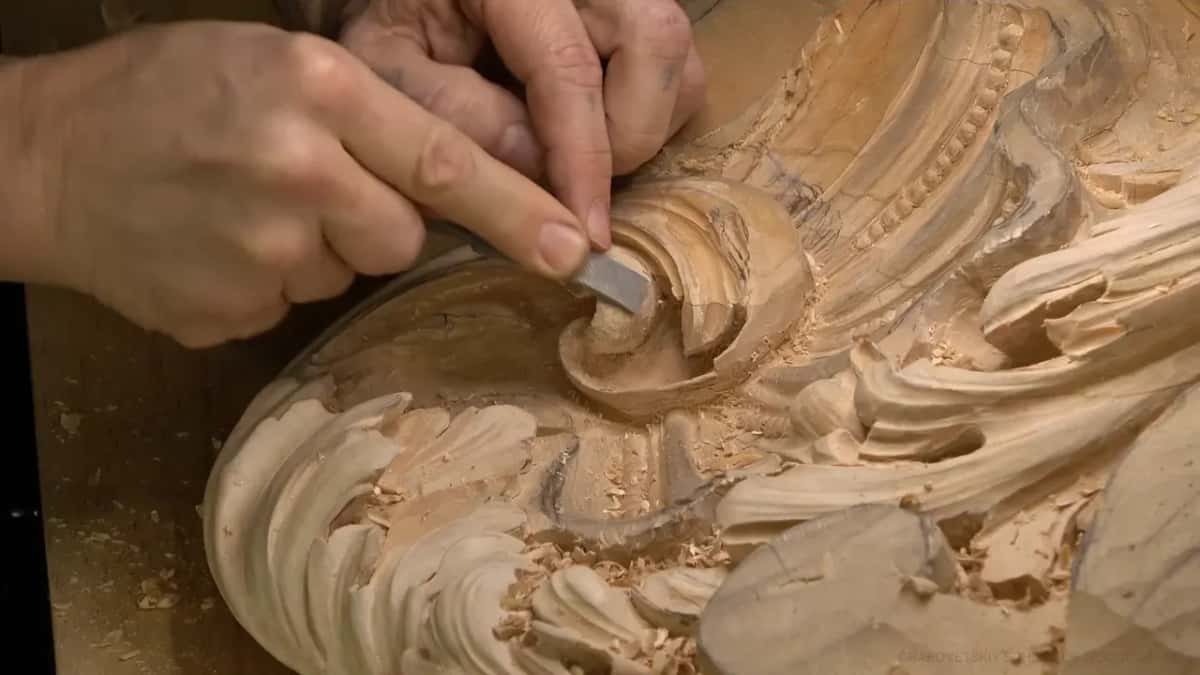
The moment it stops going where the hollow needs to go. Inside the curl I started with the 14 mm #7 and turned it all the way inward underneath, a full rotation. A few passes later that same tool had grown too big for what was left, so I picked up the 10 mm one. It needed sharpening first, and I did that before it touched the lime again.
Further in, the #7 got too big again. I went down to a #4, 3 mm or an eighth of an inch. At that width a #4 or a #7 would both have worked, and I said so. I took the #4 because the spot did not need a deeper hollow.
Later a 4 mm (5/32 in) #11 felt a little big right there, and a 2 mm (1/16 in) one dug the spot out. That spot decided it.

Why drop down a size when a pass digs too deep?
The pipe at the start of workshop 18 shows it best. My pipe movement was no bueno, as I put it, so I fixed the line first with a #11 in one long movement, keeping the hand steady and ready to recut it several times if I had to.
Then it had to be round, almost half a sphere. I started with a #8, 10 mm or three eighths of an inch, and soon that was enough there. "This is probably going to be too deep of a cut, so I can't do that." My #3 at 6 mm (1/4 inch) took over, planted nicely, and broke the ridge down.
That switch dropped the width and flattened the curve at the same time. Then came one pass with the previous tool, almost no pressure, just cleaning. I softened the top of the ridge too, because I really don't want to see it sharp. Do not overdo it, I told myself.

What do you do when a thin edge starts to move?
Stop, and pick up something narrower and thinner. In part 10 I was going up a hollow with a 2 mm #11, carefully, right beside an edge that was already weak. Then I saw the wood move. If you see the movement like that, that's it, I said on camera, you're pushing it too far. Gluing it back was not the plan, and the next pass went in with a different tool.
What I took was a micro #3, 3 mm across, made by Peter Benson, and I made several passes inward with it. A really thin tool does not put a lot of stress on the wood, which is why it was safe in that spot. My #3s from other makers are too thick for it. Thickness is a separate question from width, and the workshop 4 page covers it.
Earlier in the lesson the same warning came from a different direction. Past cuts had put too much stress into the wood, so I put the mallet down and pushed the narrower #7 by hand. Forcing would be a big mistake, as I put it plainly in part 5.
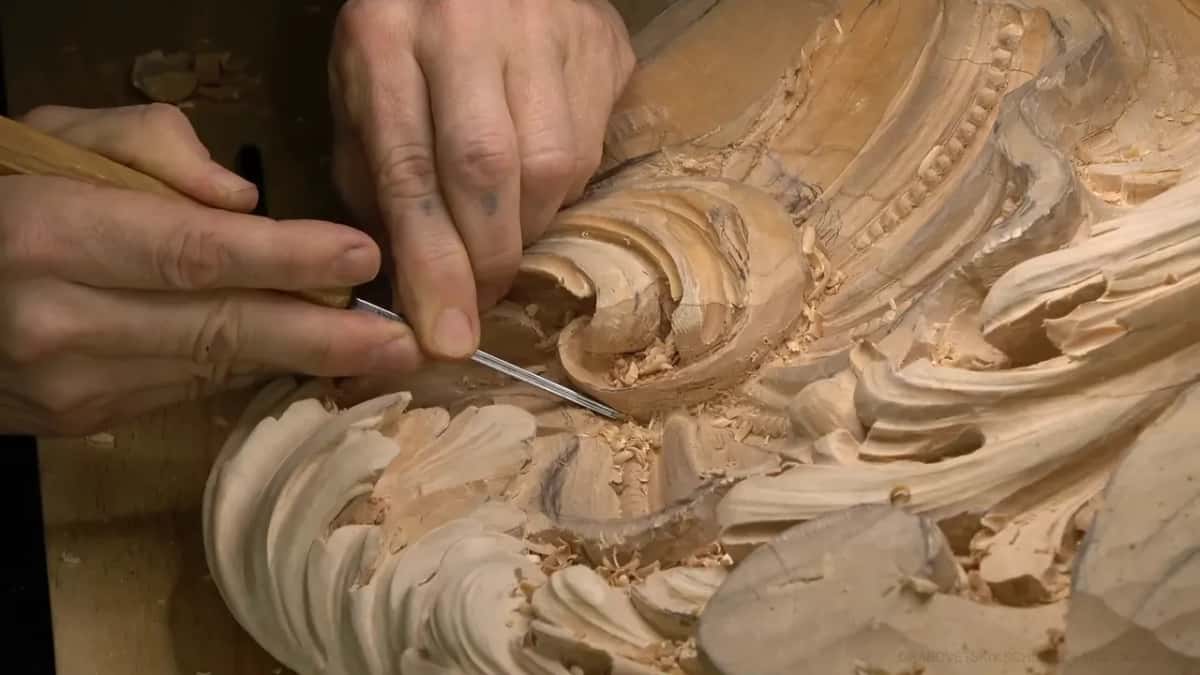
Should you try the wider gouge first?
On this head I did, when I weighed two widths out loud. I could go even with 1 millimeter, I said in part 10, but let me try 2 millimeters first. Back in part 4, a #11 spoon at 4 mm looked a little big for the spot, and instead of dropping down I tried a small side to side wiggle. It worked, and the 4 mm stayed.
A little later in that part I said why I wanted the area deep. The deeper I go, the less of it anybody will see, so it is more forgiving for me. Under the bottom of a leaf I started a darker relief shadow with a 3 mm #11, about 1/8 in, and went to a 1 mm one, about 1/32 in, because right there it was still possible to go deeper.
A bigger gouge gets the same hollow done in fewer passes, and the furniture panel page shows that side of it with one hollow carved twice. Here the question is only when the spot lets you use it.
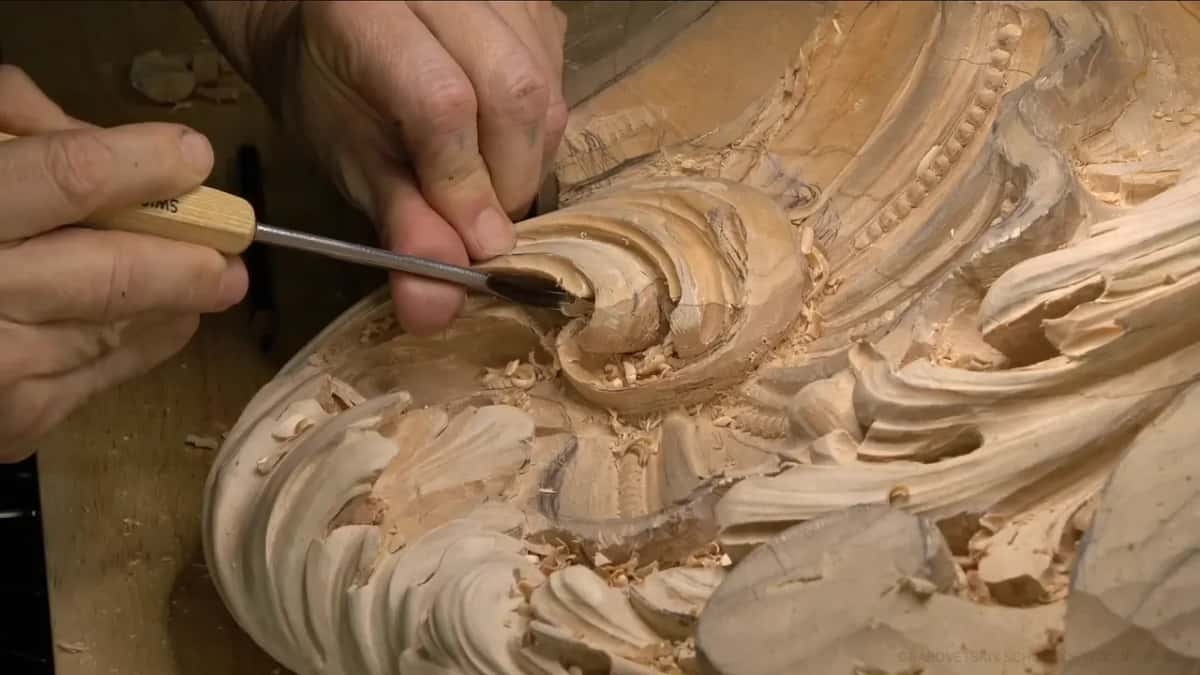
Does the way you move the tool change the size?
It can, and part 4 shows how. Going up that hollow I was wiggling the gouge a little, side to side, and a #11 is a U with its wings turned up. A #9 has no extended wings. It is a true half round. So I chose a #9 at 5 mm (3/16 in), a touch wider than the 4 mm I had, and went up little by little.
Part 8 needed the opposite. To reach under one side I really needed that wing extended, so the U was the right shape, and I took a bigger #11 and laid it on its side with only one corner working. It went deep under the leaf and gave me a clean surface. Right before that I said a #9 or even a #8 would do the trick too. I just like the #11 because I can use its sides.
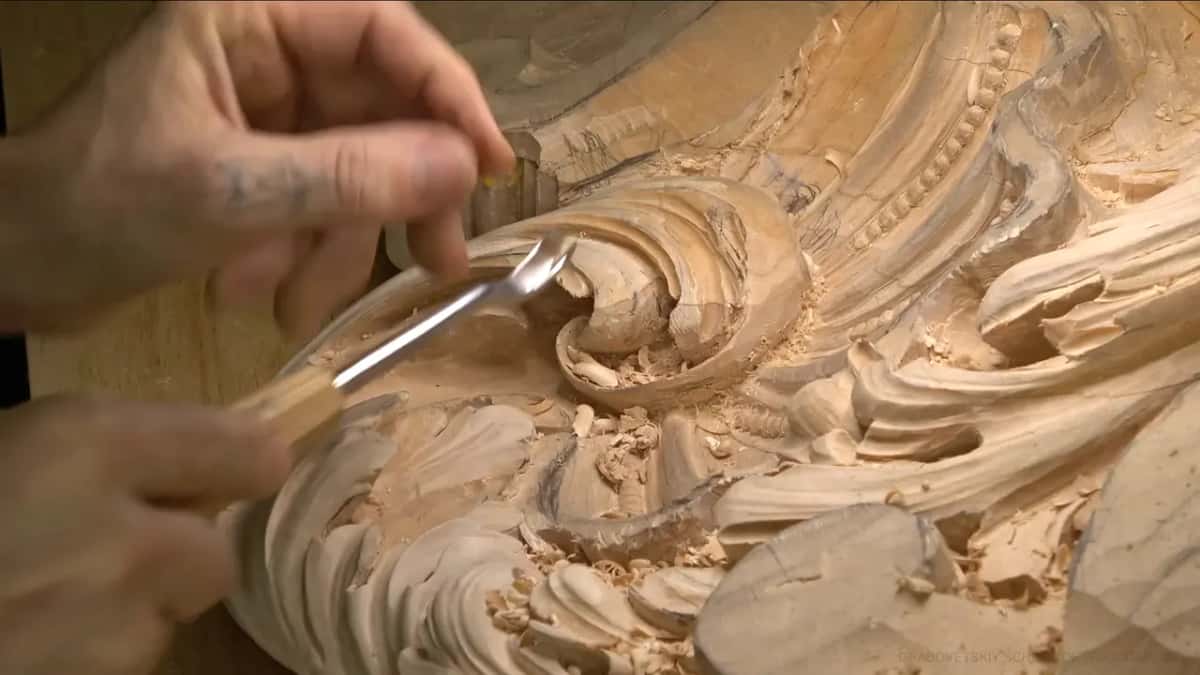
When does a bigger gouge come back out?
When the opening has grown enough to take it, and again at the very end. During part 7 I was about to take a short front bent spoon, a small #3. Then I changed my mind. I had completely undercut underneath, so there was a really good opening, and I could use a #7 there if I wanted to.
Part 8 went the same way. I dug with little smaller tools, knowing I could always go after it with the bigger ones later. Two parts later I had excavated some more, and a 4 mm #11, the width that felt too big in part 9, fit again. And in part 6 I looked at a #7, called it a little too big, then caught myself. I'm sorry, too small. I need bigger.
Six of those switches, in the order they came.
| Moment | Trouble | Switch | Result |
|---|---|---|---|
| Rounding the pipe | the #8 dug a pass too deep | Flatter #3 | it rode the ridge with care |
| Inside the curl | the wide #7 stopped fitting the hollow | Narrower #7 | same sweep in a narrower width |
| Going up, wiggling | wiggling wanted a tool without extended wings | Half-round #9 | a true half round, no wings |
| After the undercut | undercutting had left a big enough opening | Number seven | instead of a short front bend |
| Under the leaf | a narrow #11 made the edge move | Micro #3 | thin steel, many small cuts inward |
| Last pass inside | tool marks left by the smaller gouges | Bigger #7 | sharpened first, ridden with no pressure |
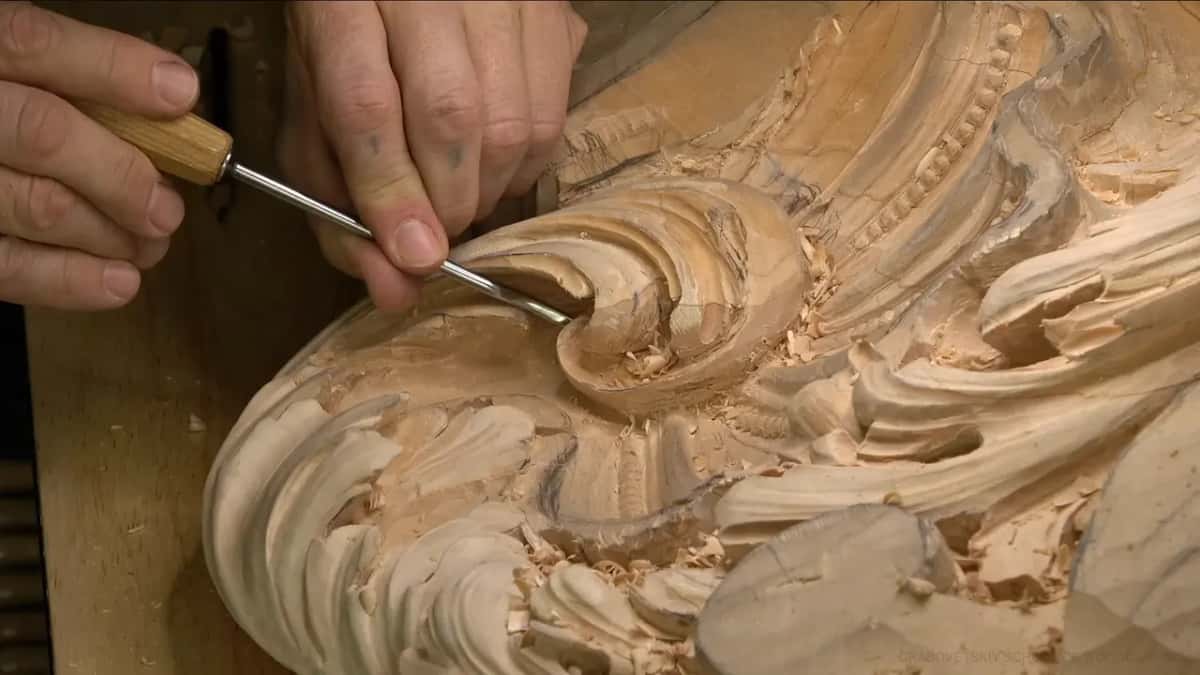
What does one tough spot look like, tool by tool?
It looks like part 10, almost nine minutes in one corner of the head. I chopped in with the #7, cleared with a #11, and went up at 2 mm until the edge moved. The micro #3 took several thin passes inward. A small #8 by Dockyard lifted some waste a bit deeper, though not too deep, because I really need a smooth transition there.
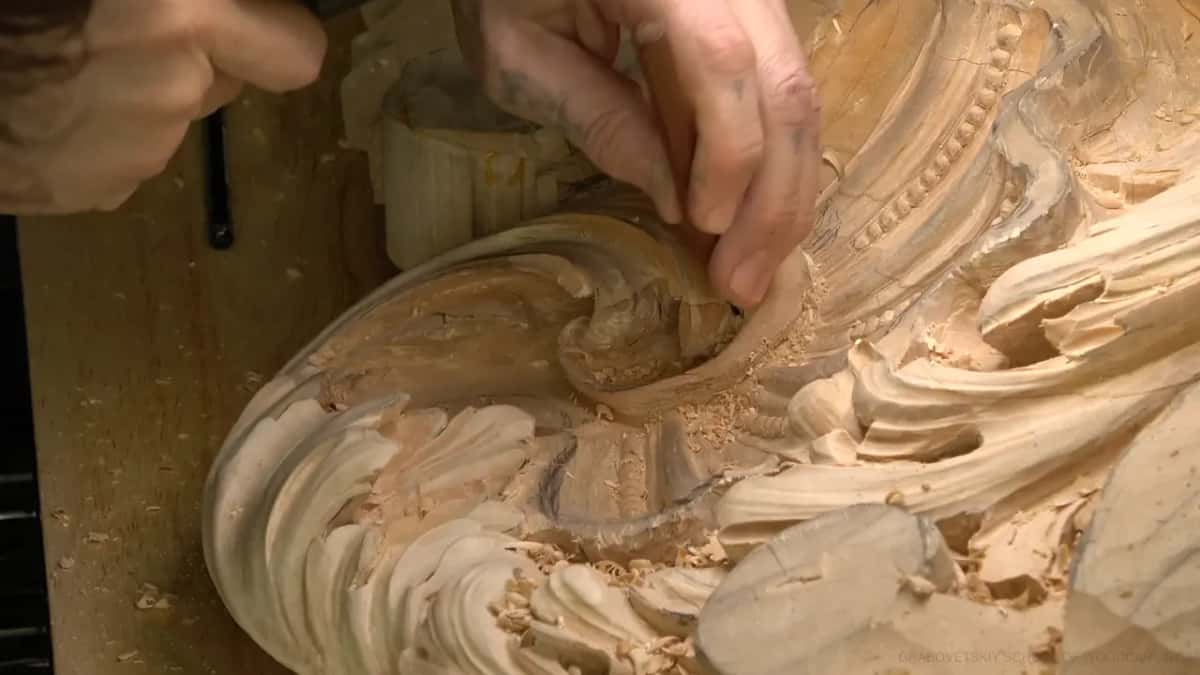
A back bent #5 at 6 mm (1/4 in) cleared some material on the backside of that movement to give me more access, and bent gouges are a subject of their own. Then the 4 mm spoon, back down to 2 mm, a tiny #3 for one triangle that kept bugging me, and at the end a half inch (13 mm) #7 to make the inside smoother. You are just digging, digging, and digging inside the wood, one width after another.
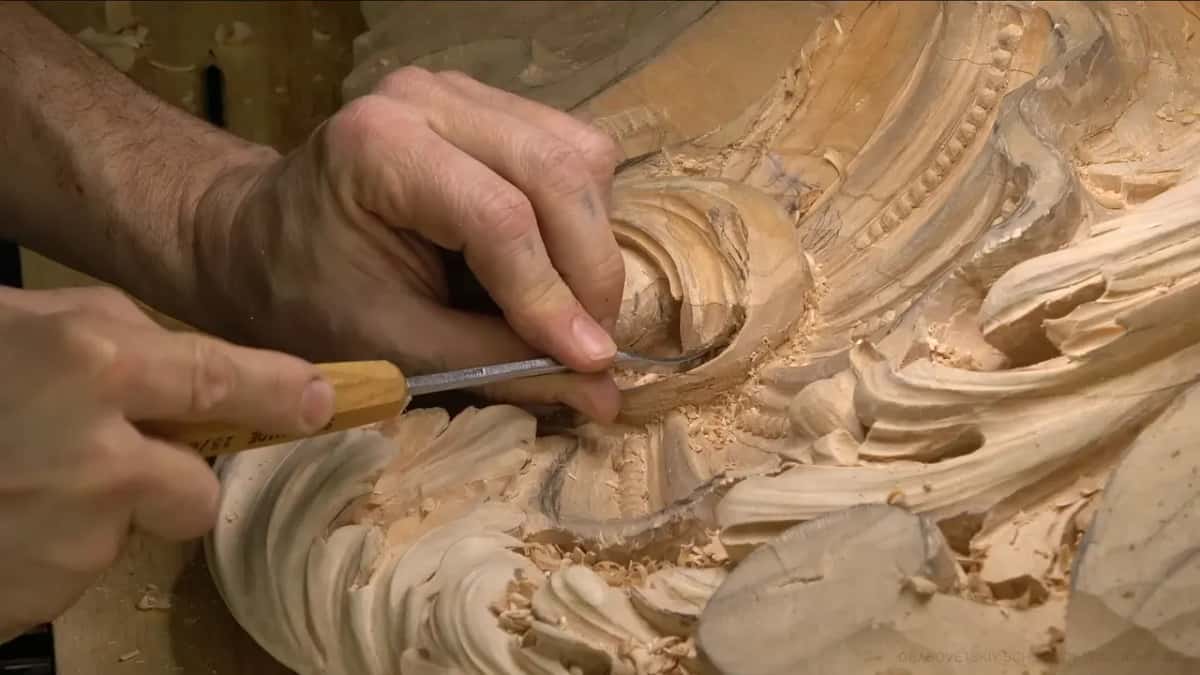
How do you smooth a hollow that sandpaper can't reach?
With the widest sharp gouge that still fits, pushed very lightly. Inside that dome I can't use sandpaper, and I said so out loud while I worked the #7 spoon, half an inch (about 13 mm) wide, around the inside. So the gouge has to leave the surface the way I want it. Before the last pass I made sure the edge was razor sharp, and that is a whole course of its own. The tool rides on top and shaves by itself.
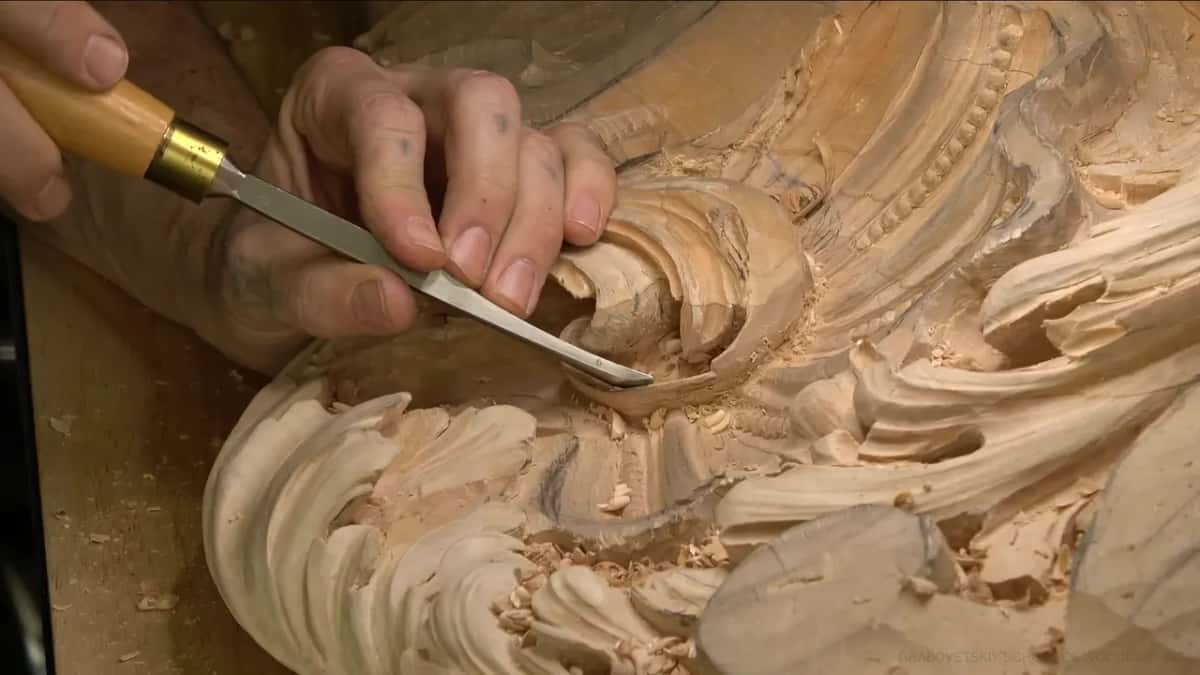
I moved the tool toward one direction on purpose. Even if I leave some tool marks, they point your eye to the right movement. Where an S curve did not look right, a flatter #5 and then a bigger #5 softened it. Using the #7 at 10 mm (3/8 in), the passes were almost shaving, not digging, and even so its sweep was too big for that spot, and I said I needed maybe a #5.
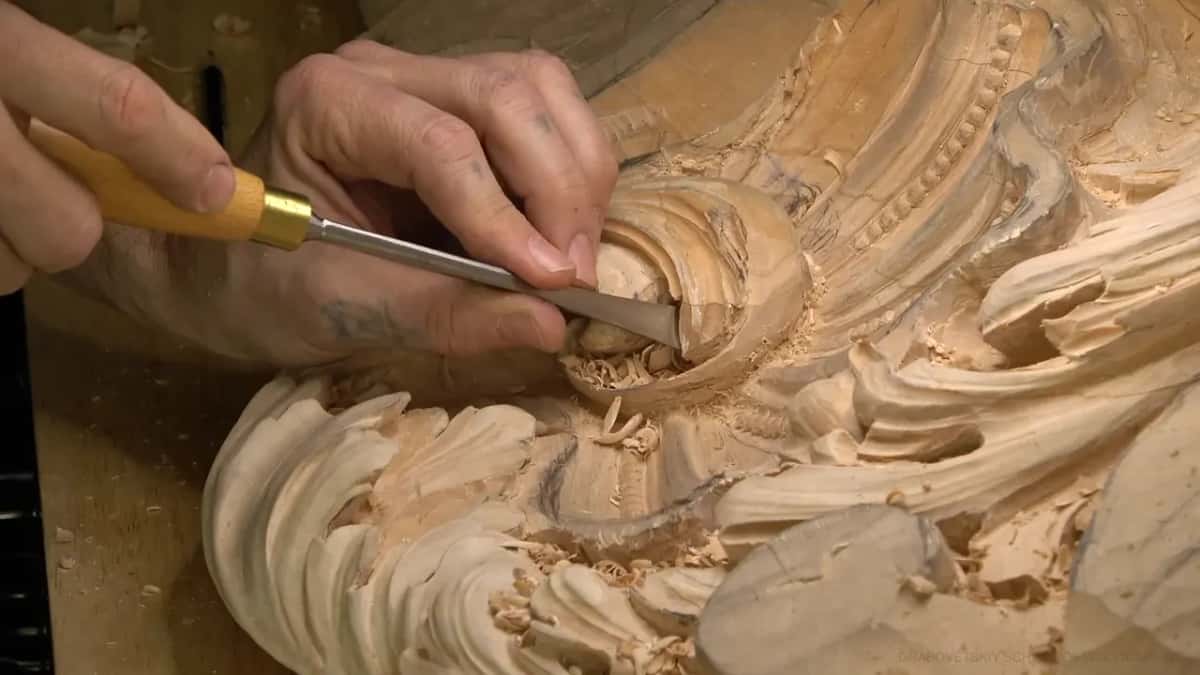
A rasp handles some of this where it fits, and the rasp page from workshop 10 goes into it. Scrapers have their own page, and the Byzantine leaf page explains why sanding is refused on that leaf. Near the end of part 12 I tried a big rasp on the upper part, found it too extreme and too big, and went back to the old way, just the gouge.
What else happens in workshop 18?
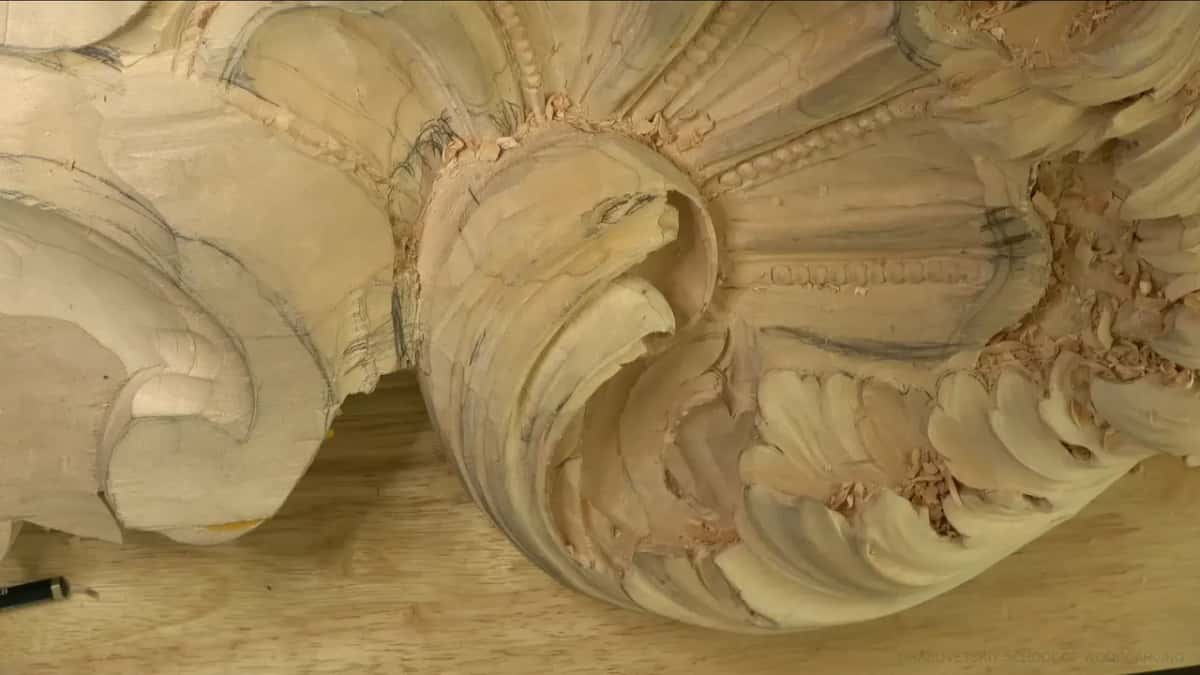
The twelve videos finish the inside of the head and then turn the camera to the top. Around that head the leaves interlock, one curling inside the next, and much of the work happens where no camera can follow. I say sorry for that more than once, and once for the color of my hair, when my head got between the lens and the wood.
At the end of part 12 I stop and think about the next movement. Another acanthus movement will come across that area from the other side, and a curl going the opposite way would not complement it. It would look wrong. Maybe I should work another area until I'm ready, I say, and the video ends with me still thinking.
Workshop 18 is twelve videos, about an hour and a half, and it sits inside the tuition with the rest of the room. The lesson before it is workshop 17, workshop 19 carries on from here, and the panel itself starts back in workshops 1 to 12. It is wood carving for a room copied from 15th century Venice, the city of the Venetian Gothic and the Ca' d'Oro, done one hollow at a time along the grain.
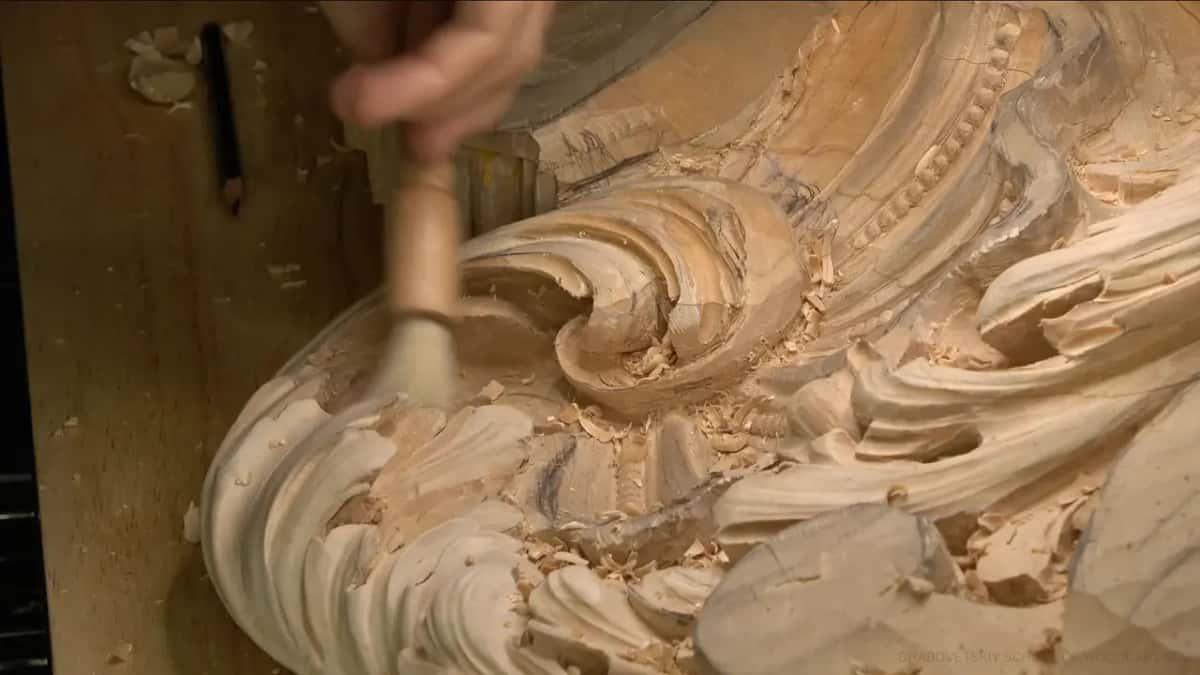
Would you like to try it on one hollow of your own? Pick the width for that spot, start with the larger of two, and change the moment the wood moves. Brush the chips out first, so you can see what you are doing.
How it's done
- Try the larger size first. When two sizes could work, begin with the larger one. Drop down only if the edge will not fit or the wood shifts.
- Watch the wall beside the hollow. The moment a thin wall shifts under the tool, stop. Switch to a narrower, thinner gouge and make several light passes.
- Push by hand in weak spots. Set the mallet down once earlier cuts have stressed the wood.
- Check the opening again. After an undercut, see whether a wider gouge now fits. If the spot needs the wing of a U, lay the tool on its side and let one corner work.
- Finish wide and sharp. Hone the widest gouge that still fits, ride it with hardly any pressure, and let the last marks run with the movement.
- Look from below. Judge the hollow from where people will stand before you call it done.
Frequently asked questions
Do small gouges go with a mallet or with hand pressure?
By hand, once the wood has taken stress. In workshop 18, after earlier cuts had stressed a spot, I set the mallet aside and pushed a narrower #7 by hand to lift the waste. The mallet came back for rough shaping, and later to drive a gouge a little further along an inside edge.
Should a gouge be sharpened before you switch to it?
Sharpen it first if the edge has gone at all. I stopped to sharpen a smaller #7 before its first cut in workshop 18, and made sure a bigger one was razor sharp before smoothing the dome. When the edge is right I put no pressure on it, and pressing hard beside a thin wall is how an edge breaks.
Why not dig as deep as a narrow gouge will go?
A deep hole has to be cleaned afterward, and in workshop 18 I kept a plug shallower than I could have, because cleaning it deeper would have been hard. Where the spot still allows it, a 1 mm (1/32 inch) #11 can take a hollow a little further.
What to carve next