
Alexander Grabovetskiy, woodcarver, School of Woodcarving · Published 2020
How do you carve the wavy edge of a shell?
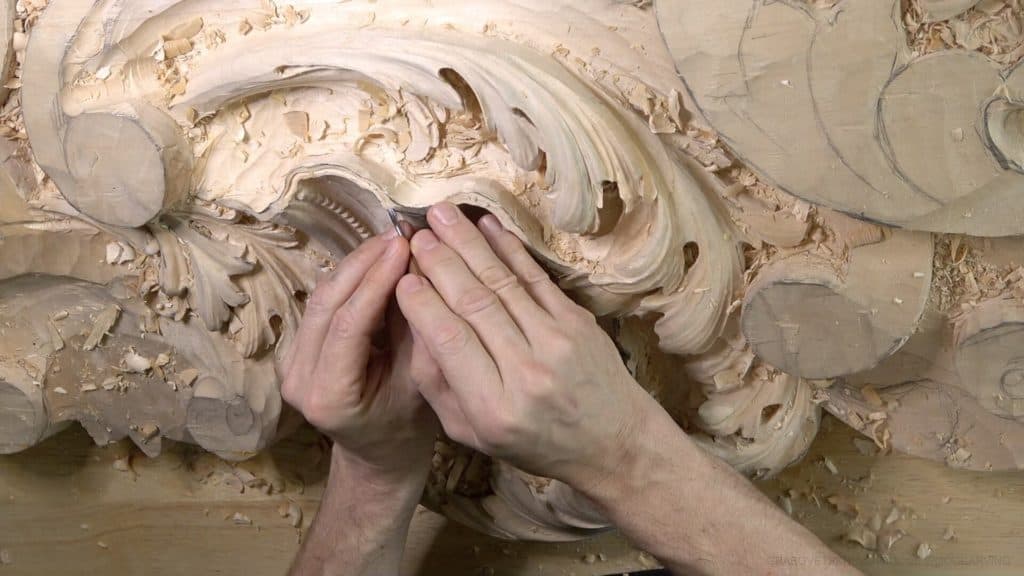
Quick answer: A wavy shell edge is made by repeating each line of the shell on its rim as a notch. On this Venetian panel I first knocked the sections flatter with a #2 and a mallet, then carved the notches with a #9 and redrew the band about 6 mm (1/4 in) in, by eye.
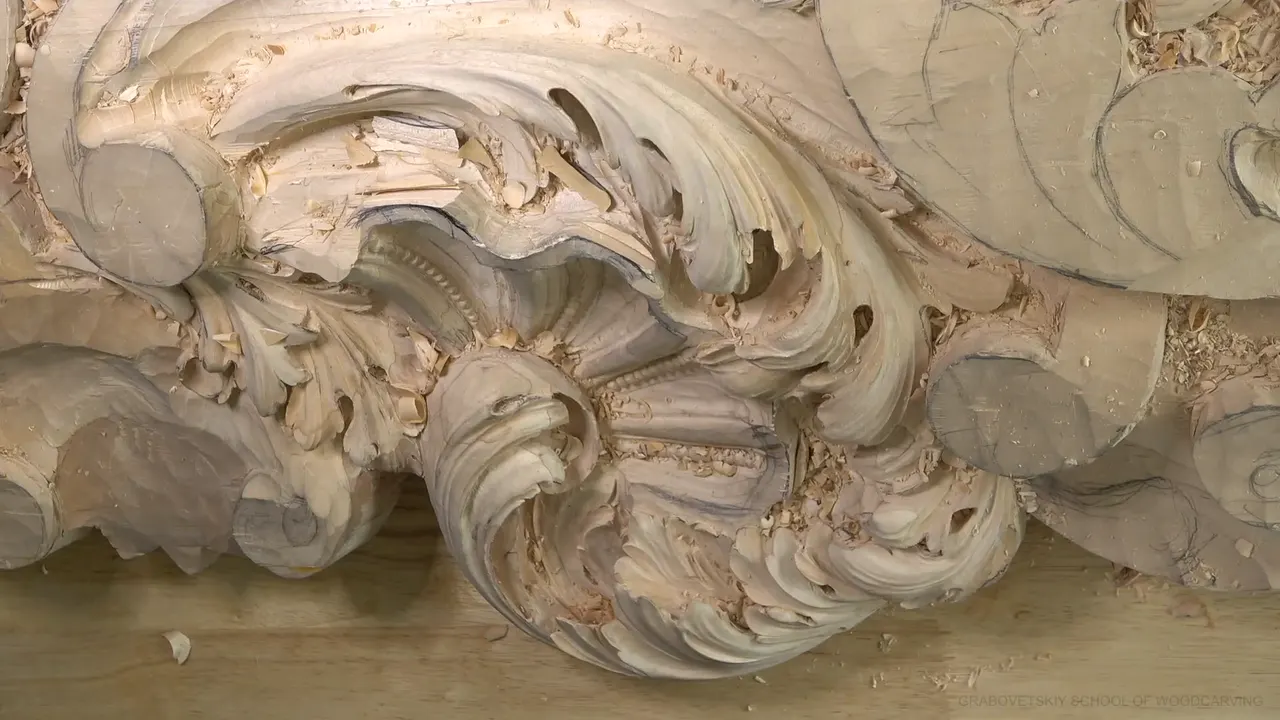
The wavy edge of a carved shell is the shell's own lines, carried out to the rim and carved in as notches. I do it by hand with gouges. In workshop 23 of the Venice Room the notches came from a #9 gouge, after a #2 and a mallet had knocked the sections of the shell down flatter. If you are learning how to carve a shell, this is the second pass, and the first pass on this shell is back in workshop 5.
Would you like a shell whose rim follows its own lines? Do you want to know which gouge goes in first, and how much wood to keep back for it? Then flatten the sections before anything else, and carve the notches after.
I have been carving for over forty years, and at this stage of a shell I still talk to myself, out loud, on camera. The order I followed on this commission fits a small shell on your bench too.

The second pass on this shell, move by move
Leave the sections thick on the first pass, because the final form gets carved out of that extra wood.
Flatten each section until its sweep turns shallow.
Follow every line of the shell outward and repeat its movement on the rim as a notch, and keep going until the whole edge waves.
Draw a fresh line a little in from the edge, by eye.
Clear the waste in the middle down to the level of the carving beside it.
Stop when the edge is almost perfect.
Leave out a curl that Venetian carvers of that period rarely carved.
Why was the shell left so thick?
Extra wood gave me room to develop the shape. When I came back to the shell in workshop 23 it still had a semi-finished look, with a rough concave in the middle, and I had left the extra material there on purpose. It wasn't even the final shape yet. The rough concave could wait for a bigger gouge and nicer passes later, since that was not where my attention belonged right then.
Later in the workshop I said it plainly on camera. I left it much thicker in the first rough passes because now I was setting the final form, and I did not want to go back and redo it.
One section I held back for a simpler reason. I might carve some movement inside it later, maybe, maybe not, and that takes wood.
How flat should a Venetian shell be?
Flatter than mine was. The first thing I said about it was plain, it should not be that round. As far as I understand how they carved back in the days of the Venetian republic, the shell should follow just the outline of its own movements.
Each section had too much curve in it. In the style they carved back then, a section sits closer to a flatter, lesser sweep, so I knocked the curve down in pretty much every section.

I did it a little at a time. Knock one part down, check it from the side and from the bottom, the way it will be seen up there, then move on until the whole shell has a nice gradual movement. I checked it twice before I believed it. For the heavy part I took a #2, almost flat, with the mallet. Always quicker with the bigger tool. I said it twice, and I meant it both times. Then I told the camera that part was done, and in the same breath, that it was not the end yet.
Where do the notches go on the rim?
Every movement inside the shell gets repeated on the outer edge. I followed the lines and carved a notch around each one, and wherever a line moved, I brought that same movement out to the rim, so the edge turned wavy.
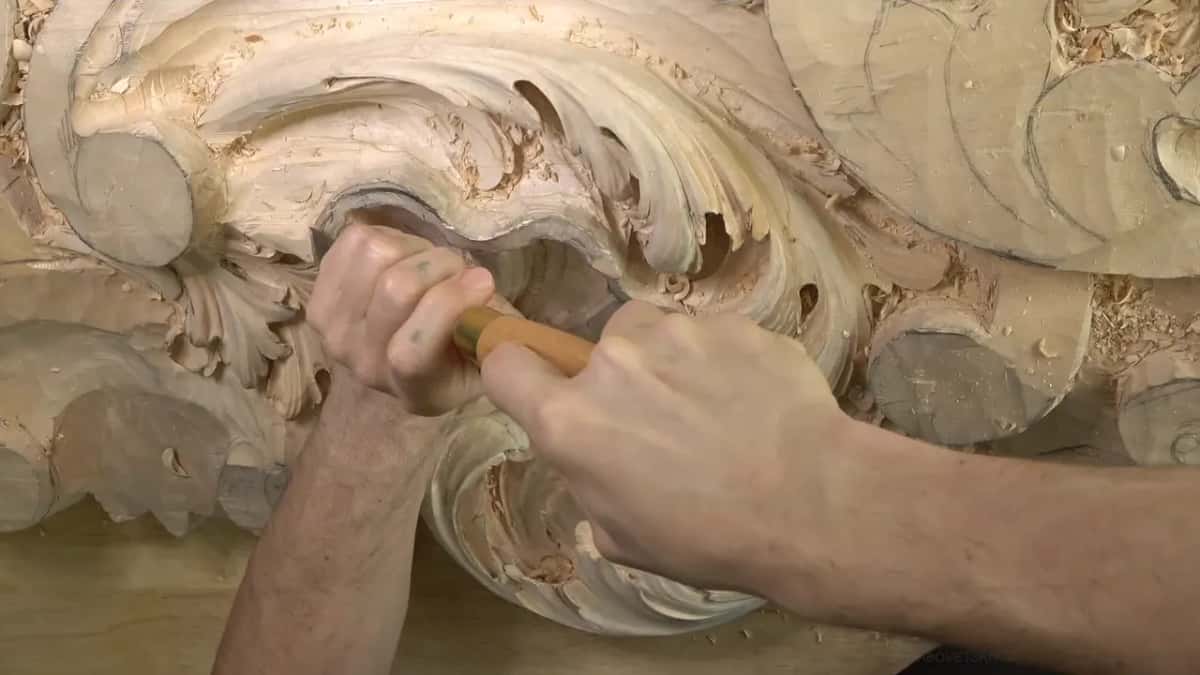
For the notches I thought about a #8, or even a #7, and settled on a #9, 10 mm (3/8 in) wide. I kept an eye on the distance too, about a quarter inch (6 mm) at that point, and I didn't want to overdo it.
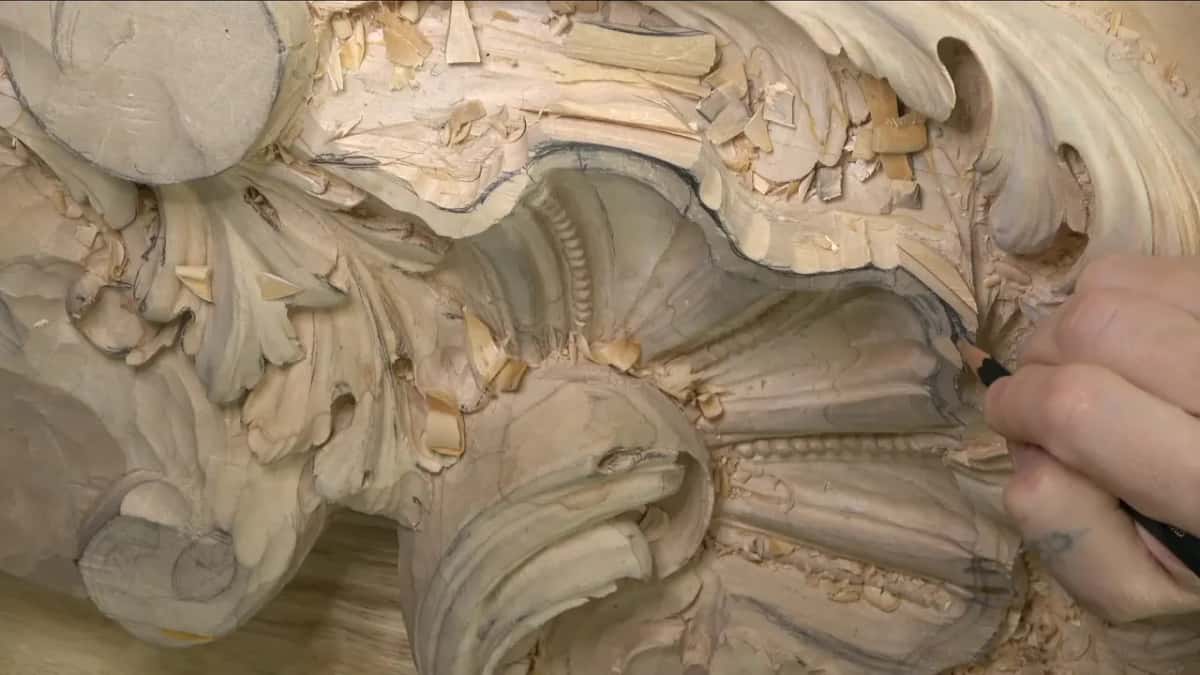
Some notches were easy. The line went one way, so the notch went that way too, and the next one came just as easily. One spot was almost impossible to plan ahead of time. I carved a first notch there anyway, because I thought we could do something really nice with it. It has to be a really nice movement.
The method is plain. First I knock some of the waste straight down, then I repeat the movement of the line right there beside it.

Which gouges does carving a shell edge take?
A handful of them, one after another. Around the edge I wanted something flatter, a #5 or even the #2. The #5 went first. I couldn't use the #2 yet, so it came after. Next came a #7 of 14 mm (about 9/16 in). Looking good by then, and still not finished, so I tried a skew to clean the surface a little. Lots of junk came off, and I double-checked the movement.
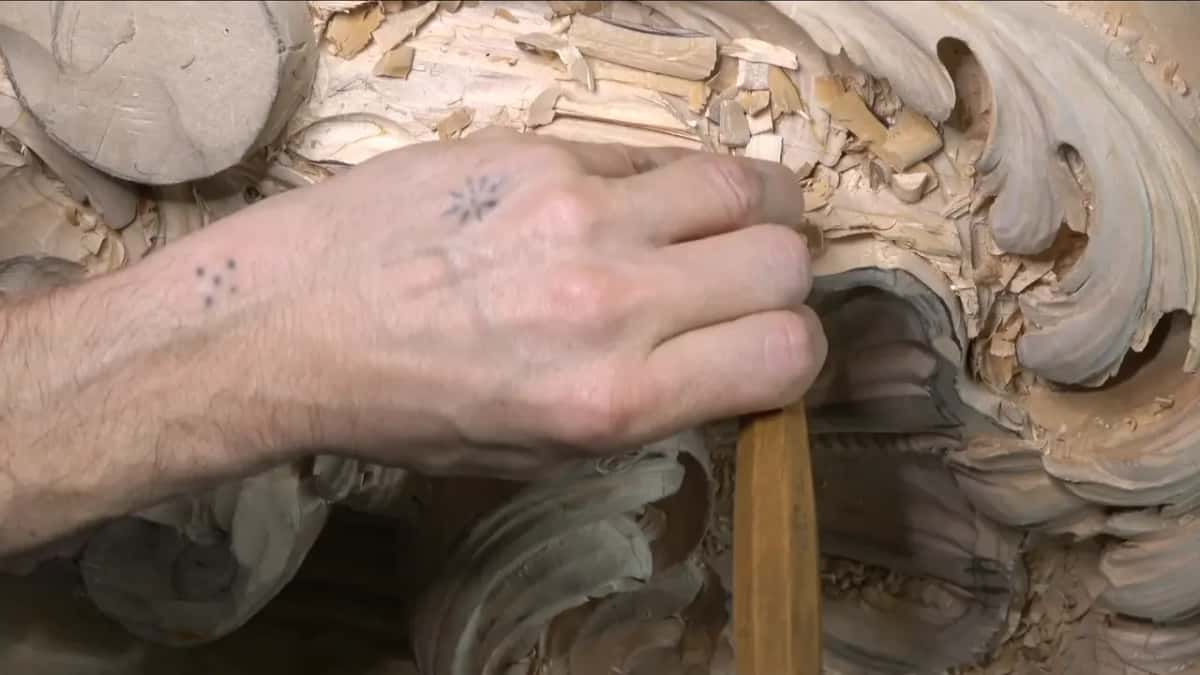
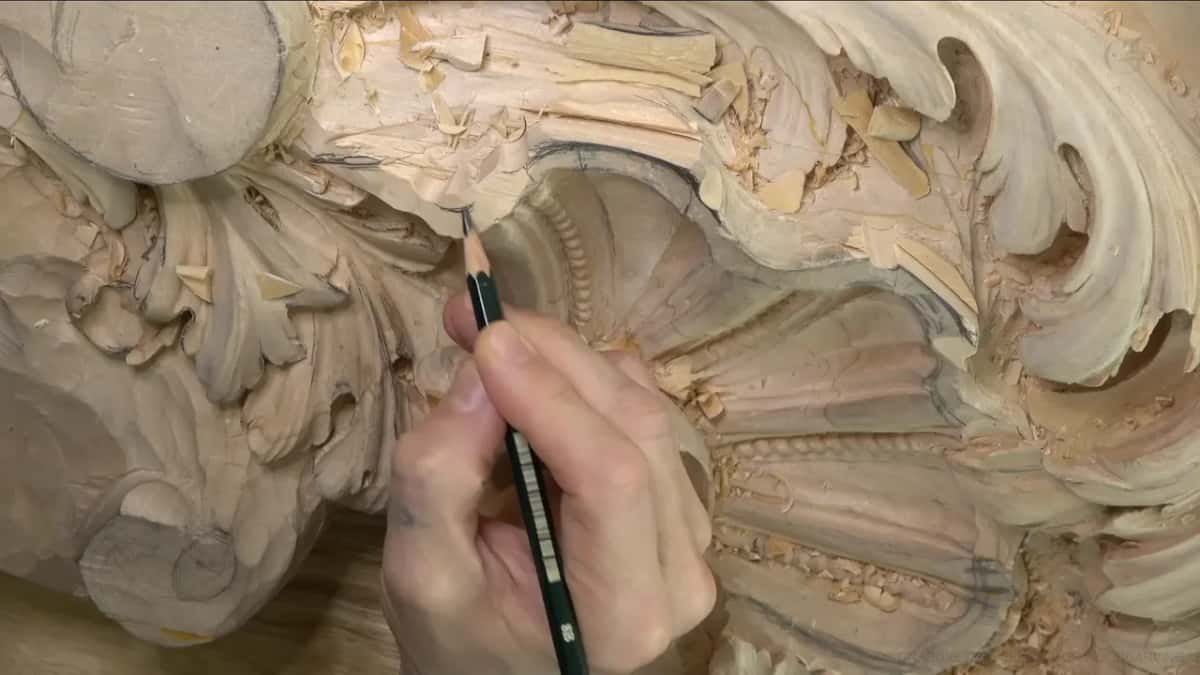
The pencil marks had left a lot of graphite dirt on the surface. This room gets painted, so it would not have mattered much, but I cleaned it anyway. Clean wood lets me see my outline much better.

The main tools from the shell's second pass are below, roughly in the order they came out. The numbers are sweeps, and each gouge is a sweep and a width together.
| Tool | Job | Where |
|---|---|---|
| Flat #2 and mallet | took each section down until its sweep turned shallow | most sections |
| The notching #9 | carved a notch for each line, and the rim went wavy | outer rim |
| Then #5 and #2 | circled the rim, the #5 first and the #2 after | rim edge |
| Wider #7 | worked the edge after the flatter gouges were done | rim again |
| Skew chisel | cleaned a little off the face once the waves were in | the surface |
| Narrow #9, 6 mm (1/4 in) | relieved the new line before I carved right up to it | band line |
| #9 or #8, wide | cleared the mess inside in small bites | shell middle |
| Bent #9 | got in where a straight tool would not | under the scroll |
| Bigger #11 and mallet | went deeper with some help from the mallet | the hollow |
| Smaller #11 | carved deeper still and cleaned up after the back bent | same hollow |
| Upside-down #5 or back bent | cleared wood below that was blocking the other tools | below the edge |
Anyone new to sweep numbers can start with the course on tools.
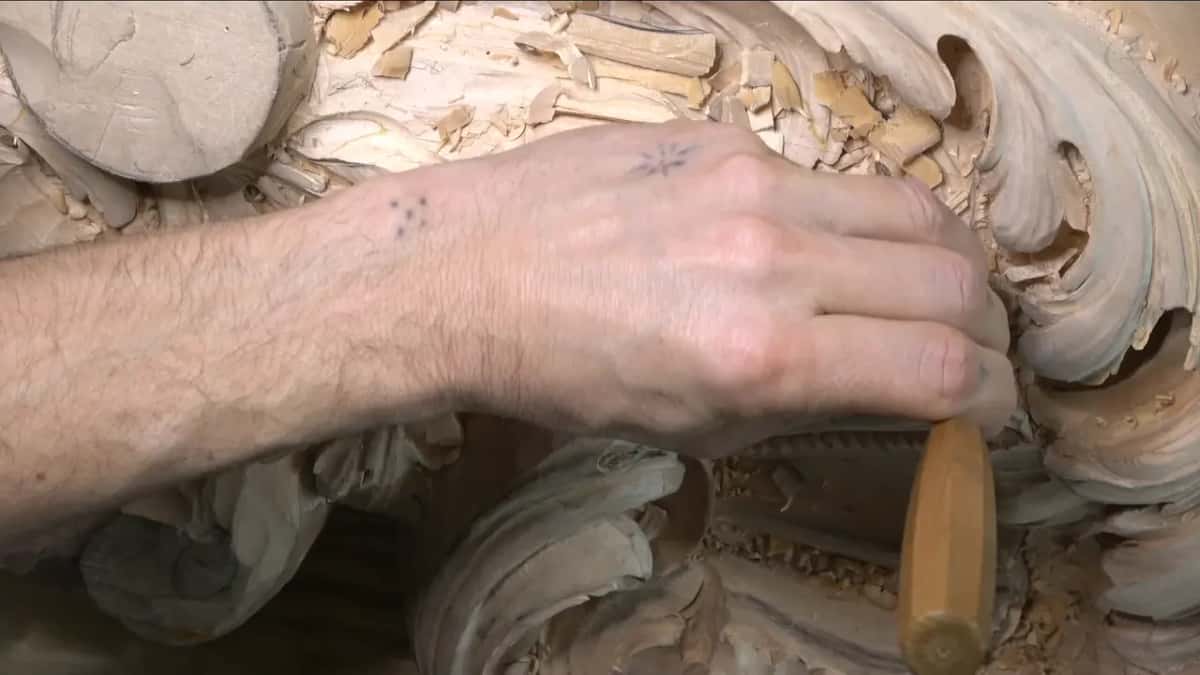
How far in does the new line go?
About a quarter inch (6 mm), and I set it by eye. Once the waves were in, I sharpened my pencil for a better line and drew it around the shell. Now I can get exactly a quarter inch, I told the camera, and then I admitted I wasn't measuring it. The line followed whatever shapes I had on the inside. Every bit of the way around. I kept saying about, because the shell was not completely what I wanted to see yet, and where the inside needed a small fix I made one, since a fix like that doesn't hurt anything.
Where the line was ready I could carve right to it, and where I had not finished, I stayed a little farther off. First I relieved it using a #9 of the same width, because I didn't want to make a mistake there. I didn't want sharp transitions either. The movement along that line has to be soft.

Another wave went in with a #7. After that I had to be more careful, and I wanted the edge almost perfect. Not really perfect, almost. The middle of the shell could wait.
I asked myself on camera whether that edge needed an undercut. Seen only from below, it looked unnecessary to me, so it got a little and no more. Where the side view catches it, I left the undercut for later.

Where does the hollow inside the shell stop?
At the level of the acanthus next to it, and not a hair deeper. With the rim set, the inner part had to come down, because it was going to become part of the outer shell.
I cleared the mess inside with a #9, or a #8, about 5/8 in (16 mm) wide. That gouge was a little too big in one spot and absolutely perfect in the next. Little by little, with control. I did not want to destroy the work I had just finished. Underneath, I started on a #9 again and carried on with a #11, because the inside needed a really nice, gradual movement.
So much mess built up inside that I could hardly see. Some of the waste sat hidden right underneath, and I went in after it carefully. Even a 1/2 in (13 mm) gouge was too big for parts of it, and in one place I was carving against the grain, which is not the best technique. Carefully, carefully, carefully, I kept saying.
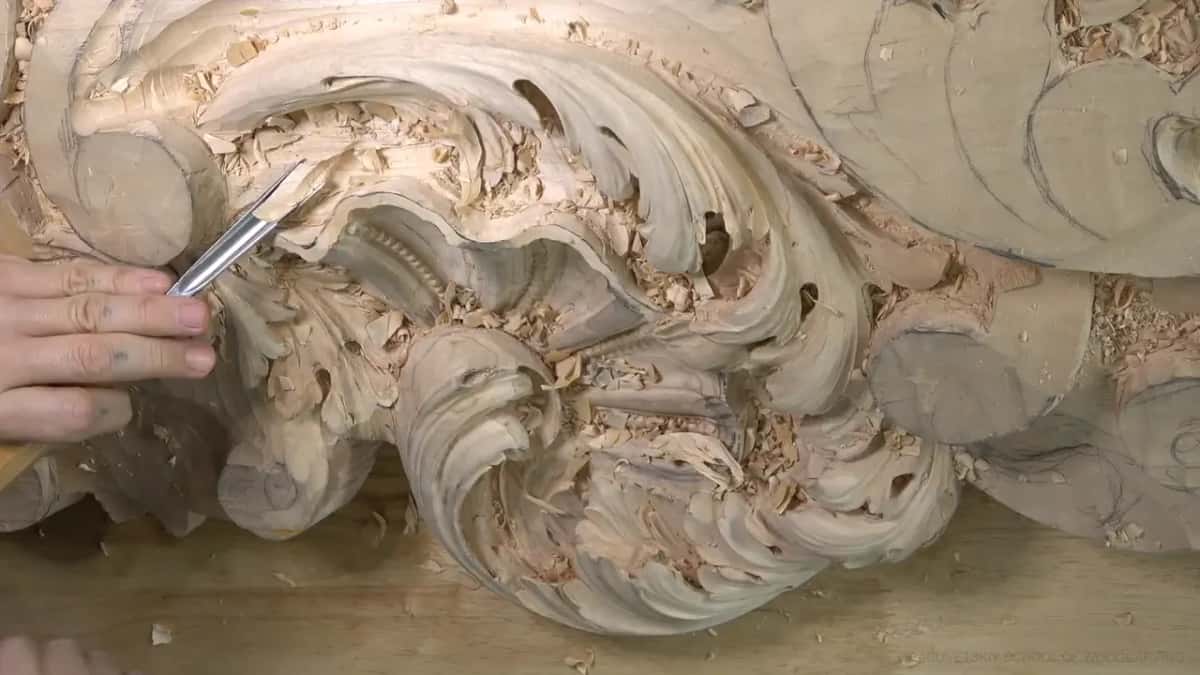
I could have put more detail in there. I chose not to. That much detail would crowd one area with the same movement, and there is such a thing as too much.
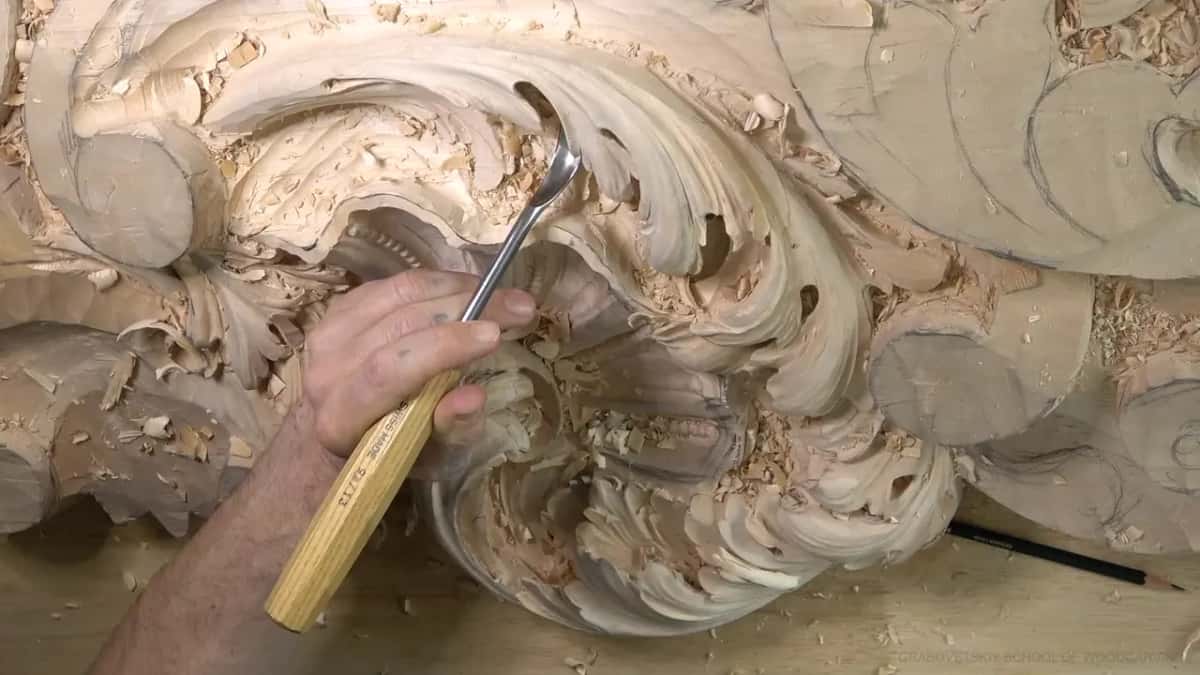
Under the edge a straight tool would not reach, so I took a bent #9, 13 mm (1/2 in), and went in a little at a time. Then the mallet helped a 10 mm (3/8 in) #11 go deeper, and a 5 mm (3/16 in) #11 followed it. Where too much wood underneath blocked my tool, a back bent cleared it, and later a #5 turned upside down got close to the edge without making it too weak. I worked in from both sides until the two sides connected.
Along the way I checked the level. I was right there, even with the outside of the acanthus, and going deeper than that side would have been a big mistake. Deeper would not look nice.

Near the edge I wiggled the gouge a little as it went. That gives me much better control without putting a lot of stress on the wood, or on my hands. The surface it leaves isn't clean. Afterward I go back with a slicing pass, but as a first pass it works miracles, I think.
How deep the concaves on the leaf itself go was the question in workshop 22. How much undercut a piece can afford has its own page, and so does undercutting a leaf without making it weak. Dig too far and you can't get a finish in there at all, stain, paint or even a clear coat. My most three-dimensional flowers I leave bare for that reason.
Chips everywhere by then. I'm in the business of making chips. Somewhere in all that I cut myself and didn't notice until I saw the blood, twice in the same workshop.
Why did the shell edge get no flip?
A flip there would have looked a little different from what the Venetians did. One small spot was out of line with my design, and I could have undercut it and made it curl over. More Northern European, I said, and then I took it back, because a flip like that still turns up in Italian work, just rarely from that period.
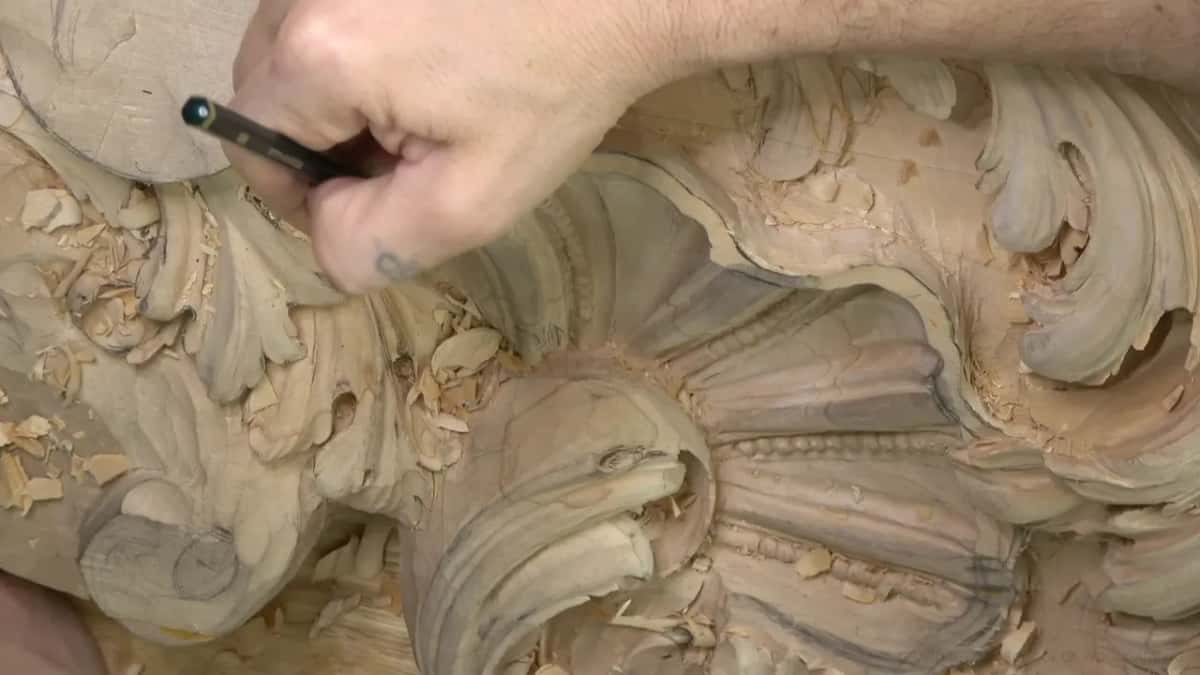
So I stayed authentic to the idea. I cleaned that spot up and made it easier to read instead, and I apologized for talking to myself while I hunted for the parts I didn't like. You will understand why I'm doing this, I promised. Give me a moment, and it will give me a beautiful design. Gorgeous movement. Rolling a leaf over on itself is a different matter, with its own page from workshop 16.
What happens to the shell after the waves?
A long pass with the #2, almost flat, all the way along. Then a concave went in along the inside of the rim with a 3 mm (1/8 in) #11, kept at least 1/16 in (1.5 mm) off each line, and that fine work carries on in workshop 24.
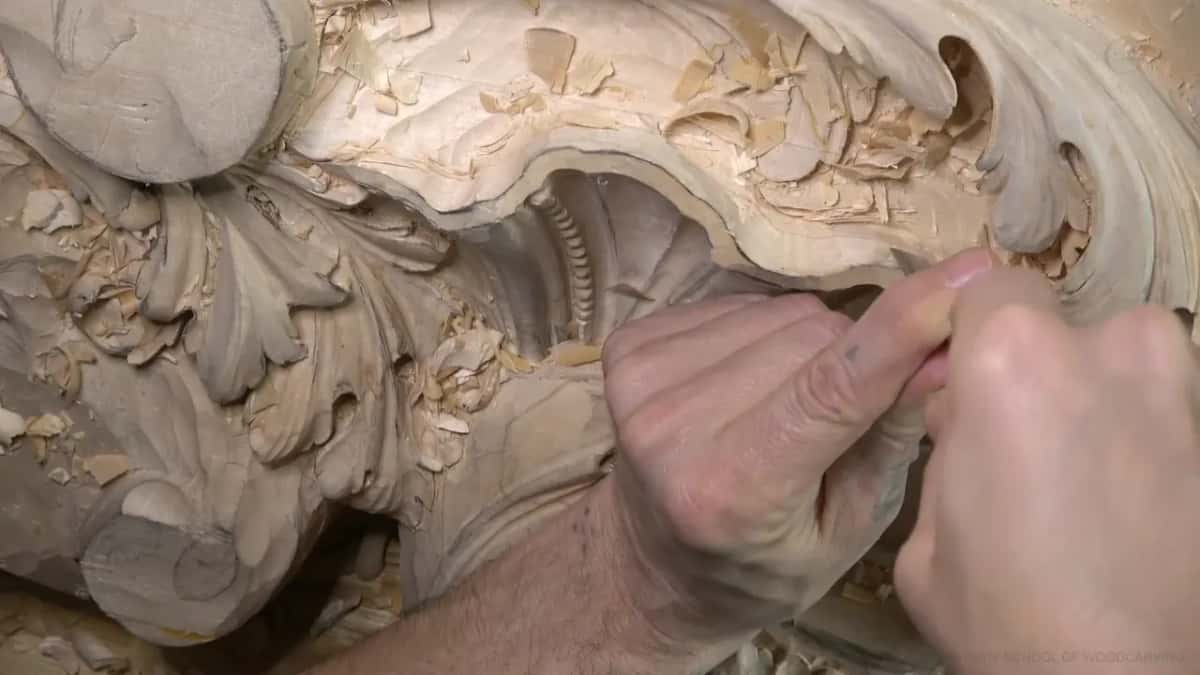
The inside also got a cleaning pass with a #5. Around the shell a #11 could have gone further, and I held it back so I would not overdo it, because the acanthus head beside it still needs work.
The upper part of the relief comes after the shell. This whole room is carved in lime.
If you want to watch each of these calls made at the bench, the tuition covers all fourteen parts of this room, from part 1 on through the next block.
Pick one section of a shell on your own bench, take the roundness out of it, and carve one notch that follows its line.
How it's done
- Leave spare wood. Rough the shell out thicker than you need, so the final form still has material to come from.
- Flatten each section. Drive a flat #2 with a mallet across the sections until the curve reads shallow, and stop often to look at it the way it will hang.
- Echo the lines outward. Carry each line to the outside and carve a notch there with the #9.
- Go around the edge. A #5 first, then the #2, then a #7 of roughly 9/16 in (14 mm) on the waves.
- Redraw the inner line. Sharpen the pencil, draw a line just inside the rim by eye, and relieve it with a narrow #9 before carving to it.
- Lower the middle to its neighbor. Take the inside down until it matches the carving next to it, working in from both sides.
Frequently asked questions
Should a carved shell have a sharp edge?
Keep the turns gentle. Along this rim I relieved the line first and carved up to it with no sharp transitions, because the movement around a rim has to stay smooth. A clean edge still counts, and I wanted mine close to perfect while the inside waited.
What does it mean to leave meat on a carving?
Meat is my word for spare material. On this shell I kept extra wood in one section because some movement might still go inside it later, and that needs wood. Sometimes the word meat comes out on camera, and then I correct myself.
What brush do you use to clear carving chips?
Any brush will do the job, and I mean any. Mine cost a bit more and it feels good to have, but a cheap one from The Home Depot or Lowe's, about $1, still gives you results. It just won't look as good.
What to carve next