
Alexander Grabovetskiy, woodcarver, School of Woodcarving · Published 2020
How do you make part of a carved leaf look like it grows from underneath?
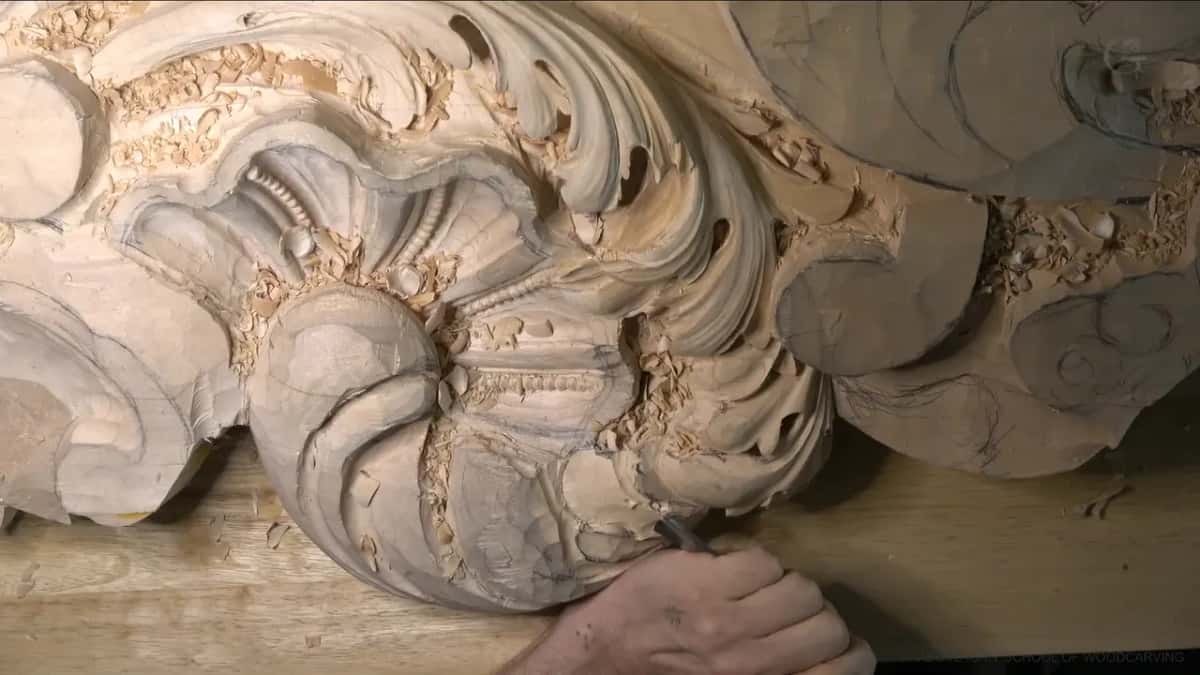
Quick answer: An underneath overlap on a carved leaf is a gouge cut begun with no depth at all beside an eye and curled inward under the upper lobe's edge, so a shadow opens there. On this Venice panel I used a 3 mm number 11 after a relief cut, then a 1 mm one to push that shadow deeper.
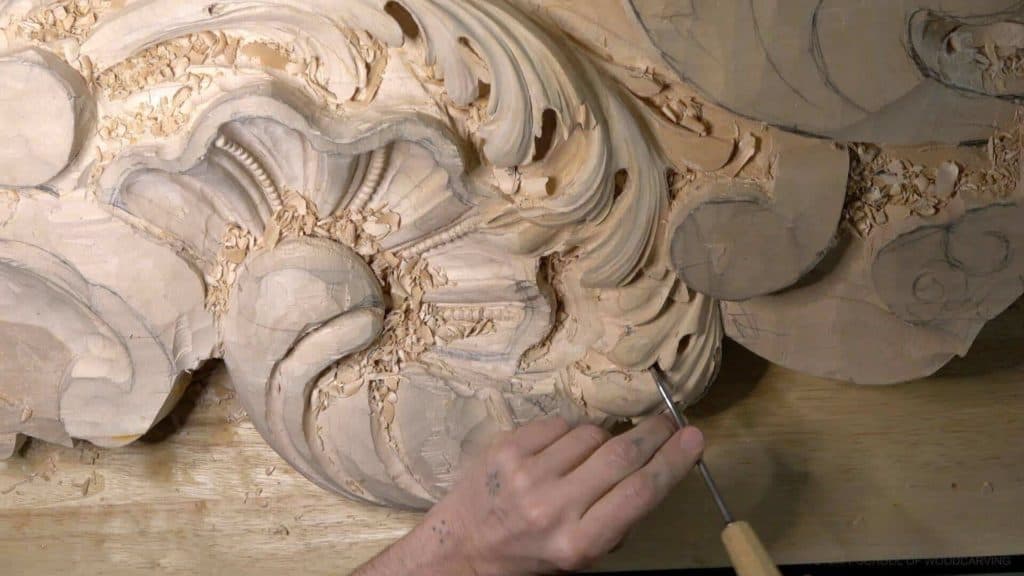
Making one part of a carved leaf rise out from under another is a cut that starts at almost nothing and curls inward, under the edge of the part on top, until that edge seems to come up out of its own shadow. This is acanthus leaf carving on a Venice room commission, and in workshop 13 I did it with a number 11 gouge, 3 mm (1/8 in) wide, and then went deeper with a 1 mm (about 1/32 in) one.
Have you ever carved two parts of an acanthus that were meant to overlap and ended up with two flat shapes sitting side by side? Did the upper one look pasted on instead of curling over? Then this is the cut to learn next.
I'm going to be honest with you. On camera this is one of the hardest cuts to see, and I apologize for that more than once in the lesson. But the idea behind it is simple, and I'll give you the tools, the order and the two places where I broke the wood.
How a carved leaf part grows from underneath in workshop 13
The upper part flips above, and the lower part slides in under it.
Relief cut first.
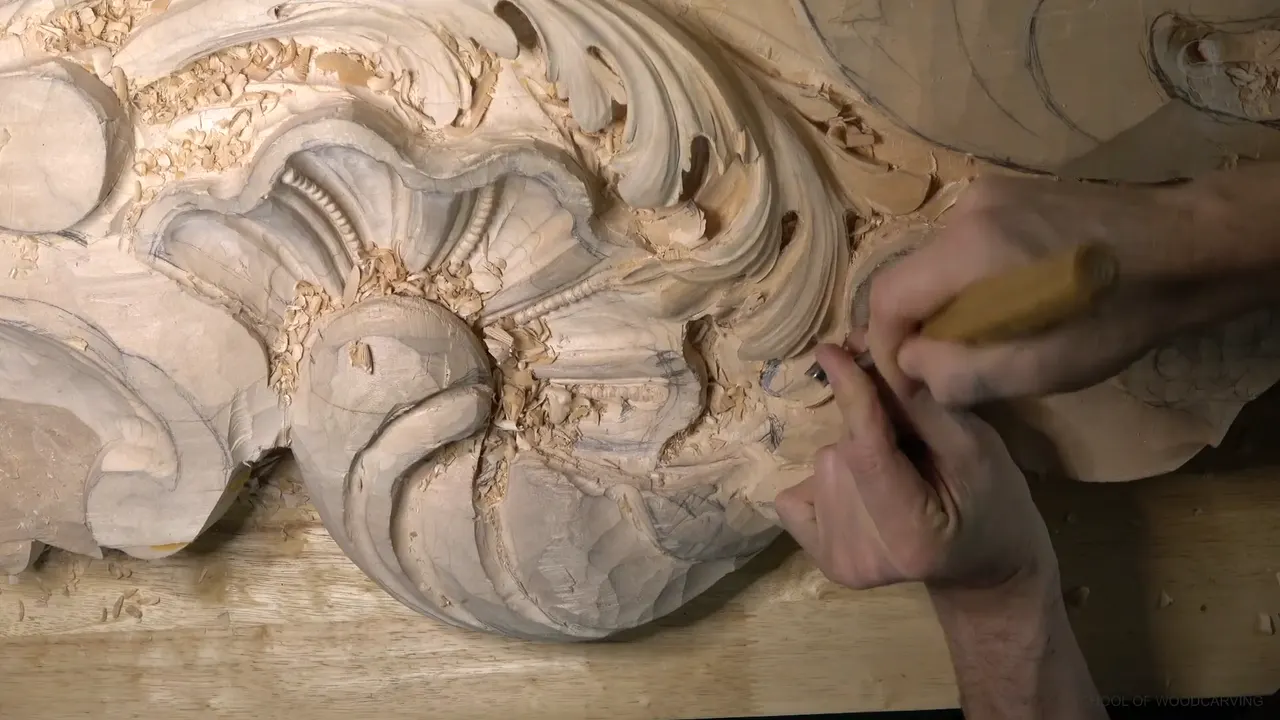
An eleven at 3 mm begins at zero beside the eye and turns in toward the upper edge, then slips under it.
Then a 1 mm eleven digs that shadow deeper.
I undercut early, before doubt sets in.
Small tool for the mess, bigger tool for one clean pass.
What does it look like when one part comes out from under another?
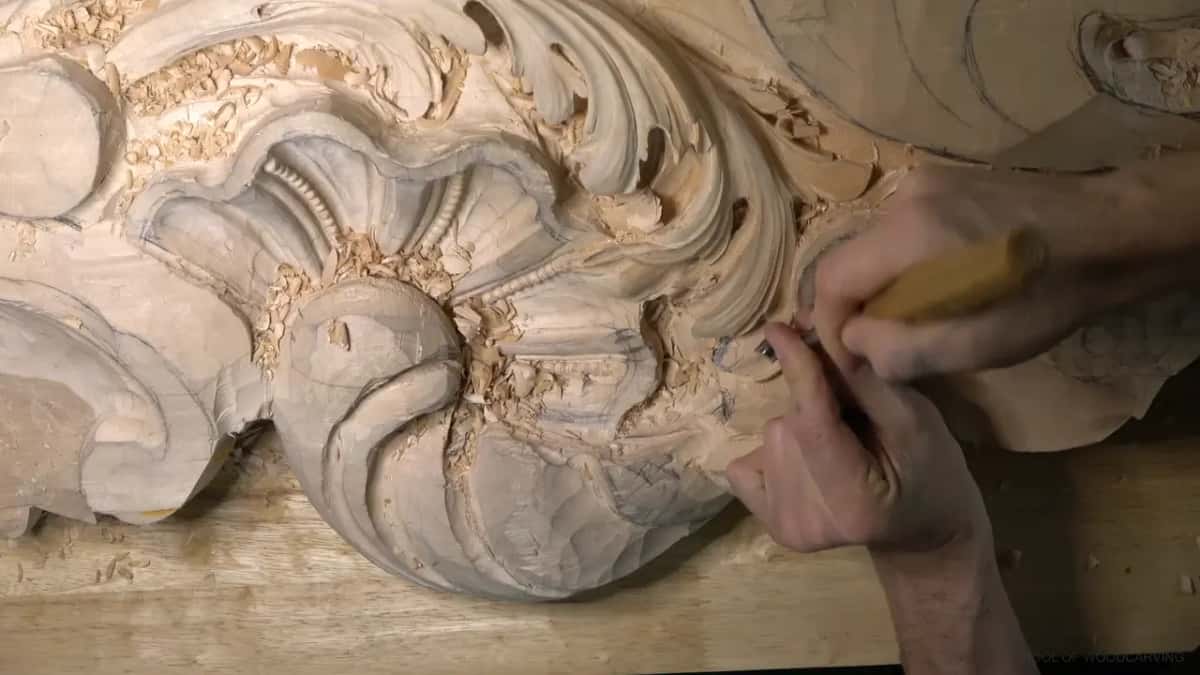
It looks like the top lobe is lifting off the leaf, with a dark line running under its edge. You see the edge, you see the shadow, and your eye believes the rest of the lobe keeps going down inside. Part 11 has me saying it about two lobes at once. This flips above and that flips above.
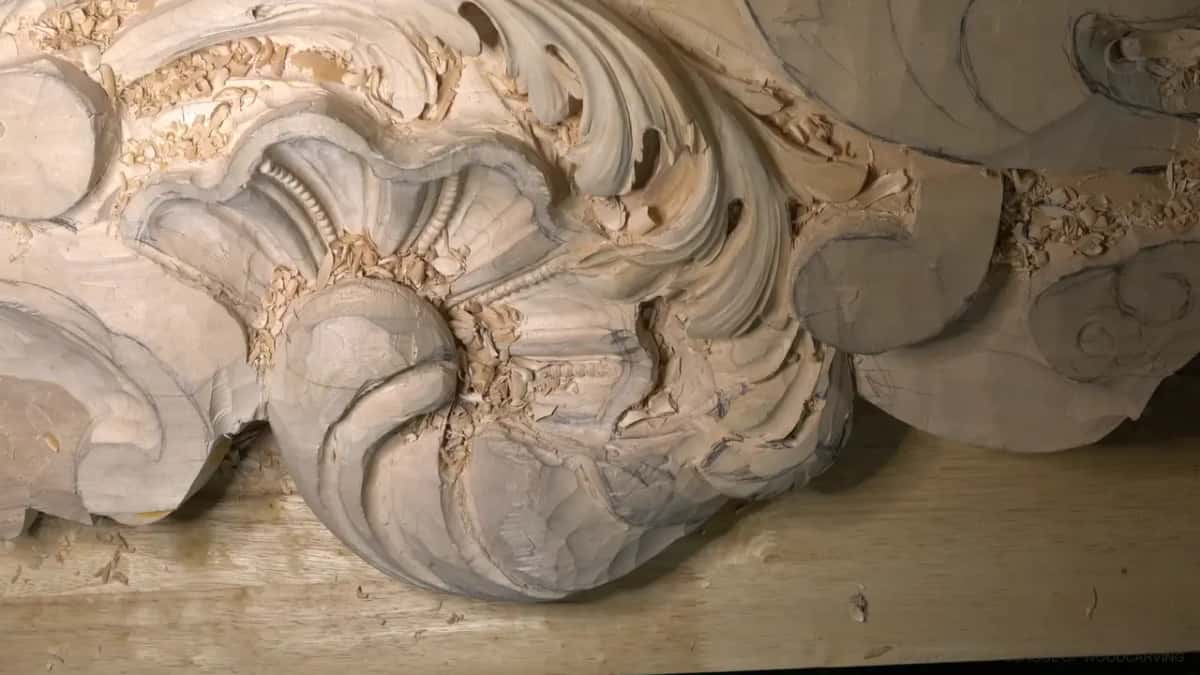
Now compare that with the overlap on my Greek acanthus leaf. There I stand a square wall against the leaf on top and drop the other one away from it. Here the wall does not stand straight at all. The cut slides under the upper part, so the lower part looks tucked in rather than pushed down.
Earlier, in part 3, I put in an extra separation and had to repeat it on the other side, to make it look like a detail going down on the inside. I know you don't see that on the camera, I said, but just believe me. Someday you're going to see the whole picture.
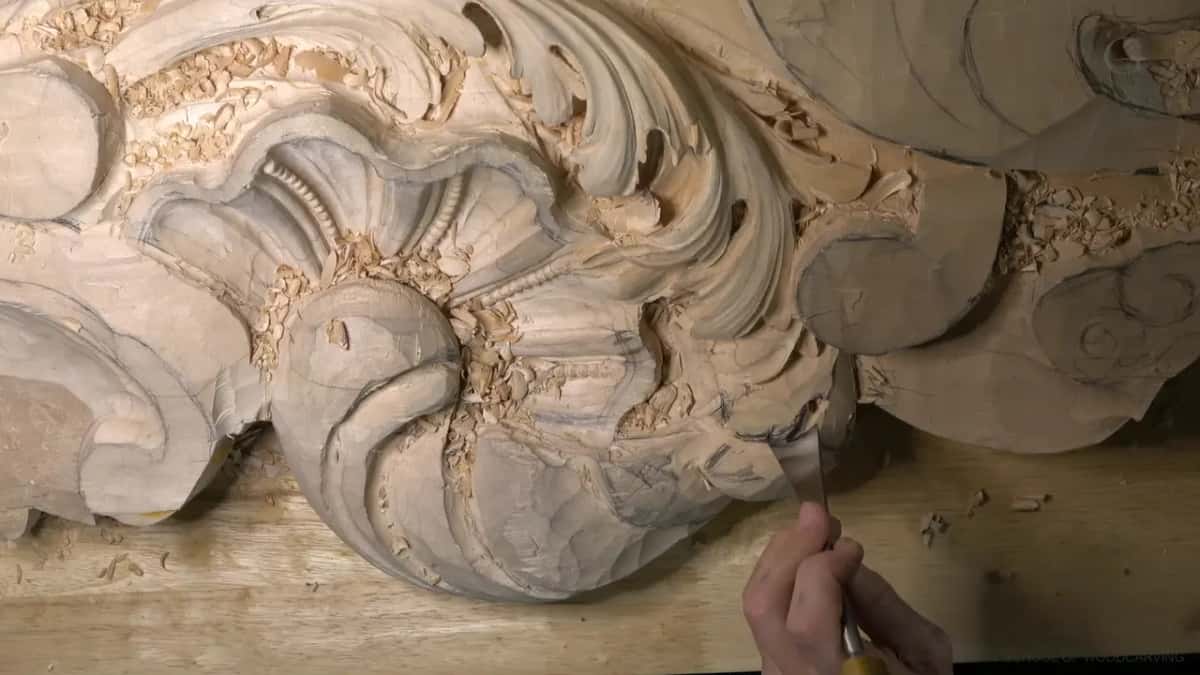
Why start the cut from almost nothing?
Part 6 shows it. I started the 3 mm eleven gouge at zero depth, right beside the eye, and moved around that eye gradually, gradually. Each pass went a little deeper, and near the upper part's edge the cut turned inward, under it.
Then I brought the cut right out to the edge. That's where it gives you the shadow. Beautiful shadow.
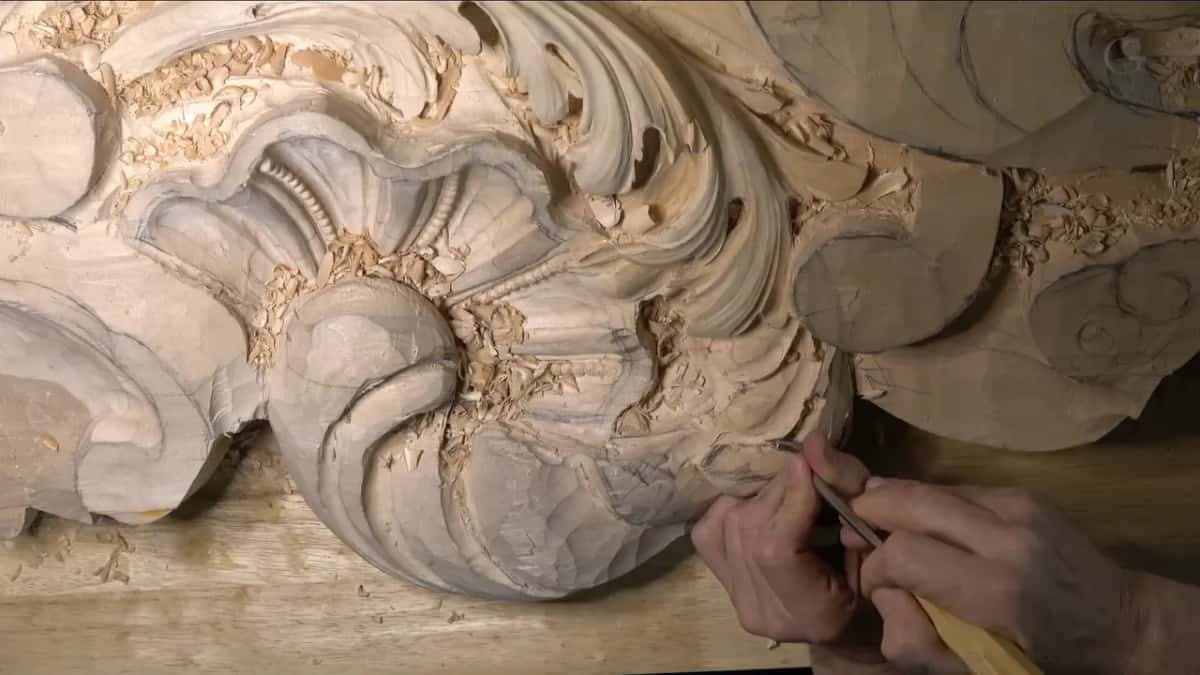
I did the same thing twice in part 6, on two lobes, and I said it both times the same way. I would start at zero and cut inward, so that part comes up from under the one above it. Those were close to my words, and the shape on the bench did exactly that.
On the second one I took a moment to start from the right position first. It helped. The cut came out a little longer than the first, because there was room for it.
Why go back in with a 1 mm gouge?
The 1 mm eleven follows the same line, because I wanted the excavation deeper under that edge than the first tool took it. On the first lobe I continued the cut with it right away and got the excavation even deeper underneath.
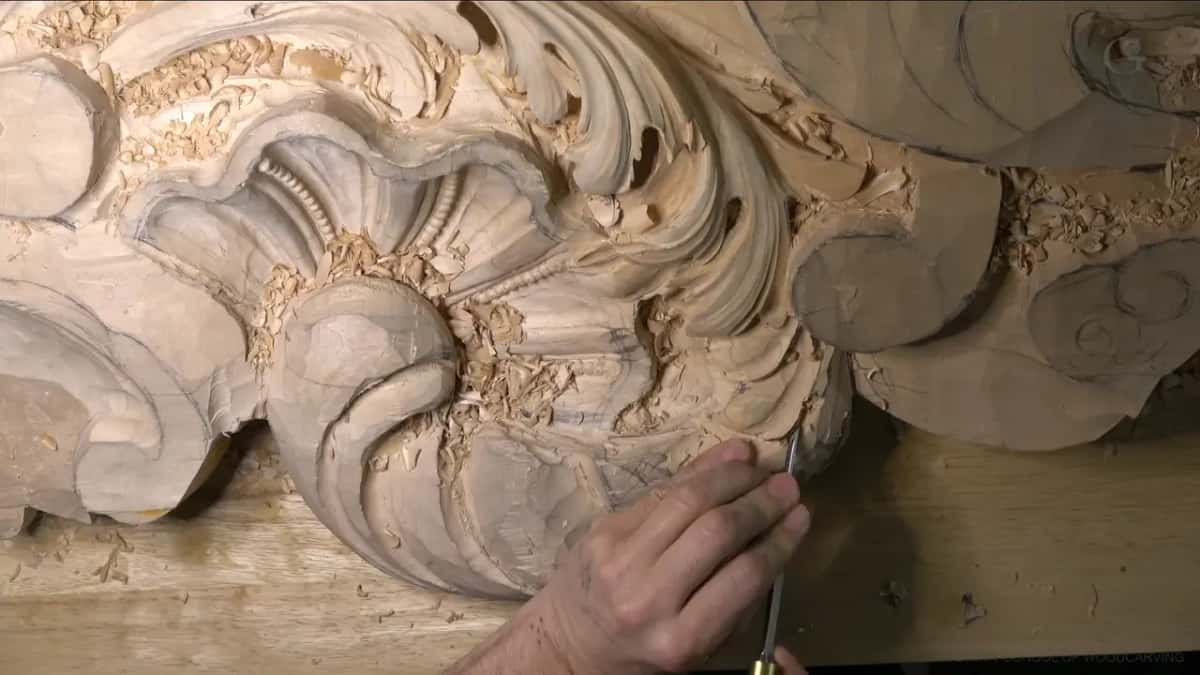
For the second lobe I told you I didn't think I would need it. I picked it up anyway. That little one is one of my favorite tools, so I did not need much of a reason.
Later in the same part I sank an eye with a small nine and stopped myself. I want to see some shadow, but not too deep. Earlier in that part I checked a detail and said it didn't look strong enough, so I hit that edge slightly using a number 3. How far you can take a shadow before the wood gives up is its own subject, and it lives in workshop 11 of part 1.
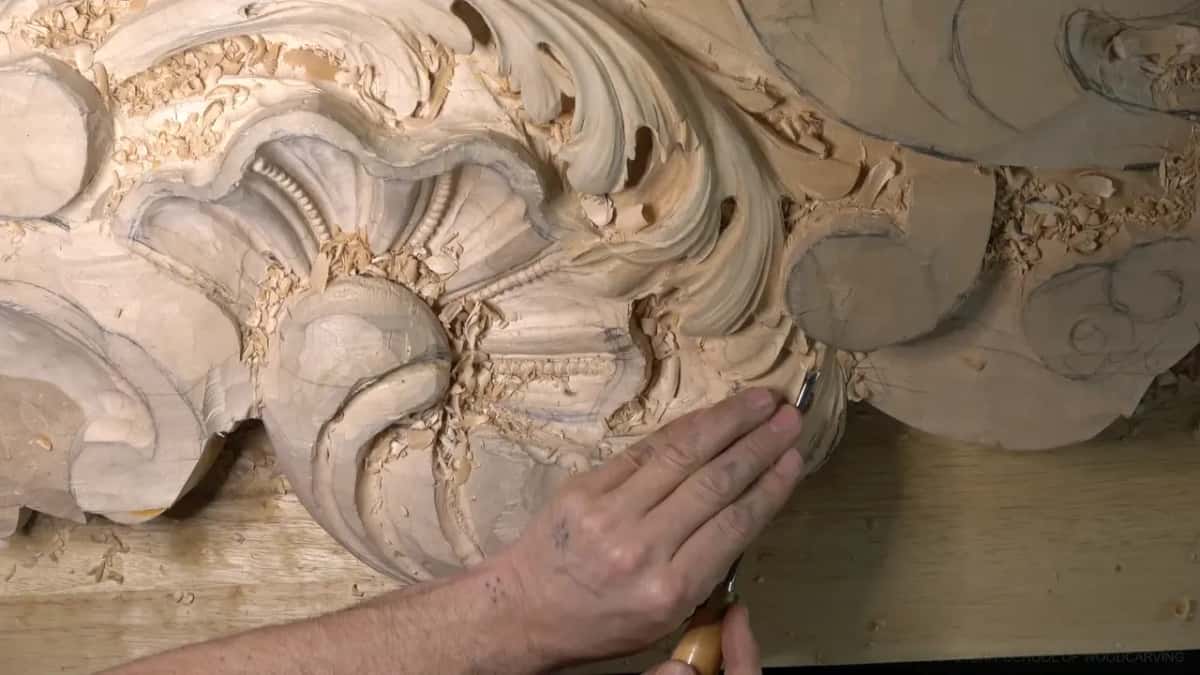
Which tools does carving acanthus leaves this way take?
Mostly small elevens, with a number 9 for the relief cut and bigger gouges only for the big concaves. Here is what each one did in this lesson.
| Tool | What it did here | Why that mattered on this panel |
|---|---|---|
| Nine, 3 mm | Relief cut in the triangle before anything | Even so, the edge chipped slightly |
| Eleven, 3 mm | Begins at zero depth and turns inward | The edge above gets its shadow |
| Eleven, 1 mm | Follows the same line and goes deeper | One of my favorite little tools |
| Spoon, 2 mm | Clears the waste beneath a lobe, carefully | Small first, then a bigger swoop |
| Four millimeter eleven | Goes underneath where some material got lost | That part should sit farther in |
One tool is missing from that table on purpose. Nothing in these recordings of workshop 13 puts a back bent under these edges, since a spoon gouge and the straight elevens did that work.
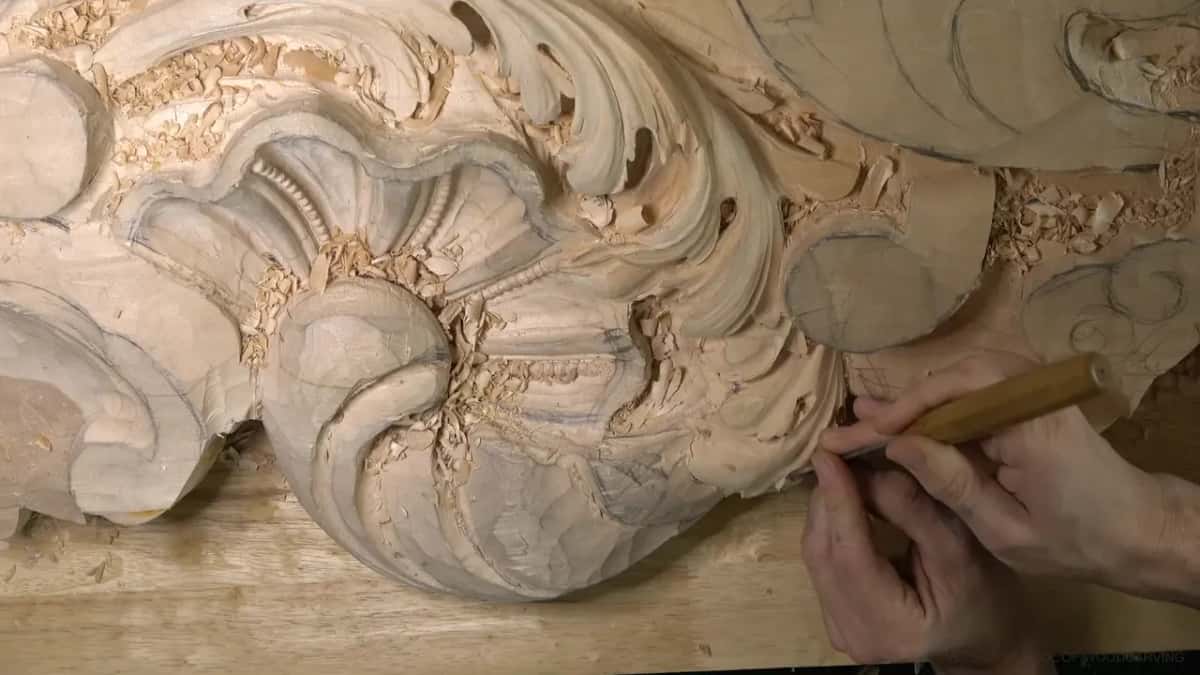
Why make the relief cut first?
A relief cut is a straight cut down into a tight triangle, made before any shaping cut comes near it. For it I used a number 9, 3 mm, one eighth of an inch, in part 6, and I said why. I don't want to make mistakes.
And even with that cut I still chipped a little bit of the edge. That is okay, not a big deal.
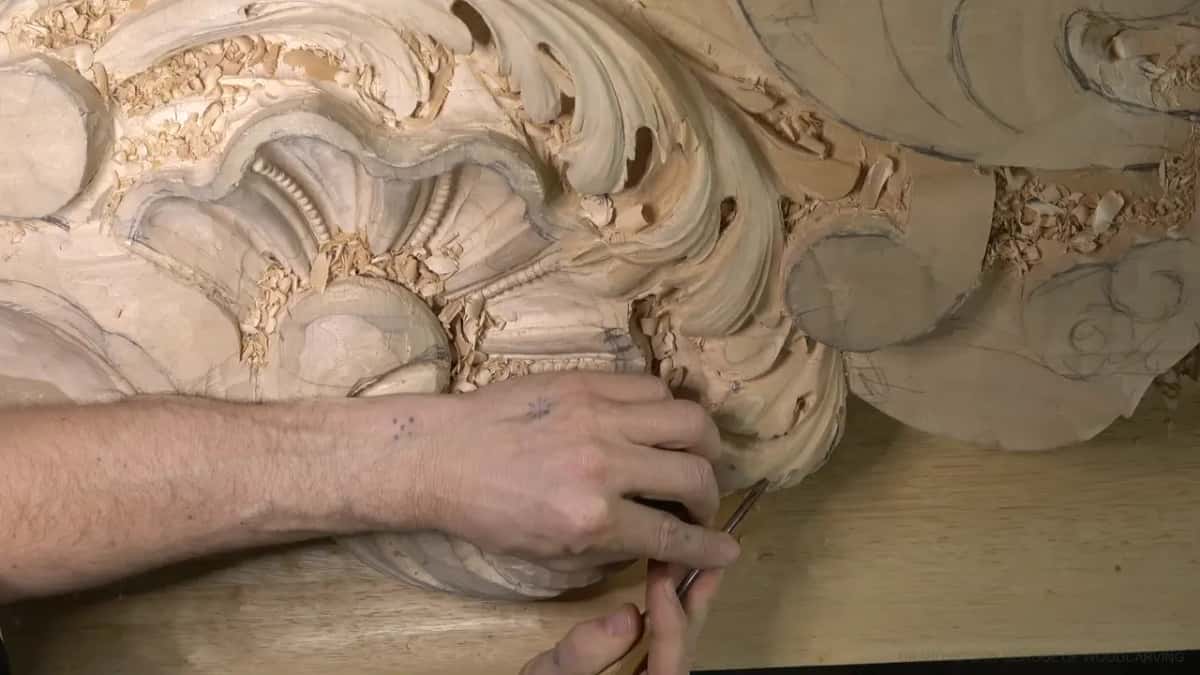
Why undercut right away?
Undercutting early takes away the temptation to do something else there. In part 9 I was still debating a detail. Maybe yes, maybe no. So I said, maybe I should undercut right away, that way it's not going to be tempting for me to do something else.
And I went really deep there with a 6 mm (1/4 in) number 9. A carver arguing with himself stops arguing once the wood is gone. Undercutting is simply removing wood from under a form so it stands off its background, and there is more about what undercutting does to a relief on the Greek leaf.
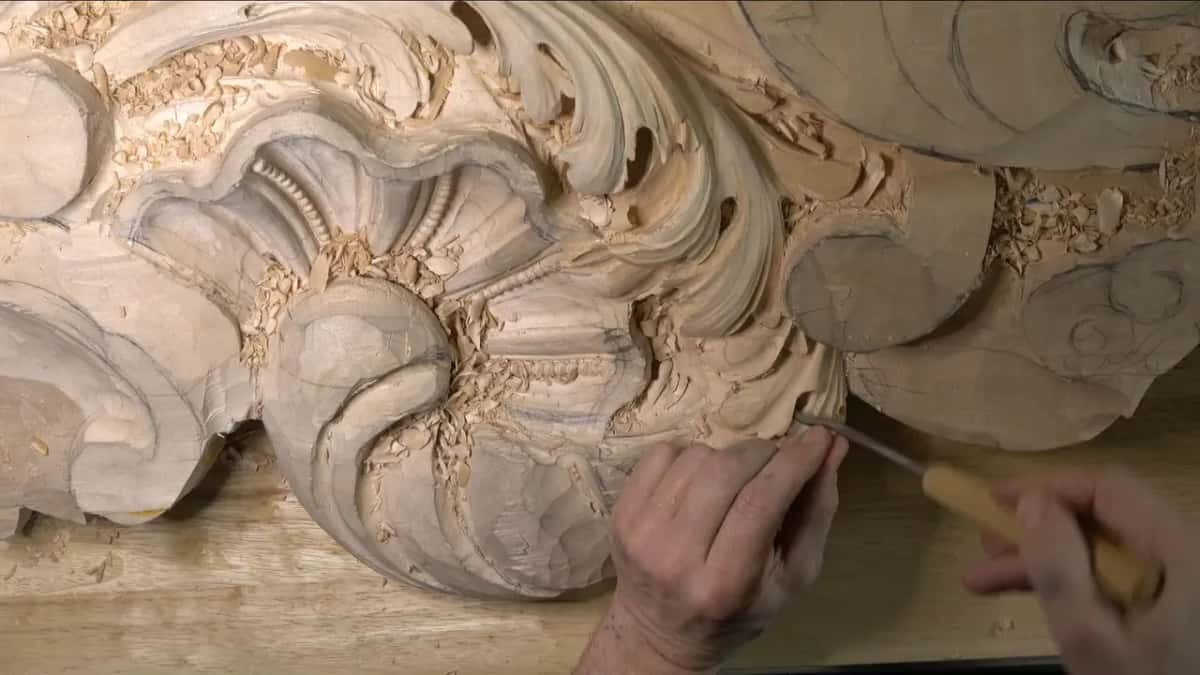
Part 2 went the same way. I laid in a separation using a number 5, took a bigger number 5 to it, and undercut it on the spot. That is going to go underneath, I said, before anything else was finished. During part 4 I had moved one way and lost some of the material there, so I took a 4 mm (5/32 in) number 11 and went underneath, because that part is supposed to be all the way in.
A layer line even helped me once. Back in part 2 the glue line of my next layer was sitting right there under a concave, so I could make a better cut in that spot and get a little deeper.
Being quick has another side, and part 11 shows it. I outlined a lobe with the 3 mm eleven, flipped it a little above its neighbour, and then saw I had got carried away and made it too big. A piece of the line sat outside the main curvature, and it should not be outside. So a number 8 came out, the line moved in, and only after that did I excavate more underneath.
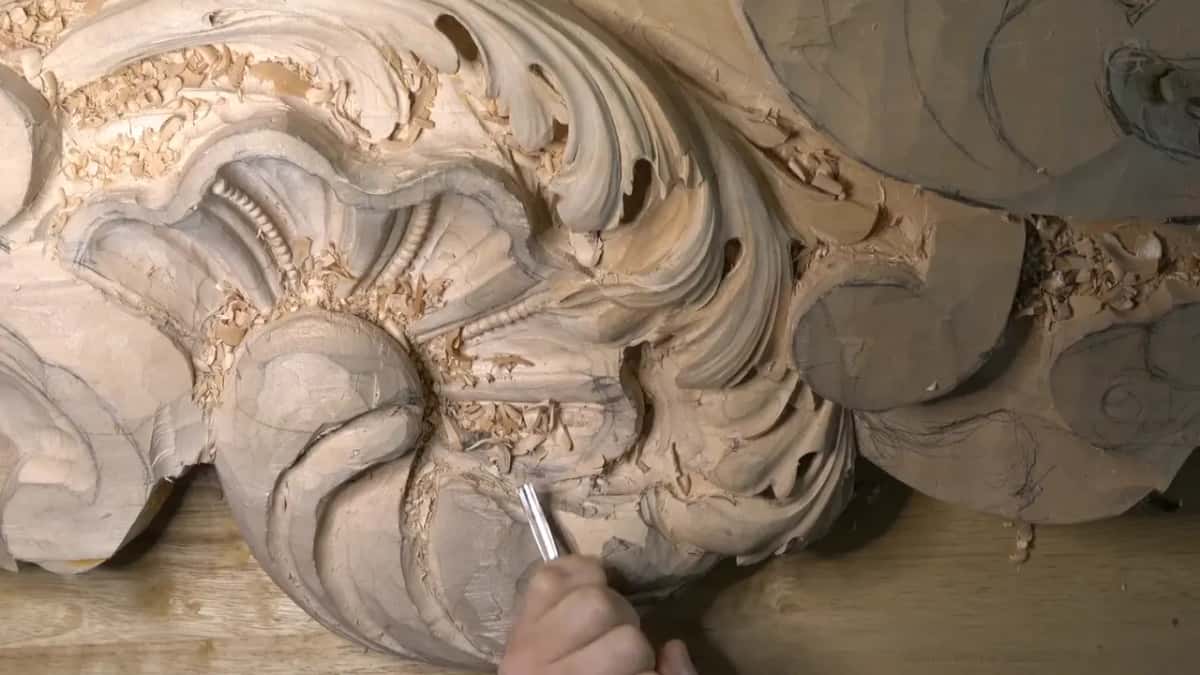
How do you clean under an edge without breaking it?
Take the mess out with a small tool first, then clean it with a bigger one, and never lever against the parts around it. My tool in part 7 was a number 11 spoon gouge, 2 mm (about 1/16 in), and I excavated slowly in one direction, then the other.
I said out loud what I was trying to avoid, which was cranking or levering against the other parts. If I crank too much, I'll break this side. I said that out loud on camera, and I meant it.
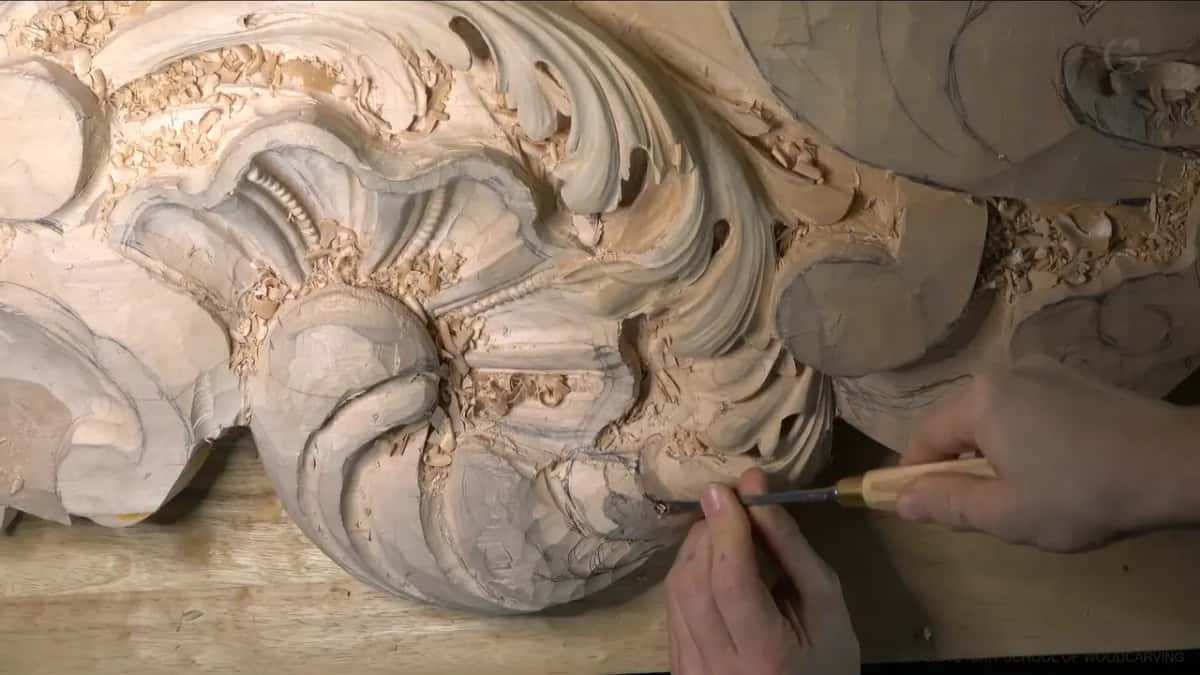
A 5 mm (3/16 in) would have done it too, in one big swoop. What I did was get most of it with the small one and then continue with the bigger one to clean it. I know it is impossible to see on camera, but inside that was a really clean cut. I didn't want to move the camera right then either. Please forgive me, I said, it's not that I want to be mean.
What happened to the two edges that broke?
They became part of the design. The first went at the very start of part 7, when I just broke the edge, no bueno, and that part simply had to become lower. It's meant to be that way, my usual excuse. But it's still better not to break. Don't get me wrong.
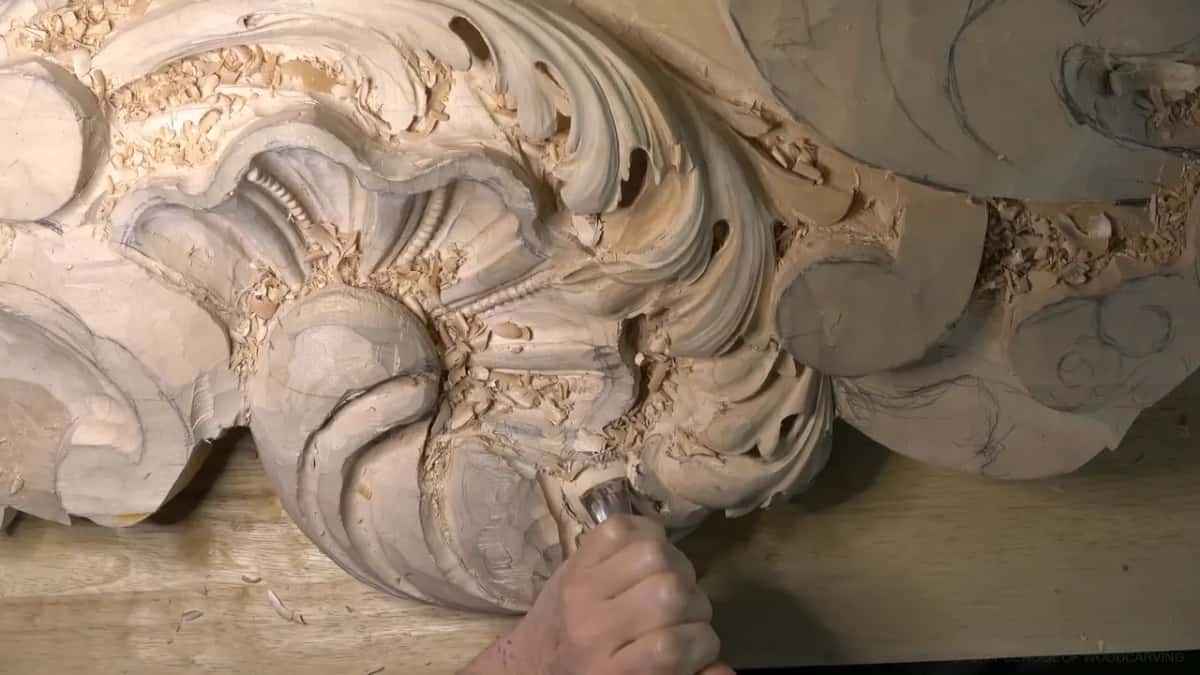
The second one broke near the end of the same part. I turned the tool upside down to get a better shadow, and right away I said, oh, that's not what I want to do. So that spot got a much bigger separation. I joked that I wasn't going to tell anybody I broke it, and there it sits on camera for every student to watch. I could glue it back. It's possible. I just didn't want to.
There is a quieter lesson in part 7 as well. I found another eye there that was almost invisible, cleaned under it with the 2 mm, and then went in from the other side with the 1 mm. It's better to take time and just excavate little by little.
How far under the leaf does the cut go?
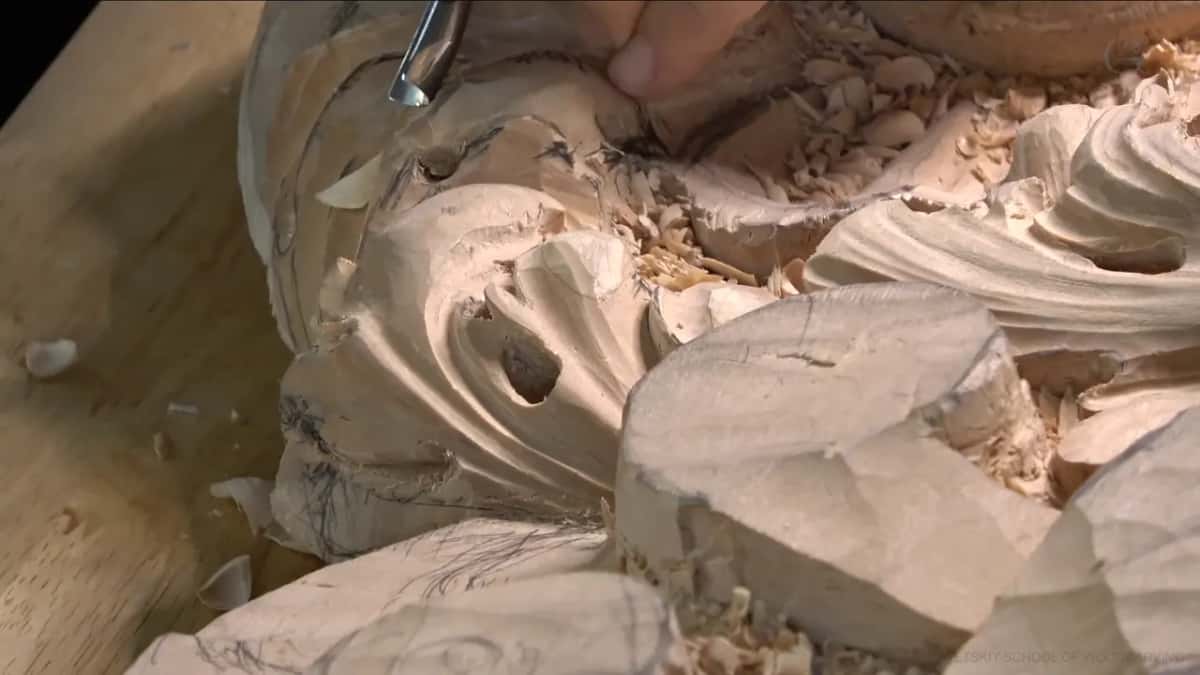
Right through to the back, sometimes. Digging beneath a lobe in part 11 that was supposed to rise out of the leaf below, I warned myself to be careful, because this was going right through to the backside. The pipes in part 12 ran back toward the rear, maybe right onto the back of the panel too.
This panel hangs high, and people will look up at it. From down below, one part was blocking a little bit of my shell. So I made a big concave on the inside that started somewhere underneath, with a 16 mm (5/8 in) number 9, then a bigger number 7, over to the shell. Now I removed the visual block, I said. I did not want a leaf hiding the shell from the floor.
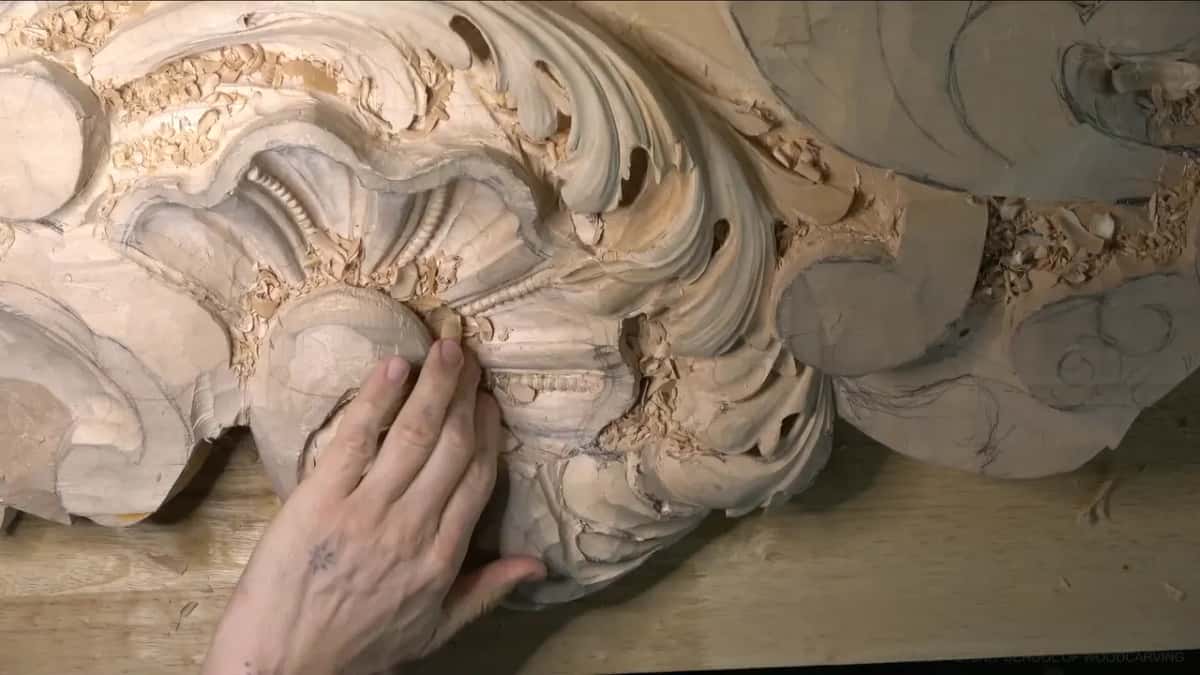
The light and shadow of the whole room work this way. A concave that starts under an edge throws a shadow you can read from far below, even where the camera cannot follow me. The panel is lime wood, carved for a room in the Venetian Gothic manner of the fifteenth century.
Do other carvers finish this cut the same way?
Plenty did it another way, and I said as much in part 6, right before I carved the second lobe. Not every acanthus, not every culture did it that way. What I am doing is trying to be authentic to that particular culture, the carvers of old Venice, whose relief work you can still see in the Ca d'Oro on the Grand Canal.
Carving a fragile piece from the back is a different job again. And some carvers reach for a back bent tool when working below an edge. In this lesson the small elevens and the spoon did it, and a spoon gouge is honed its own way, which is why sharpening a spoon gouge has its own lesson.
Two sounds are on that tape besides the wood. My granddaughter was visiting that day, and you hear her in the background of part 6. My landscapers were doing the grass during part 11, and I couldn't stop recording.
Where to go from here
If you have never carved a leaf before, start with a first project and come back when a Greek leaf feels easy. Once you have carved one, take any two lobes that should overlap, make your relief cut, and start one number 11 cut from nothing beneath the upper edge. Watch the grain as you curl it in, and stop the moment the edge starts to feel thin.
Workshop 13 sits between the last workshop of part 1 and workshop 14, and the panel goes on in part 3. All of it is inside the tuition, with every cut on camera the way it really happened, breaks included. It is plain wood carving, a relief that gets a little deeper every day.
How it's done
- Decide which part lies on top. Mark the lobe that lies on top and the one that goes under it before cutting anything.
- Relieve the triangle. Push a small number 9, 3 mm, straight down into the tight corner before any shaping cut.
- Start the curl from nothing. Set the 3 mm number 11 almost flat by the eye and roll it deeper with each pass, turning in beneath the top edge.
- Go deeper with the smallest tool. Follow that same line using the tiniest eleven, only as far as the edge above still feels strong.
- Clean underneath without levering. Clear the waste with a 2 mm spoon, then finish with a wider gouge in one long pass, never cranking against a neighbour.
Frequently asked questions
Which gouge starts a cut under a leaf edge?
On this panel I used a number 11 at 3 mm, which is one eighth of an inch. I begin it next to the eye, barely touching the wood, and let every pass sink a bit lower as I work around toward the upper edge.
How deep should the shadow under a lobe be?
Deep enough to read, while the edge above stays strong enough, which I checked on camera. After the first pass I went in again using the smallest eleven, 1 mm, to push the dark line further under. Later in that part I said it plainly on camera: some shadow, but not too deep.
Can a number 9 replace the small eleven?
Near the end of part 6 I said a number 9 would give me exactly the same result as the little veiner, which is shaped like a spoon. Under the lobe edges, on the curled cut, I kept to the elevens all the way through.
What to carve next