
Alexander Grabovetskiy, woodcarver, School of Woodcarving · Published 2020
How do you use a skew chisel to blend a curved carving?
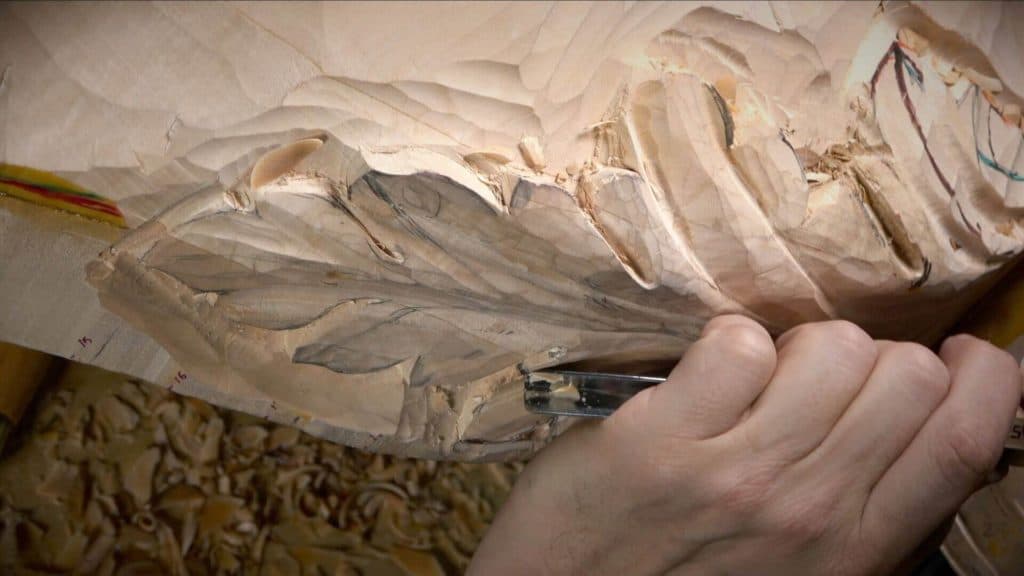
Quick answer: Skew chisel blending on a curved carving is working the sharp bits and small humps left after the gouges into one flowing movement that still feels round. On my Venetian acanthus leaf a one-inch skew did the wide work, a smaller skew, roughly a quarter inch, took a hump my hand found, and I checked the flow from several sides.
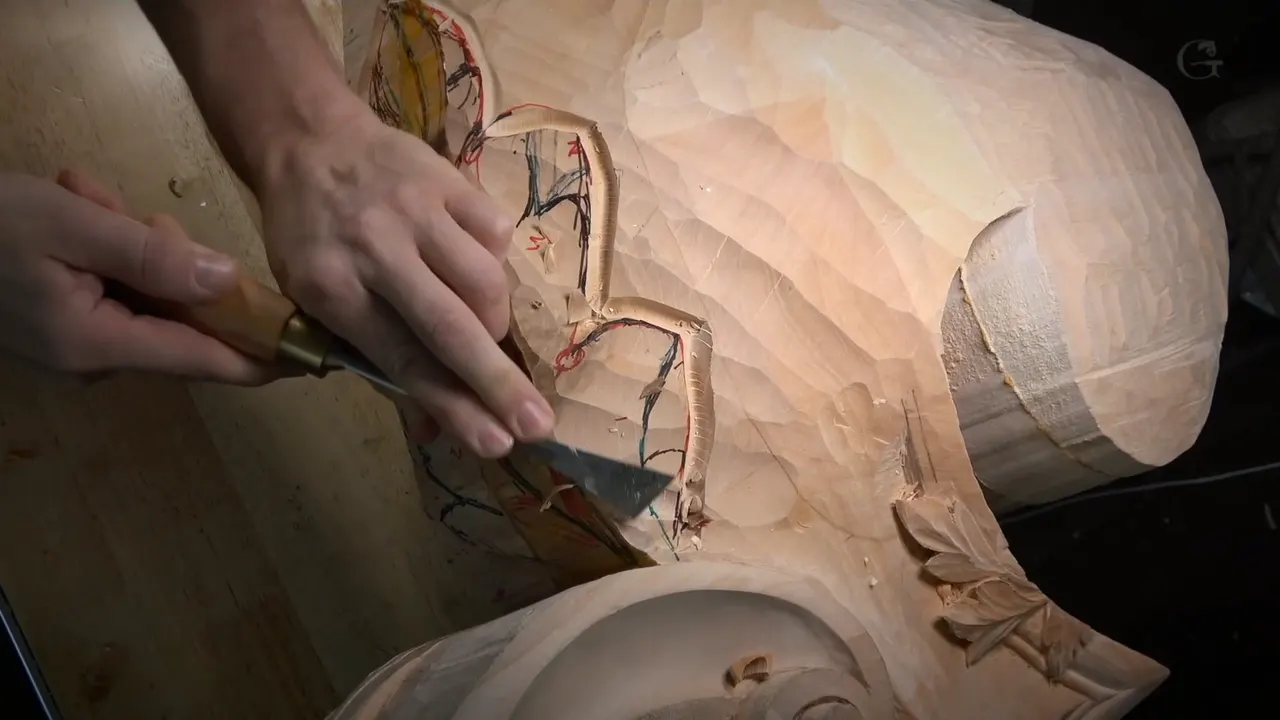
Blending a curved carving with a skew chisel is taking the sharp little edges and humps off the gouge work, so the curve reads as one smooth movement and still feels round. This is a carving skew at my bench, on an acanthus leaf in workshop 94 of the Venice Room. It is not a lathe tool, and nothing here is about woodturning. What follows is how to use a skew chisel on a carved curve, told from one lesson and its twelve parts.
Have you ever run your fingers along the edge of a table and felt a bump you could not see? Can you tell a round edge from a flat one with your eyes shut? Then you already own what I checked this skew work with. Your hand.
I'll give you the real sizes, the reason I was careful on the round parts, the moment one skew got too big for the job, and the check I made by feel.
What one skew did across workshop 94
A one-inch skew, 25.4 mm to be exact, gave the leaf a natural movement after the gouges.
On a convex it is quick. I went carefully.
Where the inch was too big, a skew about a quarter inch wide got rid of a hump.
I found that hump by hand.
I checked the flow from more than one side.
An upside-down #3, about three-quarters of an inch, took the glue off.
Where did the skew come into this leaf?
Right after the first outline, while the main form still did not look too good. I had set the main points with a #11 veiner at 10 mm, and the outline went about 10 millimeters deep, three-eighths of an inch, a little less in one place.
I did not worry about the separations yet. This section sits on two planes. The surface still carried stuff nobody really wants to see.
I wanted to keep the sense of a changing slope, but it had to be smoother. Maybe I should use just the skew, I said, and I think it's probably a good idea. So I picked up a one-inch skew chisel.
It gave me a really natural transition, I said, and then I corrected myself on camera, not transition but natural movement.
When I stopped, I called it clean enough for me. The feeling of what I was doing was still there, and I was not going to lose it.
After that I drew the middle lines from each point all the way to the central line. They had to be really nice and flowing.
Using a skew chisel on a carved curve
The inch-wide skew did a lot of the blending on this leaf. Twenty-five millimeters or so, I said, cleaning a rough spot in part 9, and then, to be exact, 25.4.
Part 4 had one side I wanted a little wider. I took the skew again and blended it in just like that, and then did exactly the same on the opposite side. At one point in that part I apologized to the camera for mumbling, because I was just working at my normal pace and trying to explain what I was doing.

A rough spot in part 9 needed a much deeper pass with the gouge first, and that changed the movement of the middle ridge a little bit. Afterward I had some sharp detail left. Again a skew, and I blended everything carefully, keeping the same movement.
Some leftover material in part 10 I could take care of right away, I said, pretty much with the skew.
After the skew chisel in part 8, I said I could maybe roll one section slightly to the right, just a little, for a lot nicer, smoother look.
Part 5 of this room already has a page on the skew chisel itself and on how a skew gouge is different. Here I only care about what one does to a curve.
Why go carefully on a convex?
A skew is actually a really quick way to blend, but I have to be careful with it. I still wanted the feel of a convex, I said, working on the pipes of this leaf.
A pipe here is convex, which means concaves on each side of it. I ran them with the same 10 mm #11, starting from the middle point, and that gave the three-dimensional look. It just opens up.
The first pipe, in part 6, I blended right away, since it was supposed to be a convex.
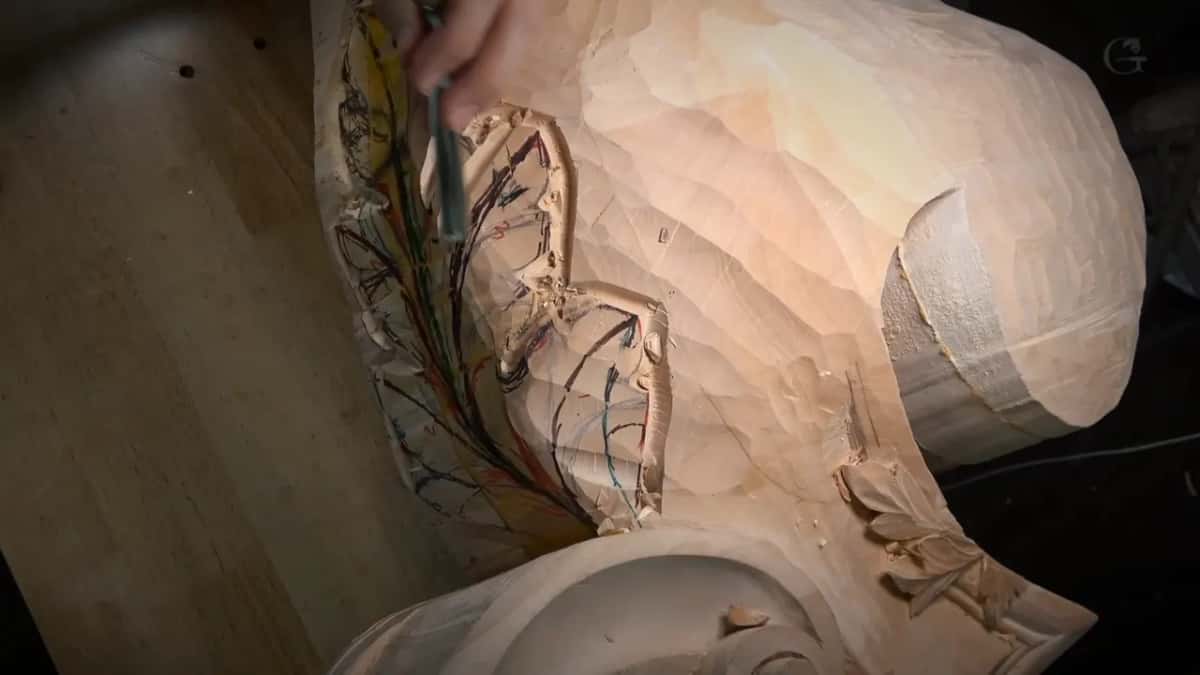
Blending the middle part, all that glue had to go too. And I would not destroy the middle line. It had a really nice arc, and I wanted to keep it.
With the smaller #11, the 5 mm one, I used the mallet, since it gives me a lot more control, and I really didn't want to lose the middle line there either.
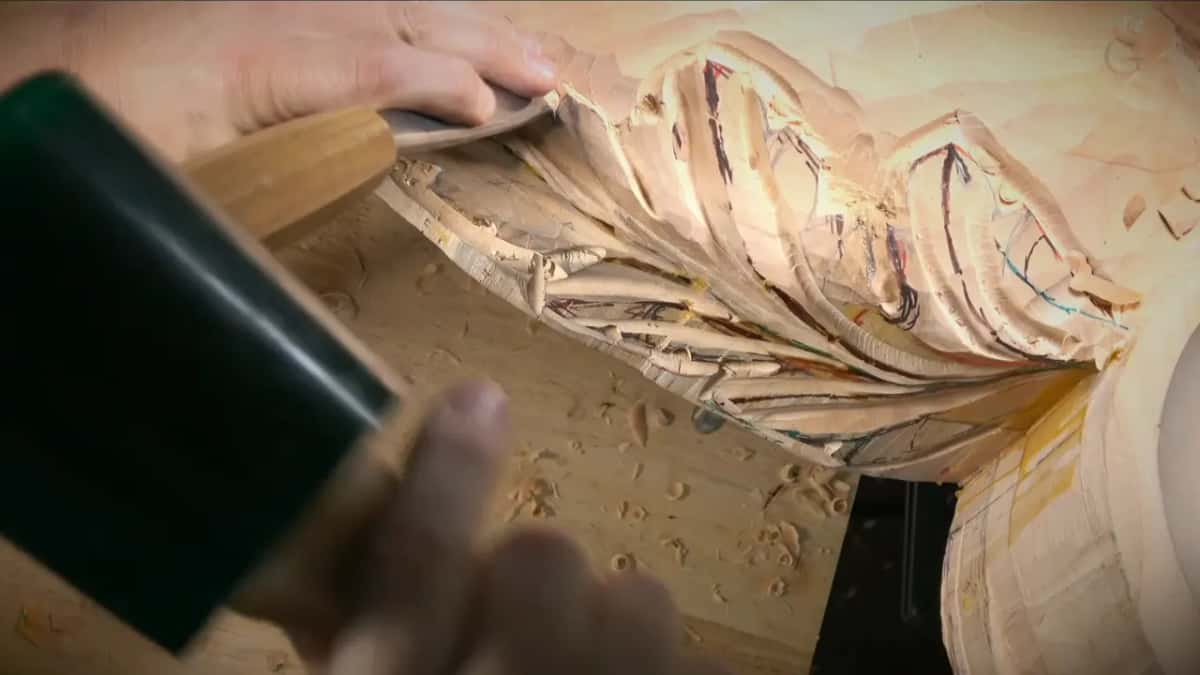
Then I saw I could go much deeper right in one area, and I said a deeper pass there would let me make a nicer convex. Later I blended it together. The ridge where two hollows meet is its own lesson, from workshop 87.

When is a one-inch skew too big?
In part 9 it happened in the smaller concave that runs one pipe a long way. I ran that concave with the 5 mm #11 and blended it with the inch-wide skew, and partway through the blending I said it plainly: this skew is a little too big.

So you can get a small skew, about a quarter-inch skew, I said. That is roughly 6 mm. It went onto the hump I could feel.
I really wanted a gradual movement, really gradual, with no harsh ridges. A little later it was much better. Really happy with this pipe, I said.

How can your hand find a hump your eyes miss?
Your hand finds it by touch, which is how I found this one. The hand can detect one thousandth of an inch, I said, and that is about 0.025 mm.
Working in part 9, I did not really see what was going on there. Sometimes you don't, and then you really have to use your hand.
I felt with the hand, and there it was, a hump that should not be there. The small skew went in, and after one more tool I checked again. Feels good.
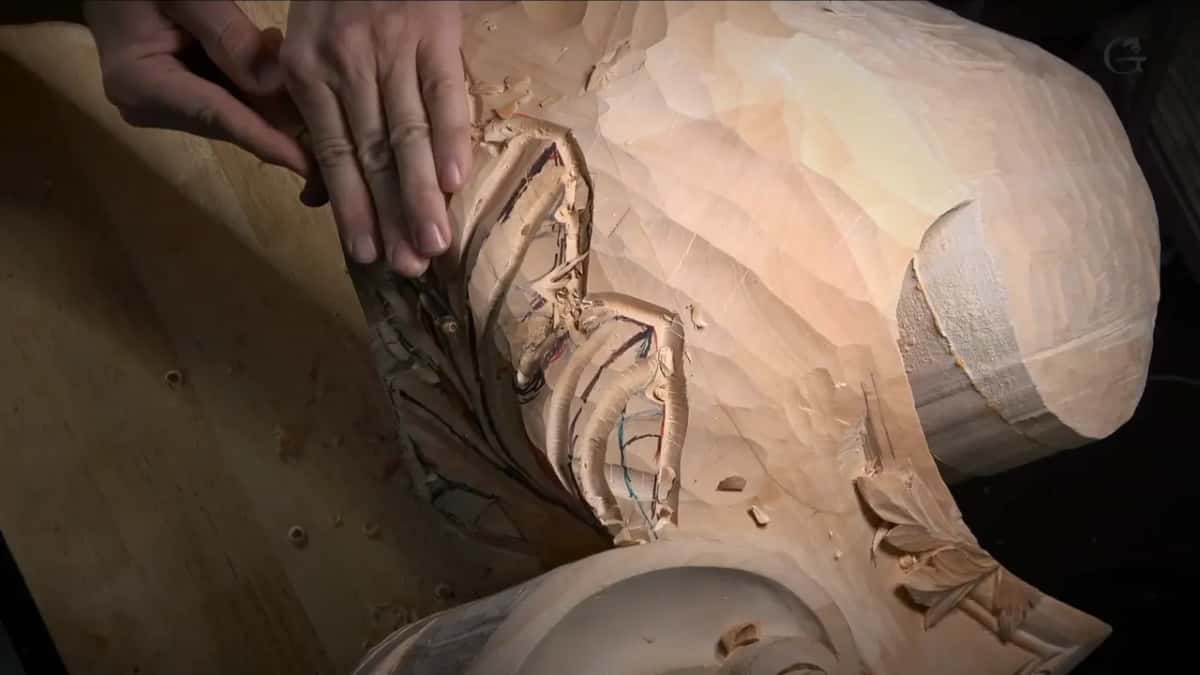
Not every hump got a skew. A little one in part 11 was somewhat okay but not too appealing, I said, and that I can take the same #7 right on top of it. A big one in part 12 I did not really like, so I softened it using the skew, and it was much better.
The surface was not perfect yet, and it did not need to be. After more blending in that part, I said it feels really good now. Even without 100 percent smoothness I liked the overall feel, and at that point that was okay.
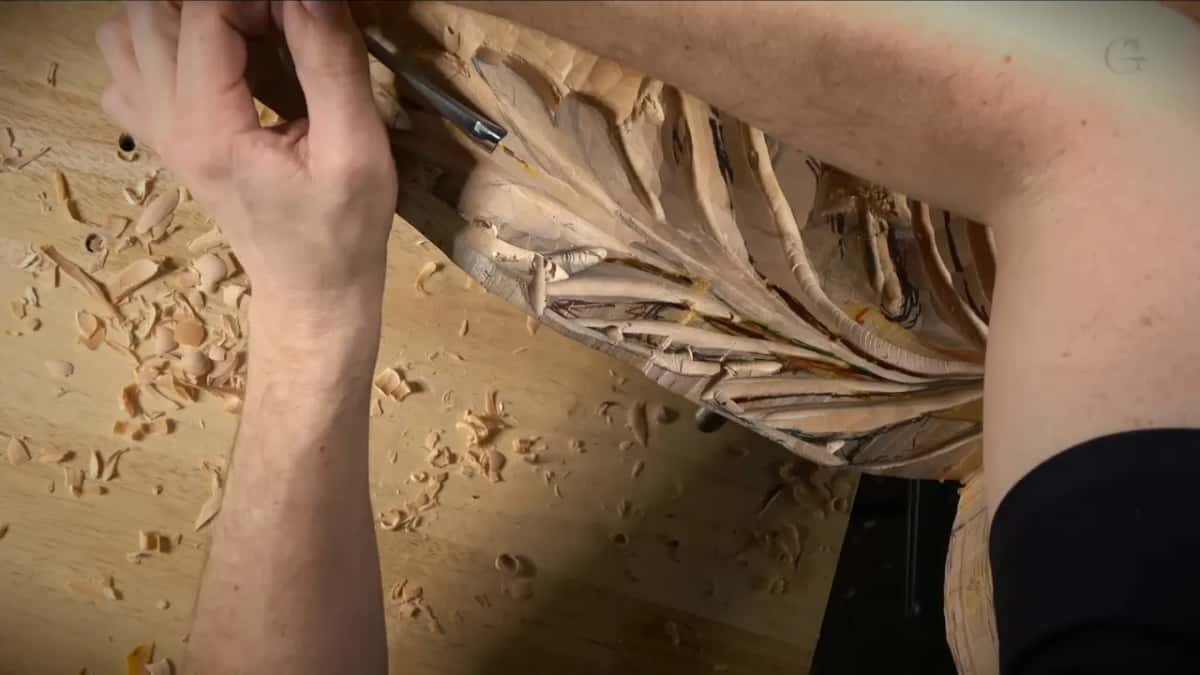
Nothing in these twelve parts reaches for sandpaper or a scraper. Those have their own pages, on scrapers and on sanding an acanthus leaf.
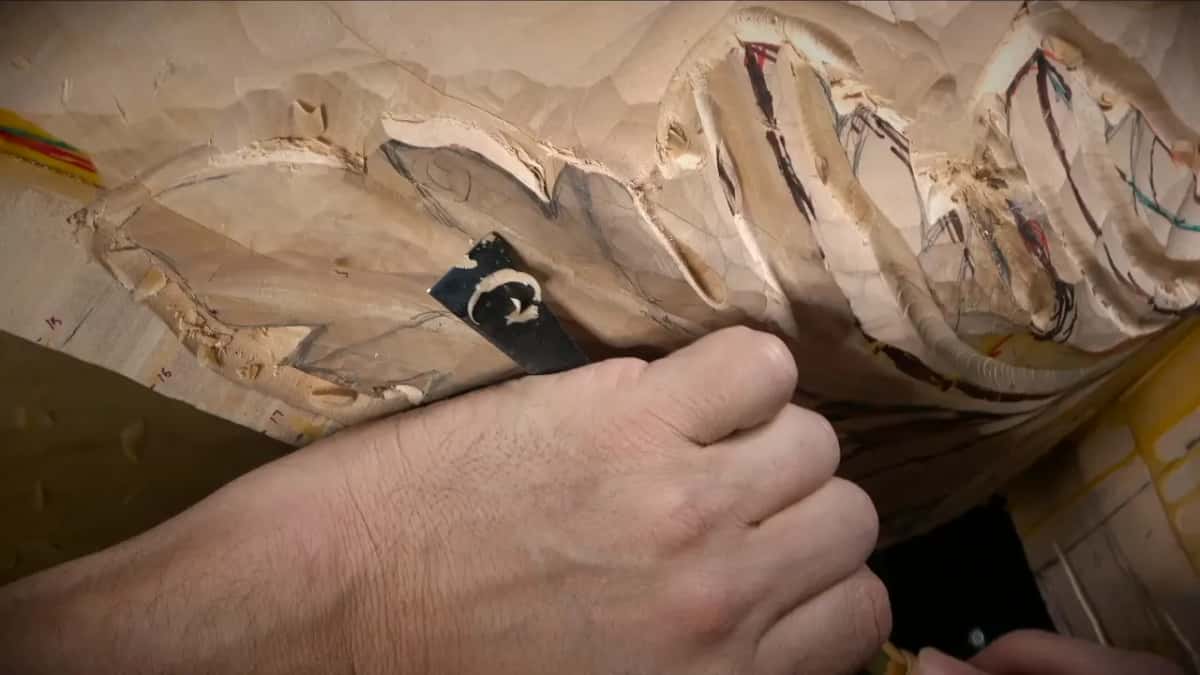
Why check the flow from more than one side?
My goal, I said, was a blend that still has a flow no matter what position you look at it from. So I kept looking from new places.
I needed to check from a different point of view in part 8. Later, in part 12, I was looking from different points of view again, to see how it all flows together, because this section is two surfaces and they have to be tied together.
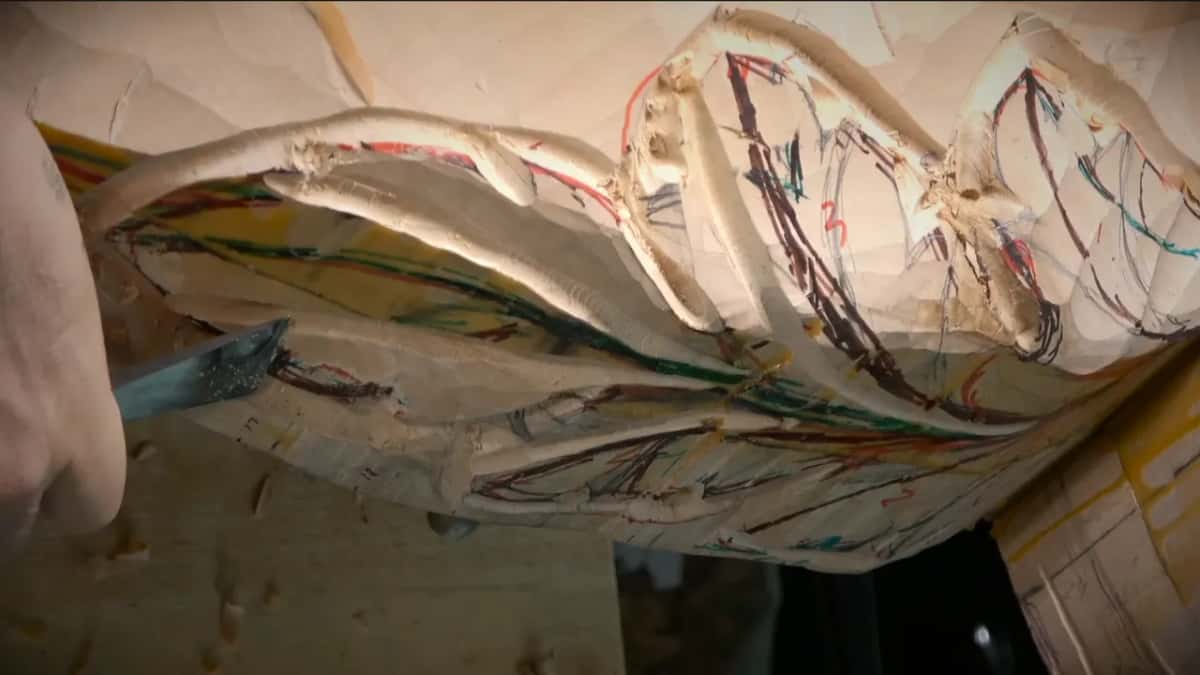
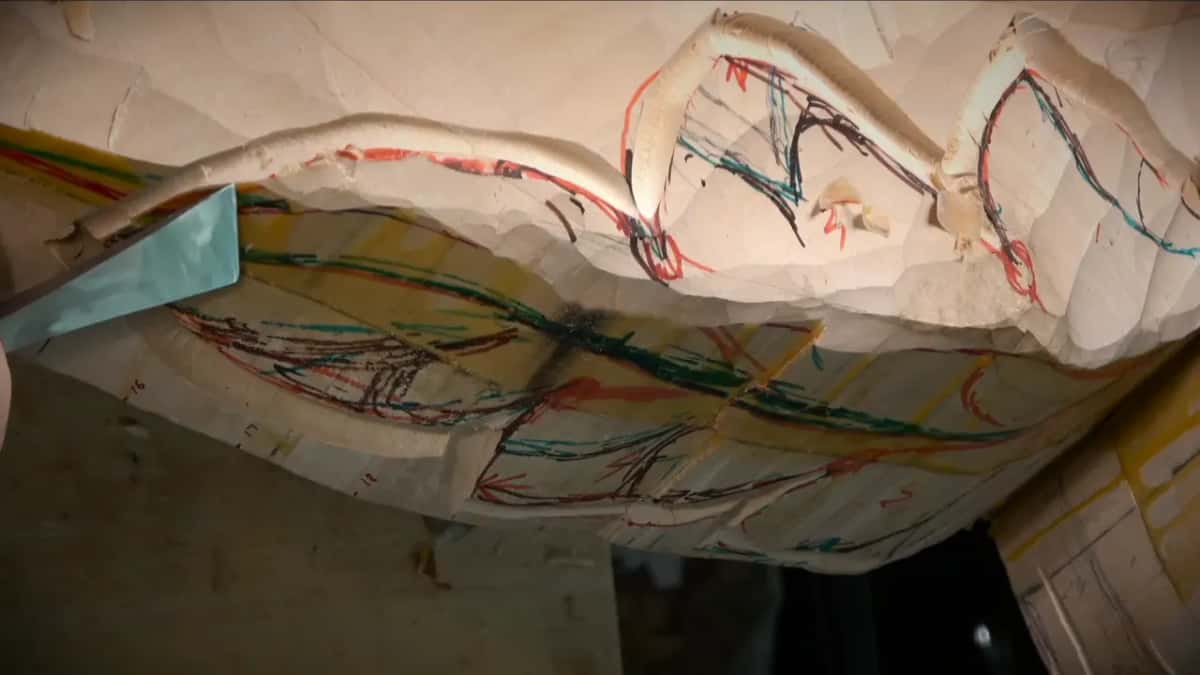
People will look at this piece from the bottom, my customer and everybody else, so the flow has to work from down there too. Workshop 88 has its own page on what a camera above the bench cannot show.
Some areas I did off camera, because I had to twist it differently, and with the piece and the camera where they were I could not show you. The idea was the same as everywhere else. Turning a panel to judge a flowing line comes up in one of the flower lessons too.

Do you measure a blend, or do it by eye?
By eye. Much of the layout I eyeballed too, with a true pair of golden ratio calipers at hand.
Usually I don't use those calipers, I said. It's not a big deal to eyeball it, but if you do have calipers it's a good idea to use them.
By part 7 I stopped drawing the rest of the concaves and just did them eyeballing. And if you are used to the golden ratio, I said in part 5, it just comes naturally to you.
When one side did not seem to fall anywhere, I said maybe I would skip it and do just one of the separations, and that would still be Fibonacci: one, one, two, three, five, eight. Blends I judged by hand and by eye.
Can a skew work against the grain?
On this leaf it did, with a really sharp edge. It was not convenient to attack from the opposite side, because of the camera position, so the skew chisel simply went the other way.
My tool was really sharp, and I had absolutely no problem with that. As long as my tool is super sharp, I said, I shouldn't have any problem, and in part 11 I put it to you: if your tools are really sharp, you shouldn't have any problem.
With a gouge in part 3 I made a different choice. Going against the grain all the way in one single pass is not good, I said, so I changed position and attacked it from the other side.
The grain came up again in part 7. It was not convenient to attack from that side, and I could get a much cleaner surface from the side, I said, but I could clean up a little later, and I was okay with that.

Where the grain turns inside a leaf, and how to meet it from both sides, is in Part 11 of this room. For the edge itself there is a whole course on carving tool sharpening, and the burr question comes up in workshop 89.
Which tools did the blending on this leaf?
Every size below is the one I said on camera, and where I said about, it stays about.
| Tool | Job | Where |
|---|---|---|
| 10 mm #11 veiner | Outlined the main points, 10 mm deep. | First outline |
| 5 mm #11 veiner | Ran the smaller concave beside one pipe. | Pipe sides |
| #7 at 14 mm | Made the line really nice and curly. | S shapes |
| #5 at 35 mm | Gave more of that really nice movement. | Main movement |
| #3, about 3/4 inch | Upside down, took the glue off everywhere. | All over |
| One inch skew chisel | Blended the main form into natural movement. | After gouges |
| Small skew, about 1/4 inch | Took off the hump my hand found. | Smaller concave |
The glue went with the #3 in part 11, used upside down. There was glue all over, because I didn't want to save on glue. Near its end I was just getting rid of some of the fuss, and I said maybe a #7 could clean a little on the inside. The S movements the #7 and the #5 made are a subject of their own, in workshop 47 of this room.
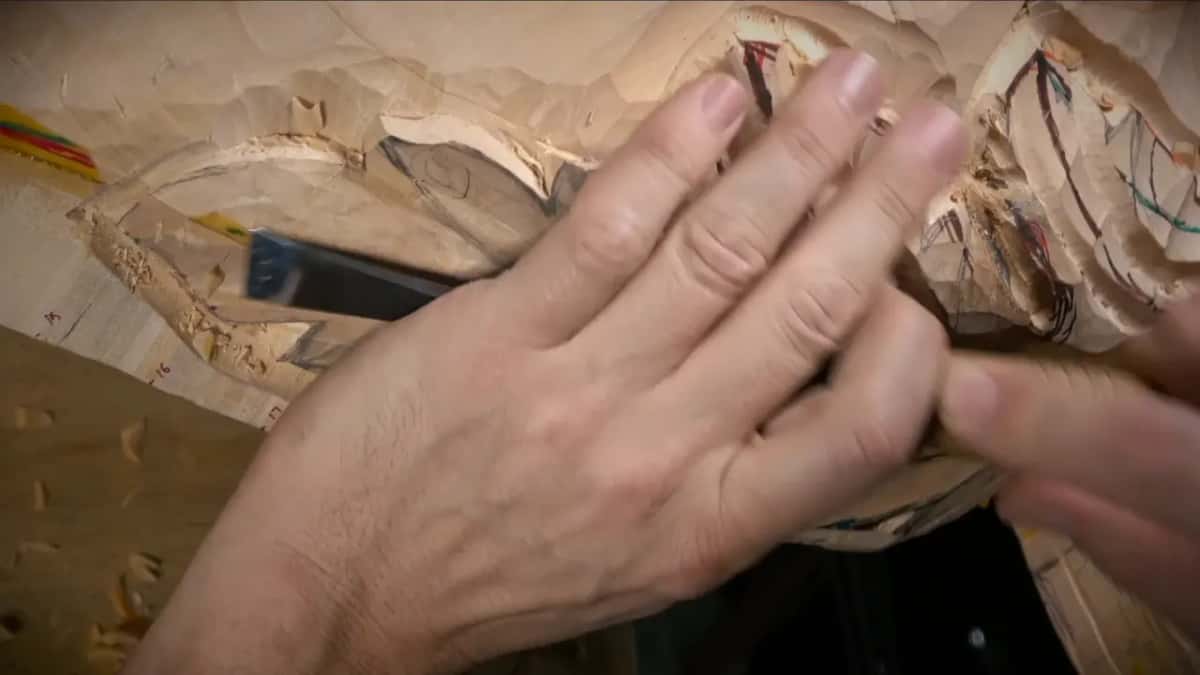
What happens after the blend?
Undercutting waits. In part 11 I was still working with the wall, straight down, about six millimeters (a quarter inch) of a final 10 mm (3/8 in), and I was not undercutting yet, because I still had to set the small movements on the inside.
Before I undercut I want to make sure everything is the way I pictured it. When the time comes, the #11 leans a little inward and gives me about a 4 mm undercut, and blended together that makes the full three-eighths of an inch, 10 mm.
Then came the small eyes in part 12, with a 2 mm #11, then 1 mm, then half a millimeter, just for the shadow's sake. See how nice a shadow it gives, I said. How small details stay alive is in workshop 9 of this room.
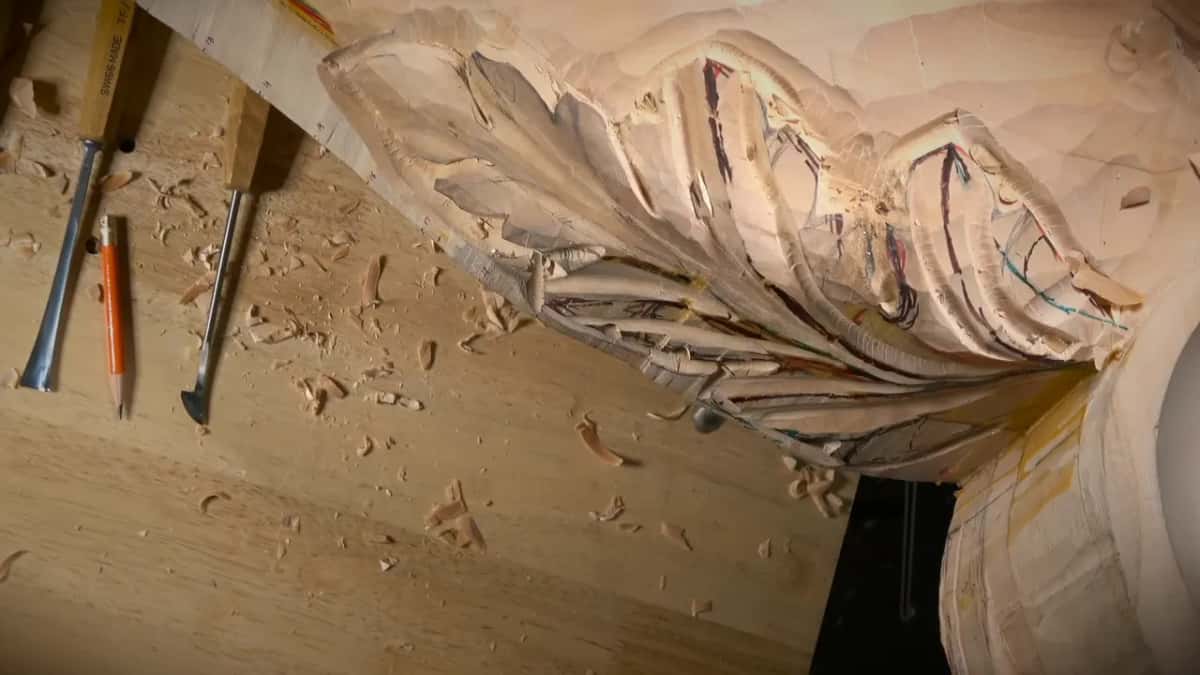
Where does workshop 94 sit in the Venice Room?
Workshop 94 is the ninth of twelve in Part 8, after workshop 93 and before workshop 95, and it carries on the big Venetian piece from Part 7.
What I carve here does not apply to all the acanthus in history. There is lots of different acanthus. This one is more like the Italian Venetian style. One movement I drew in part 1 is actually called the arabesque in the design world.
Too many divisions, I said at one point, is no bueno. Then I looked again and said maybe it's okay.
Would you like to watch a rough leaf turn smooth, one pass at a time? And hear why I pick up one tool and put down another? Then the whole Venice Room, every workshop in it, is there with the tuition.
How it's done
- Outline the main form first. Set the main points with a #11 veiner, the 10 mm one, about 10 mm (3/8 in) deep, and leave the separations for later.
- Pick up the wide skew. Blend with an inch-wide skew until the leaf has a natural movement and is clean enough, without losing the changing slope.
- Keep the pipes round. Go carefully on every convex. Keep the edge off the middle line, and where you want a nicer convex, go deeper beside it first.
- Feel for humps. When you cannot see what is going on, use your hand.
- Go smaller where the inch is too big. A small skew, near a quarter inch, takes a hump off in a smaller concave. Then feel again.
- Look again from another side. Move and look again, from the side and from below, until the blend flows from any position.
Frequently asked questions
What size skew chisel works on a big acanthus leaf?
On my Venetian leaf a one-inch skew did the wide blending, 25.4 millimeters to be exact. Where it was too big for a smaller concave beside a pipe, I went down to a small skew, roughly a quarter of an inch, and got rid of a hump with it.
Can a skew chisel flatten a convex shape?
A skew blends fast, and on the pipes of this leaf I said to go carefully with it. I wanted them to keep the feel of a convex. I kept the edge away from the middle line too, since it had a really nice arc.
How do you feel for bumps on a carving?
With your hand, when your eyes cannot tell you. I said the hand can detect one thousandth of an inch, about 0.025 mm. Working this leaf, I felt a hump that should not be there, took it off with a small skew, then checked again until it felt good.
What to carve next