
Alexander Grabovetskiy, woodcarver, School of Woodcarving · Published 2020
How deep can you undercut on end grain?
Quick answer: Undercutting on end grain is safe only a short way in. With the fibres standing straight up, a deep undercut strips the support from some of them, and that spot breaks. I leave extra thickness, clean with 2 mm, 1 mm and half millimeter veiners, and get the shadow from a #7 turned over.
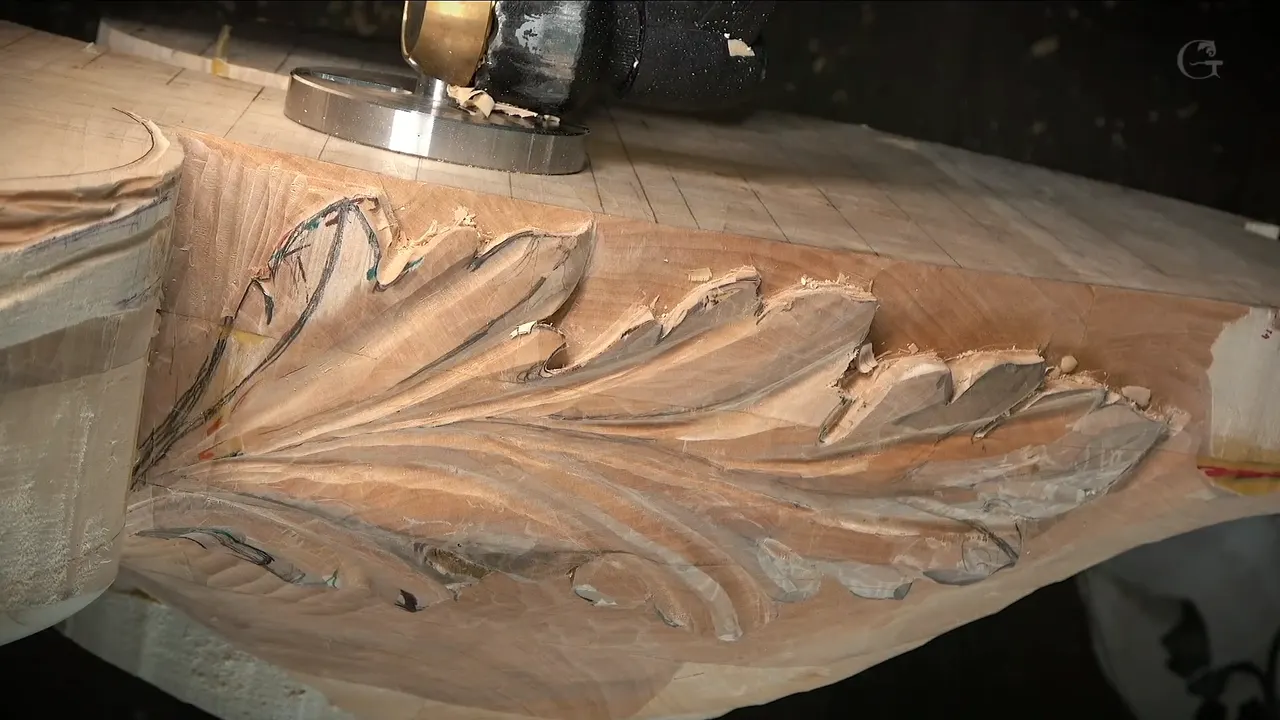
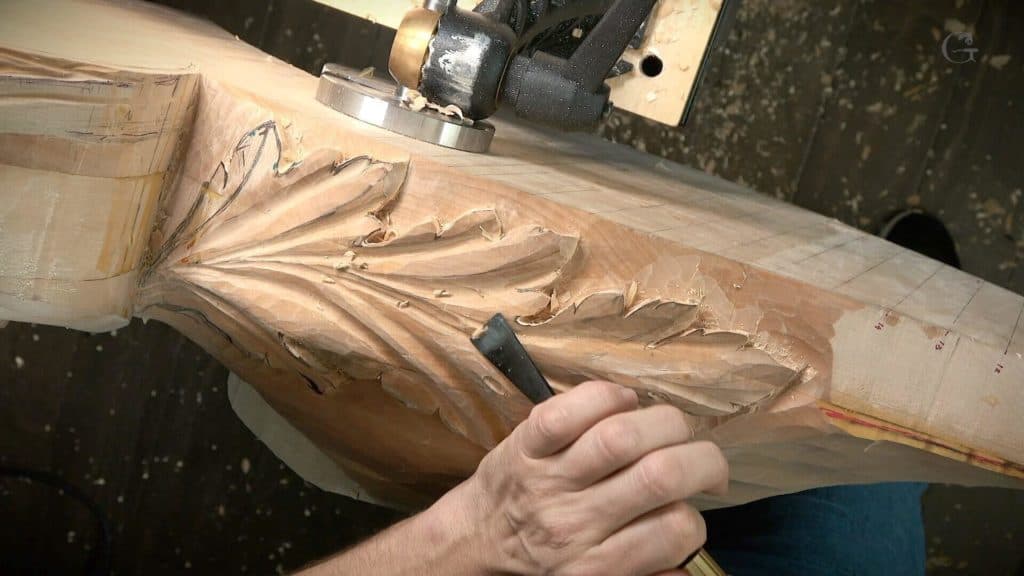
Undercutting on end grain is something I do only a little, because the fibres there stand straight up, and a deep undercut leaves some of them with nothing under them. That spot turns into the weak spot. It will not hold. So in workshop 95 of the Venice Room I went a little way under the edges and stopped, and I told you why more than once on camera.
This is one narrow corner of wood carving end grain work, on a block so thick I set it up a new way on the bench so you could see the back. You will get my reason in plain words, the veiners in the order I took them, and the trick where a #7 gives the shadow back without the risk.
Can you picture the end of a board, where the saw went across it? Do you see how the grain lines stop right there? That is end grain, and in this workshop I was carving right into it.
What workshop 95 settled about the undercut
Going a little way in under a thin edge is fine, but going deep is not, because the fibres lose their support.
Extra thickness stays in the thin regions, or they break.
The veiners went 2 mm, then 1 mm, then the smallest, about 5/64, 1/32 and 1/64 in.
A #7 flipped on its back rounds a small dome beneath the rim, and that dome casts some shadow of its own.
One corner went because I rushed it.
Paint will make this piece more solid later, so no glue for now.
Why carving end grain will not hold a deep undercut
The fibres run straight up through this piece, and I was carving the surface across their ends. Undercut there and some of the grain is not going to be supported anymore. That's No Bueno, and it won't hold.
I gave two reasons on camera, and I will give you the same two. First, this side will be the back side. It will not be visible. Second, think about it. Look at the grain and the direction it runs, and picture every fibre standing straight up under that edge. Take wood out from under them and part of that grain has nothing left to hold on to, so that is the weak spot.

A little bit, a little bit, is OK. But not much. I still have to create the support for the grain, and that sentence is really the whole page.
Later, with a 2 mm #11 in my hand, I said it again. I don't want to go too deep, and the reason I said it multiple times is the grain direction. In this case that would be a big mistake. Those fibres you can see breaking on the video break because of the grain direction and the way I was working, on the end grain.
Carving detail on end grain has a lesson of its own in the flowers course. Here I only care about one question, how far under an edge you can go before the wood gives up.

How much wood do you leave on a thin edge?
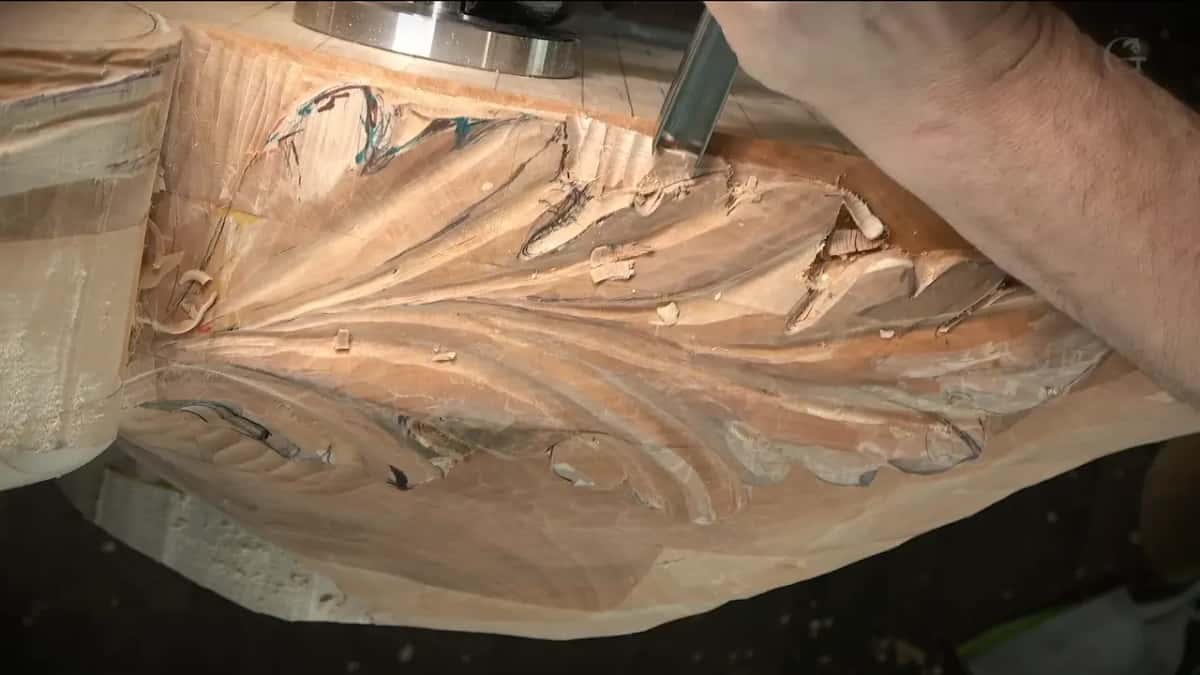
A bit more than the final shape needs. I have to leave a little extra thickness in those regions, otherwise it breaks, and I told you on camera it is really important to understand that. Then really tiny passes, one after another.
With a #5 one inch wide, 25 mm, or 25.4 if you wish, I made one separation, and right away I asked you to see how easily it breaks off. That's why I'm really careful there, because breaking that off is the last thing I want.
The spare wood saved me once in this workshop. In one area I went a little too deep, and I said so. But I still had an extra three-eighths of an inch, about 10 mm, and that surface had to come down anyway. I was still safe. Then I went straight on to the next decision, the shape of that part.
Glue was another way out. I could dilute some glue with water and let it soak into the surface, and the one I keep talking about lately is Titebond, a translucent glue. It makes the wood more rubbery, more solid. I did not put any on this piece. The piece will be painted, and once painted it will be more solid anyway. A Roman acanthus lesson shows the thinned glue on a thin edge, if you ever need it.
Which veiner goes in first under the edge?
A 2 mm (5/64 in) #11 goes in first, then 1 mm (about 1/32 in) cleans after it. Half a millimeter (about 1/64 in) comes last. Without any quick movements, without rushing, I excavate with the bigger one and let the small one tidy what it left.
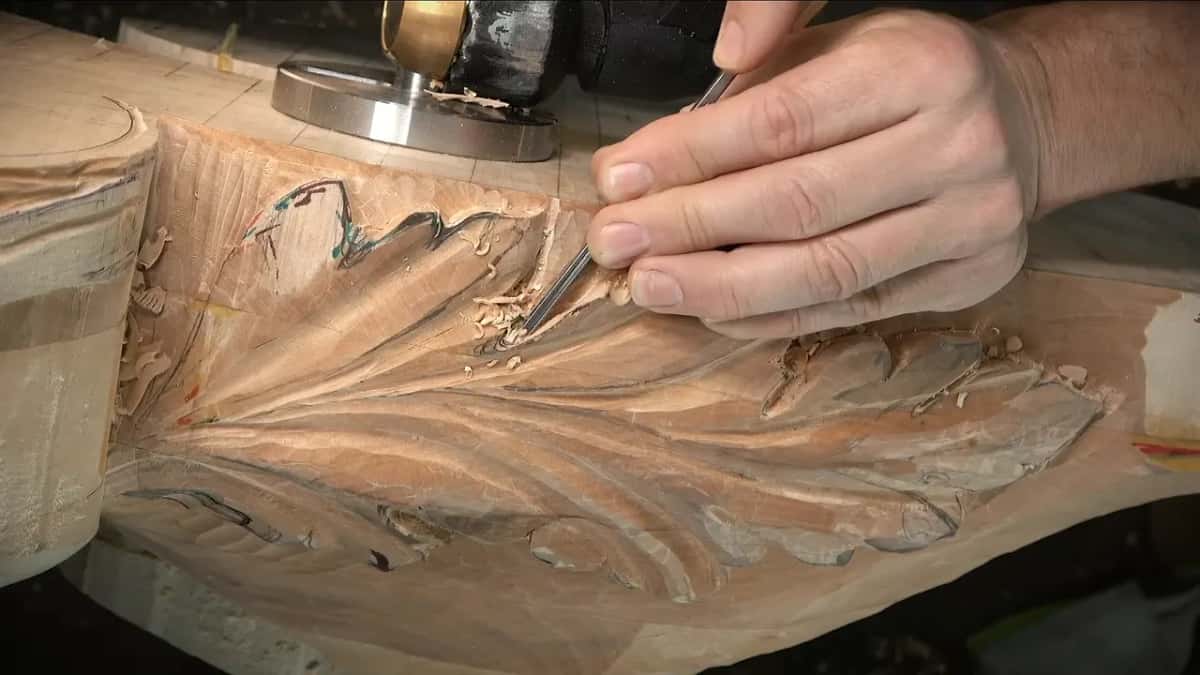
One millimeter, I think, is the wiser tool on a spot like that. Much later, cleaning the fuzz without getting too deep, I told myself I needed the small one, like 1 mm, otherwise I am undercutting too much.
The half millimeter did several jobs in this workshop. It cleaned a little inside, and I asked you to see how easily I could remove that grain. It made some kind of shadow. And near the end it hooked out a leftover on the inside and stretched a few small separations a little longer, which is not easy on end grain.

I hope you can see what I'm doing, I said right then. Of course you can see it. But I hope you understand what I am doing.
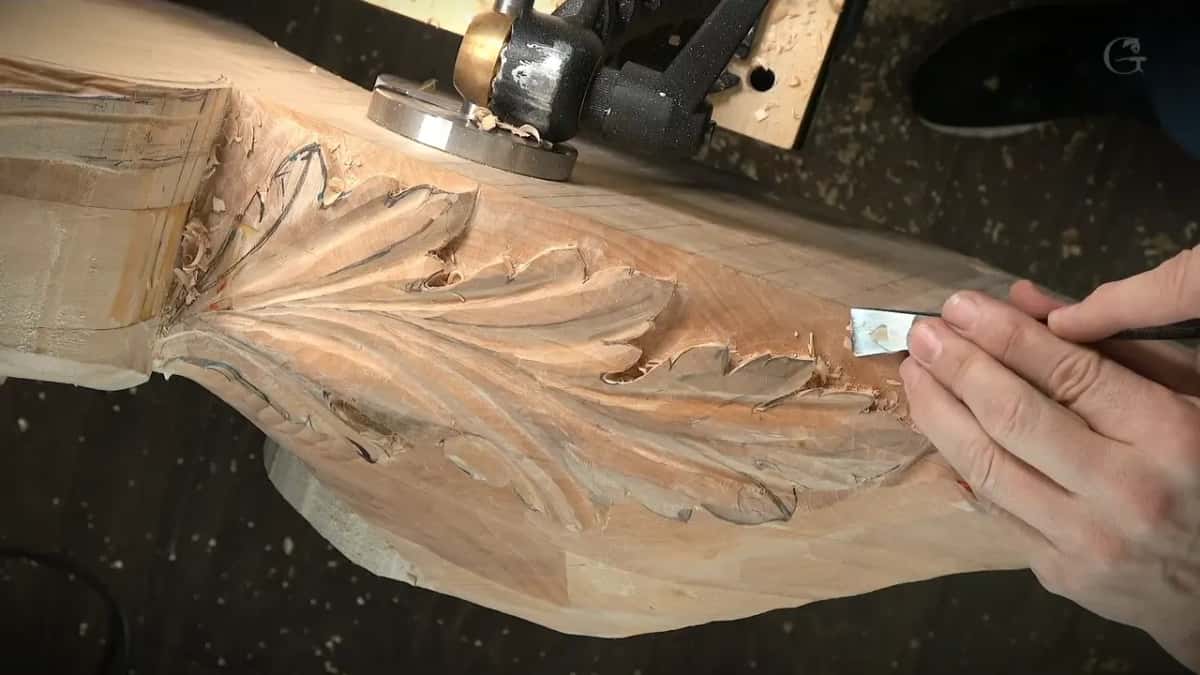
There was some kind of mess at the edge, too. The same kind of tool, a #3, could make a nicer undercut there, I said, and there was a lot of junk underneath. The veiner is not the only tool down in there.
What is the dome effect under a carved edge?
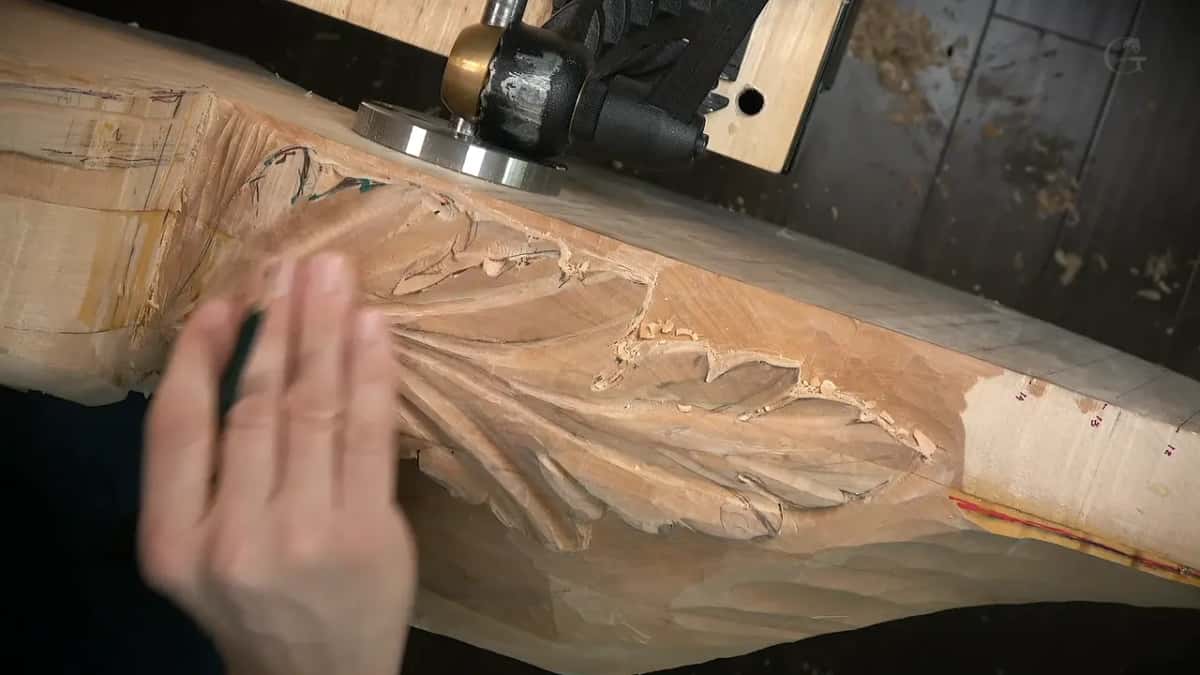
The dome effect is what I call rounding the wood beneath an edge with a #7 turned upside down, in a place where going deep was out. Almost an undercut, I said, but not an undercut, and it is going to look much cleaner and nicer.
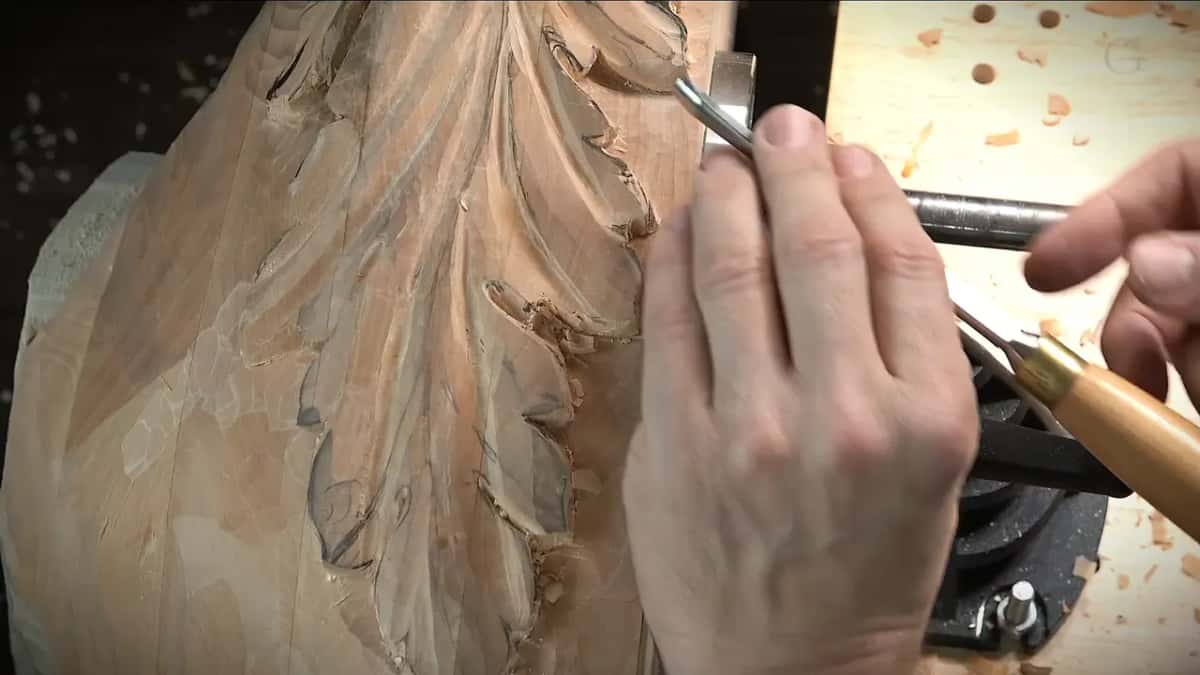
The first time, I said I could not go really deep there. Still, I could do something like that. There will be a dome on the inside, a curvature like this, and that curve casts some of the shadow. I was not sure the camera showed that curve, so I said so.
I did the same trick again later, in a spot where I did not want to lose the overall movement and did not want to pass a line. Number seven, upside down, and there was the dome effect. Then maybe a little deeper undercut, slightly deeper. But that area was really picky, so I had to be really careful how I did it.

Another time the dome would not have shown up at all without more depth. I needed a little deeper excavation with the #11 first, otherwise I don't get it. I mean the dome, I said, not my understanding.
Turning a gouge over has a page of its own from an earlier part of this room. Here it does one small thing, and the shadow is the reason. If you want to watch that dome go in pass by pass, the full workshop sits in the Venice Room, every video of it, with the school's tuition.
Where did I still undercut, and how far?
Right away, under one part, and only a little bit, because again I cannot do it too deep there. Just slightly.
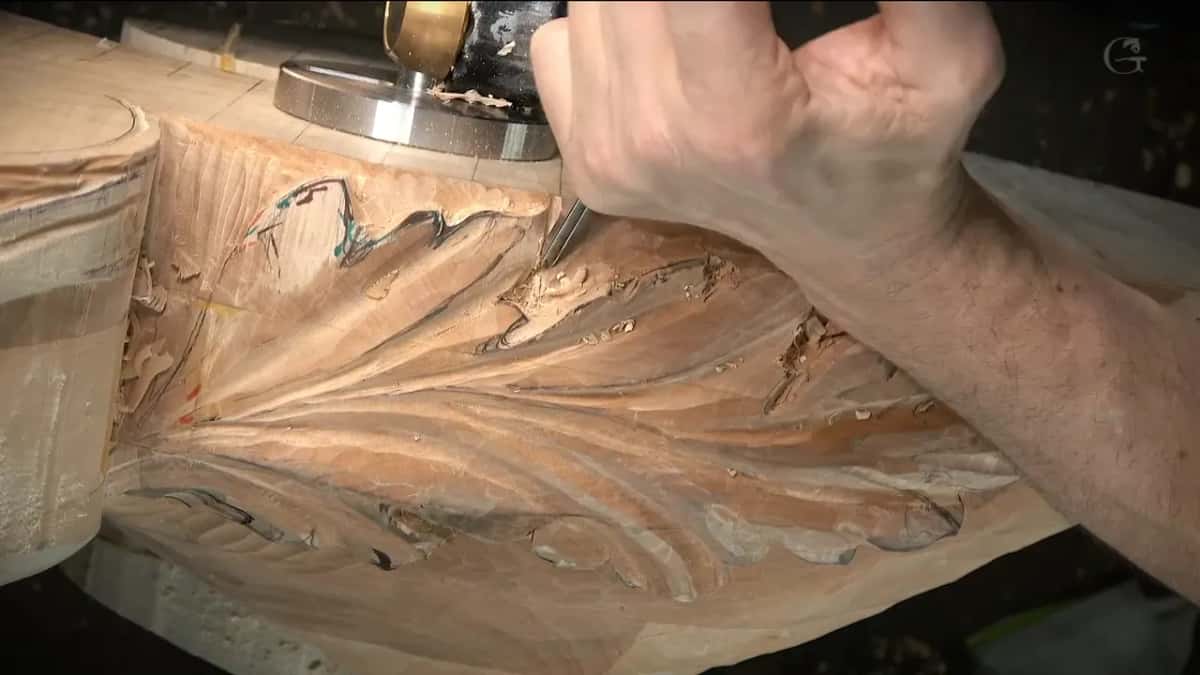
One rule came from the shape itself. When I roll an edge in one direction, the roll has to start from the separation point. That means the undercut material has to be gone all the way to that separation, otherwise it is not going to look as nice. In another spot I left the edge alone for now, made the separation first, and only then undercut to the final look I was after.
On the side of one of the wings I took a 5 mm #11, three-sixteenths of an inch, and started excavating. I cannot go too deep there. Any deeper and that part gets too weak, and I lose the whole thing. Just a little bit. With a small 2 mm I kept going, and yes, I was wiggling slightly, because I was really trying to control my tool. Wiggling a gouge on end grain has its own page.
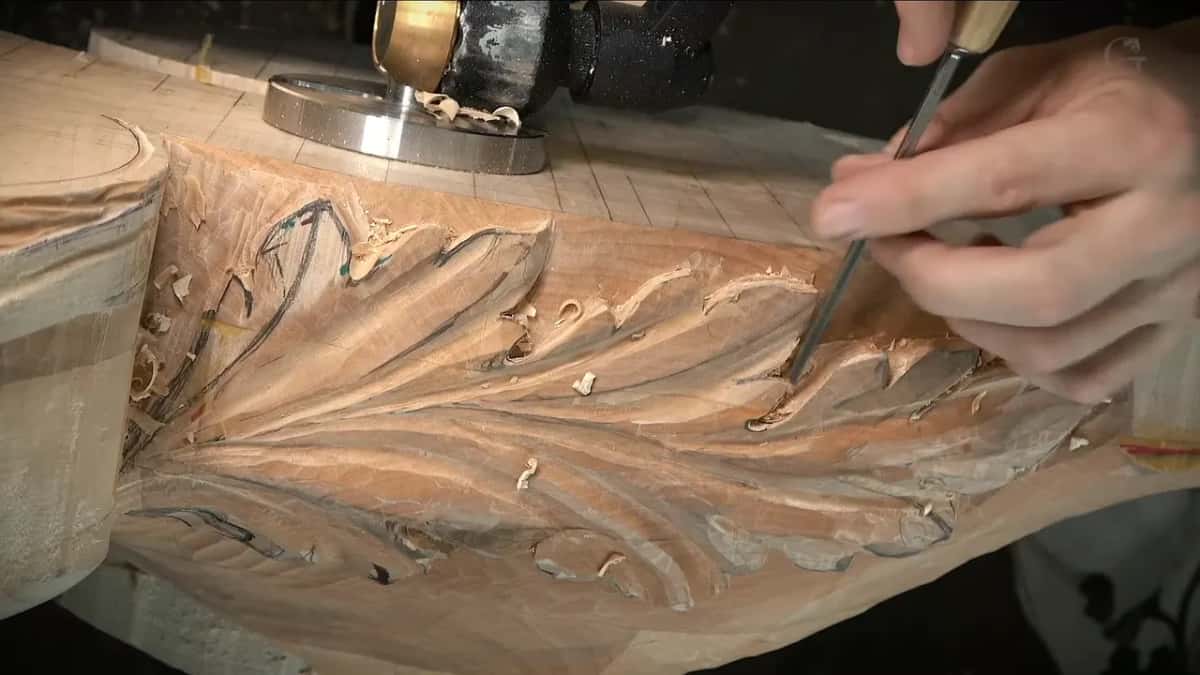
On the next one I rolled it slightly, but I can't do too much. Or I should say I don't want to do too much. Not can't. Of course I can, I'm able to, but it's too much.
Some areas I did not clean at all yet. That surface still needs to be carved a little later, so cleaning it up completely now would just be a waste of time. Some I can do.
Keeping an acanthus lobe strong while you undercut it is a lesson from Part 1 of this room, and how much to undercut a carving in general is a question for Part 14. On this block the grain answered it for me.
Why the side of the veiner, at one o'clock?
I had a high spot in the middle to blend into the section next to it. I set the #11 at approximately one o'clock and used just the side of the tool. The clock idea runs through this whole part of the room, and here it was one o'clock, on the side.
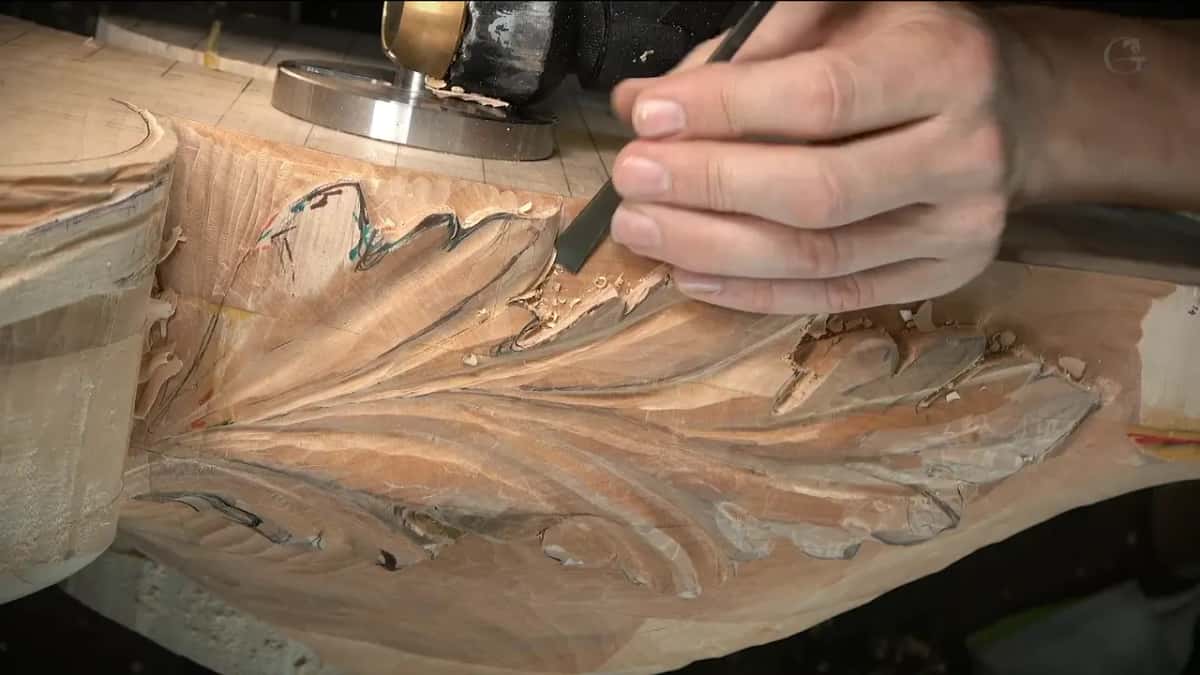
A bigger one would have been better, I thought, because that section is supposed to twist, and I was carving the wrong direction. So I tried to attack from the side. Oh, not really. I guess it was still better from this side.
The micro separations went the same way, a 5 mm #11 laid right on its side. Before them I had to relieve the little triangles with a straight down pass, and on this spot that goes pretty much with the fibres. A mallet set one separation with a relief cut, and not too deep either.

How sharp do the gouges have to be on end grain?
Super sharp, especially in this area. Tools must be sharp no matter where you work, probably, but some areas are more forgiving than this one. A small #3, like 10 mm (3/8 in), rode right on top. It sliced the fibres, and the passes came off so thin they were translucent, because I was barely taking anything.
I'm going to be honest with you. It does take much longer when you are working on the end grain. I have to be extra careful, and it trains your patience for sure. Carefully, carefully, carefully. Get in and take my time.
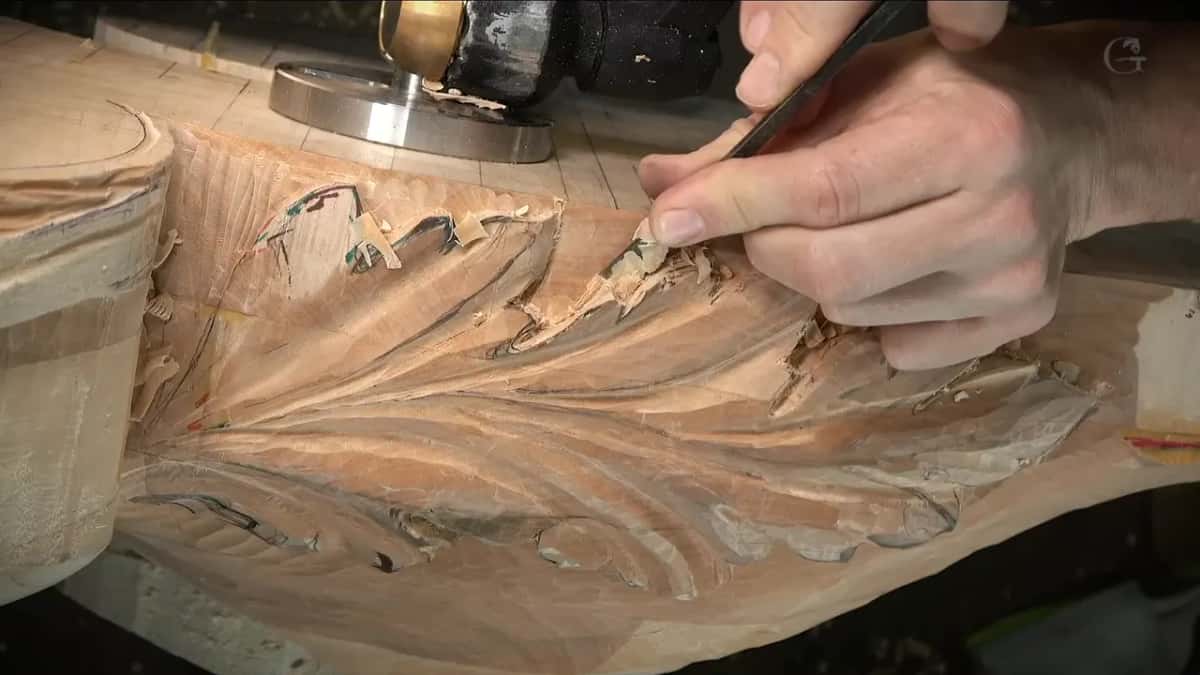
Let me tell you a story. On one corner I took a #3 in, although a small tiny tool like a skew would probably have helped me get right inside that corner. Oops. That was No Bueno. That spot is really easy to break, and I rushed it slightly. The next video opens with me saying I shouldn't rush, and a minute later another part got chopped a little because I guess I wasn't too careful.
Sharpening is the hardest of the three skills, and it has a course of its own.
Tools that did the undercut work in workshop 95
| Tool | Job | Where |
|---|---|---|
| Veiner, 2 mm | Takes the first fuzz out from underneath | Most undercuts |
| Next, 1 mm | Cleans what the bigger one left behind | Same spots |
| Half millimeter veiner | Hooks out leftovers, adds a little shadow | Tight corners |
| A #7, flipped | Rounds a dome beneath the rim instead | Weak spots |
| Ten millimeter #3 | Rides on top of the fibres, slicing | End grain |
| Five millimeter veiner | On its side, then along the wings | Wing sides |
| Mallet and gouge | A relief cut, and not too deep | One separation |
None of it is special steel, just the order and the patience.
Where does workshop 95 sit in the Venice Room?
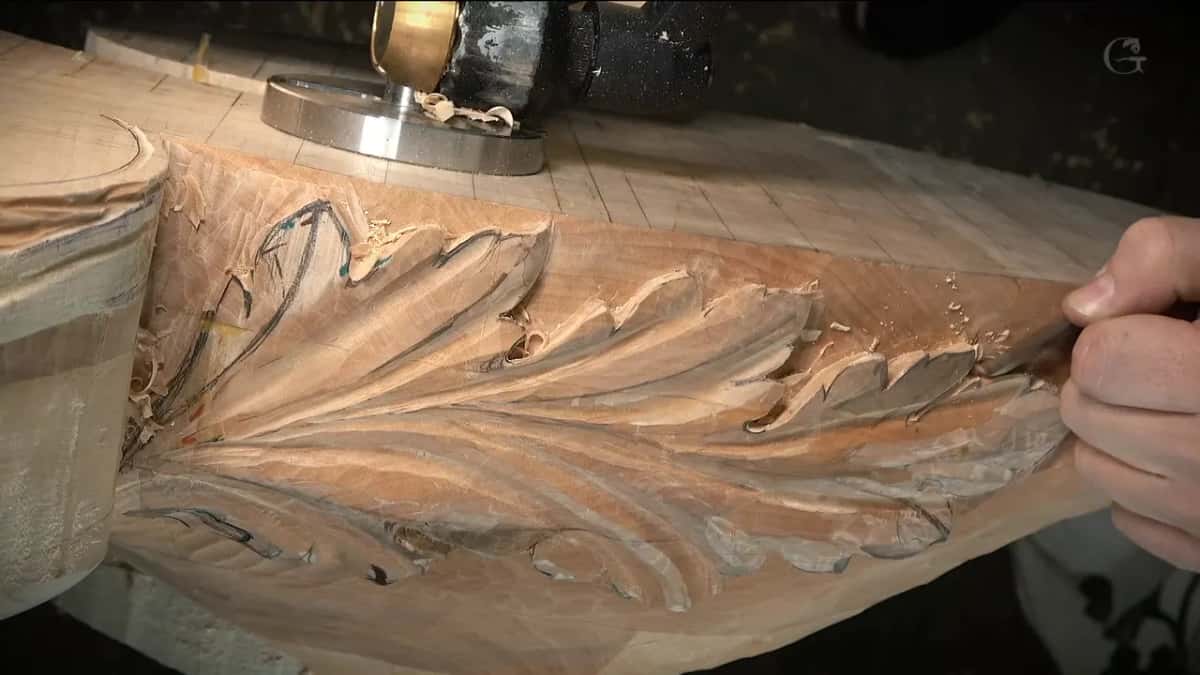
At the start of this workshop I changed how the piece was fastened to the workbench, so you could actually see the surface I was carving and the back side of it. You can see how thick that piece is. Really, really thick. Early on a #3 of 18 or 19 mm, three-quarters of an inch, got rid of some side material, and later a #7 of 14 mm, a little bigger than half an inch, set a better form.
At the very end I double-checked it from all the sides, and I still saw some areas I need to address. Right here, and right here.
Workshop 95 comes after workshop 94 and before workshop 96, on the same big Venetian project in the style of Venice. If you have never held a gouge, start here first. The grain directions article is a good read before any of this. A skew is really just a chisel ground at an angle, and I wished for a tiny one on that corner.
Would you like to see each veiner go in, the 2 mm first and the smallest last? And watch that little dome show up in its place? Then the whole workshop is waiting, all ten videos of it.
How it's done
- Read the grain first. Look at which way the fibres run. On this piece they stood straight up, and I was carving across their ends, so I knew the undercut had to stay small.
- Leave extra thickness. In the thin regions keep a little more wood than the final shape needs, otherwise it breaks. Then take really tiny passes, one after another.
- Separation first, undercut second. When an edge rolls one way, the roll has to start from the separation point, so set that point before anything else. Bring the undercut all the way to that separation.
- Two millimeters first, one after. Excavate first using a 2 mm #11, then clean with a 1 mm, without quick movements and without rushing. The 0.5 mm hooks out what is left and adds a little shadow.
- Round a dome where you cannot go deep. Turn a #7 upside down and round the wood beneath that rim. If the dome does not show, excavate a little deeper with the #11 first.
- Slow down on the corners. Keep the tools super sharp and take your time, because some areas forgive a lot less than others. I rushed one corner, and that was No Bueno.
Frequently asked questions
Can you undercut end grain at all?
A little bit, yes, but not much. On end grain the fibres stand straight up, so an undercut takes the support away from part of them, and that becomes the weak spot. I went in slightly under the edges in workshop 95 and kept the support for the grain.
What does the dome effect mean in wood carving?
My name for rounding the wood under an edge with a #7 turned upside down. Where end grain would not stand a deep undercut, the little dome still casts some shadow, and I said on camera it looks much cleaner and nicer.
Which size veiner should you undercut end grain with?
I went in with a 2 mm (5/64 in) #11 first, cleaned with a 1 mm, and finished with a 0.5 mm. On one spot I told myself on camera I needed the 1 mm, otherwise I would be undercutting too much. I worked without any quick movements.
What to carve next