
Alexander Grabovetskiy, woodcarver, School of Woodcarving · Published 2020
How do you carve a sharp ridge where two hollows meet?
Quick answer: A sharp ridge between two hollows is a thin line of wood left standing where two concave slopes come up to each other from opposite sides. In workshop 87 I set one side with a 7 mm #11 separation, lowered the other, and brought it to the line with a 20 mm (3/4 in) #3.
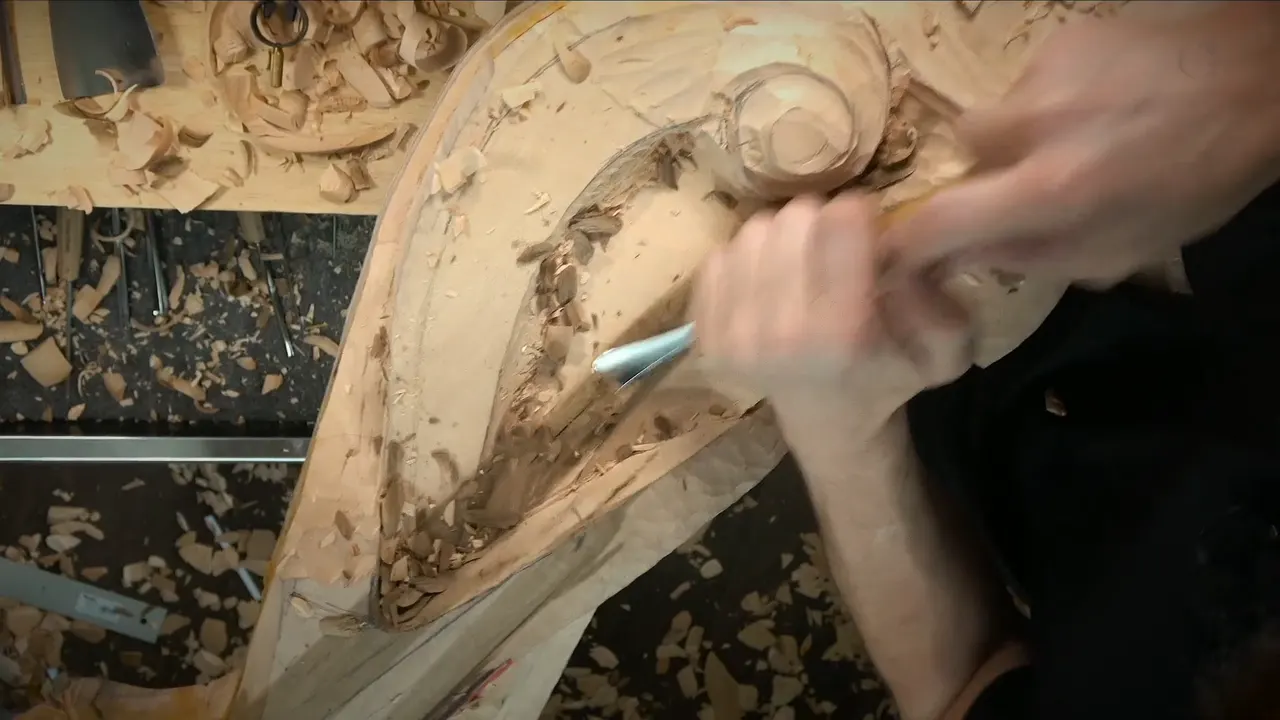
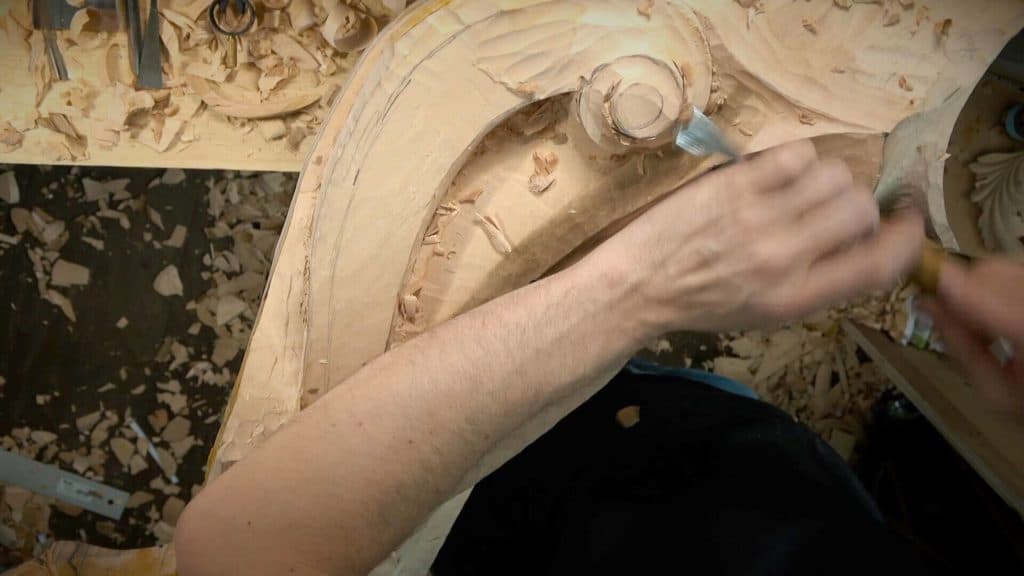
A sharp ridge in ornamental wood carving is the thin line of wood left standing where two hollows rise toward each other from opposite sides. In workshop 87 of the Venice Room the ridge work on one big piece came in two stretches. The first ran along a cove that slopes downhill and stops, and in the second a ridge divided two slopes that turn opposite ways. Halfway through the first stretch I stopped. I need that ridge, because it's going to give me sharp shadow.
"That is a really, really, really important spot," I said.
Have you ever looked along a carved molding and stopped on one crisp line? Did the hollow beside it look darker than the rest of the wood? That line was left there on purpose. Below is how that ridge work went, gouge by gouge, and that includes the pass that came out wrong.

What happened in the two stretches
The big #7, three inches (80 mm) wide, sloped the cove downhill to what I called the intersection point.
My #3 cleaned the ridge by the cove, and one side came out no good.
The last pass went toward me with a 15 mm (5/8 in) #7, right up to a sharp point.
In the second stretch a #9 chopped straight down on the line, and a 7 mm #11 set the boundary without any mallet.
My first figure for the hollow beside it was 13 mm (1/2 in), and later an inch (25 mm) in one spot.
A 20 mm (3/4 in) #3 took the division ridge right to the line.
Why does a carving need a sharp ridge?
Shadow. When I explained myself in this workshop, the answer kept coming back to shadow.
Next to the cove I said it straight out, the line about sharp shadow you read above. Later, starting a small concave with a #9 about a quarter inch (6 mm) wide, I said it again, differently. Of course, it's all about shadow. Nobody's going to measure here, but the shadow is really important. That little concave was not deep, and I told you it would still be detectable.
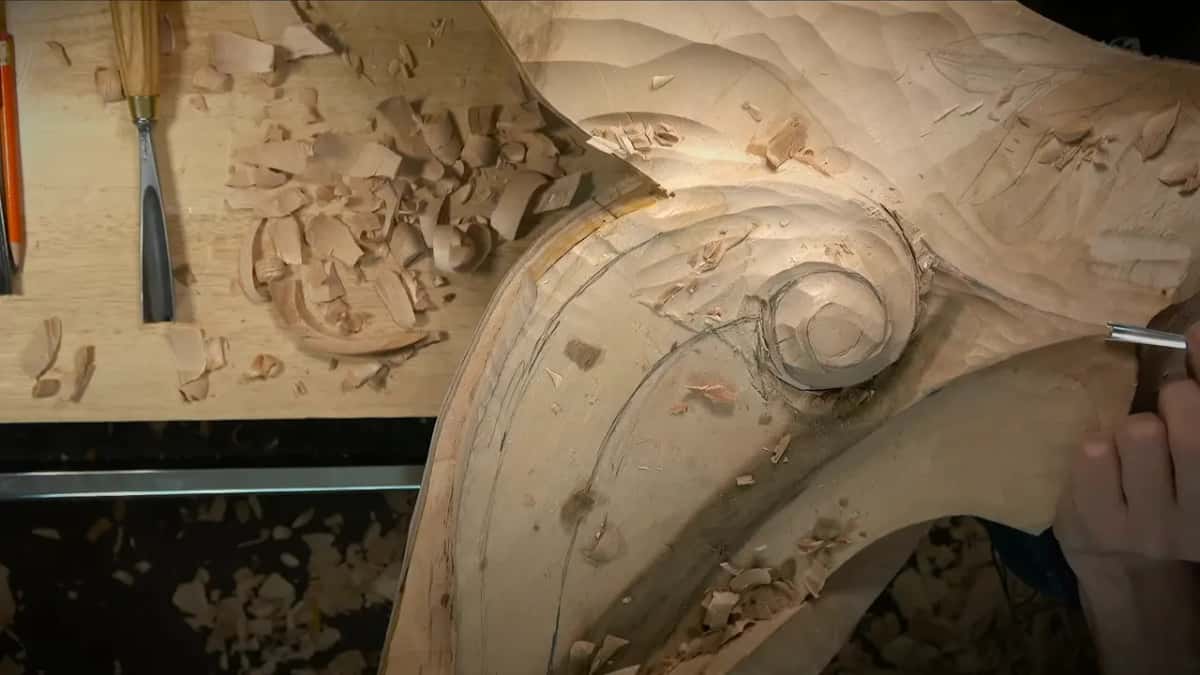
Painters call light set hard against dark chiaroscuro. A carver has no paint for that, so the wood has to do it alone, and on this piece I was counting on the ridges. Builders have their own word for a sharp edge where two surfaces meet, an arris. On camera I just say ridge.
How do you carve a cove down to one point?
I started with the big one again, the #7 that is three inches across, and roughed the slope for well over a minute before I said a word. After that I checked where the shape had to stop. It's going to end right here, I said, the intersection point, and it goes all the way to this spot.
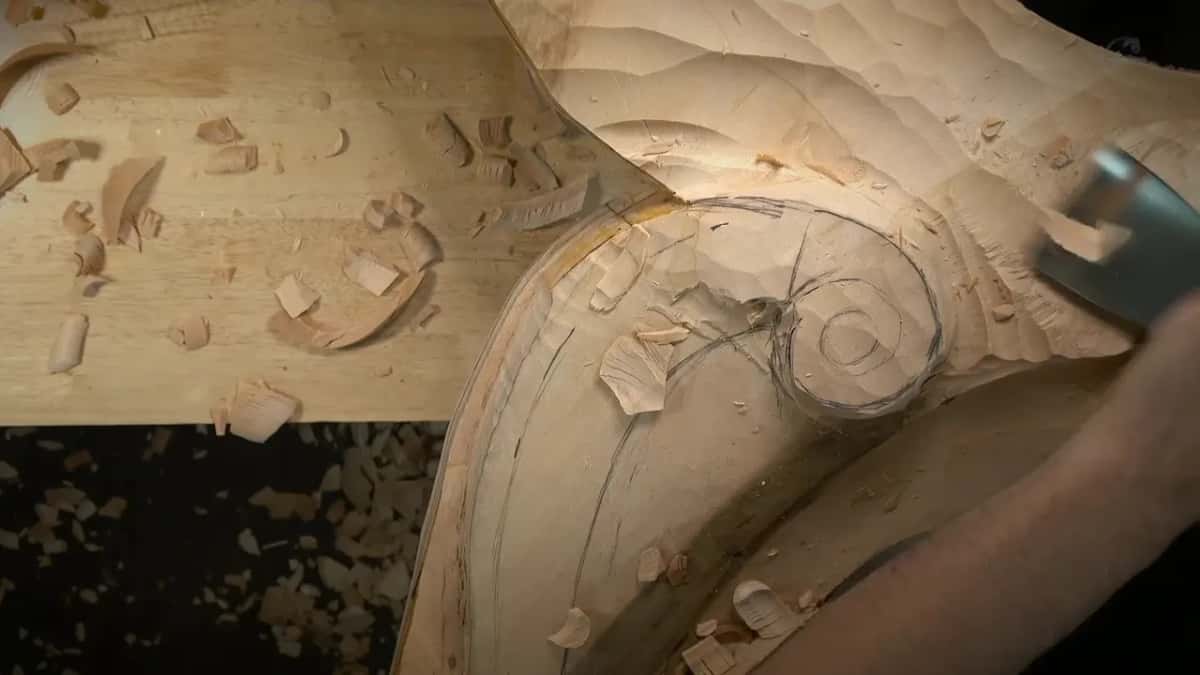
What I was carving there is a crown, which is a cove, a concave. It slopes downhill. So the line had to be taken nicer, sloped and cleaned, before any ridge could exist beside it. People in the trade also call a plain concave molding a cavetto, and a crown molding at the top of a wall is the same idea much bigger.
Before I touched the ridge, I looked at the whole slope from the side. It looks logical, I said, and I added that I can always double-check. A cove carved as its own strip, between two clean edges, is a different job, and workshop 58 has a page on it.
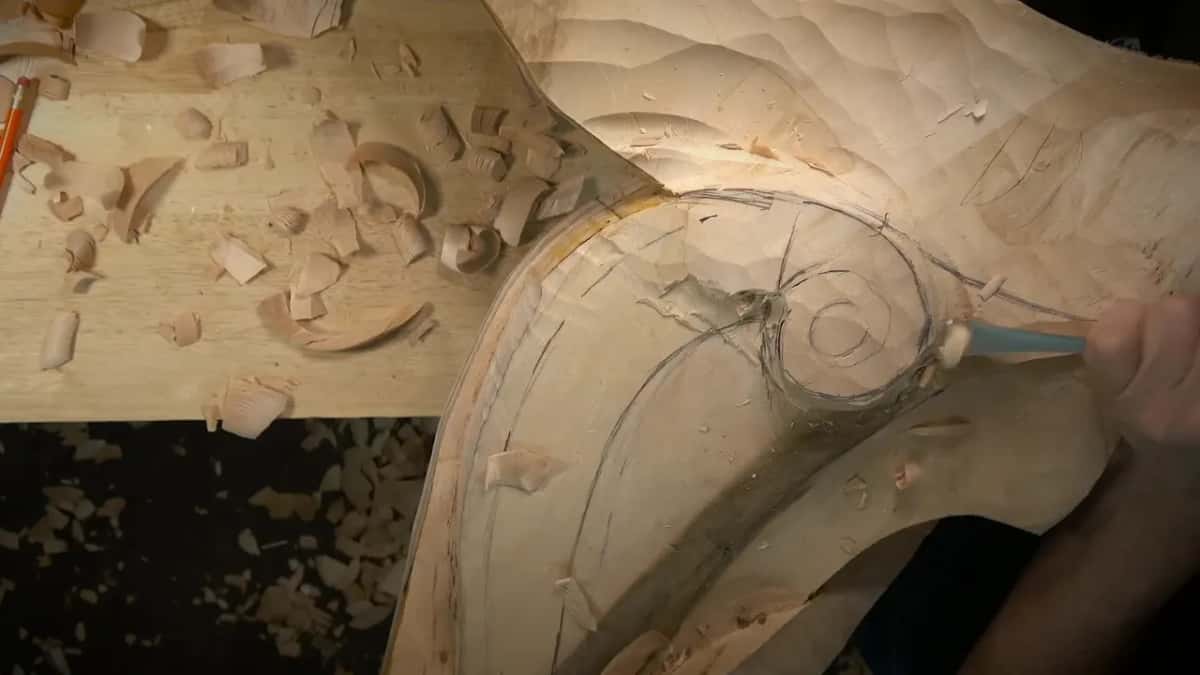
Which side should you carve a ridge from?
From the right position. On this ridge I found it by getting it wrong first.
I took the #3 and cleaned from one side, then stopped. See, that's no good, I said. No bueno. So I attacked from the right position, this side, and cleaned it first again. Earlier in the workshop I said something close to it in one short line, that one side always comes out clean, and another does not. I did not stop to explain why, and I won't invent a reason for you here.

After the second try it worked. Here you go. Everything goes to the same point. It's a really sharp point.
The last bit took a #7 of fifteen millimeters, about 5/8 of an inch, and the right position for that one was toward myself, all the way to that point. The concave beside it still needed digging much deeper. For now, it is good, I said, and then I turned to the other side.

What is a division ridge in ornamental wood carving?
Division ridge is the name I used on camera for the ridge between a movement going this direction and a movement going that direction. The second stretch of ridge work started as a plan for exactly that.
I wanted another slope. If this one goes this direction, I said, the new one is going to flip that direction, and it would carry a concave movement too. I need to get the illusion of 3D in this spot. That's why I was digging much deeper there, first with a #7 of 14 mm (9/16 in), then a #3 about three quarters of an inch wide, then a #7 again to get that excavation even deeper.
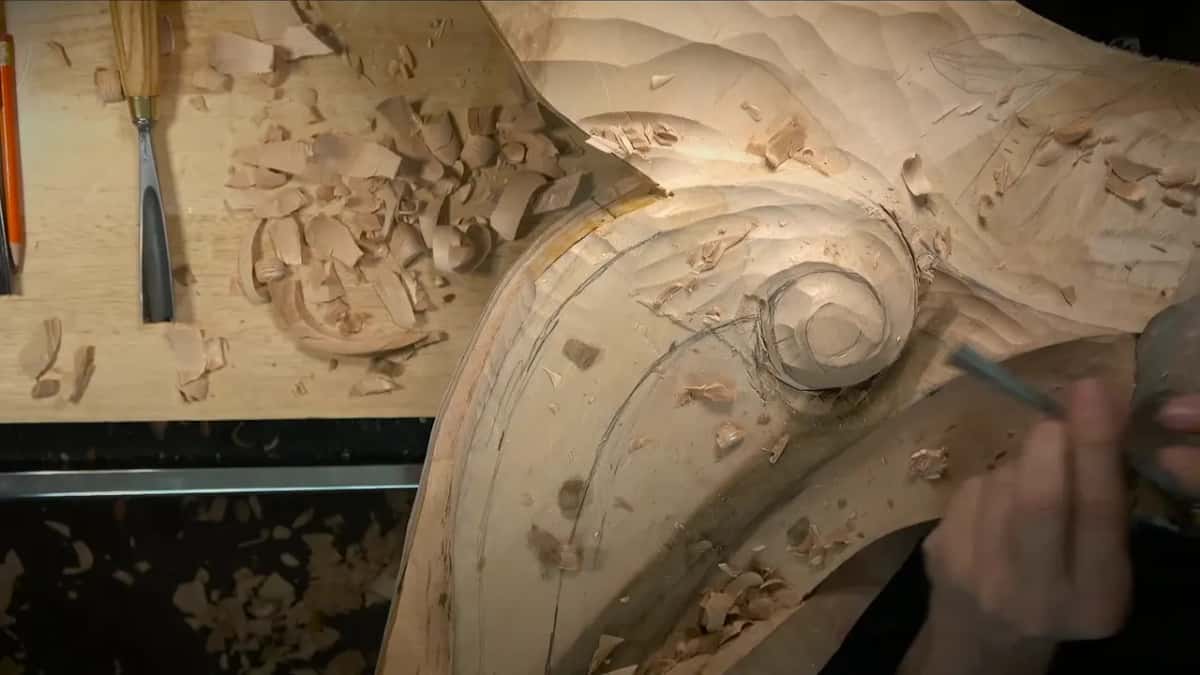
Once the wood was cleaned, I asked you to look. You should already see it, or detect it, I should say, the movement going this direction versus that direction. So it's a really good ridge. That's what's going to be right here, a division ridge.
The next video has me calling the whole thing a common design trick to fool the eye, an almost flat relief surface made to look much deeper than it really is. Making low relief look three dimensional gets its own page in the furniture panel course.
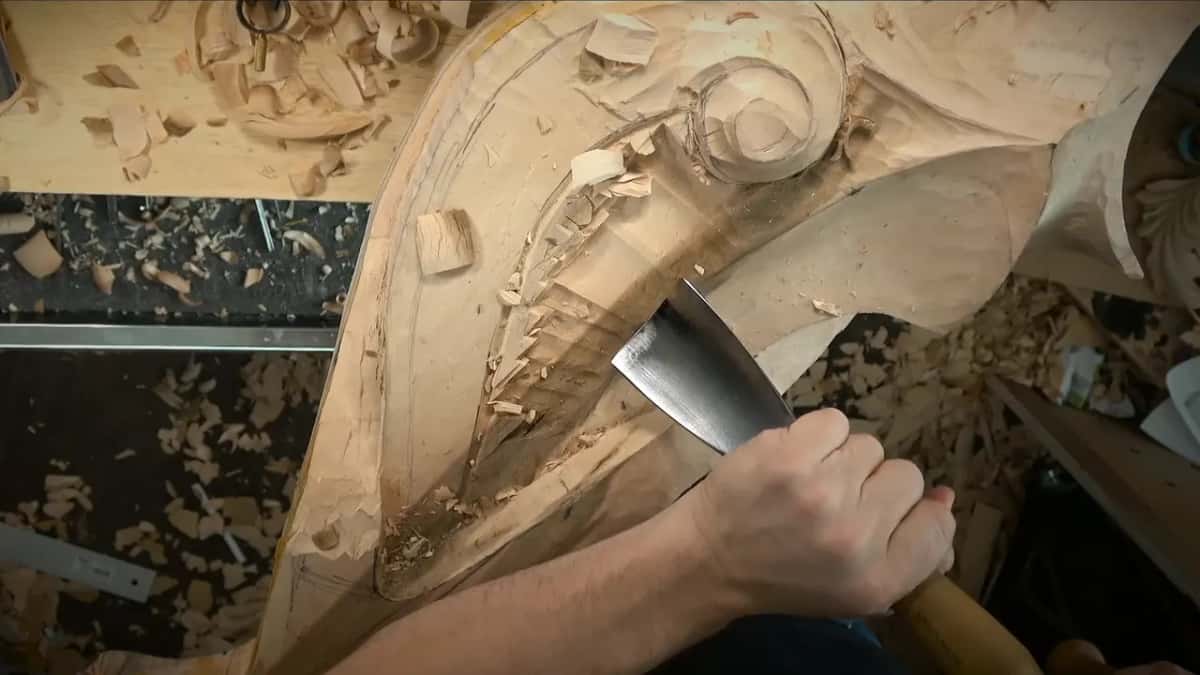
Does a sharp ridge spoil a smooth transition?
Inside one movement I want the surface continuous. Earlier in this workshop I found a hump I did not want to see and sloped it away, and near the end I said the side has to be really nice and consistent, not wavy.
The ridge lives somewhere else. It sits where one movement goes this direction and the next goes that direction, and there the crisp line is the point of the whole exercise. A page from workshop 48 is about carving a smooth transition from one curve into the next with no line left behind. Both hold on this one piece. One curve flowing into the next wants no line, and two movements turning apart get one.
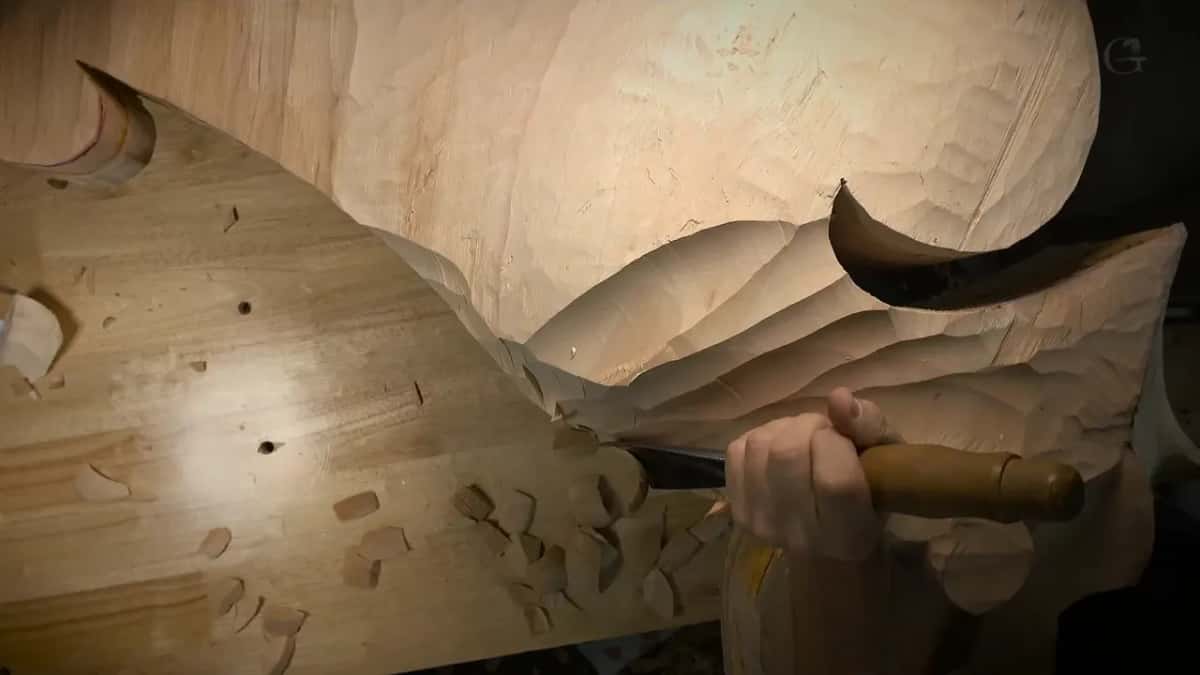
I nearly added a slope of my own here. Originally I did not plan to have it, but I liked it, not exactly 45 degrees but still angled, and I said it would give a really beautiful transition. So I'll change that design a little bit, I told you. About seven minutes later, in that same video, I changed my mind again. I don't think I need it.
How does a separation cut set up the ridge?
It decides which side stays high. This part is going to be higher than the central part, I said, and before I went on I double-checked the distance in the center. Right on the money, very surprisingly. How I carry those heights off a flat drawing is the story of workshop 86.
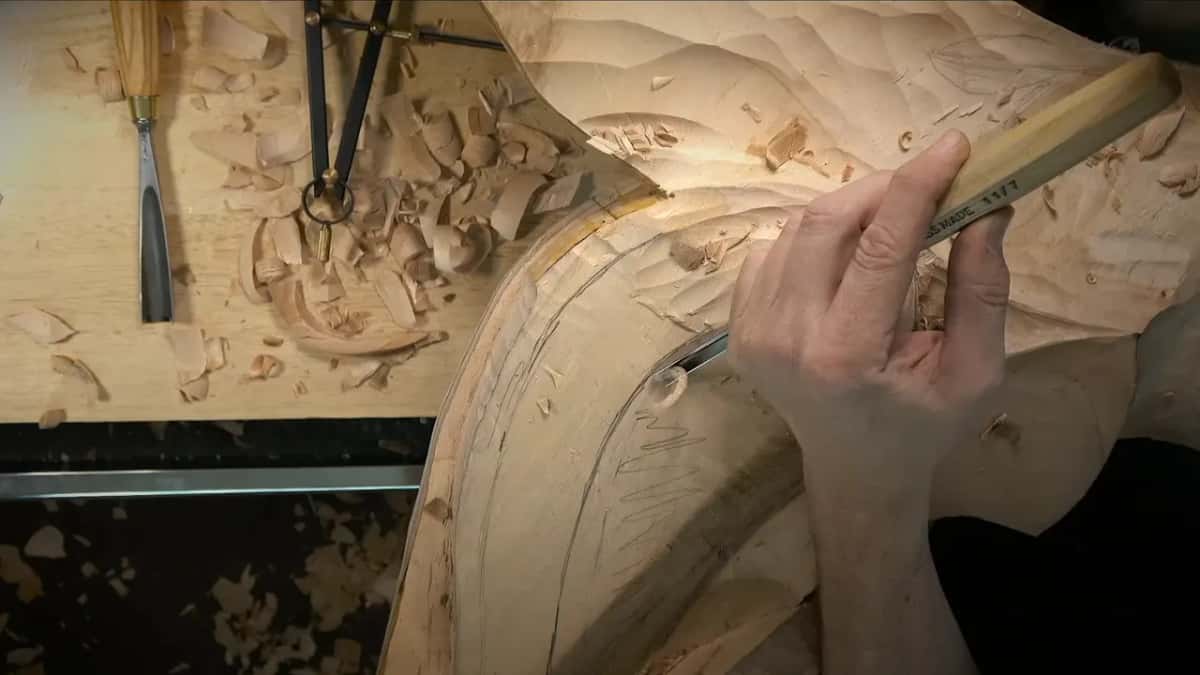
So I left that line right there, and the whole area beside it went a little lower, still a concave, only lower. The separation cut took a #11 of 7 mm, a little over a quarter inch, and I went carefully to establish my boundary.
Going around the movement one video earlier with the same size #11, I reached for a smaller mallet, changed my mind, and took the bigger one again. For the separation I changed position and put it down. I don't need the mallet, I said.
Early in that same video a #9 had already gone straight down, right on the line, before the hollow got any deeper. The line came first. Everything after it was digging toward it.
How deep should the hollow beside a ridge go?
On this piece my answer changed twice in a few minutes of talking, and I will give you both numbers.
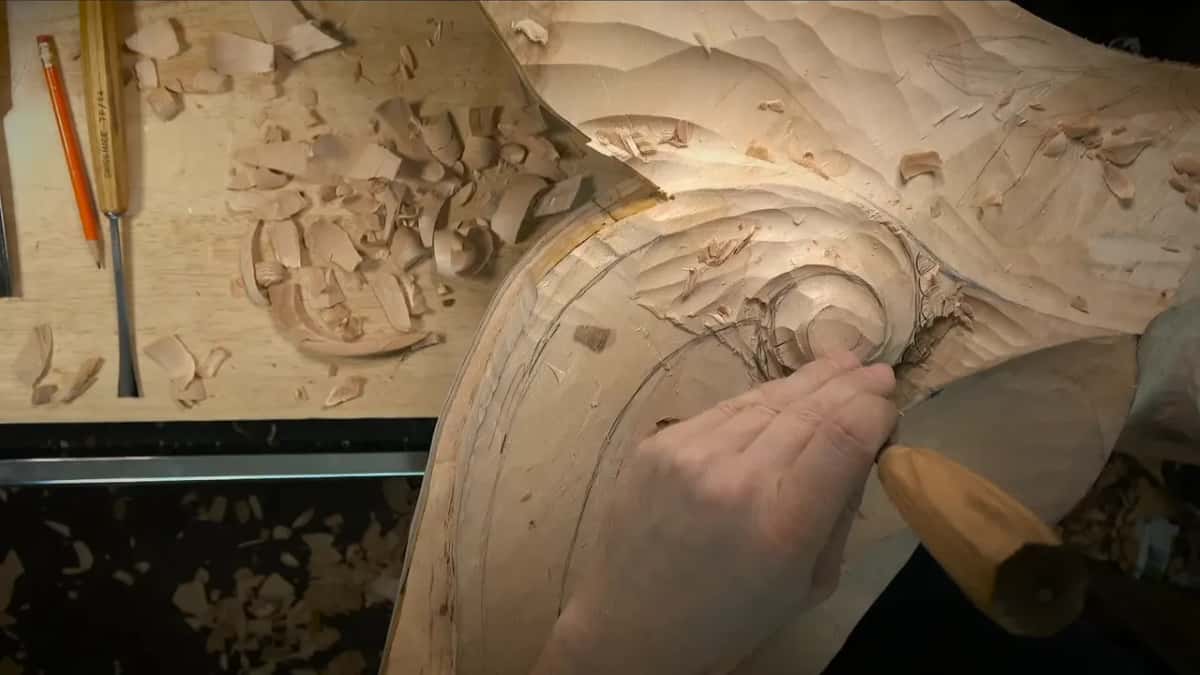
Out loud I asked myself how deep I was going to go. Quite deep, because the idea is that this part also slopes that way, maybe about half an inch (13 mm) or so. Then I cleaned the area, took a #9 into it, and changed the number. I can go deeper than half an inch, I said, because I need a shadow in this area, a really good shadow.
And a moment later I went further, in words at least. Even a whole inch (25 mm) would work if I wanted it, I said, which means even more shadow if the light is going to shoot from this side. Well, an inch right here, and a lot less the closer I get toward my future drop.
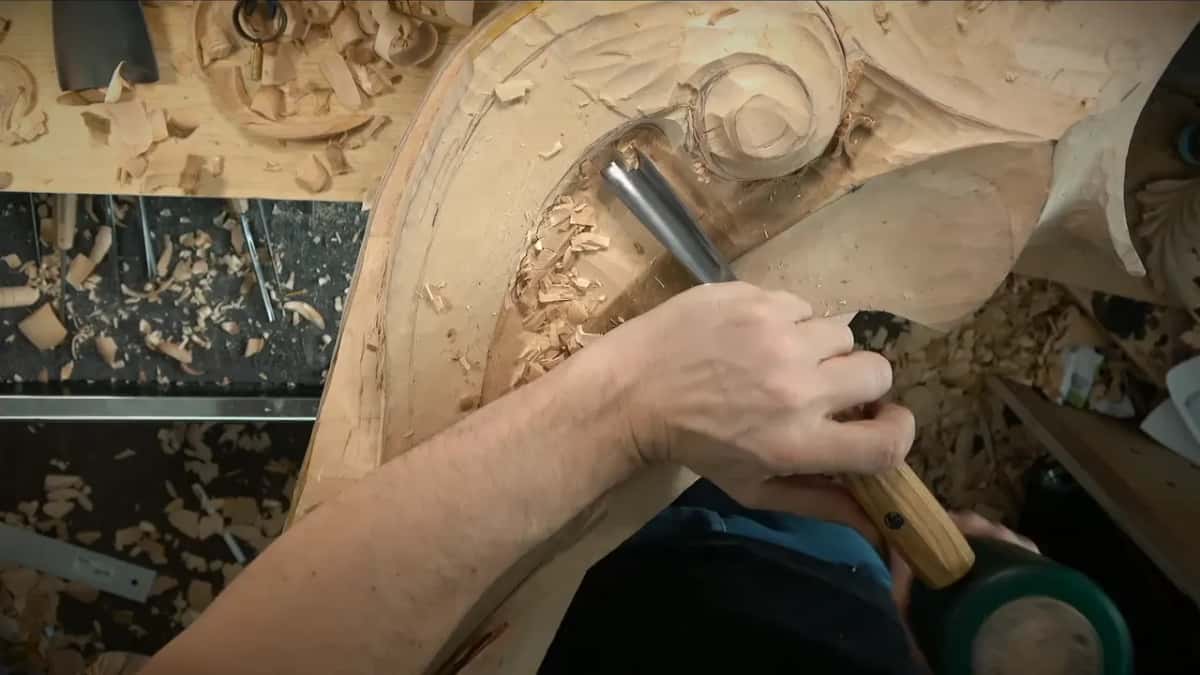
That drop is the one I called the hero of this design earlier in the workshop. Everything just goes around it, I said.
Which tools carved the ridges, in order?
Ordinary gouges, over four videos, the main ones in the order I picked them up. Every gouge is one branch of the chisel family, and its number is the sweep.
| Tool | Job | Where |
|---|---|---|
| Three inch #7 | Took the cove downhill to its point. | The cove |
| A #3 gouge | Cleaned that ridge once, then once more. | Cove edge |
| Fifteen millimeter #7 | Went toward me right to the point. | Sharp point |
| Fourteen millimeter #7 | Dug the flipped slope deeper each pass. | Second slope |
| A #9 gouge | Chopped straight down on the drawn line. | Drawn line |
| Quarter inch #9 | Started a small concave for the shadow. | Beside it |
| Seven millimeter #11 | Marked the boundary, carefully, with no mallet. | Separation line |
| Spoon #6 gouge | Reached the spot that was not convenient. | Awkward corner |
| Twenty millimeter #3 | Brought the division ridge to the line. | Division ridge |

The spoon came in late in the second stretch. Not your convenient spot, I said, as I got closer to one place, and I left it for later. Then it hit me. I can actually do it with the spoon, maybe a number six or so, and I dug it out that way.
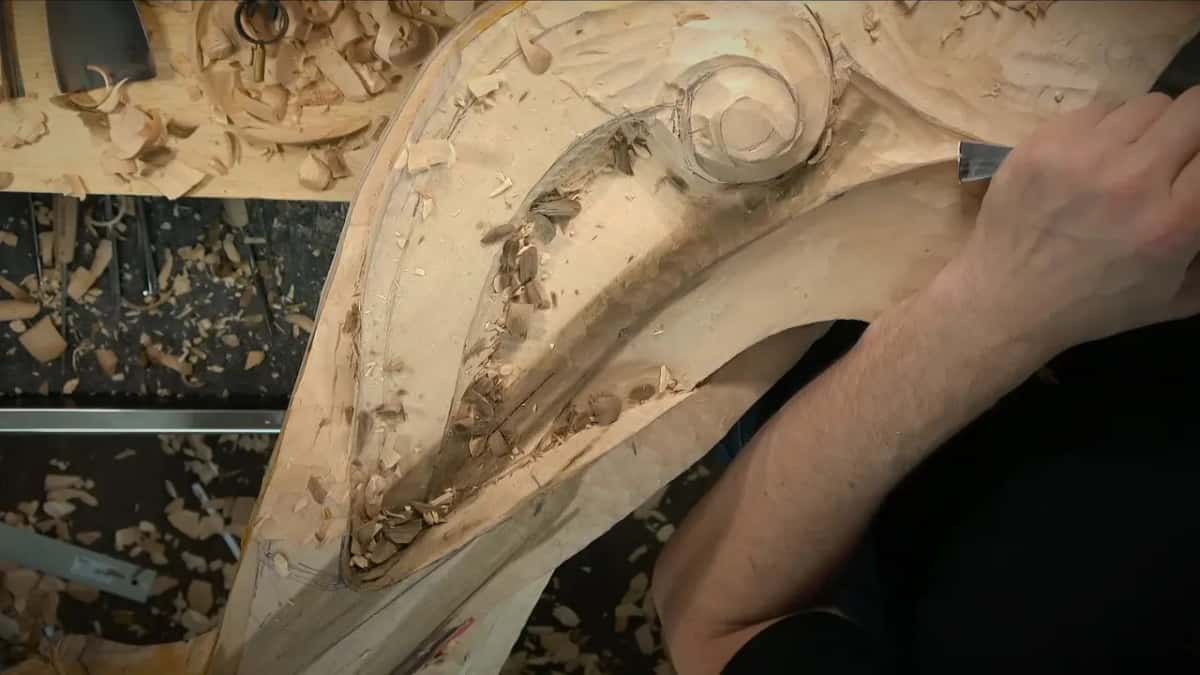
The #3 at the end of that video was 20 mm wide, three quarters of an inch. Can you see that ridge, I asked you, and then I said it just creates a beautiful, sharp point. Of course, I can refine it, I added.
What went wrong on the way?
Plenty. I just don't want to make any mistakes, I told you at the start of one video, because right now I'm at the point where every mistake is going to have consequences.
At the cove I picked the wrong side first. Later a line I thought I might still have to move made me say that maybe the concave I was starting came a little too early. One area I was not too happy about, and I said it's okay, I'll leave it at that. And when something was no bueno, I told you so, more than once.
What comes next on this spot?
A small detail. In this region, I said, that's why I'm not digging, because a small detail will run that direction. I have no drawing of it. My plan is some kind of movement coming from the opposite side and laying right on top of that crown molding. I'm sorry for babbling, I added, and apologized a second time right after.
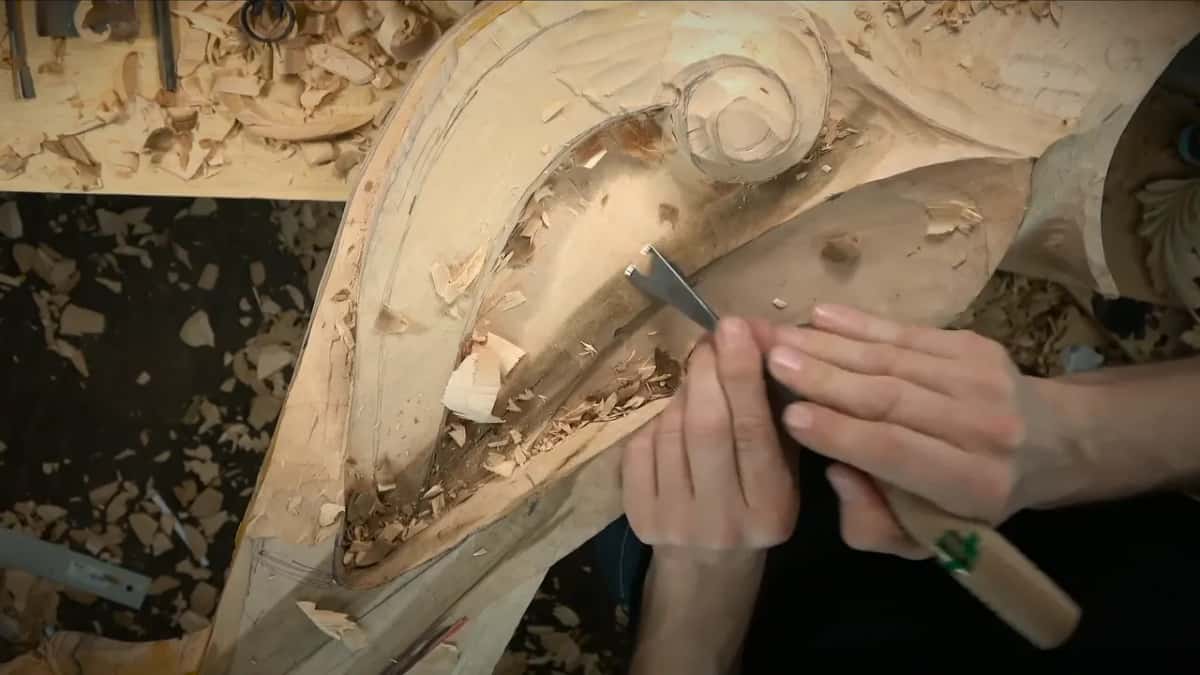
In one video I did the cleaning off camera, because I really don't want to make it a boring process. Some of you really want to see it, though, so in the last video I cleaned on camera with a #3 of a different brand, a Henry Taylor with a really big bevel. It shaves really nice, almost like planing. Earlier, my #6 spoon worked really well and could still do a little better, so I stropped it with my mirror paste, inside first and then outside, and it made a huge difference, which is the kind of thing the sharpening course covers properly.
Somewhere in the first video I stopped for a second and said, that is my granddaughter.
Where does workshop 87 sit in the Venice Room?
Workshop 87 is the second workshop of Part 8 of the Venice Room, the ornament for one room carved one workshop at a time. The next one, workshop 88, carries on from here, and this piece first came onto the bench in Part 7. Architectural sculpture is the name for carving that belongs to a building, and this piece is headed for one room.
Do you like watching one line get carved slowly? Would you rather see the pass that went wrong too? Then this room is for you. One tuition plan opens every course in the school, the lesson map is free to browse, and a beginner can start here.
How it's done
- Slope the cove toward its point. With the big three inch (80 mm) #7, I brought the cove downhill until it ended at the intersection point, then cleaned that line nicer.
- Look at it from the side. Before the ridge, I studied the slope sideways and reestablished the movement.
- Let a #3 clean it. The #3 went over it first. Where one side came out no good, I changed position and cleaned again.
- Finish toward yourself. A 15 mm (5/8 in) #7 took the last bit toward me until it reached the sharp point.
- Chop at the line first. Before any deep digging in the second stretch, a #9 went in vertically at the drawn line.
- Make the separation. Working slowly, I let a #11 of seven millimeters mark where one side stays higher, mallet put away.
- Clean before going deeper. I cleaned the area first, then decided the lower side could go deeper than my first half inch (13 mm) figure.
- Bring a #3 to the line. A #3, twenty millimeters wide, carried the division ridge to the line.
Frequently asked questions
Which gouge cleans a sharp ridge?
A #3 did the cleaning both times in workshop 87. Along the cove it came in right after the slope, and on the division ridge I used a #3 of 20 mm that went as far as the drawn line. After that last pass I asked you whether you could see the point.
Do you need a mallet for a separation cut?
For mine, no. My boundary there came from a #11 about 7 mm wide, and I put the mallet down once I changed position. Earlier, running a #11 of that size around the movement, I first reached for a small mallet and then went back to the bigger one.
How deep is the hollow next to a ridge?
About 13 mm (1/2 in) was my first figure on this piece. After cleaning, I decided it could go deeper for a really good shadow, up to 25 mm, a whole inch, in one spot, and a lot less as the hollow gets closer to the future drop.
What to carve next