
Alexander Grabovetskiy, woodcarver, School of Woodcarving · Published 2020
What can you not see in a wood carving video?
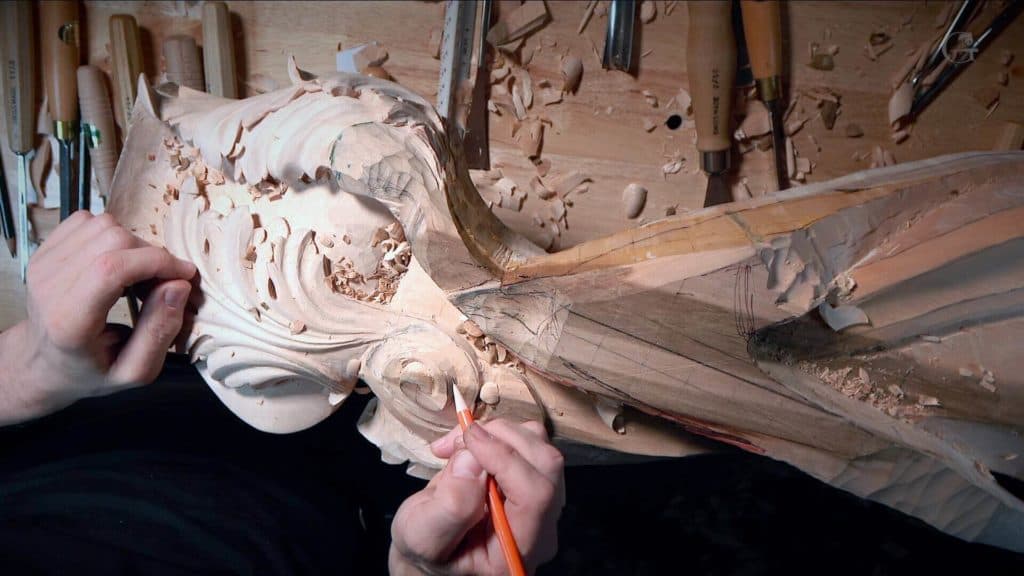
Quick answer: What a wood carving video misses on my bench is mostly depth and the true angle. My camera sits right above the bench, while this ornament is made to be seen from below, so a dark hollow becomes a dark spot. In workshop 88 I readjusted the camera, showed the side, added light and told you what I saw.
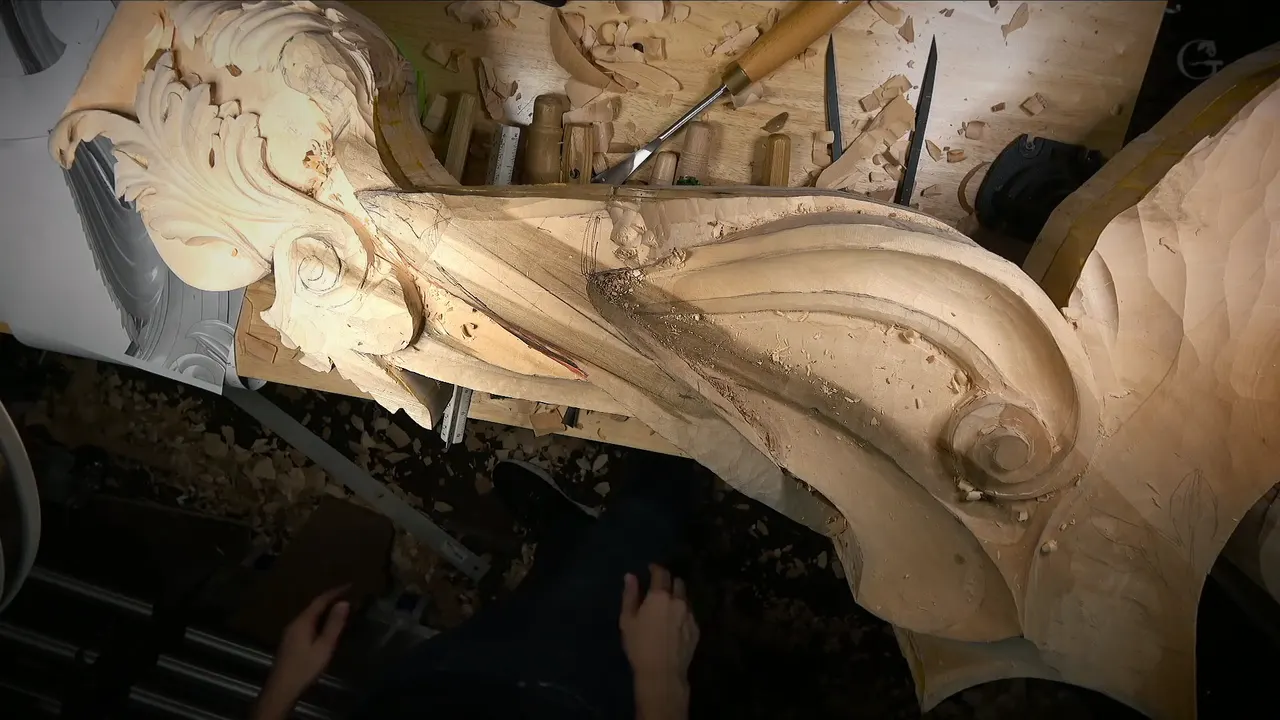
What you cannot see in a carving video, at least in mine, is mostly depth, and sometimes the angle the piece was made for. In these wood carving tutorial videos my camera is right above the bench. In workshop 88 of the Venice Room I kept stopping to tell you what it was missing.
Have you watched a carver sink a gouge into a hollow and seen only a dark smudge? Did you ever try to copy a slope you only saw from the top? Then come through this workshop with me, part by part, and I'll point to each spot where the screen fell short and what I did about it.
Six things the camera missed in workshop 88
One dark spot, where a hollow was.
Straight down is not the view this piece is built for.
An equal distance along one side, which I had to show you from the side.
A bench that grew too dark.
Some wood left for cleaning, a sixteenth of an inch, stayed hidden until I said so.
Seeing the whole piece at once, which I was not sure I could show you at all.
How did the dark hollow look on the screen?
Like a dark spot, and nothing more. I was taking material out with a number 11, flute pointed up about 90 degrees, twelve o'clock, so I would not undercut. On the camera, I said, that dark spot is where you really can't see what is going on.
So I told you instead. It looks really good in there, I said, and I kept digging.
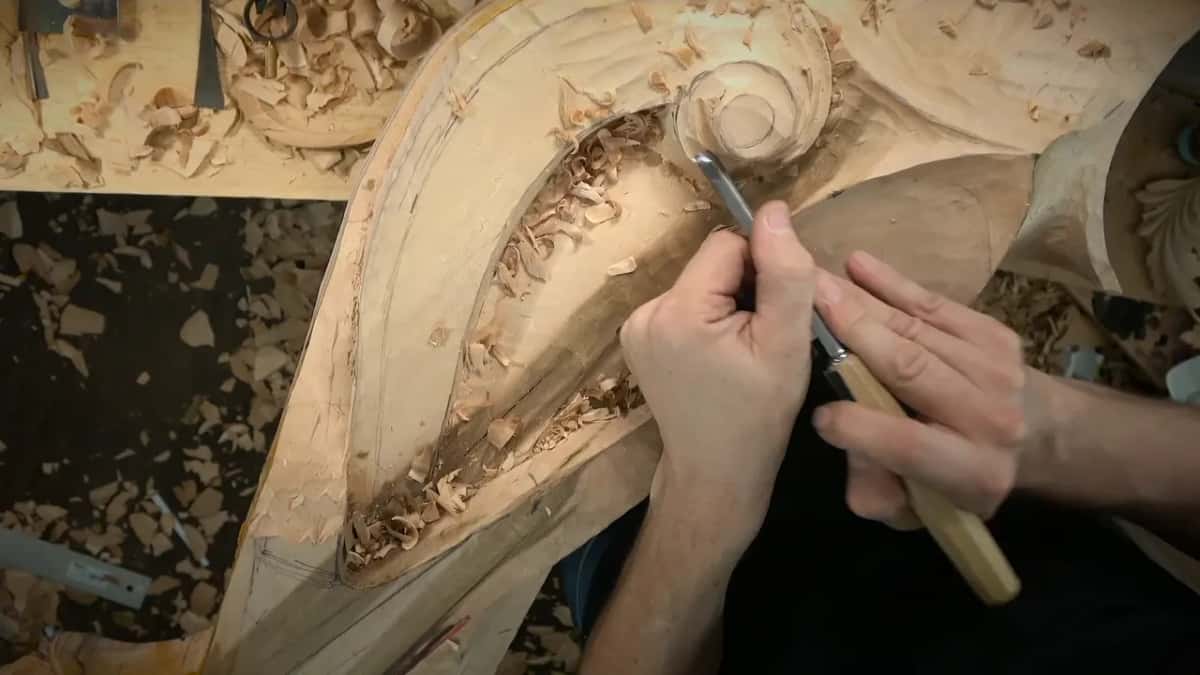
Soon after came the next thing hidden from you. I picked up a number 5 made by Ashley Iles, and it fits that profile really well. My plan was a number 7 next, but I changed my mind and took the number 3 to clean the sides a little. My own words were plain. "But you don't see it."
My number 5 had been dragging a little bit of the material, so I wanted the sides a little nicer. Later on, a side of the shape rose up along the volute, and I said the macaroni tool, number 23, could go around it so I would not destroy the wall of my volute.
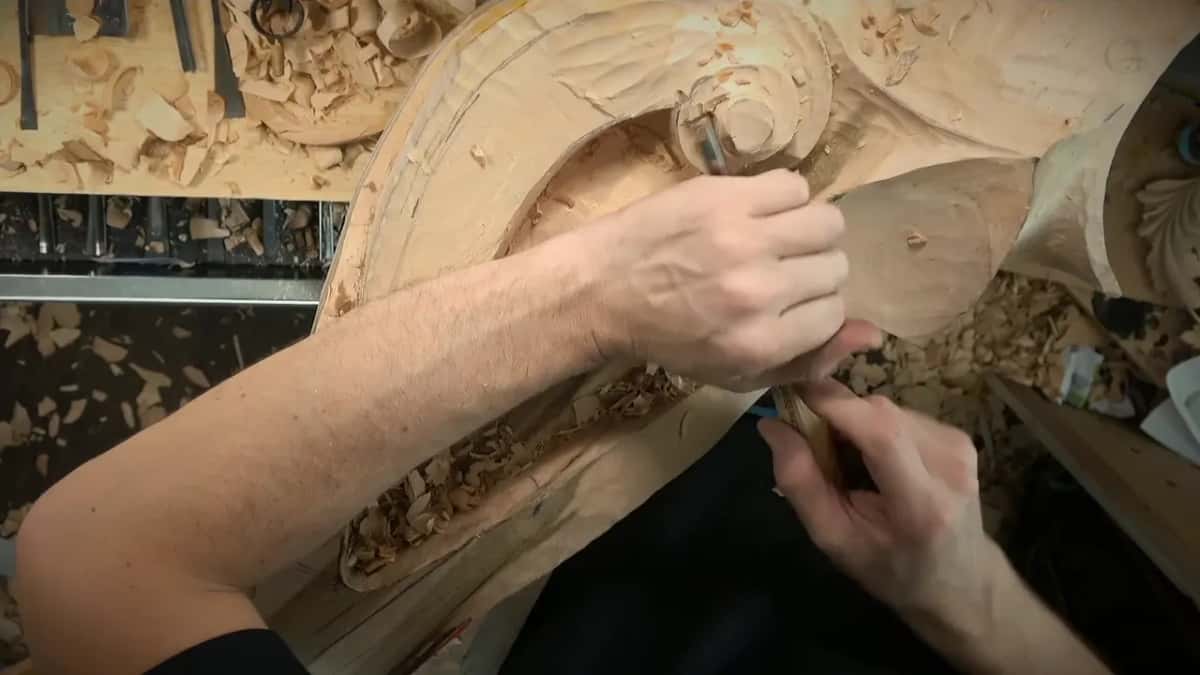
A number you would never have caught came next. I left approximately a 16th of an inch (about 1.5 mm) to my final line, and I told you I had not mentioned it. Very close, right there, but I left a little bit for the cleaning operation. It's always a good idea to leave a little bit, and you only know that wood is there because I said so.
Why is the view from above not the true view?
This piece is made to be seen from below. When I started a new area at the beginning of part 8, I stopped to explain.
What you see is not exactly what it looks like in real life, I said, because you are looking straight at it and the camera is just right above. That camera angle is a bird's-eye view. This one is meant to be visible from the bottom, from downhill up, and that will look a little different, more like a worm's-eye view.
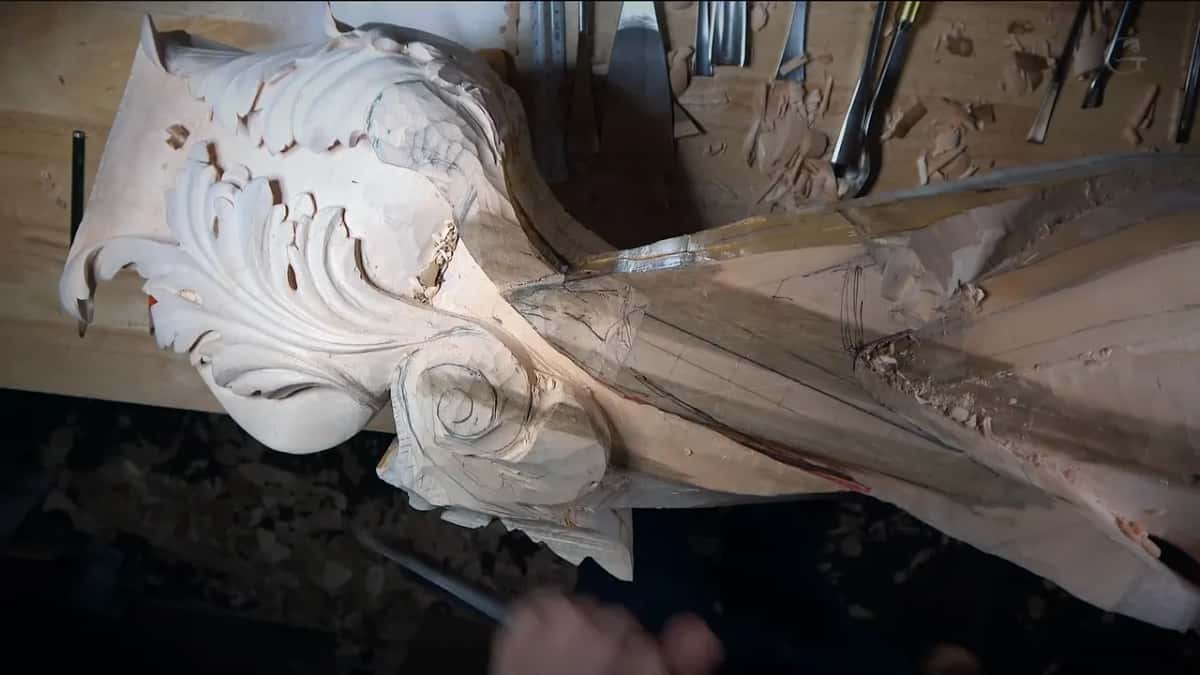
I also promised you something. Later on I would try to make a picture of it, and you would understand how it is going to look. Then I added the small, honest part. So far, I'm happy.
The angle changed the carving itself, too. In part 9 one side needed a lot more movement, and I said why. I don't want to see the rough side when I'm looking up from below, so it has to go downhill like this. Carving for a person who stands underneath is its own subject, and a ceiling panel people look up at has a page.
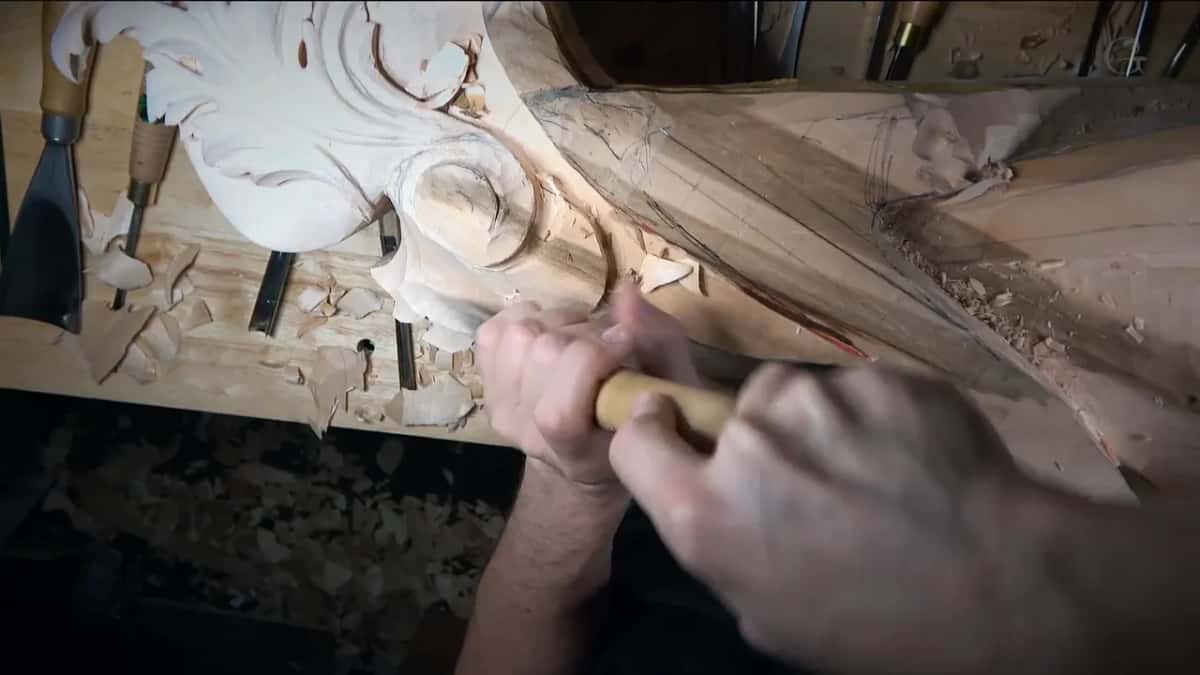
What happened when the slope would not show?
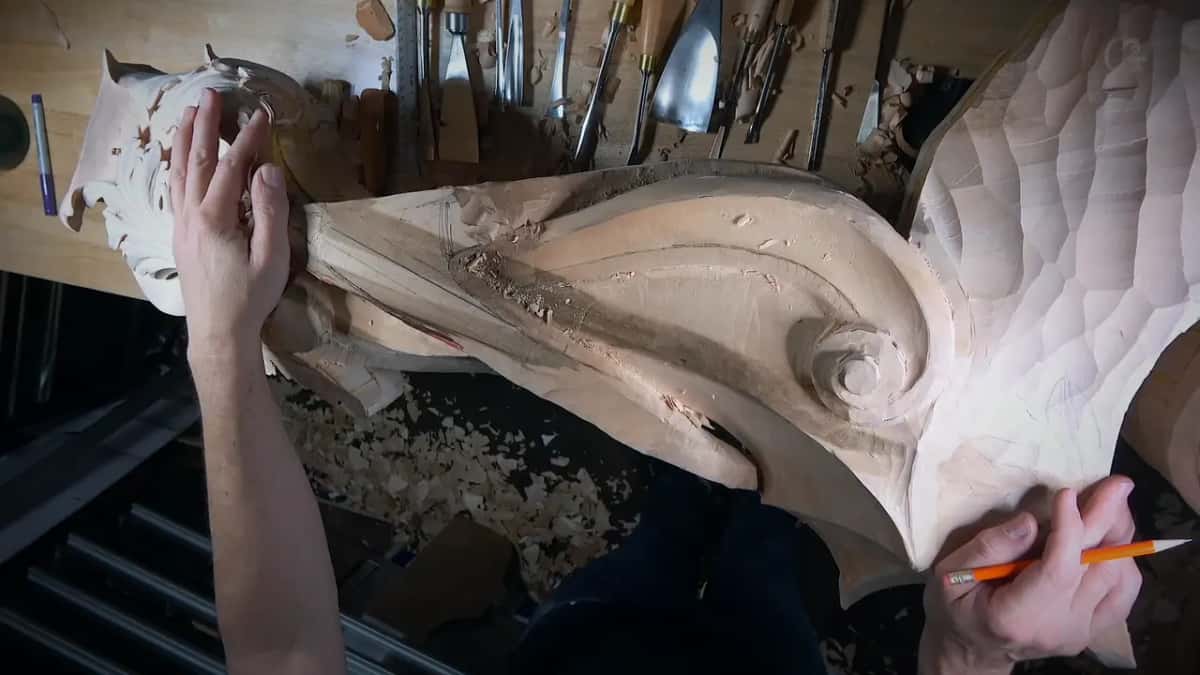
I apologized and moved the camera. During part 3 I was starting to slope one area, and I said I apologize if you don't see that, let me readjust my camera a little, and you will understand. Earlier in that part I said I needed to clean one area first, because then it would be much easier for me to see.
I redrew a line at exactly half an inch (13 mm), wanted it everywhere, sloped the wood from flat until it rolled, and had not yet decided between a fillet and a chamfer.
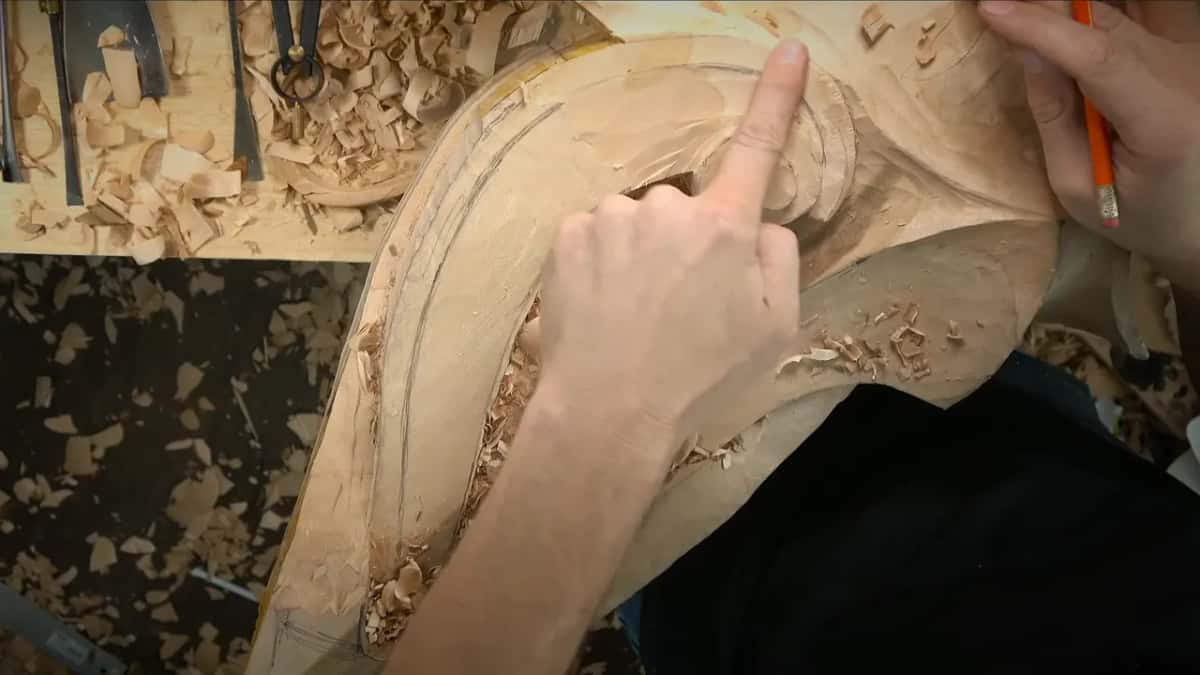
Near the close of part 3 the same worry came back, worded a new way. "I hope you can see that. Let me move it this direction and you'll see it."
Showing the side was the other way through. Along one side in part 2 I left about the same amount of distance, then showed you that side and said, "So I've got the same equal distance, okay?"
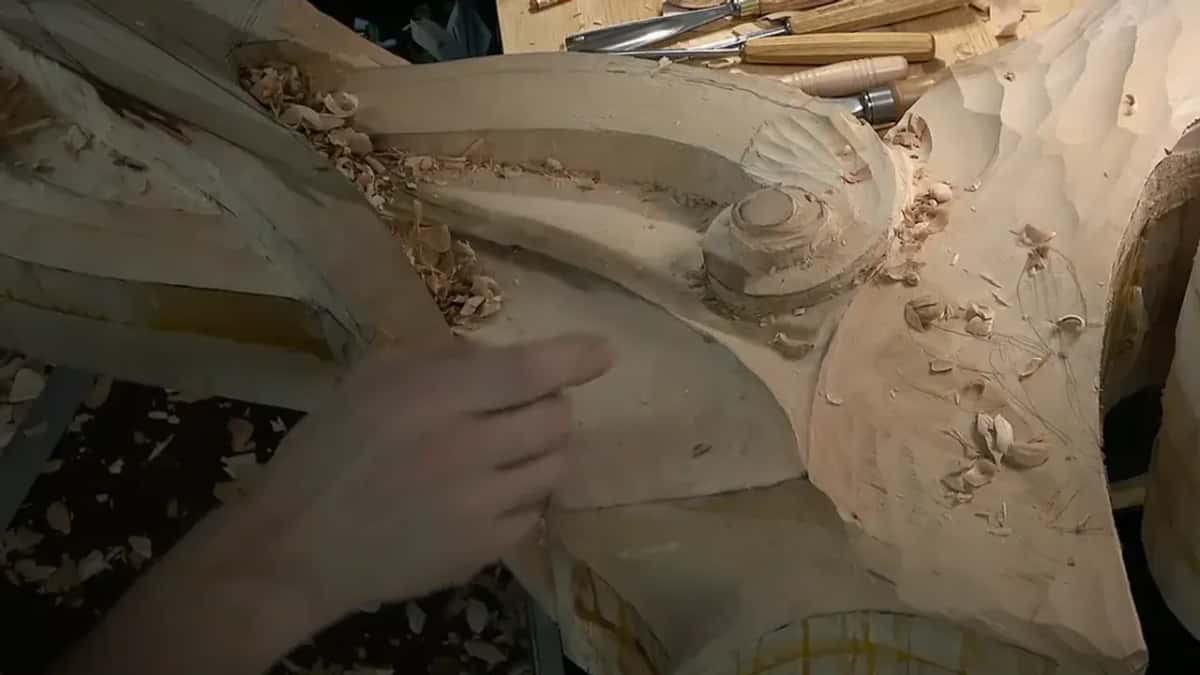
The shape itself was a movement going downhill, downhill, downhill, and I took a #11 of 7 mm to it. After that the macaroni tool gave me a really nice vault and a nice transition uphill. Around the next part it had to be separated, I said. Otherwise it just doesn't look right. The macaroni needed sharpening, and I said so on camera.
Toward the end of the workshop I asked you to watch closely. I was setting a sloping movement on one side using the number 3, and I said you should be able to see it. You should be able to catch it.
What did the shadows need before you could see them?
More light, and light in a better place, because shadow was the thing I kept pointing at. Digging a big concave in part 4 using a #7, I decided to leave about three-eighths of an inch, 10 mm, of space there, because I still need to see a shadow.
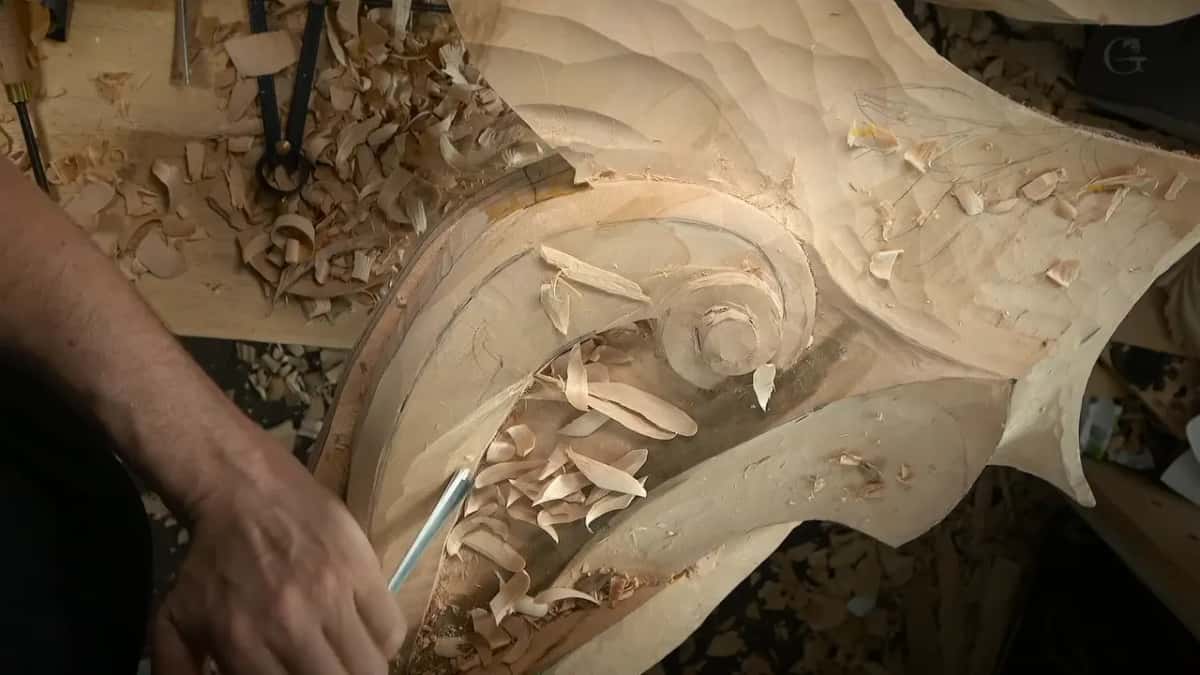
It's about shadows and light, I said by the end of that part, and it gives a really nice, beautiful 3D movement, with beautiful shadow and light. In part 6 I asked you, "See how beautiful shadow it casts?" And in part 7, you can see the shadow, I said, and the shadow is beautiful right here.
Then the bench got too dark. With the spoon out for a little cleanup in part 10, I said I needed to add a little more lights. Right now it was just a little too dark. Once the extra lighting was on, it should be much better.

Before that I had moved the lights twice, once at the close of part 9 while checking a line from a new position, and again early in part 10, a little bit this way. Lighting a finished carving for a photograph is a different job with a page of its own.
What does the side view show that the top view hides?
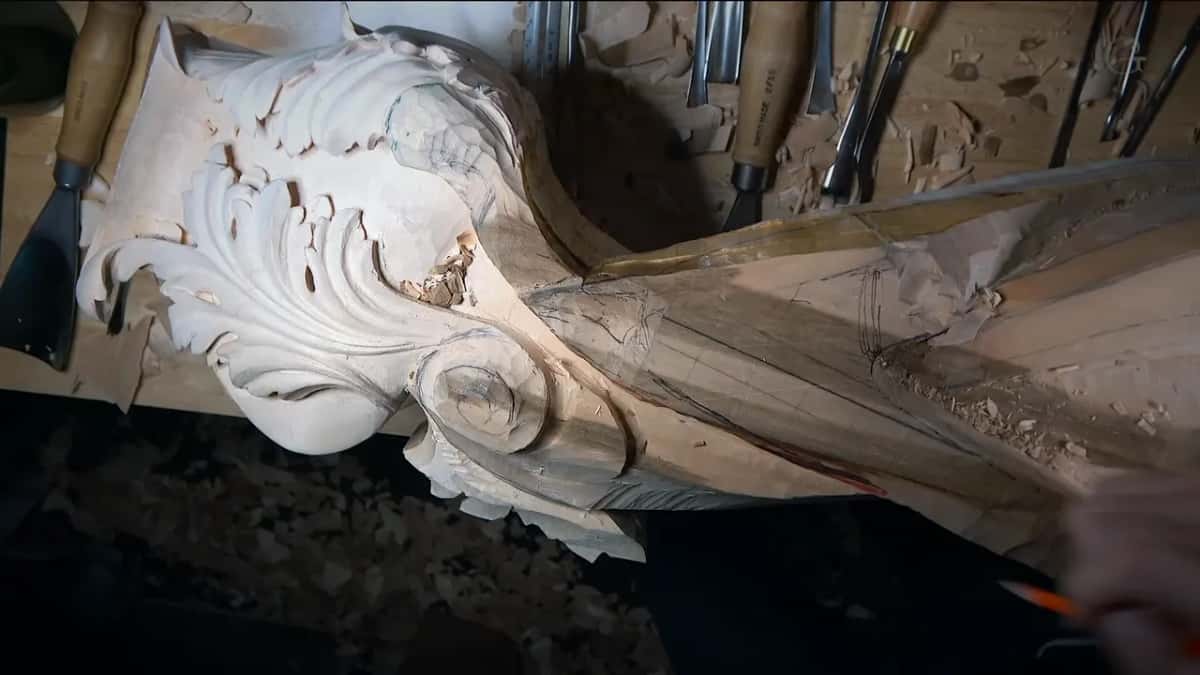
Whether a line flows in 3D. With the number 7 in my hand during part 10, I looked along the piece in side view. I wanted that line flowing nicely in 3D as well. Even if it's not going to be visible, I said, I'm going to know if something's wrong.
Soon after, I found a problem. There was a spot where my blade had started, some kind of rough spot, and that's not too good. I refined the separation until the form was just what I was after, in, up, and down again.
Earlier I had said a number 7 or a number 5 would work, found one tool a little too big, and settled on a number 7. Later I chopped a section out right away, because otherwise it's going to be in my way. One piece I could not decide on at all, keep it or get rid of it. That's kind of hard, I said.
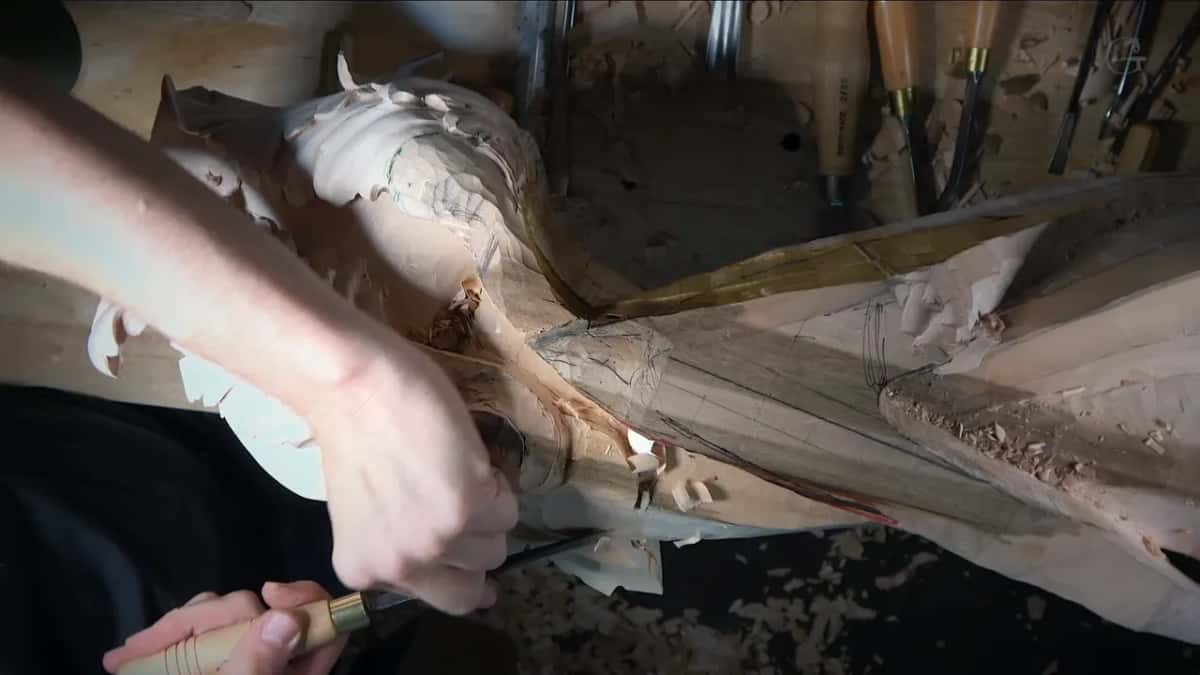
At the start of part 4 the trouble ran the other way. I could not see whether I was attacking from the opposite side, so I had to make sure I could see both lines before I went on. Later in that same part I changed position, because if I had kept going, it was going to split and leave me in a big mess. The camera was not the only one with a blind spot.
During part 11 I laid a #11 of 7 mm right on its side, the left side of the tool, because if one surface slopes away, I still have to see the wall of the inner detail. Like a rib, almost.
What does the whole piece look like at this stage?
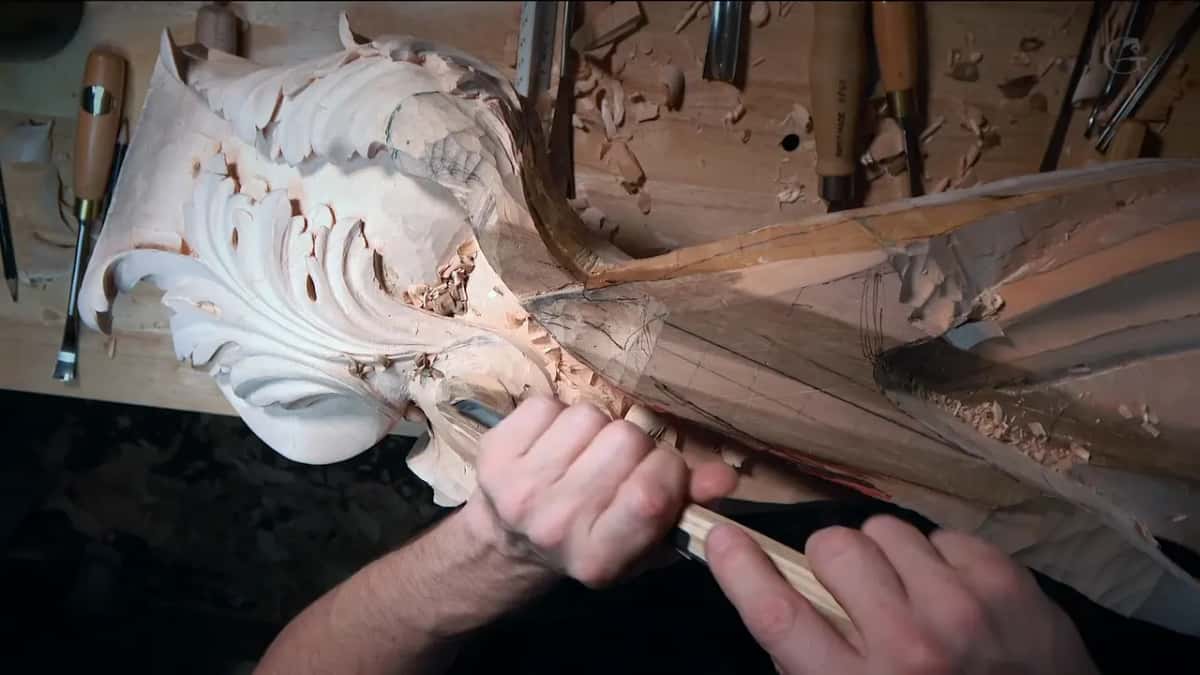
Rough, and I told you so. Part 7 ended with me unsure I could show you a bigger picture. Let me try, I said, and there it was, how it looks overall. We were still in the roughing stage.
Seeing it whole changed my plan on the spot. A drop is coming there, and I said I would probably redo that part and drop it a lot lower, because it would look much better. Right then it just didn't look as nice, which meant changing the original design I intended.
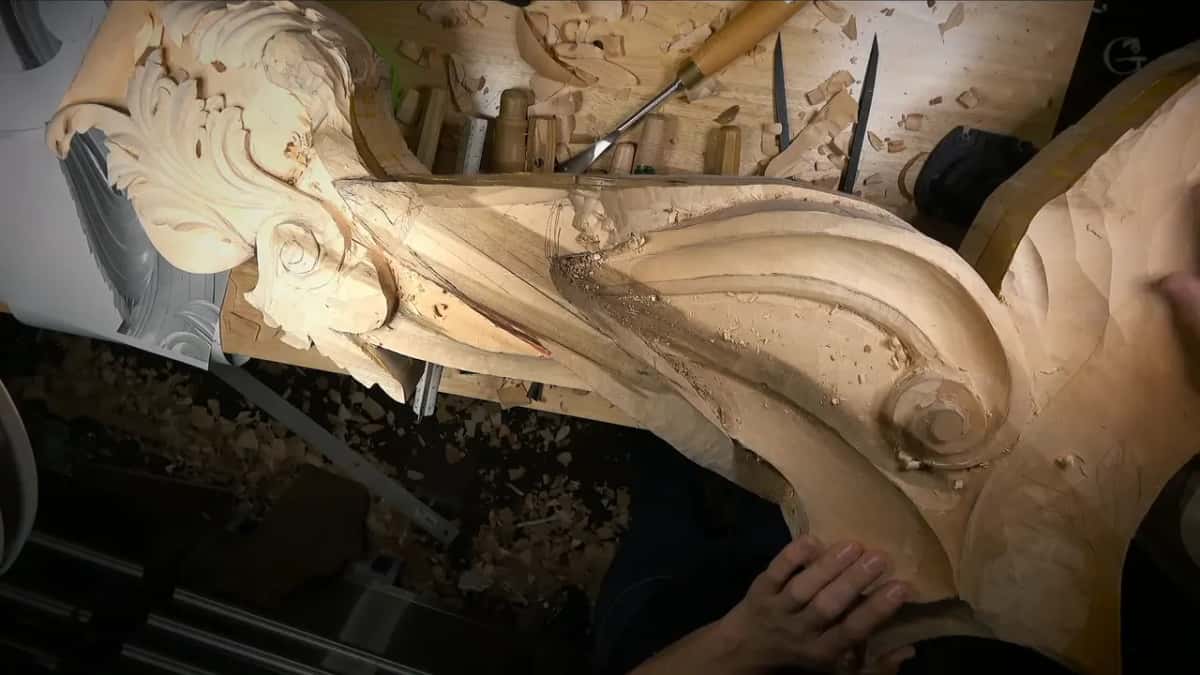
Even then, one part stayed out of reach. "Unfortunately, you don't see this part," I said, "but here it is." Part 8 opened the same way, with a detail still to come, something right here which you don't see right now.
That new area started with heavy work. Everything had to be much lower, no matter what, so I took the big three-inch gouge (76 mm) and a big mallet, and chopped it out. That is plenty, I said. The volute would be the biggest idea of the section and its highest spot, and I outlined it using a number 11.

What do my wood carving tutorial videos show only in words?
Names, plans and my doubts. A barrel came up in part 9. There would be a barrel exposed, I told you, part of it showing like a barrel and pointing just slightly one way, and I added, that's what I mean by that. I had cleaned the area first with a No. 2, to make a clean canvas, and right after the barrel talk the outline went in with a No. 11 of 12 mm (1/2 in).
Two parts later I still wanted the barrel look. That's what I call it. Around the barrel there was still carving to do. Some ideas I could only promise. It's hard for me to explain, but you'll see, I said in part 10, about a much deeper excavation that would carry the movement inward. You will see the development of it, I said again in part 11.
Back in part 6 I spelled one pattern out loud, concave, concave, convex, convex.
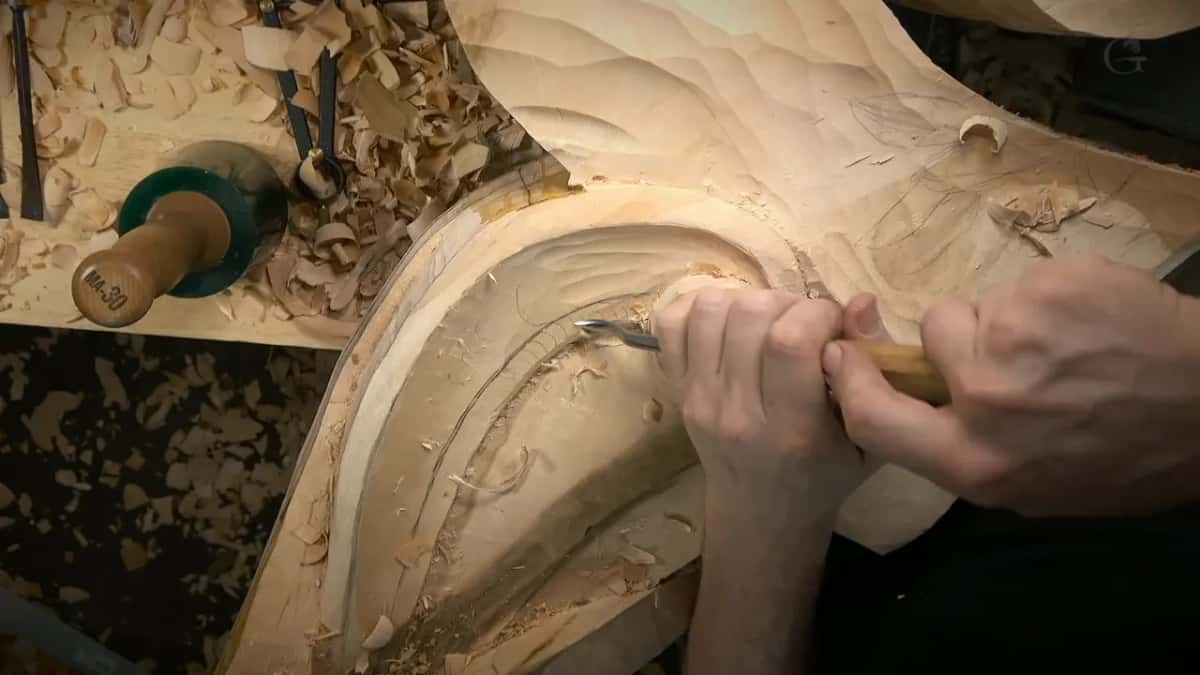
And some things were just honest. One area in part 12 was slightly mushy, which is okay. A little later I called what I was doing just a relief carving trick, to fake the eye. Painters have a name for fooling the eye, trompe l'oeil. Near the end of part 11 I still wasn't sure I was doing the right thing, but that's too late anyway. Midway through part 12 I was somewhat happy. Not really super happy.
That part began with a number 11 veiner going around a shape, and it felt like my number 11 needed sharpening. A smaller number 11, about 3 mm, came next, then a number 7 at half an inch (13 mm). I still wasn't happy with the distance I left in one place, and one spot did not look too appealing at all. It has to look logical, I said.
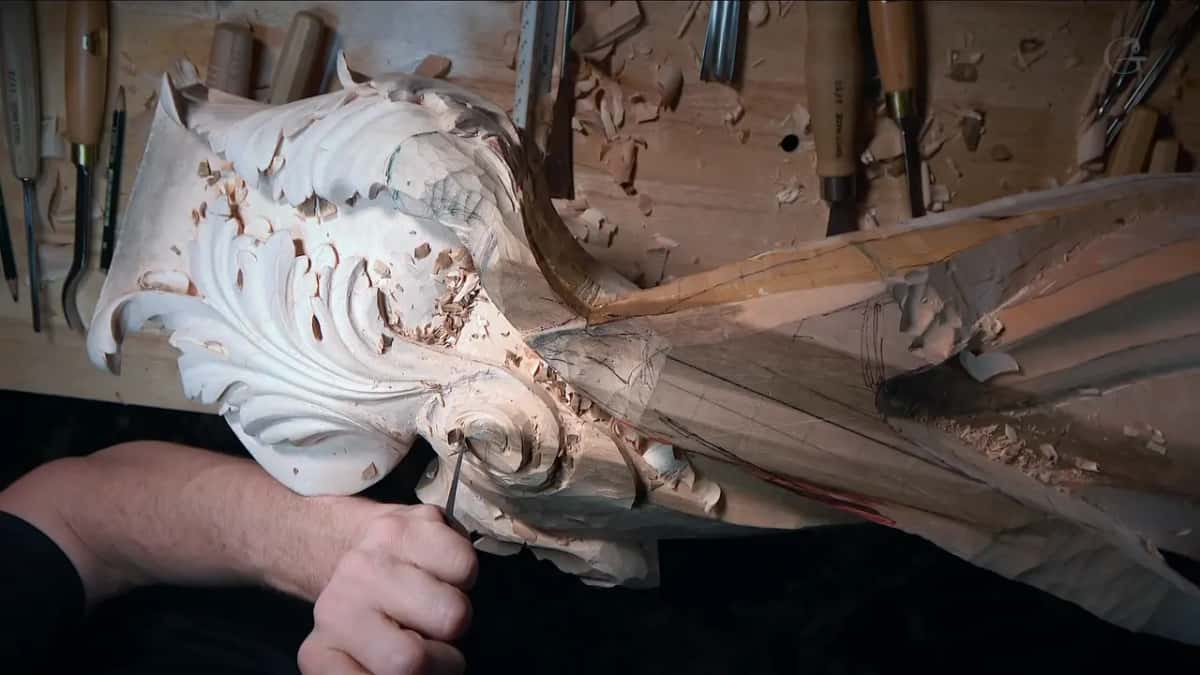
Which moments in workshop 88 needed more than the camera?
| Moment | What happened on the screen | My fix |
|---|---|---|
| Deep dark hollow | Showed up as one dark spot only. | Told you |
| Sixteenth left over | Stayed out of sight until I spoke. | Said so |
| Equal side distance | Was shown to you from the side. | Showed side |
| Slope from flat | Might not show, so I apologized first. | Readjusted camera |
| Bench too dark | Got hard to see until lights came. | Added lights |
| Whole piece overall | Needed a bigger picture than the frame. | Tried anyway |
| True viewing angle | Is from below, not from straight above. | Promised picture |
Where does workshop 88 sit in the Venice Room?
Early in Part 8 of the Venice Room, between workshop 87 and workshop 89. The page for the whole of Part 8 starts from holding a gouge at twelve o'clock, the way I held the number 11 in part 1. Workshop 86 took a shape off a flat drawing, and Part 7 comes before all of it. What a real-time video keeps that a short clip throws away is the subject of workshop 30. Over on the blog, a different page asks whether wood carving lessons online can teach you to carve at all.
Do you like hearing what the carver sees while you watch his hands? Would you rather be told about the wood left for cleaning than miss it? Then this room is yours. The whole school sits behind one tuition plan, the map of every lesson is open to anybody, and if you have never held a gouge, start here.
How it's done
- Say what the camera misses. When a hollow goes dark on screen, say so out loud, as I did in part 1.
- Show the side. When somebody needs to see that a distance is equal, turn to the side and show them.
- Readjust the camera. If a slope may not show, readjust the camera, as I did in part 3.
- Fix the light. Reposition your lights, and add more when it gets too dim.
- Check the line sideways. Look along it in side view, making sure a line flows in 3D, even where nobody will see it.
- Step back for the whole piece. Try to show the whole piece overall, and let what you see change the plan if it has to.
Frequently asked questions
Can you see how deep a hollow is in a carving video?
On my bench in workshop 88, one hollow came through as a dark spot, and I said you really can't see what is going on in there. I told you it looked really good and kept going, and later, when it got too dark, I added more light.
What is the true view of a carved ornament?
The view it was made for. Mine is made for somebody looking up from downhill, and I said the camera looking straight down is not the true view. I promised to try for a picture of it later on, so you would understand how it will look.
How do you check a carved line you cannot see from the front?
Along the side, in my case. I looked at the piece in side view, checking that a line flowed in 3D, and said that even where it will not be visible, I'll know if something is wrong. A rough spot where my blade started got fixed right after.
What to carve next