
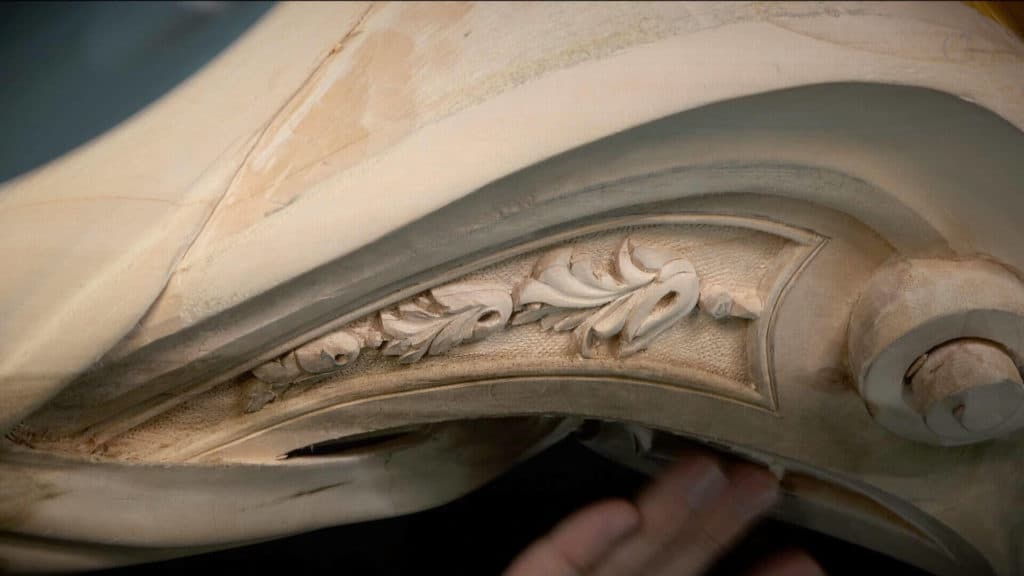
Alexander Grabovetskiy, woodcarver, School of Woodcarving · Published 2020
How do you carve a line that stays the same distance from an edge?
Quick answer: A line held at one distance from an edge is a groove carved beside that edge and checked against it the whole way. In workshop 93 I kept a 1 mm #11 veiner on one side of my line, went in with short pushes and a low hand, and watched one 3 mm gap on both sides.
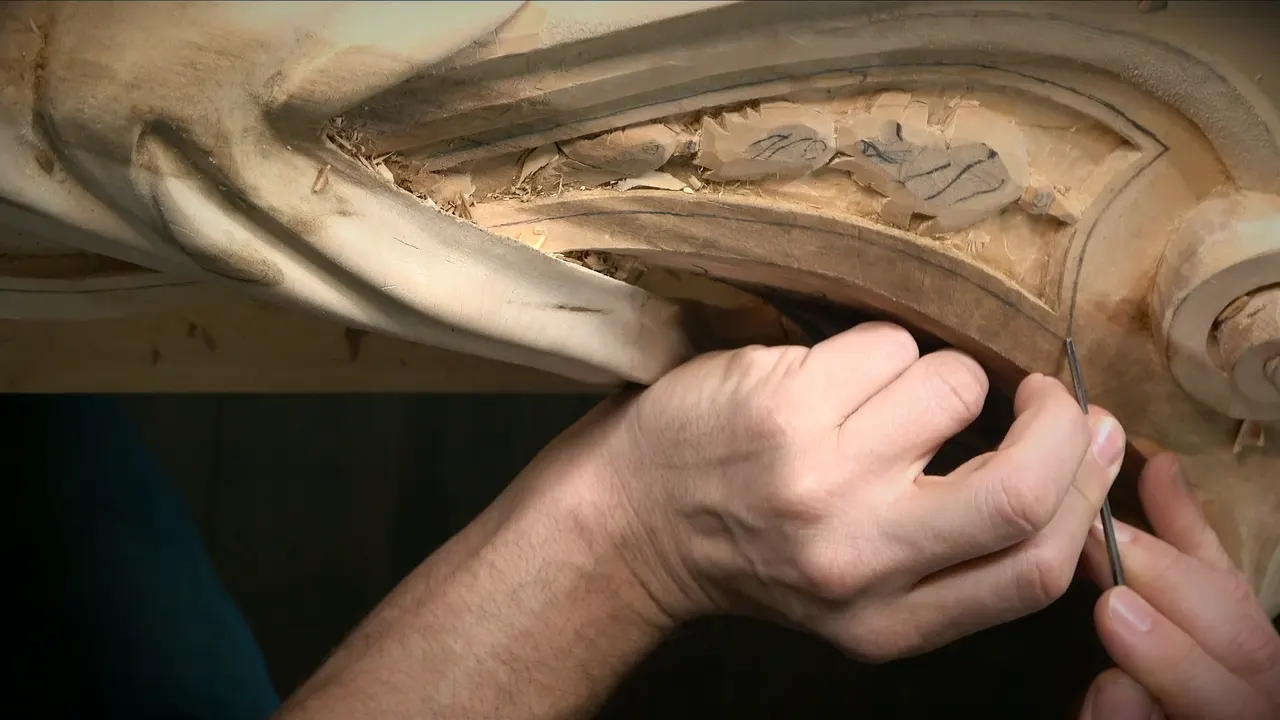
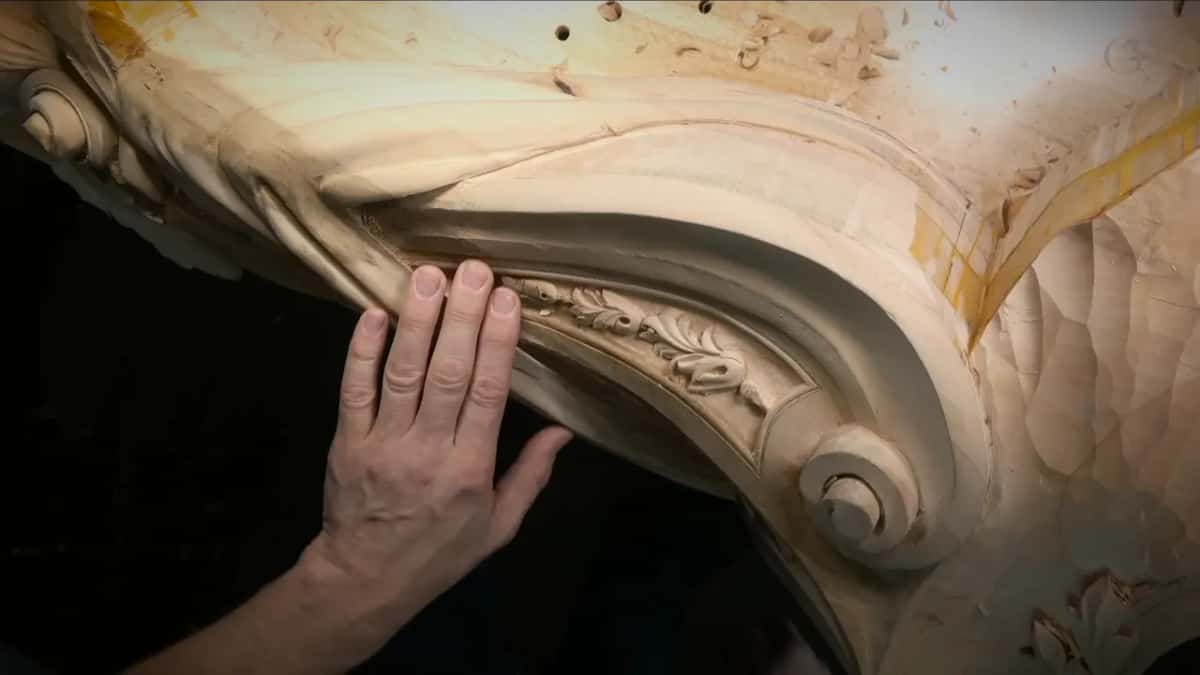
Carving a line beside an edge, and keeping it there, is slow work for a small gouge held beside the line and moved in small pushes while you check the gap along its whole length. This is how to carve lines in wood with a veiner, not with a saw. We do have straight lines, I said at the start of workshop 93, and we are doing them just by hand, which means I cannot make any mistakes. The line on camera is not straight, though. It follows the curved lower border of the recessed panel, and it keeps the same gap to that border the whole way.
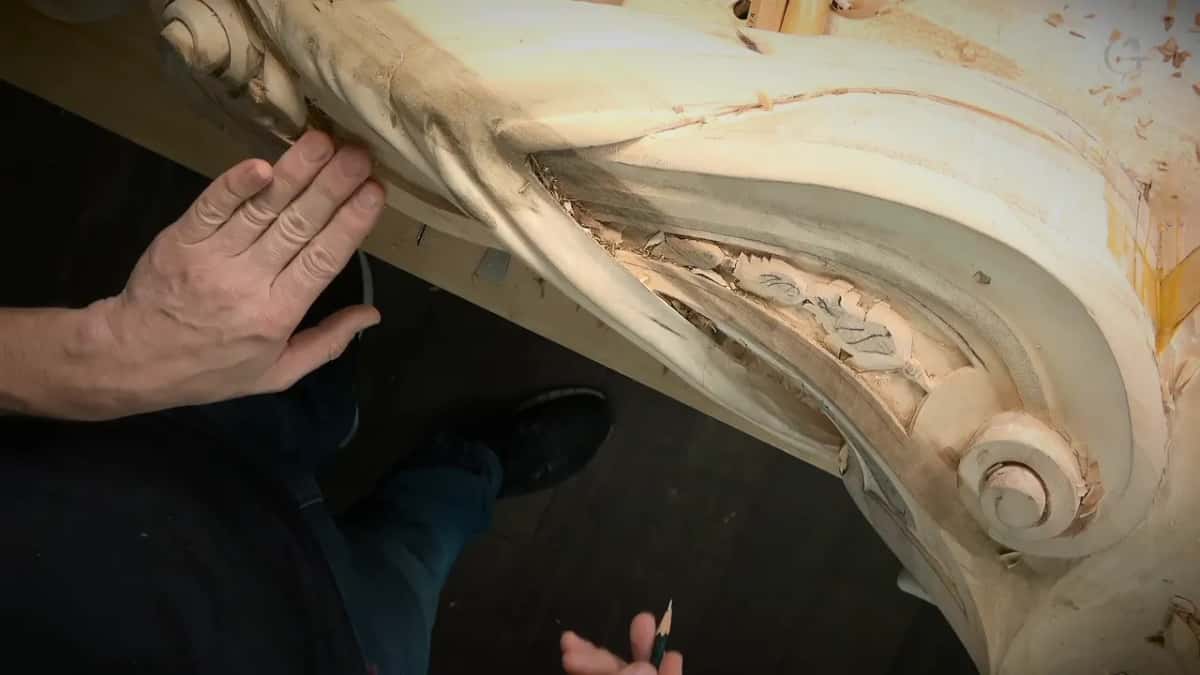
Can you draw a line with a pencil? And hold a small tool low and move it slowly? Then you can follow what I did along this curved border, one short push at a time.
Below you get where the tool sits, how the hand holds it, the one gap I kept checking, how deep the veiner may go, and the finer dark line that went in last.
Six things the border groove took
A #11 veiner, 1 mm (1/32 in) wide, placed on the left of my line, near the ridge.
Nothing past the line on the right.
Short pushes, each followed by a step back.
A pinched grip.
One gap watched on both sides, 3 mm, which is 1/8 in.
Depth only while the wings of the tool stay above the surface.
Where does the tool go on the line?
On one side of it. I placed my veiner on the left side of my line, closer to the ridge I had just made, and I did not touch anything outside the line on the right hand side.

What I mean by one millimeter, I told the camera, is a number 11, the one millimeter veiner. And yes, I have to be accurate with my drawing. That's going to look awesome, I said before the first push, and I said it twice.
It borders a recessed panel, the kind I sank in workshop 90, and it runs right round to that side as well, on both sides of the piece. I showed one section. The rest I said I would carve off camera, because it is the same thing again and that is not really interesting to watch.
How to carve lines in wood a little at a time
Slowly. Let me start, I said. I have to do it really slow.
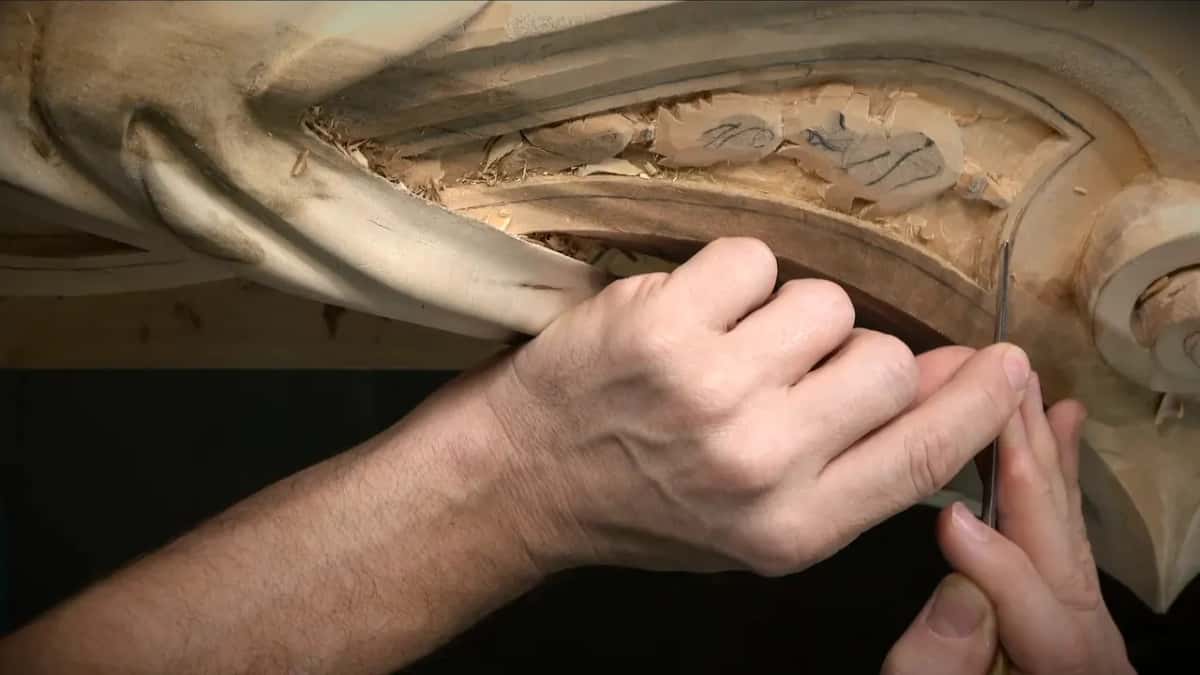
I went in little by little, and each time the veiner moved forward a bit I stepped back a little, because in this case I did not want one continuous pass down the whole length. I was afraid of making a mistake.
For me right now, I said, the challenge is a really nice groove with the one millimeter veiner, and not wiggle. Consistency was what I wanted. How wide that area is, the same along its whole length.
Somewhere in the middle of it I also reminded myself not to drop my pencils on the floor.
How should you hold the gouge on a long line?
Pinched, low, and supported. Keep an eye on how I'm holding my hands, I said, and how I'm pinching my tool.

My hand sat approximately half an inch (13 mm) from the edge, because I really need it there, and I was really low. One hand was there to support the pass. Carefully.
Which gap do you watch?
The gap between the edge and the ridge I had just created. Right there that section was exactly one-eighth of an inch, three millimeters, and that is what I was after.
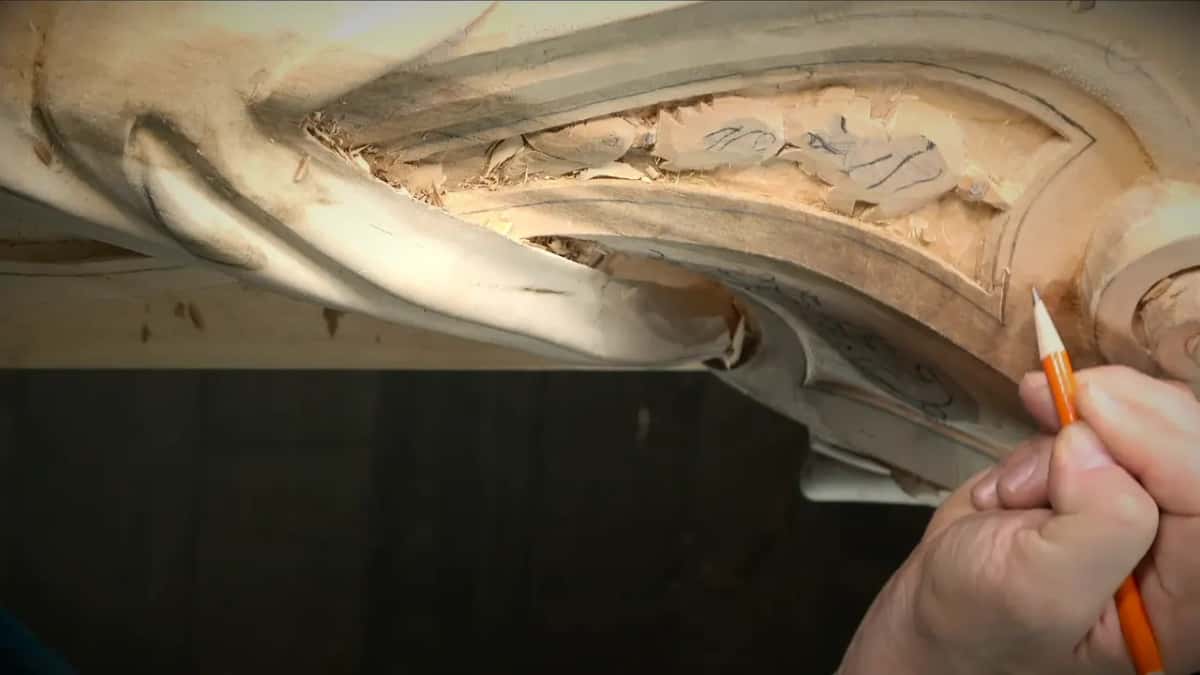
I looked at both sides while I worked, at this ridge and at that one. That distance right there is the important part. A line that follows a curve at a fixed gap is what geometry calls a parallel curve, and keeping it even was the job I gave myself.
Usually I really like to see through my lamp, or through a lens, a magnifier, and keep my eye on that distance the whole time.
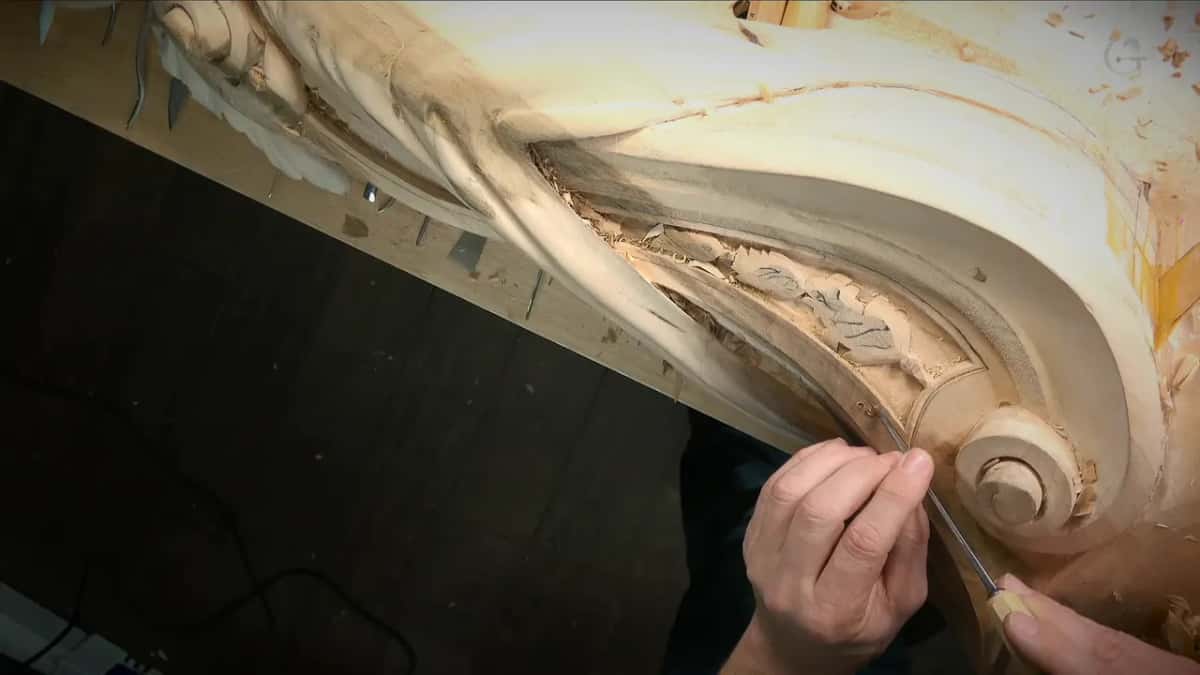
Later, on the small leaves, you could see some sharp ridges only because the light source was kind of harsh right then, and I used it that way so I would see what I'm doing.
Why not push the veiner in all the way at once?
You still need to see the width. When I came back with the same little veiner for the next run, I said I am not trying to push it all the way right away, because I really need to keep an eye on how wide this area is. Really important for me.
The first run was only that, my first pass. Later I still had to fix a little bit some of the distances, and that part I left a little rough, so I had some playroom.
How deep can a veiner go before it damages the edges?
Only as deep as its wings. I stopped and drew it for you. Take a surface, a groove carved into it, and the tool sitting in that groove. The tool has wings. I showed the two parts I meant on the drawing.

If you dig deeper with that tool and you pass that area, what happens? You are damaging the edges. You get a really damaged area right there, and it is not going to look as crisp. So make sure you are not passing beyond the limitation of the tool. The wing is not supposed to pass the surface.
Better to wait. Go round everything first, and only then make a little deeper groove. Hope it makes sense, I added.
Then I took the next tool and went a little deeper in one spot, and I said it out loud while it went in. I'm still not beyond. Again, I'm really after crisp edges, I said.
A different limit, the thin ridges that crumble beside a groove, showed up on the half round strip from workshop 57.
What rounds the edge beside the groove?
A small #3 first, one-eighth of an inch (3 mm), to start rounding. I nearly said a number eight, then corrected myself.

Then a back bent gouge. If you have a small back bent, in this case it really has to be a small one. Let me find what I have, I said. I have a really tiny one of about two millimeters (5/64 in), and I said that would be a little too small. So I took one a little bigger than two millimeters, a number eight back bent, and I said it would give me a really good result, a really round result.
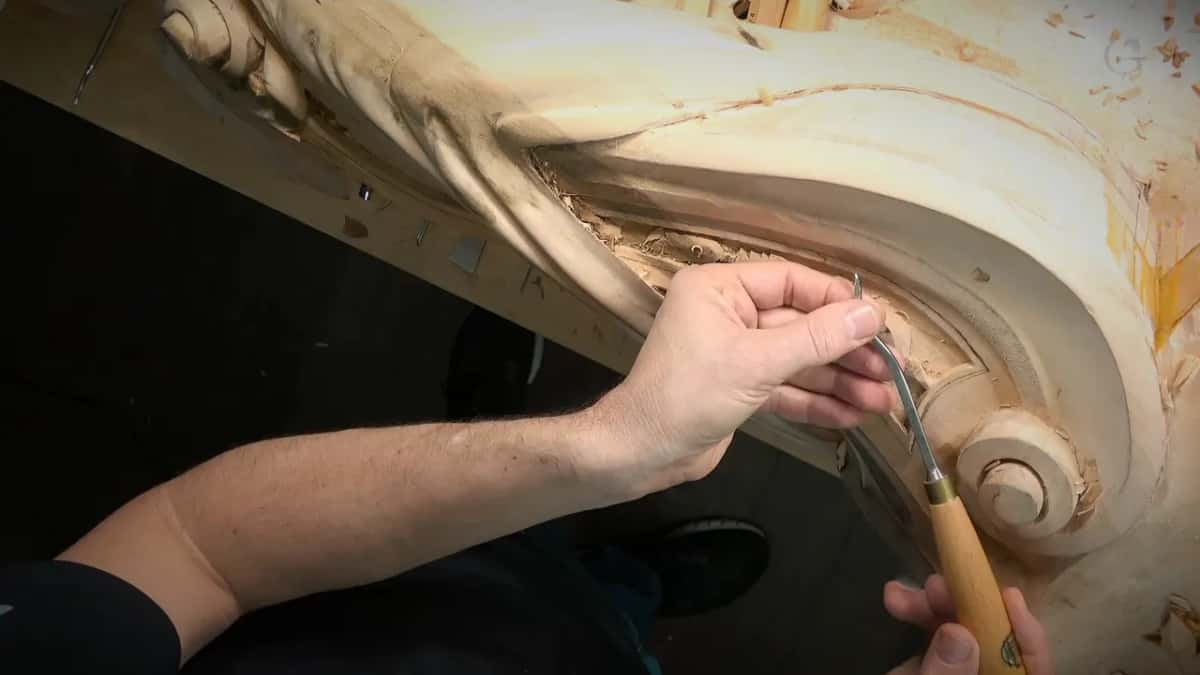
The number on it is 38. On this Ashley Iles tool the 3 means back bent and the 8 is the sweep, and in Pfeil it would be 28. And again, carefully, we are going to round it.
What does the back bent need partway through?
A little stropping. I need to strop it a little bit, I said, just slightly.
I had enough paste, the Mirror Paste, and a piece of leather. To get on the inside of that back bent I used just the edge of my leather. Yes, it's much better, I said after the leather. Workshop 89 has more on stropping, and sharpening has a course of its own.
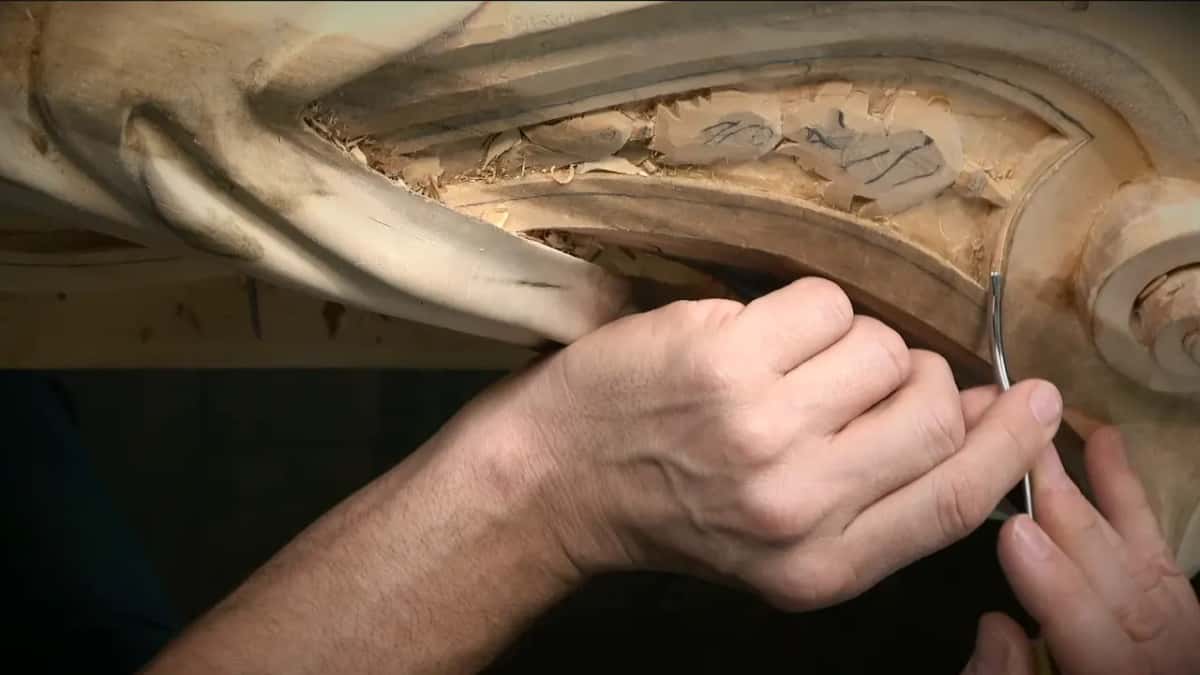
Watch the grain, I said while it went round, and what it does. It created a really beautiful rounding effect, almost like I had inserted a bead molding there.
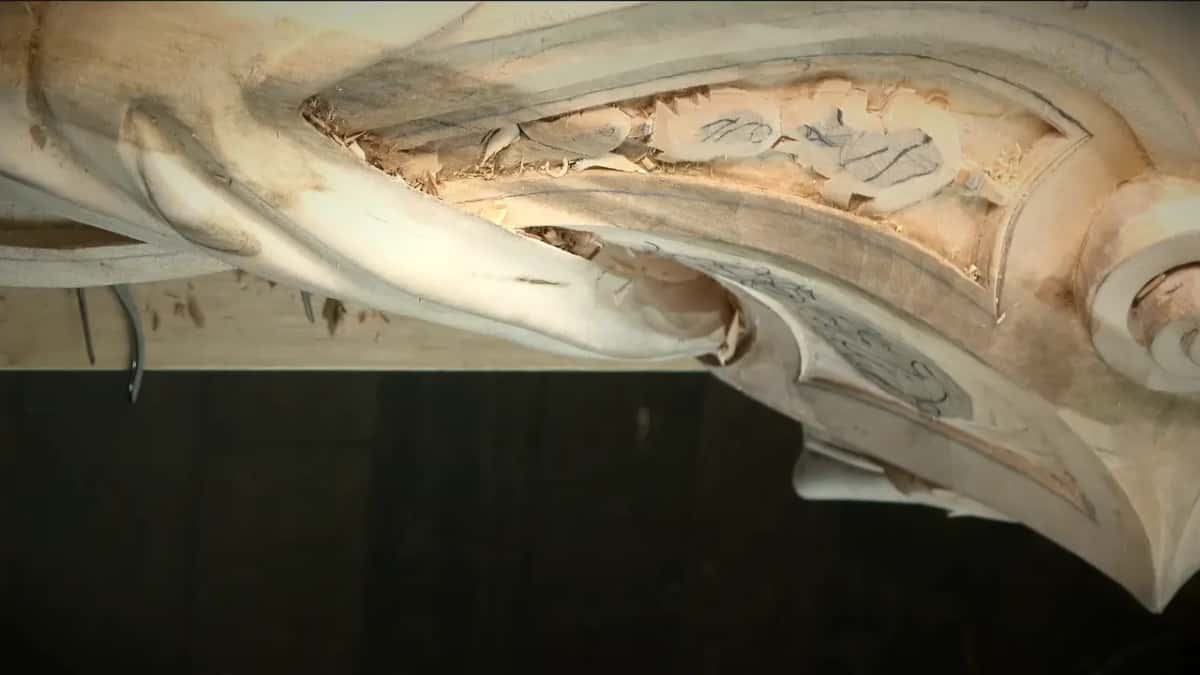
Can a knife help a carved line?
At the start of a spot, and wherever a line has to be sharp.
Before the back bent went into one place, I said I could use just the knife to open it first and then hit that with the back bent. Looks like I've already done it with the knife, I said a moment later. My favorite knife is a number 12 Swiss Made, but it doesn't have to be this knife.
The small leaves came next. There the knife gave me a really sharp and beautiful line. One way I used it was a stop cut straight down, then a bevel sliced in to meet it.
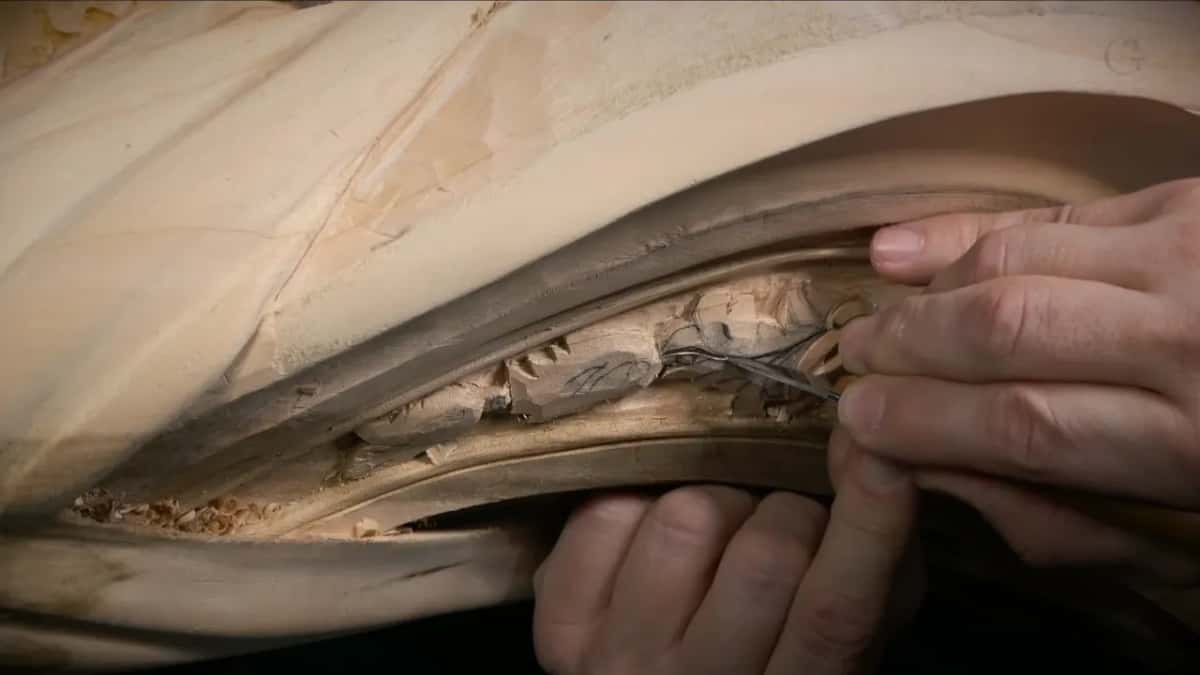
A knife line can go wrong too. Near the end of this workshop an earlier knife line of mine looked too harsh, and you could see it. I wish I didn't do that harsh line, but I did, because I didn't think I was going to do that detail. It came because of a change. I could push the fibers together a little, and this piece is paint grade.
Another time, working a small sphere with the knife, I rushed a little bit and made a mistake. It's not the end of the world, I told you, and I said I'll clean it. Knife work right on a scratched line is on a butterfly plate.
Why add a second, finer line in the groove?
For the dark. Before it, that part was probably as far as I wanted to take it, at least right then, I said, and I cleaned the groove a little. Just a clean up.
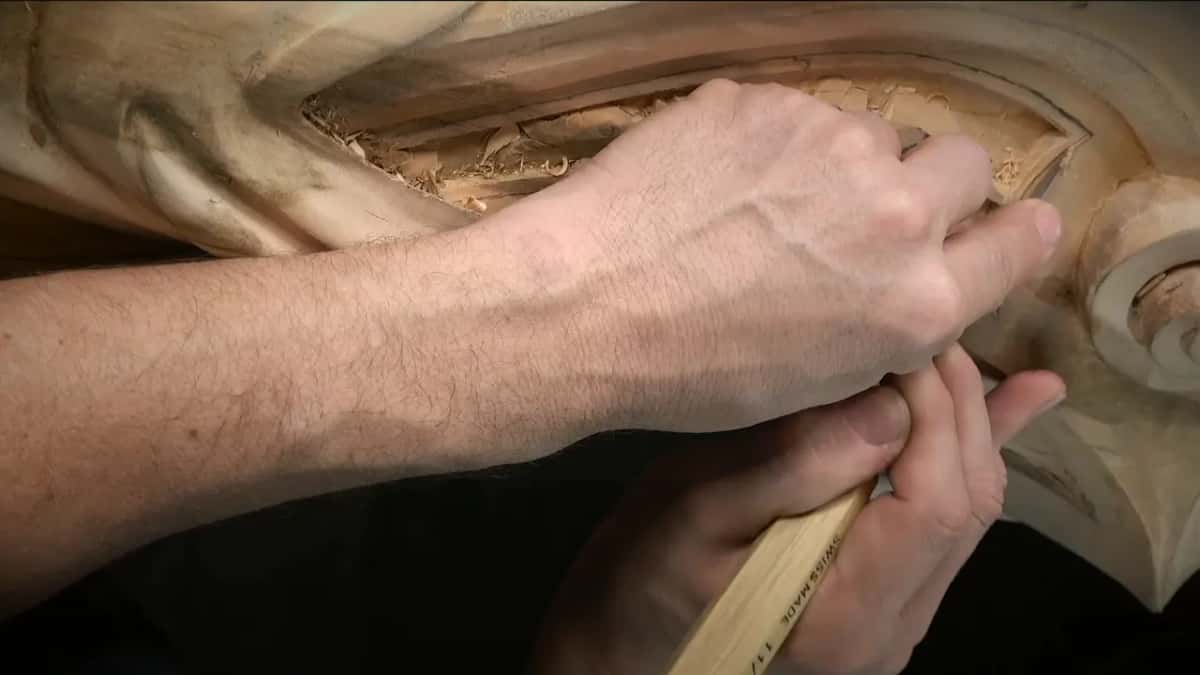
Then, if I want to exaggerate that groove and create a deeper shadow in one section, I take a half millimeter (0.02 in) veiner, a #11 again, and it gives me one darker spot.
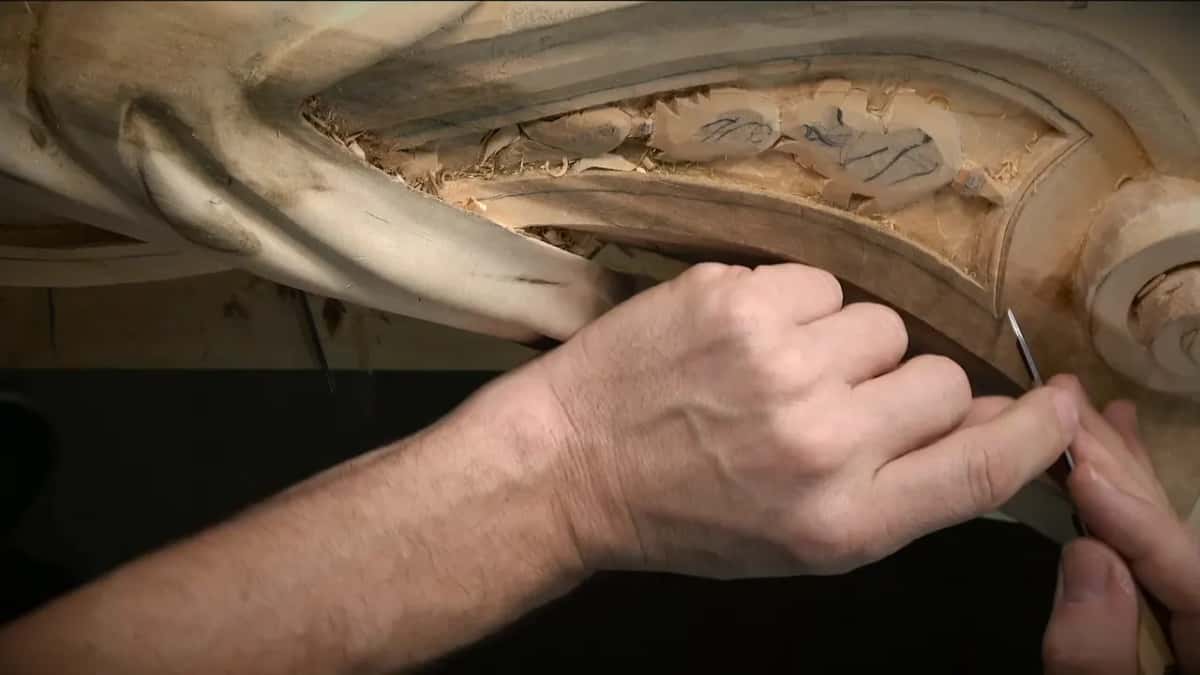
With that little tool I could go much deeper. It's going to give me a beautiful line, I said, and I hope you see it, and I hope you like it. That small detail gives an extra level of pop, I think.
A groove that chips while it goes in is a separate problem on a rosette. Whether a carved line flows is judged on the Hashemi flowers, and lines that look organic instead of stiff are on a curly cutting board.
What did the camera not show?
Most of the border. I left the rest of those tiny details for off camera, for two reasons. It is the same work again, and on camera I will not bring my magnifier lamp closer to me. I really don't want to mess up right now at this stage, I said.
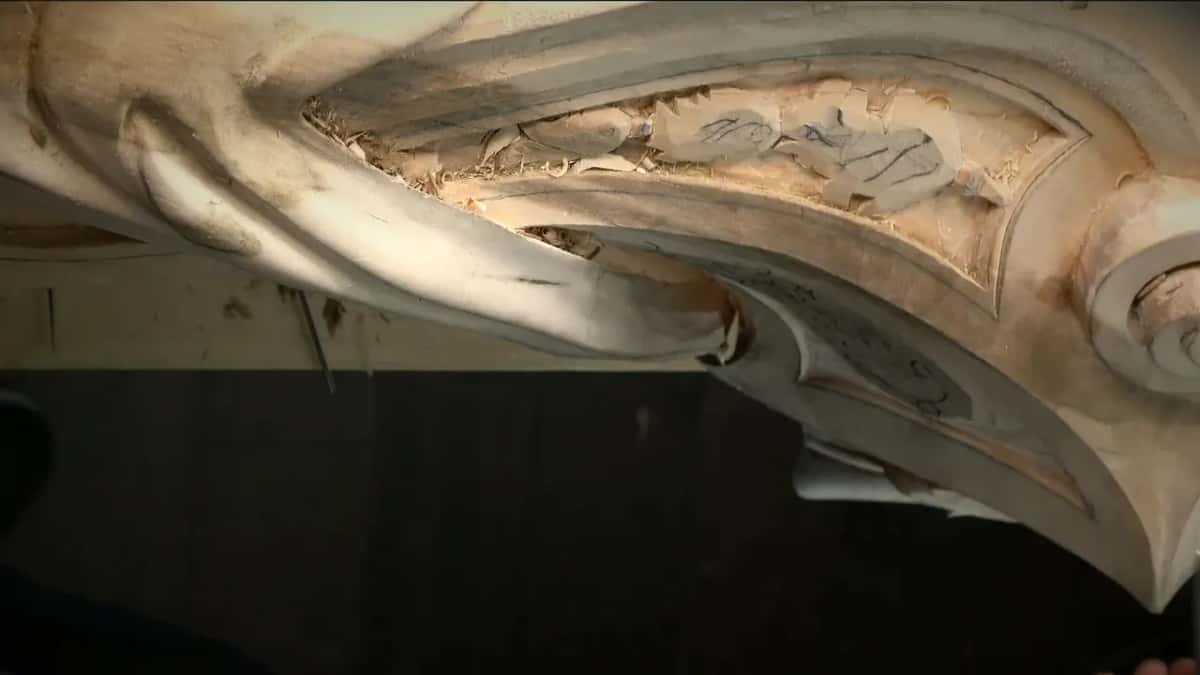
The same detail goes everywhere on this side, and it continues on that side. For me it doesn't make sense to show you everything, I said, because it is a pretty easy operation, and you'll be able to do it yourself if you're going to do it. What a camera over the bench misses was the subject of workshop 88.
What came after the lines?
Very small acanthus leaves came next, really tiny ones, on purpose. They fill a big shape so it feels even bigger, which is what I call the law of space. The rules stay exactly the same as on the big details, I said, except this is a somewhat tiny detail.
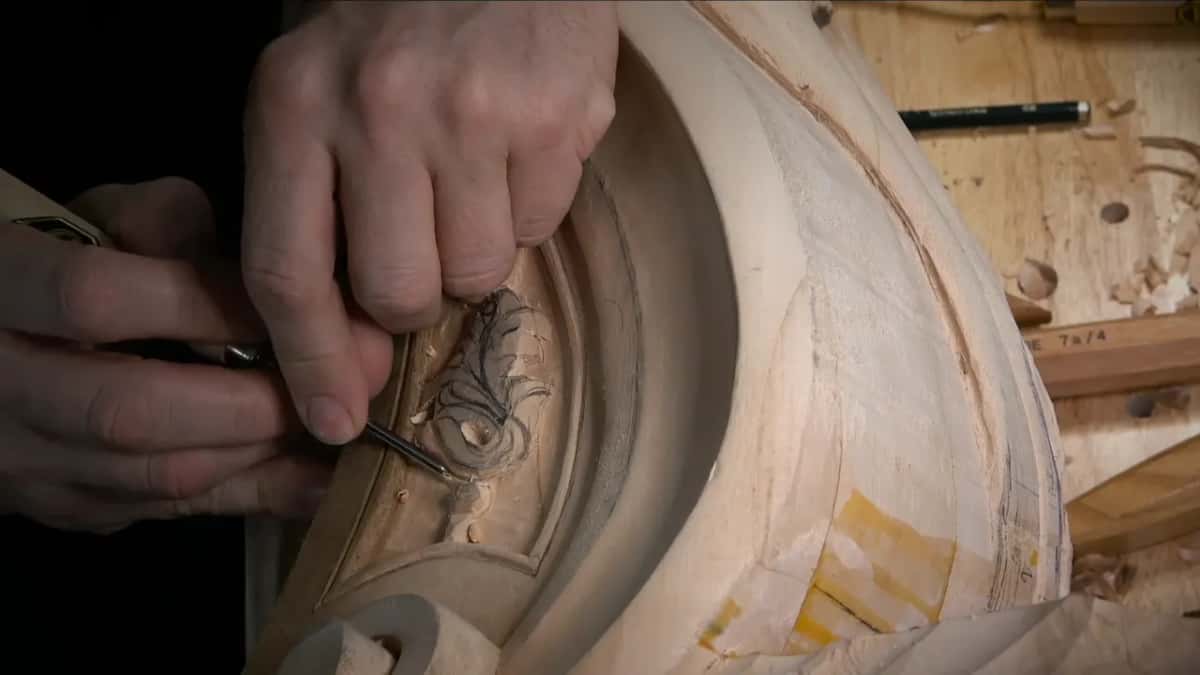
The tools shrink with them. A 5 mm (3/16 in) #11 was a little too big for one deep spot, so I took three millimeters, then two millimeters to clean it. The knife did a lot there, and I called it an excellent tool for small details like that. It's not that convenient, I said at one spot, because that stuff is in my way, and I also don't see that well, so I need a little more light there. That is such a small, tiny detail, I said about one of them, and if I concentrate too long on it, I'm going to break it. Micro tools on one small leaf were the subject of workshop 78.
Off camera I later got rid of some extra lines in one area, because they were just a little too sharp. I checked from different angles, and I like it. Somewhere in there I also apologized for blowing my chips out.
Which tools did the border groove take?
Two veiners, one #3, one back bent, a strop and a knife.
| Tool | Job | Where |
|---|---|---|
| 1 mm #11 veiner | Carved the groove on the left side. | Main groove |
| Small #3, 3 mm (1/8 in) | Started rounding the edge beside the groove. | Groove edge |
| #8 back bent, just over 2 mm | Gave a really round, bead like result. | Rounded edge |
| Mirror Paste on leather | Stropped the back bent with the edge. | Inside sweep |
| Number 12 Swiss Made knife | Opened one spot first, then the gouge. | One spot |
| Half millimeter #11 | Went much deeper for one darker line. | Groove bottom |
Who is workshop 93 for?
Anyone who carves ornament and wants the plain parts beside it to hold up as well. It is slow work, the eighth block of one long Venetian carving project. Workshop 94 picks up after this one, workshop 92 comes right before it, and the Part 8 course page lists all twelve workshops.
Would you like to watch the first run go in, push by push? And see the dark line drop in at the end? Tuition opens the whole school, this room included.
How it's done
- Set the veiner beside the line. Set a 1 mm veiner next to your line, not on it. Mine sat on the left, near the ridge.
- Short pushes, then a step back. Push a little, then step back and look, instead of one long pass.
- Hold it low. Pinch the tool with your hand really low, about half an inch (13 mm) from the edge, and let one hand support the pass.
- Watch one distance. Keep checking the gap between the groove and the ridge on both sides. Mine was 3 mm.
- Stop at the wings. Keep the wings of the tool above the surface, and deepen only after the first run is done.
- Round the edge. Round it with a small #3, then a small #8 back bent. For mine a 2 mm one was a little too small.
- Add the dark line. Where you want a deeper shadow, run the half millimeter veiner in the groove.
Frequently asked questions
What gouge carves a fine groove beside an edge?
A 1 mm number 11 veiner did mine in workshop 93, held left of the line toward the ridge. A half millimeter #11 went in later for a darker line, while a small #3 and a back bent just over 2 mm rounded the corner next to it.
How far should a veiner go into the wood?
Only until its wings reach the surface. Past that point the edges get damaged and stop looking crisp, which I drew out for the camera. I would rather work the whole length once, then come back deeper with the next tool.
Why carve a line with short pushes?
Pushing in small bits lets me step back and look at both ridges before the next one. On this border I stayed away from one long pass, fearing a mistake, and I needed to keep watching how wide the area was.
What to carve next