
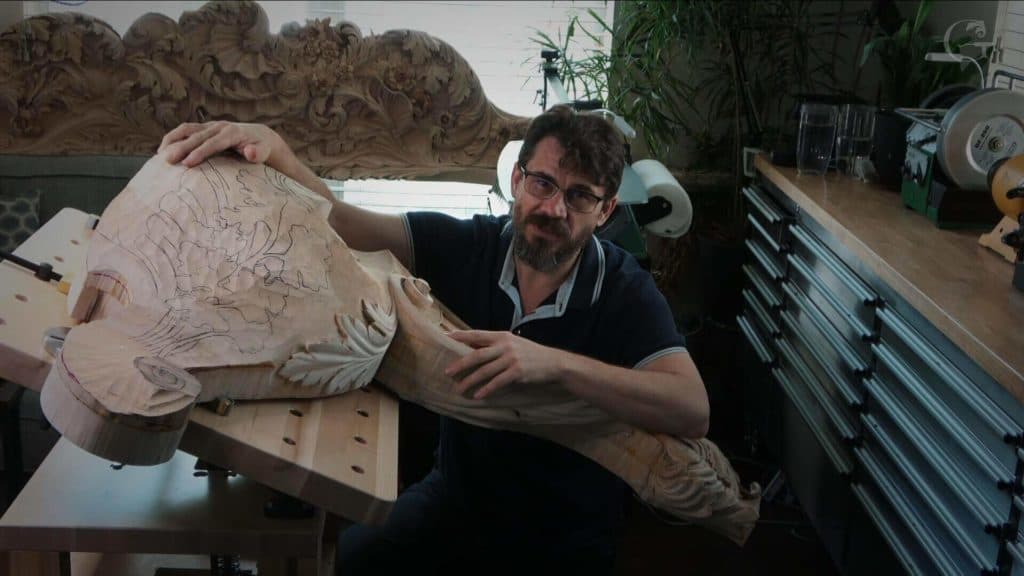
Alexander Grabovetskiy, woodcarver, School of Woodcarving · Published 2020
How do you draw an oak leaf for wood carving?
Quick answer: Drawing an oak leaf the Venetian way is building it inside one circle. I set a middle line roughly 60/40, fit three smaller circles for the main divisions, put an eye and its pipe between them, lean every lobe to the middle, and split each circle into five.
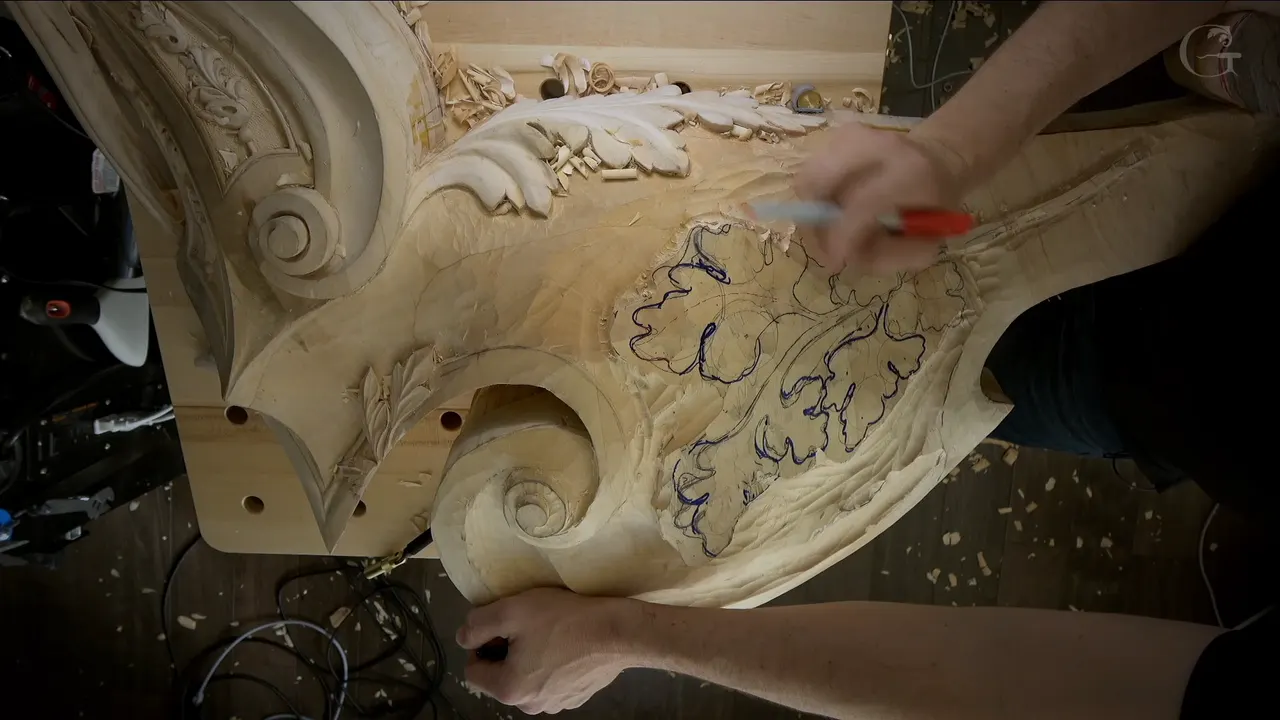
Drawing an oak leaf in the Venetian style is laying out one big circle, a middle line and three smaller circles inside it, before a gouge ever touches the line. In workshop 96 I drew these leaves on the big corbel that has been on my bench since Part 7, then showed the same leaf again from scratch in a sketch. You can take it away as an oak leaf carving pattern and start it from scratch, the way I explained it on camera.
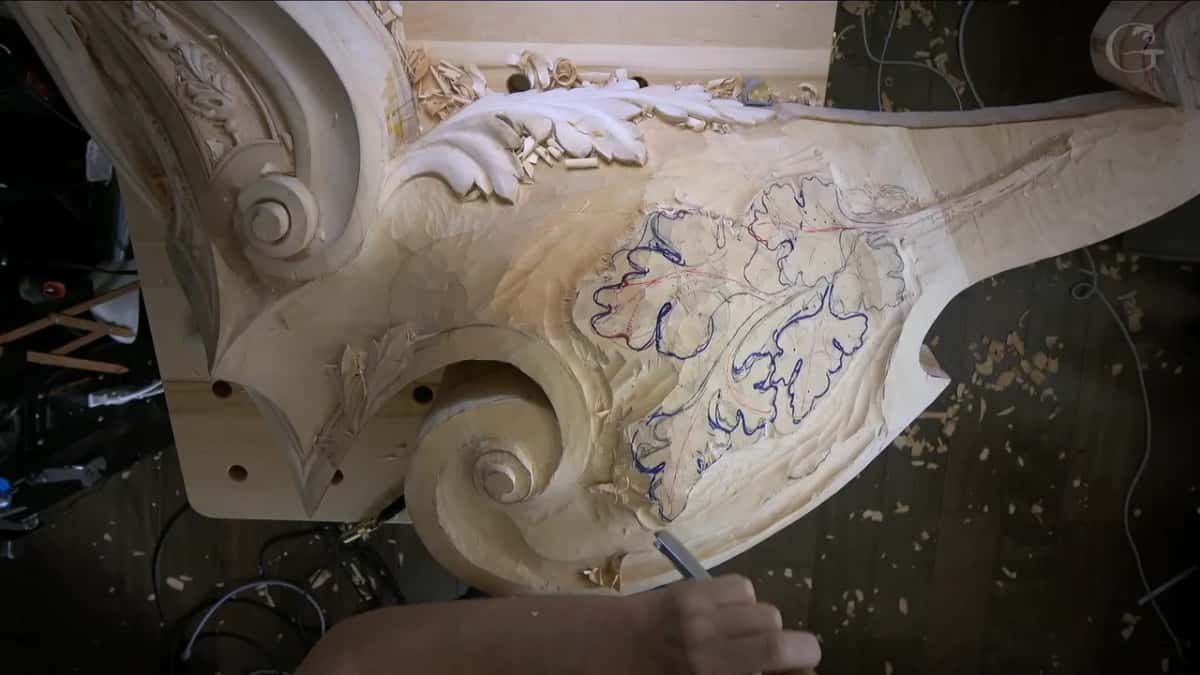
Can you draw a circle by hand? And a straight line across that circle, freehand, with no ruler at all? Then you can draw this leaf.
Below you get the order I drew it in and the numbers I gave that day. You also get the spots where I was not sure of myself, because there were a few.
Seven moves, in the order I made them
One circle first.
A middle line drawn point to point, about 60/40.
Three circles inside, and none of them goes past the boundary line I drew first.
An eye between the main divisions, with a pipe running to the center.
Every lobe leaning to the middle line.
Five divisions in each circle, even where space ran short.
Then a 12 mm (1/2 in) #11 and a mallet, about 3 mm (1/8 in) off the line.
Where did this oak leaf design come from?
Oak leaves go in this section of the piece. And I said right away they are not just any oak leaves, they are specific ones. There are different types of oak, and you should know that.
I had carved oak leaves before. This design, though, is supposed to be authentic to the Venetian style, so I spent a little time studying what they carved and how they imagined the oak leaf. I grew up in Russia with one kind of oak leaf, while the oaks in Michigan looked a little different, and the southern oak in Florida was absolutely different, and that pushed me to study.
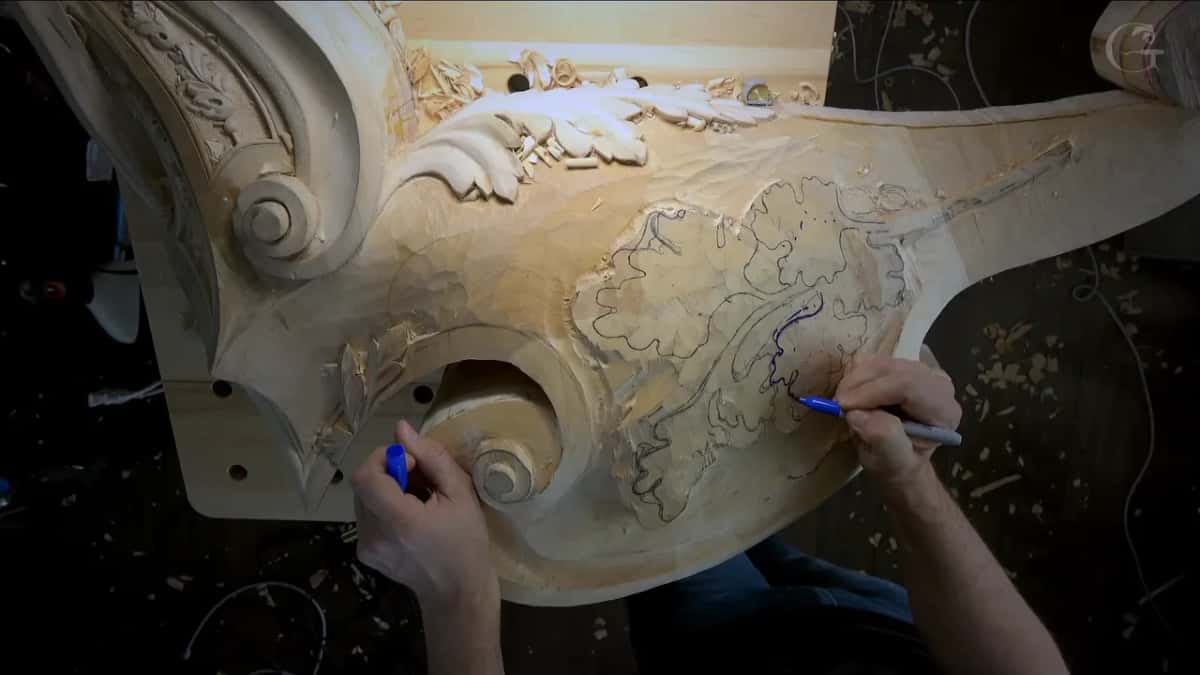
Most of what I found was stone carving rather than wood. Still, it was enough for a preliminary idea of how they looked at oak leaves. They split each one into three main parts, the same idea as acanthus, and I told the camera I don't know if there's any oak leaf in life divided in three like this. How to keep a leaf like that from reading as acanthus is the question of workshop 97.
Well, at least it's supposed to look like oak, I said while drawing it, and a little later I decided I should call it Venetian style oak.
What goes on the wood before the drawing?
Most of workshop 96 went into the ground around the volute. One section went about three-quarters of an inch (19 mm) deeper, the next came down about 10 mm (3/8 in), a #3 cleaned the surface, and a #7 took a big hump away across the grain. While I lowered, I had only an approximate outline of where the leaves would go, and I made sure I was not hitting it. That is not the final leaves outline yet, I said, and I would refine it later.
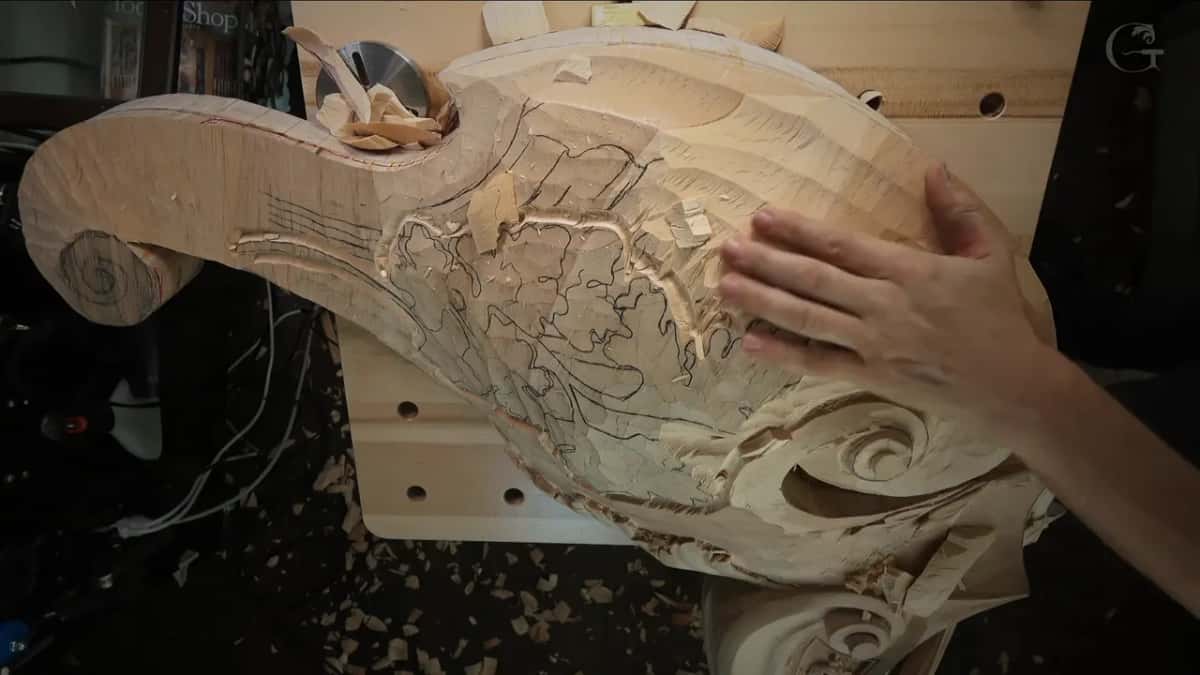
Behind me that day stood the central part, with this corbel going on one of its sides, and I still have to do the second one. This area is going to be visible from below, I said, and any movement that is not really nice will be noticeable.
Then a big #2 of about 50 millimeters, two inches, left me a clean canvas. It is going to be much easier for me to draw, I said, and that is what I like to do. Without a big #2, get at least the big skew. Mine is one inch, and you can do a lot of cleaning and shaping with it.
The oak leaves won't be alone there. A shell comes next to them, and a molding runs on the outside all the way to the volute, so the area is built like layers. I drew the shell first, then said I'm not sure if I like it or not, and maybe I'll fix it. My leaf is raised up a lot from that future shell. Maybe it will show more in one spot than another, maybe not.
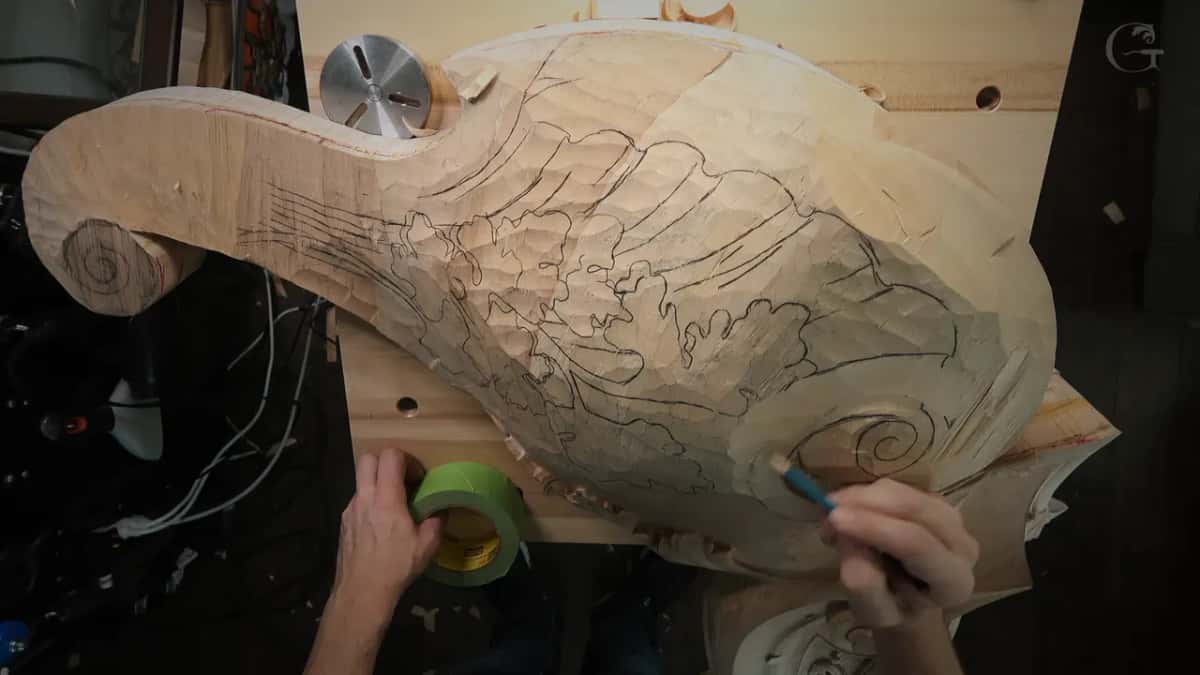
The curves around that volute had their own problem. French curves are really cheap and help you find the right movement, but I found them limited. A compass was no use, since there was no reference point and the center would fall somewhere right in a hole. What worked was a plain roll of green tape, and it gives a really nice, beautiful curvature. I usually find the simple stuff helps me a lot.
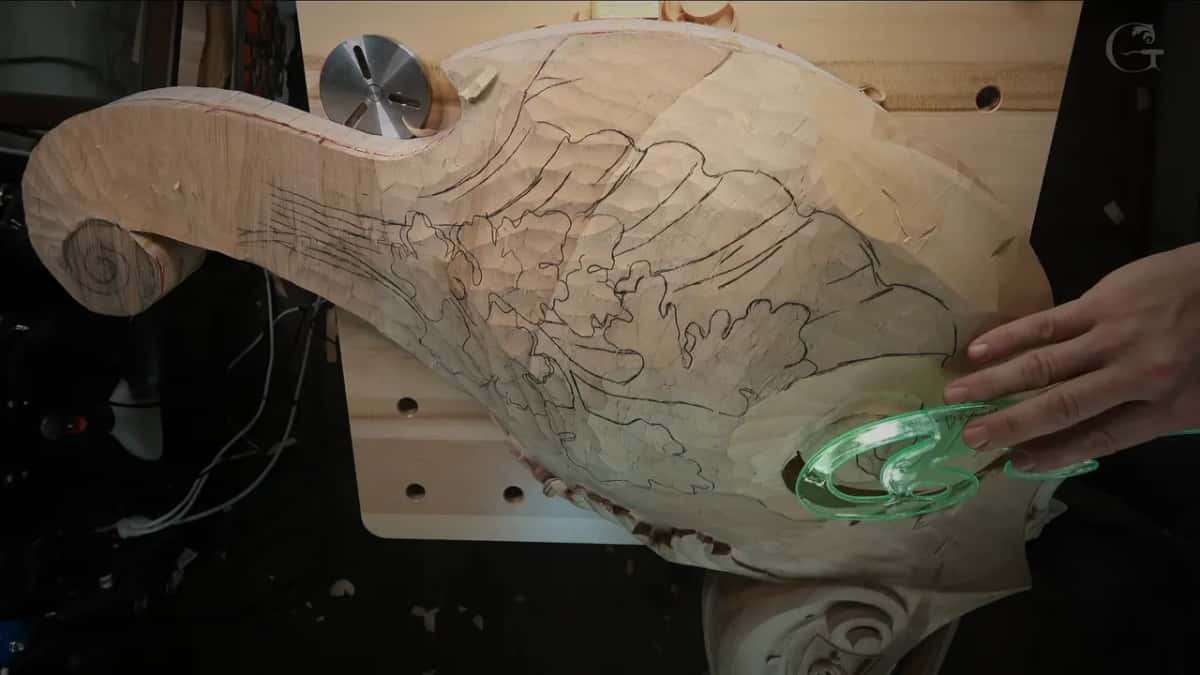
How to draw an oak leaf from a single circle
Start with one circle. If you would do it from scratch, I said, you just establish the first circle, and that is your boundary for the future oak leaf, whatever that leaf is. They considered it oak, and I followed them.
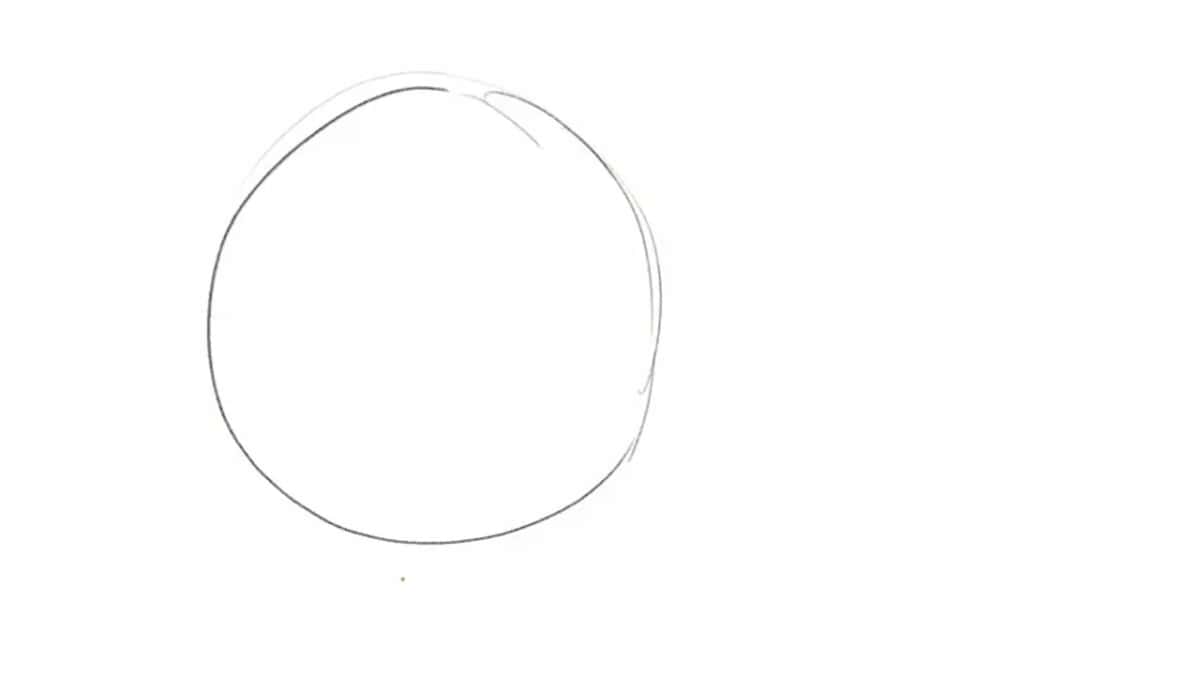
The circle works like a fence around the future leaf.
I drew with markers. A bigger one went on so you could see it on the camera, and later a tiny one refined the waviness. At one point I noticed the marker was going in too deep. Still, you should get the idea.
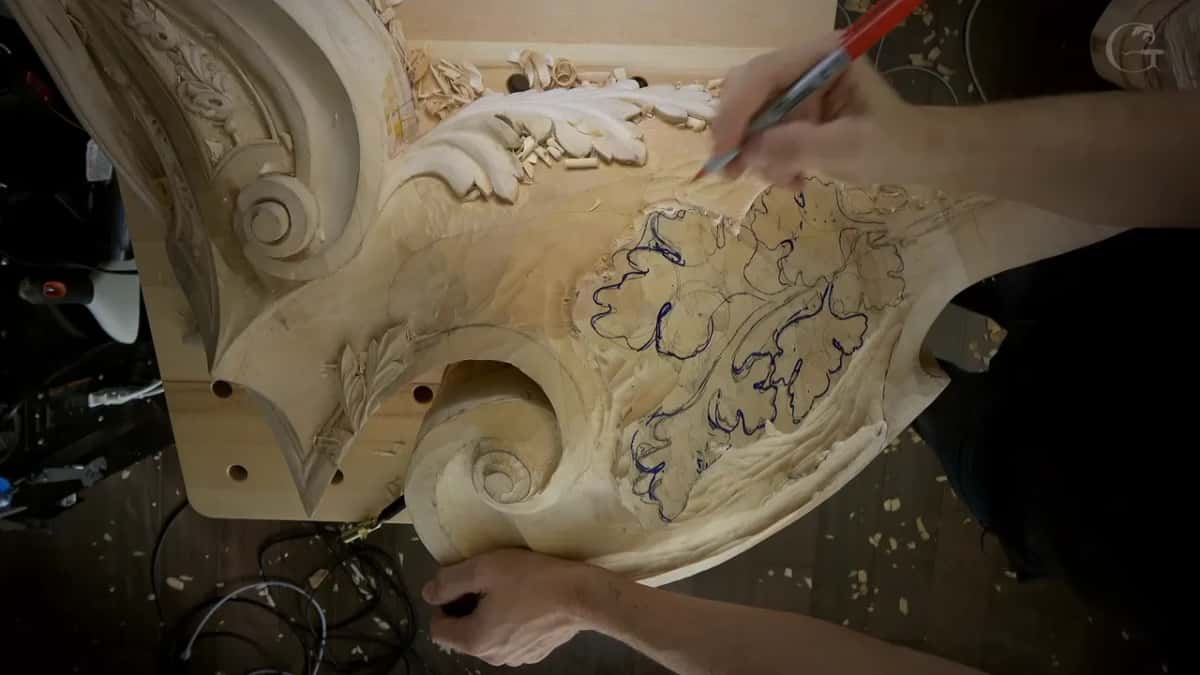
Drawings on this piece change. Earlier that day I told you not to pay attention to one drawing, since it was just a preliminary idea, and that walking around it would decide if I liked it. And when I lost a line, I drew it again, because I don't want to lose them. I'm absolutely not afraid of losing outlines, I said.
Where does the middle line of the leaf go?
Off center, at what I called the 60/40 rule while I drew. Take one point, look to the other side for another point, and draw a line between them. Call it 38 versus 62, if you wish. I tied that split to the Fibonacci sequence while I drew it on the leaf.
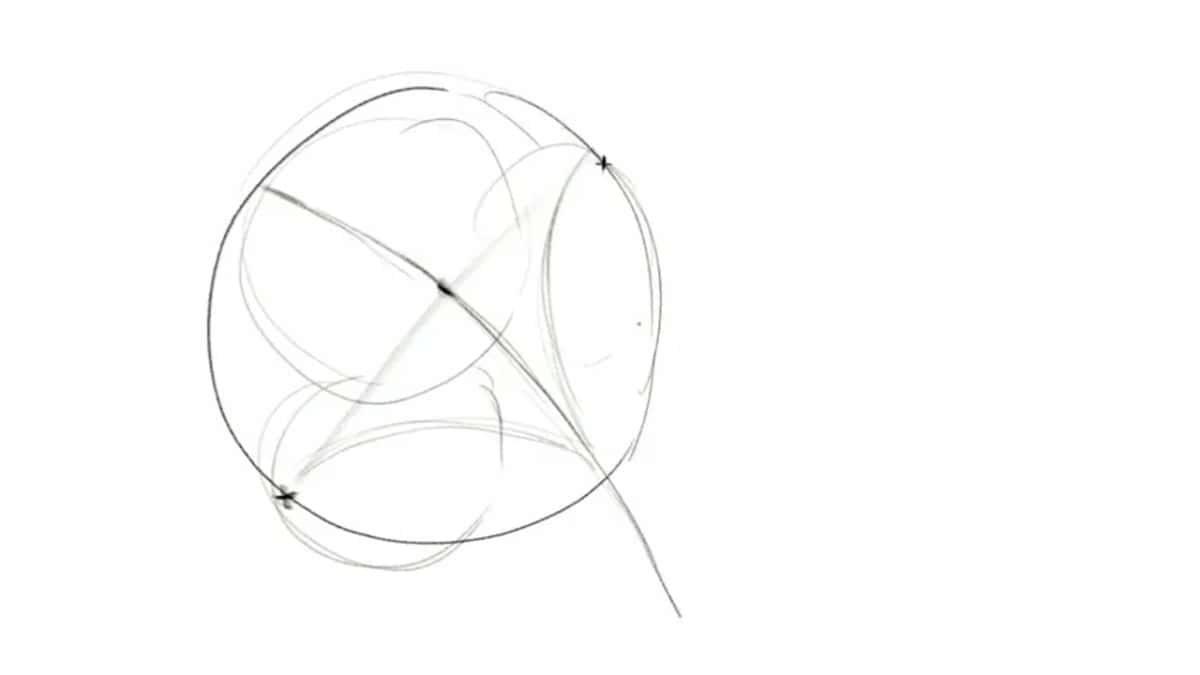
Later, explaining it from scratch, I said it has to be with the golden ratio and then corrected myself. It doesn't really have to, but it looks like they did a lot of that stuff. The golden ratio gets a full page for the Part 6 panel, and placing a main idea at six tenths has one in the design course.
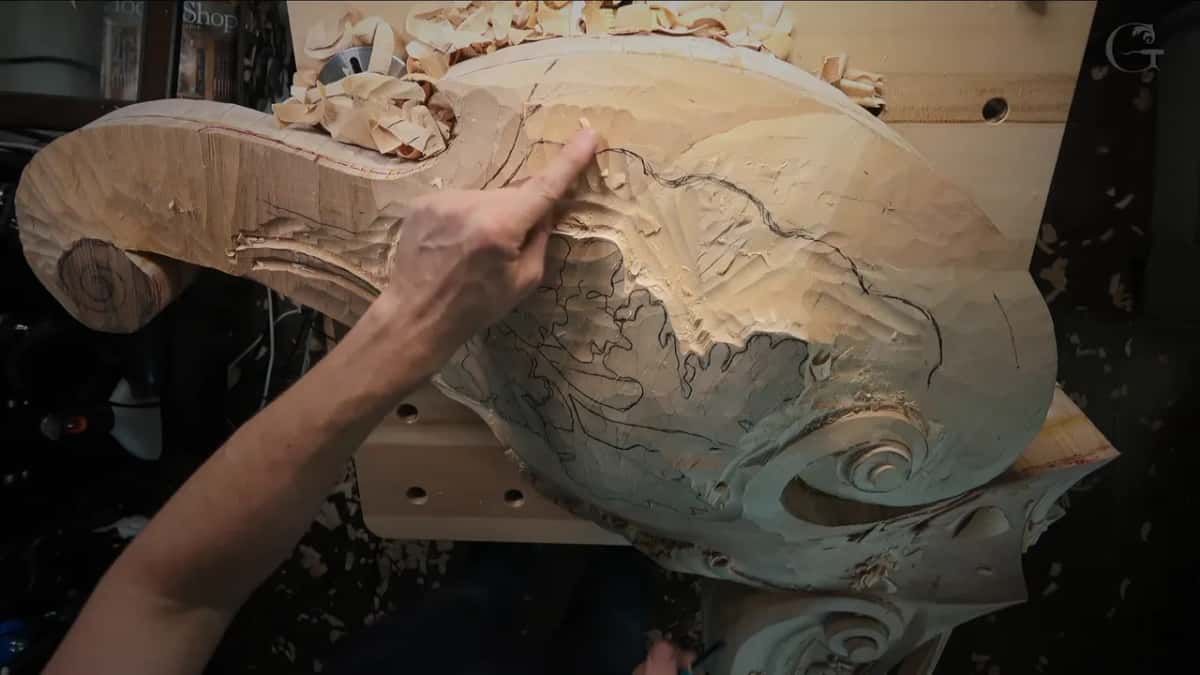
On one leaf on the corbel, I thought I was slightly off. Maybe the movement should end somewhere else, I said, and then I said I don't know, and tried to move the line before I settled it. Earlier, lowering the ground, I was just eyeballing too, and said I was not going to waste time measuring everything.
Why draw three circles inside the first one?
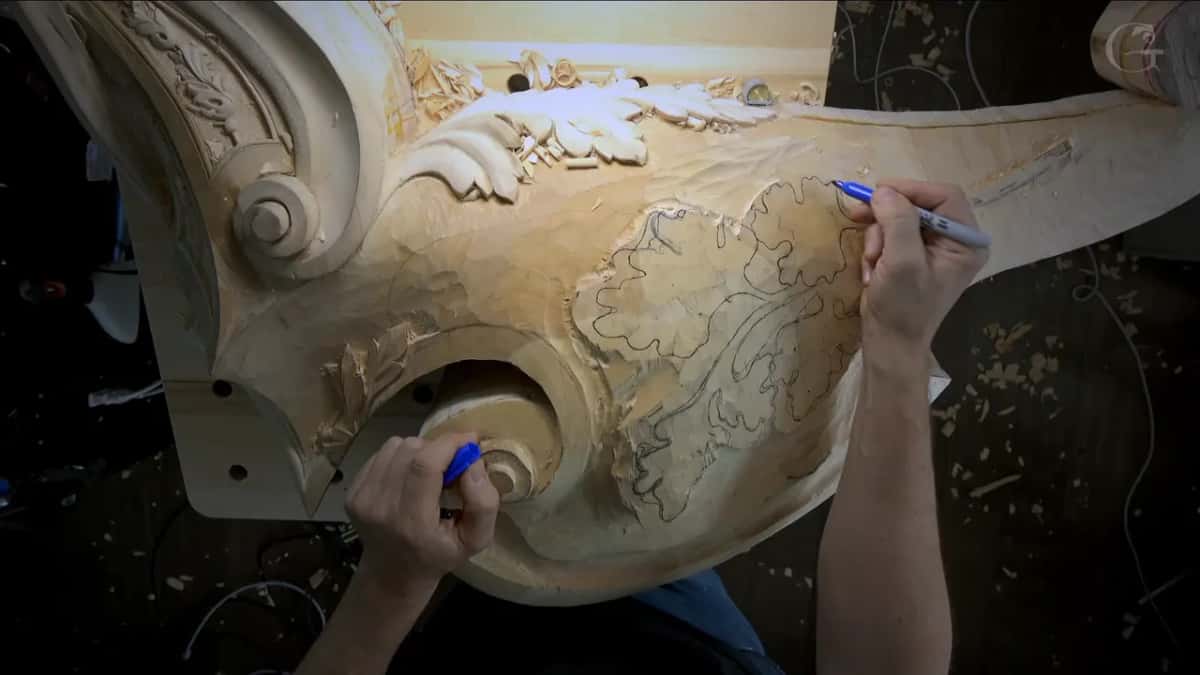
Each of them carries the center line of one main division. Off the middle line I made one movement to the right and one to the left. So it's like three circles, one, two and three, and none of those circles goes beyond my boundary line.
On the piece I marked the three parts with the bigger marker, so you could see. One, two and three part on this leaf, the same idea on the next, and the next. That is the main form, at least of a Venetian style leaf. I follow what they've done, I said, and then I'll fix whatever I don't like.
The three big parts are not new on this bench. An acanthus got its sections counted in workshop 83, and a symmetrical acanthus is drawn from a ruled grid in this Roman acanthus lesson, while this oak leaf starts from a circle.
Does an oak leaf get an eye and a pipe?
On this one it does. Wherever you have the main separations on an acanthus, you are supposed to have some kind of eye, I said. Not on oak leaves, but they did it, and that's what I'm going to do.
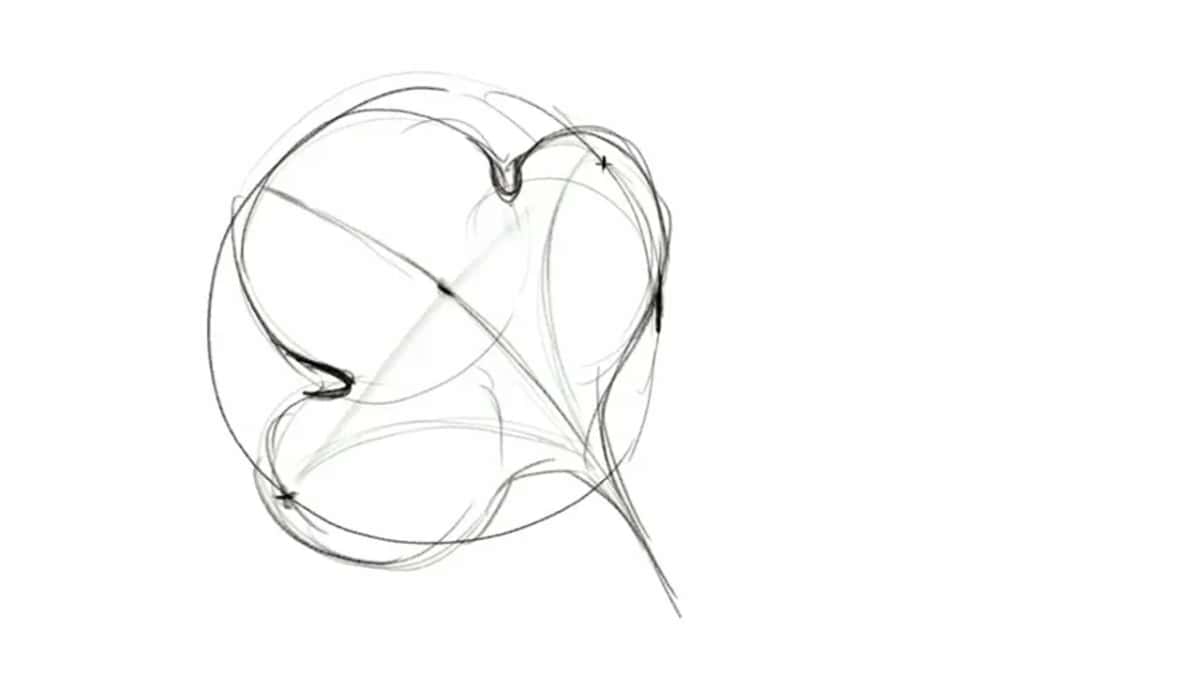
Between the divisions goes an eye. A pipe leaves it, going to the center. Each small division gets its own pipe too, each of those. Anyone who listened carefully to my acanthus explanation should understand it, and what a pipe is has its own answer on another course.
Making those little eye sections is easy, I said, if you place the right tool and think of the pipe going up, which direction it's supposed to go. When the drawing was done, I said I would probably take the eyes a little deeper, because the leaf would look much better.
Which way should the lobes lean?
Toward the middle line, every one of them. I have to lean them, I said, and create those movements logically, so they head for the middle. A lobe leaning the other way would be a mistake. It would be wrong.
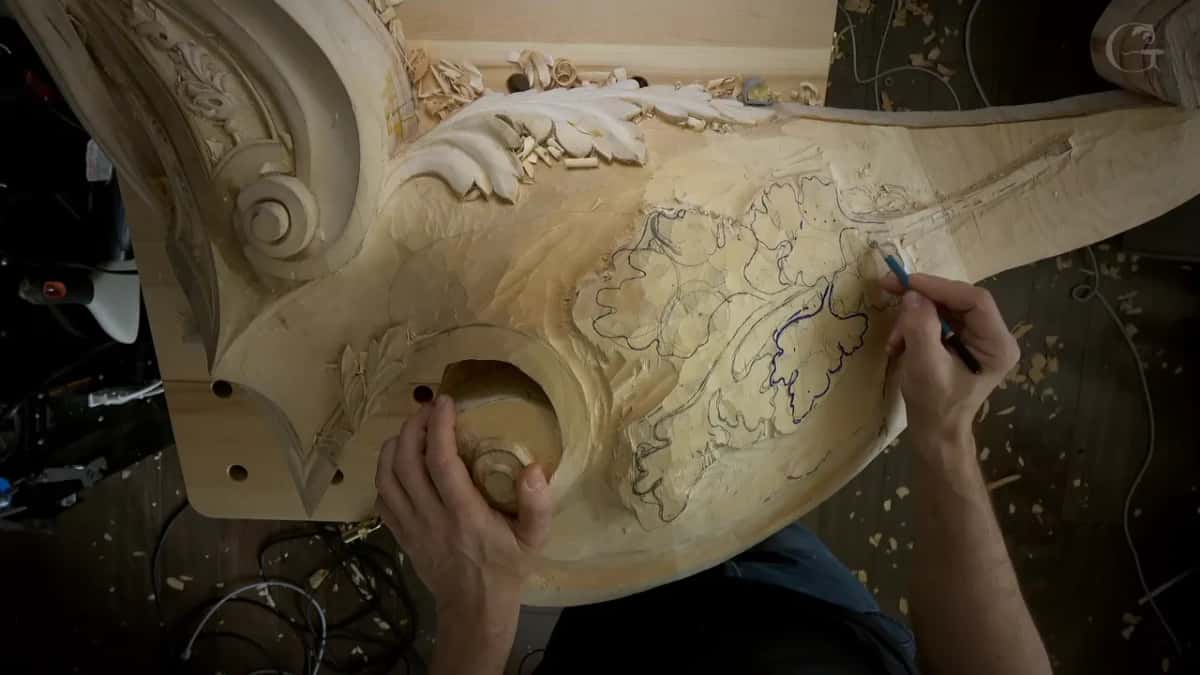
And everywhere, all the way around the leaf. I told you I was going to fix some of the movements later, but first I wanted the outline, so we could see how it would look at the end.
How many divisions go inside each circle?
Five, in the end. Inside each circle we're also going to do divisions, I said. I had just three at first, then I added one more and one more, so it's divided in five, and that again has to do with the Fibonacci sequence. It doesn't have to be that way, but that's what they did.

In one circle I had less room. I was limited with the space there, so I did my fives a little differently, three first and then a fourth and a fifth, a pipe for each of them. We still got five. One, two, three, four, five, and exactly the same idea on the next circle.
How far apart divisions like these sit on an acanthus is worked out in workshop 34 of this room.
Where does the stem of the leaf go?
Underneath, out of sight. I do have a main stem, I said, and logically it is supposed to be hidden somewhere underneath. This leaf also needs to be connected to that stem.
Some empty spots were still left, and I said I could outline them too. But first I went back to one section, because I kind of didn't like how it looked, and drew its divisions again.
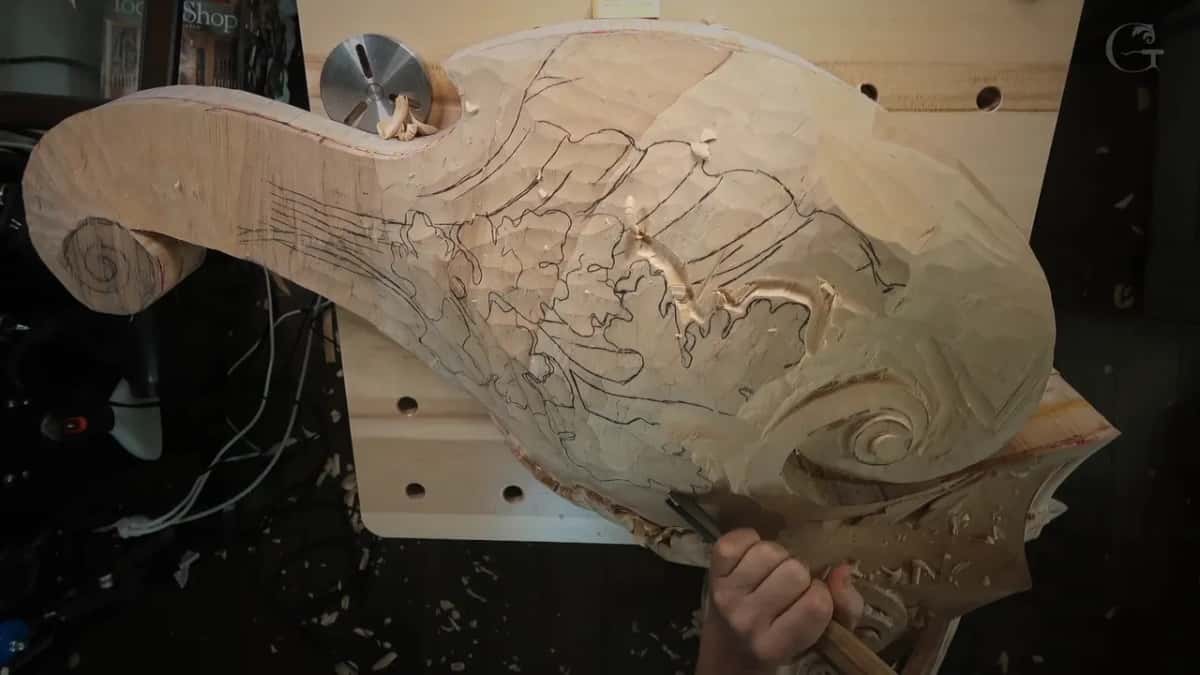
The marks on one leaf, in order
Here is the whole drawing as a list you can keep beside the bench. Each line is one mark I made that day.
| Mark | What it does | Where |
|---|---|---|
| One boundary circle | Sets the boundary of the future leaf. | Around everything |
| The middle line | Splits the leaf about 60 against 40. | Across leaf |
| Three inner circles | Carry the center lines of main divisions. | Inside boundary |
| Eye at separations | Sits between two of the main divisions. | Each separation |
| Pipe per division | Runs out of the eye toward center. | Each division |
| Five divisions | Split each circle again, one to five. | Every circle |
| A hidden stem | Stays hidden underneath, connected to the leaf. | Under leaves |
When does the gouge come in?
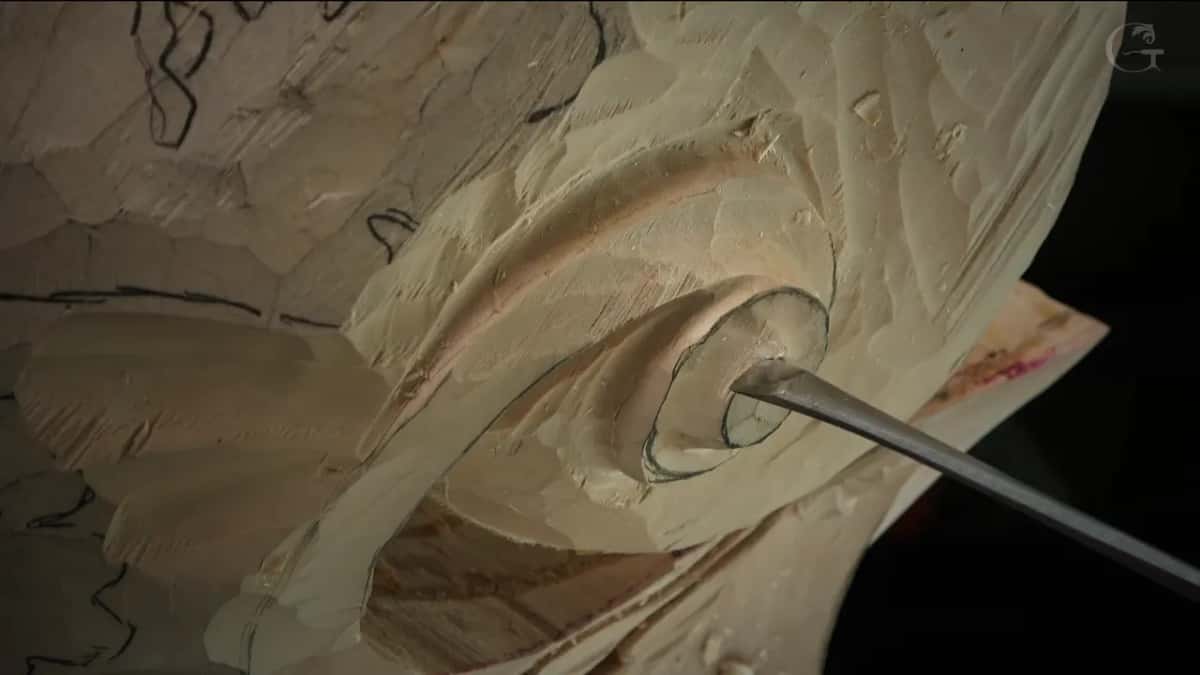
Only after the drawing, for the outline. I took a #11, 12 millimeters, like half an inch, and a mallet. Of course, the mallet helps. I chopped a little closer to the main idea and stayed approximately an eighth of an inch away from the line, about three millimeters or so.
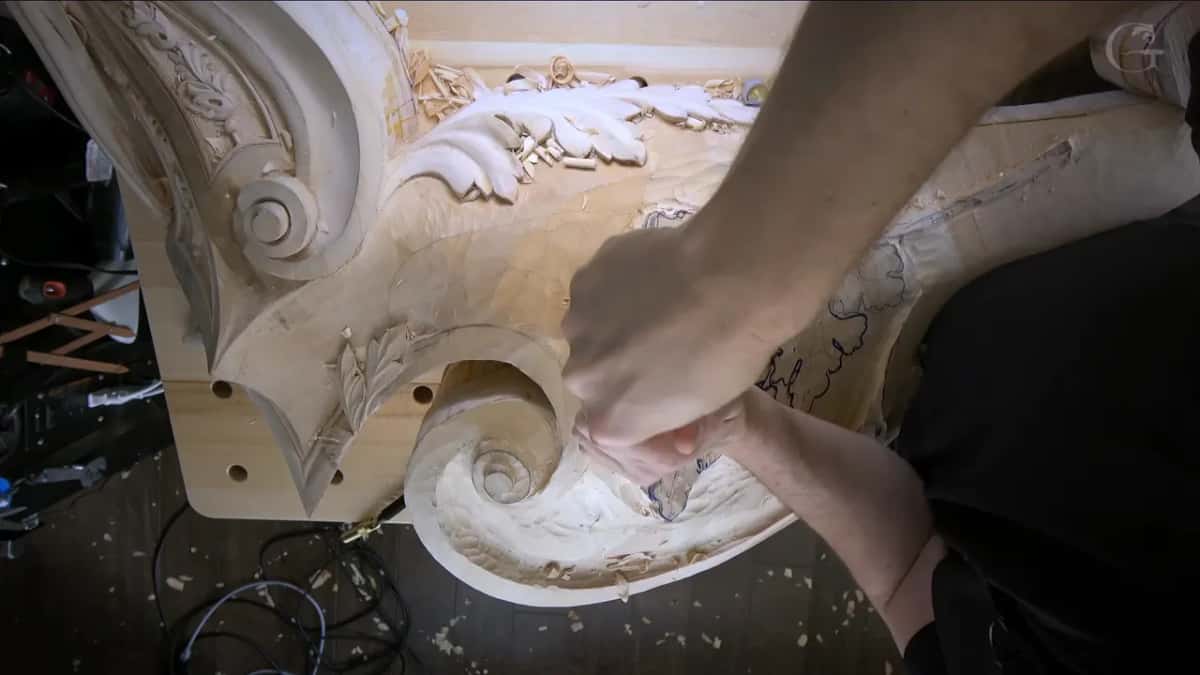
This is just the outlining, I said, twice. That same half inch #11 had outlined the foliage area earlier in the workshop, an eighth of an inch or so off, and there it went no more than 10 mm deep.
Just before the chopping I said I didn't know what was going on with me that day, that I couldn't pronounce things correctly, and apologized. Then I went back to chopping.
So we've got actually a Venetian style oak leaf, I said once the five were counted. Carving the leaves themselves comes in workshop 98, and workshop 95 comes right before this one.
Who is workshop 96 for?
Anyone who wants to draw a leaf before carving it. I said at the start of this workshop that I understand not all of you are going to work on a huge project like this. I still hope the tips help, since there are a lot of acanthus movements and volutes in it, and different leaves you can use in other carvings.
This is one workshop of a long Venetian project, and the Part 8 course page lists all twelve. The design course is where I send anybody who wants to draw their own ornament first.
Would you like to watch that circle turn into five pipes, one mark at a time, with the mallet coming in only after the drawing? And see where the marker went in too deep? Tuition opens the whole school, this room included.
How it's done
- Clean the area. Get a clean canvas first. A big #2 of about 50 mm (2 in) did it on my piece, and a big skew works if you lack the #2.
- Draw the boundary. Establish one circle as the boundary for the future leaf.
- Set the middle line. Pick a point, find another across the circle, and connect the two at 60/40.
- Add three circles. Make a movement right and one left from the middle line, so three circles carry the three main divisions, all inside the boundary.
- Place eyes and pipes. Put an eye between the divisions, and let a pipe run out of it toward the center. Lean every lobe so it points at the middle line.
- Divide each circle in five. Split every circle into five. Where the room is tight, start with three, then add a fourth and a fifth.
- Hide the stem. Draw the main stem so it goes underneath, and connect the leaf to it.
- Outline last. Chop the outline with a 12 mm #11 and a mallet, keeping 1/8 in, about three millimeters, clear of the line.
Frequently asked questions
How many divisions does a carved oak leaf have?
Three main divisions on this Venetian leaf, each one divided again into five. I said the five has to do with the Fibonacci sequence, and that it doesn't have to be that way, but that's what they did. Where one circle was short of room, I placed the five a little differently.
Where do you put the middle line on an oak leaf?
Near 60/40 across the leaf, which I also called 38 versus 62. Pick one point, then another on the far side, and draw the line between them. I tied it to the golden ratio and then said it doesn't really have to follow it.
Does a carved oak leaf need eyes and pipes?
Not on real oak leaves, I said, but the Venetians did it. An eye goes between the main divisions, with a pipe leaving it for the center. The lobes all lean to the middle line, and one leaning away would be wrong.
What to carve next