
Alexander Grabovetskiy, woodcarver, School of Woodcarving · Published 2020
How do you carve a recessed panel on the side of a corbel?
Quick answer: A recessed panel is a flat field lowered into the block's side, about a quarter inch (6 mm), inside a band of the old surface. On my Venetian corbel that band narrows from 16 to about 13 mm, and the depth went down in two stages with one millimeter held back.
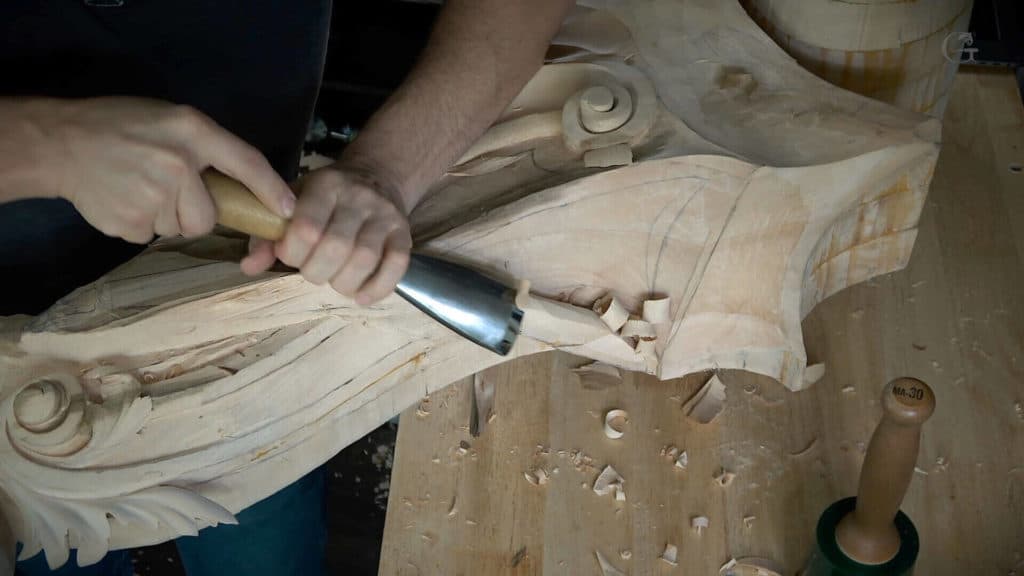
Sinking a panel into the side of a corbel means lowering one flat field a quarter of an inch (6 mm) and leaving a band of the old surface standing around it, like a frame. Workshop 90 is where it happened, on the big corbel I started back in Part 7. It's not like what you usually see on Pinterest, I said on camera, and among hand carved corbels this one is unique to the Venetian style.

Do you have some paper in the house? And a ruler somewhere in a drawer? Then you already own the layout tools I used here.
Below you get the band width in real numbers, the line drawn with no gauge at all, the depth taken in two passes, and the one wall I would not touch with an undercut.
Seven things the panel took
Paper carrying two marks, 13 mm and 16 mm (1/2 and 5/8 in).
A band narrowing from 16 to about 13 mm as it nears the detail, one millimeter at a time.
One inch (25 mm) left by the wall.
My finger as the guide for the line, my eye where it would not fit.
Depth in two stages.
Undercuts kept under the acanthus, never under the frame line, because there it would not look nice.
A floor shaved flat by a freshly stropped tool.
Why put a recessed panel on hand carved corbels?

Inside the band there will be an inner part, like a molding going inside, and it will read as a flat panel with some design a little later, right inside of it.
More architectural. I said it twice.
The movement inside the rest of that canvas is nothing special, pretty much easy, and it could wait. This section could not. I need to know exactly what is going to happen right there, I said, and that meant this section first.
Later there will also be a really interesting texture inside, and some acanthus movements. None of that exists yet in workshop 90. What exists is a field that has to be flat, sitting at the right depth, with clean walls around it.
I told the camera this design could go on a mantel too, or pretty much anywhere, even in a kitchen below the hood, if you do have a kitchen with a hood.
How wide should the band around the panel be?
On this corbel the band runs from about five-eighths of an inch down to about 13 millimeters, narrower as it comes closer to the detail.
I started from what was already there. One area had about half an inch. For the next one I wanted approximately three-quarters of an inch, maybe 19 or 20 millimeters, and then I looked again and changed my mind, because three-quarters is probably going to be too much. Five-eighths went in instead.
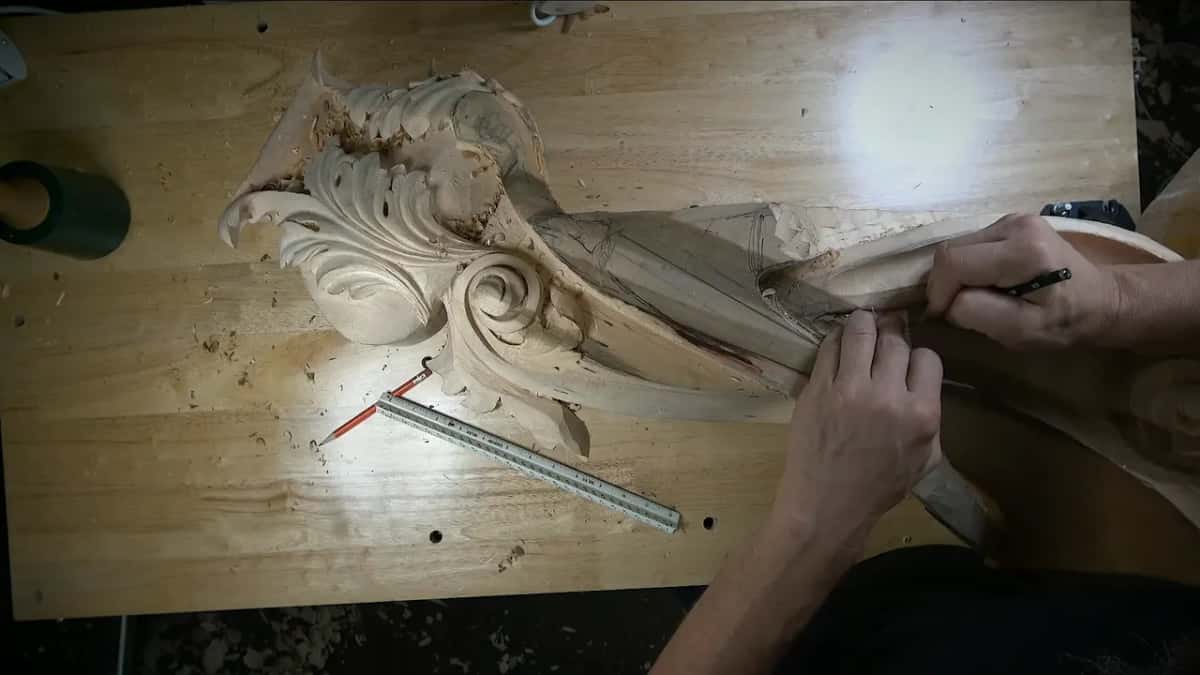
The numbers I finally said out loud were 16 millimeters, then about 15 right in the middle, then 14, then about 13. One section wanted 9/16 of an inch. Just about a millimeter and a half bigger than a half inch. Another spot got about 17 millimeters, not exactly five-eighths, one millimeter more, and a point will sit right there.
On a flat furniture board, border widths can follow a sequence, and that lesson covers the flat case.
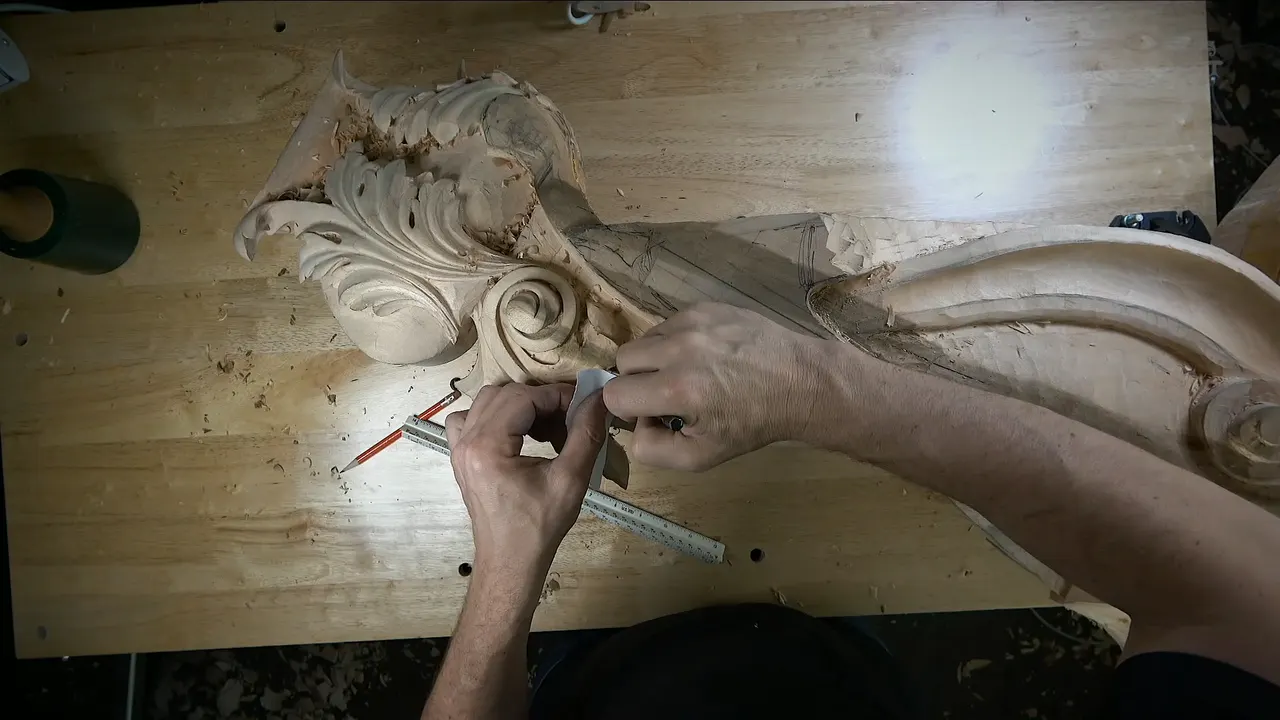
Marking the widths on a piece of paper
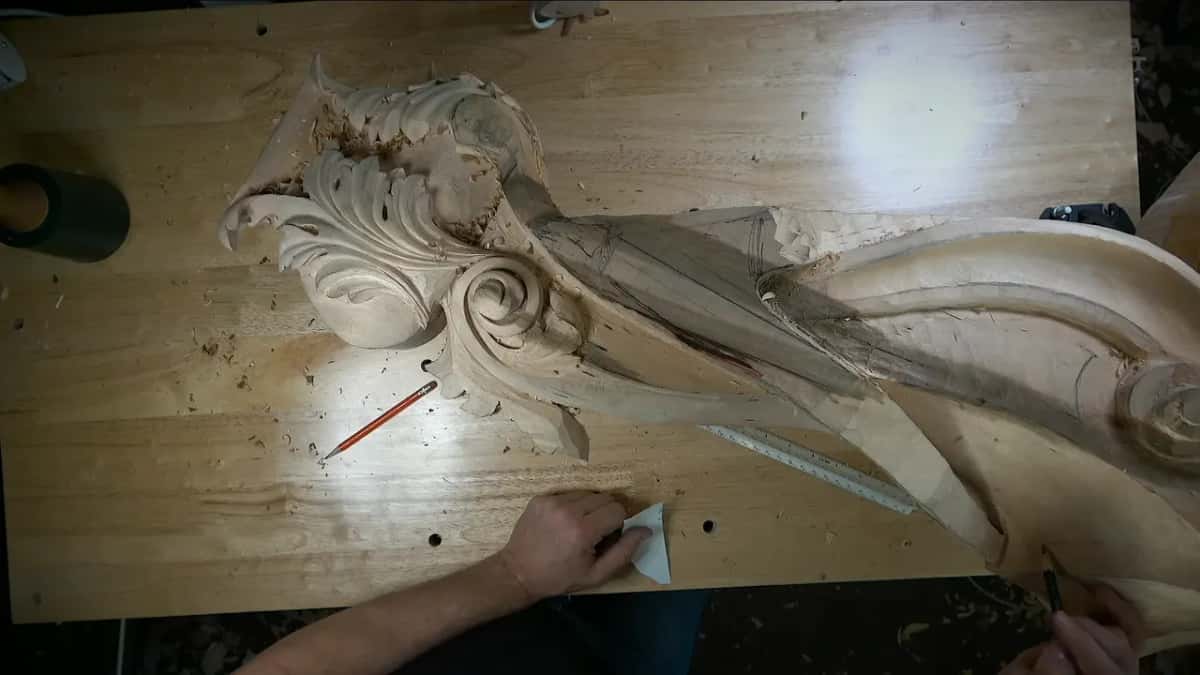
I'm going to use a really low tech thing, I told you, just a piece of paper. One mark went on it at a half inch, another at five-eighths, and then I marked those widths at one spot after another.
Sixteen millimeters, by the way, if you're in Europe, and that is the five-eighths.
I know it's low tech, but it works. A little later I picked up my ruler again for another spot. The paper did one job, the ruler the next.
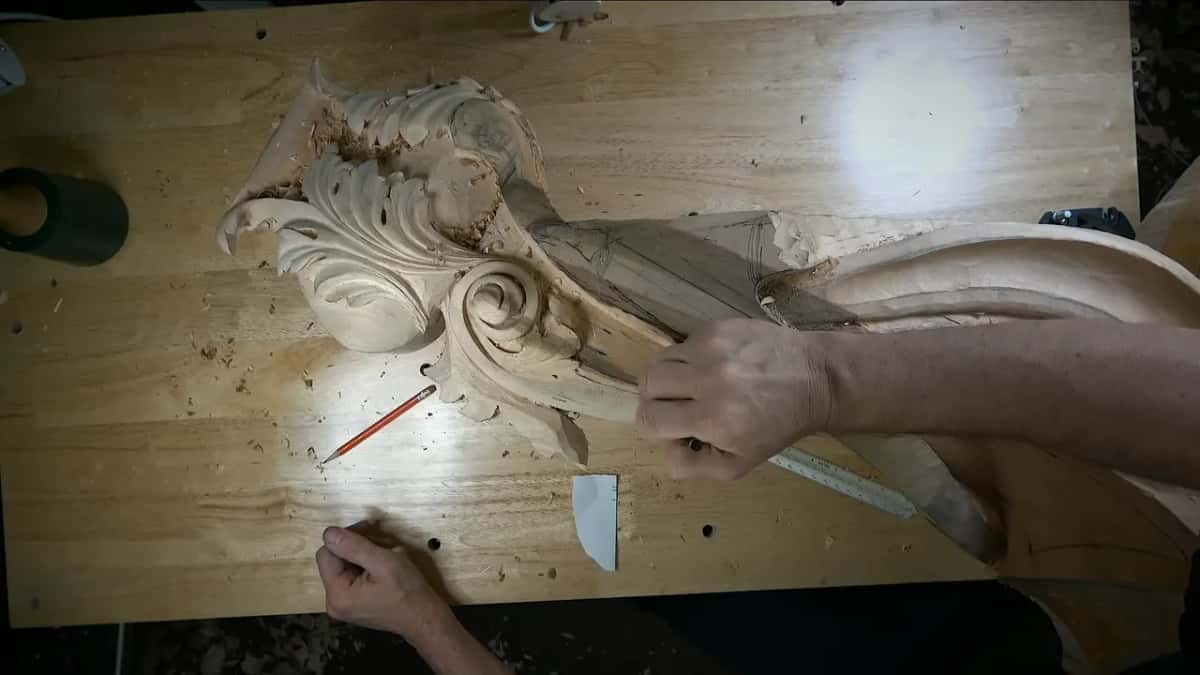
Before any of it, I took my tools out of the way and said I don't need them now, I don't want to distract myself.
Why leave a full inch by the wall?
A really interesting detail is going there, and that is all I would say about it at that point.

Inside that inch I repeated a curvature, the same curve I already had on the block, and did exactly the same on the other side. I'm still not sure if I like that curvature, I told the camera. But that's okay.
Squaring a side of this corbel happened back in workshop 85.
What guides a line along a curved edge?
With my fingers as a guide, the low tech way, and by eye wherever a finger would not fit.

Here I can't use a finger, I said, so I need to just eyeball it. A minute later came the other half of that thought. I'm just eyeballing it, and I hope it looks good.
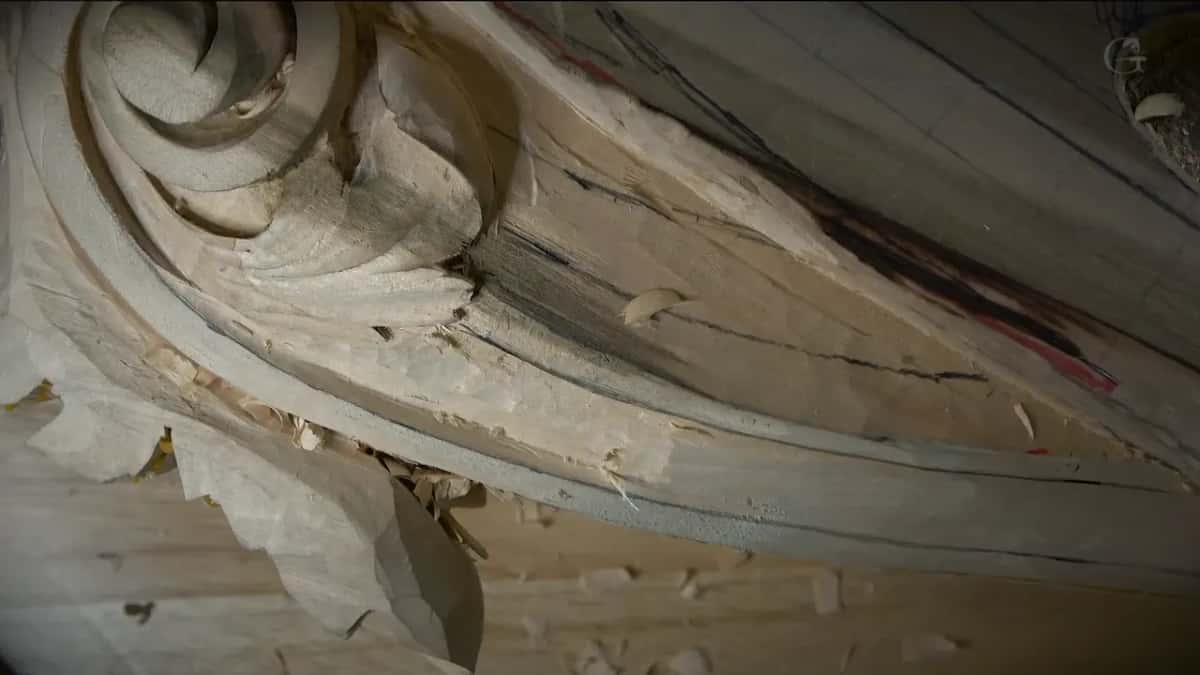
These lines were preliminary. I drew them to understand if I was on the right slope, and some of them I left for later on purpose. One section I was not going to change anymore, so there I could start excavating toward my future excavation.
Much later, while cleaning one of those lines, I caught myself saying it is not straight and nice. Well, it shouldn't be straight, but it should be nice.
How deep should a recessed panel be?
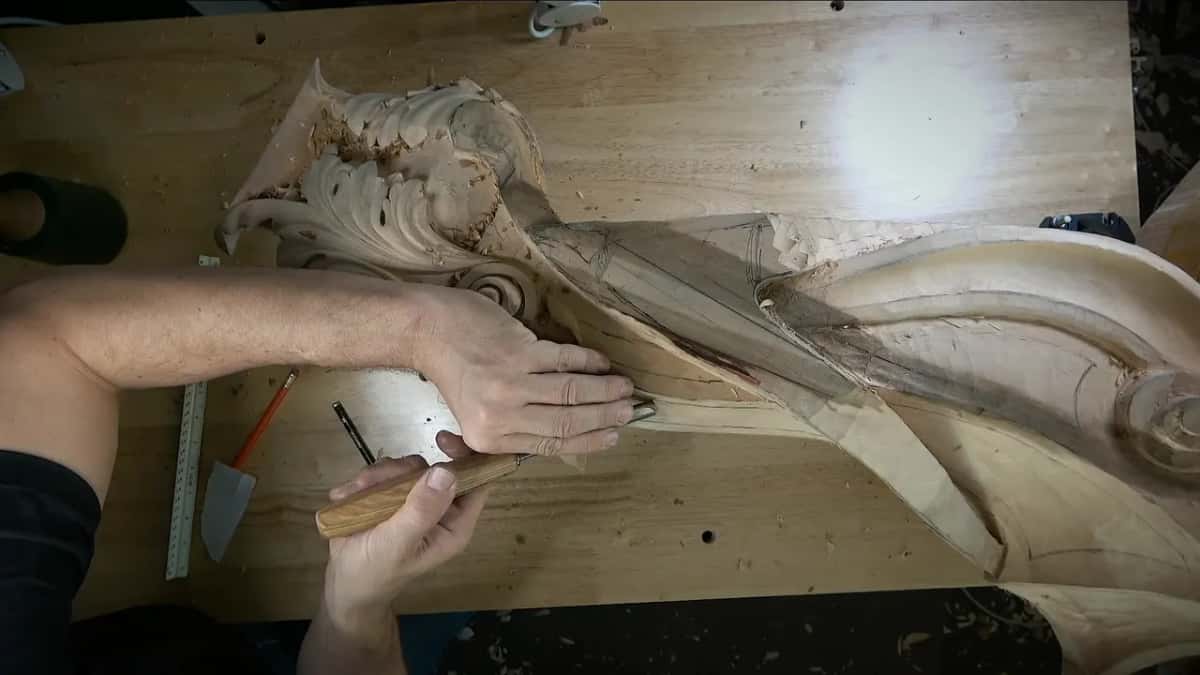
Roughly a quarter inch on this corbel, reached in two stages.
About six millimeters deep, I said, so I should be safe. I did not go there in one go. First I went maybe five millimeters in, 3/16 of an inch, and I kept one millimeter for later.
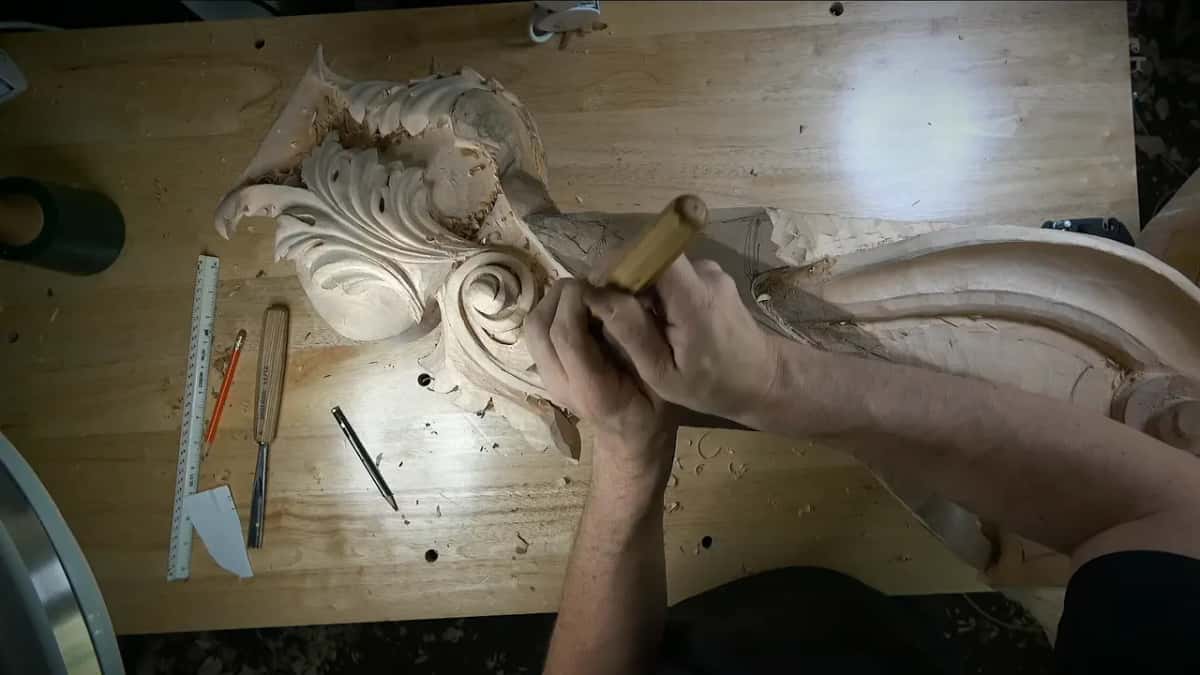
That last millimeter of depth comes later, and the way I'll do it is with punches, because the inside will be textured. A dotted background texture has its own lesson.
Around my acanthus all of that will sit a quarter inch down, roughly, so it's going to look like this section continues on right there.
Before moving on, I looked at the wall. I want to make sure it's really the same measurements overall, I said, and right then it was approximately five millimeters.
How do you sink the panel without hitting the line?
The moves are the ones I use to lower a background on a flat furniture panel, so I will keep this part short.
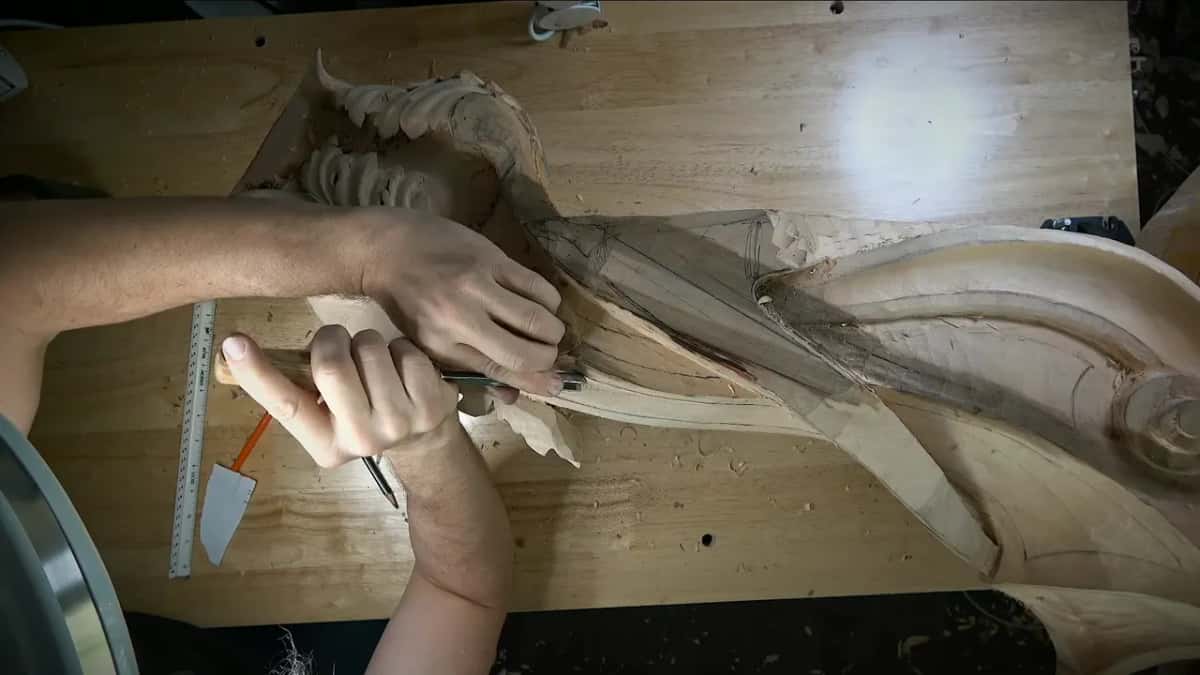
I think I'm ready for it, I said before the first outline. I hope I'm ready for it.
A 10 mm (3/8 in) #11 went round first as a preliminary outline. The wall had to be 90 degrees, straight in. Really follow the logic.
At first I went no farther than that, because I still have to clean everything. Those lines only indicate my future movement.
Where that outline ran against the grain, I was okay with it, but careful. For me, it's really important not to rush it.
Then the wood inside came out across the grain with a bigger tool, a #7. I have to be really careful not to hit this line, I said, because it would be a big mistake, and the edge would come out rugged.
And yes, you hear my granddaughter in the background.

Then the same #11 went round again to create a little deeper excavation. Also here, but it's against the grain, I said. It's not good.
Getting the floor itself dead flat is another lesson, where the passes go crosswise to the fibers in smaller and smaller bites.
Can you undercut the wall of a recessed panel?
I can undercut underneath of my acanthus, I said while I worked, but I cannot undercut underneath this line, because it's not going to look nice. So I have to be really careful how I do that, I added.
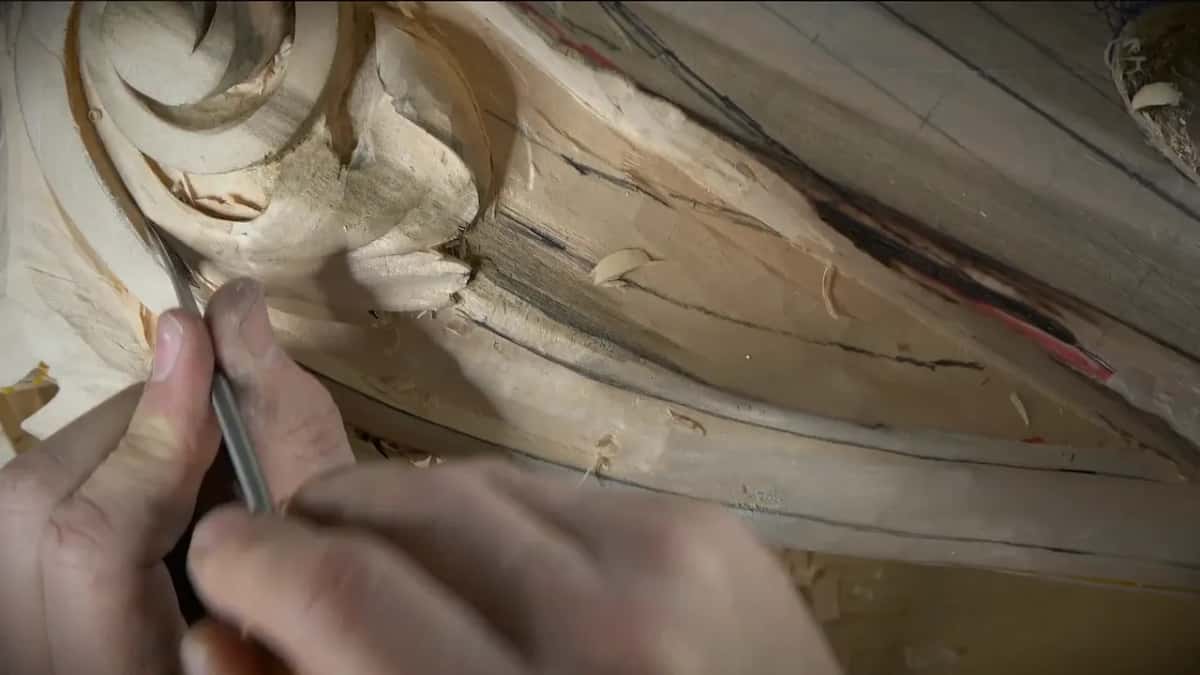
Around the leaf, a smaller #11 veiner of maybe 2 mm (about 1/16 in) went right inside my line. After that it was dancing between two millimeters and a flatter tool, then one millimeter, then half a millimeter (0.02 in). I asked the camera whether it really matters. It does. That half millimeter gives a beautiful shadow and an even sharper, nicer transition.
For the wall I also used a macaroni tool, which leaves almost 90 degrees but not quite, and I said a 90 degree V-tool would absolutely do it too.
Why does a sunk leaf look glued on?
A really deep excavation beside it does that. It's really going to feel like I glued that on, I said. But it's not glued, because you can see the grain.

The one millimeter veiner went in next, and I said it would create a beautiful shadow. A leaf that seems to lie on top of the wood has its own page from workshop 82.
What does the spare millimeter save you from?
A slip. I had one.
I have a chisel that works like a knife, whatever you call it, and it is really handy. Upside down, it took me right to the edge, and it shaved another area flat. See how handy that tool is, I said. One corner I did not worry about yet, though I could have done it right away.
A minute later the same tool made a little bit of mess, which is one of the dangerous things about it. It was okay, because I had an extra millimeter there, and I could totally take care of it.
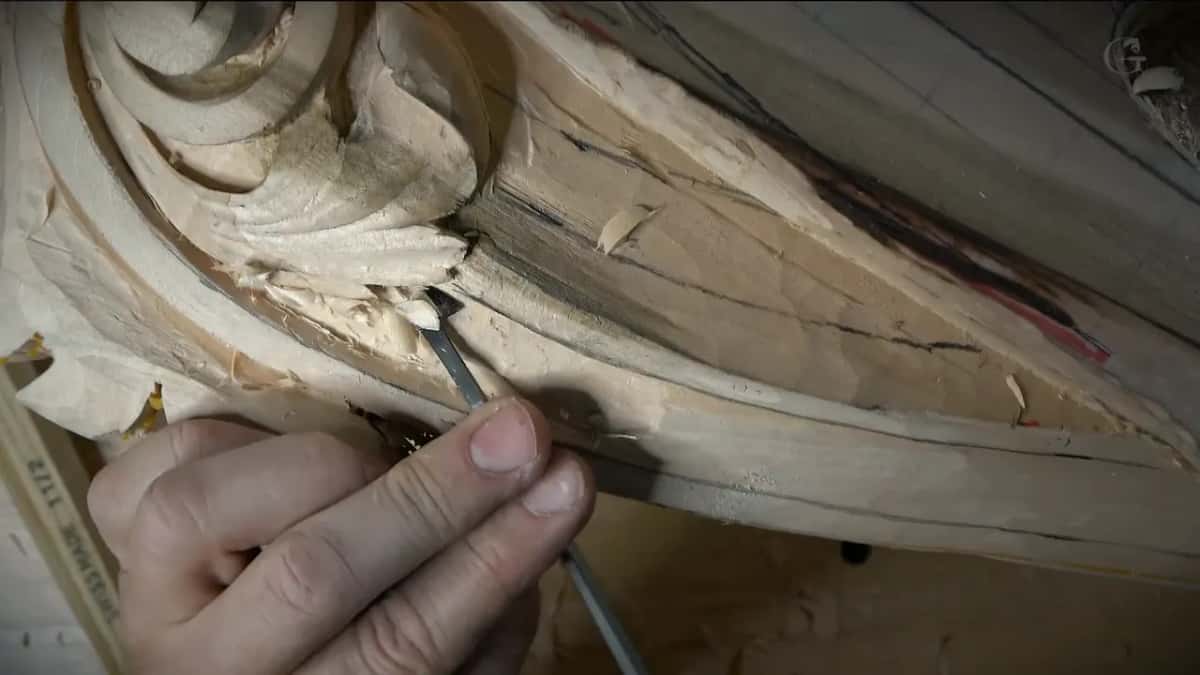
The spare millimeter sat at the side too. I stayed away approximately one millimeter from my drawn line until I made the final line. Once I clean everything, one millimeter is not a big deal to take out, but first I wanted to be happy with the overall feel.
How smooth does the floor of the panel need to be?
Flat, without any dips or bumps, even though texture will cover it later.
A grounding tool cleaned a couple of areas, and a half millimeter #11 veiner took out what was left along the line, and now it looks really nice, I said. Then came a cleaning pass, just a shave, just a shaving. A one millimeter veiner gave me a sharper line after that.
I had to strop the tool again, and I reminded myself not to forget about wiping it after stropping, otherwise it gets all dirty. Sharpening and stropping have a course of their own.
Once the tool is stropped, the finish comes out almost like I sanded it with 4,000 grit sandpaper, nice and smooth and shiny. I don't need that, by the way, because there will be texture. But at least I know there is a really nice surface without any valleys or hills.
Which tools sank this panel?
Paper and a finger did the layout. Four sizes of #11 and one #7 did most of the digging.
| Tool | Job | Where |
|---|---|---|
| Plain paper with two marks | Carried both widths from spot to spot. | Band width |
| My finger on the edge | Guided the line wherever it would fit. | Band line |
| 10 mm #11 gouge | Set the outline with a straight wall. | Panel boundary |
| #7, a bigger tool | Took wood out crosswise inside the lines. | Panel field |
| About 2 mm #11 veiner | Ran round the acanthus inside my line. | Leaf edge |
| 1 mm and 0.5 mm veiners | Took the undercut deeper under the leaf. | Under acanthus |
| Knife-like chisel | Shaved the floor flat and set walls. | Wall, floor |
What comes after the panel?
Next came a chunk of acanthus further along, with the same quarter inch planned around it. I was sure of my line on one side only, so I did that side first, about five millimeters deep, 3/16 in, and that's plenty for me. I don't want to overdo what I don't have to overdo.
Maybe I undercut a little there, maybe not, because it won't be as visible. One line I still was not sure about, and maybe it's not the right position yet, I said, so maybe I'm going to change it.
The sloping got the same care. I did not want to overdo it, because it still has to continue the same slope all the way. I hope that makes sense.
After that the chunk itself got its shape, and then came the cloth drop, which I called one of the most important parts. Workshop 89 comes right before this one, and workshop 91 picks up after it.
Who is workshop 90 for?
Anyone who carves ornament and wants the plain architectural parts around it to hold up just as well. It is slow work, the eighth block of one long Venetian project, and workshop 86 opened this part by carrying a flat drawing into the corbel. The Part 8 course page lists all twelve workshops, and Part 7 is where the corbel began.
Would you like to watch that band go on, mark by mark? And see the wall stay straight while the leaf gets its shadow? Tuition opens the whole school, this room included.
How it's done
- Settle the band width. Try widths against the carving. I first wanted three-quarters of an inch, then settled on five-eighths (16 mm) and half an inch (13 mm), narrowing toward the detail.
- Put the widths on paper. Make the two marks on paper and carry them to each spot. I know it's low tech, but it works.
- Draw the line. Use your fingers as a guide, and where a finger will not fit, eyeball it.
- Outline, then clear the field. Go round first with a 10 mm #11 and keep the wall at 90 degrees. Remove the wood crosswise to the grain with a bigger gouge, a #7 for me, and stay off the line.
- Stop a millimeter short. Go about 5 mm, three-sixteenths of an inch, deep first and keep one millimeter, both beside the wall and on the floor, for later.
- Undercut the leaf only. Take the undercut under the acanthus with 2 mm, 1 mm and half millimeter veiners, and leave the panel line straight.
- Shave and strop. Finish with a light shave. Strop again, and wipe the tool after stropping.
Frequently asked questions
How deep should a sunk panel on a corbel be?
Close to a quarter inch on my Venetian corbel, which is 6 mm. I went maybe 5 mm (3/16 in) first and kept one millimeter for later, and I said the rest would be done with punches, because the inside is going to be textured.
Can you undercut the side wall of a sunk panel?
Under the carved leaf, yes, and I took it deeper there with a half millimeter veiner for a beautiful shadow. Under the line of the panel itself I would not, because I said on camera it would not look nice.
Why keep a millimeter when you carve to a line?
A slip can happen. My knife-like chisel once made a little mess on this panel, and one extra millimeter meant I could take care of it. I stayed about a millimeter off the drawn line until I made the final line.
What to carve next