
Alexander Grabovetskiy, woodcarver, School of Woodcarving · Published 2020
Should a wood carving gouge have a burr?
Quick answer: A burr on a carving gouge is the thing I feel for every time I pick one up. In workshop 89 I found a small one on a 2 mm veiner and said a carving tool should not carry it, though turning tools sometimes can and scrapers really can. Leather and a light hand keep my edges ready.
A burr on a wood carving gouge is a thin lip of steel left along the edge, and on a carving tool I don't want one. In workshop 89 of the Venice Room I picked up a 2 mm veiner, felt a small burr on it, and said that on a carving tool it is not a good idea. Stropping carving tools is how I keep an edge ready all day, and this page follows each strop you see in that one workshop.
Have you ever run your thumb across an edge to see if it is sharp? Would you like to know what I feel for when I do it? Then come through workshop 89 with me, from the first check to the last shallow concave.

Six things my edges did in workshop 89
Each time I grabbed a tool, I tried to feel if it was sharp.
One small burr turned up, on the 2 mm #11.
Turning tools can sometimes use a burr, and a scraper really can, I said.
Mirror Paste on cow leather for a quick strop.
Light pressure, then a wipe.
When the leather stopped helping, the bevel went back on the machine.
A sharp #7, rolled as it sliced over the facets, gave a gorgeous finish.
What did I feel on the little veiner?
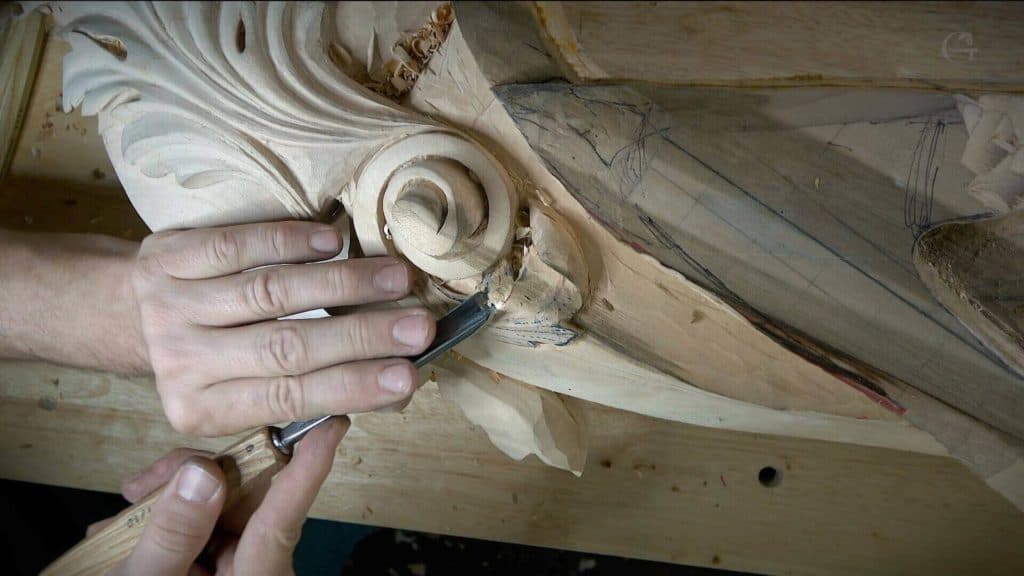
A small burr, right on the edge. I was opening a separation on a little acanthus movement and stepping down in size, from a seven millimeter #11 to a 4 mm, and then to two millimeters.
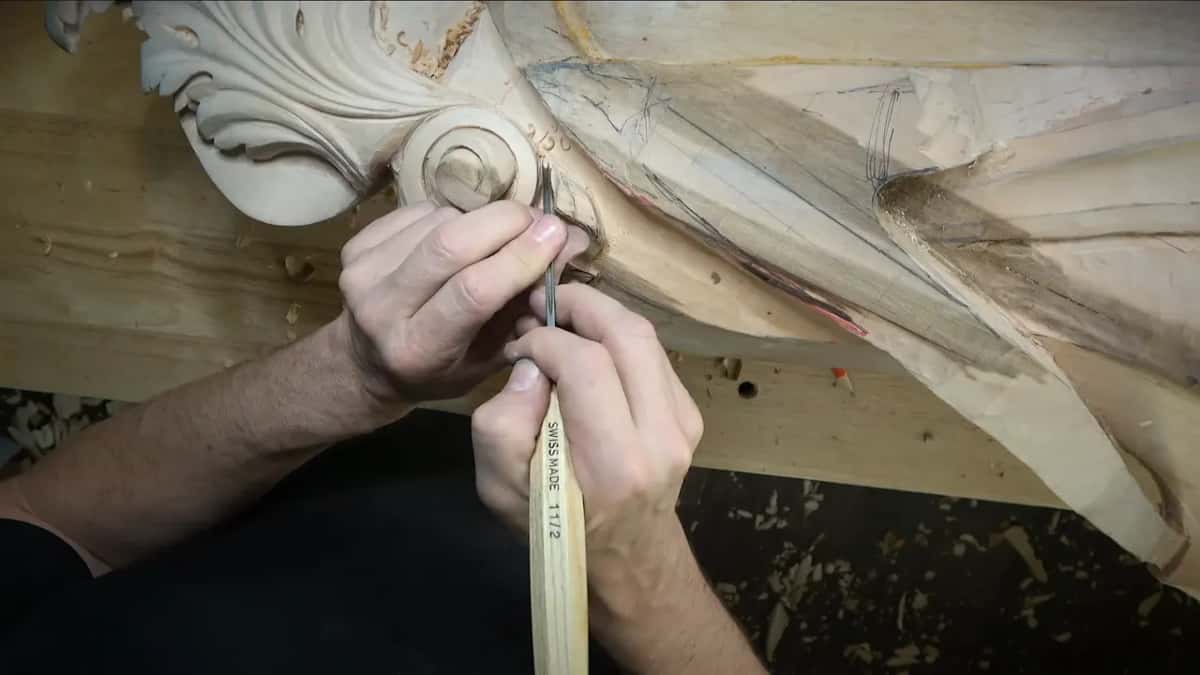
Every time I grab a tool, I check if the edge is sharp or not. I have carved for over forty years, and I still do it. You usually feel it. That day I could feel a small burr developed, and in that spot a burr is not the best idea.

Then my words got tangled. I said it is okay to have a burr on wood carving tools, heard myself, and said sorry, I meant wood turning tools. That slip stayed in the video.
I checked the edge a second time. It was good. The same 2 mm went back in to excavate a little deeper, and it gave me a nicer undercut and a nicer shadow.
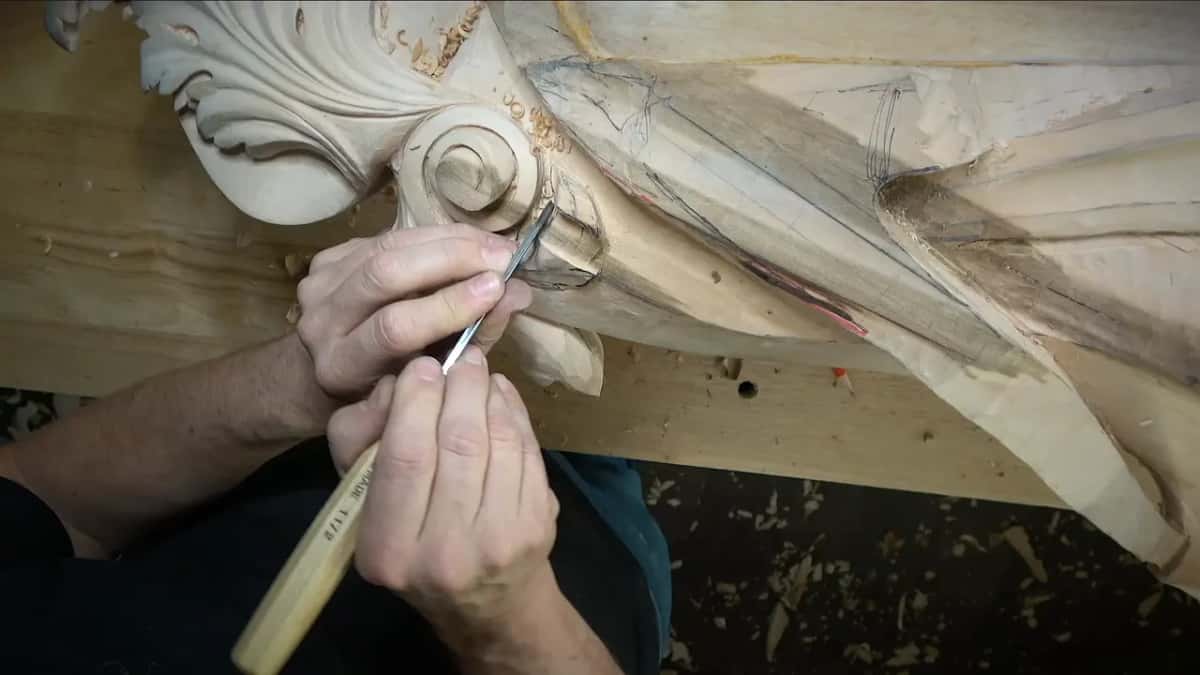
Even two millimeters turned out a little too big for one section. Later a 1 mm #11 dug deeper under a small detail for another shadow, and near the end I went smaller still. By my own rule, each of those went through the same check in my hand.
The same hand check came up earlier that day on the wood itself. A little hump did not show on camera at all, but when I moved my hand across it, I could feel it with the finger.
Which tools are better off with a burr?
Turning tools, sometimes, and I said a burr is actually a good thing there. Not always, though. On scrapers it is a really good idea.
On carving tools it is not a good idea, and that is where I left it on camera. I gave the rule in a few seconds and went back to work, and I'm going to be honest with you, nothing in workshop 89 explains the metal behind it.
I won't pretend I did. A carver asking why can read about the burr and the card scraper, a tool that works with its hook raised on purpose, in the links above. What I can give you is the habit, which is to feel every tool when your hand closes on it, before the edge meets the wood.
Why did that section need extra checking?
The board told me to. In that area the color of the wood was green, and on camera I read it as water damage already starting to rot.
Sharp tools are a must in a place like that. Otherwise every pass comes out not clean. Even with sharp tools, I said, it is sometimes challenging, and that is why I kept grabbing a tool, feeling it, and only then letting it touch that section.
If you know a little about basswood or lime wood, and if you have carved for a while, you know the kind of mark I pointed to. A different soft patch on another board of this room has its own page, in workshop 63.
I even repeated it on camera. I check especially right now, I said, because of the area I'm working in.
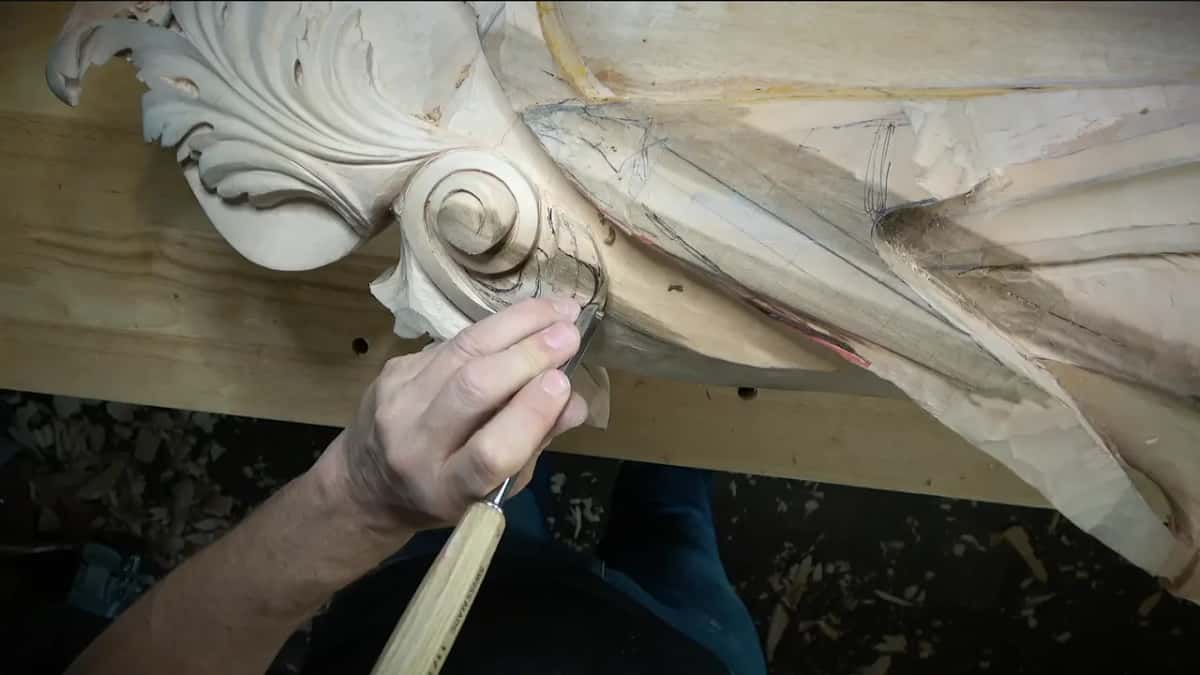
Did the big gouge behave in that section?
It did, with some care. For a concave that had to run almost all the way to the bottom, I said a number 9 would be even better, maybe a bigger one, three-quarter of an inch, 20 millimeters. I had to be careful on this section, I said, first because of the grain, and again because of that same patch.

I know there's a tendency to start somewhere up here and go along that line, but it is not going to look good. So the gouge went low, close to the surface below, and when the preliminary pass was done I stopped to tell you it was a really good one, by the way.
Then the same #11 I had stropped earlier, the 7 mm one, came back to undercut, laid over on the left wing of the tool. I didn't need to go too deep. I could, but there was no reason.
What does stropping carving tools look like at my bench?
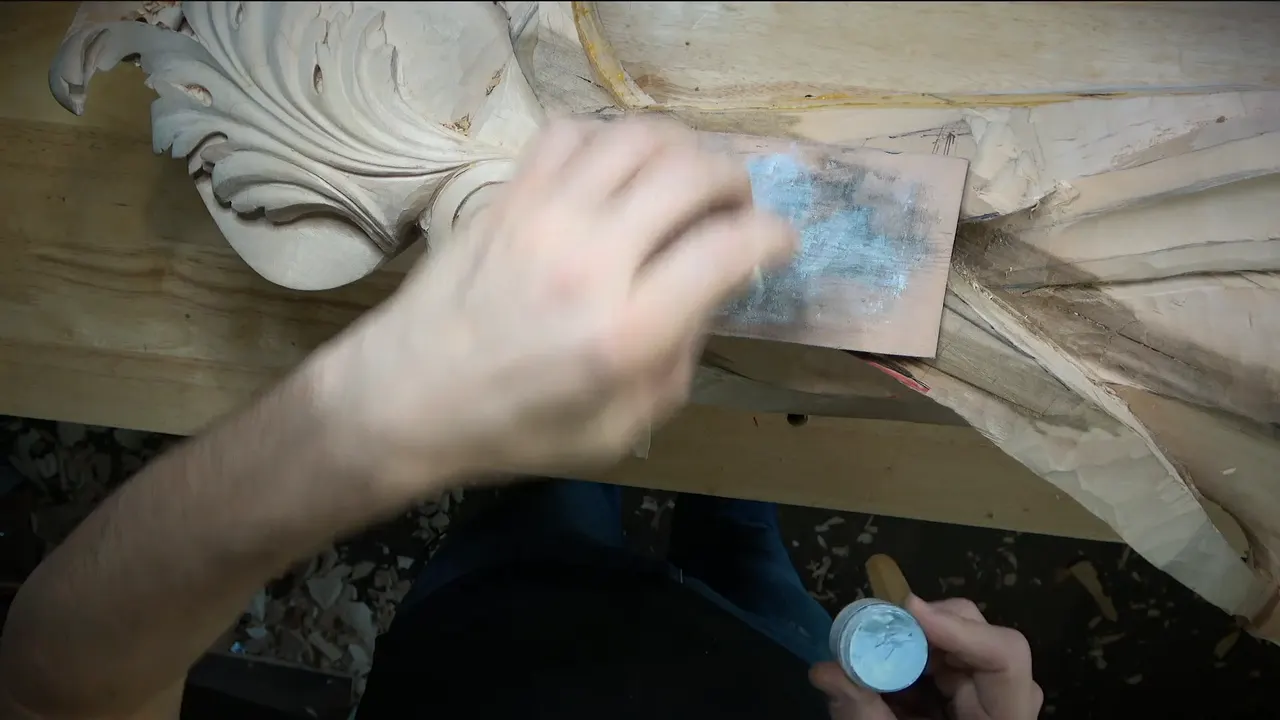
A paste and some leather. Mine was just a normal small piece of cow leather, and the paste was Mirror Paste, one of my favorite pastes, as of now at least. The brand is Trend, from England, and it gives me quick stropping.
I took a 7 mm #11 for the next movement, and it looked like it needed a little stropping first. The first piece of leather was a little too thick for the inside of that flute. So I did the outside and checked, and the inside didn't even need anything, it already had it. I found a thinner piece and gave it a little more anyway.
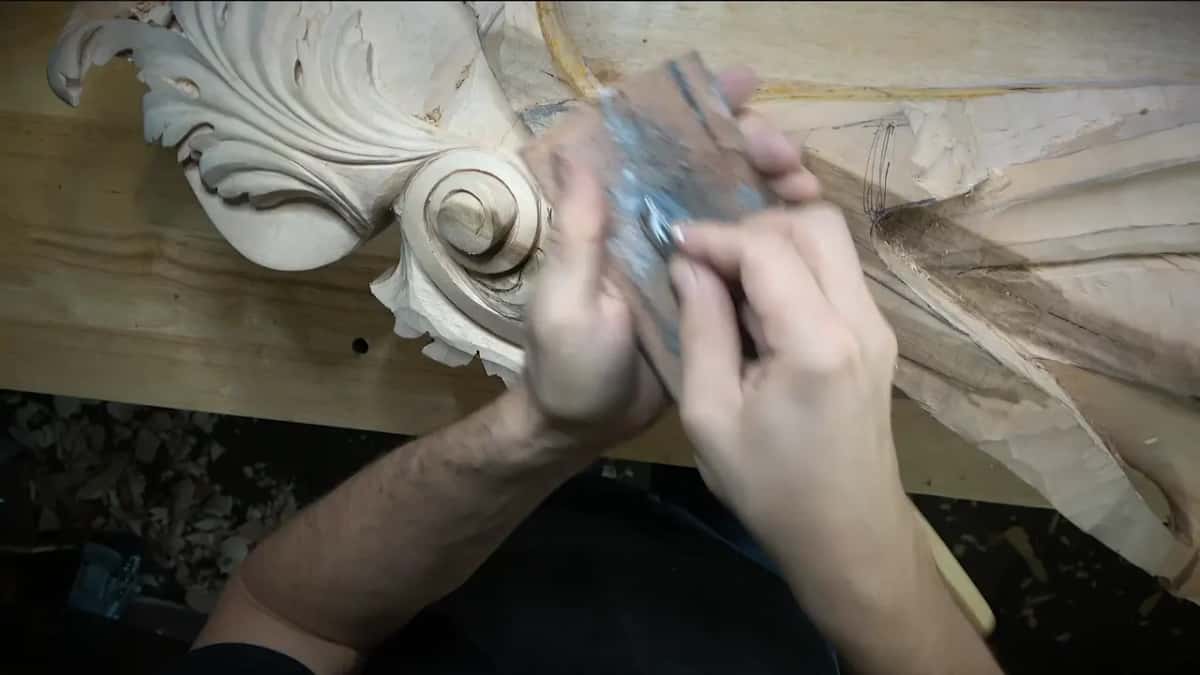
I stropped right over the work surface, too. It is better not to do that, of course, but I wanted to show you, so I did it there anyway.
After each round I wipe the tool, and I wipe it really good. I don't want that stuff in the wood. Then I tried a pass, and I told you that you could probably already hear the sound of it even better.
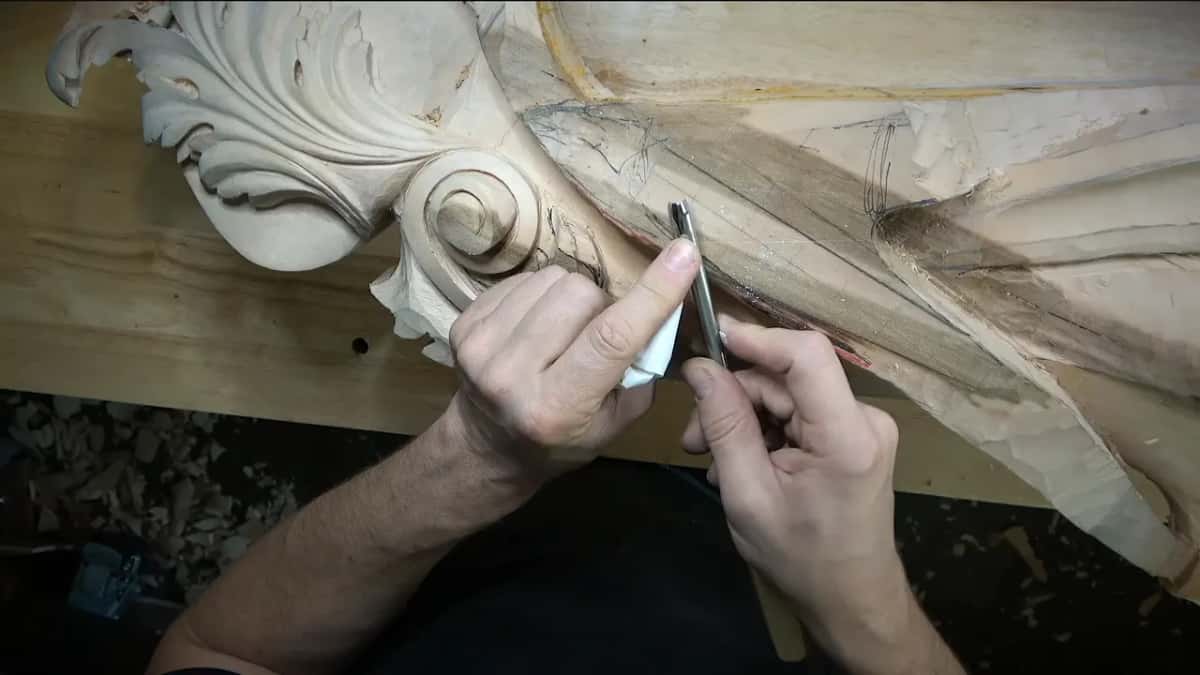
Why keep the pressure light on the leather?
Every time you strop, you are actually rolling the edge a little. You can't get rid of that problem with stropping, so just don't press too hard. That was the whole warning, and I said it once.
The sharpening course has a lesson on whether stropping rounds the edge, and it goes further into leather, board and compound than I went at the bench that day.

Later in the workshop I stropped a handy chisel I keep for cleaning. One of you had asked why I like that tool, why not a number 3 or just a knife. I love knives, as you know. But this one is pretty much a knife too, a chisel with whatever angle I want to use, like a multi-tool in one. After the leather, the smaller one of the two I own knocked down the main corners really quickly.
I told you I was stropping it much more in this section, for the reason I had already given, the wood. I used both sides of the leather, the rough side and the clean flat side. The rough side charges a lot easier, and in this case the Mirror Paste pretty much does the job.
Where I stropped, the leather went really black, and that black is actually metal. Beginners see the same thing on a knife in the cutting board workshop.
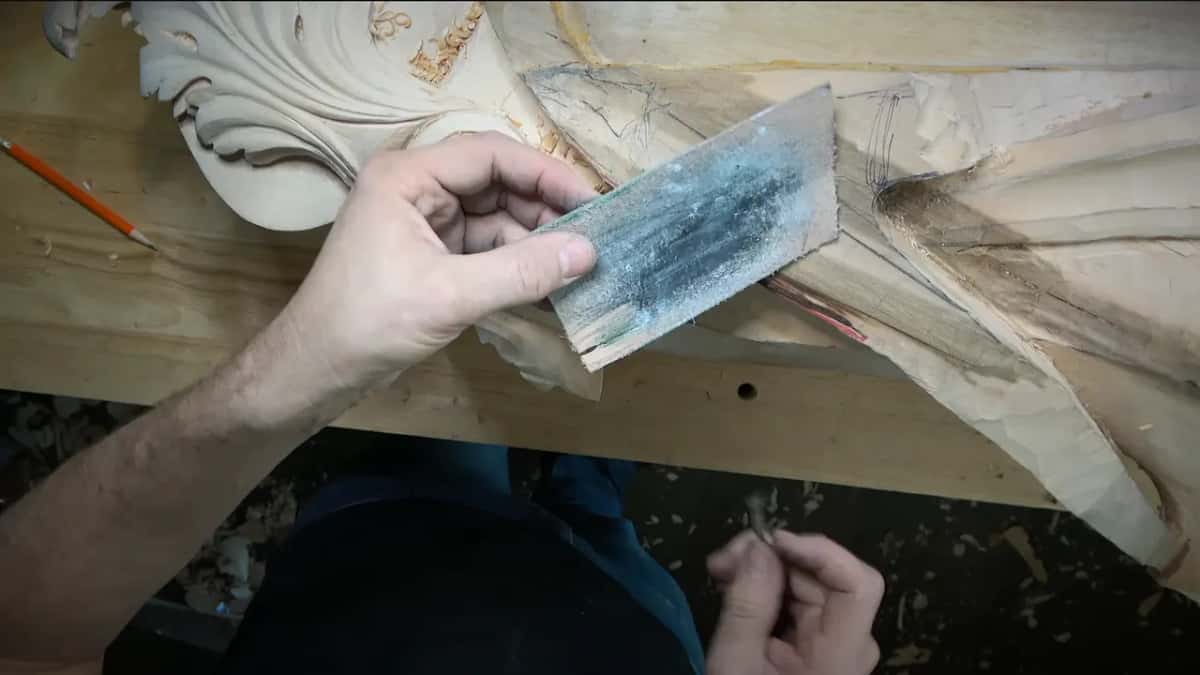
How can you tell the edge came back?
Your eyes come first. Right after the first strop I said, take a look, see how shiny it gives me the surface. I called it really beautiful. I had only done the outside at that point, before the thinner leather came out.
Then there is the pass itself. Later, with a half inch #7 over the facets on a small curl, I kept rolling the tool while I sliced, and I told you the rolling is really important. It was a cleaning pass, right on top of the facets I had just knocked down, and then I went the other direction too. That gave me an absolutely gorgeous finish, straight off the gouge.
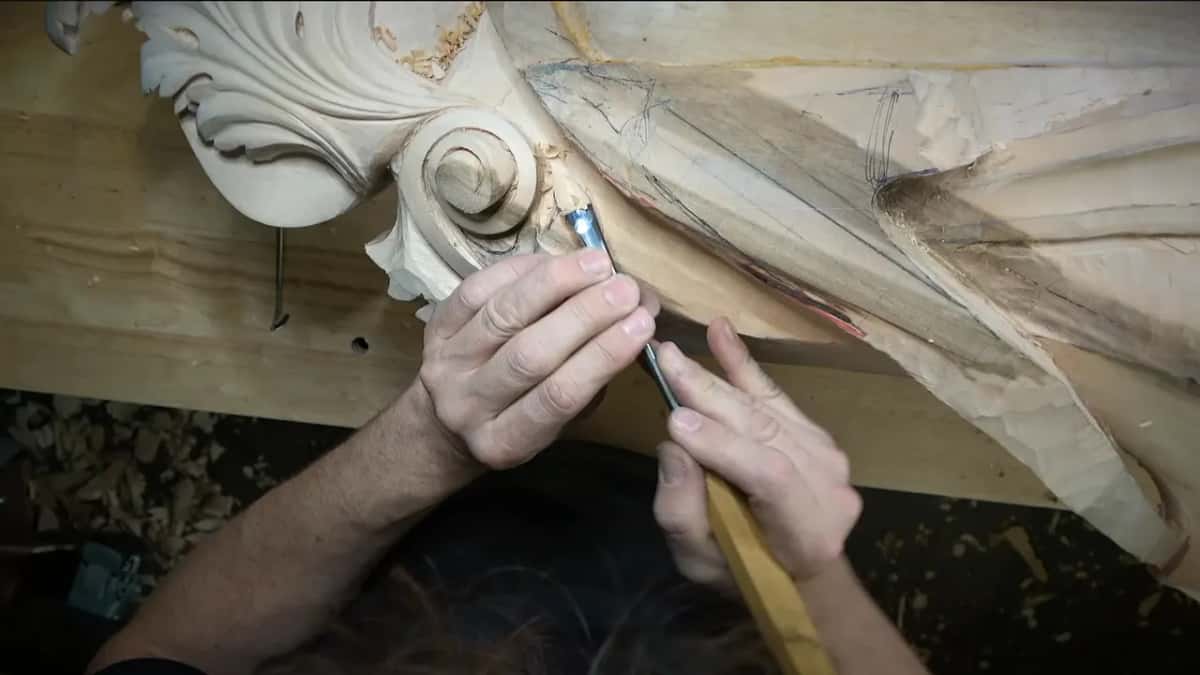
At the very end I needed a bigger tool for a few shallow concaves, because they had to stay shallow, nothing super deep. It needed the leather too. I stropped it, tried it on the wood, and it was gorgeous and really sharp. Coming from the opposite direction, with the flute leaning a little over the middle line, it gave me a really nice and smooth concave.
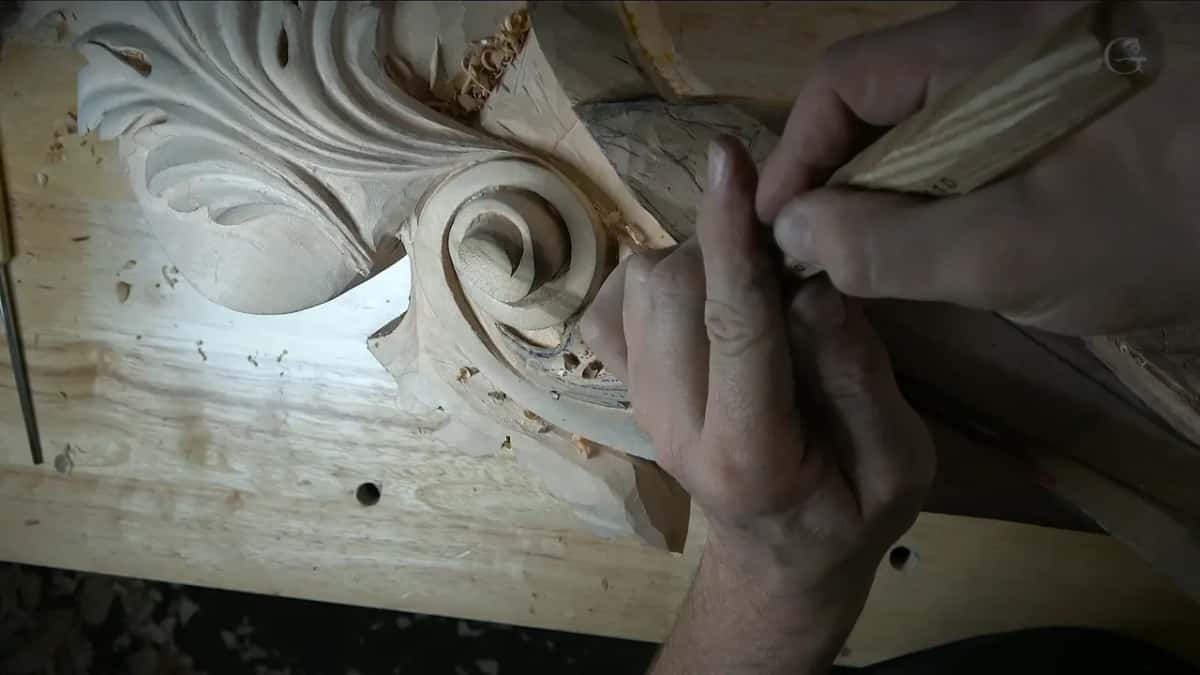
What if the leather is not enough?
Go back to the bevel. For whatever was left in one spot I took a small spoon gouge, like a number 3, about 3 mm, and gave it a little stropping. That was not enough, and I needed to strop it a little better.
I took it to my machine, stropping, and changed the bevel a little, because it was already too rounded. A better bevel on the back side took care of it. Which machine goes unnamed in this workshop, so I won't name one here. How long a carving bevel should be is a lesson of its own in the sharpening course.
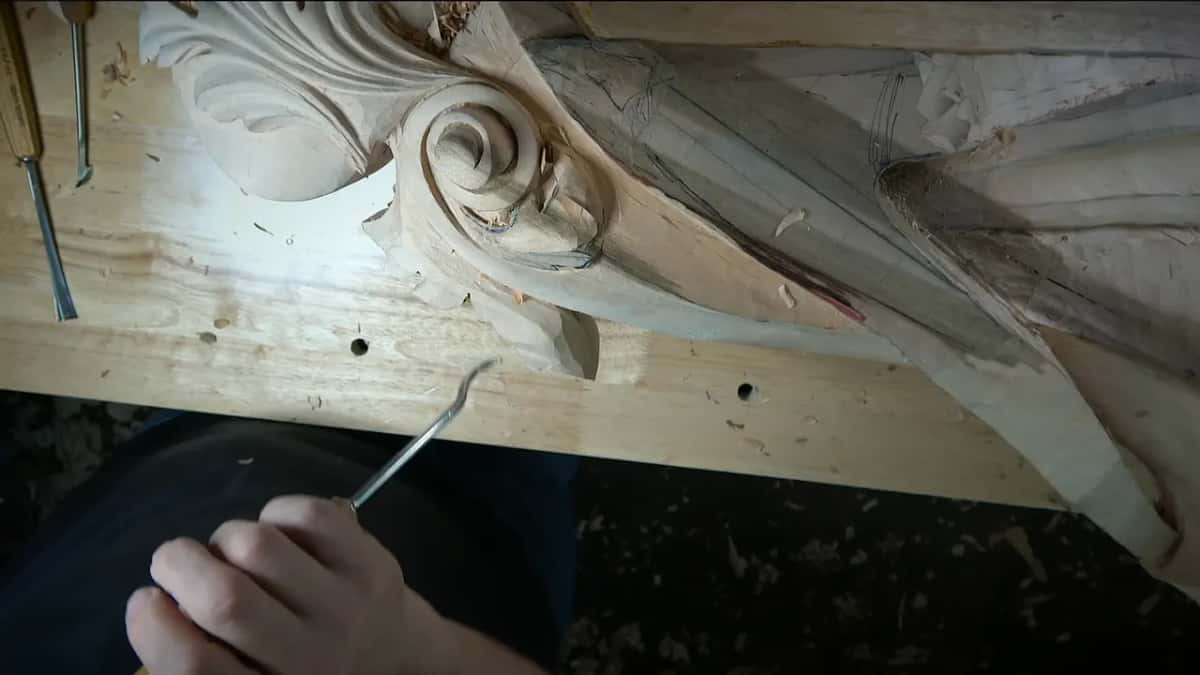
After that I could attack that spot even against the grain. Even mushy like that, the wood still came away really clean, and I said it twice on camera. Right after, a #7 on one side of its edge did a little better again.
For a first bevel, the sharpening course starts at the very beginning. Sharpening is the hardest of the three things I teach, harder than design and harder than the carving itself.
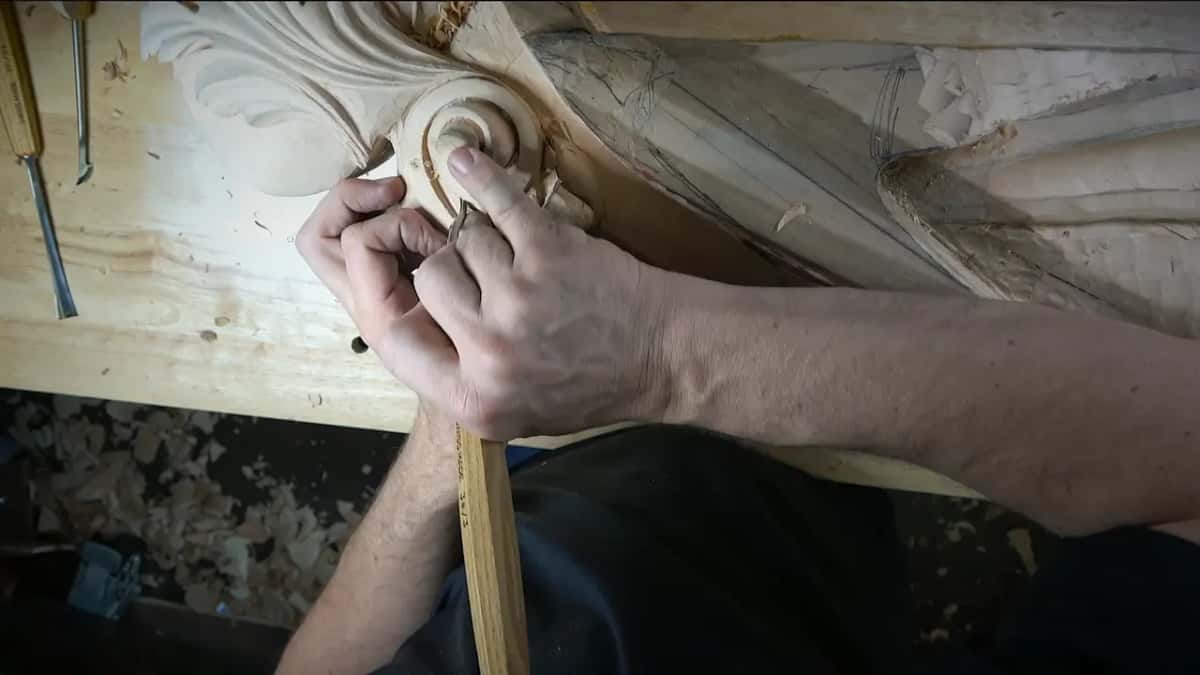
How often did I strop in one workshop?
At least four times on camera, and twice more I said a tool needed sharpening. Each time a tool looked like it needed it, it went to the leather, and in the soft section it went more often.
The two sharpening remarks came early. In part two, in the middle of a little concave, I stopped and said I needed to sharpen my tool, and right after it went into the blending spot, where everything was going to blend together. At the start of part four I said the same thing about the tool in my hand, that it needs to be sharpened.
Nothing in workshop 89 gives a grit, a sharpening angle or a count of strokes. What you get is the moment a tool asks for it, and what I did about it right there.
| Tool | Job | Where |
|---|---|---|
| Veiner, 2 mm (#11) | Burr felt the moment I picked it. | Water mark |
| The 7 mm #11 | Leather and Mirror Paste, then wiped clean. | Acanthus movement |
| A handy cleaning chisel | Stropped much more here, for that wood. | Volute wall |
| Small spoon, about 3 mm | Leather not enough, re-beveled on the machine. | Leftover spot |
| Half inch #7 | Rolled and sliced for a gorgeous finish. | Small curl |
| A bigger gouge | Stropped before shallow concaves, then really sharp. | Middle line |
If you noticed, in this project I use a lot of number 11. On this day it went from 7 mm down to 1 mm, and a half millimeter veiner came out near the end.

Where does workshop 89 sit in the Venice Room?
In the middle of Part 8 of the Venice Room. Workshop 86 opens the part, workshop 88 comes right before this one, and workshop 90 carries on after it. Most of this workshop went into the volute area and a small acanthus movement beside it, down to a channel made with a half millimeter veiner in a tight spot of the background.
This workshop suits a carver who already owns a few gouges and wants to see how often a working edge gets looked after.
Once I also said sorry in advance, in case my head got in the camera. I also promised you something for later. We are going to jump on the upper part soon, and there are going to be some oak leaves.
Do you want an edge that goes through a soft spot and leaves it clean? Would you like to see every check I make, right at the bench, as it happens? Then one tuition plan opens the whole school, the map of every lesson is open to anybody, and if you have never held a gouge, start here.
How it's done
- Feel the edge at pick up. Check the edge whenever you pick a tool up. You can usually feel a burr there.
- Charge a small leather. Put your paste on leather. Mine was cow leather, charged with Mirror Paste.
- Change leather for the inside. If the piece is too thick for the flute, change to a thinner one, as I did with the #11 that day.
- Keep the pressure light. Stropping rolls the edge a little every time, and you can't get rid of that, so don't press too hard.
- Wipe it every time. Wipe the tool really good after each round so none of the paste gets into the wood.
- Go to the machine when leather fails. When the leather won't bring the edge back, take the tool to the machine and fix the bevel on its back side, then try the wood again.
Frequently asked questions
Can you carve with a burr on the edge?
I would not. On a two millimeter #11 I could feel a small burr developed, and I said a burr is not the best idea on a carving tool. My check happens the moment a tool is in my hand, and after a second check the edge was good.
Why would a turner keep the burr?
On wood turning tools it can help, I said, though not always, and on a scraper a burr is a really good idea. On carving tools it is not. Nothing more came on camera about the steel; that was the whole of it.
What paste do you strop carving gouges with?
Mirror Paste. I called it one of my favorite pastes as of now, and the brand is Trend, from England. It goes on leather, cow leather in my case, and on this day the rough side took the paste a lot easier than the clean flat side.
What to carve next