
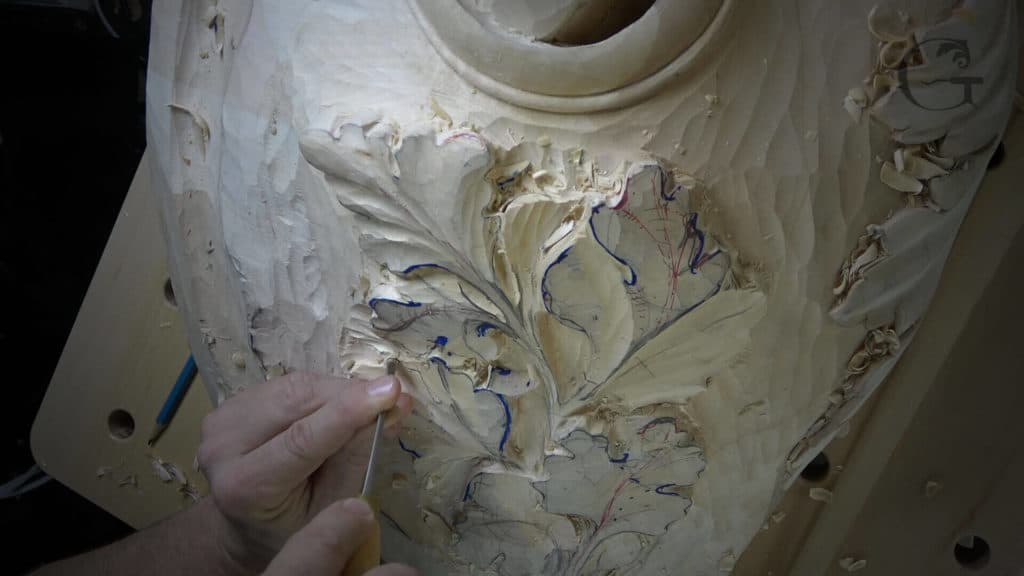
Alexander Grabovetskiy, woodcarver, School of Woodcarving · Published 2021
How do you keep a carved oak leaf from looking like acanthus?
Quick answer: An oak leaf that still reads as oak is laid out on the acanthus plan, three main divisions with a convex in each middle, but with shallow eyes and softer swells. In workshop 97 I aimed the whole leaf at 10 to 12 mm of depth and planned its stem at about 6 mm (1/4 in) by the end.
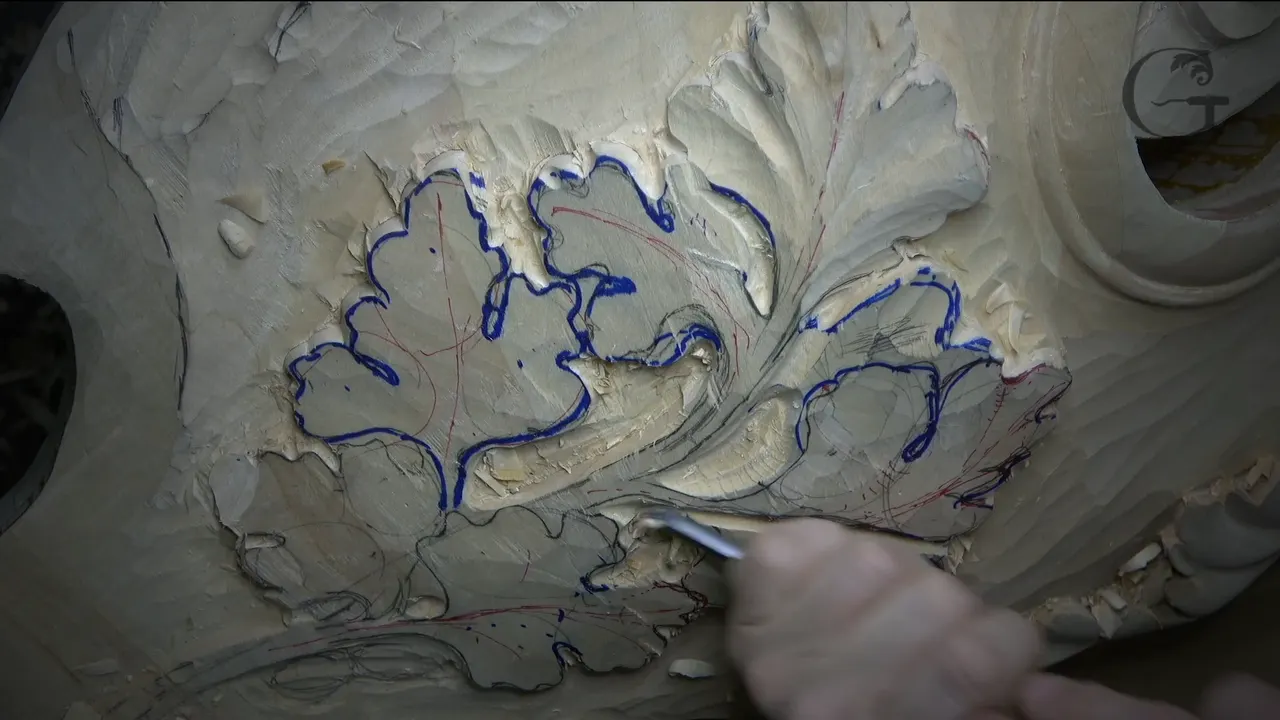
Oak leaf relief carving in the Venetian style is acanthus work with the volume turned down. The leaf keeps the three big parts the old carvers gave their acanthus, and each one still gets its convex down the middle. What changes is how far I let it go. The eyes stay shallow, the hollows and swells stay soft, and the stem finishes near a quarter inch (6 mm).
In workshop 97 of the Venice Room I carved a whole cluster of these leaves on one big piece, with wood left beside them for a couple of acorns. Partway in I stopped over the eyes. Set them too deep, I told the camera, and "it's not going to look like oak."
Would you like a leaf that people call an oak at first look? Would you like it to sit easy next to acanthus on the same piece? Then most of the job is holding back. You will get every place I held back in this workshop, part by part, with the gouges I picked and the numbers I gave that day.

What kept this leaf an oak
Three main parts, each with a convex in its middle, the way carvers worked in the late 15th century.
Shallow eyes, since deep ones would have stopped it reading as oak.
Less in and out than acanthus, in my words "more subtle but still readable."
A depth of about 10 or 12 mm from the top of the movement to the background, reached slowly.
A stem that ends near a quarter inch.
Five small divisions on the side of each main part, all of them shallow.
Why does an oak leaf drift toward acanthus?
My guess is the one I gave on camera. The carvers whose leaves I followed made acanthus all the time, and even their oak leaf came out looking like acanthus. For this piece I followed the logic of those people, the ones who lived at the end of the 15th century and the beginning of the 16th. I researched what they carved, and I did the same thing they did.
Their plan for the oak is the acanthus plan. There are three parts inside the leaf, and right in the middle of each one sits the main convex. Convex, convex, and convex. How that plan gets drawn onto the wood is workshop 96, and I will leave the drawing there.
The old carvers also set the eyes deep on their oak. I said so while I worked: "But they've done it actually." I still kept mine shallow.
The Venetian acanthus itself has a page back in Part 2 of the Venice Room, if you want to put the two side by side.

Should the eyes go deep on an oak leaf?
Only a little way. I kept those eyes from going too deep, because then it would stop looking like oak. Wherever an eye came up, I held back.
Two of the eyes came later, in part nine. Before I touched them I stopped to think, because that spot was going to be seen from one side and I really wanted no mistake there. I had to be really, really smart about it. So I took the left side just under the right side. Not much, a little bit.
In the last part, #7 in hand, I said what I was guarding, the sense of an eye and the sense of the movement. One spot sat so close to an eye that the two concaves on its sides were hard to fit.
How much softer are the hollows and swells?
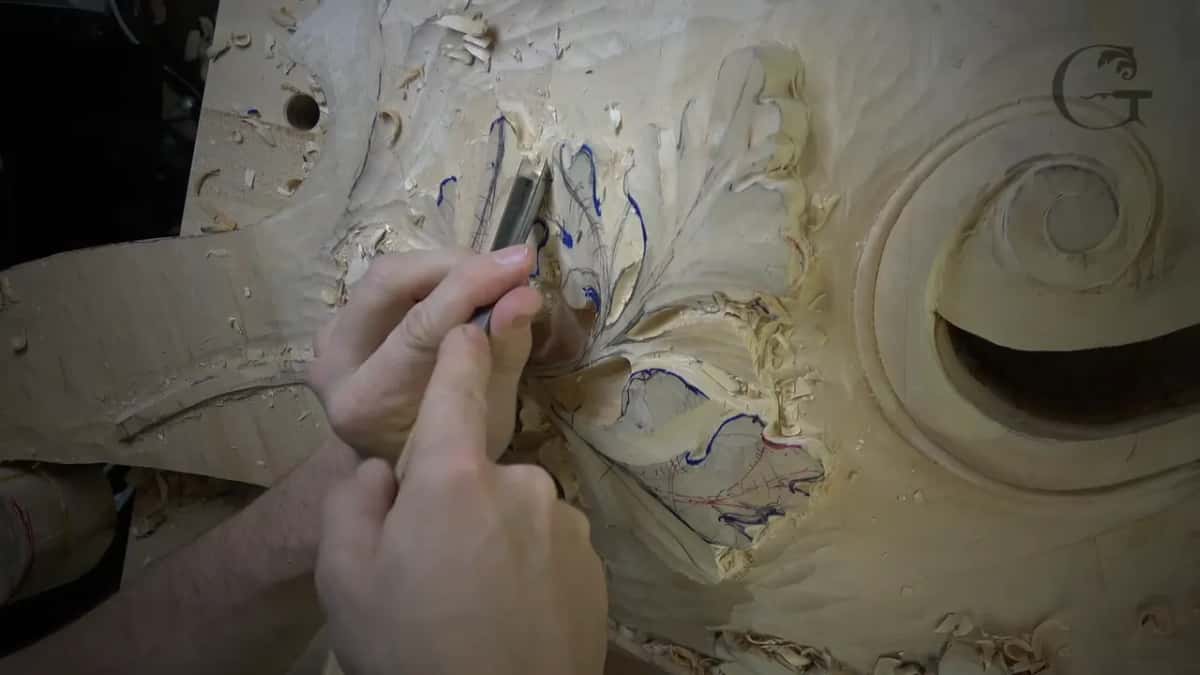
The idea stays the same as on acanthus, a convex at the center with a concave on each side of it. What I left out were the big movements in and out. I was talking about how deep each concave and convex would be, and I put it this way: "more subtle but still readable."
Evenness was the other thing I watched. Early in the workshop I looked over the cluster and said I really don't want to see everything just really super even. In the eleventh part I said I was not worried yet about how the outside looked, only about the overall shape and the overall movement.
You can hear me check it as I went. One convex was "less pronounced." After the #3 had been over another, I looked and said it has some movement, but it's not as pronounced. Both times I left it that way.
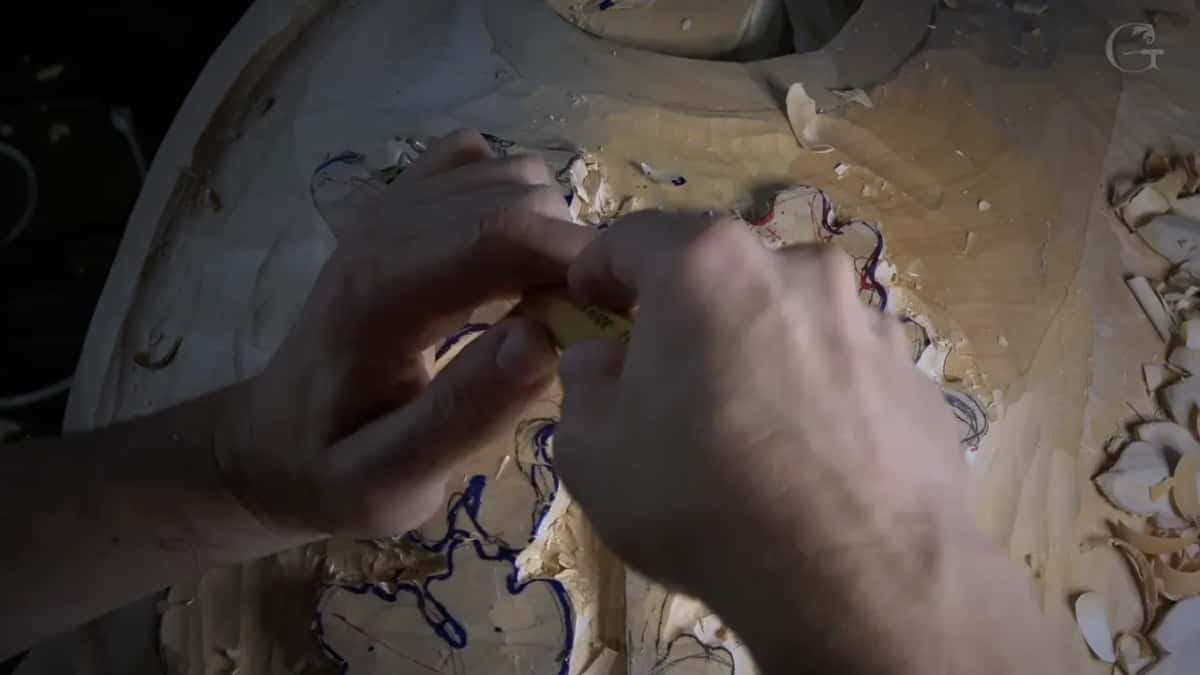
I made the first convexes with the #7, and then caught myself. For one concave the #7 was a little too big, so I went to a #9 of 10 mm, about 3/8 of an inch, and told myself not to overdo it. At a separation point I thought of a #5 upside down, changed my mind, and turned a #3 of about half an inch upside down instead. Much later, in the eleventh part, I reached for the #7 again so the movement would not come out too sharp.
For the full strength version, the convex in the middle of an acanthus has its own page from workshop 20, and the shape of an acanthus in cross section is in the furniture panel course.

How deep is an oak leaf relief carving from top to background?
About 10 to 12 mm. I gave it in inches too, about three-eighths to half an inch, measured from the upper part of the movement down to the background. I wanted that room so I could put lots of shapes into those leaves, the main thing a relief like this has to carry.
At that moment I was about 6 to 8 mm deep, and I said it was good for now. Later I would go a little deeper. I could have spent a lot longer on that stage, but I really did not need to.
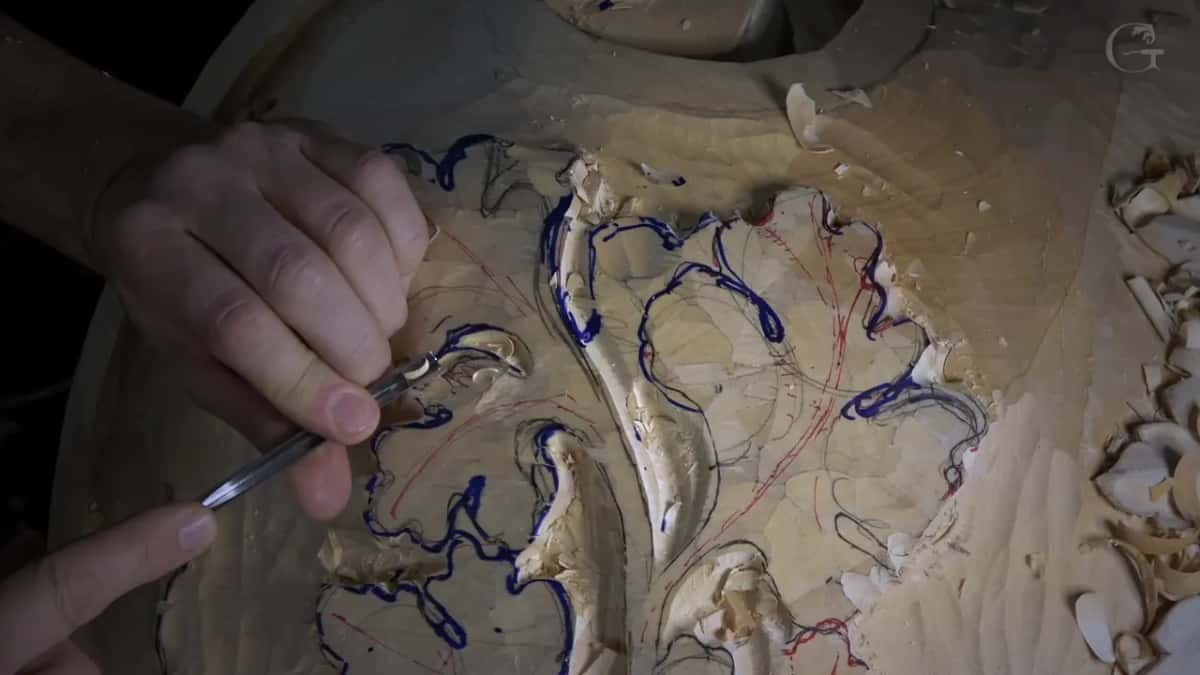
The depth gets used slowly. When I outlined the section of the upper leaf that tucks under a line, I took the 5 mm #11 (3/16 in) only about 1/16 of an inch deep, roughly 1.5 mm. Going deeper right then would have been too early, because the main form was not there yet. On another leaf I first said no less than 3/8 of an inch, then changed my mind and started at a quarter inch. I can always make it lower a little later. That was a good starting point.
A shell is coming under these leaves and a couple of acorns beside them, so I kept wood back for both, and how deep a relief goes overall belongs to Part 9.

How thick should the stem of an oak leaf be?
About 6 mm, a quarter inch, by the time the leaf is done. In part six I was already telling myself to make sure the stem was not that thick. Much later I said it again. I was drawing a center line down a different leaf at the time, with one movement going right and one going left. Too wide would not look nice, and I did not want it too tiny either.
One stem went down early. On that leaf I lowered it right away, pretty much the moment I outlined that leaf, or I would have lost the idea. That leaf got its first outline a quarter inch deep.
How many small divisions go inside each part?
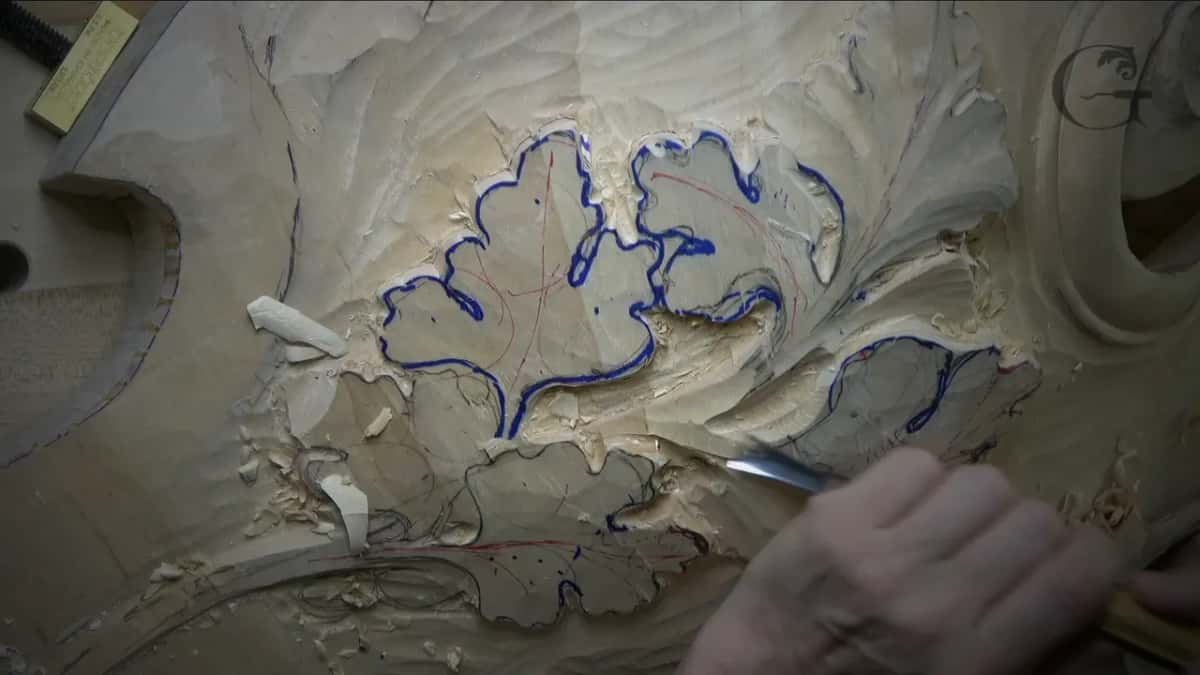
Five on the side of each of the three main parts. I counted them out loud on camera, one, two, three, four, five, with the 5 mm #11, and I said they do not have to be deep. Really, they don't. After the #7 cleaned them up they were already visible.
Inside the main movement I added extra waviness, one to five again. Near the end I drew one more small eye, then asked myself whether I already had too many divisions. So the count stayed at five, because I did not want to overdo it.
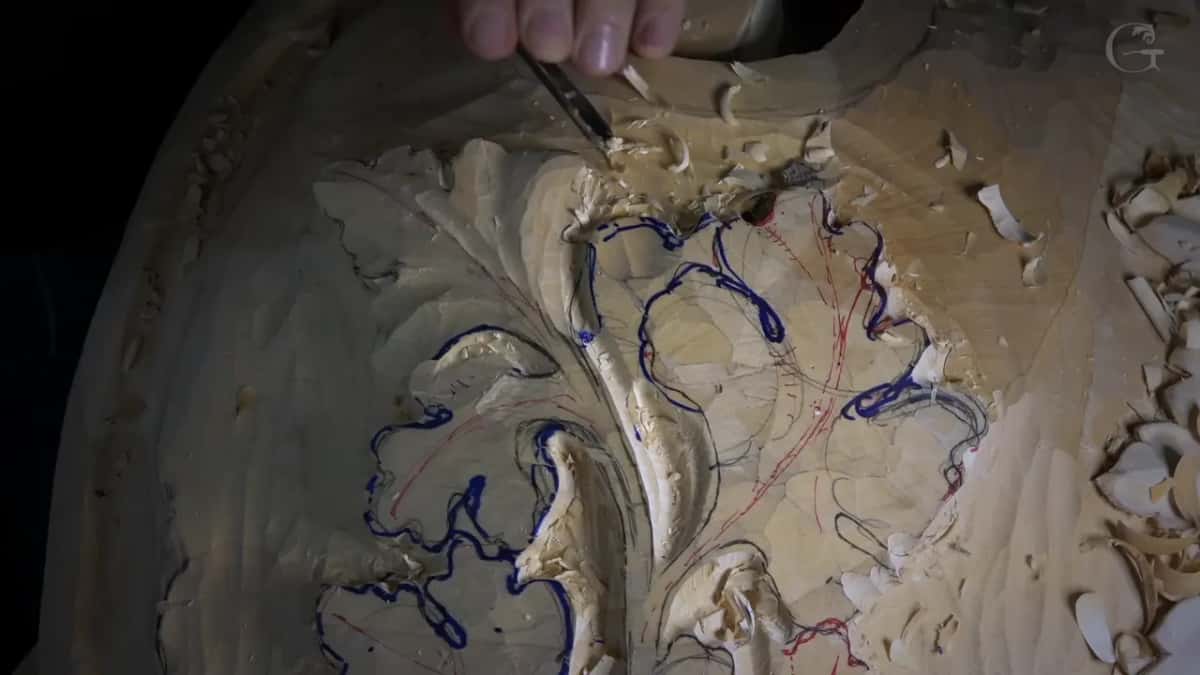
When the preliminary divisions were in, the leaf already had some shape, like a hook. Looking at the whole cluster together, it still gave me shadows and lights, and I thought it looked good.
Does an oak leaf in wood have to look like a real one?
Mine does not. That leaf is not true like a leaf you see in life. It is more or less stylized. Maybe you saw a leaf like that growing somewhere. I never did.
I carved it that way because I researched, that is what they did, and it blends nicely with the acanthus around it. In my own words, "it doesn't make sense in a sense of nature, but it does make sense in a sense of design and that style." It just blends together with the rest of the design.
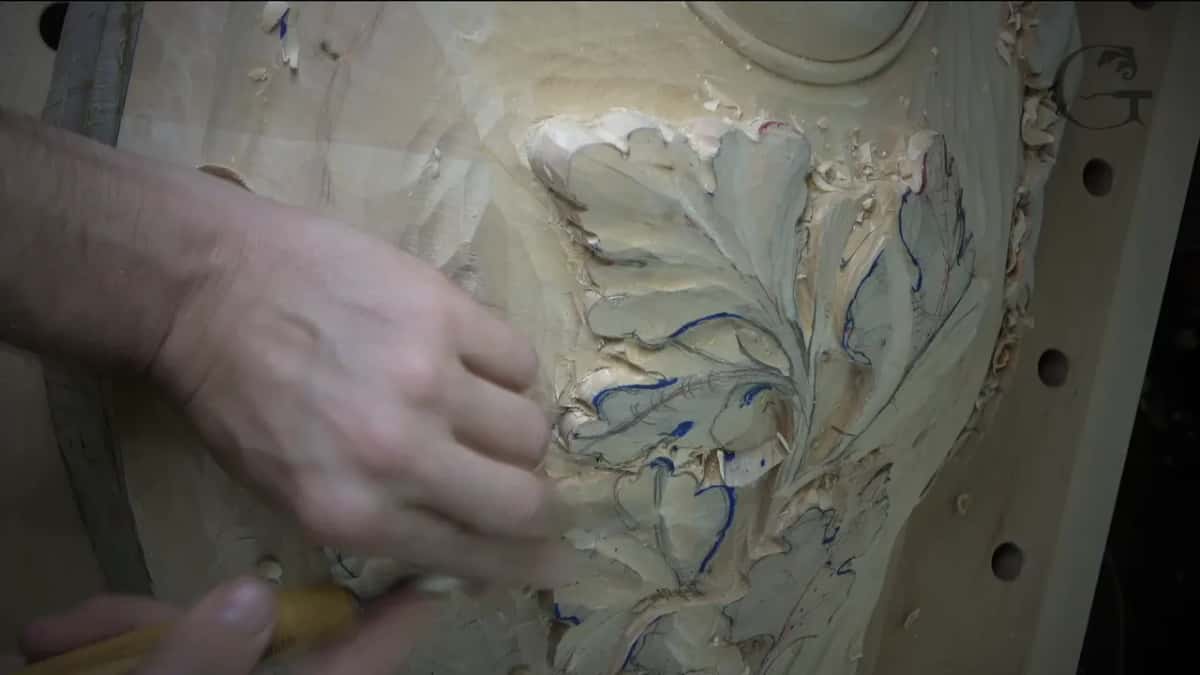
One leaf got a different kind of check. Looking straight down on it, I saw it made almost a square, which is not so good. I would rather see some taper, so I tapered it and opened it up a little the other way. Does that matter? I think it does.
Light is part of it too, and at one point I needed mine closer to me. Not more lights, just closer.
A second habit helped too, and this one I did say to you. It is a good habit to turn the piece or walk around it, if you don't have a setup like mine, and take a look from different points of view. Once in a while something does not make sense.
Which leaf should go underneath the next one?
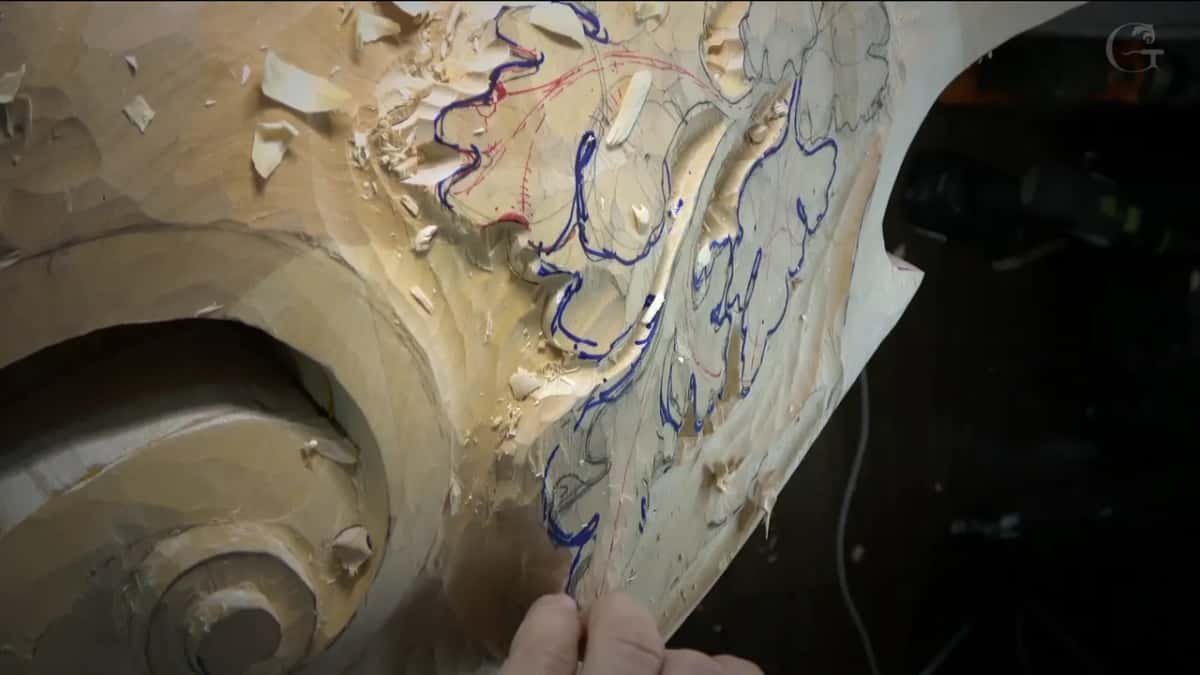
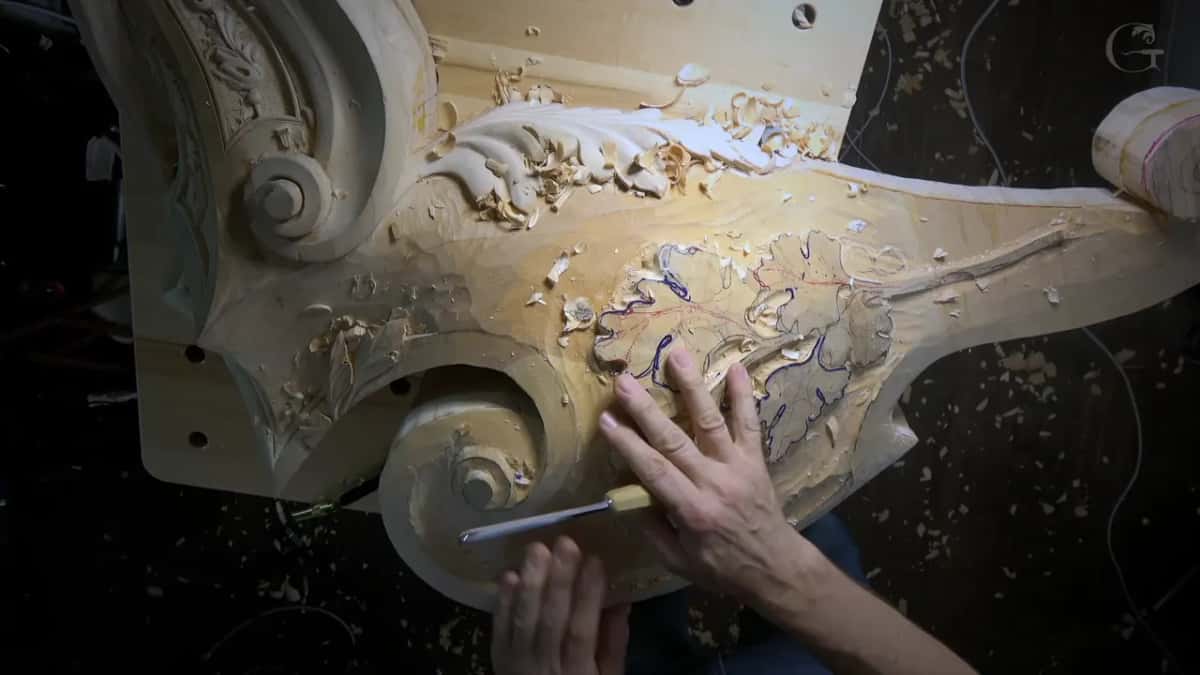
On this cluster I chose by the shadow each overlap would throw. I made one change off camera. I separated one leaf from its neighbour so it would slip right underneath a line, because the light was going to strike from above and cast a shadow, and that shadow would be seen from the bottom.
I kept that first pass shallow, since a deep one would be hard to finish nicely underneath, where people look from below. Even so, you could already see how deep a shadow it cast. "It's just perfect," I said.
On the next section I weighed it the other way. Did I want to expose more of the underneath than I needed to? If one part overlapped the other, I could go much deeper right there, and the whole thing would look more 3D. I went about 10 mm (3/8 in). Again, all about shadows.
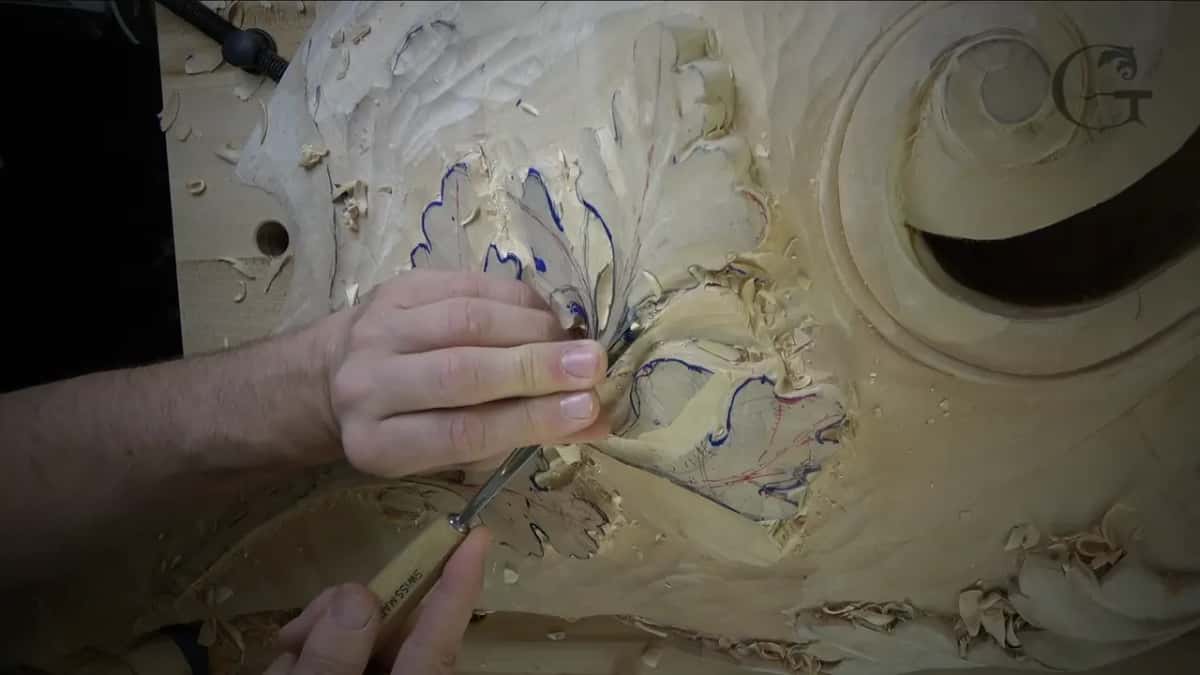
The swells stayed soft, while overlaps like these went down 10 mm. How the wall of an overlap is carved is on a Greek acanthus page, and a leaf that seems to lie on top of the wood is workshop 82.
What went wrong along the way?
A few things, and I left them in. Early on I pushed a gouge straight down where I should not have. It was a mistake, not a big one. I should have been more careful, but that section now just folds down, the way I showed on camera, and it should not be a problem.
Then the marker. Man, I shouldn't use the blue permanent marker. It's really deep. It was okay that day, but for the future it is not a good idea.

Twice I caught myself carving the wrong way, across the grain, and changed direction. That other direction is always going to be better. And right at the start I counted six leaves in the cluster, did not like it, and added one more underneath for a triple movement. Yes, I change things on the fly, and I think that is okay.
Which gouges did the softer work?
Every gouge I named on this cluster is in the table, with what it did and where.
| Tool | Job | Where |
|---|---|---|
| Fourteen millimeter #7 | Made the convexes and cleaned the outline. | Whole cluster |
| Ten millimeter #9 | Took over where the seven felt big. | One concave |
| Half inch #3 | Held upside down for a better shape. | Separation points |
| Quarter inch #5 | Finalized a movement that needed smaller tools. | Final outline |
| Five millimeter #11 | Outlined each leaf and set every division. | All outlines |
| Ten millimeter #11 | Took out background with its side edge. | Background area |
| Two millimeter #11 | Went a little deeper in one section. | One section |
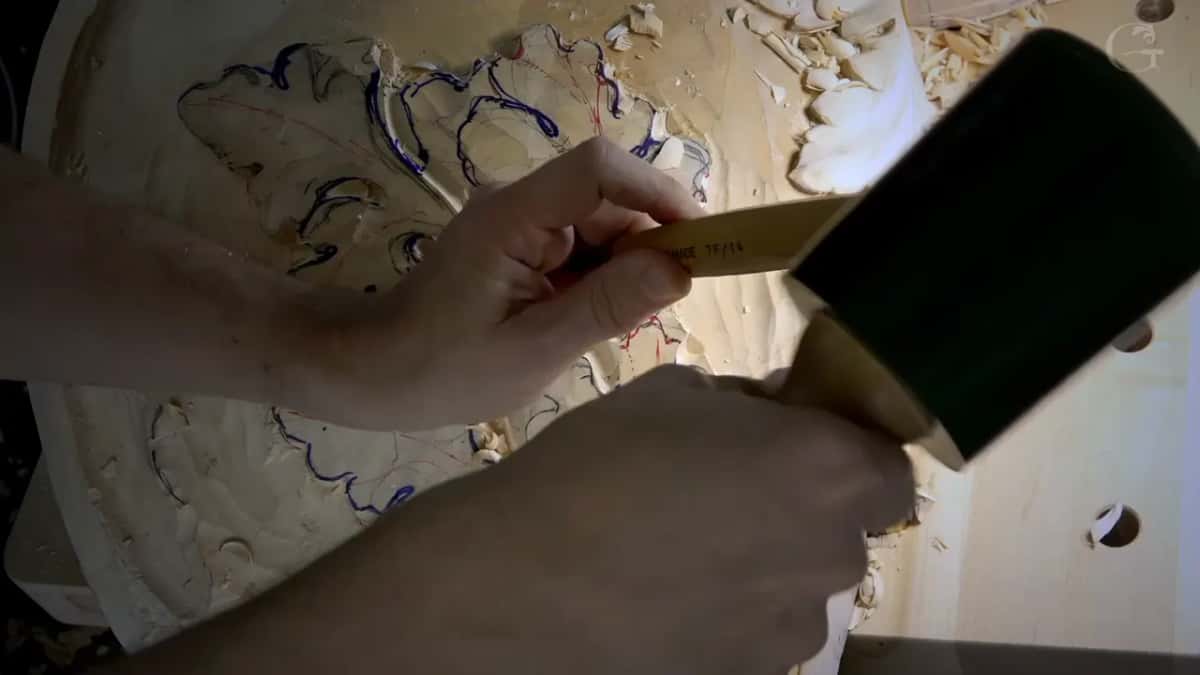
A mallet helped the #7 along in the third part.
Where does workshop 97 sit in the Venice Room?
Workshop 97 is the last one in Part 8 of the Venice Room, the ornament for one room carved one workshop at a time. Two workshops back sits workshop 95, and the carving of each lobe goes on in workshop 98.
Do you like watching a leaf come out of the wood one pass after another? And would you rather hear why each choice was made than guess? Then this room is for you. One tuition plan opens every course in the school, the lesson map is free to browse, and a beginner can start here.
How it's done
- Lay out three parts, then fives. Three big divisions go in first. Each is split into five smaller ones later with the small #11.
- Put a convex down each middle. I set the main convex at the center of each of the three parts, beginning each one with a #7 and going little by little.
- Keep the eyes shallow. Set them lightly. Deep eyes would have cost my leaf its oak look.
- Go down slowly. About 6 to 8 mm overall at first, heading for 10 or 12 mm, and a sixteenth of an inch on the first outline inside a leaf.
- Soften the in and out. When the #7 seemed too big for a concave, a #9, 10 mm wide, took it instead, and I tried not to overdo it.
- Finish the stem near 6 mm. A quarter inch once the leaf is finished, as I told myself twice during the workshop.
Frequently asked questions
How shallow should the eyes on a Venetian oak leaf be?
Shallow enough that the leaf still reads as oak. On this cluster I went in a short way, and at the two eyes seen from one side I tucked the left side just under the right. The old carvers did set theirs deep, and I chose not to, because deep eyes would have taken the oak out of it.
Is an oak leaf split the same way as an acanthus?
Mine was. Three big parts came first, the plan carvers used around 1500, and each got a raised convex down its center. Then every one of the three was split into five smaller divisions with a five millimeter #11. Those small ones stay shallow, and on camera I said they really don't need depth.
What stem width suits an oak leaf in relief?
About a quarter inch, 6 mm, when the leaf is finished. Wider than that would not have looked nice on this cluster, and too tiny was the other thing I avoided. On one leaf I dropped the stem lower right after outlining it, or I would have lost the idea.
What to carve next