
Alexander Grabovetskiy, woodcarver, School of Woodcarving · Published 2020
How do you carve a 3D shape from a flat drawing?
Quick answer: Carving a 3D shape off a flat print is building the form from measured points, since the paper cannot show the curve. I marked my print every inch, carried each mark to the wood with calipers, took depth from the rear of the block, stayed about 3 mm from the lines and settled a few heights by eye.
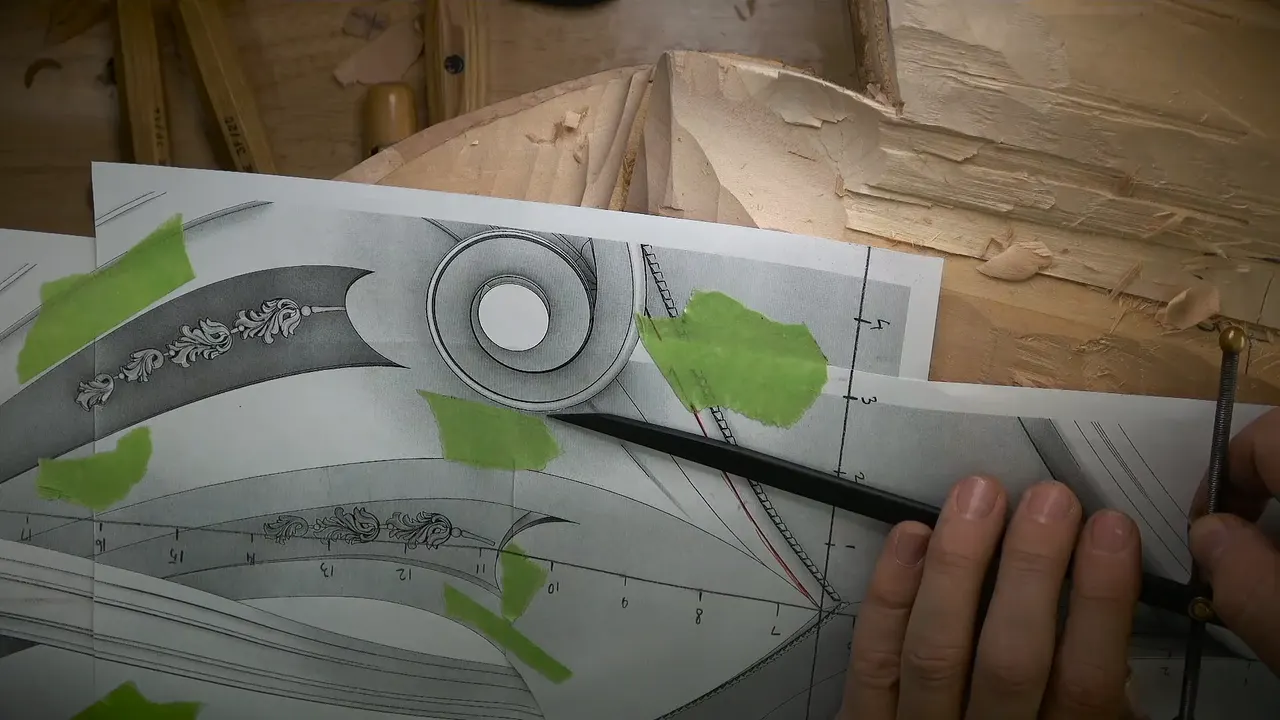
Wood carving from a picture is taking points off a flat print and finding every curve between them yourself, by hand, because the paper does not show you how the surface bends. On the corbel in workshop 86 of the Venice Room I said it plainly. I don't know the plane or curvature yet in 3D.
Nothing on this piece came off a CNC machine. I told you it is almost impossible to do on CNC, maybe on a 4-axis or 5-axis one, and even then it would lack human touch. What you see me use is gouges, a mallet, calipers and one drill bit.
Have you ever held a drawing of an ornament and wondered where its curves were hiding? Would you like to watch somebody find them, one dot at a time? Then come through this workshop with me, part by part, and see where the paper helped and where I had to stop trusting it.

What the flat print gave me, and what it left to me
Points every inch (25 mm), carried to the block with ordinary calipers.
Depth, read from behind the block.
Lines to rough against, keeping 3 mm (1/8 in) clear.
Zero curvature. That part had to be found in the wood.
Heights I could live with.
A model for the second corbel, which will be this first one.
Why can't a flat drawing show the curve?
Paper holds one level, and this shape holds many. Early in the workshop I was chopping away the drop, which runs downhill, and I knew the acanthus would start on the back, climb up, wrap around and go all the way to the back again.
My print was a single flat view of all that. It gave me outlines and marks. Between them it could not tell me the plane or the curve, and that was exactly the part I had to carve.
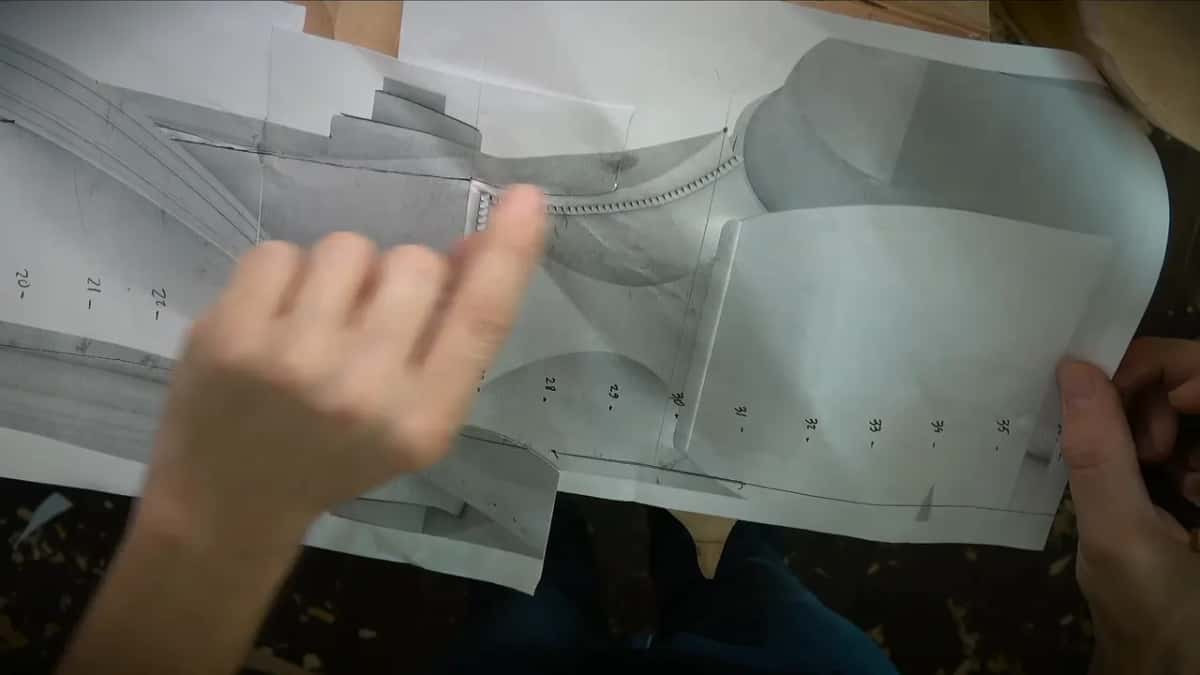
So before any real shaping, I set up what I could trust. I checked one side for 90 degrees, and it absolutely was not. I also laid a flat #1 upside down right on the surface to carry a line across, and after that I felt safe to take the whole drop down.

How does wood carving from a picture start on the block?
It starts on paper. I printed the drawing and marked it every inch, then used the calipers, just normal calipers, whatever calipers you have, to measure each mark on the paper.
Each measurement went over to the wood from the edge of the block and became a dot. Connecting the dots came next. The way I did it is the same way I have done everything before. From there I went really close to the line and created the main shape.
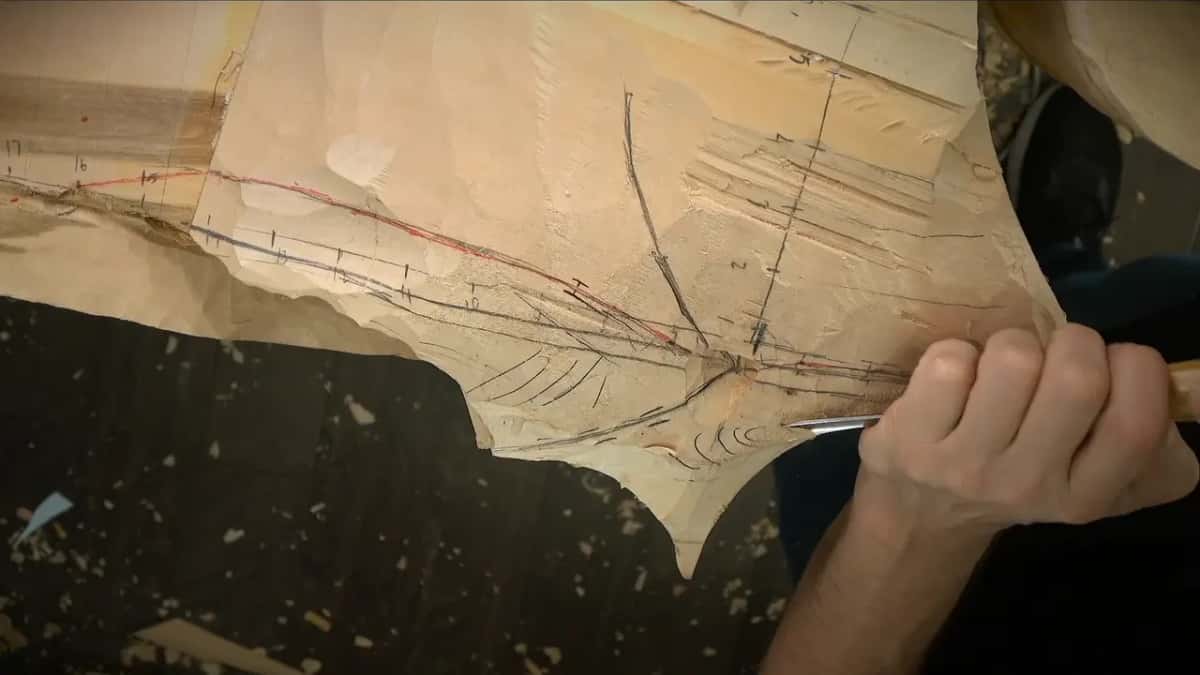
Some lines went on the sides as well. Those I calculated from the back side and marked, and they go all around the piece where the camera cannot follow. How the first lines got onto every face of this block is the story of workshop 79.
Where does the depth come from on a thick block?
The back of the block gave it to me, with a different kind of calipers, the type woodturners use most of the time. I referenced the rear face and got my depth, and two spots on the wood carried it, one here and one there.
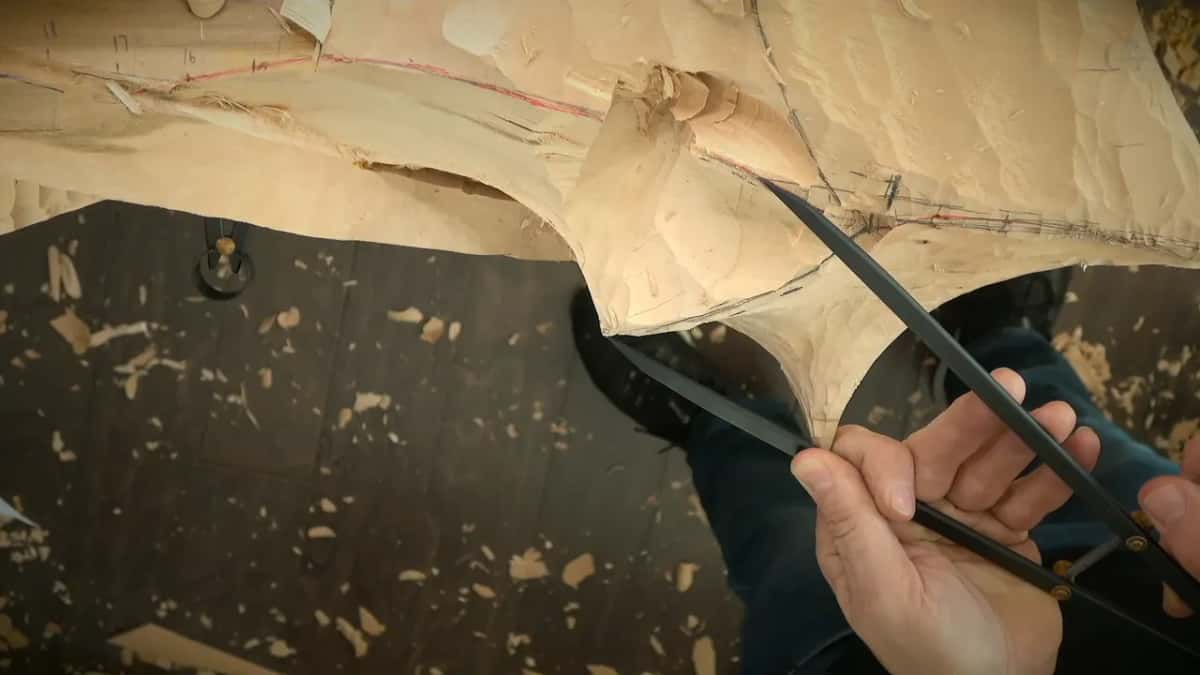
That spot is an exact spot. I cannot go farther than that. Around it I still had extra material, maybe about half an inch (13 mm) or so.
Later I needed the true height of another line, and I went back to the same idea. Find the right picture, measure from the numbers, place a mark, and double-check. I don't want to make a mistake, I kept saying.
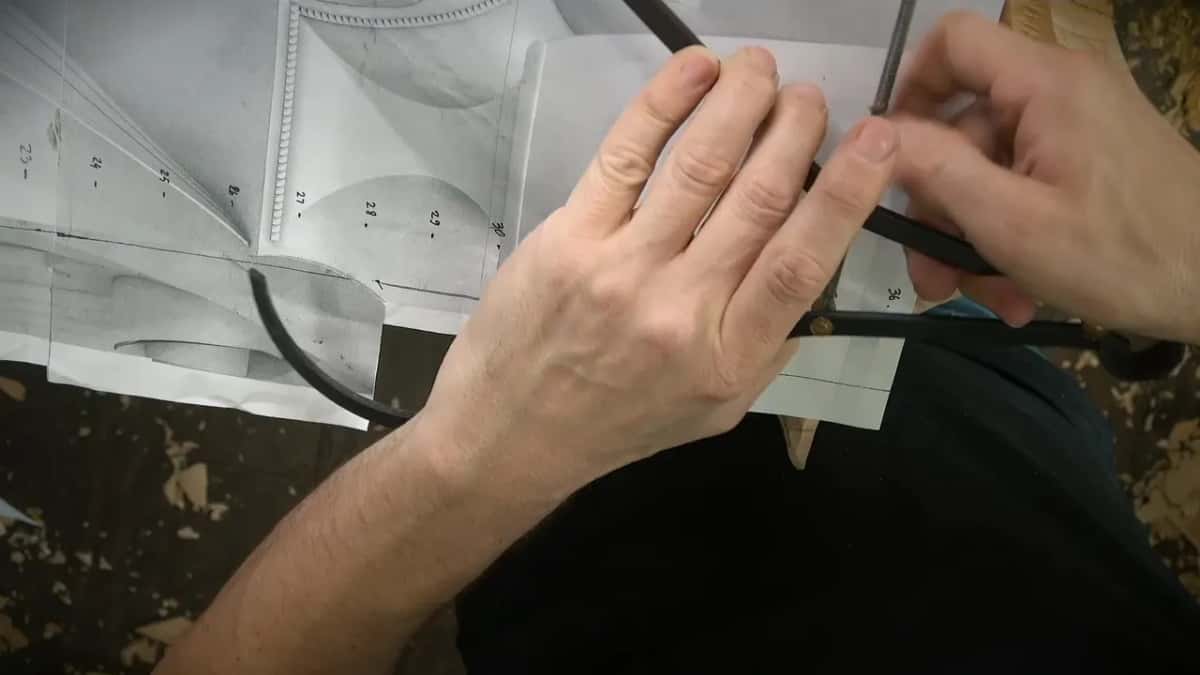
One deep spot was hard for me to get the calipers over. For that spot I used the second way, like I have done before, a drill bit. I went about a quarter inch (6 mm) down, checked, went about another eighth, and checked again. I was right on the money.

How close to the lines do you rough out?
About three millimeters, an eighth of an inch, on both sides of a line. I stayed that far off while I dug out the first concave with a #7, blending as I went, and I stayed the same distance off my red line later with a much bigger gouge, because it was not the final depth yet.
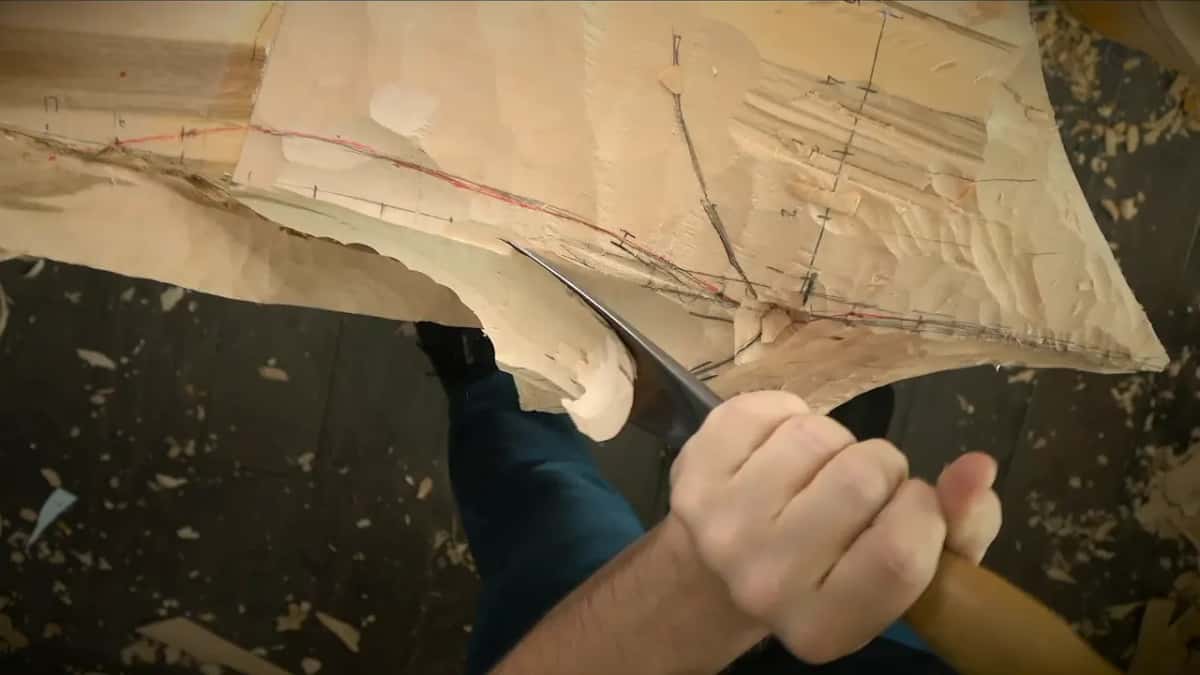
I called all of it preliminary movement. A detail was coming right along the side, and I did not want to destroy it. One sharp line I promised to reach later, and I told you honestly that the sharp line could change.
My tools absolutely must be super sharp for this. Inside one really deep concave the transition had to stay smooth, so I did not force it too much, and I changed position more than once.
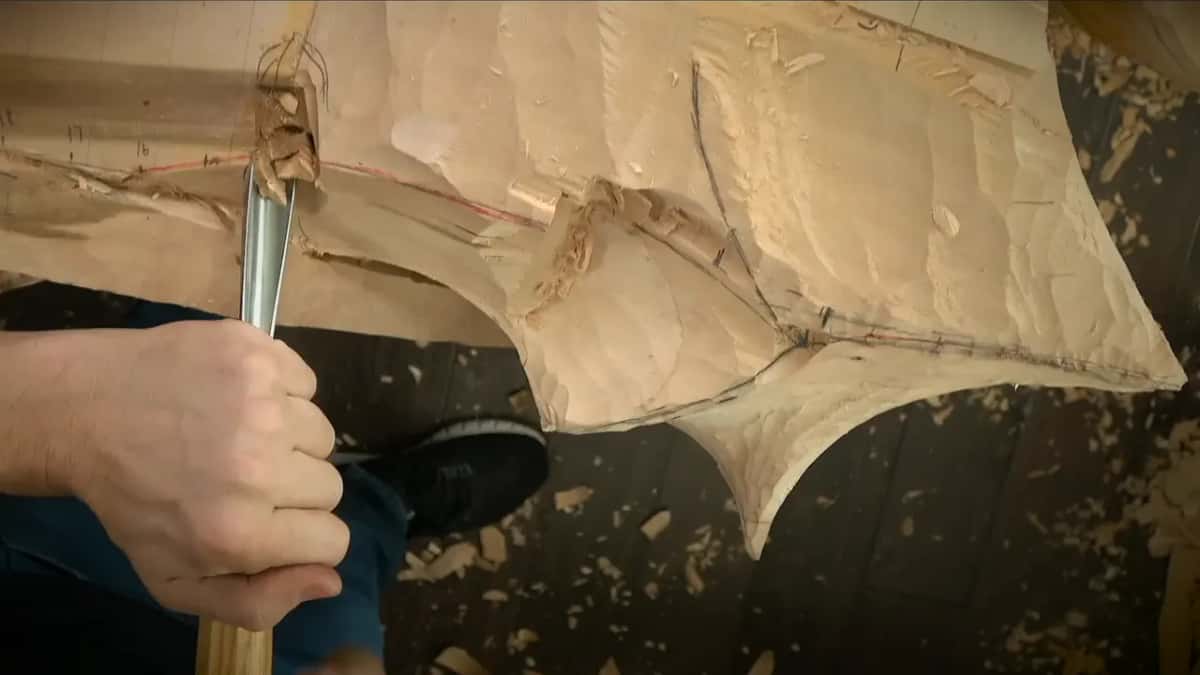
Closer to the end of one area, a smaller #9 of about 10 mm (3/8 in) took me near the final spot. Maybe six millimeters were left, maybe seven. Plenty for me.
How do a few points become a curved surface?
I joined them a little at a time and checked the slope from more than one side. Before lowering one section I measured it from the end with different calipers, and I put a mark approximately where the caliper would land.
That gave me one spot, then a second, then a third, and three known spots are easy to connect. In one place with a lot of wood to go, I removed the bulk first, carved a channel, and then took the rest down the same way as on the other side. A lot less room for mistake.
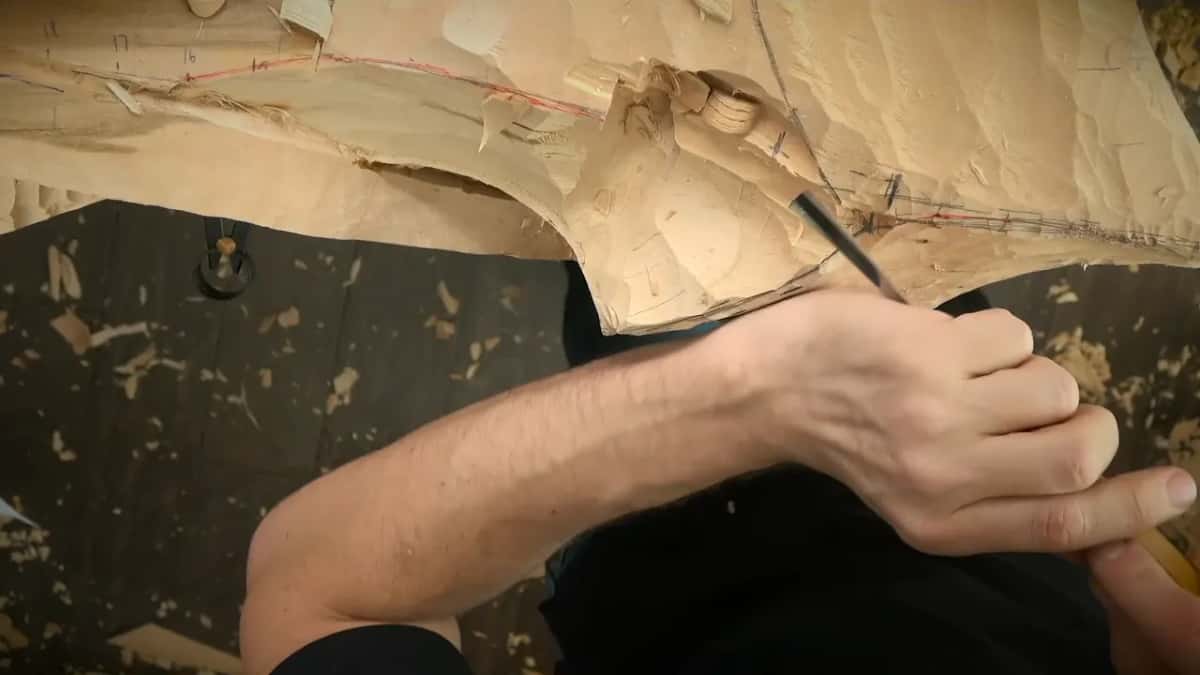
With one spot and another spot marked, it was safe to remove all the way. Then a #9 of 20 mm, three quarter of an inch, connected that dot and that dot, and I looked from a new point of view to make sure it flows even in the 3D world.
A lot of the shaping went through a #7. In a spot like this I can't overdo it, and a #7 lets me change the shape chip by chip without removing too much at once. Somewhere in the middle I put it in one breath. That's one part, second part, third part, and that's how we create 3D.

What happens to your lines once the wood comes off?
They disappear, one by one, unless you protect them. At the very start I had a mark for the main body in the drop section, and I took the wood down to it right away, because otherwise it would be too late for me. For the same reason I made no aggressive moves there.
Later I excavated beside one line on purpose, so I would not lose it, and lowered the line itself only afterward. A line that looked right still got marked again, just in case.
Near the end of the workshop I cleaned a surface with a wide #2, two inches, even though I really didn't need to clean yet. It is always easier to draw on a clean surface. All that was waste anyway, and once this movement was separated from the main movement, the next job was to recreate my line and keep going.

Some of it looked a little scary on camera. Nothing to be afraid of, I said. Not long after, I looked again and told you it was way too high.
Why do measurements drift on a twisting shape?
The corbel twists, and the paper doesn't. When I set out to place the volute, I said it is a little hard to understand. You have to understand the slope, because it is not the same level as on the paper, so it has a little twist.
My positions were not going to be as accurate. At least I could get some of the spots. I measured from the corner of the block instead of from a line.

The same thing had come up with an earlier point. That's approximately, I said, because it changes the plane, but I should be okay, and I can always refine later on. Before outlining the volute I checked it from that side and from that side. Double-check, three times check, multiple times check. It's always a good idea.
I also had a 3D model on my computer and checked against it more than once; how I work with that model is the subject of workshop 80. Seeing one form from several views has its own page from workshop 45.
What if the numbers want you deeper than you like?
I weighed the numbers against the slope I was losing. In the fifth video the measurement told me I had to be much lower. That meant removing a lot of material, and I was not sure I liked it. But it's the design, I said. It's the design.
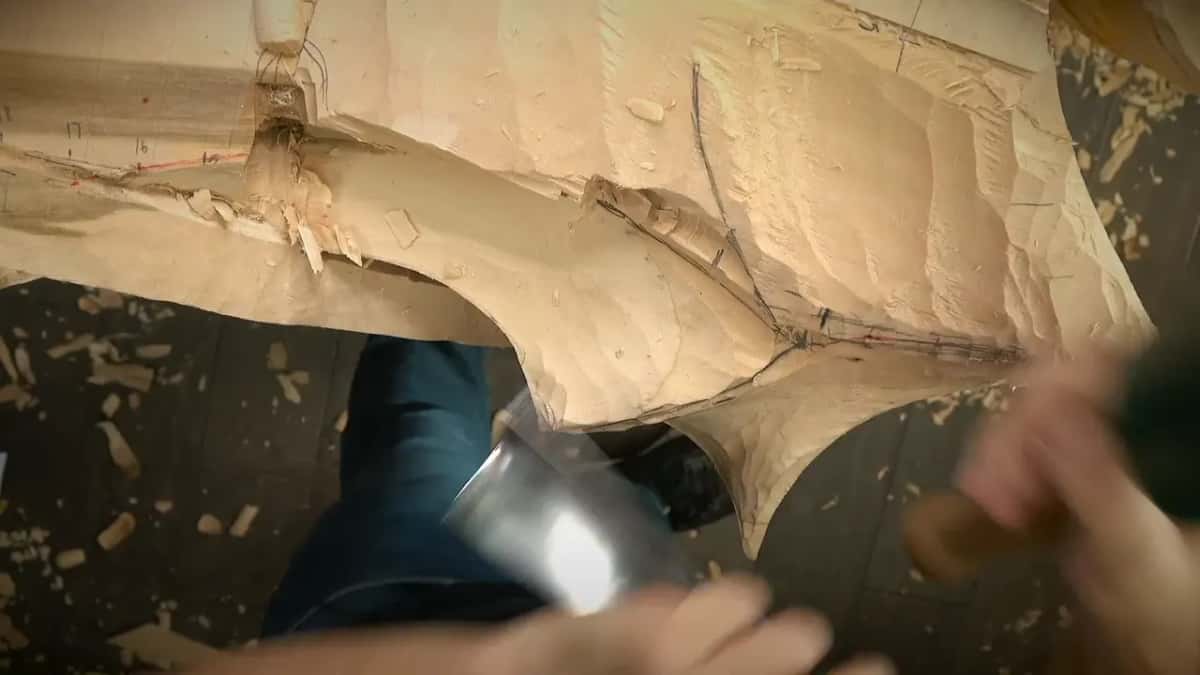
I took a #9, three quarter of an inch, and attacked across the grain with the mallet. Halfway down I told you I was losing that movement, which I kind of liked, and that maybe I would change the design a little because I really liked the slope.
After checking, I was approximately 10 millimeters above my original line. I can live with 10 millimeters, no problem. In the next video I went approximately a quarter inch, six millimeters, higher than the original picture, because I think it's going to be better. If I don't like it, I could always make it lower.
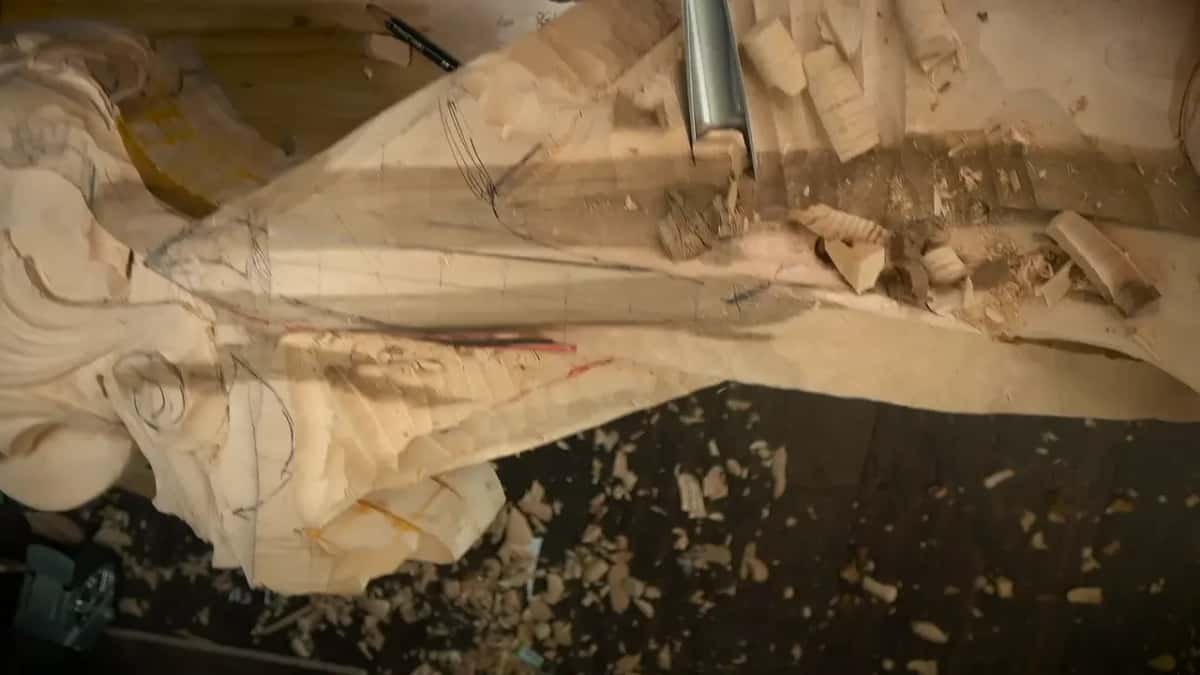
Near the end I measured about 3/16 of an inch (about 5 mm) high in one spot and did not want to go lower there. I'd rather see a sloping motion there. That part should feel like a cloth drop, which is still in the future. To keep it climbing, I held my tool a little upward and attacked from the bottom up, starting low and finishing high. How far a pattern bends on this project gets its own page in workshop 2.
Which tools carried the drawing into the wood?
Calipers carried the numbers, a handful of gouges did the digging, and a drill took care of one awkward spot.
| Tool | Job | Where |
|---|---|---|
| Ordinary calipers, any kind | Carried each inch off paper as dots. | Block edge |
| Woodturners' style calipers | Read the depth at the rear face. | Back face |
| Big #7, about 80 mm | Took the long slope down by hand. | Long slope |
| Half inch #7 (14 mm) | Removed wood down to the caliper marks. | The concave |
| Three quarter inch #9 | Joined one measured dot to the next. | Between marks |
| Small #11 at 10 mm | Stayed shallow where a drop will lie. | Drop area |
| A plain drill bit | Sank a quarter inch where calipers struggled. | Deep spot |
| Wide #2, two inches | Cleaned the surface so drawing gets easier. | Drawing surface |
Why is the first carving of a pair the hard one?
The first one gets carved from paper, and the second one will be measured off the first. This corbel goes on the right-hand side of the main design, and I have to do another one, exactly the same thing, on the other side.

Right now, this is the first one, and I can allow some mistakes on the first one, and changes of the design. The second one has to go the opposite direction, and it will be a lot easier to measure. On camera I put it simply. It will be a much quicker process because I'm not working from 2D. I'm going to work from a real model, and it will be easier for me to measure everything.
The tools course has a page on the pointing machine, one tool for repeating the heights of a model on a new block. Part of this shape turns into a concave crown, which is what that part is called in the United States, and workshop 58 has a page on carving a concave molding.
What comes before and after workshop 86?
This is the first workshop of Part 8 of the Venice Room, and the corbel is still on the bench. Workshop 85 closes Part 7 right before it, workshop 87 carries on from here, and the start of the corbel is in Part 7. It's not the first time I do a corbel like that in this style. But it is a unique one, and it is not something you can buy in a big box store.
Do you like the slow part, the measuring and the marking? Would you rather see a curve found than handed to you? Then this room is for you. The whole school sits behind one tuition plan, the map of every lesson is open to anybody, and if you have never held a gouge, start here.
How it's done
- Print and mark the drawing. Print the drawing and mark it every inch, the same way I have done everything before.
- Carry each mark over. Measure each mark on the paper with calipers, move it onto the wood as a dot, working from the block's edge, and connect the dots.
- Take depth at the rear. Reference the depth on the back side and mark the spots.
- Stay off the lines. Rough about 3 mm (1/8 in) away from each line, on both sides. Measure before you go to final depth.
- Mark, connect, remove. Put a mark where the caliper lands, get three spots, connect them, then remove the wood between them. If a lot has to go, take the bulk first and carve a channel.
- Check it three times. Double-check before you carve, from more than one side. Three times, multiple times, is always a good idea, I said.
- Measure the twin off the first. For the second of a pair, work from the first carving, the real model, instead of the flat paper. I planned it that way for the next corbel.
Frequently asked questions
Can you carve a curved shape from a printed drawing alone?
Partly. My print gave points every inch and the outlines, but on camera I admitted I did not know the plane or the curvature in 3D yet. Calipers, depth taken behind the block and slow roughing that left room to change supplied the rest.
How far from the drawn line should roughing stop?
Roughly 3 mm, an eighth of an inch, on both sides was where I stayed on this corbel. The red line was short of final depth, and I said the sharp line might change later. One area kept six or seven millimeters, and I called that plenty.
Where do you measure depth on a thick block?
From the back side, in my case, with calipers of a type woodturners often use. Two marked spots held that depth on the wood. Over one deep hollow the jaws were awkward, so a drill bit went down a quarter inch instead, and after about another eighth the check came out exactly right.
What to carve next