
Alexander Grabovetskiy, woodcarver, School of Woodcarving · Published 2020
How accurate does architectural wood carving need to be?
Quick answer: Architectural carving is the molding, cove and flat work around an ornament, and on my Venetian corbel it had to be exact. The cove there is no wider than about 3 mm, an eighth of an inch. I still sized parts by eye, and one width shrank to 13 mm (1/2 in) because five-eighths looked wrong.
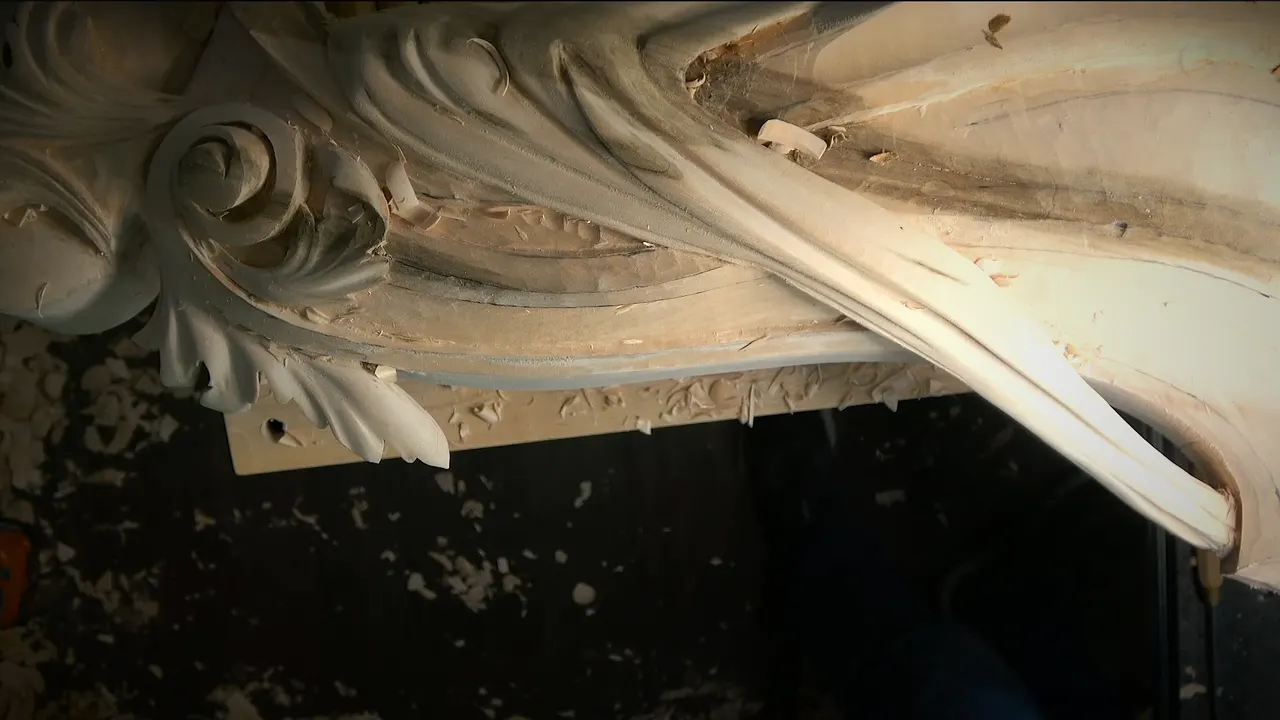
Architectural carving is the plain work around an ornament, like molding steps, a cove, a bead and flat fields, and on this corbel it had to be exact. I said so in workshop 92 with a tiny cove in front of me.
Have you ever hung a picture and stepped back to see if it sits level? Did your eye catch the problem before the tape measure did? Then you already work part by numbers and part by eye, the way I did here.
What architectural wood carving asked of one corbel
The cove got no wider than 1/8 in (3 mm), set by eye.
The double-step molding went deeper than I first planned where the second step needed room.
Five-eighths looked wrong on the short side, so it became half an inch (16 mm, then 13 mm).
My card scraper checked one field for straight.
My knife went round a whole border fast, with its depth held back on purpose and a background texture still to come.
One millimeter stayed above the final 6 mm (1/4 in).
Leaves next to all this got eyeballed and their overlap faked, since they are not acanthus.
Which parts of a wood carving are architectural?
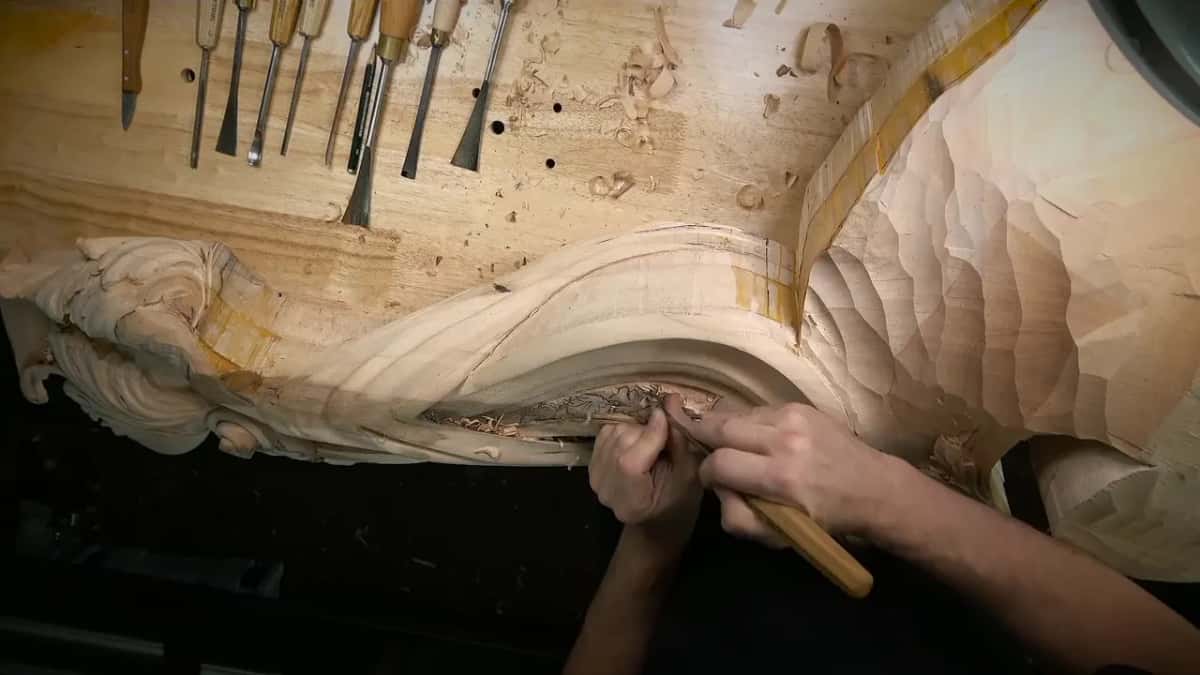
On this piece it meant steps in a molding, then a cove and a bead, and flat fields between them, everything around the main design inside.
The piece itself is a little confusing, so I stopped to explain it. I'm working on a Venetian style, Venice, Italy, and this piece is a corbel. Earlier I was carving just the middle part, and now I am working on one of the corbels. I do have a couple of them.
I don't want to leave those sections flat, I said at the bench. That is a more architectural design. So I planned some kind of bead idea there, and that is where the numbers got small.
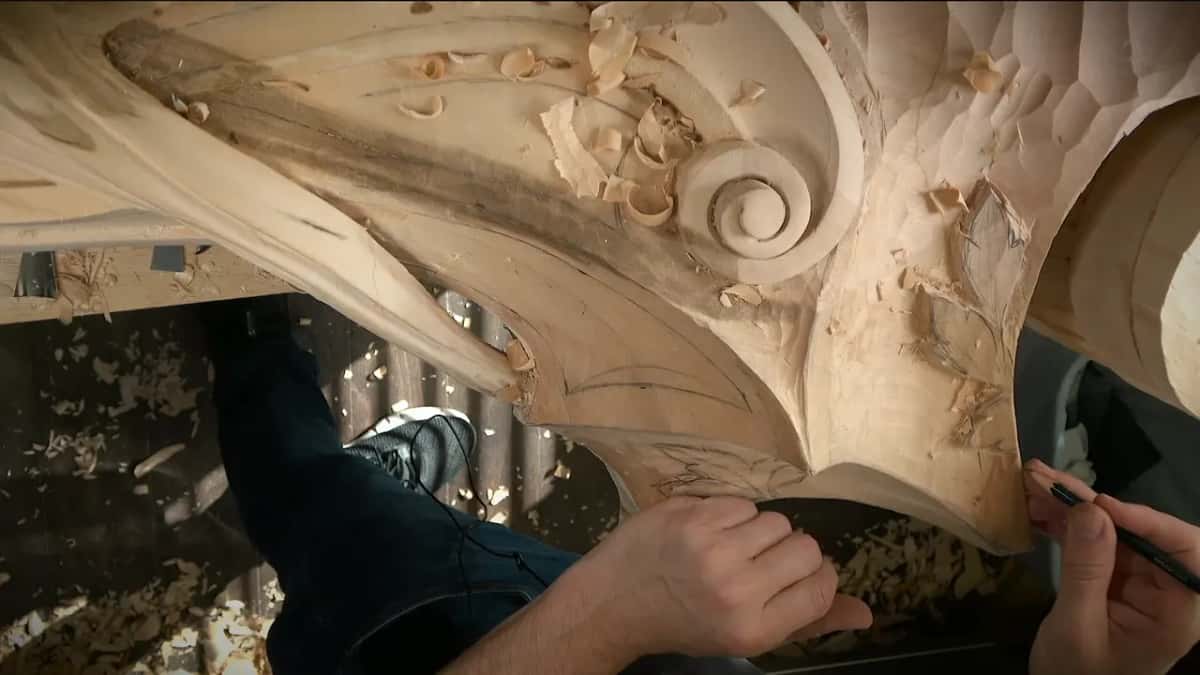
On the inside there is architectural detail too. Maybe I can draw it right away, I thought, and make it look somewhat how it's supposed to look.
How small can a carved cove get?
About one-eighth of an inch (3 mm) on my corbel, and that was the biggest one I could make. There's not a lot of space there.
Here is the profile the way I talked it through. A cove goes in first. After it comes one part, then another about three-quarter of an inch wide, and I corrected myself, actually less, maybe five-eighths of an inch (16 mm). A step down follows, and below that sit the background and the main design inside.
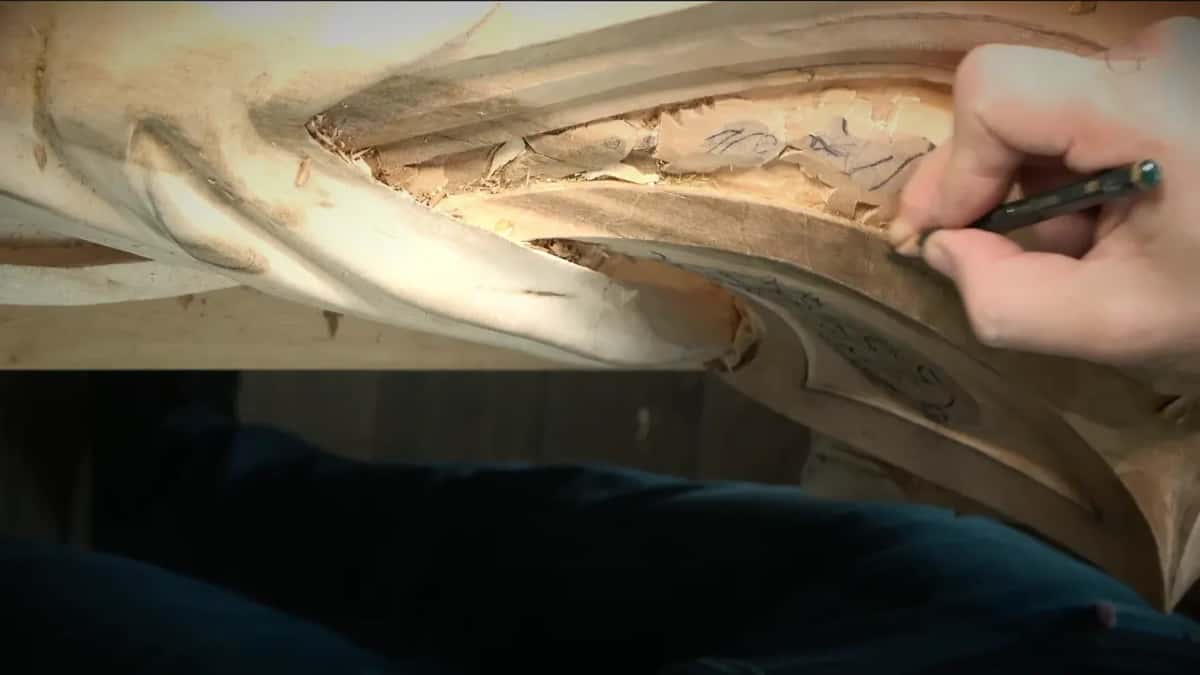
A cove is a hollow molding, the one architects call a cavetto. I eyeballed its line about 5 mm (3/16 in) away, because the #11 would carve it there. The concave inside leaves roughly 3 mm (1/8 in) for the round part.
I had to make it a little smaller, with the same movement on both sides, and exactly the same again in the next section. It's kind of hard to just guide with the finger.
So a lot of eyeballing. And then, ten seconds later on the recording, the line this whole page stands on: an architectural carving like that, really important to be accurate, and absolutely no room for mistakes. Both were true in the same minute.
Does exact mean you measure everything?
Exact meant I looked, and changed a number when it looked wrong.
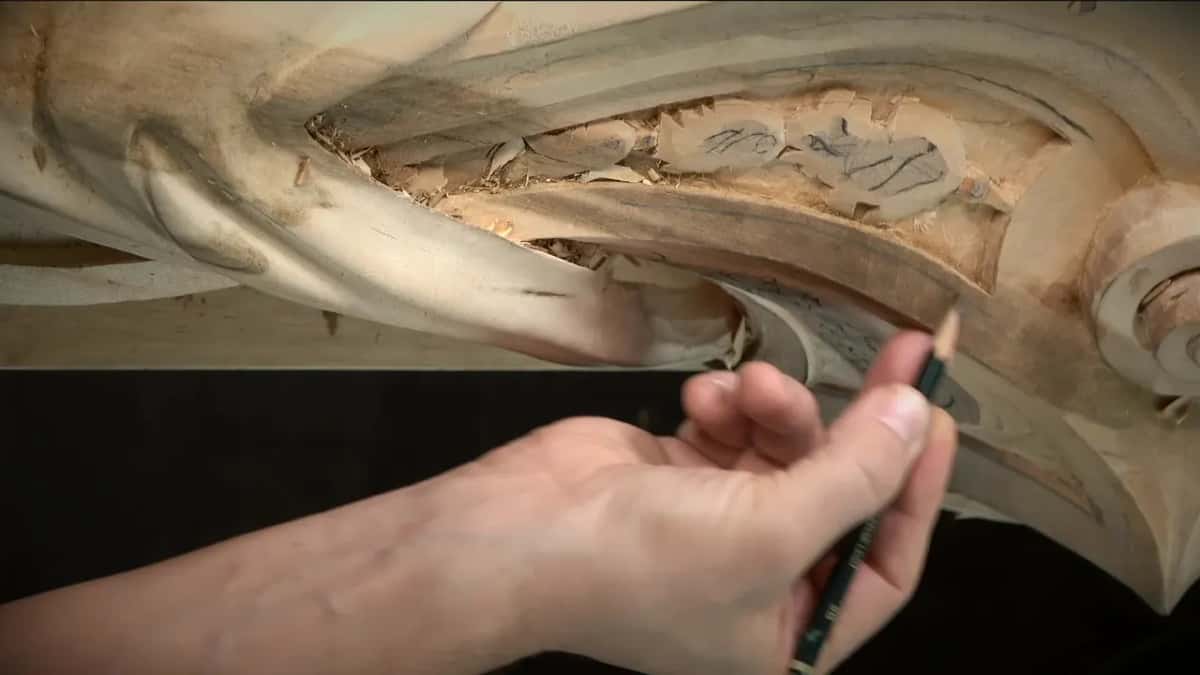
That detail sits about three-quarter of an inch from the end, about 20 millimeters. It comes in two parts. One is that wide, and the other a quarter of an inch, about six millimeters.
The other side has a smaller distance, so I reduced it to about five-eighths of an inch. And actually, it doesn't look good, five-eighths. I had to go to half an inch, with another quarter inch for the detail, and it still looks pretty much the same.
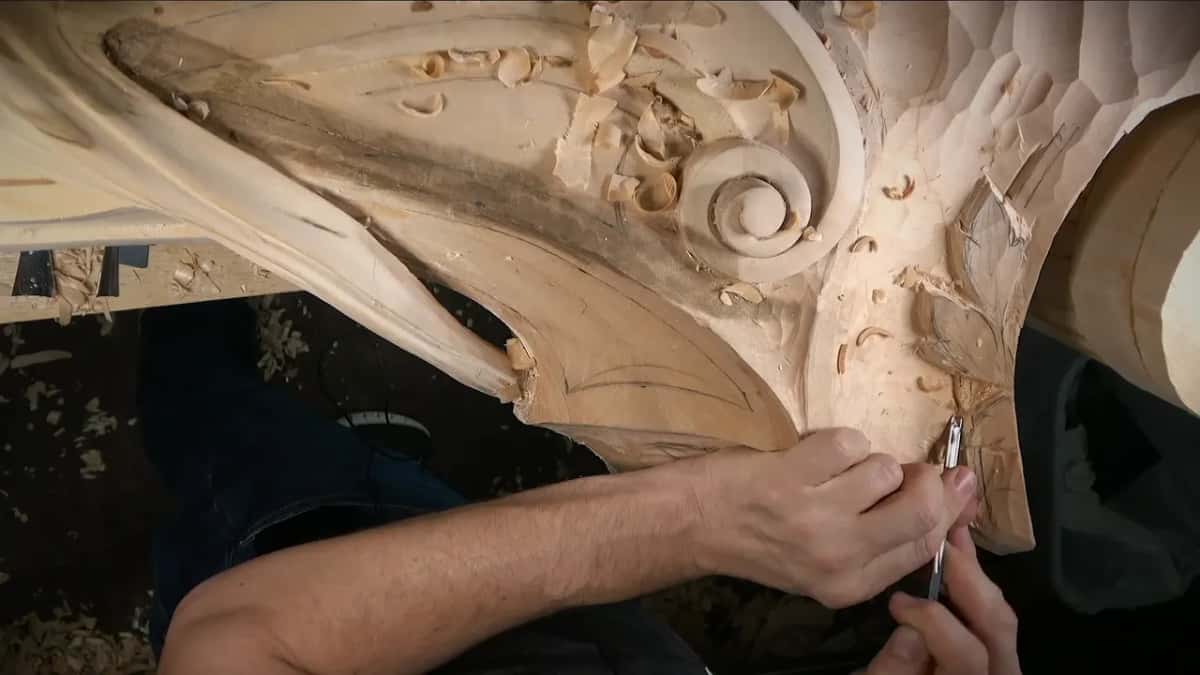
Then I stopped. I have to make the decision how it's going to look, I said, so let me think first. I want to be authentic to the original Venetian styles.
How exact the layout lines must be before any carving starts is a different question, and the butterfly plate course answers it for a flat plate. This page is about the carved profile.
How deep does a double-step molding go?
On this corbel it went 10 mm (3/8 in) at the deep point, more than the quarter inch I started toward.
My preliminary deep line went in with a 4 mm (about 5/32 in) #11, maybe as far as a quarter inch, and I was okay if it went a little deeper. Then a #7 cleaned it. Right there I went to 10 millimeters, because it's a double-stepped one and that area needs to be much deeper. Otherwise it's not going to look nice.
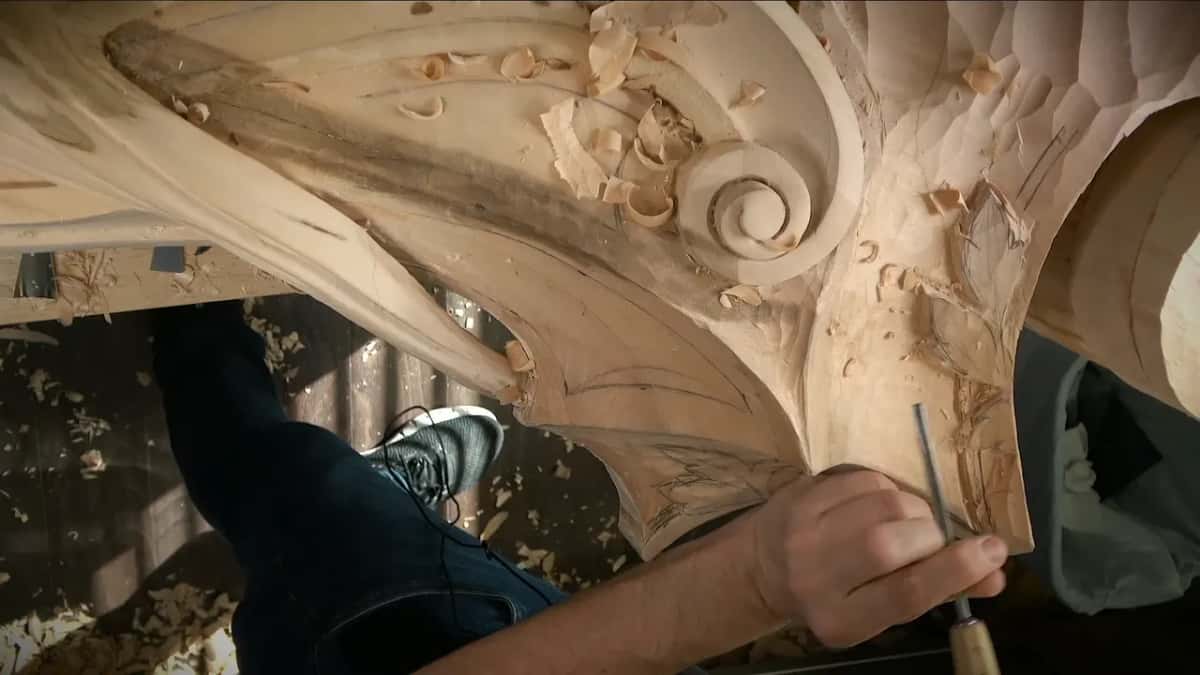
See, I'm still not losing my overall feel, and that is what I'm after. This is why I did not excavate from step number one all the way to the final depth, only up to that point, approximately, since I still have to develop a lot more designs right there.
Moldings from earlier in this room have their own pages, a half round in workshop 57 and a concave molding in workshop 58.
How flat does a carved field have to be?
Flat, absolutely flat, and straight at the edges.
On the side of the corbel I ran a skew right on top, almost like planing it, for a really, really sharp line. After that came a small card scraper, and that way I know exactly that it's really straight and nice.
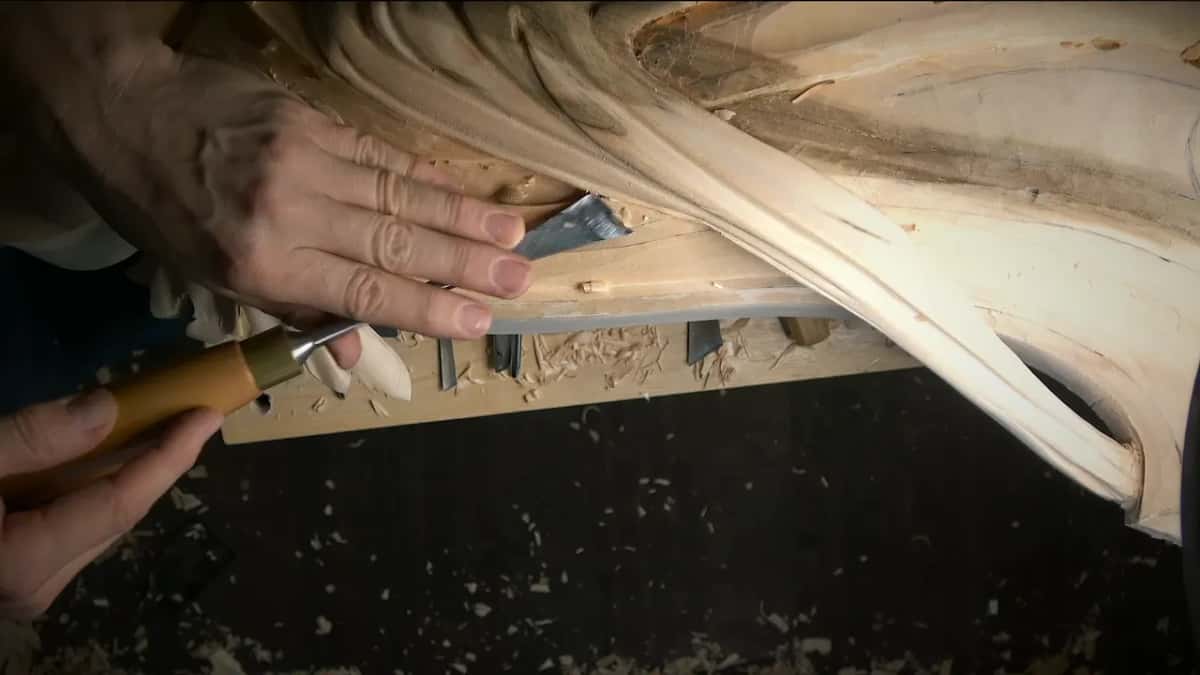
You don't have to use a small one. A normal scraper works too, a cabinet scraper. Just scrape it with the big one, I said, and it is going to be absolutely flat and nice. Sides the same way. Flat tools could even do it sometimes, and it would not dull them too much.
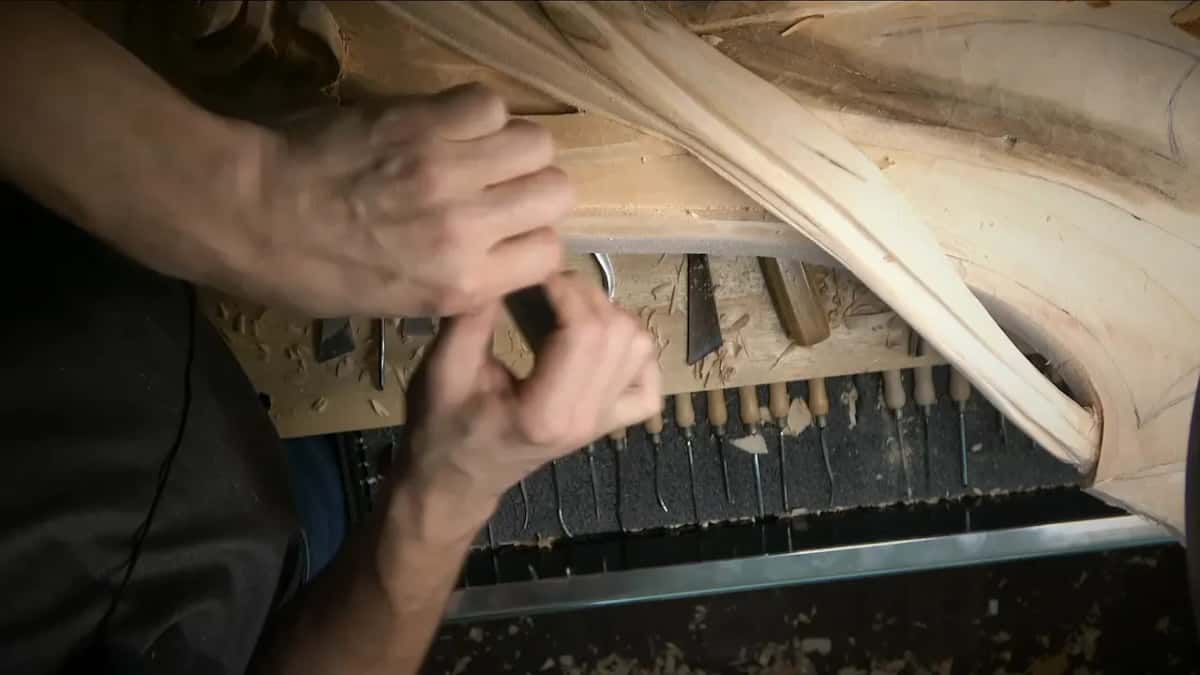
The edge that came out of the skew was beautiful and really sharp. A flat panel on the side of this corbel went in back in workshop 90, and squaring a side happened in workshop 85.
Is a knife exact enough for a border?
For me it is probably the quickest way, as long as you control the depth.
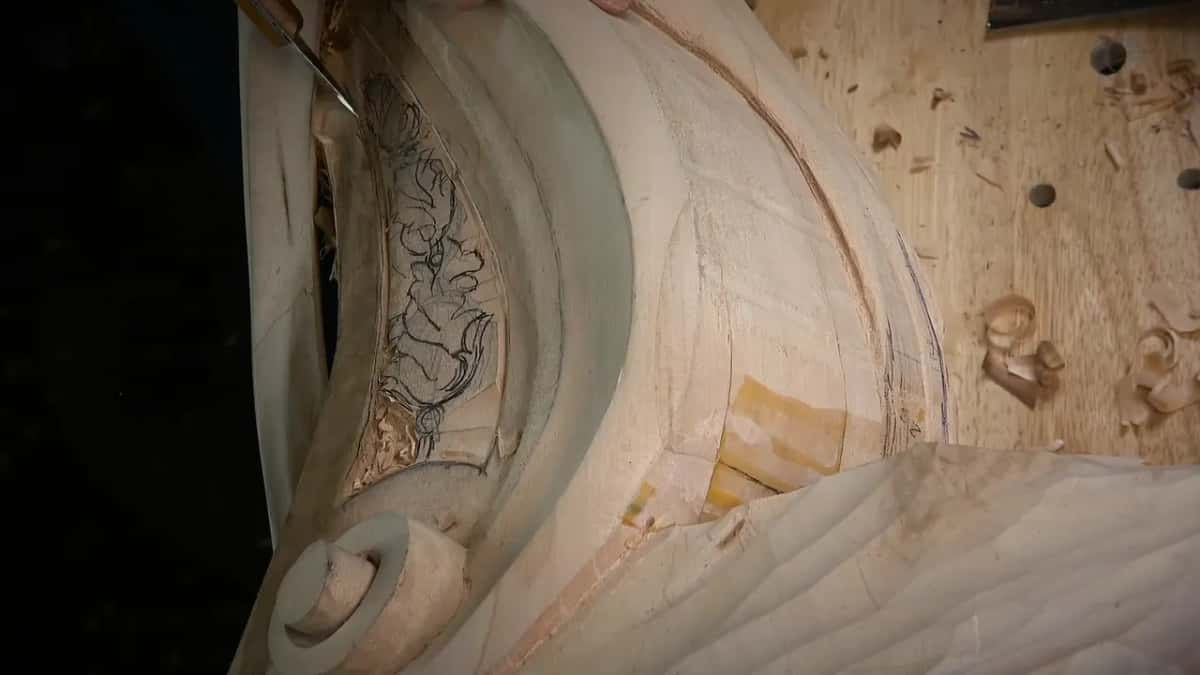
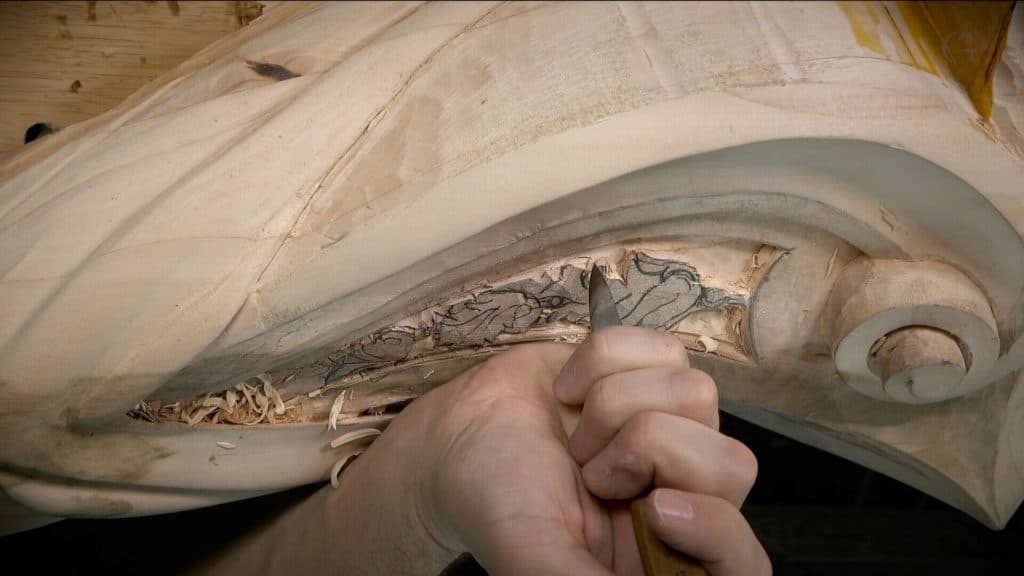
A gouge is not the only way to do areas like that. I like knives, so I took my favorite, a number 12 by Pfeil, Swiss made, and outlined it all. Partway in I had to crank my vise a little tighter.
The only downside of a knife is that you really have to control the depth. Go too deep and you can get in really big trouble, because you won't be able to clean the background. My knife is super sharp, and it can go in really deeply.
In this case it was all right, since the background is going to get a texture. In a couple of minutes I outlined the whole thing, about one-eighth inch deep (3 mm), and I can always deepen it on the go.

The last part was the tiniest part, and I really didn't want to mess up. Hardest part too, because of the material in that area. For the cleanup I held the knife at an angle and stayed shallow, since digging too deep damages the wall. After that pretty much any gouge would do. The tool just butts against the line the knife made.
Whether that border has any waviness I check later, because it was a little too early for that in workshop 92.
What depth is final, and what do you keep back?
A quarter inch was the final depth on the new detail, 6 mm, and one millimeter waited for the very end.
So I carved approximately 5 mm first, which is 3/16 of an inch, and the plan was to go all the way to six only after that. I usually go to the final depth at the last moment. I can always clean it.

The outline there wanted a 2 mm (about 1/16 in) #11, and at first I couldn't find it. I keep all of my tools at the same location, so that was really strange. It was just in the wrong drawer. I stropped it before starting. Two millimeters works better there, I said, because I didn't need too wide a line for this outlining. The 2 mm dug a little deeper channel all around. A bigger tool could go in the bigger spots, and I used four millimeters in probably the only spot where it would work.
There was some green stuff in the wood, and the material was a little mushy. I also found a little hump. No bueno. My #3 took it off clean.
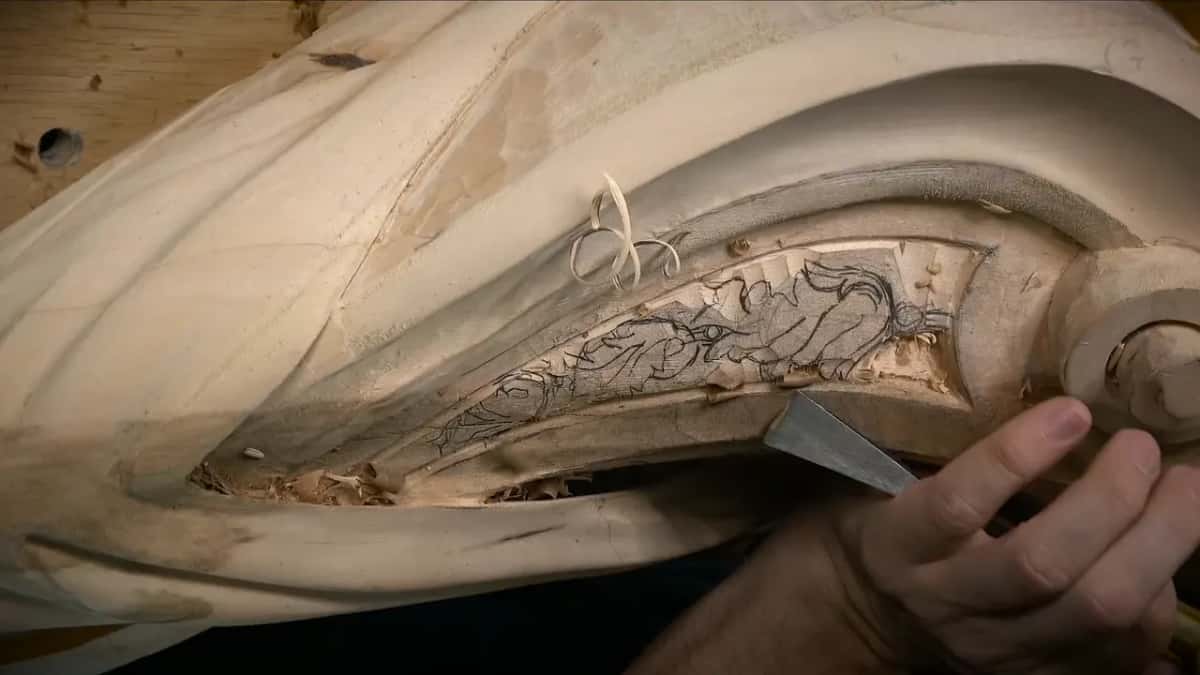
Under all of it sits a lower layer, because this block is laminated, and in one spot I was already down to the glue line. That glue line looked almost like metal, just shining from my light. Kind of scared me for a second. I thought, what in the world is going on inside of that wood?
A #7 spoon gouge was working there, and I said I should switch to a #3, which gives better control of how deep I'm going. I tried a #5 first. I cannot go deeper than that, I said a minute later. That would be a mistake.
Where can you fake it?
In the simple leaves on the same corbel.
Three free-flowing leaves went in, and it's not like a special design or anything special. Three separations, more to the traditional idea, a common thing. I outlined them with a 7 mm (about 9/32 in) #11 and took it about three-eighths of an inch deep, from almost nothing up to 10 millimeters.
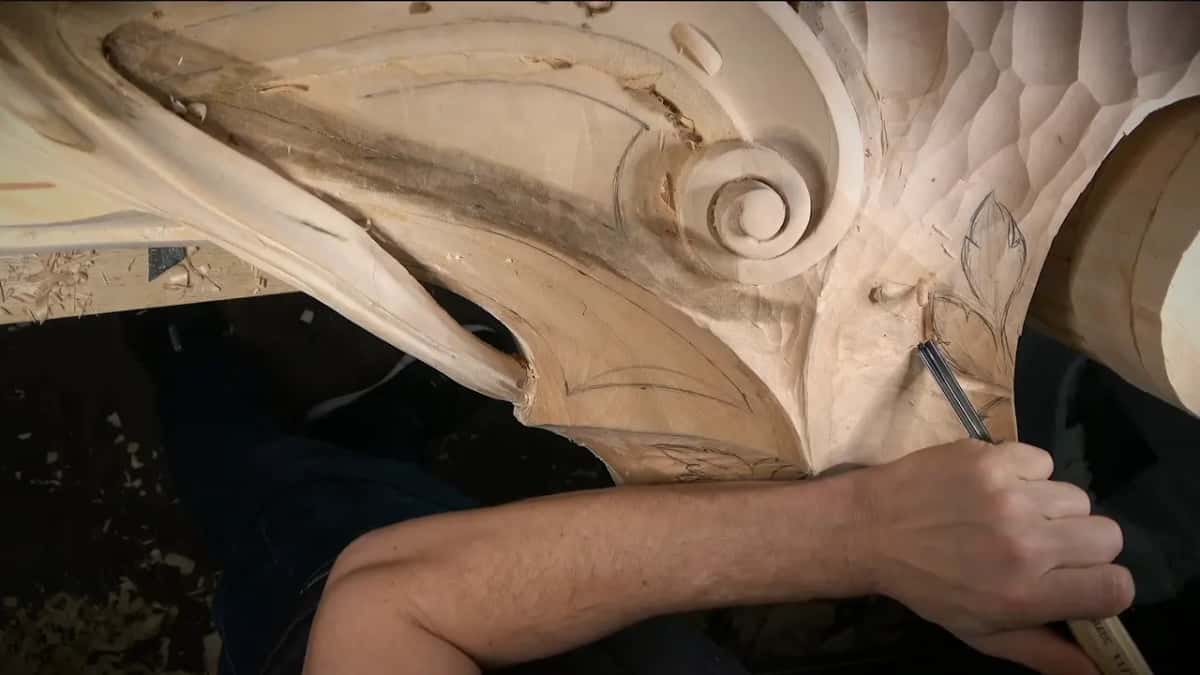
Then I told you I was somewhat faking it. There is a straight wall there, and I just had to create the illusion that one part overlaps the other. A big notch or a really deep line was not needed there, only an indication of it.
Around those leaves I dug a big concave with a one inch #7 (25 mm), then a bigger #7 of 30 mm (about 1 3/16 in), which was really dull and needed sharpening. I did not destroy my line. One spot had to keep a chunk of wood, because oak leaves are going to grow in that area too. Near the edge I went maybe six millimeters, a quarter inch, because it's too close to the edge, and I was just eyeballing it. I'm not measuring anything, I said.

Those are not acanthuses, so I don't have to follow the rules for the acanthus. They still have to look good, though, or somewhat good. Of course, gluing on little pieces could make one stick out more. There was no need, since it will be seen from the bottom and it will look fine anyway.
Leaving petals uneven on purpose is a separate page from the furniture panel course.
Why leave some areas unfinished?
I still had doubts about them.
I left one area a little higher, because maybe I'm going to add something. I could do a bead inside, a continuous beading, probably about 3 mm, an eighth inch. I didn't know yet if I would. That's why I left it like it is, without finishing, and the challenging area will be right there if we add the beading.
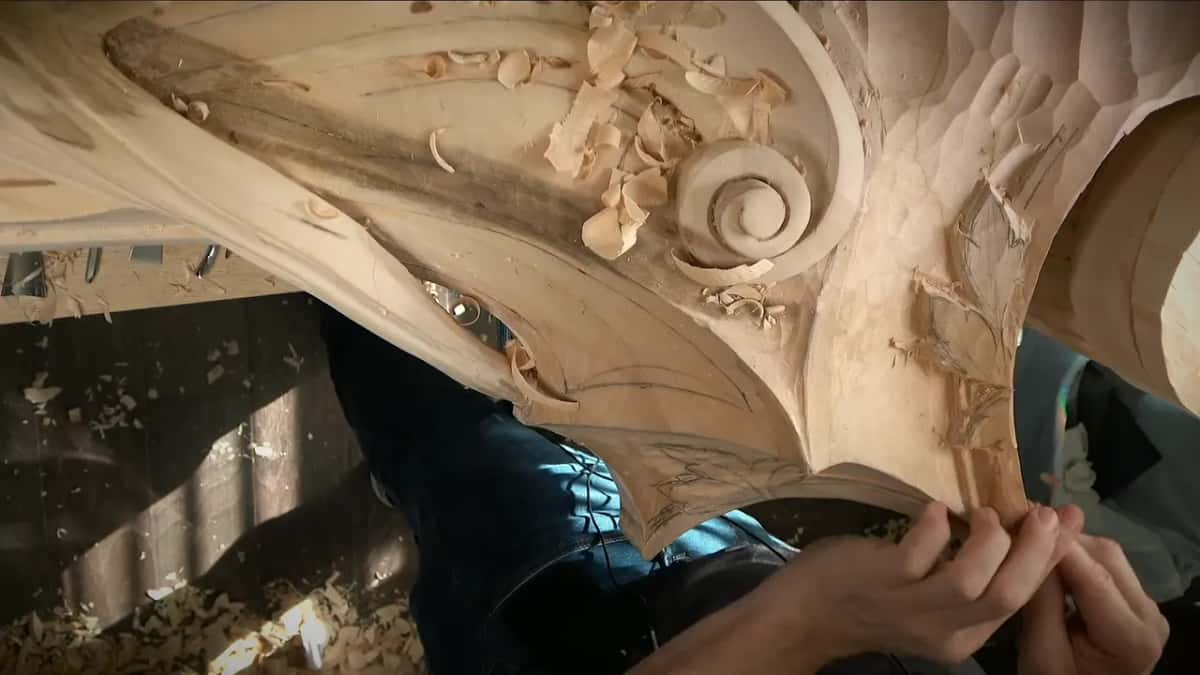
For a bead effect on another part, a back bent #8 in 10 mm was going to be too big, so I took a quarter inch one, 6 mm. A back bent is not a must there, by the way. I just think it gives a really nice movement.
A convex going downhill got lowered another eighth inch or so too (3 mm). To round it I turned a #7 upside down instead of reaching for the back bent.
Which tools did the exact work?
Two scrapers and a knife sit in this list next to the gouges.
| Tool | Job | Where |
|---|---|---|
| Skew | Planed a really sharp line on top. | Corbel side |
| Small card scraper | Checked the surface was straight and nice. | Side field |
| Cabinet scraper | Named as the bigger choice for the same job. | Said, not shown |
| 4 mm #11 gouge | Sank the first deep line for steps. | Double step |
| #7 gouge | Cleaned the step down to 10 mm. | Molding steps |
| Pfeil #12 knife | Outlined the border in a couple minutes. | Detail border |
| 2 mm #11 veiner | Ran a narrow channel around the outline. | New detail |
| #3 gouge | Took off the hump in mushy wood. | Green patch |
| Back bent, 6 mm | Rounded that part into a bead effect. | Bead edge |

Who is workshop 92 for?
Anyone who wants to see a cove, flat fields and the steps of a molding carved by hand beside simple leaves, with every number said out loud. It is one block of a long Venetian project. The Part 8 course page lists all twelve workshops, workshop 91 comes right before this one and workshop 93 picks up after it, and Part 7 is where the corbel began.
Moldings with leaves climbing over them are a course of their own, and sharpening and stropping have one too. There is also an in-person class if you would rather work at a real bench.
Would you like to watch that cove go in by eye and still come out exact? And the knife run round a border while you watch? Tuition opens the whole school, and this room is one course inside it.
How it's done
- Draw the detail early. Mark the architectural detail right away. I set mine about 20 mm (3/4 in) from the end, in two parts.
- Judge each width by eye. Where the space is shorter, reduce the width and look again. My five-eighths did not look good there, so it went down to 13 mm (1/2 in).
- Sink the steps in stages. Go in first with a 4 mm #11, about a quarter inch deep. Clean with a #7, and go deeper where the second step needs it. Mine reached 10 mm.
- Keep one millimeter. Carve about 5 mm of a 6 mm final depth, and take the rest at the last moment.
- Outline with the depth in mind. Strop a 2 mm #11 first for a narrow outline. A sharp knife is quicker, if you control how deep it goes.
- Scrape the flat parts. Use a card scraper or a cabinet scraper until the field is absolutely flat.
- Leave doubtful areas high. Keep an area a little higher and unfinished while you still have doubts, until you decide.
Frequently asked questions
Is a knife a good tool for outlining a border?
A knife is probably the quickest way for me to outline one, and I used my favorite, a Pfeil number 12, Swiss made. Watch the depth, though. A knife that goes too deep leaves a background you cannot clean, and mine is super sharp.
How much depth should you leave for the last pass?
About one millimeter on my corbel. The detail had a final depth of a quarter inch, 6 mm, and I carved roughly 5 mm first, three-sixteenths of an inch, leaving the rest for the very end, because I can always clean it.
Do simple leaves have to follow acanthus rules?
Mine did not, because they were not acanthus. They should still look good, or somewhat good, I said on camera while carving three of them. On one I faked the overlap from a straight wall and made only an indication of a leaf coming from behind.
What to carve next