
Alexander Grabovetskiy, woodcarver, School of Woodcarving · Published 2020
How do you carve a concave inside another concave?
Quick answer: A nested concave is a narrower, deeper hollow carved along the floor of a wider one. On my Venetian corbel the first was a long hollow for a big #11, 10 mm or 15 mm (5/8 in), then 7 and 5 mm tools went down inside it, with a change of position each time the grain turned.
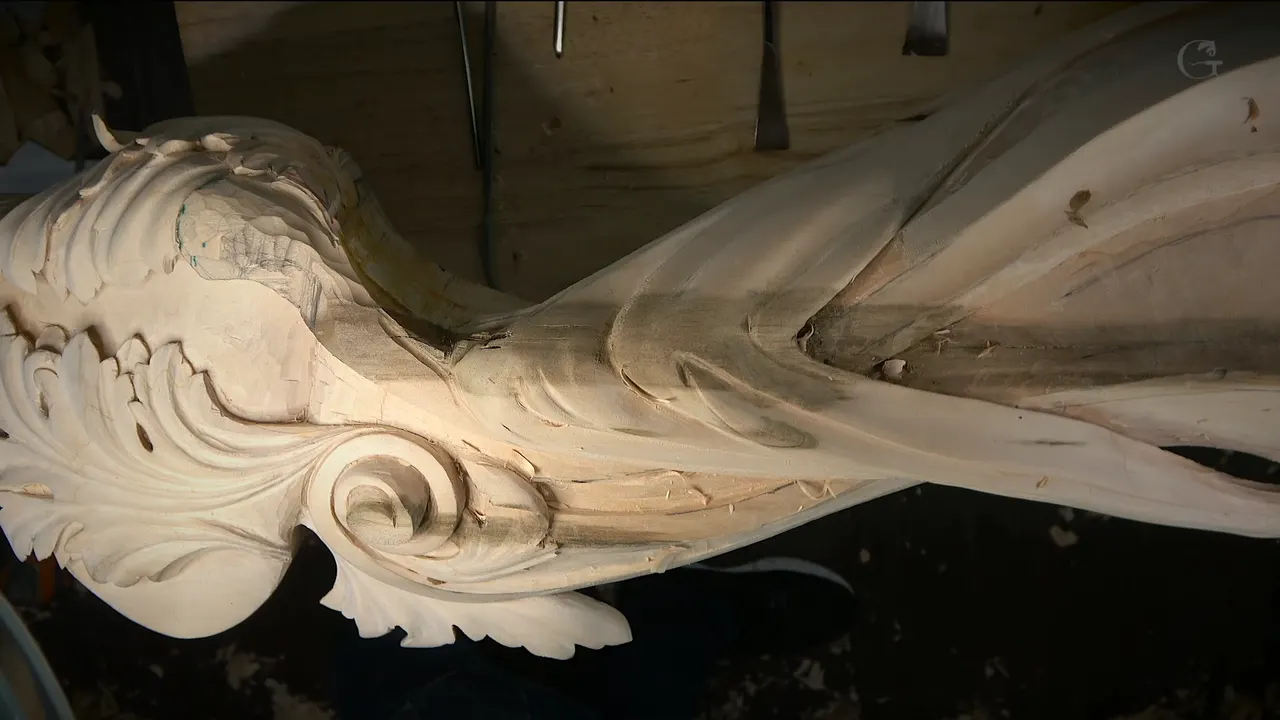
A concave inside a concave is a deeper hollow carved right inside the first one, and I do it to create a shadow. In workshop 91 that was most of the concave carving on this corbel: one long hollow opened with a big gouge, then a smaller tool sent down the middle of it, and then a smaller one again.
Have you ever drawn a face, even a quick one for a child? With the mouth wide open? Then you already know the shape of one hollow on this piece. Short, wide, and deep.
After the first hollow, I wanted a deeper one right inside it. Below are the sizes I used, in the order I used them, the places where the grain turned me around, and the spot where I quit digging and took the whole section down instead.
The nested hollows in six lines
A long, somewhat deep concave first, for a big #11, maybe the 15 mm (5/8 in) one first.
Right inside it a deeper one, 7 mm (9/32 in), then a 5 mm (3/16 in) tool, with 5 or even 4 mm (5/32 in) to clean up inside.
New position, whenever the grain turned.
One short hollow shaped like an open mouth, dug by a #9.
Ridges between the hollows blended with a #3, and once I turned that #3 upside down to do it.
The section lowered toward the main body, rather than dug out underneath.
Why carve one concave right inside another?
For the shadow, as I told you while the smaller tool was still in the wood: what I'm doing right now, I'm actually creating a shadow.
And I told you I was exaggerating that fold, though I was not sure if I should say it that way.

Even a shallow concave beside the others got the same reason. If you would ask me why do I need it, I said, just for the shadow's sake.
Which gouge opens the first concave?
A big #11 gouge. I had planned the 10 mm one for that hollow, and then I said maybe I can start with the bigger one first, about five-eighths of an inch, like 15 millimeters or so.
It would be carried the whole way along the part that wraps around, and it was going to be somewhat deep, I would say. I wanted it to look like it's really falling down and then it just wraps. I want to exaggerate that one, I said. Really exaggerate that one.
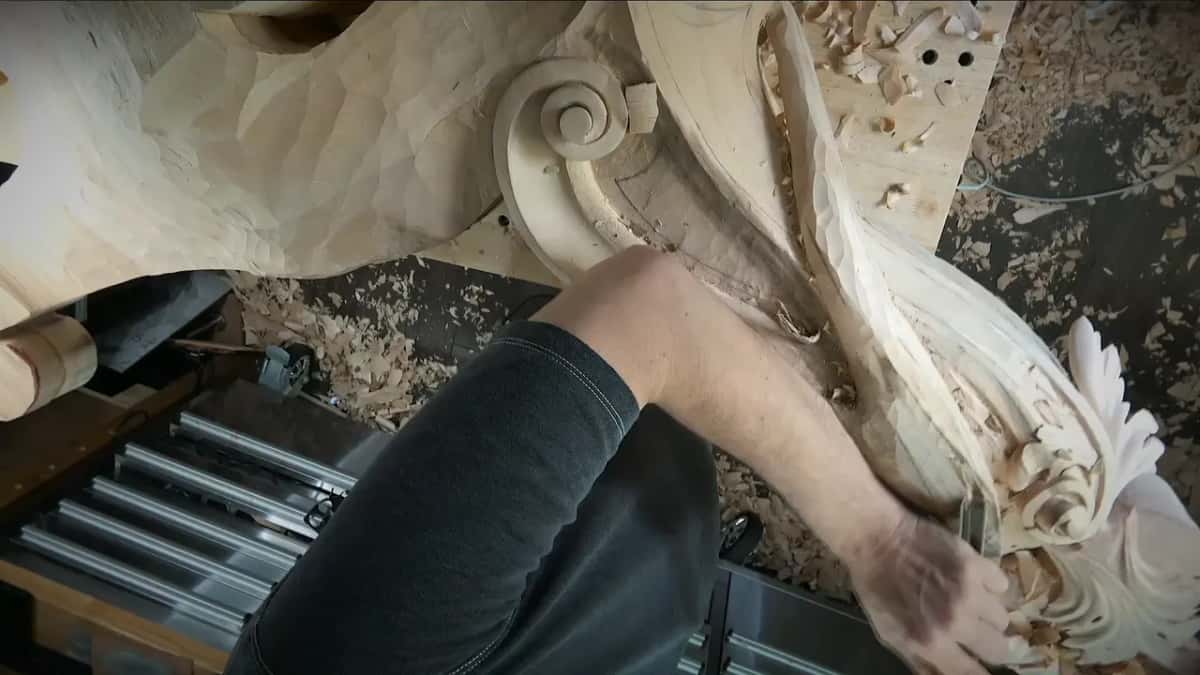
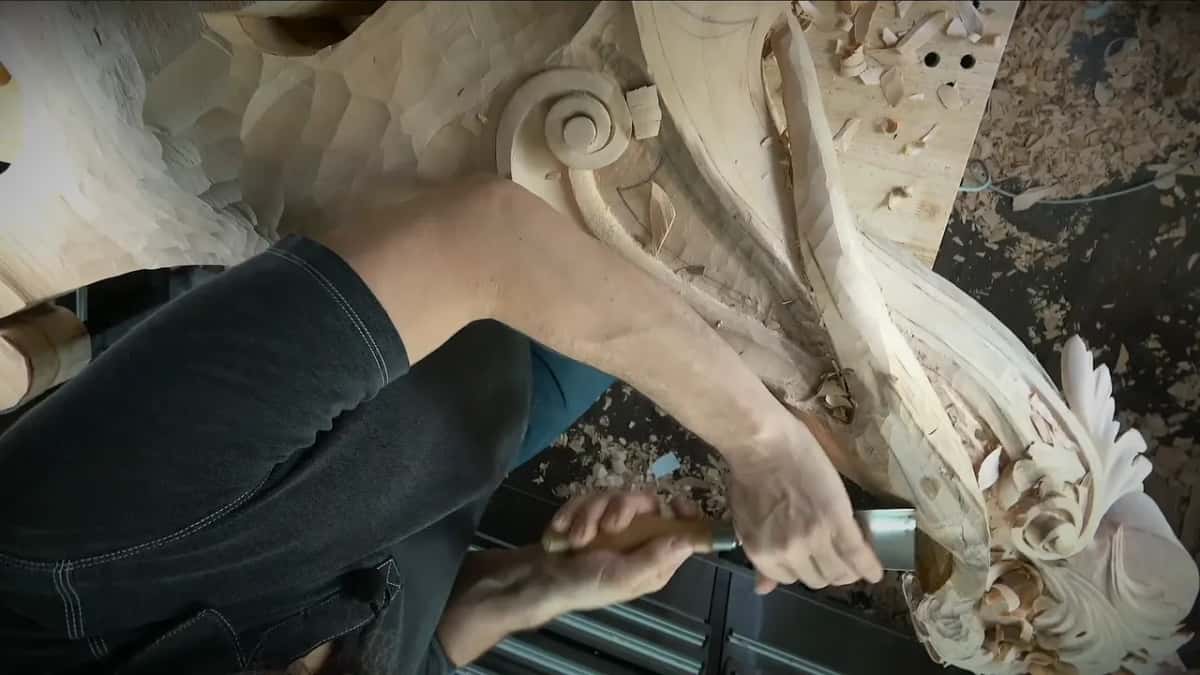
Before that, a #1 made a transition, since I didn't need the big gouge any more, and a smaller #7, a half inch one, got me a little closer to the final shape I was after. That part sits much closer to the body than the part beside it, so I got a little closer still, and after the #1 it falls really nicely. Then I looked at it from the side. It didn't look too fluent yet, so I took a bump out.
And then I walked. I need to attack from different positions, I told you, walk around, and my apologies if I stick my head in the camera.
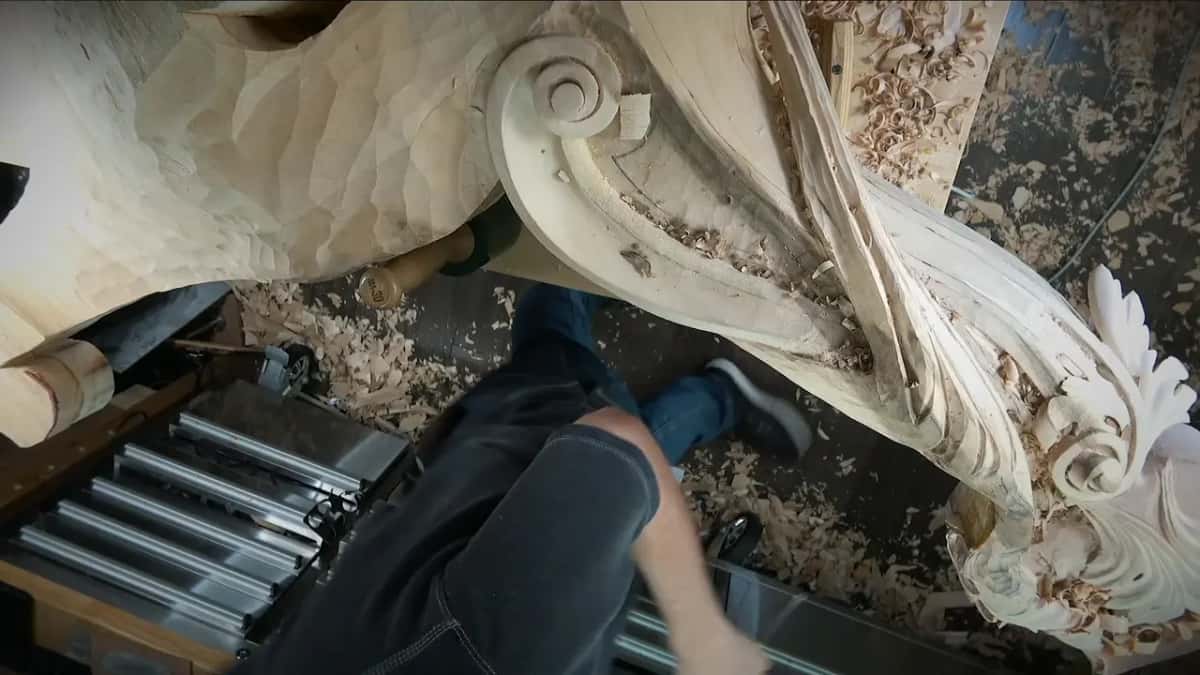
How does concave carving change when the grain turns?
You turn with it. The grain changes on this piece, because the shape wraps around, and the grain does all kinds of weird stuff there.
So the hollows got carved from more than one side. When the deeper one went in, I had to change the position because of the grain and go the other direction. A minute or so later, beside it, the same again: change the direction, one more pass from the other way, and take a look. With the shallow concave after that, I changed the direction a third time.
Tearing against the grain is a subject all by itself, and the Part 11 course takes that one on.

What goes right inside concave number one?
A deeper concave, using a 7 mm tool, and smaller ones after it. That's concave number one, I said, and right inside of it I want to create a deeper concave.
Before any of that, one side of the first hollow got blended, because a hard ridge there would not look natural. A #3 rounded it a little more, and then a little softer again, but the feel of the concave had to stay. A softer movement, that's all.
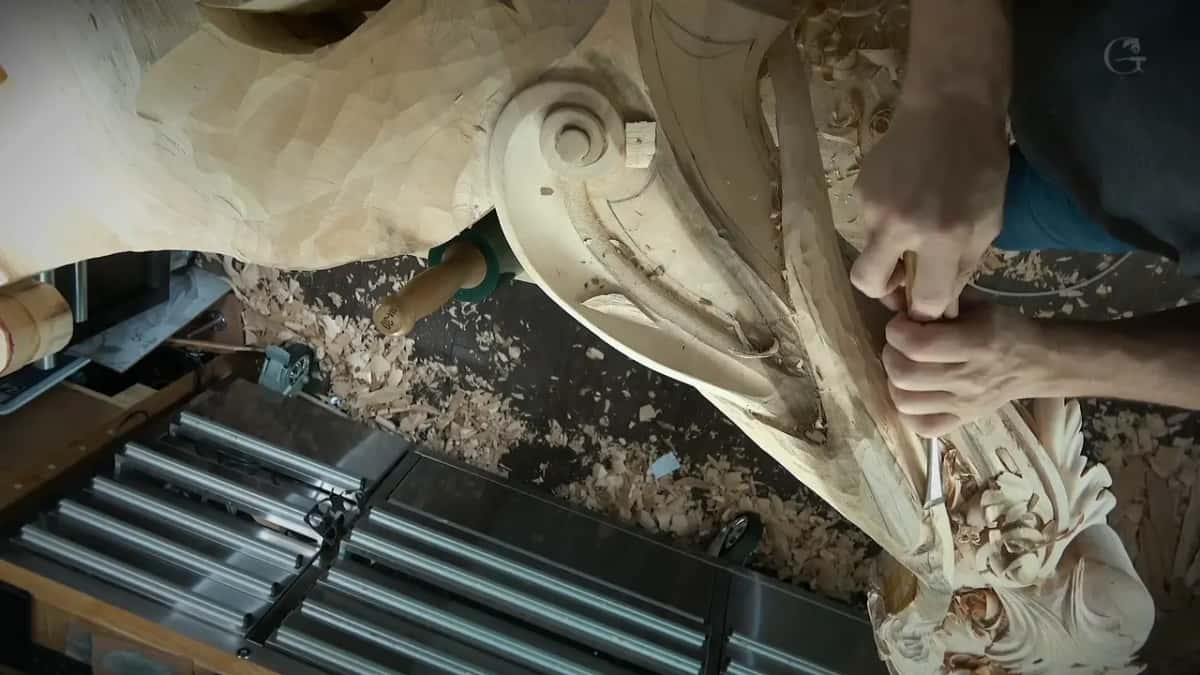
Next came the smaller tool, 5 mm, and a second hollow with the same 5 mm right beside it. You probably don't see that on the video, I said, but it creates a beautiful transition, like the shape is laying right on top of the main surface.
It gave me a chance to undercut too. Not much. One millimeter (0.04 in) later on, only one millimeter, and a #11 would do it. To clean up inside, 5 mm again, or even 4.
If you want the big picture, whether all of carving comes down to concaves and convexes is a question a flower lesson asks. Here it was just a bunch of them, as I said at the start.

What is the open mouth hollow?
A short one, wide, not as long as the first, and deep. It's going to look like an open mouth when you draw a human being, I said.
Short, but deep. It gives me beautiful movement later on.
A #9 carved it, once I had sharpened it, and you don't want to overdo it. After a few passes I changed the position and attacked from another side, then softened the ridge next to it. That spot, I said, would be a really good area for the rasps later, to get really nice and soft movements.
How many short concaves go in after the long ones?
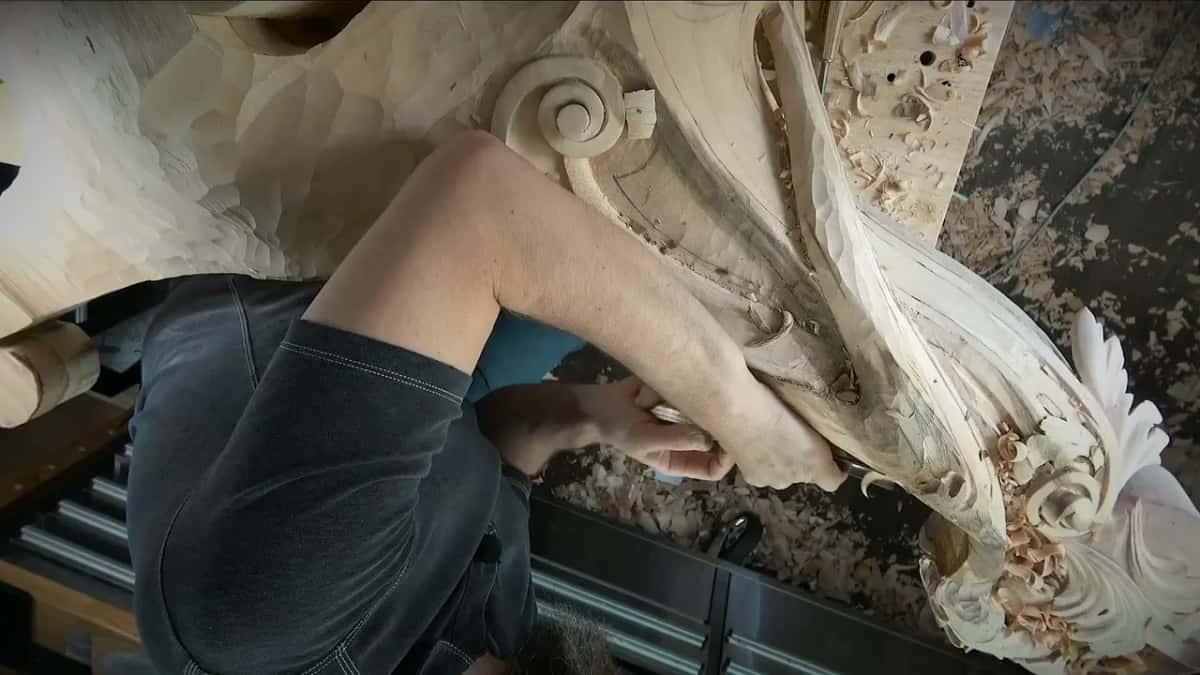
A couple, in this spot. It still didn't look too good, so I added a couple more concaves right there, short ones, with a smaller #11 of 5 mm, the first one carried from a single point along the shape.
Maybe a little deeper this way also, I said, and blended it from underneath. It's already taking shape. At least I think it is.
That was the end of the first big movement, and the second started from, I don't know, this point approximately, then went all the way up, again somewhat deep. For that one I pointed the tool almost under the line, carefully, and the Part 8 course page explains that turn of the flute.

What does a smaller #11 add?
Depth, one size at a time. A #9 started the undercut on that second movement, and a #11 followed, while my pencil wanted to go in there too. You can see it already gives me that shadow, I said. Now I can actually excavate a little deeper.
A smaller #11 went down inside that, and then I went for the four millimeter to get even deeper. I am happy with that, I said, and then, maybe I'm happy with that.

Then there were too many sharp edges, and we don't need those. A #3, upside down, blended them in. A gouge turned upside down has its own page from workshop 40.
Going up to a rounder sweep is a different move, and workshop 7 covers that.
What is a soft concave?
One I started with a #9 and then finished on the inside with a #7, so the inside comes out much softer, and that is what I mean by softer. I said number seven and grabbed a number five. Caught it. That is not the one I want to use. Number seven.
I'm kind of happy with this development, how it looks, I said just before starting it. Later a #9 went a little deeper in the next section, and I still see that shadow, I said, which is what I'm after. Then a short transitional concave went in, started with a small tool and carried right underneath one side.
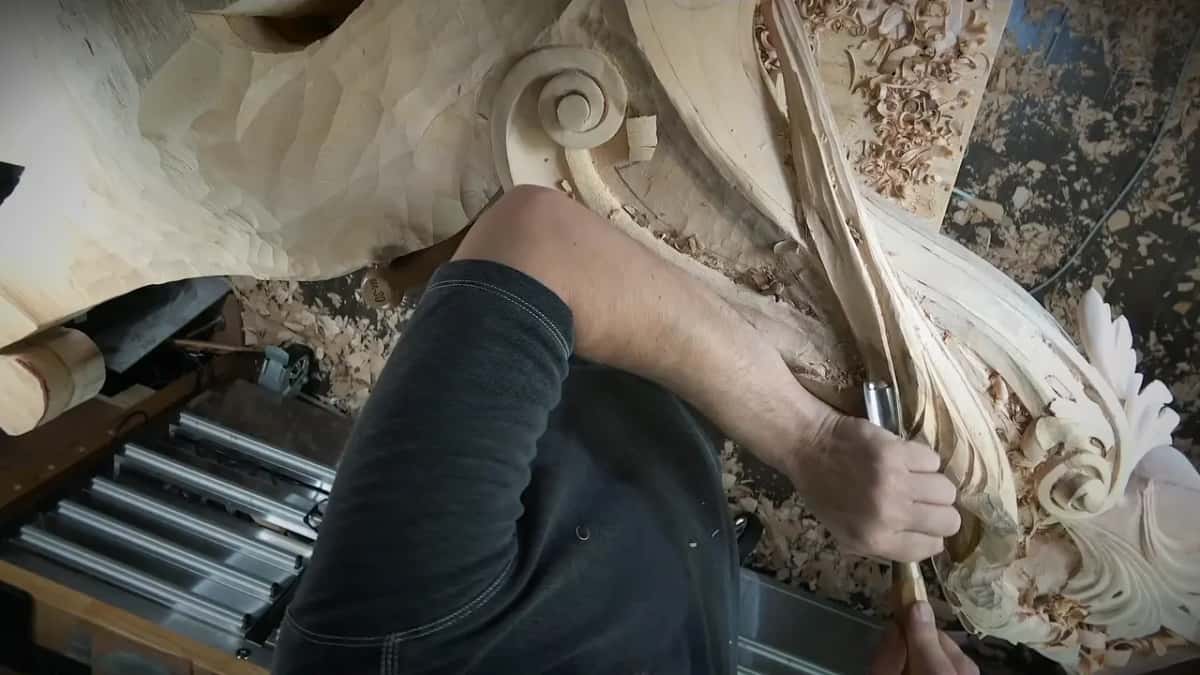
This part of the corbel fought back a little. Where the wood was dark it was really mushy, and a tool must be super sharp in an area like that. Further along it felt almost abrasive inside, like some kind of sand on the side of the wood: a couple of passes and the edge went dull, a second after I had stropped it. Sometimes it happens with some woods, and I guess I have to sharpen more often in that section. It's not like I'm complaining. A hard spot in one board is a separate story, from workshop 81.
What goes between two concaves?
Another concave, right between them. First I took a bigger gouge again and carried a hollow the whole length, then did exactly the same on the opposite side. It feels like it's just wrapping around.
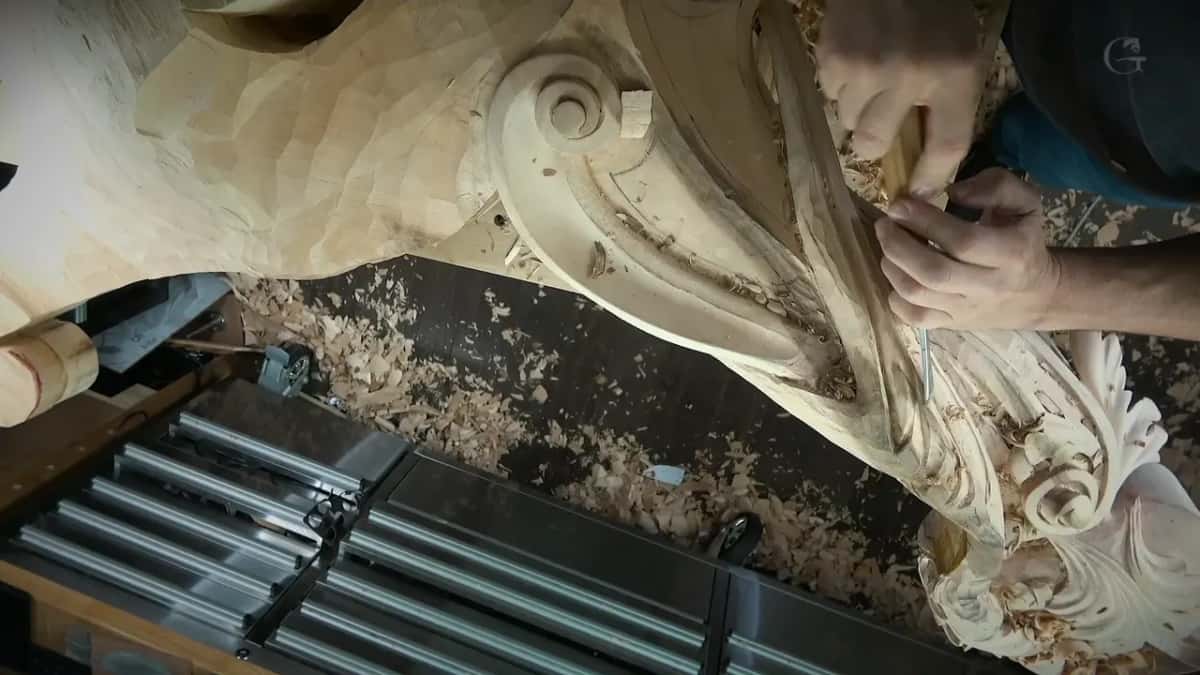
Right between those two I set a third one, and I needed a bigger tool to blend that in. Under one side I went much deeper, a #7 this time, so it would feel like it's coming from underneath that part, and maybe even deeper after that. Then that ridge had to get softer, and I knocked another ridge down a little.
Where two hollows meet you can also keep the ridge sharp on purpose, and workshop 87 is about that.
When should you stop digging a concave deeper?
When the next step means you have to excavate too much underneath. And that's no bueno, I told you then, and I would really rather not do it.
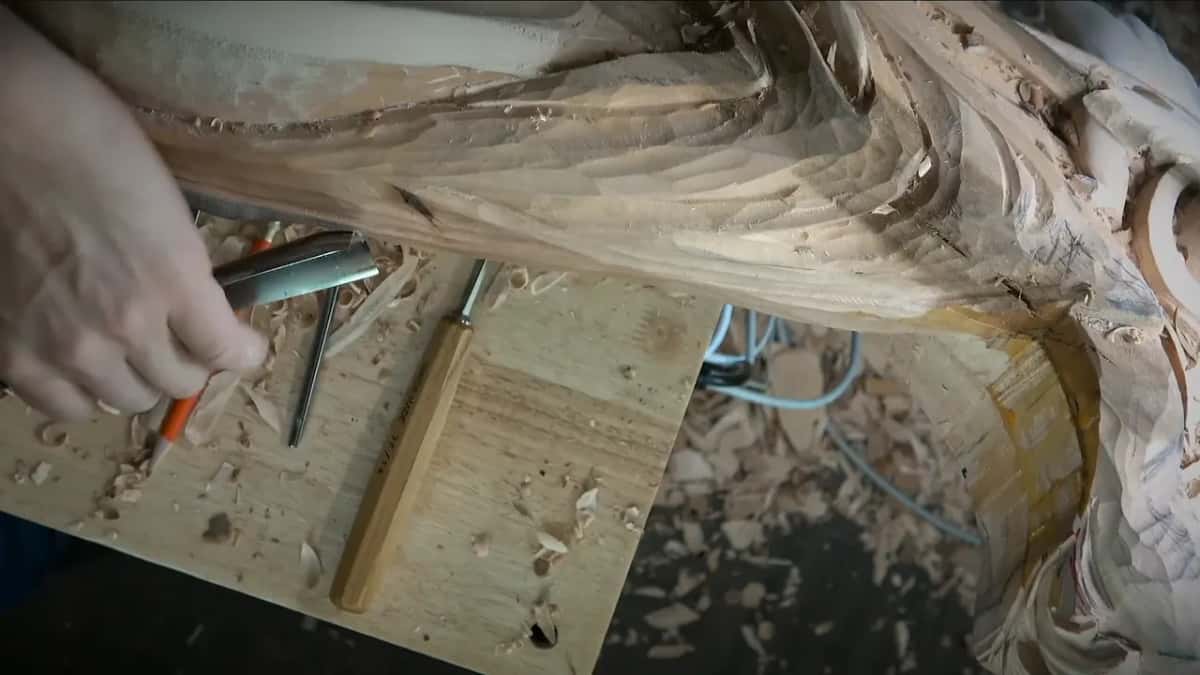
Let me exaggerate that concave, I said along the way. I don't want to lose it. I wanted a bunch of small hollows in that place, for the droppings, and first they had to blend in nicely. So I took a #7 and lowered the section. I have a main body really far, I said, so maybe I have to get rid of a lot of material and redo some of the concaves, because it doesn't look too natural as of now. Then I used just a big one.
At that point I had about half an inch to the main body of our corbel. I can go all the way to 10 millimeters, like three-eighths of an inch, and I think it's going to look better, I said. My main line had to stay.
How deep the hollows may go on an acanthus leaf is a question for workshop 22.
What makes the droppings?
A #11 going straight down makes them, after a really deep excavation by the #9 so they look natural too. And I can make them a little wavy. They're one of the details I like.
To show one side I had to readjust my vise so you could see some of it, and even then you don't see completely. But hopefully, you will understand.
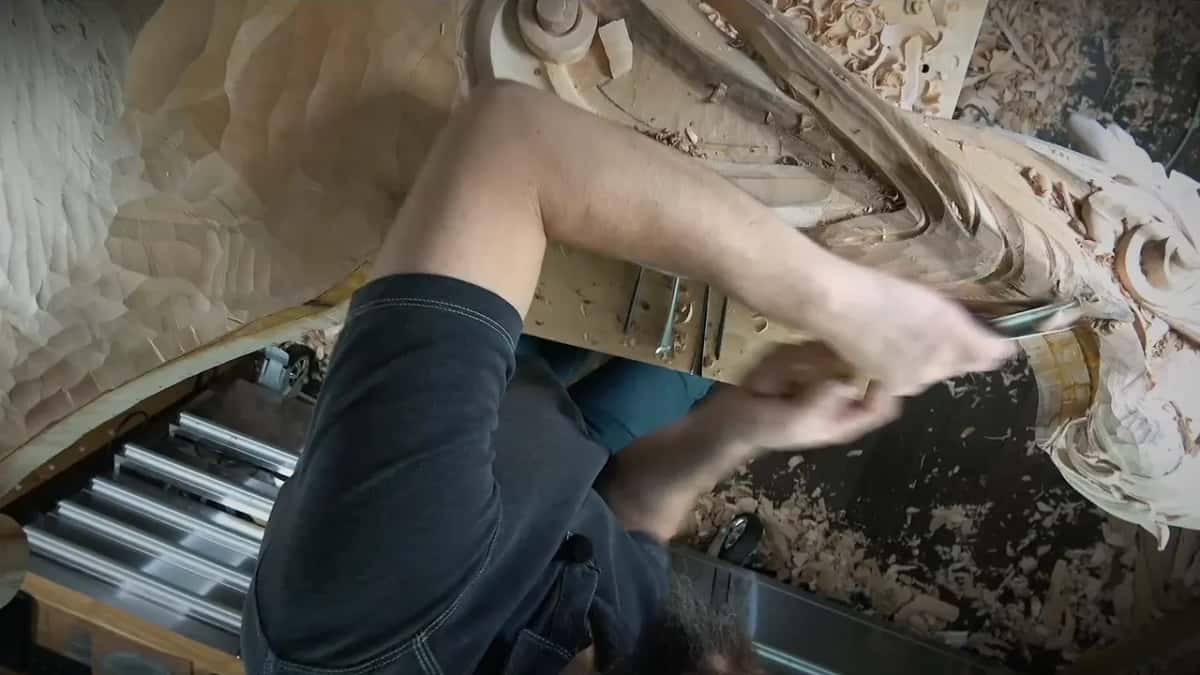
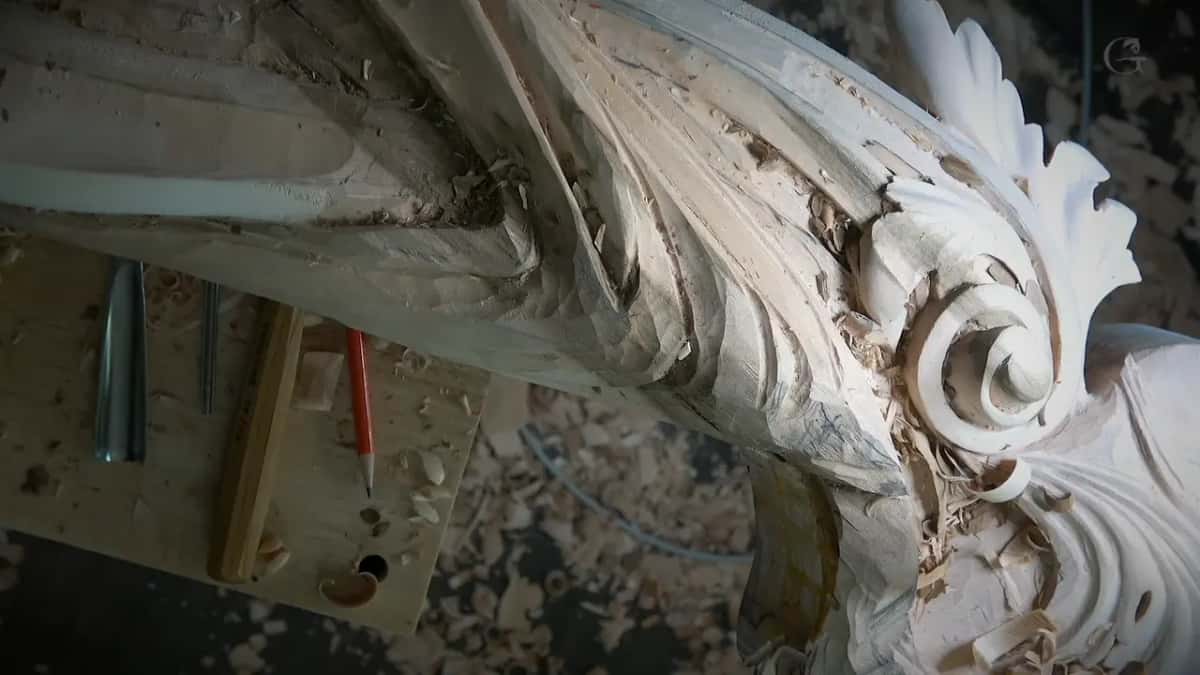
Those passes I said I would do off camera. It was just not convenient to get the camera in there, so I showed you one spot, and then the whole thing straight on, the way you would see it if you looked right at it.
What smooths the hollows at the end?
Rasps, and somewhat aggressive ones. I had just bought them, and they really are aggressive. It's a Kutzall. I'm not going to create any more concave-convexes, I said. It's exactly what you see.
The rasps give nicer, smoother transitions, and I said I'd do that part offline. I didn't worry about too many details either, because that is going to be a paint job.
After that I was pretty much done with this section. Maybe a couple more details, not more than that. The rest of the lesson I carve without talking, and I told you so: just enjoy.
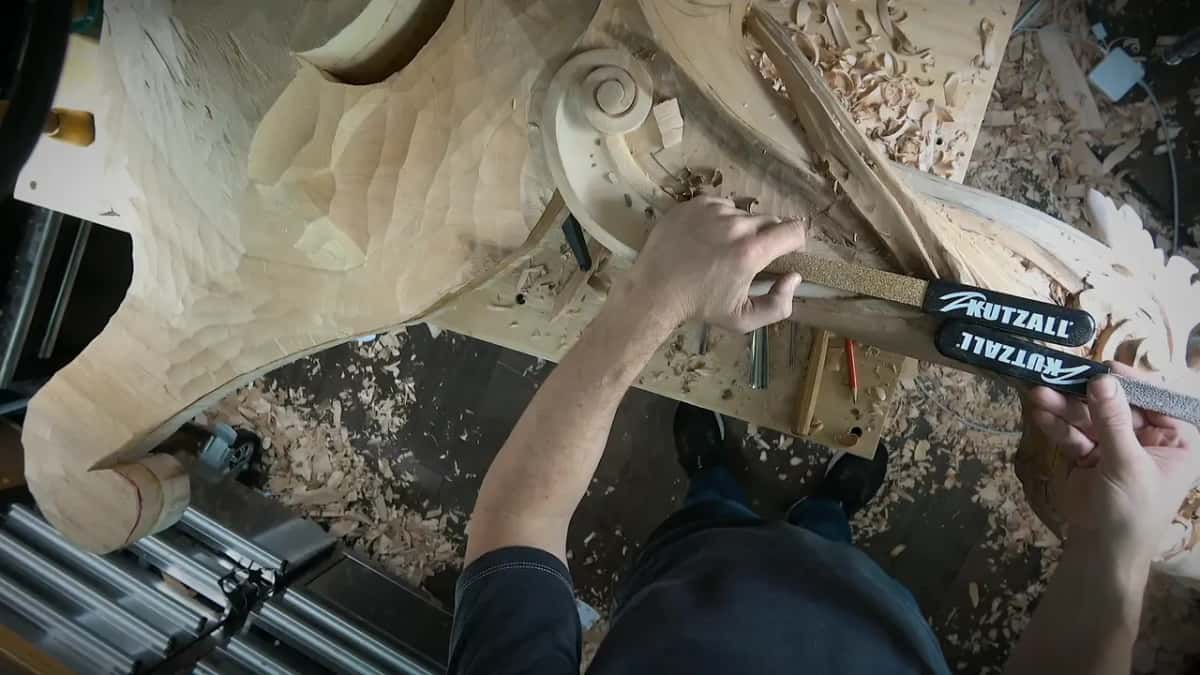
Which tools went into the nested hollows?
Every size below is a number I said out loud in workshop 91.
| Tool | Job | Where |
|---|---|---|
| #11 at five-eighths, 15 mm | Maybe first, to exaggerate the long hollow. | First concave |
| #11, 10 mm (3/8 in) | The first plan, before the bigger one. | First concave |
| A 7 mm (9/32 in) tool | Went deeper, right inside that long hollow. | Second concave |
| 5 mm, then 4 mm | Carried the inside deeper, then cleaned it. | Inner hollows |
| #9, sharpened first | Dug the short, deep open mouth shape. | Open mouth |
| #9, then #7 | Started soft, then made the inside softer. | Soft concave |
| #3, sometimes upside down | Rounded, blended ridges, and made shallow ones. | Between hollows |
| #7 and a big gouge | Lowered the section toward the main body. | Droppings area |
| Aggressive rasps | Planned for smoother transitions, off camera, later. | Final surface |
Who is workshop 91 for?
Anyone who wants hollows that hold a shadow on a big piece, and who can live with slow work. This is the sixth of twelve workshops in Part 8 of one long Venetian project. Workshop 90 sank a panel into the side of this corbel, workshop 92 comes next, and Part 7 is where the corbel began. A concave molding is another job, done in workshop 58, and taking more wood per pass with a bigger tool is a furniture panel lesson. Sharpening has a course of its own.
Would you like to watch a small tool go down inside the big hollow? And see the dark come up as it goes? Tuition opens the whole school, this room included.
How it's done
- Look from the side. Before any hollow, check the shape in profile. Mine did not look fluent yet, so a bump came out.
- Open the long one. Start the long, somewhat deep concave with a big #11. Mine was the 10 mm, or maybe a larger one to start.
- Walk around. Attack it from different positions.
- Turn with the grain. Change your position each time the grain changes, and take the next pass the other way.
- Go down inside. Set a deeper, narrower concave right down the middle of the first. I went with 7 mm, then 5 mm, and cleaned inside with the 5 mm or a 4, watching the shadow come in.
- Soften the ridges. Blend the ridges with a #3, and keep the feel of the concave.
- Lower, do not dig under. If going deeper means excavating too much underneath, lower the section instead. Mine had about a half inch (13 mm) left to the main body, and I said it could go to 10 mm.
Frequently asked questions
How do you make a concave hole in wood?
On this corbel the shortest, deepest hollow was one I compared to an open mouth on a drawn face. A #9 dug it after I sharpened the edge, and then I worked it from a second side and softened the ridge beside it. Like the mouth, it was wide, and not as long as the first.
What size gouge should start a long concave?
My plan was a 10 mm #11, until I said maybe I can start with a larger one, roughly five-eighths of an inch, 15 millimeters or so, and exaggerate that first hollow. Narrower tools followed it, down to four millimeters.
Why dig a second, deeper hollow within the first?
Shadow, which I said on camera with the smaller tool still in the wood. The undercut in that area stayed tiny, a single millimeter by #11, saved for later. I really did not need to go deep underneath there.
What to carve next