
Alexander Grabovetskiy, woodcarver, School of Woodcarving · Published 2020
Is wood carving dangerous?
Quick answer: Wood carving is dangerous when you hurry and a single pass tries to take more wood than it should. My teacher named the two results. You damage the piece, which is not the worst one, or you cut yourself really badly, because the tools are sharp. So I take small bites and feel each one.
The danger in wood carving, as my teacher put it to me, is one habit, trying to take too much wood at one time. It was my own mistake once. A greedy bite can damage the piece, and it can hurt you, and he told me which of the two is worse. Wood carving safety, for me, starts right there.
Do you want real depth in your carving, the kind that throws a dark shadow? Without hurting the wood, or your own hand? Then take less wood in each pass than you feel like taking. Workshop 60 shows where the danger sat on one working day, in the board and in my fingers, and what I did about it.
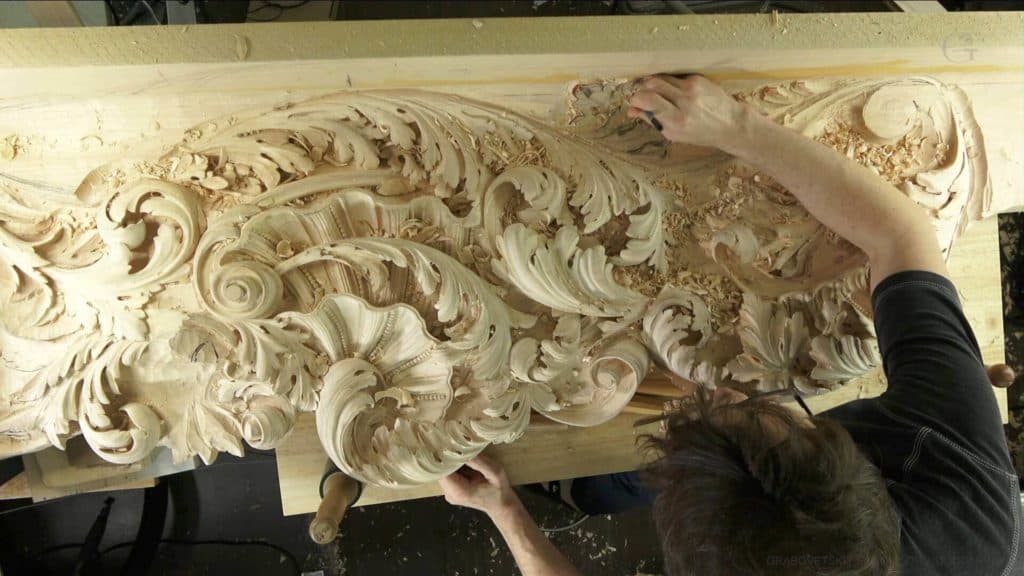
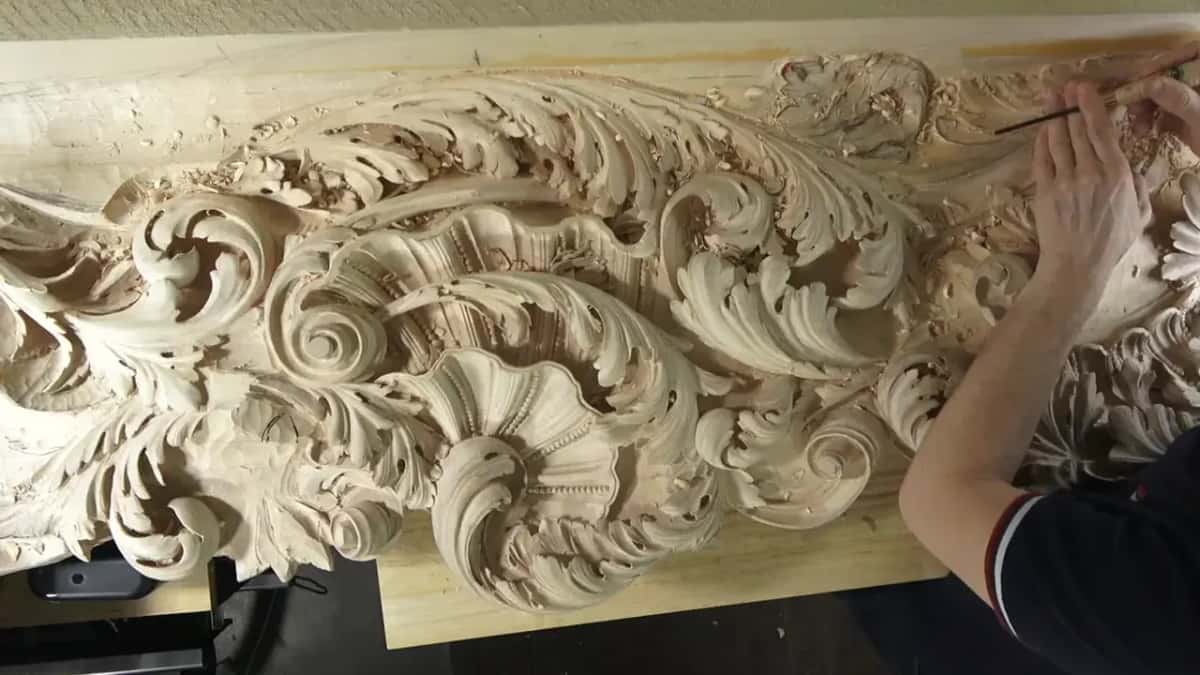
This board is a Venetian ceiling panel, and it's a production project. My granddaughter was visiting that day, and you can hear her screams in the background. I kept filming anyway, because I really have to work.
Where the danger sat in workshop 60
Greedy bites were my own mistake, and my teacher warned me about them.
He named two results of hurrying, and the damage to the piece is the lesser one.
A pass that goes too deep hurts the thumb or finger you lever against.
Where a pass could go all the way through, I go deep in small plugs, side by side.
With plenty of spare wood, a 30 mm (1 3/16 in) #11 takes big bites.
Where does wood carving safety start for me?
With one bite of the gouge, and how much it tries to take. I said it on camera in this workshop with a 10 mm (3/8 in) #9 spoon gouge in my hand. Feel it. Don't dig too deep inside the wood.
Trying to get too much wood at one time is the mistake, and it was my mistake too, because I wanted to be super quick. By the way, the letter A on a Pfeil means short bent, a spoon gouge.
What did my teacher warn me about?
Being speedy with a sharp edge, which is exactly what I was after. My teacher told me, "Don't do that." I still wanted to be super quick, and he laid it out for me like this.
There's a couple of possibilities, he said, and one is better than the other. One, you're going to damage your piece if you try to be speedy, which is not the worst one. And the worst one, you can cut yourself really badly, because we are working with sharp tools.
So it's better, even on a large sculpture, not to dig too deep. I said that twice in a row on camera. And I'd rather take time and do it right, and make it look correct, which is what I told you right after I knocked down the middle of one leaf so its pipes could stand out.
How can a deep pass hurt your hand?
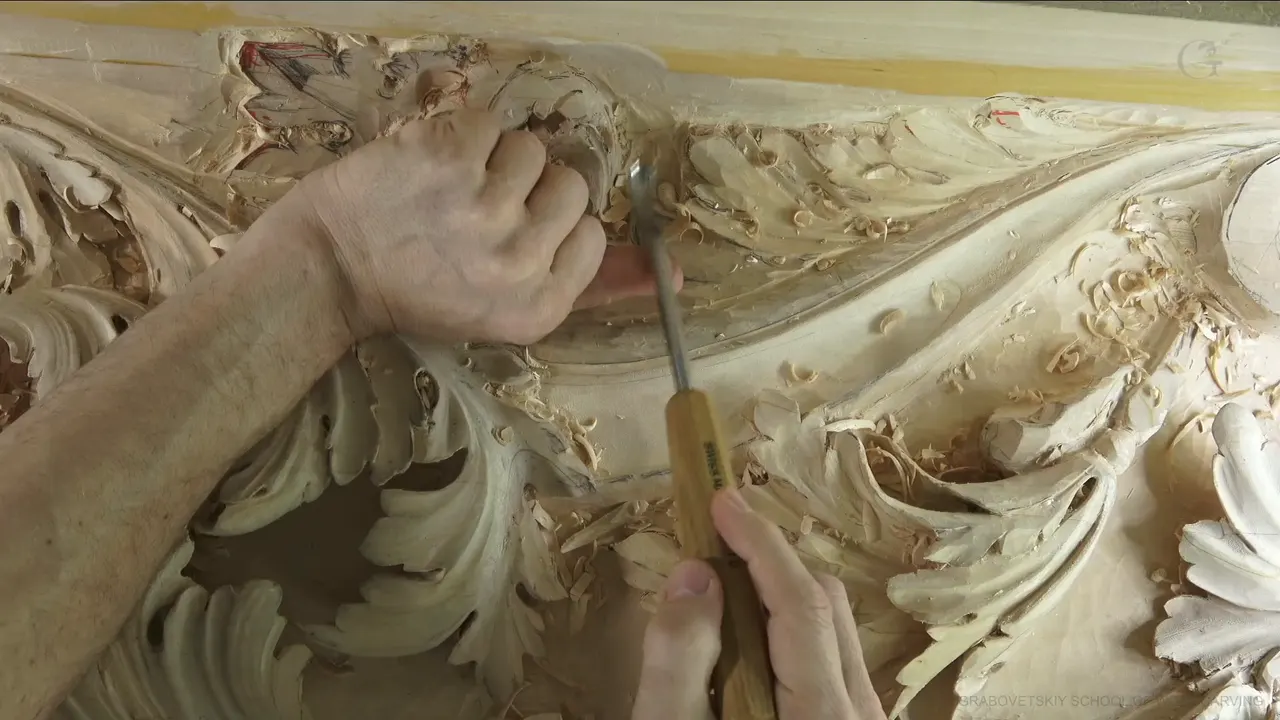
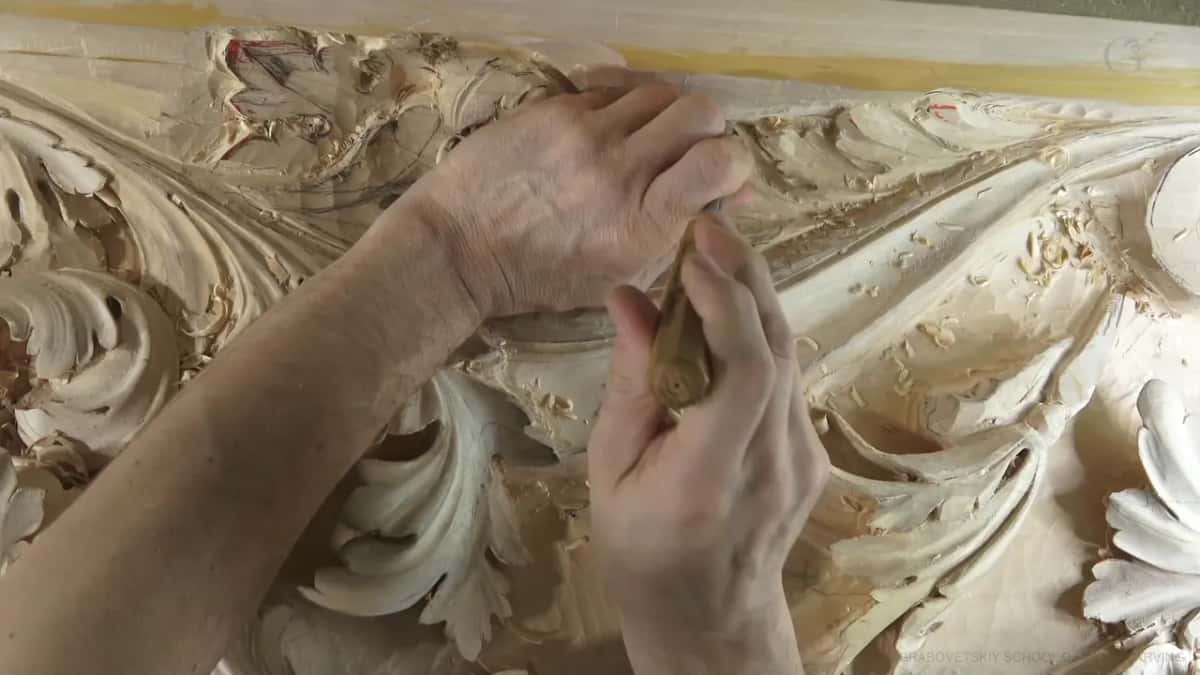
Through the thumb or finger you lever against, and I showed both on camera in this workshop. See the position of my thumb. I'm leveraging against it, just cranking against it, and sometimes it's painful, because if a pass goes a little too deep you can actually hurt yourself. So be careful how deep your passes are.
See, my finger was in that position. I'm pulling out, and I've got almost a channel on my thumb.
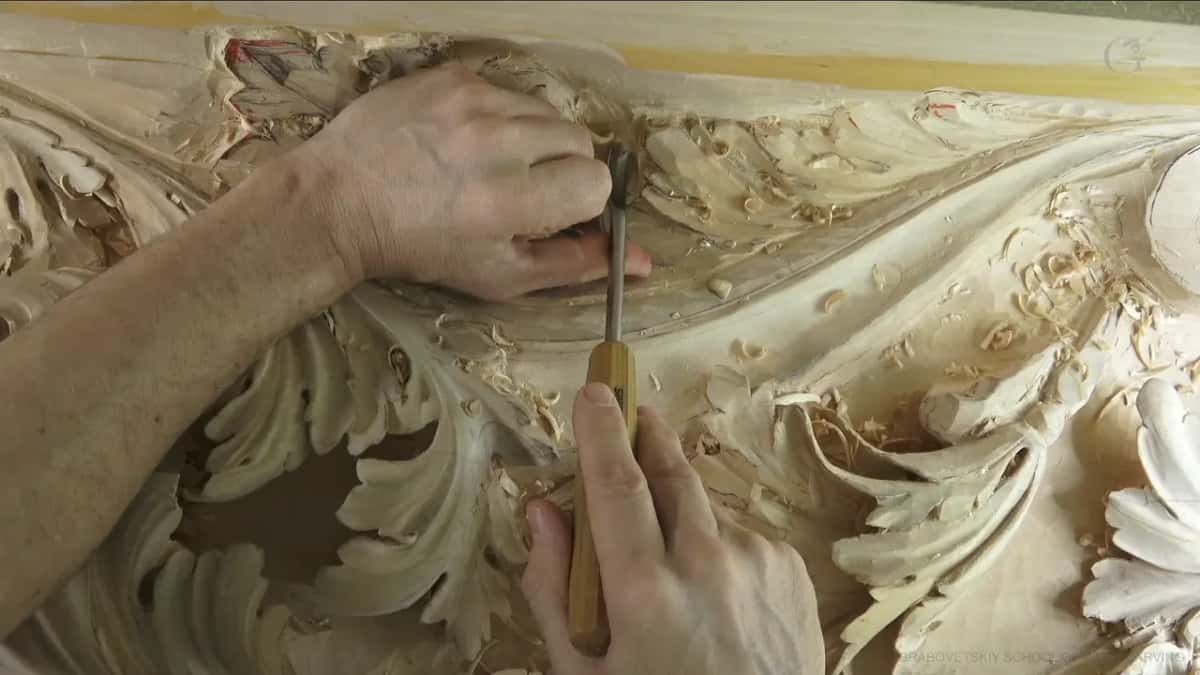
In an earlier part I used my middle finger as the leveraging point, the cranking point, not the way a lot of people use it. Cranking against that finger gives me a lot of control. Some of you don't use the middle finger the right way. Use it as leverage. But don't try to push too hard, because you can actually break your bone if you don't do that the right way.
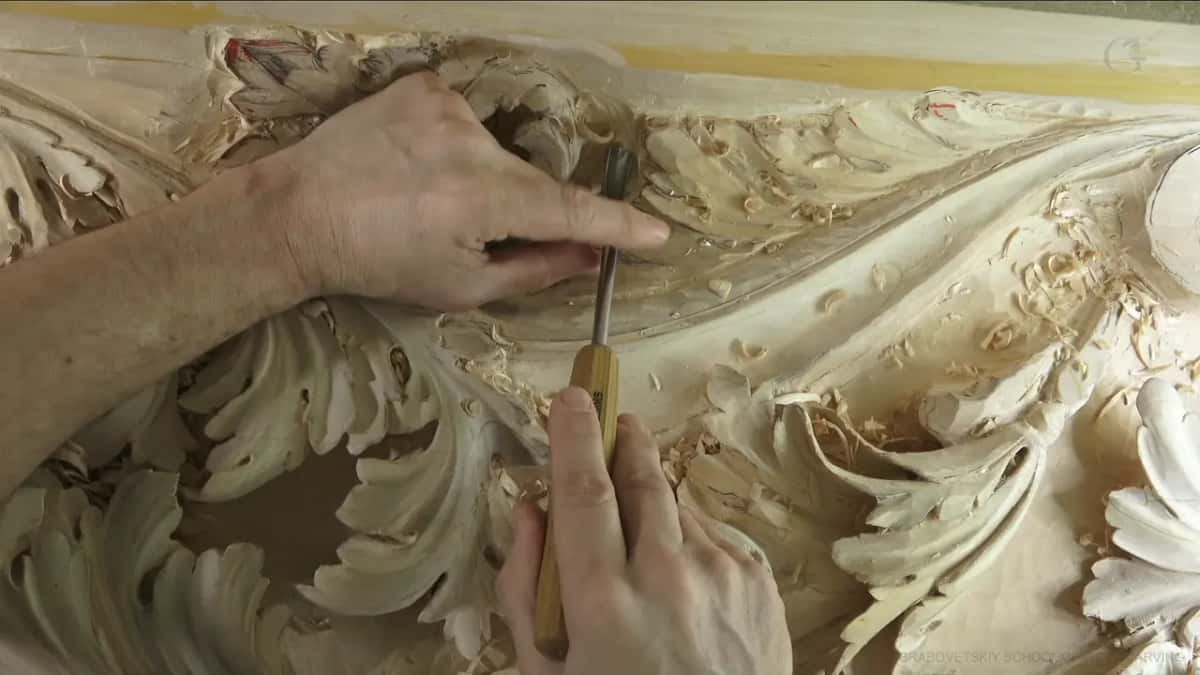
The grip for fine detail, with the tool riding on the middle finger, is a lesson of its own on a grape onlay. Pressure with a knife is another question, answered on a butterfly plate.
What does a greedy pass do to the carving?
It goes through, or it takes wood you still need. At the start of the workshop I said it's really important for me not to mess up, especially at this stage, because this piece is going to be visible.
Under one leaf I wanted a really deep shadow, and my favorite way to get one is a plug cut. I really needed that shadow to see a beautiful outline of the inner line. I started straight down, then came in from the opposite direction underneath and rotated the gouge. The plug couldn't go all the way through, so I had to be really careful how I did it.
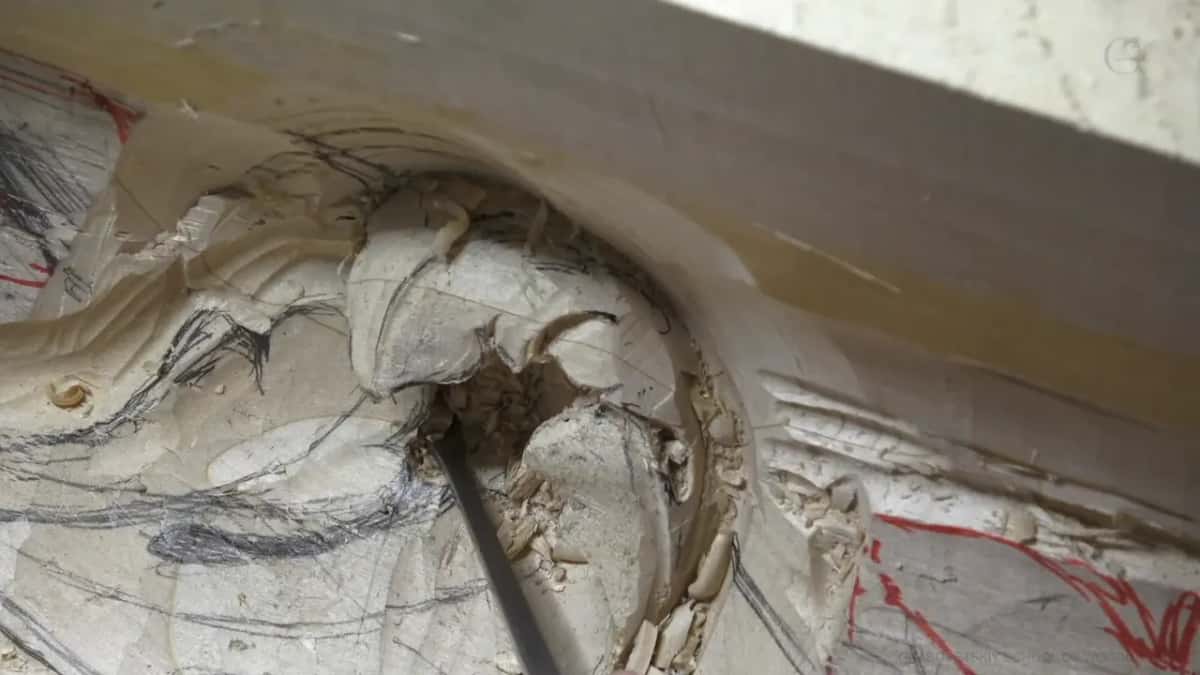
Later I dug some waste out ahead of the next division, and I said I'm not encouraging you to do that. For some of you it would be a big mistake. Get too deep and you're going to damage the background, and you don't want that unless it's on purpose. There are some guys who love damaging their work and then say it was on purpose, a rustic look. Not in my case.

Some wood has to stay because of what comes next. On this board a shell will grow out from underneath, at least that was my original idea, so I asked myself on camera how deep a deep excavation should go. I didn't want to get too crazy about it, or I'd have a problem making the shell movement later. Going deeper under one spot for its shadow, I said it out loud. Extreme, but not too extreme.

The same held for a spot that becomes part of a movement on the inside, and for a pipe with an acanthus eye coming right beside it. Carving under that pipe, I asked you to pay attention that I'm not excavating my eyes. Eyes of acanthus, not my eyes, which would be a big mistake, and then I said I've got to work on my language.
And once in a while the danger is just doing more. I kind of liked one concave and kind of didn't, went back into it, and then said I should probably leave it alone, because the more I do, the more damage I create. Another time I made too much of a ridge. It still cast a shadow I didn't want, so I blended it a little nicer.
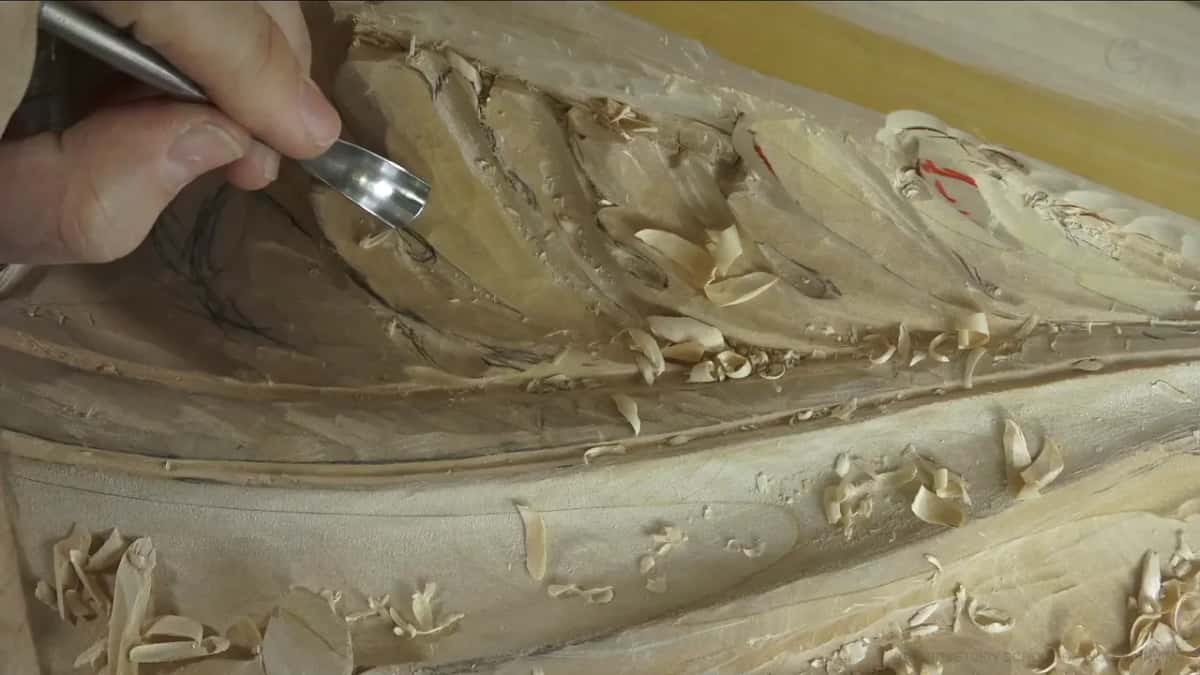
Why do tight angles call for careful passes?
A tight angle limits where the gouge can come from. Under that leaf the real question was how to excavate without damaging anything, because I was limited in the angles I could attack it from. Parts of this board sit a little far from me, and I can't even work the way I usually do, so I have to raise myself somehow. Sometimes it's impossible for me to see, and I stick my head in. Every pass there needed to be a really careful one.
To go the other way under a molding, I swapped hands. To attack one spot from the other side, I walked around the piece, and what you hear on that part is just me walking, because I really don't want to stop filming. I don't want to make a mistake, I said. The lights had to come really close to me as well, since it's hard to see in there.
How do I go deep with small bites?
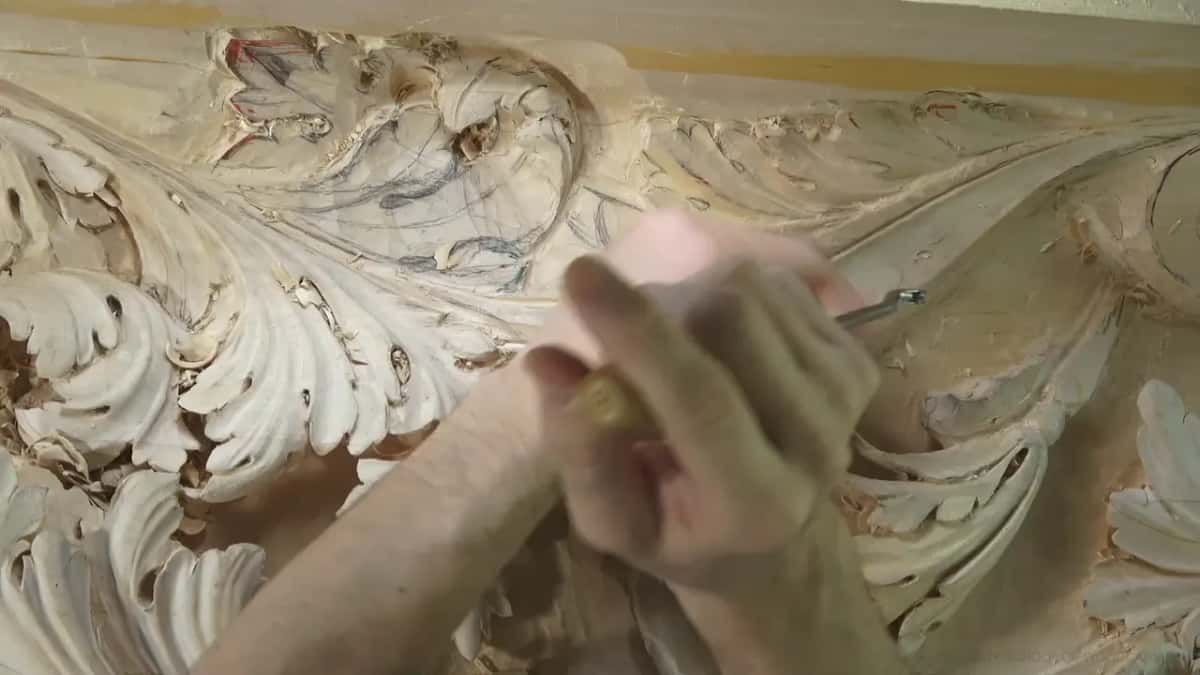
Many small plugs side by side, and thin passes wherever something has to stay. After the first plug I went right on the side of it, then again, little by little. I even called them extra plugs on camera, then corrected myself. I'm creating plugs. All it takes after that is a couple of passes with a number 5, on an angle, toward the plugs. And I've got a really, really sharp edge.
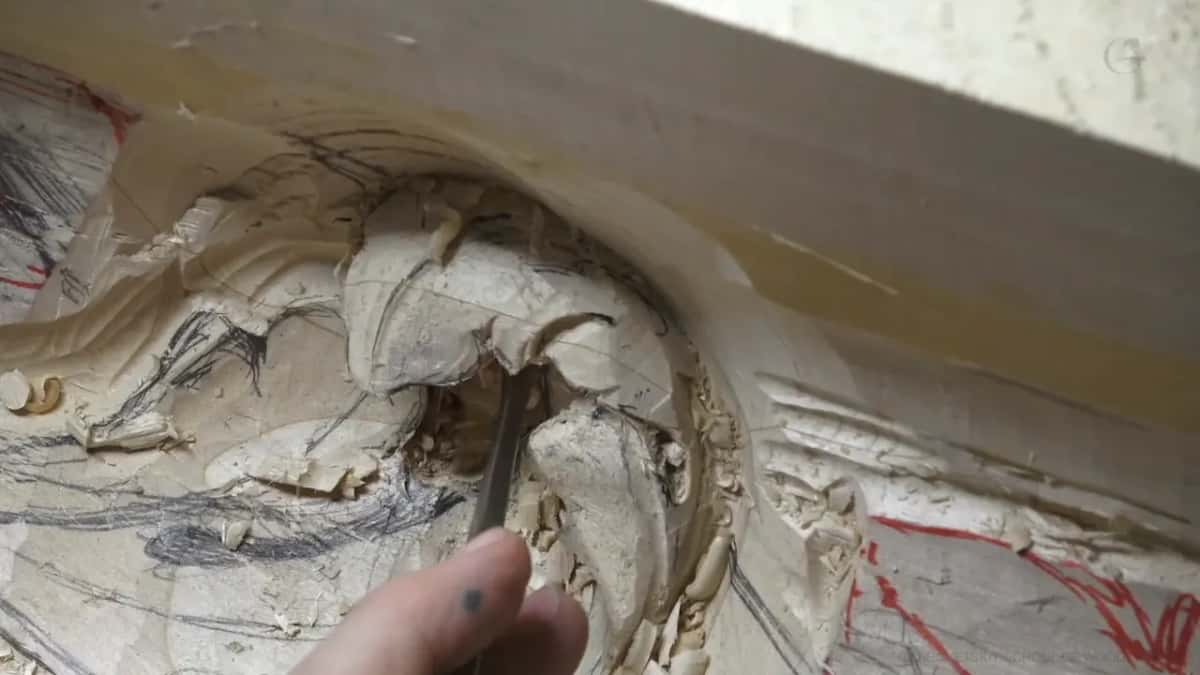
In one spot I took a mallet and a 3 mm (1/8 in) #11, gave it a knock and relieved the wood. In that area especially I had to be really careful. Even a #9 would have made a plug hole there, and the #11 did the trick.

For one shadow line I started with only 1 mm (1/32 in), because all I needed in that area was a shadow line. For a micro pipe coming off one eye I went from a 4 mm #11 down to 2 mm, because I didn't have too much space, and elsewhere from 2 mm to 1 mm, because it made a lot more sense. In one really challenging area I wasn't even trying to get one continuous pass.
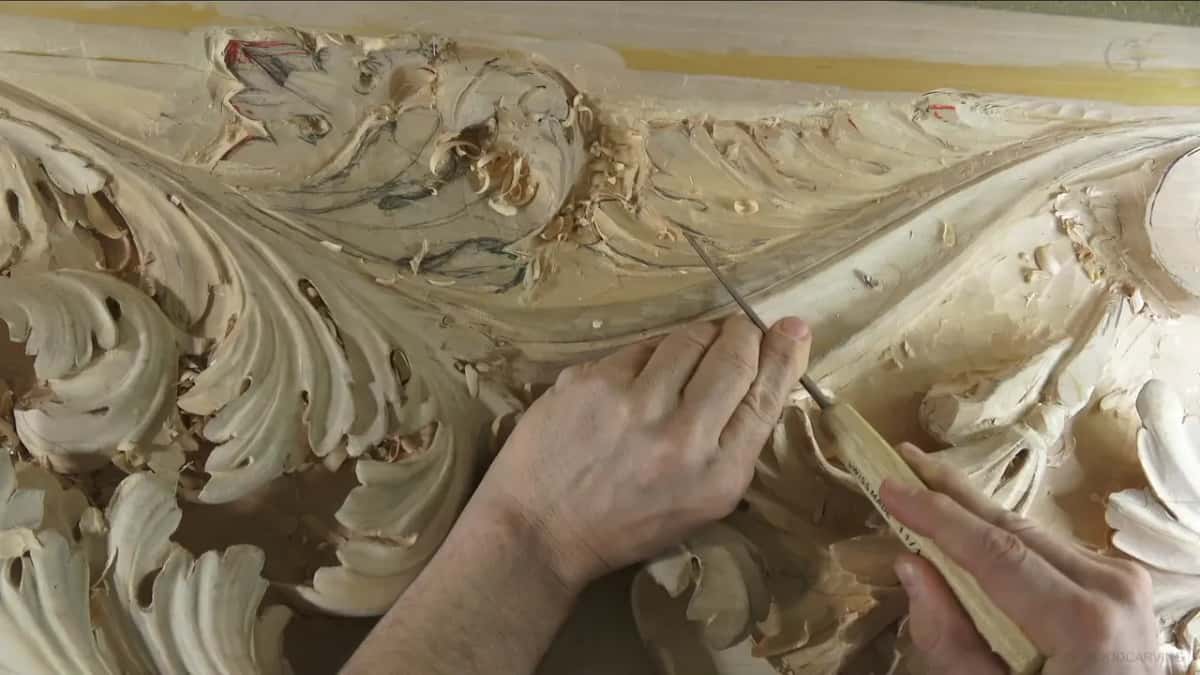
For another eye I used a Henry Taylor #11 of 3 mm, and they mark it 48, but it's just a number 11 veiner. Ashley Iles and Henry Taylor, two English brands, are my favorite. I'd love Auriou, the French brand, if they did the whole line, but for some reason they don't. More on who makes what is in the tools course.
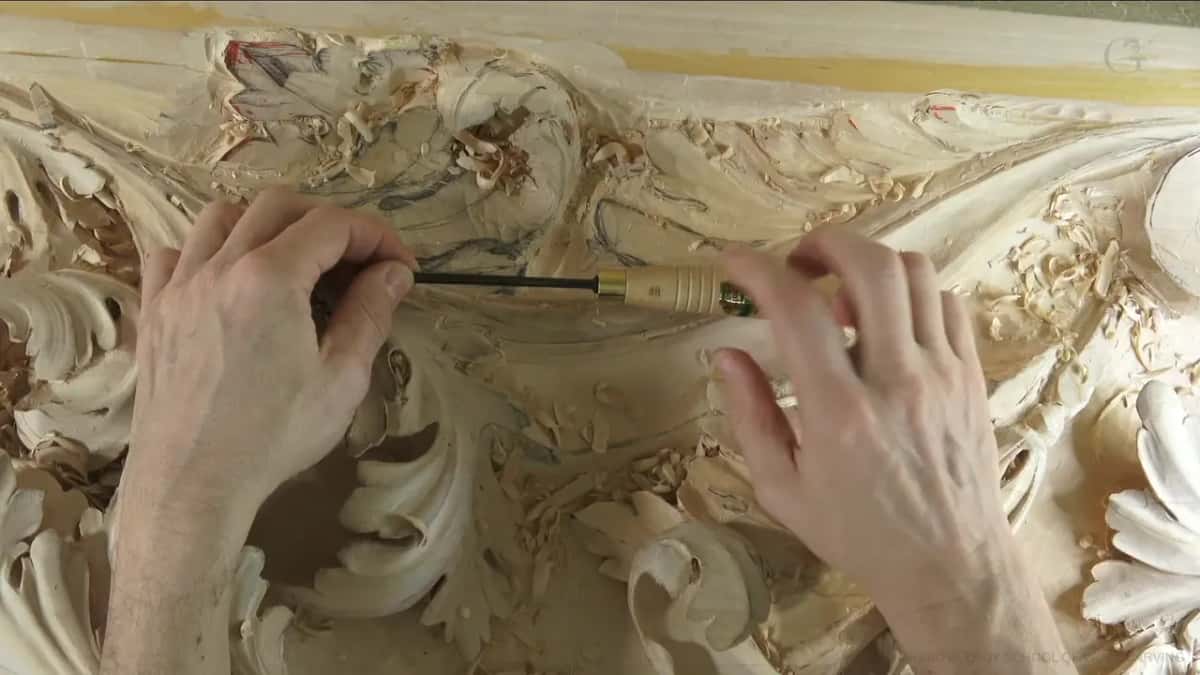
These are the sizes I used that day, and what held each bite back.
| Gouge | Job | Limit |
|---|---|---|
| Tiny 1 mm gouge | Only a shadow line, nothing deeper there | That's all. |
| Mallet, 3 mm #11 | A knock to relieve one careful spot | Really careful. |
| Spoon, 4 mm #11 | Outlined the leaf before the first plugs | The line. |
| The 10 mm #9 | Uphill, then turned back and carved downhill | The grain. |
| A seven millimeter eleven | Dug waste out, sort of a shovel | Waste only. |
| A 30 mm #11 | A deep excavation to get three dimensions | Plenty there. |

When is a big bite fine?
When the wood is waste and there's plenty of it. Late in the workshop I needed three dimensions in a new section, so I took a 30 mm (1 3/16 in) #11 and did a really deep excavation there. I wasn't afraid of taking too much, I said. I have plenty of material right there, so I don't really worry about it.
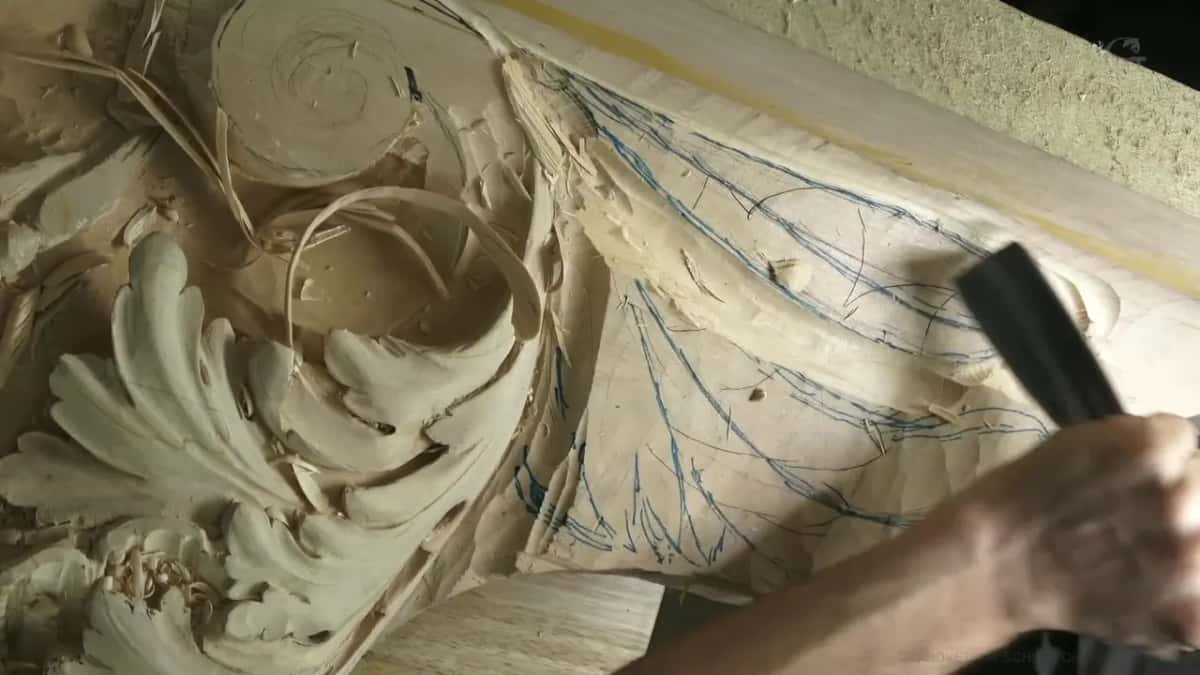
Earlier, with a shell still to come in the middle, I held back and didn't take too much of the material there yet. I did have to get deeper, and in that spot I was safe to take a little more. My 7 mm #11 dug waste out like a shovel. Well, it is sort of a shovel. And early on a number 6, one inch (25 mm) wide, gave the movement its main shape.
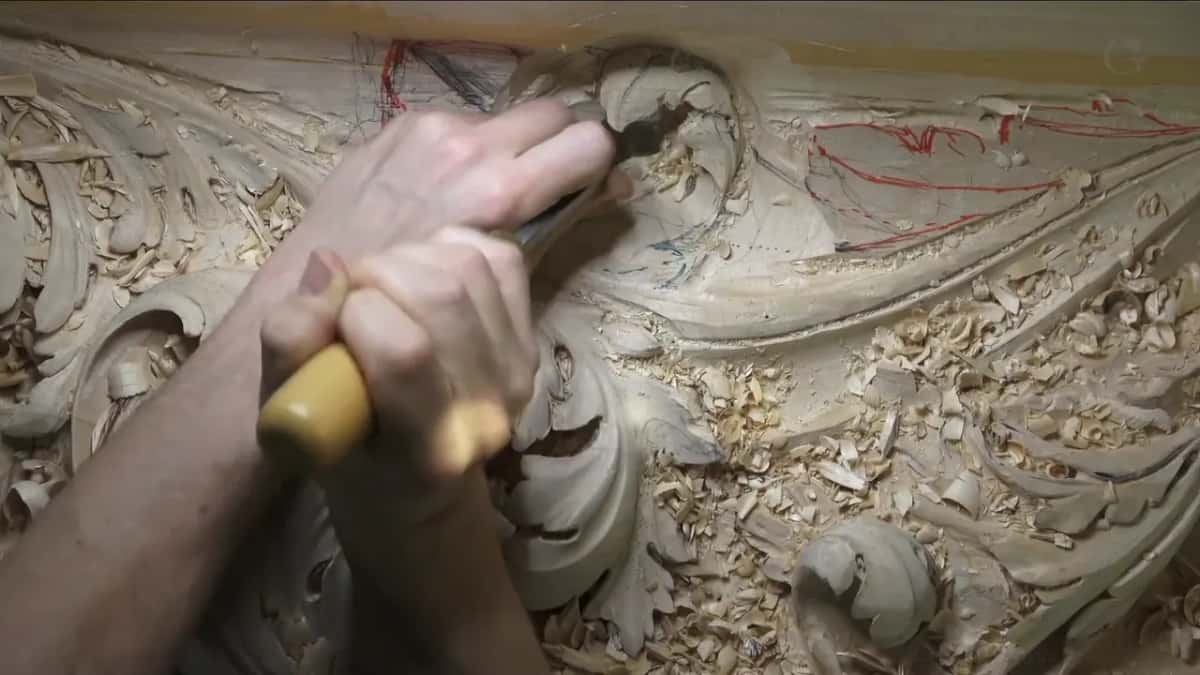
What did I stop to do halfway through?
Buff the gouge. Right after all that talk about deep passes, I said I guess I need to sharpen it, and then I only buffed it a little. The outside went on my Koch machine for buffing. For the inside I used the attachment on the side of my Tormek, the one for buffing.
Then I wiped it with a paper towel, because I don't want all that mess on my work, and for some reason I got messy again with my tools anyway. It took me just a second, and back in the wood it was just like butter. Sharpening has a whole course of its own here.
My teacher's reason was the sharpness itself. When I turned to carve the other way, I told the camera I was watching how the wood would behave, my block of wood, not the gouge. The gouge is really sharp, and I keep it really super sharp.
At one point I said I shouldn't blow the chips away, there's a better tool. A viewer asked about a vacuum cleaner, and yes, I do use one, but it's so loud that on camera it would blow your ears out.
Where workshop 60 sits in the room
This one comes right after workshop 59 and before workshop 61, and the sixth part carries the same board on. A row of plugs stepping down in size is in workshop 53. Undercutting has a part of the room to itself. Next on this board comes a volute, a corbel at the end, and a flower with acanthus growing out from under it.

I don't expect you to take on a whole project like this. It isn't cheap, in material or shop setup, and it takes a lot of space. Take a chunk, or one section of it, and try it on some furniture. There's a course for beginners that starts smaller still, and my techniques course is the Q and A for tips like these.
Want to watch every pass of it, mallet knocks and buffing included? Does it help to hear the reason while the gouge is still in the grain? Then Tuition opens all twelve workshops of this part, and the lessons map shows where each one sits.
One more small thing from that day. I reached into my number 5 drawer and came out with a number 6, and I asked the camera how it got in there.
How it's done
- Brace on the middle finger. Crank the tool against it for control, the way I do on camera, and don't push too hard.
- Start the plug straight down. Come back from the opposite side underneath, rotate, and set the next plug right beside the first. Stop short of breaking through.
- Knock once in a careful spot. One tap of the mallet on a 3 mm (1/8 in) #11 relieves the wood.
- Begin a shadow line at 1 mm. Where a shadow line is all you need, a 1 mm (1/32 in) tool goes first, and nothing deeper follows there.
- Buff between passes. Outside on a buffing machine, inside on a side wheel, then wipe the edge with a paper towel so the mess stays off your work.
- Save big bites for spare wood. A 30 mm #11 can take a deep excavation where plenty of material sits.
Frequently asked questions
Can a carving gouge hurt the hand that braces it?
Your thumb can, if you lever against it. In this workshop mine was the pivot for a 10 mm (3/8 in) spoon gouge, and I said a pass that goes a little too deep there is painful. Feel it as you go, and keep each bite small.
Do you need a mallet for deep work?
A light knock does it. On this board a 3 mm #11, one-eighth of an inch, got a single knock of the mallet to relieve the wood in a careful spot. On the first plugs under a leaf I said I could probably use a mallet a little bit.
What if you don't own any #11 gouges?
Get number nines, at least. My #9 spoon did deep work in several spots on this board, and for one hollow I said a #11 would give me pretty close to the exact same thing. A concave even took a straight number 8 after I doubted it would.
What to carve next