
Alexander Grabovetskiy, woodcarver, School of Woodcarving · Published 2020
Can two gouges with different sweep numbers cut the same curve?
Quick answer: A gouge's working curve is decided by two things at once, the number on its steel and how wide its edge is. On a Venetian ceiling panel a number 6 at 10 mm sat inside a number 7 at 14 mm and matched its round, so the narrower tool with the lower number carved the same curve.
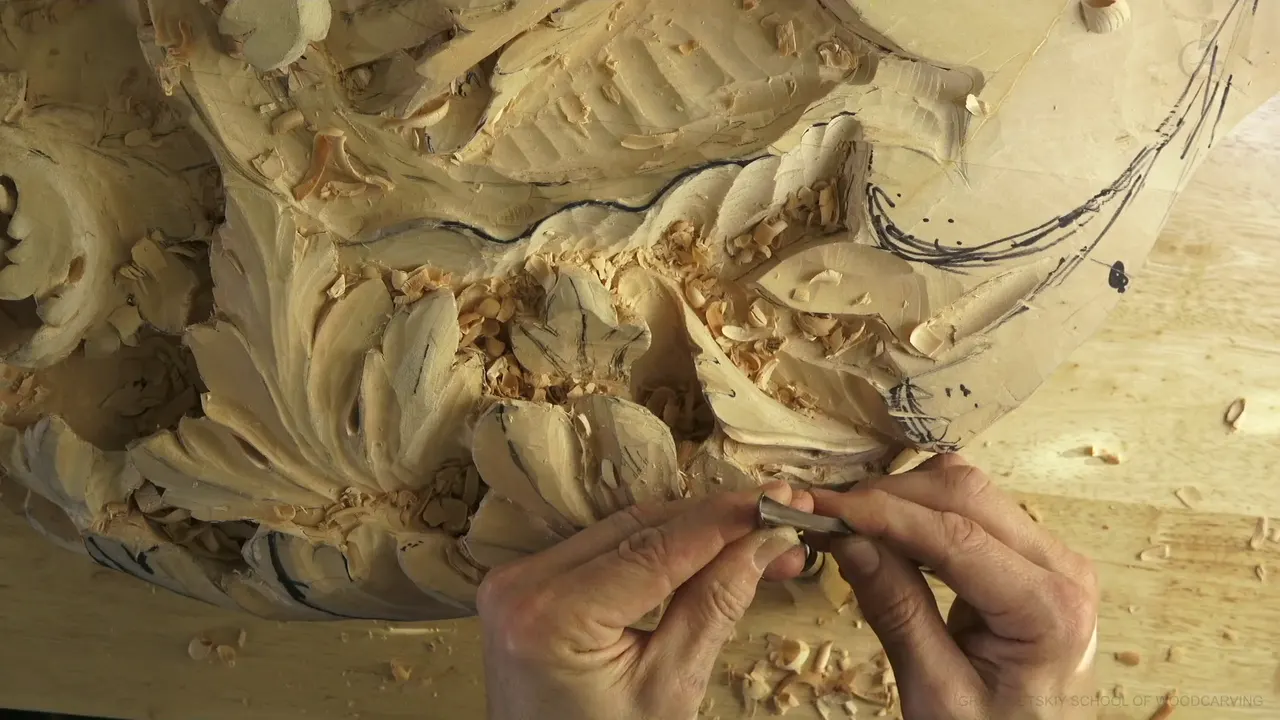
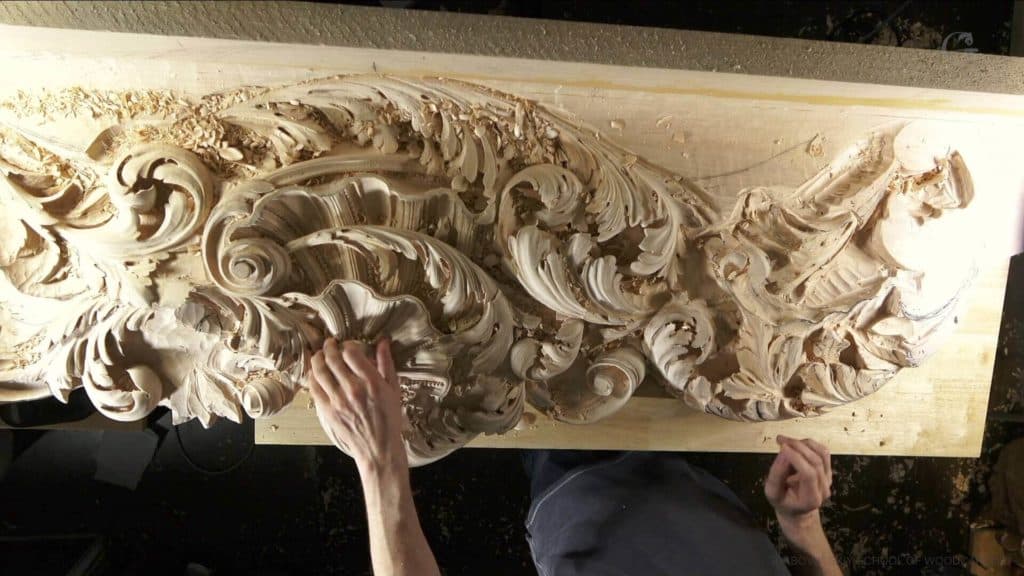
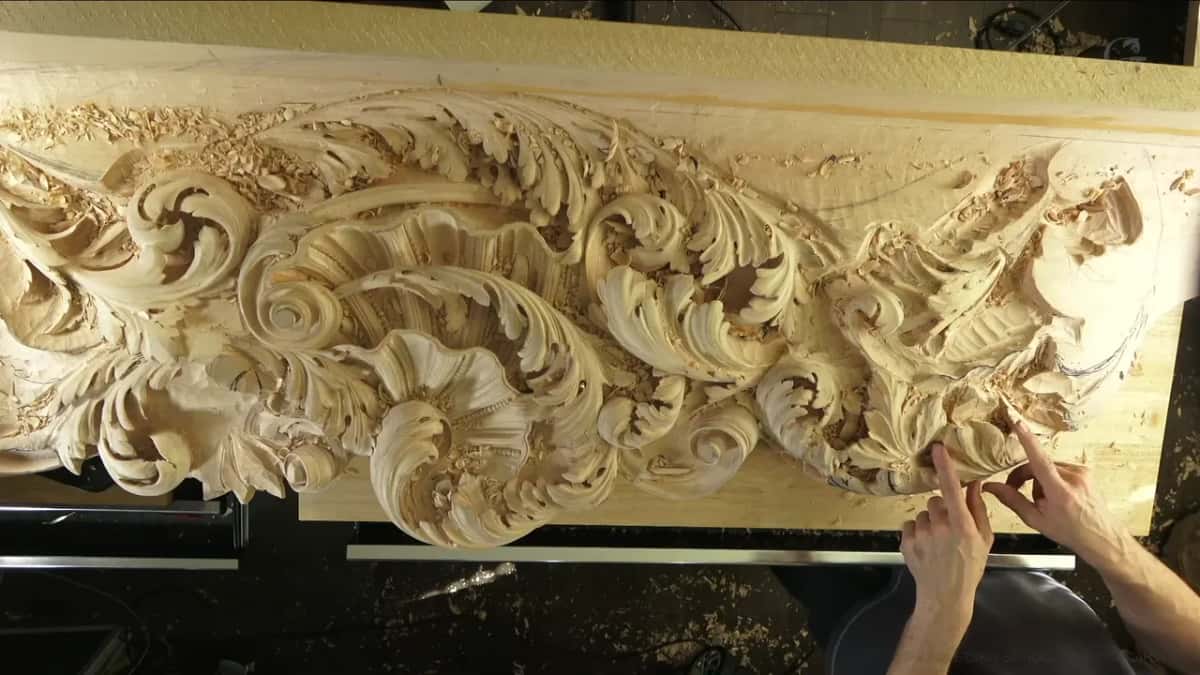
The curve a gouge carves is set by its sweep number and its width together, never by the number alone. A gouge sweep chart gives you the numbers, and on paper they look settled. In workshop 54, on this ceiling panel for the Venice room, I held a 10 mm (3/8 in) number 6 inside my 14 mm number 7, about half an inch, and the two matched. Two numbers, one curve.
Would it help to know which gouge fits a curve before you ever pick it up? Would you like to see the one thing a chart can't show you? Then put two gouges together and look at them as a pair, the way I did halfway through a concave. You'll get both tools, my reason on camera, a spot where a bigger gouge wouldn't go in, and one chop that matched a curve by itself.
Two gouges, and what they showed me on this panel
A 10 mm Ashley Iles number 6 sat inside the 14 mm Auriou number 7, and the curves matched.
The only reason I gave was size.
Any number 9 is a true half round, whatever its width.
Tipped onto its side, a 4 mm eleven left a hollow only as round as a number three.
One spot refused a 16 mm number 9, and the 14 mm seven carved it clean instead.
When a sweep already fits a curvature, one chop takes the waste out.
After a round hollow, something flatter or a back bend brings the ridge down.
What does a gouge sweep chart leave out?
The width, mostly. The number on a gouge names the sweep and says nothing about how wide the steel is, which is where my lesson on what the numbers mean starts, and what sweep is sits on a separate page if you want that first. Makers publish their own charts. Flexcut has tool profile charts, Henry Taylor prints a sheet of its edge profiles, and Pfeil publishes a catalogue.
A chart is a printed list. It can't set one tool inside another and let you watch two numbers agree. At my bench the steel did exactly that for me in the middle of a concave, and I stopped long enough to hold both tools up and explain.
Why did a 10 mm number 6 fit inside a 14 mm number 7?
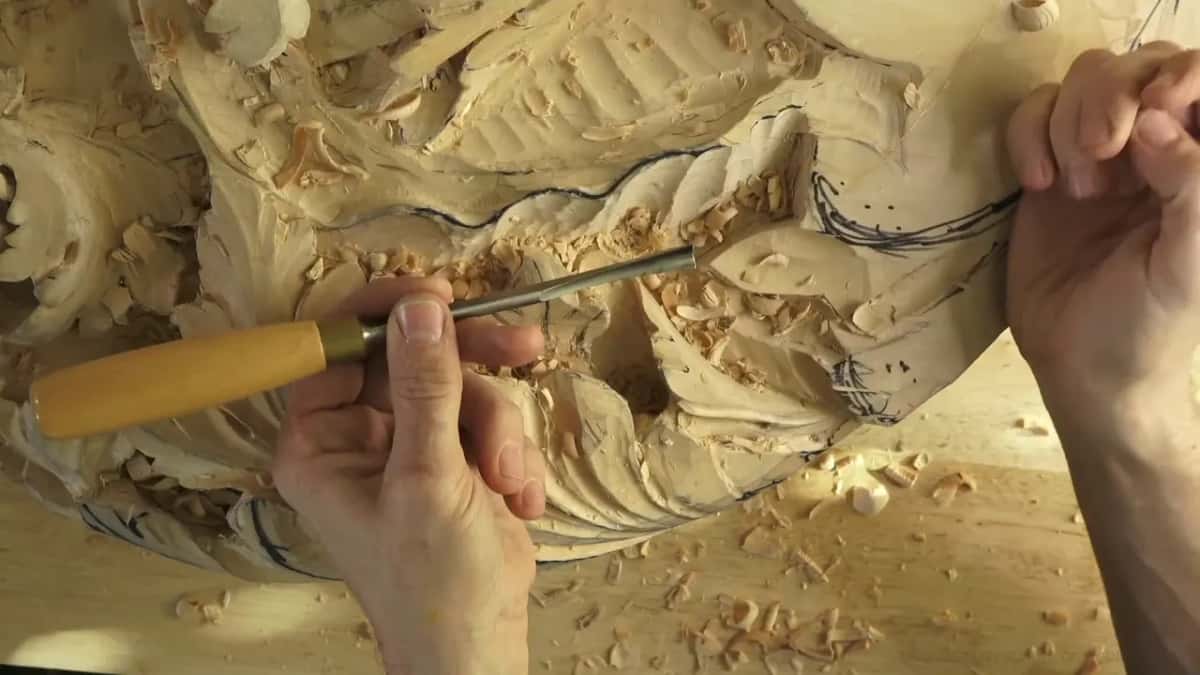
Size changes the curve, and that was about the whole of my explanation on camera. I'd opened a concave with the 7, an Auriou, a French brand. Beautiful tools, not cheap. Then I wanted something smaller to clean with and picked up a number 6 by Ashley Iles, 10 mm or 3/8 of an inch, and before anybody could ask why a 6 and not a 7, I stopped to explain.
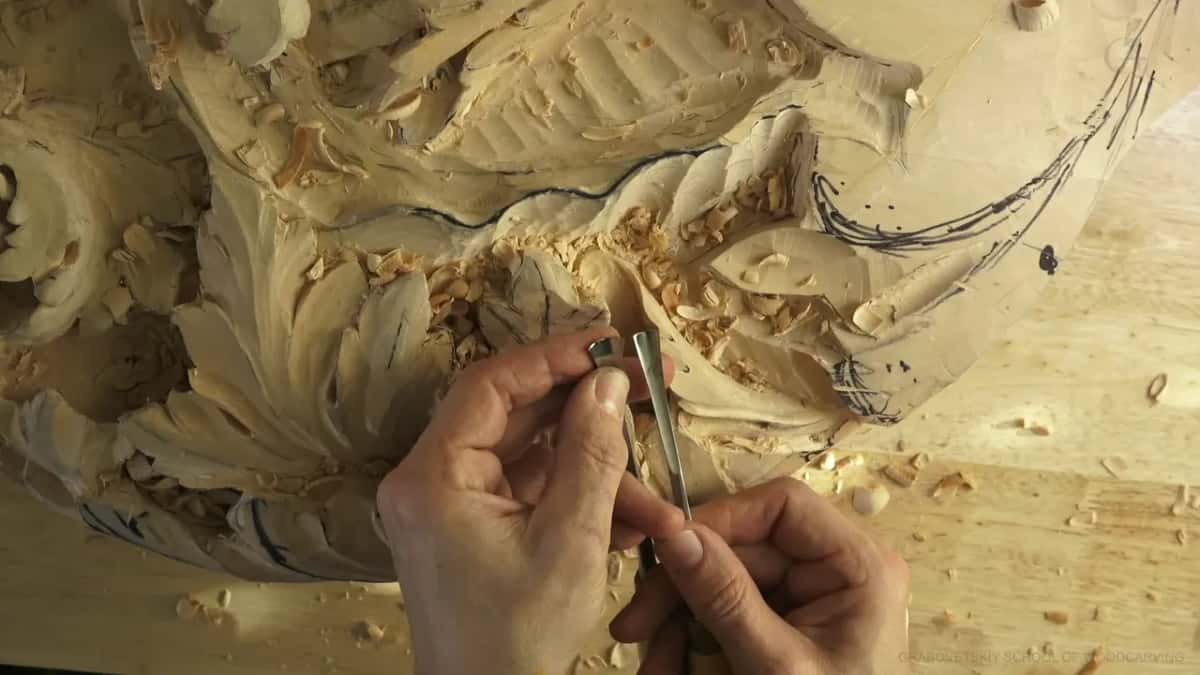
The 7 is big, 14 mm, and its sweep is a 7. Next to it the 6 is only 10 mm, four millimeters narrower (about 5/32 in), and its sweep is a 6, so on paper the two tools sit a whole number apart. Put the small one inside the big one and they match. Because of the size of the tool, the curve just changes.
The check itself was quick. I held the two blades side by side, then set the smaller one into the bigger one's hollow, and said they matched.
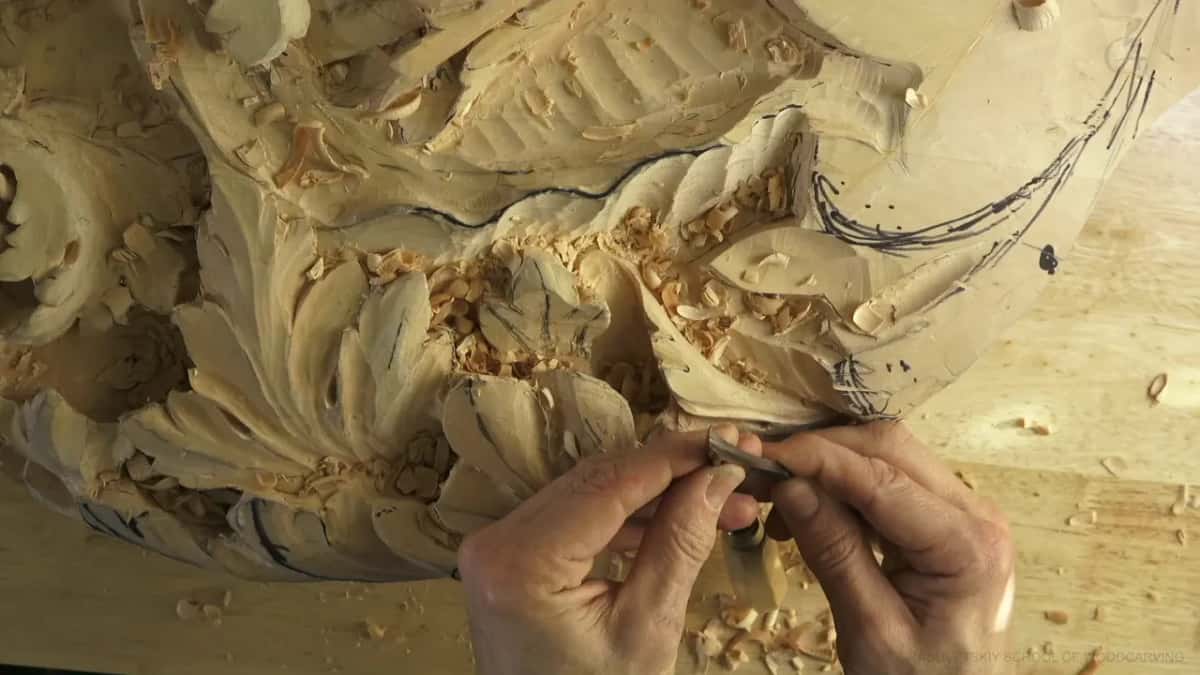
That's the part a chart can't hand you. The number stays with the tool, and the width decides what that number carves on the wood. A narrower gouge with the lower number can land on the same round as a wider one with the higher number, and mine did.
That 7 had been busy all session, too. Early on it blended a whole movement without taking the height off one point, gradually up from underneath, then down, then up again. Later it cleaned in what I called a more unified way, ran all the way to an earlier excavation, and cleaned a shell. So when the smaller 6 went in after it to clean that concave, the curve was already the right one.
Does a number 9 stay a half round at every width?
As far as I'm concerned, it does. I call the number nine a true half round, always, and if you rotate one on the wood it cuts a perfect round. In this one workshop I had nines at 3 mm (1/8 in), at a quarter inch (6 mm) and at about 10 mm (3/8 in), and I tried a 16 mm (5/8 in) one that didn't fit.
Before one deep spot I wondered out loud whether a quarter inch was too big, started with it anyway, then went down to 3 mm once the hole was open. Another time I kept the quarter inch going and said a smaller one would be a good idea later.
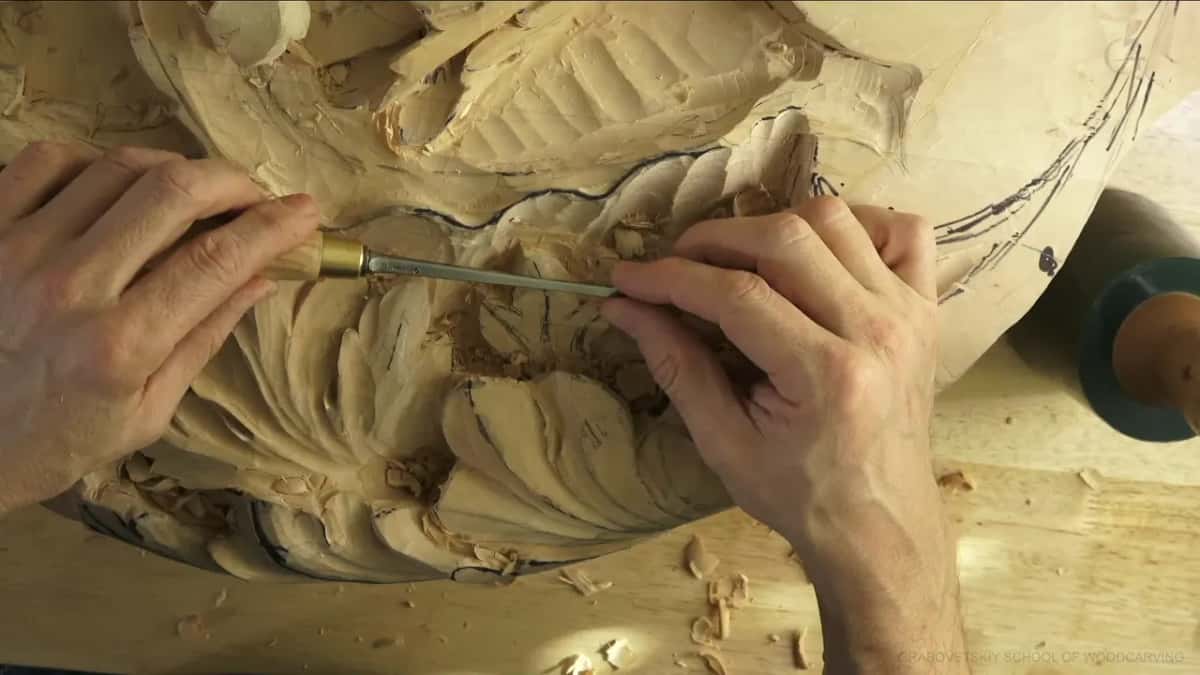
Two of the quarter-inch nines got a maker's name that day. One was an Ashley Iles. The other is my favorite of all my quarter inches, an Auriou with a really short end, and I have several, so I can't tell you exactly why that one wins. I just like it a lot.
Watch what the widths do. A 3 mm half round and a 10 mm half round are one shape, and on the wood they come out as two different sizes of round. That's all a gouge sweep radius means at the bench, how big the round comes out. The half circle stays, and the radius grows with the width.
Rotate a nine without pressing too much and it lifts out a small plug, which is why I call that a plug cut. A quarter-inch plug came out in a couple of seconds on this panel.

Can a deep gouge carve a shallow curve?
Mine did, leaned over on its side. The eleven is my veiner, a deep U, and early in this workshop I tipped a 4 mm one over (a little under 3/16 in) and carved a U that left only a number three sweep of hollow. Not too big of a concave for that spot, and still a really beautiful shadow under the edge I was rolling back.
I didn't want a dome undercut in there. I wanted to raise one ridge, and a concave beside it does that, a detail inside a detail, the same roll as the whole leaf on a smaller scale. Almost nobody will notice it. The people who look for that kind of thing will appreciate it.
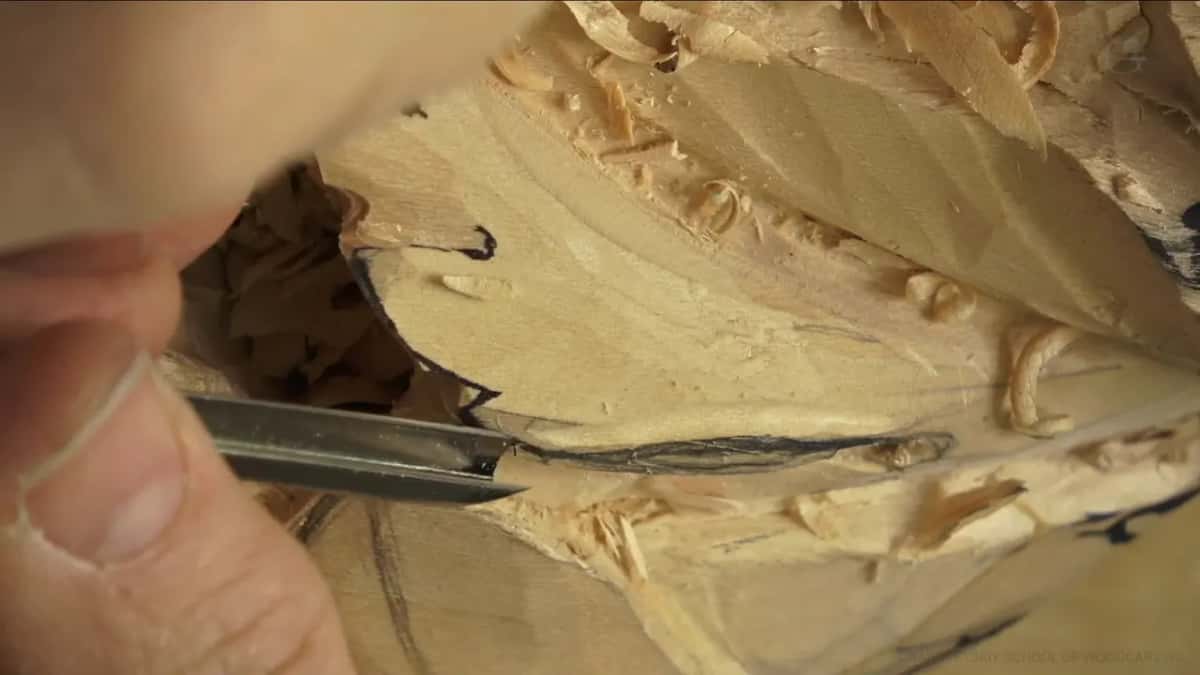
That 4 mm, by the way, I'd called overkill for the job earlier in that part, and I thought it was a little dull. I said I needed to spend time and sharpen it, and there's a whole course here on sharpening.
To roll that edge back afterward I turned a number 5 upside down, any gouge that fits will do it, I said, and that way I didn't have to undercut too much. Using a gouge upside down got a lesson of its own in Part 4. The lean is a choice, though. Later I kept a 5 mm (3/16 in) eleven straight up and down on purpose, because a proper concave was still coming inside that line, and right then all I needed was the outline.
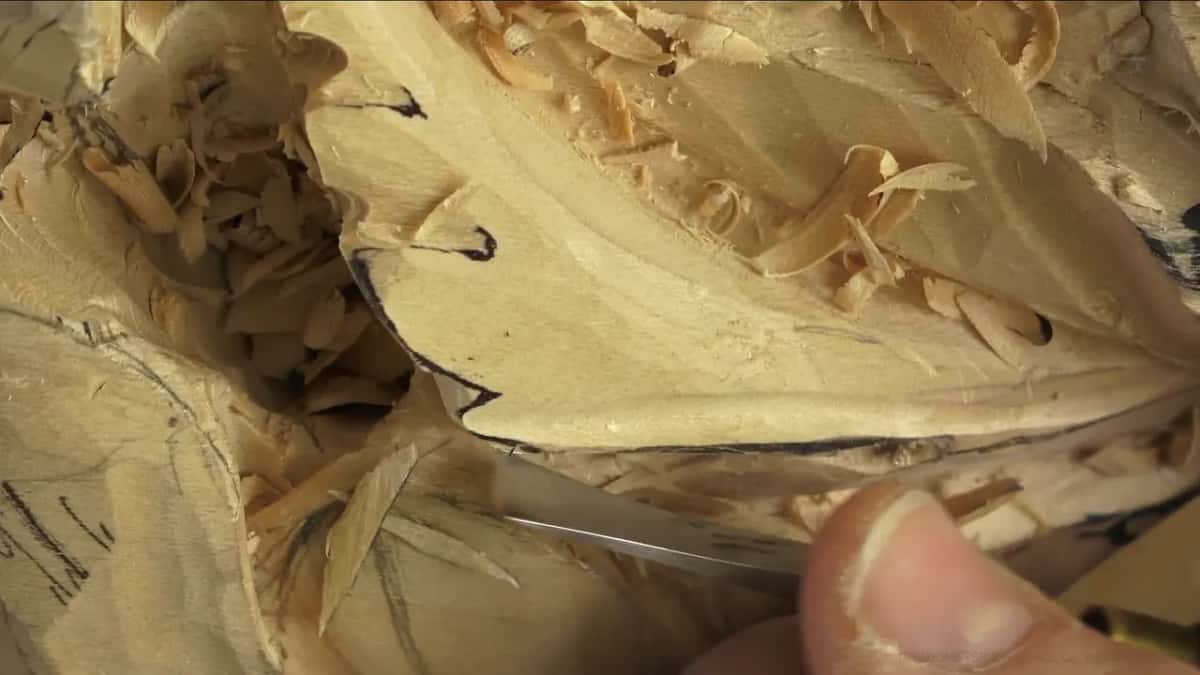
When is the right curve still the wrong gouge?
When it won't fit where the curve is. Early in part seven I wanted a bigger tool for a concave and checked whether a number 9 at 16 mm (5/8 in) would go in. Maybe yes, maybe no, I said, and it was no.
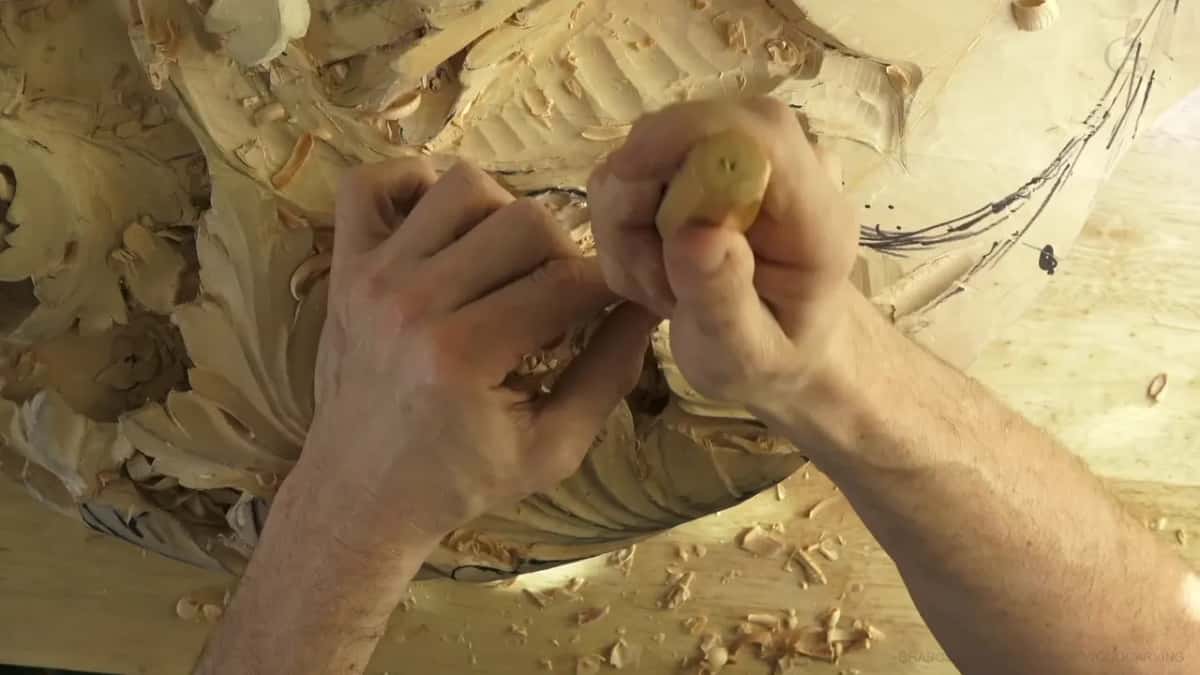
So I took the 7 instead, the 14 mm one, and it was actually much better. Really clean passes, without rushing anything and without forcing anything, and the concave came out uniform, almost like a full round. How deep it goes is up to me, but it has to work with the other cuts around it and with the design as a whole.
The small end of the rack works the same way. A 7 mm (about 9/32 in) eleven was a little too big for one triangle, and a 5 mm one was perfect. Under one division a 5 mm was too big and the 4 mm went in, and in one small section I could only fit a 3 mm, found even that too big, and went down to 2 mm (about 5/64 in).
Going the other way happens too. Once a number 9 turned out a little too small, so I moved up to a quarter inch, and in part ten I reached for a bigger nine to make what I call an escape movement, where the shape escapes out.
Picking a size one pass at a time has its own lesson from Venice Room Part 2, and Part 1 has one on going up to a deeper sweep when a hollow reads flat.
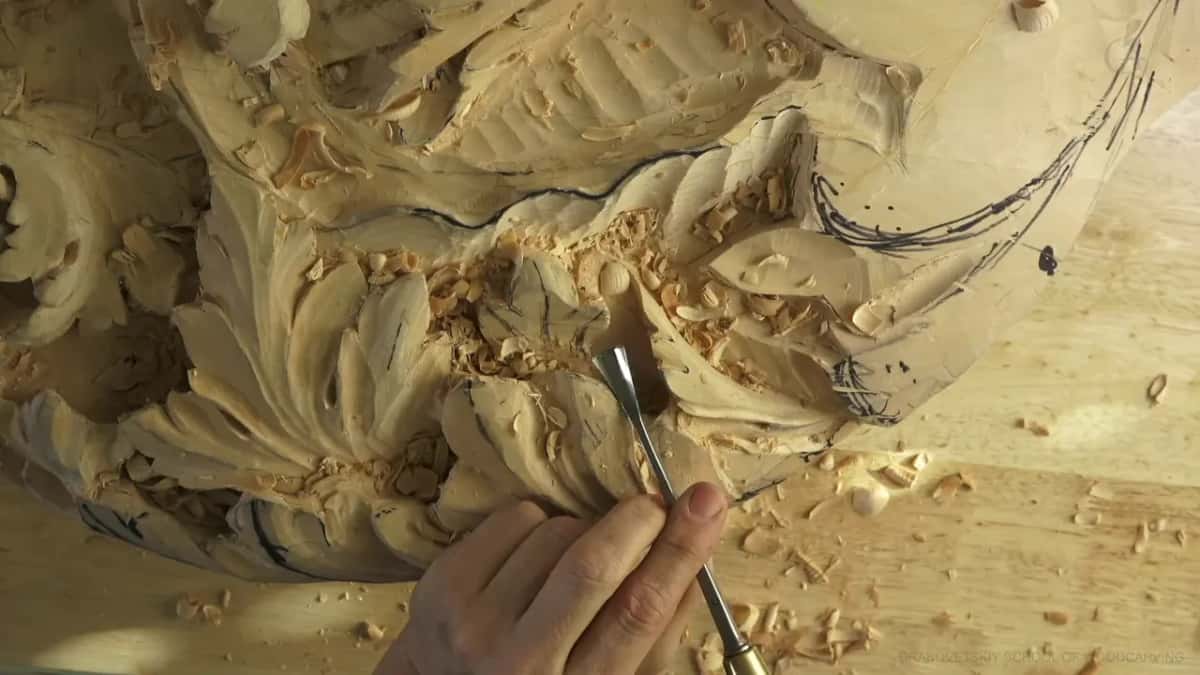
Will one chop match a curve?
It will when the sweep already fits that curvature. Early in part five I picked up a number 5, which I didn't have to use, and just hit the curvature, and it gave me a perfect edge in one movement. Boom, and it was gone.

I could have done it with a knife, or with something else, and it would have been slower. The second side needed a little more care. Even with more separations still to come inside that movement, it was really quick, and that saves me time, and if something saves me time, it makes me happy. Sounds like almost a song when I say it.
Near the end of the workshop I called the same trick the quicker way. Match those curvatures with a number 5, and on one side, where it was okay, I could hit much harder. Fitting a sweep to a drawn curve is a separate lesson.
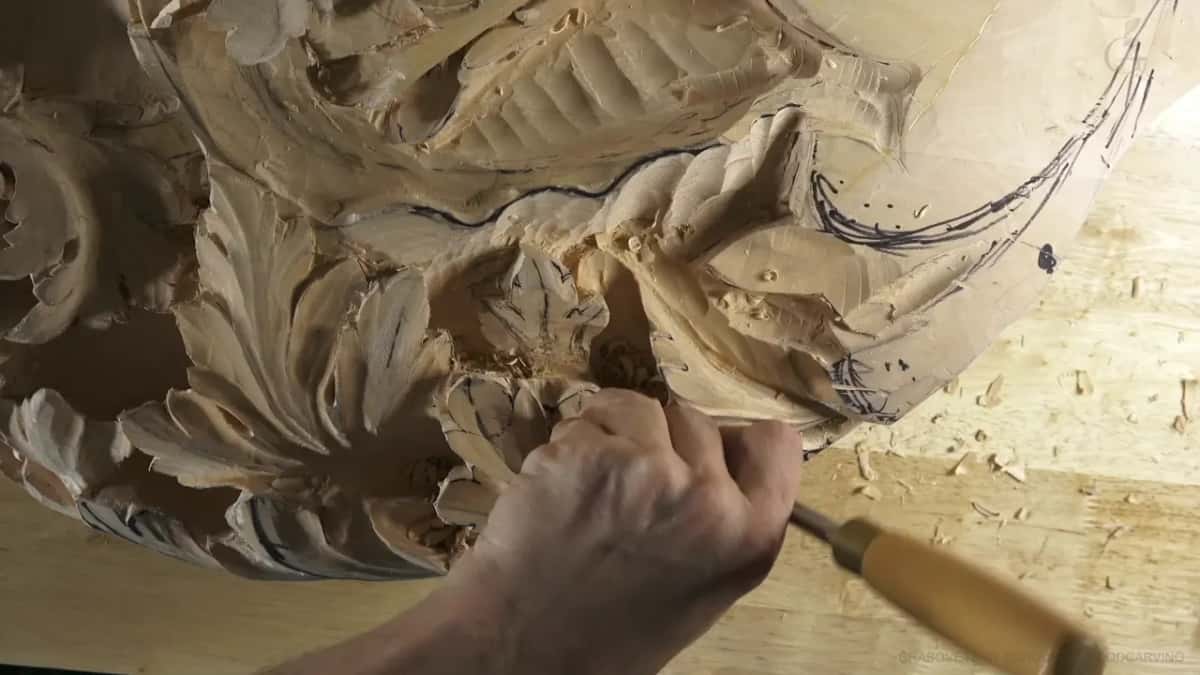
The gouges behind each curve in workshop 54
Six places in this workshop where sweep and width met, in the order they came up.
| Gouges | Moment | Result |
|---|---|---|
| Veiner of 4 mm, leaned on its side | Carved a shallow U, no rounder than a three | Shallow hollow |
| Nines at 3 mm and a quarter inch | Both stayed half rounds, one small round and one bigger round in the wood | Half rounds |
| Number 5 matched to a curvature | Took the waste out in one movement, quicker than a knife | One chop |
| A 16 mm nine, then the half-inch seven | The nine would not go in, and the seven carved clean | Better fit |
| Ashley Iles 6 at 10 mm, inside the Auriou 7 | Set one inside the other while I explained why I chose the smaller | Same curve |
| Quarter-inch nine, then a back bend | The nine dug a groove that raised a ridge, and the back bend blended it | Ridge softened |
Which tool takes a ridge down after a hollow?
A flatter one, or a back bend. Near the end of this workshop I dug a groove with a quarter-inch number 9 so the ridge beside it would rise, just slightly. I didn't worry about that ridge, because I can always blend it with a flatter tool.

So I took a number 5 and turned the ridge into a convex. The pass before it was concave, and that turn has to be gradual. On the other side I wanted another concave, maybe a bigger one, maybe not, I said. In the end I needed the bigger one, about 10 mm, which is 3/8 of an inch, in a number 9, because the goal there was to lift the right side a little.
One more ridge got a back bend after that. Any flat tool will work in that area, and it just happened that the back bend was on my bench. I really love back bends. A different back bend would have given me a really clean cut, pretty much right away, clean out of the chisel with no sandpaper.
Back in part two I'd said a back bend was probably the best tool for that kind of job, even a number one. In part ten I used exactly that, a number one back bend, on a ridge I didn't like. I liked the movement, just not that ridge.

How does a gouge sound when it is wrong for the cut?
Like it's struggling, and you can hear it. During part six I asked if you knew what that sound was. It was my tool struggling, because I had a really low bevel on it, and it wasn't the best tool for that operation, though it still grabbed some of the material.
I could break a tool that way. So there were two choices, change my position or change the tool, and I changed the position and went toward the hole inside.

Earlier in that part I'd said to slice it and go down, down, down, and to take my time and do it little by little. That goes for you as much as for me.
Where workshop 54 sits in the Venice room
Workshop 54 is twelve parts on one relief ceiling board full of acanthus, filmed live, and it belongs to Part 5 of the Venice room, where the course page is about skews. Right before it comes workshop 53, and workshop 55 follows. Part 4 gave the number 7 a whole lesson, and the numbers stamped on Swiss gouges have a page too.
Would you like to watch every tool change in this carving, mistakes and all? Would it help to see the two gouges go together at full size? The tuition opens every workshop in this room, and the lessons map shows where each one sits.
One small thing from that session. Partway through, one of my drawers opened on its own, and later it was getting dark outside and I kept carving anyway.
How it's done
- Pair them up. Set the narrower blade into the hollow of the wider one and look at the fit. Mine, a 6 inside a 7, matched.
- Test the fit first. Check that the tool fits where the curve is. My 16 mm nine didn't.
- Tip the veiner. Lay a number 11 on its side for a shallow U instead of a deep one.
- Match the curvature with one chop. Hold a sweep that already fits the curve and chop. My number 5 did it in one movement.
- Flatten the ridge. Blend the ridge a round hollow leaves with a number 5, a back bend or any flat tool, and keep that change gradual.
- Listen to the tool, then change something. If the gouge struggles, move your position or pick up a different one.
- Go little by little. Slice down in small passes and take your time.
Frequently asked questions
Is a number 6 gouge the same curve as a number 7?
On paper they sit one sweep apart. At the bench my 10 mm Ashley Iles 6 rested inside my 14 mm Auriou 7 and matched it, and I said the tool's size was the reason. A narrower 6 and a wider 7 can share one round.
Why is a number 9 gouge called a half round?
Half a circle is the shape its edge makes, at any width, which is why I call it a half round and mean a real one. Rotate one on the wood without pressing too much and it cuts a perfect round, and that rotation is the whole idea of a plug cut.
Does leaning a veiner make a shallower hollow?
Leaning mine did. Tipped onto its side, a 4 mm eleven gave me a shallow hollow, about a number three, and a good shadow still formed under the edge. Held straight up and down, an eleven only outlines, which is what I wanted in another spot.
What to carve next