

Alexander Grabovetskiy, woodcarver, School of Woodcarving · Published 2020
How do you carve a concave molding by hand?
Quick answer: A concave molding is a hollow carved between two clean edges of a molding. On a Venetian ceiling panel I set the groove and fillets first, dug under the overhang with a number 8 spoon gouge, shaped it with two number 6 gouges and cleaned the facets away with a larger number 5.
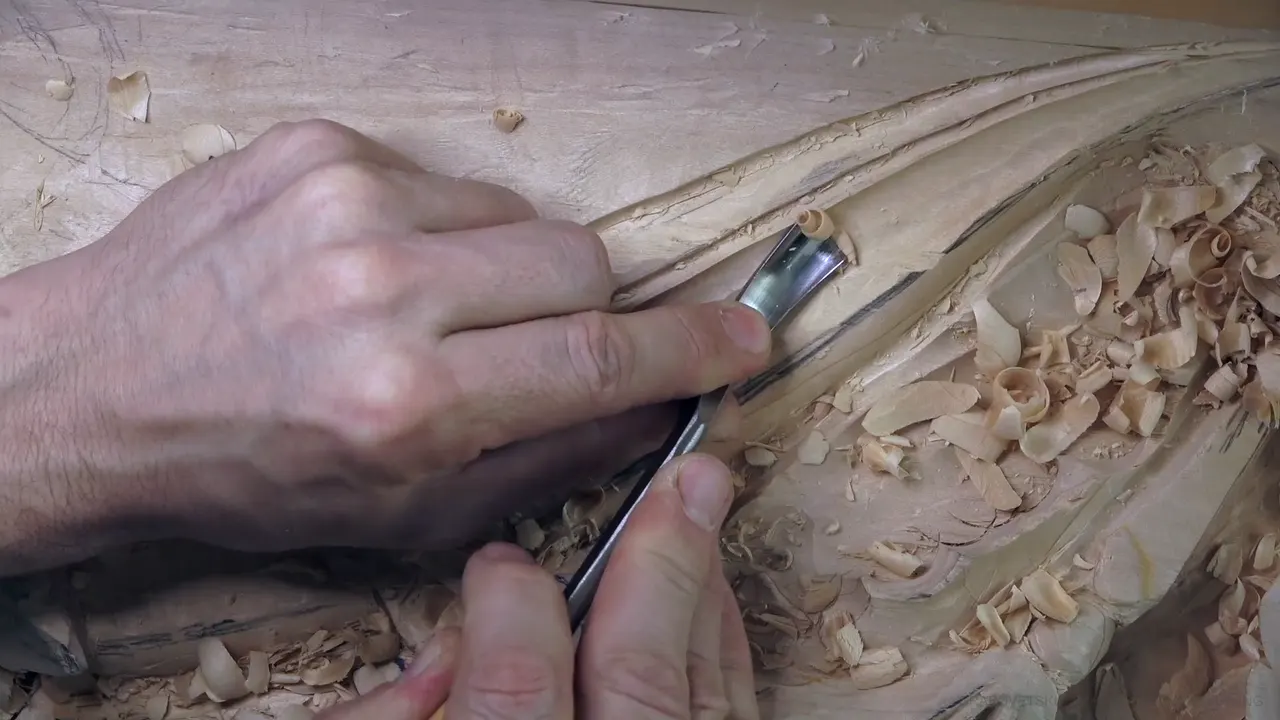
A concave molding is a hollow carved along a molding, between two edges that have to stay clean. By hand it goes in with gouges, a little at a time, and in workshop 58 I carved one into a ceiling panel for the Venice room. That bit of concave wood carving starts long before the hollow does. A groove and a fillet on each side went in first. Only after that came a number 8 spoon gouge under the overhang, a pair of sixes and a bigger 5 to finish it off.
Would it help to see which gouge went in first and which one finished the job? Would you like to know how far from the line I stopped, and why I stopped there? Then carve it in the order I did, and leave the hollow for last. You'll see the tools I picked up for it, one I swapped out almost at once, and the spots where a straight tool couldn't get in.
The molding runs across the board, slips under the acanthus and comes out again farther along. I wanted it true to Venice, to the style of the second part of the 15th century and the beginning of the 16th, and the movements around it run in opposite directions on purpose. And don't let it fool you. The leaves and the molding are one solid piece, and I didn't glue anything on.
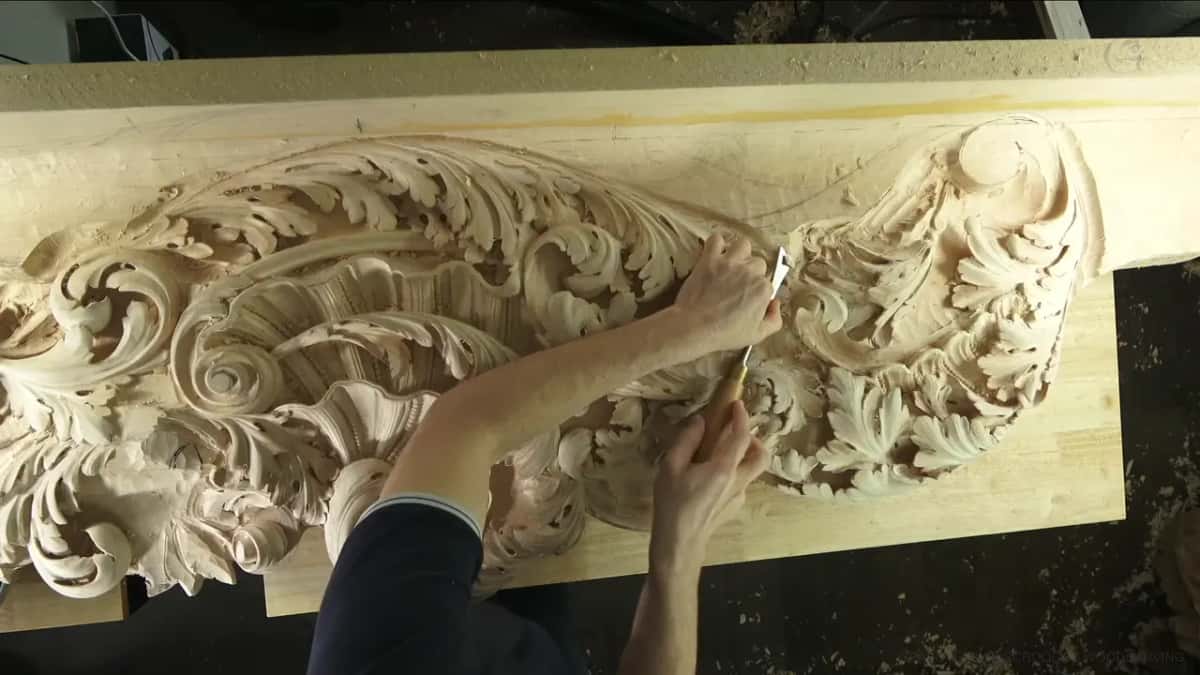
One molding, and the hollow it needed
The groove is the most accurate line on the molding, and the outside edge follows it.
A back bend rounded both fillets.
Where the wood hangs out over the work, a straight gouge couldn't reach, so a spoon started the hollow.
The hollow runs deeper on the side people look from, which is where its shadow falls.
Two sixes shaped it.
Both edges came clean before the middle.
A bigger 5 took the facets off at the end, with no need for sandpaper.
What goes in before the hollow?
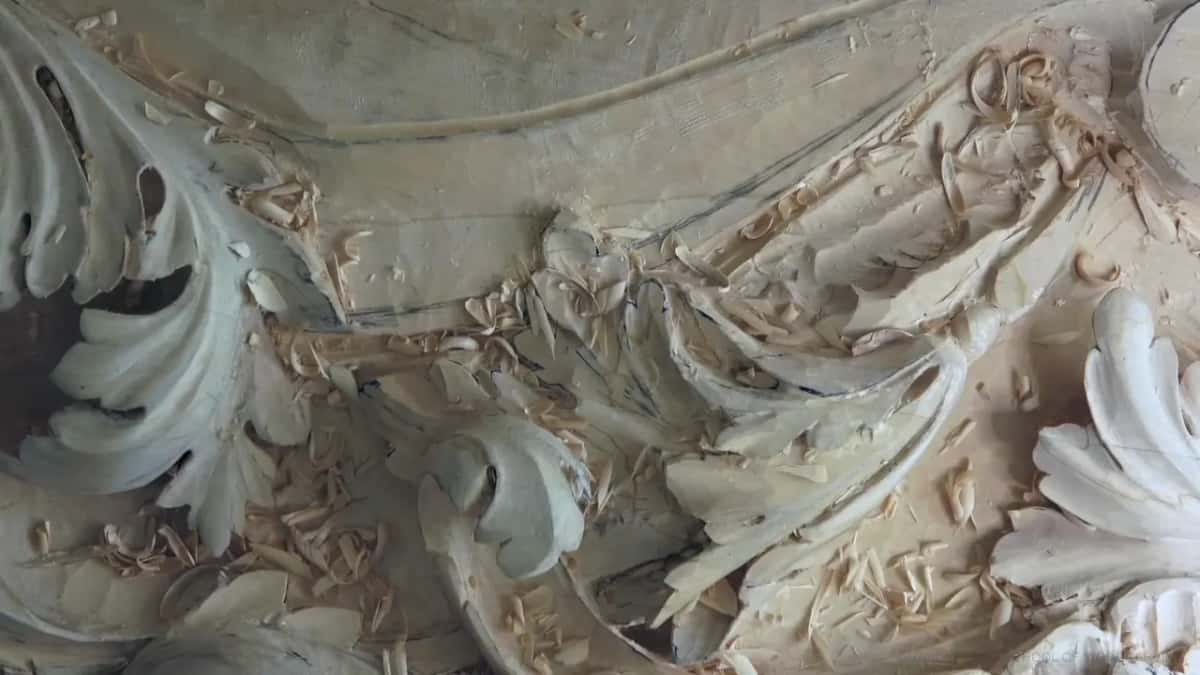
A groove does, and it's the most important line on this molding. I carved it with a number 11 of about 3 mm (1/8 in). A 2 mm (5/64 in) would have worked, and so would a 4 mm (5/32 in), but I wanted this groove to stand out.
That groove comes first, and it's the most accurate line I carve on it. The outside edge follows it later. The space between them has to taper, which is why I don't carve the outside as a straight line. At one spot it's about 10 mm, about three-eighths of an inch, and farther along it's about half an inch, 13 or 14 mm.
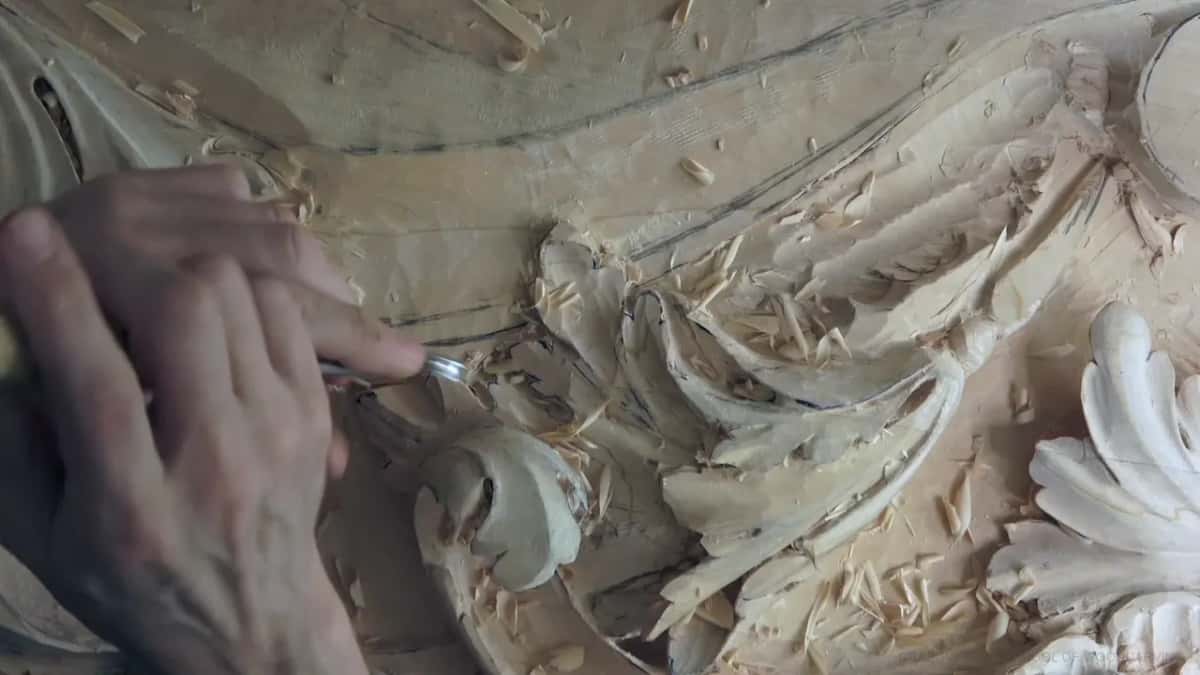
I'm eyeballing all of that. If eyeballing makes you uneasy, use a French curve or something like it, though on this panel there's so little room that I could hardly use one.
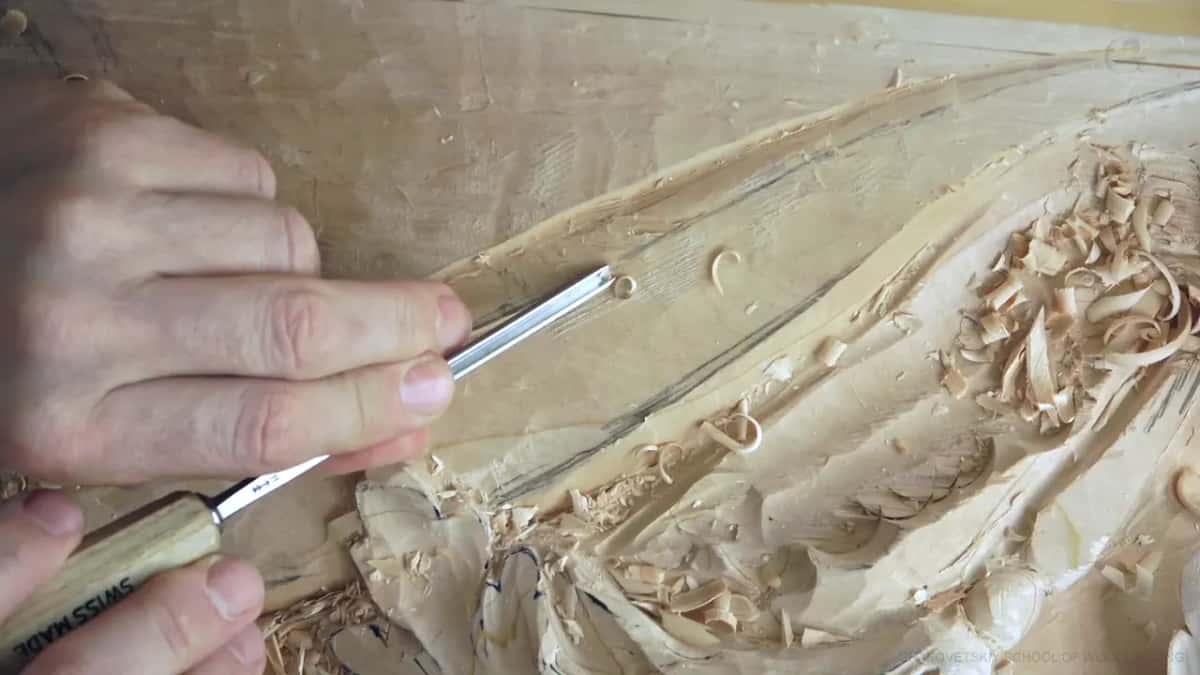

Sharp matters here. I'm not pushing at all. The tool rides on the surface and carves by itself, sharp like a surgeon's tool, and I barely put any pressure on it. My 3 mm spoon had gone missing, and where the surface rose up under the ceiling part neither direction worked, so I brought a 2 mm in from both ends and married the two halves. The depth has to match all around, and where an edge started to break I was half a millimeter (about 0.02 in) too deep.

What are the fillets for?
Staying true to the original design. A molding like this has a fillet on each side, and I wanted that effect, so the edges got rounded down a little, the left one and the right one both.
The best tool for that, at least for me, is a back bend. I used a number 5 of about 10 mm (3/8 in), did one side, and went right away to the other. The side that will show more got my cleanest carving. I didn't fuss over the other.
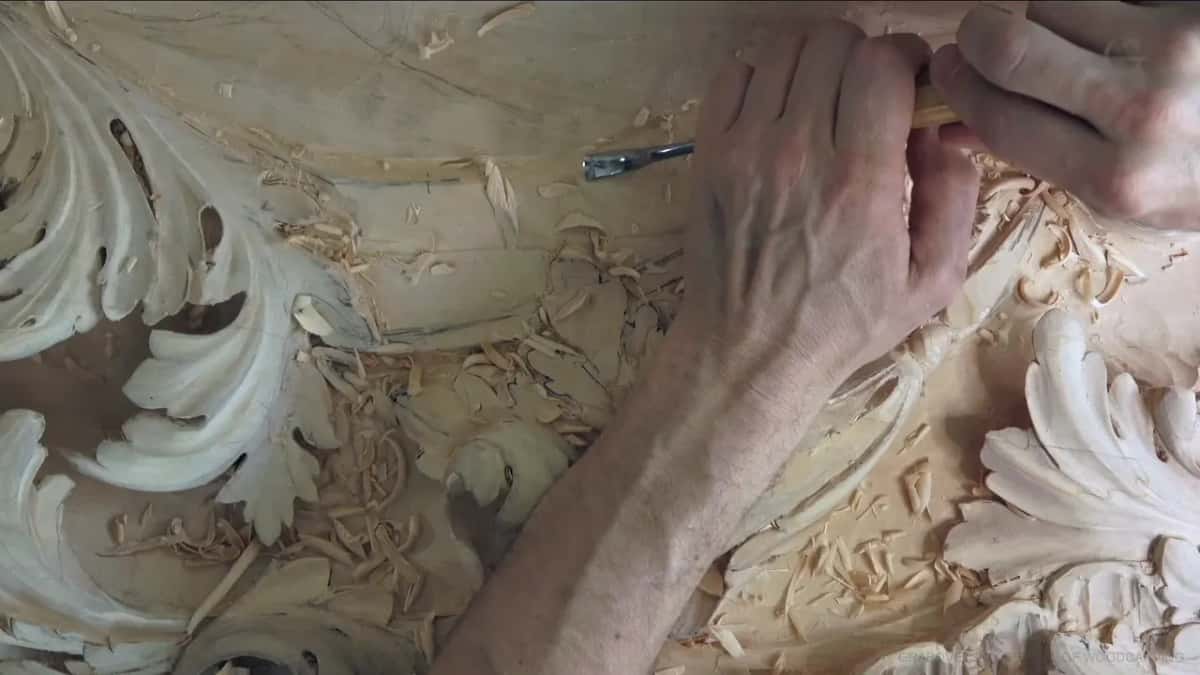
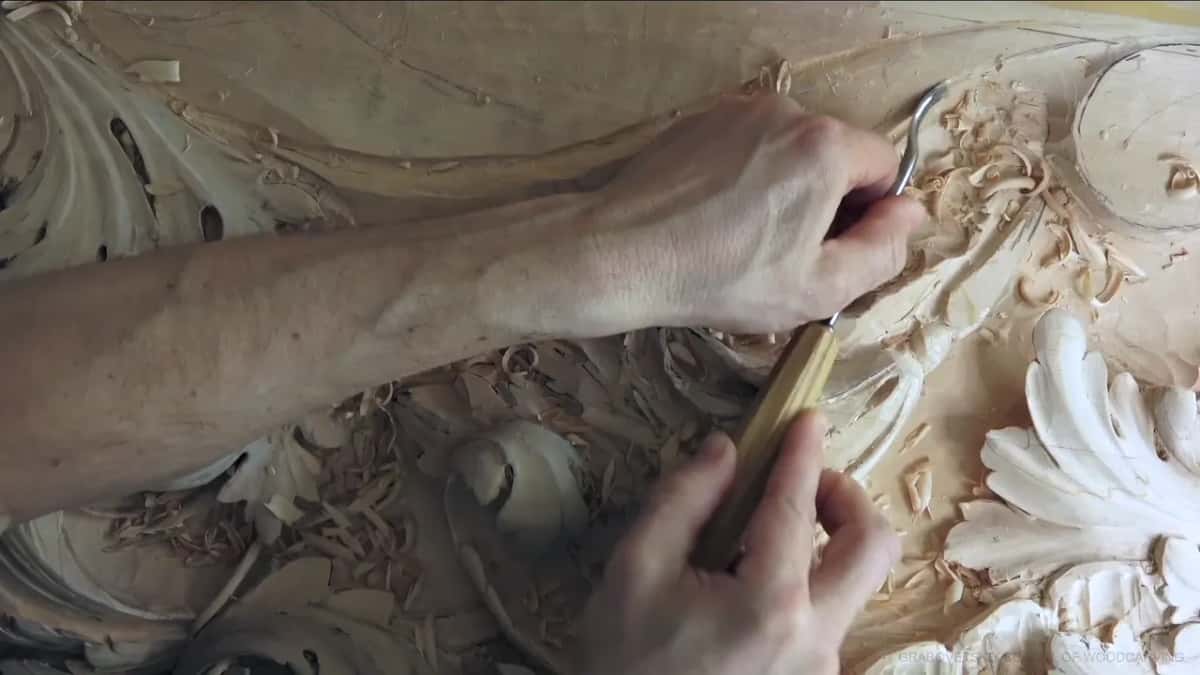
Why won't a straight gouge start the hollow?
The overhang. Part of this board hangs out over the work. I call that part the ceiling, and the molding runs right up onto it, so there's very little room to move a tool.
One way in would be a big straight gouge, maybe a number 8, but with this grain that wasn't the best idea, and across the grain was the way to go. The ceiling ruled out a straight tool, and the details there would break. So after a few relief cuts I picked up a spoon gouge of the same number and dug between two lines, the ridge my little eleven had left and the line on the far side.

Earlier, my first tries on this section hit the same trouble. The first tool wasn't even a gouge. A skew chisel took off what I didn't need, and then a number 4 long bent, 25 mm (1 in), let me stay above the finished parts without hitting them with the handle.

Which gouges shape the concave?
Two number 6 gouges did much of it. First I tried a number 7 an inch wide, and it still wasn't a tool I felt comfortable with. After that a number 6 at 25 mm (1 in) took over. Close to the narrow part that one got a little too big, and I switched to a smaller 6, maybe 13 mm, a half inch or so.
On this stretch the left wall came out clean and the right wall tore, so I stayed closer to the left. Going uphill I used a lot less pressure. Then, oops. I said it right there on camera, stopped, and went to much smaller tools, because pushing hard in that spot would have been a big mistake. Better to be patient and take the time.

On video it can look like the wood is fighting back. It isn't. My tool is sharp, I'm barely pressing, and what looks like force is me keeping the tool under control. Picking a gouge size for each step is its own question, and I answered it earlier in this same room.

| Gouge | Reason | Stage |
|---|---|---|
| Small eleven | The groove had to stand out most | Groove line |
| Back bend | Best for fillets, at least for me | Both edges |
| Spoon number 8 | The overhang left a straight one no room | Hollow start |
| Wide number 6 | Took over when the 7 felt wrong | Wide end |
| Smaller number 6 | The wide one got too big here | Narrow end |
| Tiny eleven | Takes a little from under the detail | Keel detail |
| The bigger 5 | One long pass takes the facets off | Final pass |
What does concave wood carving look like in section?
Lopsided, on this molding, and on purpose. I drew the section for the camera, point A and point B, the 3 mm groove, the two fillets and the part where the ceiling comes in. A normal concave would dip evenly between the two points.
Still, it's a true concave, only more pronounced near the groove, because people will look at it from that direction. That way the shadow falls right there. Inside the groove it goes darker still. If there are lights on the ceiling, this half gives me that shadow, so I pushed it much deeper than the other.
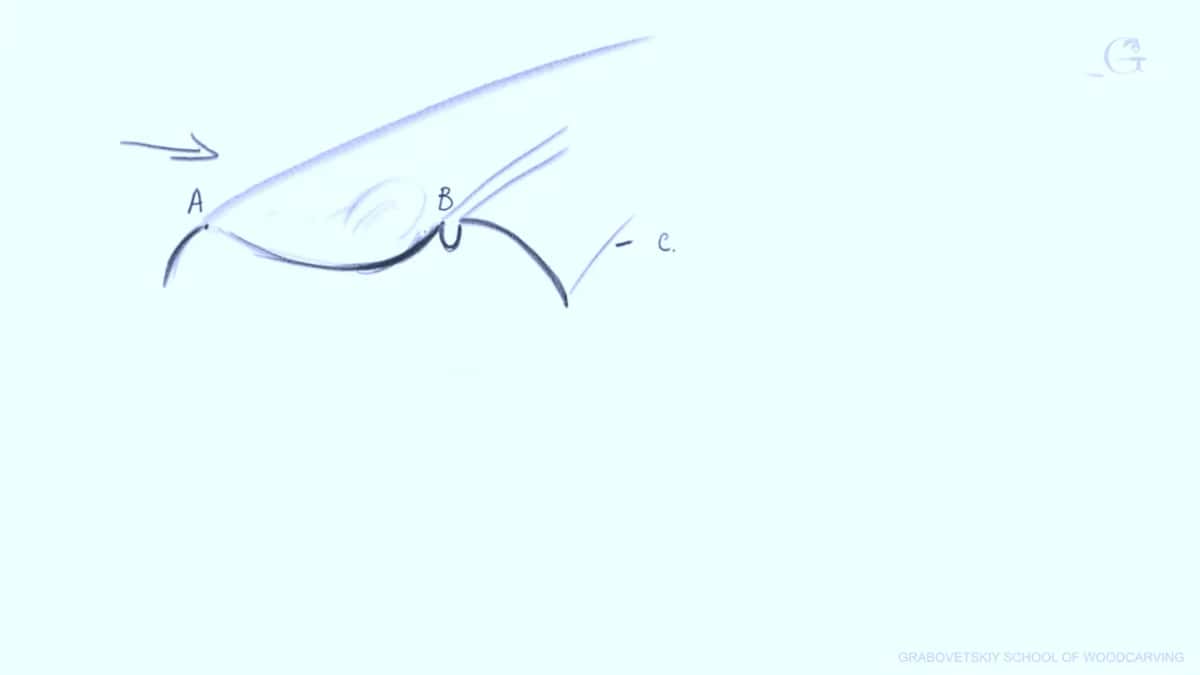
It still had to read as a molding, though, rising gradually as it goes up.
Is this the same as a carved crown molding?
Close to it, and that's the comparison I made while I carved it. In the United States you'll know what I mean. It's almost like a Shaker crown molding, where the molding sits between wall and ceiling, with the big concave on the inside. Mine isn't a Shaker crown molding, but you get the point.
Cavetto is the name architects use for a concave molding. I could have gone deeper here, and I said so out loud while I thought about it, because it would have given me a really good movement. I held back for the moment and came at it little by little.
How close to the line does the hollow go?
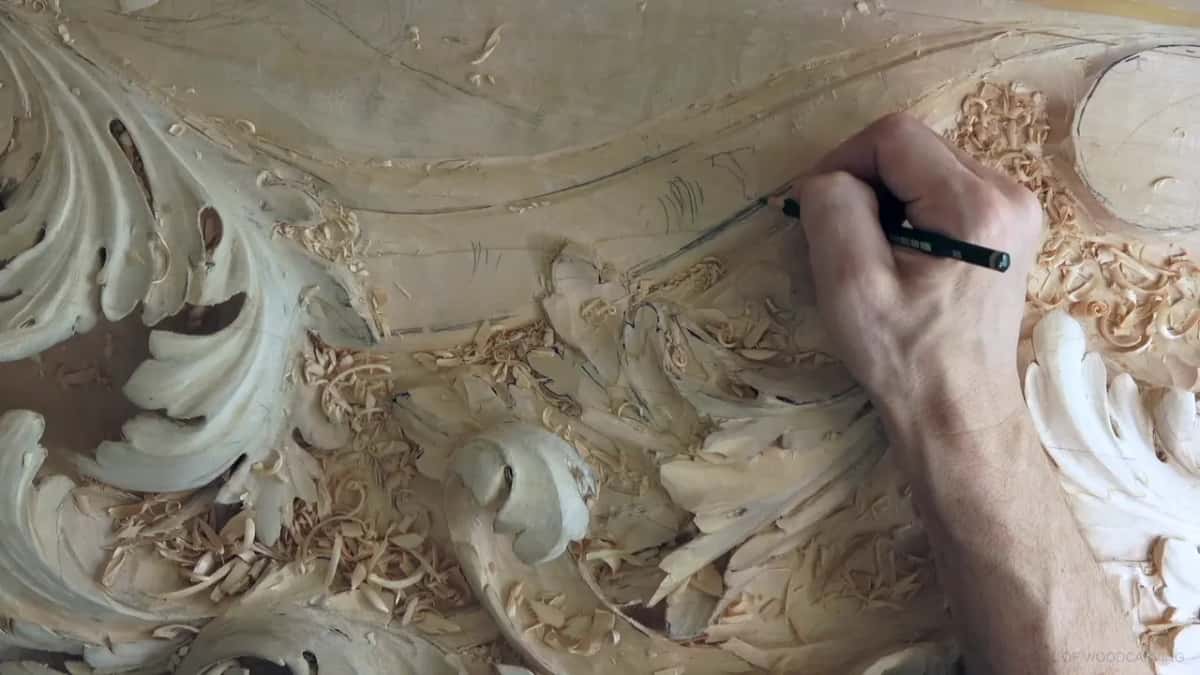
About 1.5 mm (1/16 in) away, right up to the last pass. In a few spots, 3 mm (1/8 in). I excavate the inside first, and later one clean pass brings the edge to the line.
I leave it for a plain reason. I don't know yet how consistent that line is, so another tool hits it first, and only then do I go to the line all the way. For a moment on camera I called it 3/32 of an inch, then corrected myself. A sixteenth, about one and a half millimeters, maybe a little less. Partway through I stopped to fix the light, because I couldn't see well enough, and working in proper light matters to me.
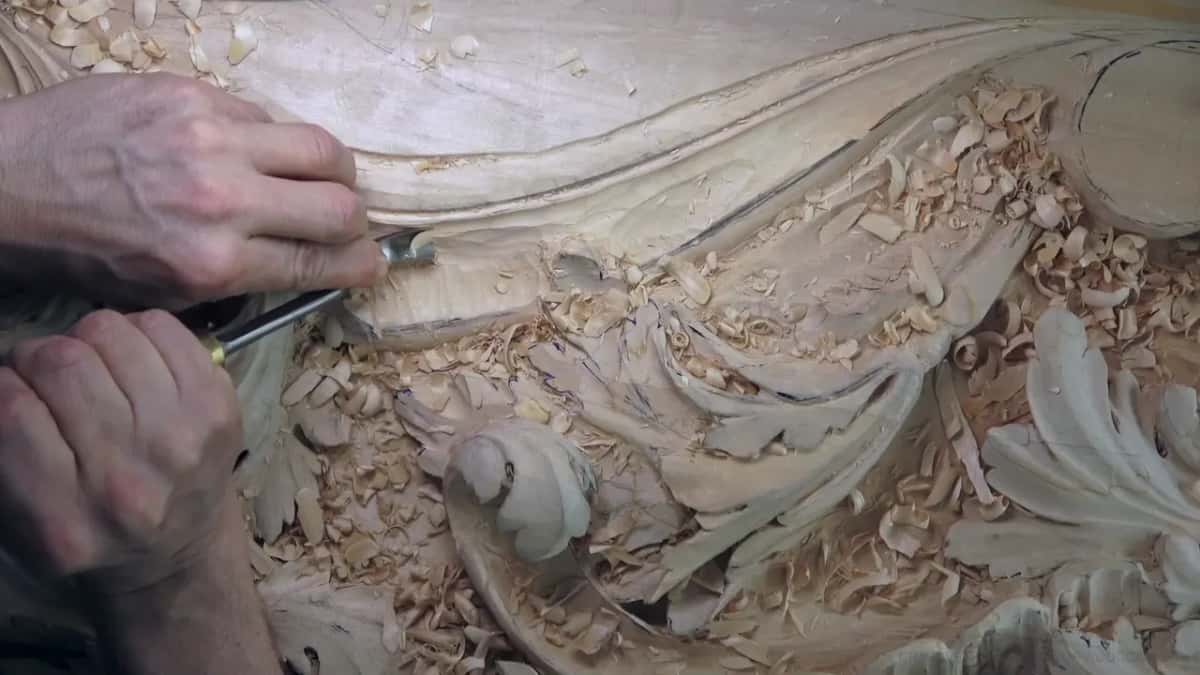
As I got closer my strokes got longer and more continuous, and the inside came out clean. Two sides clean first, the middle later. Clean and clean, I said, and then told the camera it sounds like the name of a law office.
A ridge left in the middle doesn't bother me at all. A bigger tool takes those out later.
Where does the grain cause trouble?
Along the grain, in this hollow, is the dangerous direction. Carving that way, the edge just goes between the fibers. That was fine for the rough work, and I said on camera it would be a big mistake to keep carving like that later on.
Near the line it's dangerous. The tool has to be really, really sharp, and I switch and come from the opposite direction. Better to attack it several times than once.
Later a number 7 at 14 mm, about half an inch, went in from one side and tore my grain. From that side a straight tool only worked to a certain degree, so I took what it would give me and left the rest for cleaning.
What is a keel cut?
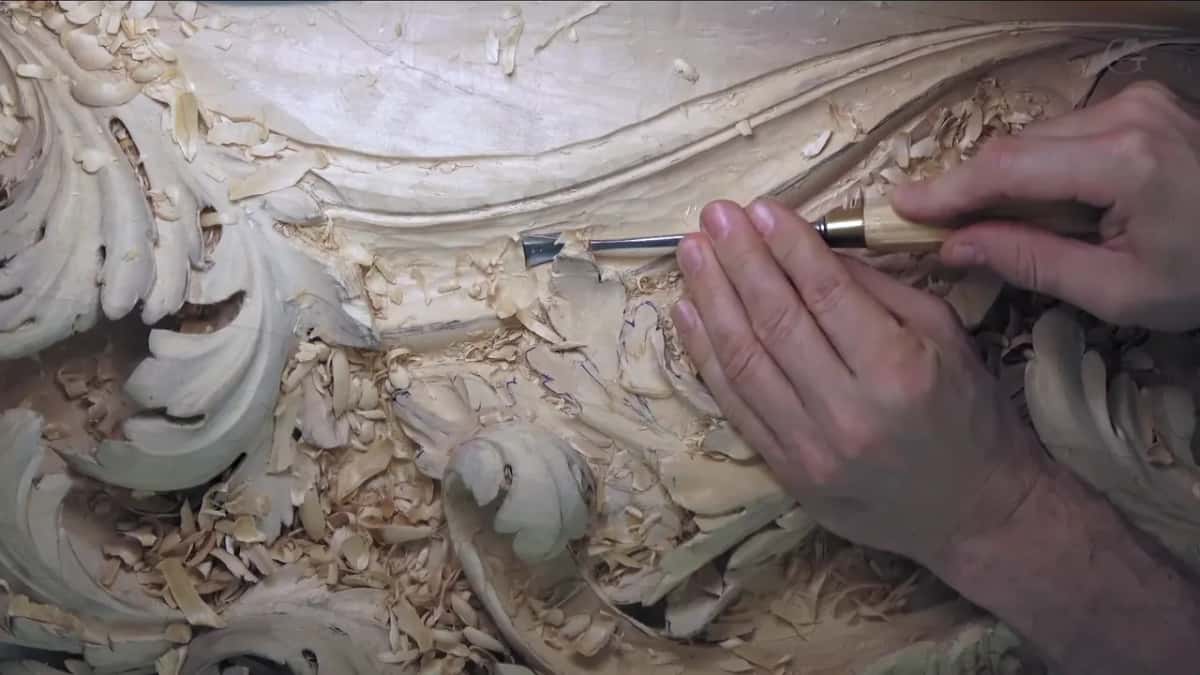
A keel cut is a shape like the keel of a boat, carved under a raised detail. Beside this hollow a detail rises quite high, and I left about a quarter inch (6 mm) of wood in it. It looks tiny and fragile. It's a quarter inch.
On the sketch for this one, the line comes right around under it like the bottom of a boat and still throws some shadow, and inside I might carve a dome, so there's shadow on both sides.
I don't undercut it all the way yet. Until that movement is finished it would turn fragile, so a 2 mm eleven takes a little from underneath at a time, and plenty of wood stays.
How do the tool marks come out?
With a bigger gouge, near the end. Small tools and small strokes go first, and a bigger tool blends everything after them. I picked up a bigger number 5 for that, and it gave me one long, even stroke that took the facets off. Going bigger for a smooth transition got its own page back in workshop 48.
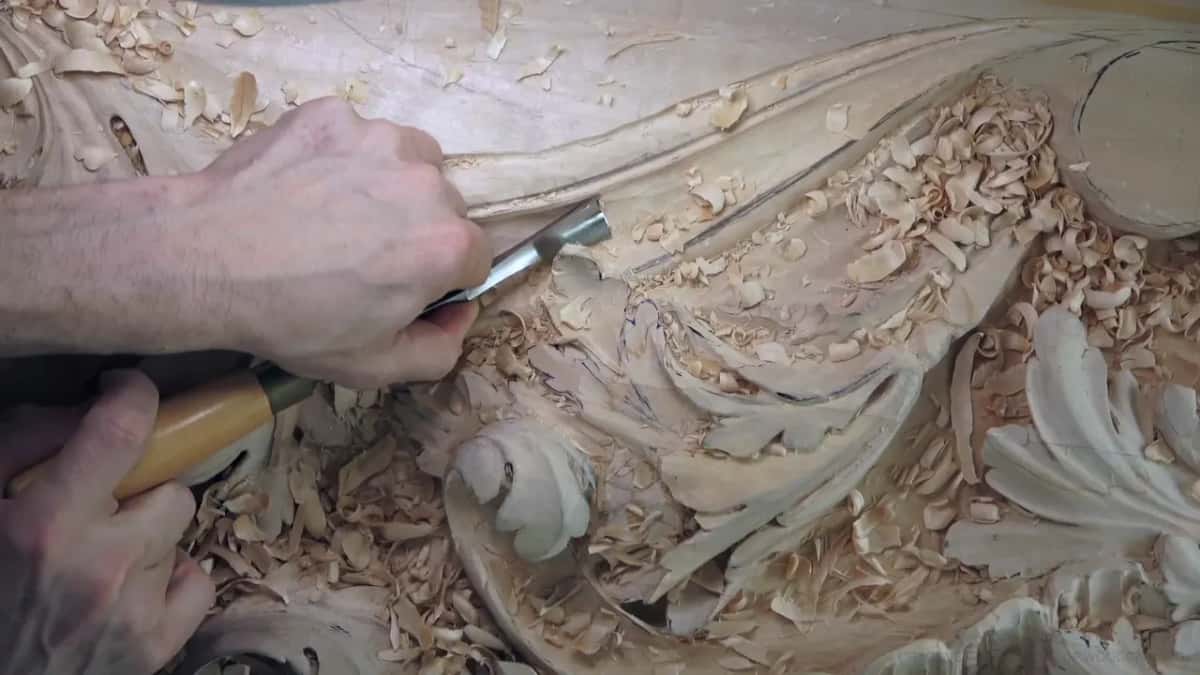
With that bigger tool almost all of the tool marks go, and you don't need sandpaper at all. A spoon, a number 5, went after the high spots and closer to the line, then a number 6 wherever it would fit. It doesn't fit everywhere. Where it does, it hits the high spots and leaves the surface smooth.
It goes slice by slice, like sculpture. The run came together chip by chip, and at one point I looked at it and said it's becoming a molding. Last of all I moved the light out of the way, and it threw its shadow. Hit it with light from another angle and it looks different again.

Why leave the molding plain?
Plain was my choice for this run, because it's meant to be continuous. Other moldings in this room got beads. I didn't want beads everywhere, and in my opinion it wouldn't look too good here.
Let me tell you a story. You've probably seen old moldings with small cross details carved inside them. In some cases those were done on purpose. How it started, though, is that the makers didn't want to spend too much time cleaning a run like this, and a really smooth transition along the whole run is hard. So they carved the rough shape and set small shapes inside it, and those shapes pull your eye off the surface. You wouldn't catch that it isn't smooth.
I'm doing the same work they did, and it's just as hard to make smooth. A few of you think the old moldings all came off molding planes. Some did. But not always, and not everything can be done with a molding plane. The rest takes a carver with carving tools. Reading an old profile off a photograph is its own lesson, later in this same room.
Can a beginner carve a molding like this?
A whole panel this size, I'm not expecting anyone to take on. Take a piece of it instead. Put part of it on a board and you'll get something out of it, or take a whole section, flip it upside down and use it on a mirror. You don't have to dig as deep, and you still get the idea of how the acanthus develops.
The profile would suit a picture frame, too, if you like making those. If you'd rather start smaller, there's a clover molding on a floral panel, and a course where the acanthus climbs over moldings.
Would you like to watch every minute of this hollow going in, missing spoon and all? Would it help to hear each reason while the gouge is still in the wood? Tuition opens all twelve workshops in this part of the room, and the lessons map shows where each one sits, with workshop 57 just before this one and workshop 59 just after.
A small thing from that session. Partway through I shut my tool drawer with my knees, and later the bench squeaked when I leaned on it to reach the carving.
How it's done
- Round both fillets. A back bend suits this, for me at least. The one I used was a 5 near 10 mm, three-eighths of an inch, and I did one side, then went straight to the other.
- Lay in the groove. Run the groove along the molding with a small number 11 near 3 mm, an eighth of an inch. The outside edge takes its line from it afterward.
- Rough it with relief cuts. Before any shaping, make a few preliminary relief cuts inside the hollow.
- Go in with a spoon. Where wood overhangs the work and a straight tool can't move, a spoon gouge still reaches. Mine was an 8, and it stayed between the ridge and the far line.
- Keep off both lines. Leave roughly 1.5 mm, a sixteenth of an inch, twice that in spots, and dig the middle out first.
- Shape it with sixes. An inch-wide 6 for the broad part, and a smaller one where it narrows. Ease off the pressure going uphill.
- Deepen the near side. Keep a true concave, but let it run deeper next to the groove, on the side viewers face.
- Finish on a bigger gouge. Clean both edges before the middle, then take a bigger 5 for long, even strokes. Hit whatever high spots remain with a spoon or a 6.
Frequently asked questions
Which gouge starts a hollow under an overhang?
On my panel a spoon gouge did, a number 8, after a few relief cuts. A straight one across the grain would have been best, but the ceiling of this board left it no room, and the details close by would have broken.
Can you carve a concave with a straight gouge?
My straight number 7 took some wood out of this hollow, but only partly. From one side it tore my grain, so I used it just to a certain degree. Other tools, a spoon among them, cleaned up what it left behind.
How much wood should stay beside each line?
Roughly a sixteenth of an inch, a millimeter and a half, a little less in places and twice that in others, right up to the final pass. I kept that much because I didn't know how consistent the line was, and another tool had to meet it before I went right to the line.
What to carve next