
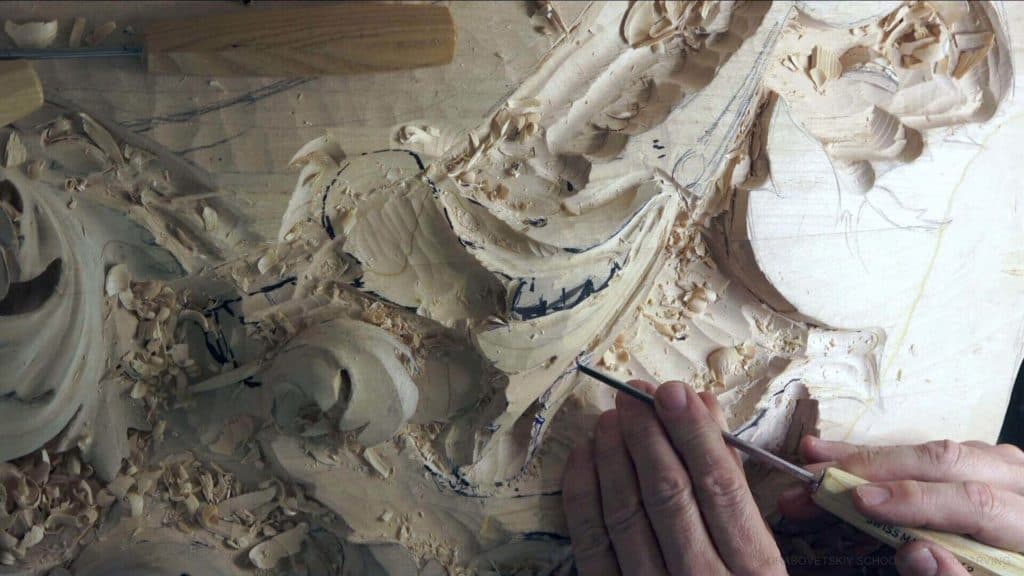
Alexander Grabovetskiy, woodcarver, School of Woodcarving · Published 2020
Is wood carving as hard as it looks?
Quick answer: Wood carving is plain on most single cuts and hard in a few exact spots. On one ceiling panel they were an overhang I call a ceiling, grain running the wrong way, one hole too deep to see into, days of refining, and a relief cut I skipped. Everything else was ordinary gouge work.
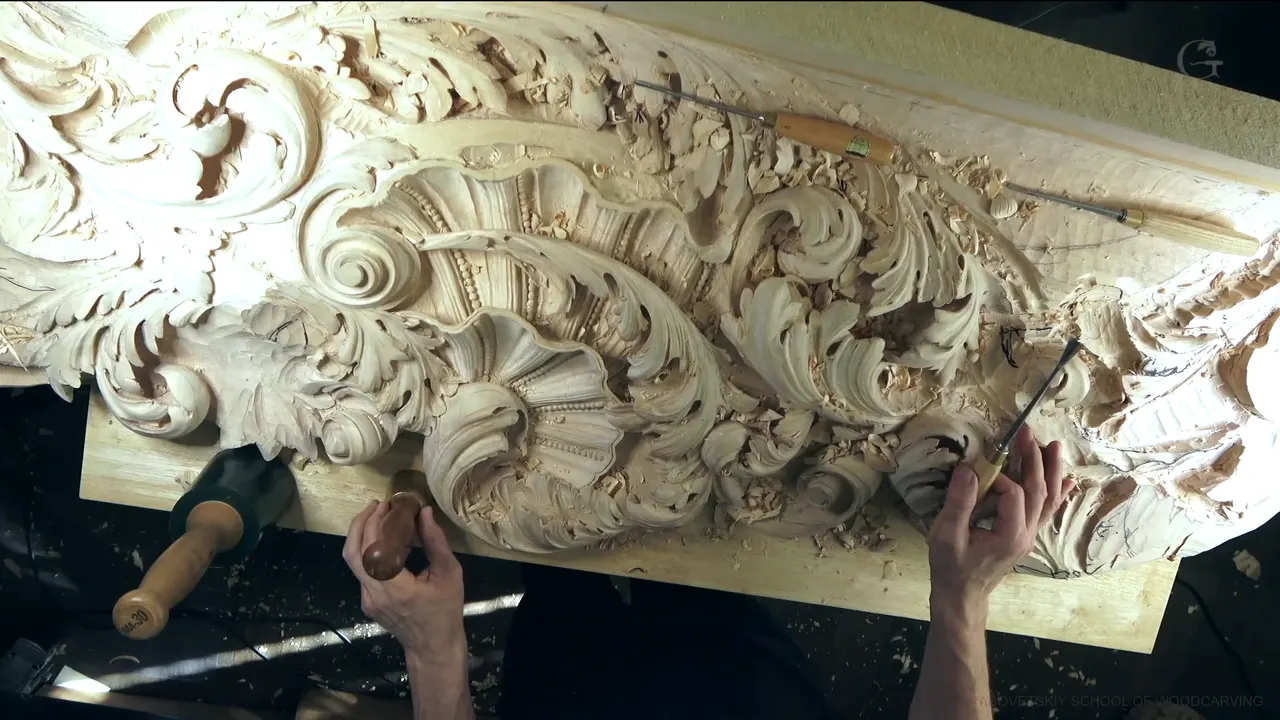
Wood carving is hard in a few exact places and plain almost everywhere else. Workshop 51 of this ceiling panel shows five of those places, one after another, on one side of an acanthus leaf. So is wood carving hard? In those five places it is, and you can hear me say so while the gouge is still in the wood.
I know it does look a little complicated. I said those words on camera in the second part, and a few seconds later I said the rest of it, that it's not complicated at all and you'll get used to it once you start working on a project like that. You'll get each hard place here, with what made it hard and what I did with the tool in my hand.
Can you twist the lid off a jar? And push a thumbtack into a board with your thumb? Then your hands already know both moves of a plug cut, since on this panel I just rotate the gouge and go in.
Where the hard parts were in workshop 51
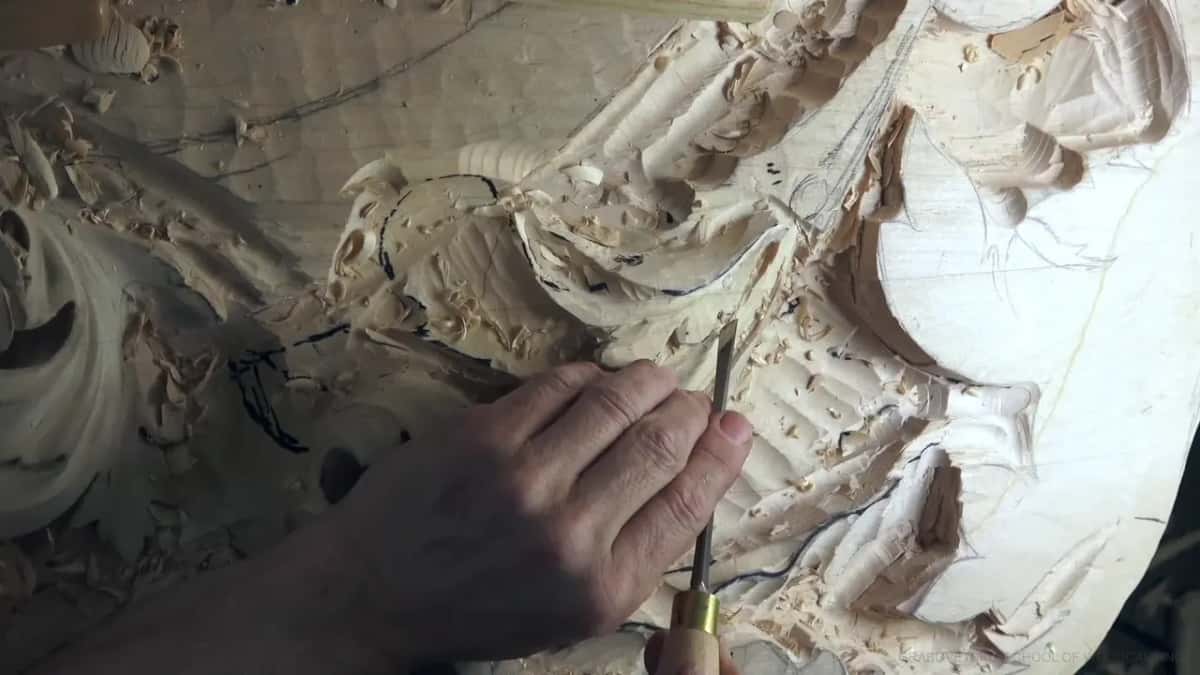
An overhang I call a ceiling blocked my view and my gouge.
Where the grain ran the wrong way, the #9 had to be sharp.
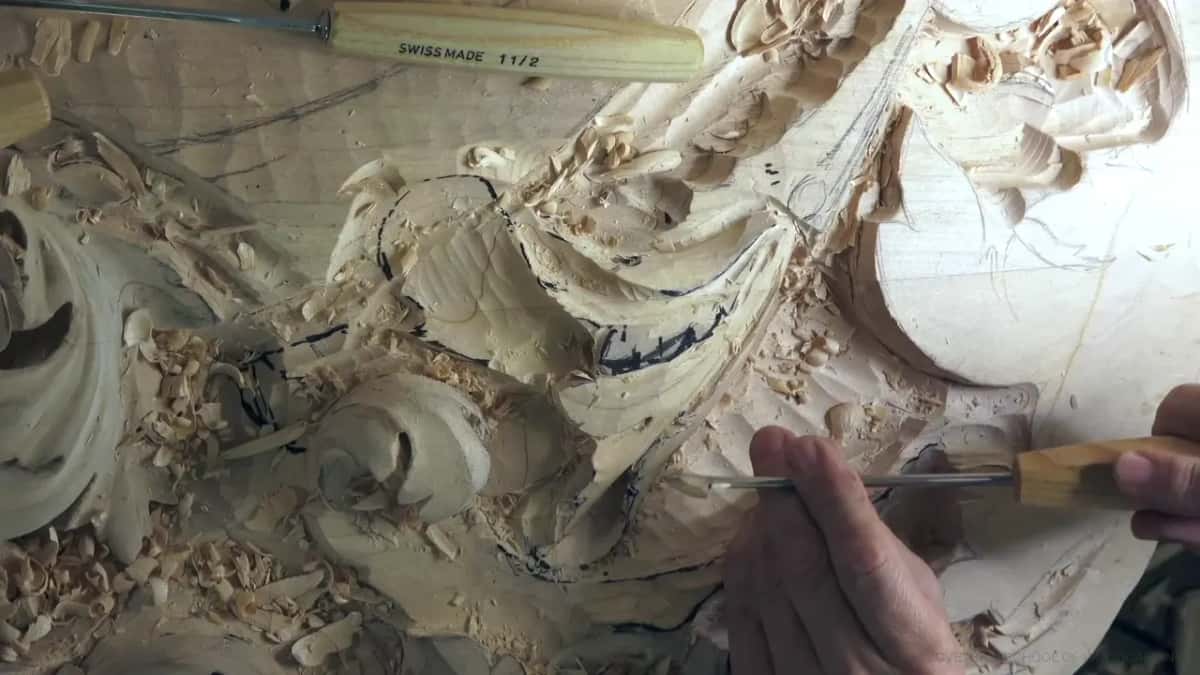
Deep in one hole the shadow hid the bottom, and only a flashlight would have shown me the end.
Refining at the very end will take a few days.
One relief cut I skipped showed on the triangle side of a leaf, and I owned up to it right there.
Everything else was plain work, like a hole that is just a hole.

How complicated is this leaf, really?
Less than it looks. On this side of the leaf one movement wraps inside, another runs underneath it, and the hole beside them goes deeper still. I tried to show you one of those turns in the fourth part, admitted I wasn't sure it was clear, and then pointed at it with my thumb.
Twice I said sorry for my head being in the way. Once I doubted you could see the cut at all, so I tried a different angle for you. By the tenth part I even stopped and asked out loud how I was going to do the next spot, two times in a row, before I settled on an eye.
More than once I blew the chips off with a hair dryer and showed you the whole panel from farther back. Keep that in mind when a photo here looks busy, since this panel is headed for a ceiling and gets read from below and from another part of the room.

Which cuts on the panel are plain?
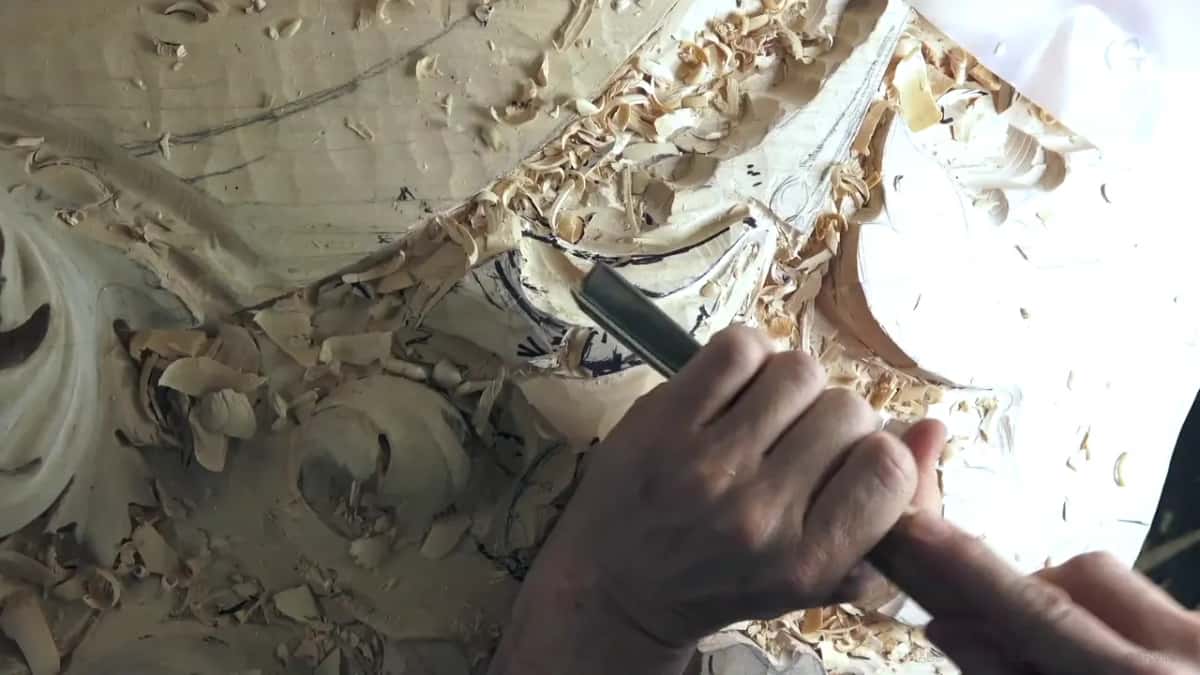
Most of them. A hole is the best example. I know it sounds bad, I said in the fifth part, but it's just a hole. I start one with a quarter inch #9 (6 mm), tap it with the mallet, rotate, and lift the plug out, and after that every cut around it runs into the hole. Once the plug came free, I asked you to see how much waste was coming out.
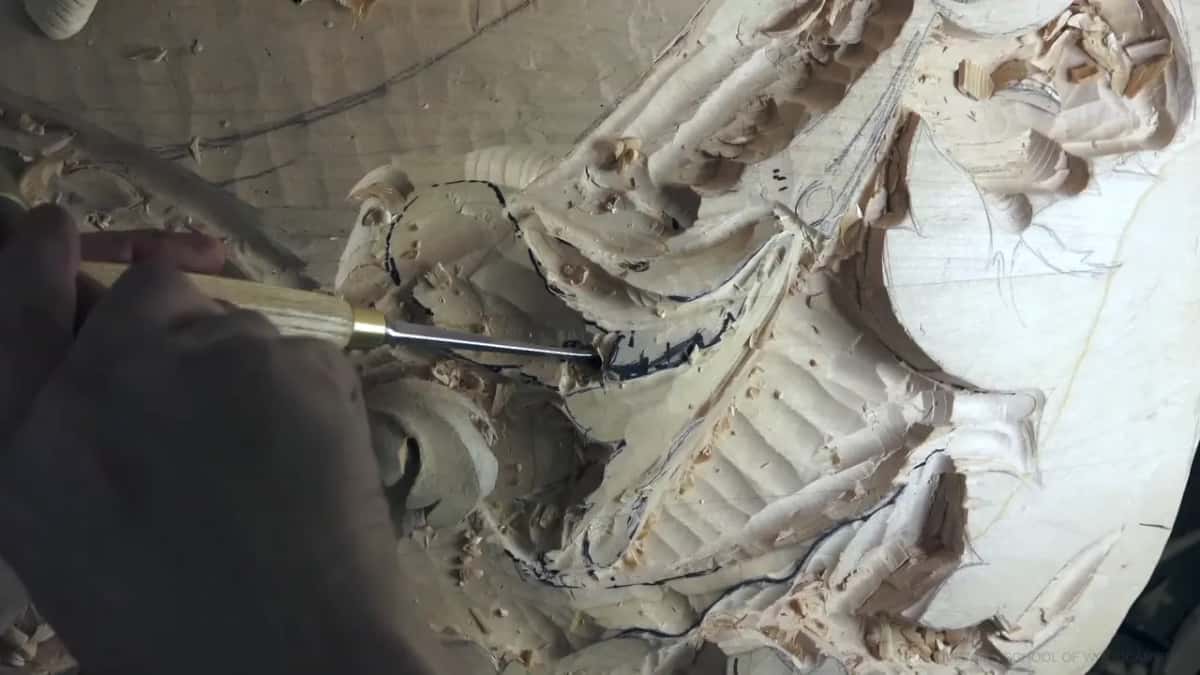
The eye of an acanthus is the next one, and the eye and the pipe have a lesson of their own if they're new to you. There's nothing complicated about excavating an eye, I told the camera near the end. It asks for one thing, a little more depth than the main movement around it, so you can see that movement going in. For that eye I used a 2 mm #11, about 5/64 in.
It doesn't need to be big, either. A small eye was all I needed in the fourth part, and in the tenth I told you I didn't need a big one.
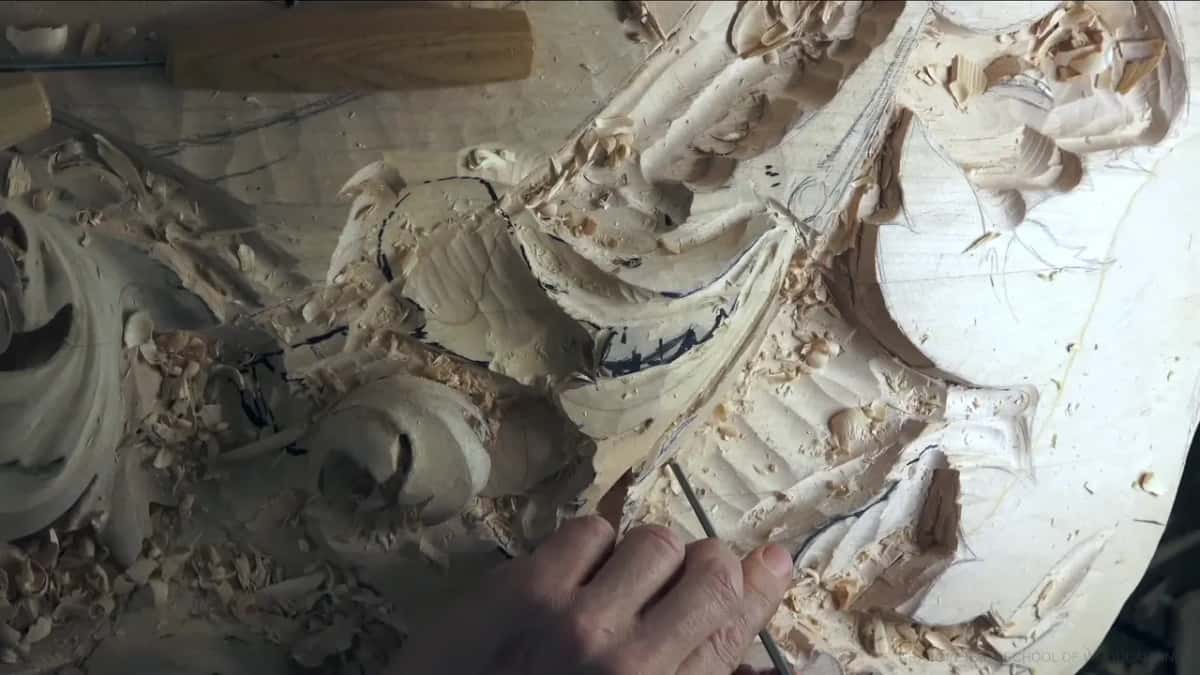
Not everything has to be exact. Back in the second part the exact location of the point didn't matter much, since I don't really have to get it exact, and that point became my boundary for that development.
Tools are plain here too. When I blended one spot with a #5, it was only because that #5 was lying right on the carving, and I said out loud I can blend it with any tool I have. It doesn't have to be a #9 either, I said about another cut. That one just happened to be close to me.
When is wood carving hard, then?
Five places made workshop 51 hard, and each one is in my own words on the video. Tough spot is my phrase for places like these, and I used it three times, twice for the ceiling and once for the grain.
Challenging came up in the last part, and then I said wood carving itself is challenging, which is about as honest as I can put it. Smaller moments count too. Something wouldn't come away late in the ninth part, and all I said was come on, can't get rid of it.
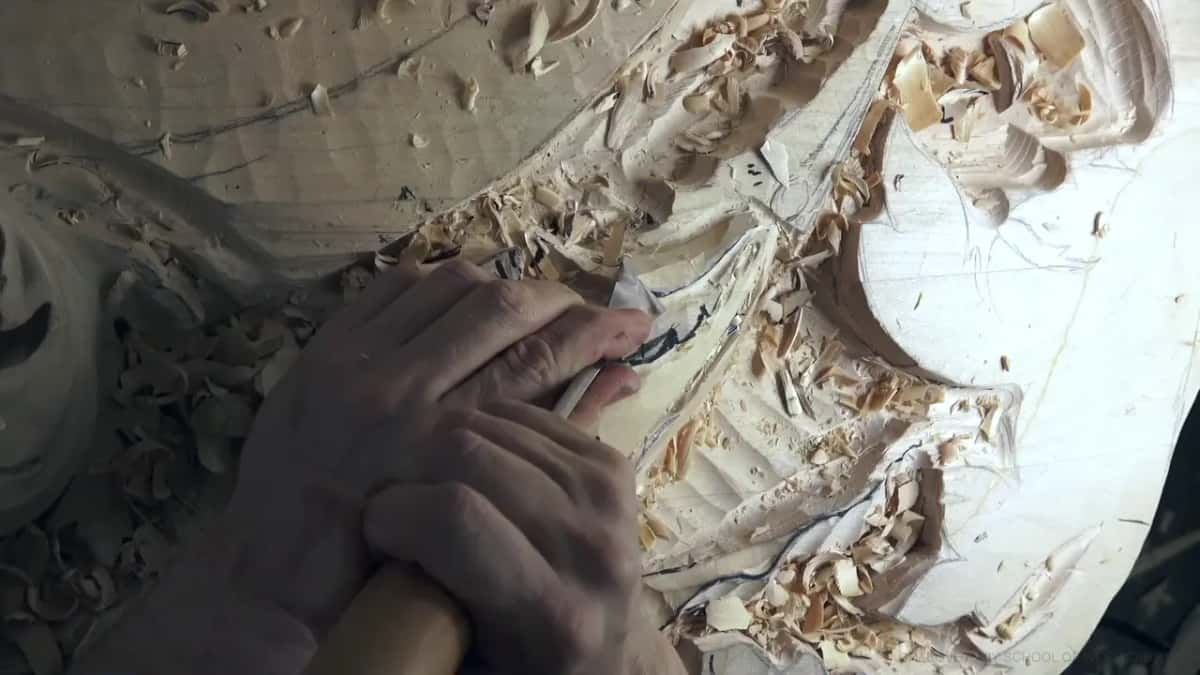
What is a ceiling on a carving?
A ceiling is the word I use for wood that hangs over the place you need to carve. The next hole in the last part had to go right under one, and in the first part I was already hitting the ceiling, as I put it. It's not really easy to get to that spot, but somehow I still have to do it. Under it sat another development I wanted to keep. One side there was, for me, hard to see, and I had to create the right movement on it before I could make the hole.
Under that ceiling I couldn't even see. So I cut room first with a 3 mm #11 (1/8 in), because to make the hole inside I needed space for it, and only then did the quarter inch #9 go in. I used the mallet, went a little one way and rotated, went the other way and rotated again, little by little.
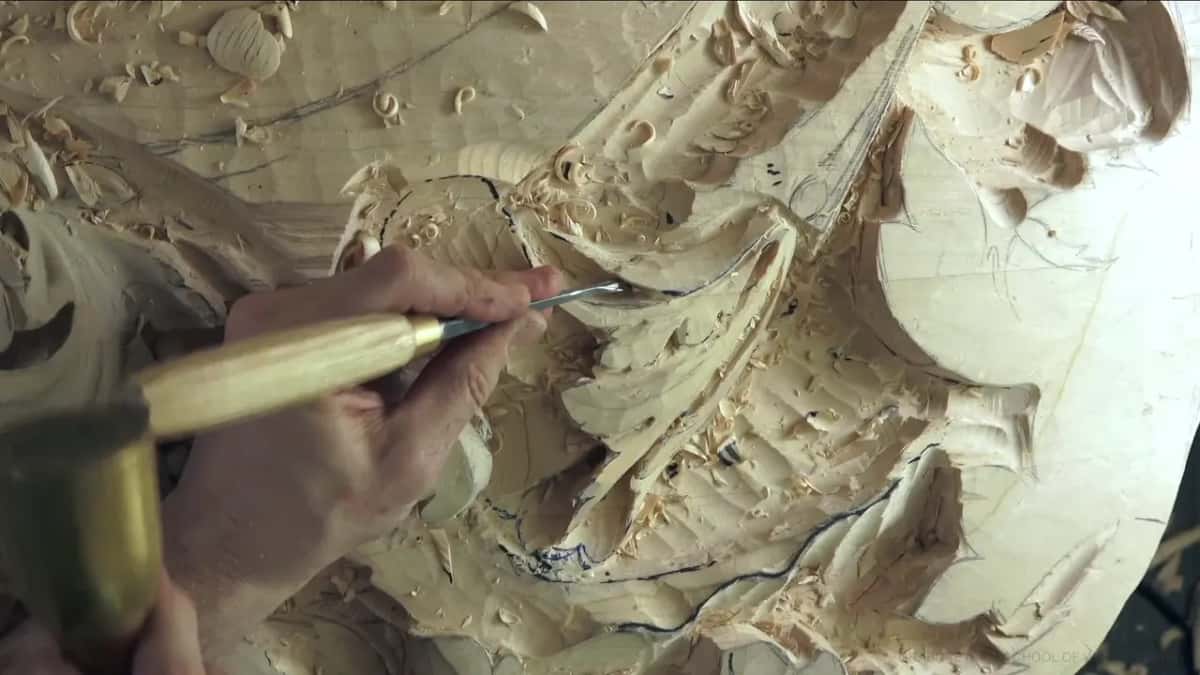
Then the edge came close. I was too close to it and had to be really careful, and I couldn't rotate much one way or go straight in, because of that same ceiling. The mallet could still drive it in deeper. At one point I asked myself if a smaller #9 would do better and said no, and when the quarter inch finally stopped, I went to the eighth inch, 3 mm, and dug much deeper.
One final move under that ceiling needed a different shape of tool. A straight gouge wouldn't work there because the wood was in my way, so I tried a 7 mm spoon (about 9/32 in), and it worked. I just spooned it.

Why does the grain make a spot tough?
Going against the grain is the second tough spot, and I named it that way in the fourth part. I was cleaning up with a #7, a little bigger than the tool before it, and could make a clean cut on one side only. At least on this side, I said, I'm able to make a clean cut. Then I moved up and came at it from another direction.
The #9 had the same trouble in the sixth part. I went back in with the quarter inch and said it has to be sharp, because we are not carving with the grain there. A small blade left trail marks in the fourth part, which means I needed to sharpen it, and a #7 in the ninth part told me the same thing about itself.

Once it was sharp, the #7 gave me a really good concave movement, full motion, full 3D if you wish. Sharpening has a whole course of its own here. Direction matters here too. I switched position during the first part and broke the rule of direction, the way I was carving, around an eye I was careful not to lose.
What happens when a hole gets too deep to see?
You keep going, carefully, and I did that more than once here. Late in the fifth part I took a #9 down to an eighth of an inch, 3 mm, went even deeper, and then told you I couldn't see anymore because the shadow was so deep. Unless you look in with a flashlight, you won't see the end, and I still wasn't at the end yet, since the hole still needed to run underneath the region beside it. When the hole under the overhang got that far, I said I don't need to go deeper than that, it's already deep.
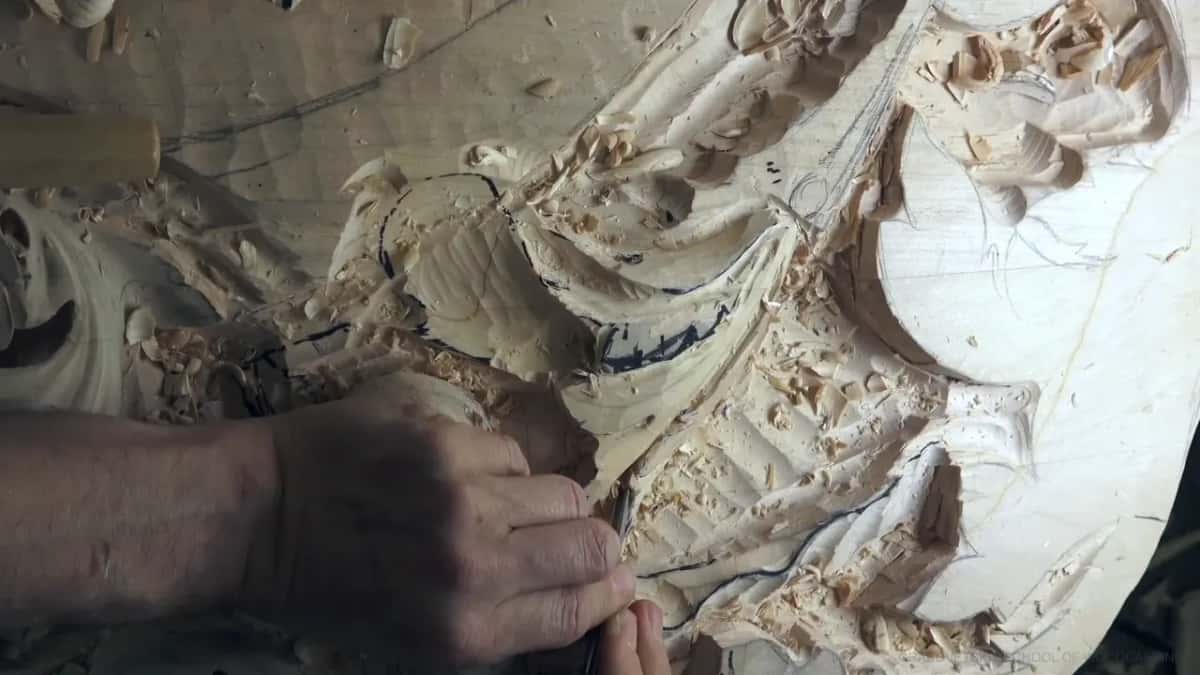
The ninth part had a long, clean cut in another hole, and again I couldn't see how deep it went without a flashlight. I doubt anybody's going to put a flashlight in it. Maybe some people would. That side could safely go deeper, because it had to feel like it goes underneath the line. One plug in the third part came out of a really, really deep hole, one that's impossible to see into with the naked eye.
Part eight has a plug cut right under a detail, and I told you how to do it. Go in, make a full rotation, and don't crank the tool, because the spot is fragile now and you can break it. Take your time. I didn't want to hit a line there either, since I still wanted to keep that detail, and that's why I was careful how I did it.
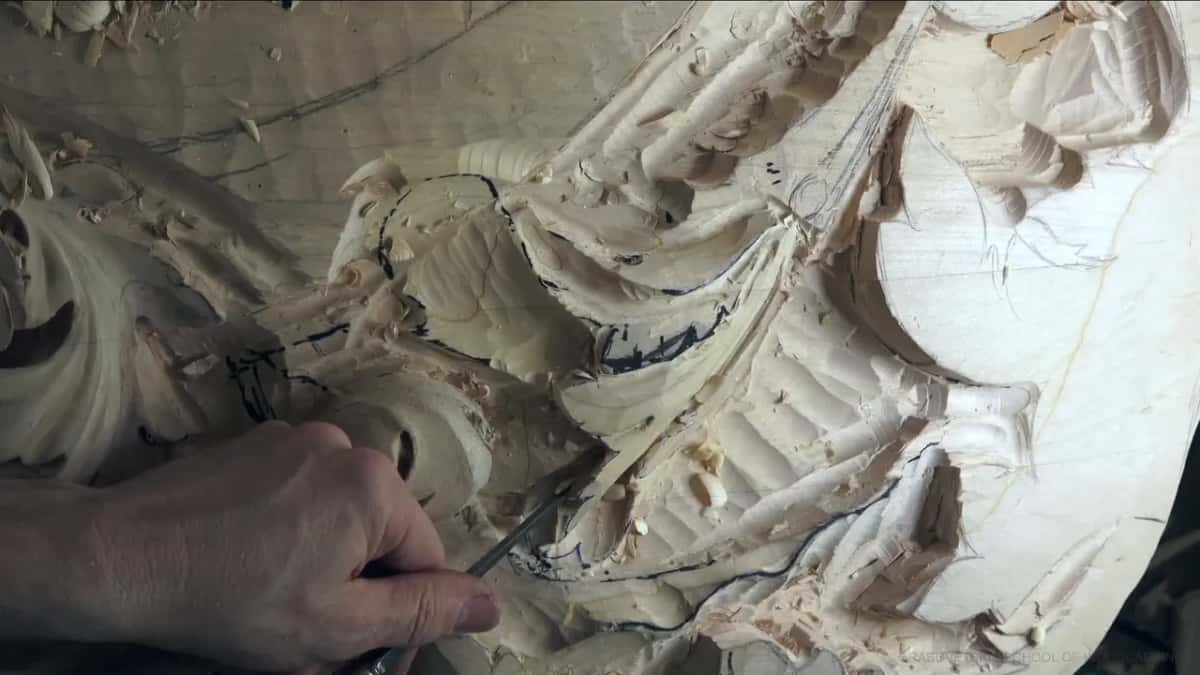
Getting close to a wall didn't worry me in the fifth part, since that wall had to wrap inside anyway, but I kept away from the fragile ridge. A drill wouldn't help down there. For anyone wondering why I don't use one, there's no way to place a drill that low, and there was barely room for my hand. The gouge can lie almost flat and still cut the plug out, and I could go all the way through if I wished, though I didn't need to.
Five hard places, side by side
| Place | Trouble | Answer |
|---|---|---|
| Under the ceiling | My view and my gouge were both blocked. | Room first, then little turns. |
| Against the grain | Only a sharp #9 would cut there cleanly. | Sharpen, and change direction. |
| Deep, blind holes | Shadow hid the end from my eyes. | Smaller #9s and one full turn. |
| The final refining | A few days of cleaning up the whole design. | Saved for the very end. |
| A skipped relief | My triangle side showed it right away. | Said I could hide it. |

How many days does the last refining take?
A few days on this panel, by my own count on camera. In the seventh part I said that once everything is carved I'll go over the overall design, and I'll still spend a few days cleaning everything and refining everything until I'm happy with the look. I'll do that no matter what.
Some of the finish comes earlier. Cutting everything to the hole gives me a beautiful finish, I noted in the seventh part, and a small blade did that work. Deep holes raise their own finishing question, too. I can go as deep as I wish, I admitted in the eighth part, but I have to think about how I'm going to finish it, and in that spot a tiny, small brush would get the finish inside.
Do I still make mistakes on a panel like this?
I do, and one of them is on the video. The tenth part is where I carved the triangle side without relieving it first, said oops, and showed you what happens when you don't relieve it. I make mistakes, even though I've said it hundreds of times. Just relieve that cut.
It's okay, I said, I can hide it, and whether a slip can still be fixed is a question with its own page. What it really cost me was a few seconds I could have saved by doing the right thing, and every second counts if you're doing production carving. It still takes time, a long time.
Does it get easier?
It does, inside one project, and workshop 51 shows it. The plastic I had traced from stopped mattering midway through the first part, when I said I didn't need that reference anymore, because I knew exactly what was going to happen. That's what getting used to it looks like on a bench.
Do stuff like this if you want to. And if you don't, don't worry about it, as I told you in the eighth part about deep holes like these. The tuition opens every part of workshop 51, the tough spots and the skipped cut included.
Where to watch these five places
Workshop 51 runs eleven parts and sits between workshop 50 and workshop 52 on the same carved relief, and flowers still get added to it later, which I mentioned in the first part. All twelve workshops of this stretch are in the Part 5 course, and Part 4 comes right before it.

Can you take your time? Could you stop and sharpen when an edge leaves trail marks? Then you can watch all five places in workshop 51, in the order they came up.
One small thing from that last part. Right before the hole under the ceiling, I had to find the hole-making tool first, and it was right there.
How it's done
- Cut room before the hole. Under an overhang, open space with a 3 mm #11 (1/8 in) first. The #9 needs somewhere to go.
- Turn the #9 a little at a time. Tap it, go one way, rotate, go back, rotate again, little by little.
- Drop a size when it stalls. When the bigger #9 won't go any deeper, pick up the eighth inch one.
- Stay sharp where the grain runs wrong. Trail marks behind the blade mean it's time to sharpen.
- Relieve the cut first. I skipped it once in this workshop, beside a little triangle, and it showed right away.
- Blend, then go deeper on the eye. Blend the ridge before the last pass, or it won't look good. Then a 1 mm #11 can take the eye down for a nicer shadow.
Frequently asked questions
Could a knife do some of this work?
A lot of it, by what I said on camera. Lots of this stuff could get done with just a knife, I told you in the fifth part, or a skew chisel, I should say. Much earlier, in the first part, I said a knife gives exactly the same motion as the skew I was holding.
Why switch to a smaller gouge in a hard spot?
Less wood comes off in one bite, and there's a lot less resistance. That was my reason for a smaller tool in workshop 51. Beneath that overhang the 6 mm #9 couldn't get any deeper, so I switched to the eighth inch one, 3 mm, and excavated much deeper.
How small are the smallest gouges on this panel?
One millimeter, less than 1/16 in, was the smallest I used in workshop 51, for an undercut that ran all the way to an eye. Half a millimeter (about 1/50 in) came up in the fifth part as a maybe, and a 1.5 mm #11, about a sixteenth of an inch, took another eye deeper.
What to carve next