
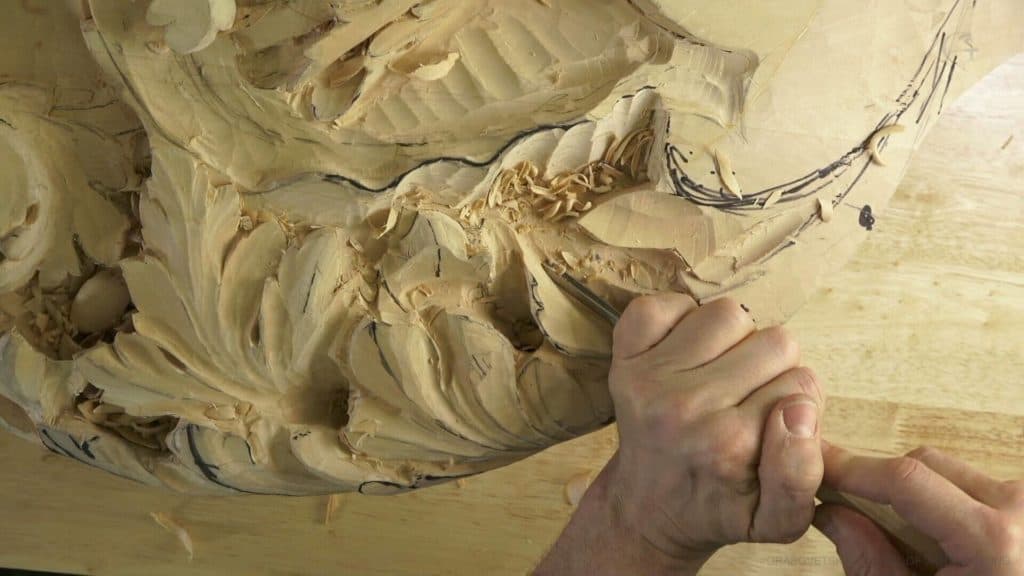
Alexander Grabovetskiy, woodcarver, School of Woodcarving · Published 2020
Why does a wood carving look messy halfway through?
Quick answer: The messy middle of a wood carving is the stretch when most passes are still drafts. On a Venice ceiling board I set in, lowered and blended one section a little at a time, and passes left ridges that later ones removed, while I stopped only for real design slips.
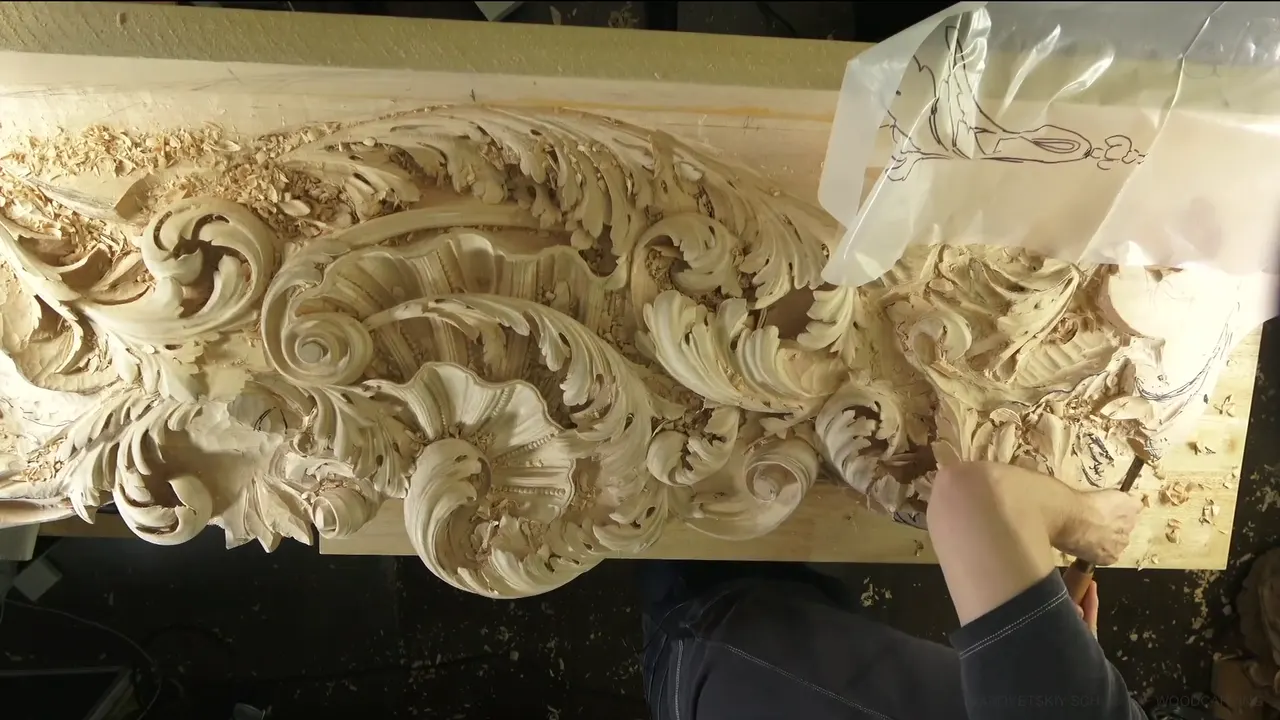
A messy middle is the normal look of a wood carving while every pass on it is still a draft. Lists of relief carving steps make the job sound neat. Draw, outline, lower the ground, sand, finish. On this ceiling board, in workshop 53 of the Venice Room, those steps ran over each other for twelve parts, and for long stretches the section I was working on looked like a mess.
Has a closet ever looked worse halfway through a cleanout than it did before you opened the door? Did you keep going anyway, because you knew where every pile was headed? Carving has that same middle. I told my camera as much, more than once in this workshop, and asked the people watching to wait, since they would see exactly what was going on. Four times I stopped and said no bueno, and the rest of the time I let the mess be. Learn to read the difference and you will stop giving up on good wood.
The relief carving steps behind one messy section
Every first pass was preliminary, even the blending, because the shape still had to roll lower.
Passes left ridges behind, and later passes took them away.
Before drawing again I cleaned the old marks off, and losing the original lines didn't bother me.
Wood stayed back for concaves, convexes and the space between two high spots.
The mistakes I stopped for were in the design, like one pass too deep, a line running into another and a middle line that drifted.
A double line, or an outline run too close on one side, I let stand.

Why does a carving look worse before it looks better?
Every early pass on this board was a draft. Preliminary is my word for that. My separations in part 4 were preliminary, and so was my outline in part 10, and so was one line in part 3 that I put down only to see whether the design looked better that way. It did, and the line stayed.
Take the blending in part 4. I ran a skew over a fresh cut and called it only preliminary, because that ridge still had to roll and go much lower later on. The draft blend still earned its place. It let me see how my development develops, as I put it that day, twice in a row. Even the plan wobbled out loud. Maybe yes, maybe no, I said about rolling that ridge down, and it would still be detectable somehow.
Not every pass was a draft, though. Part 3's main outline went in with a 12 mm Swiss Made number 11, a little less than half an inch, and I hit it hard, since that groove was meant to be deep.

The biggest tool went first on the low leaves. Two leaves in part 2 had to sit much lower than the line beside them, so I took them down right away with a 30 mm (1 3/16 in) number 11. Taking them down early wasn't going to distract my eye, and it gave me a much better idea of what the whole development was supposed to look like.
Even distances were drafts. I had set a distance about equal by eye in part 8, and said not to worry, because it was only the main form and we were going to change that form. We did.
What does a first pass leave for the next one?
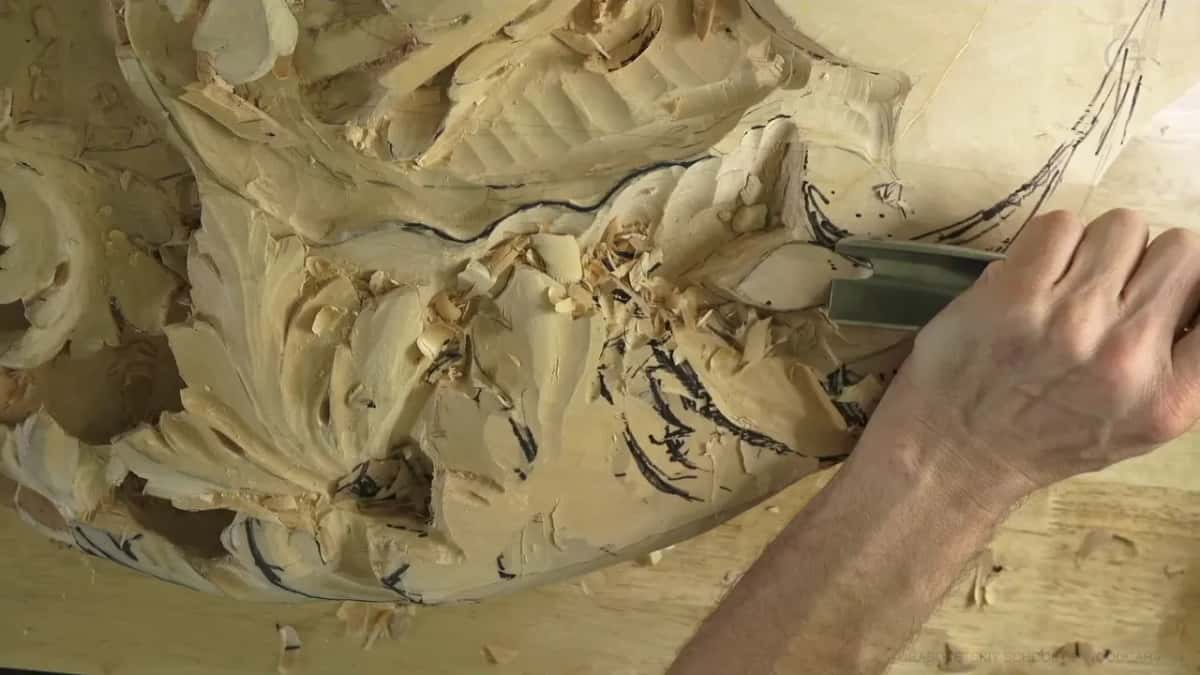
Ridges, mostly. A pass with a number 5 in part 8 left one, and I said to forget about it, since it would be gone once the pipe was in. Moving a number 11 over to the right took it away. That same pass made a much sharper ridge along the side of the pipe, and the sharp one I was after.
My marker left the same kind of leftovers. During part 2 I moved a curve over so it would go right underneath, liked it better, and ended up with a double line I didn't need. I left it. At least I knew exactly where I was supposed to stop.
A new pipe in part 9 didn't look too good at first. It needed blending, and cleaning too, because it was a little too messy as of then, and I said so.

Then there is plain waste. Around a fresh outline in part 6, the wood beside it was a mess, and that didn't worry me at all, because the mess was going to be removed later. All I needed right then was a really good outline, and some of the waste came off right away.

Can you clean away the lines you drew?
I did, more than once in this workshop. Near the end of part 1 I couldn't see the next movement for all the old marks, so I took a normal skew and cleaned the whole section. I didn't like where those lines sat, either. I wasn't afraid of losing the original lines. The overall look mattered more, and the look from below most of all, because this board is going up on a ceiling.

The skew needed sharpening partway through part 2, and I did that off camera. Working with a sharp tool always helps, obviously, and the sharpening course covers the edge itself.
Back in part 3 I had wished out loud for colored permanent markers. I didn't have any, and I apologized to the camera for it.
Cleaning a surface to finish it is a separate job with its own timing, and I wrote about that on an acanthus over moldings lesson. What I did here was only so I could see and draw.
How do you tell a mess from a real mistake?
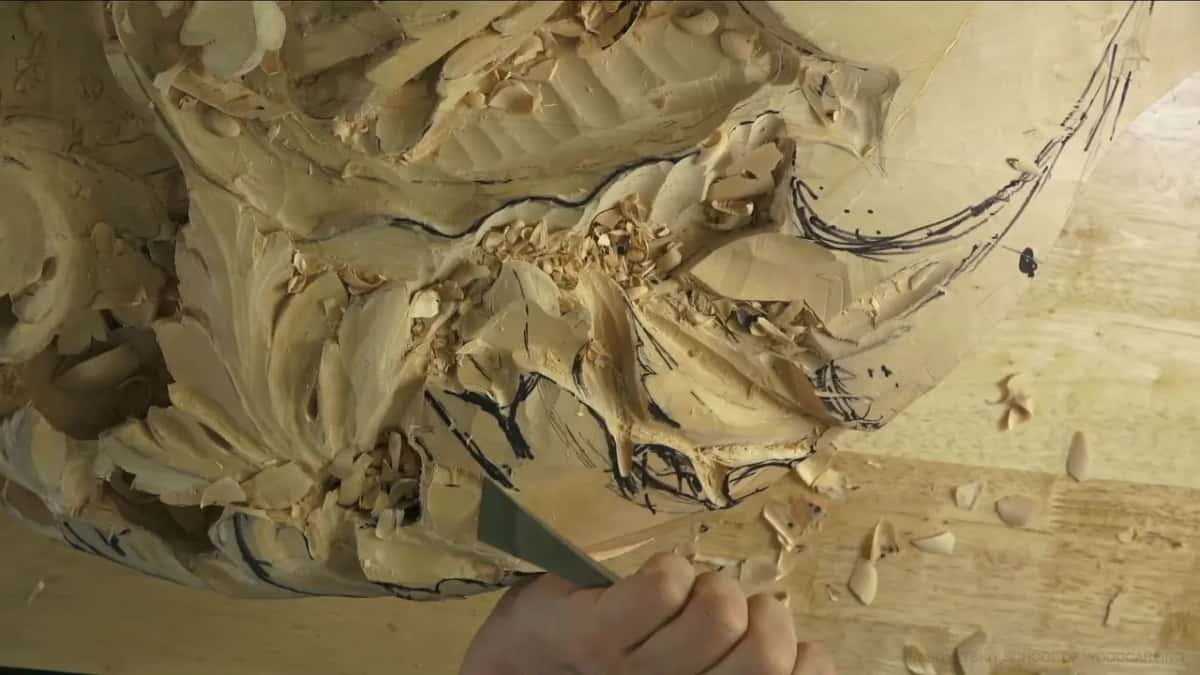
By what it does to the design. Four times in workshop 53 I said no bueno, and all four were about the shape of the thing. A scratch or a stray line never made that list.
The first came early, before anything went deep. Between two high spots in part 2 I held back, because going too deep there would leave too much of a void with nothing developed inside it, and a void like that is no bueno.
The second was real. Part 5 had one spot where I didn't like what I saw, a little too deep a cut, no bueno, not good. I cleaned it into what I called a clean canvas and drew the middle line again, about six parts out of 10 between two points, the way the golden ratio sits.
The third was a line. One of the inner lines ran into another and stopped there, like the letter T, which carvers call a T-stop. I moved the middle line so the new line would fall between the two instead of stopping nowhere, and after that it curved more fluently.
The fourth was a middle line again, in part 7. It had shifted. I thought about keeping it, since it still hit the point, then decided it wasn't going to be good and redrew it.

Now the other list. I took one separation in part 4 a little deeper, then said maybe I shouldn't have, but it's okay, I've already done it. Then I blended it nicer and kept going. Part 10 had its own small slip. I meant to keep my outline about one-eighth of an inch, three millimeters, off the line on both sides, and only managed one. It's okay, I told the camera, and went on outlining.
Through the ugly part, the main movement read before the surface did. Both sides of the section opened up in part 6 into one huge movement, and I loved it before the main concaves and convexes were even in. While I was still lowering the acanthus leaf in part 7, I told the people watching they should already feel how it feels. The first pipe in part 8 showed as soon as its two hollows were in.
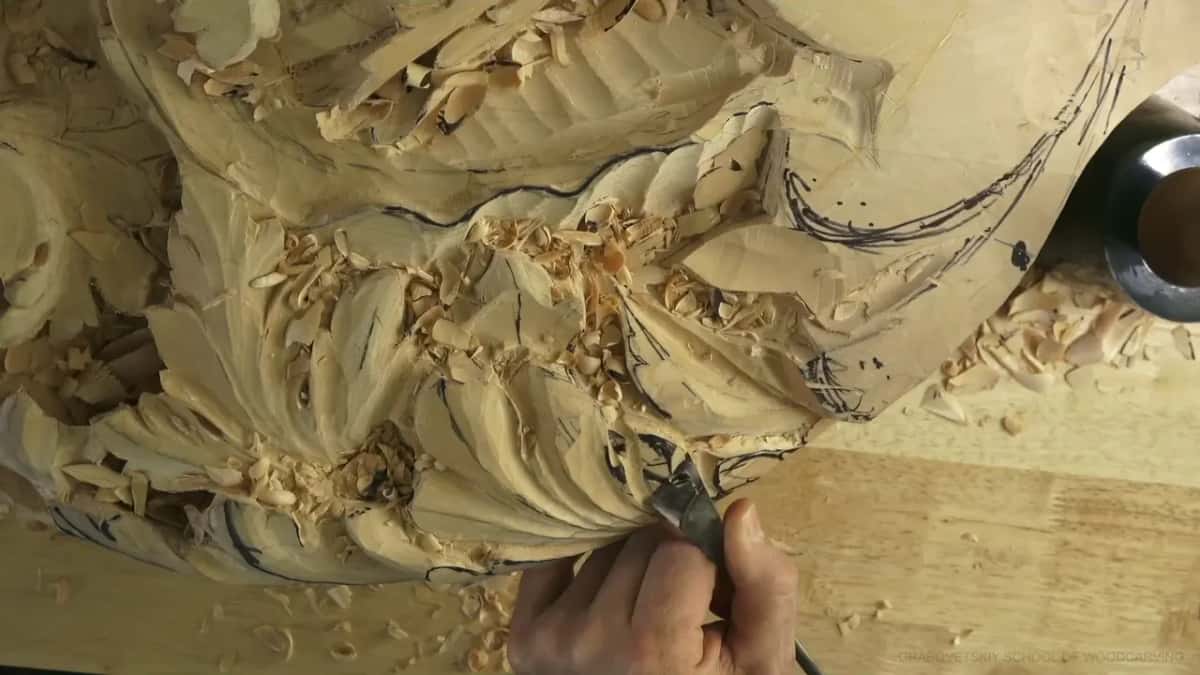
Laid side by side, the mess and the mistakes from workshop 53 look like this.
| Sign | Meaning | Verdict | Response |
|---|---|---|---|
| A leftover ridge | gone once the pipe was carved in | Normal mess | left alone for the next pass |
| A double line | spare marker after moving a curve over | Harmless slip | kept, it showed where to stop |
| Outline too close | one side came right up to it | Harmless slip | said it's okay, kept on outlining |
| Pass too deep | did not like what I saw there | Real mistake | cleaned it, redrew the middle line |
| Line into line | ran into another like a letter T | Real mistake | moved it to run between two |
| Shifted middle line | hit the point yet would look bad | Design error | redrew it before carving the eyes |
| Too much void | no room left to develop the middle | Avoided mistake | held back from digging that deep |
When the leaf itself looks wrong, beyond messy, that is a different problem, and I went through it on workshop 26. How late a real mistake can still be fixed is its own question, answered on workshop 25.
Which wood do you save for the passes still to come?
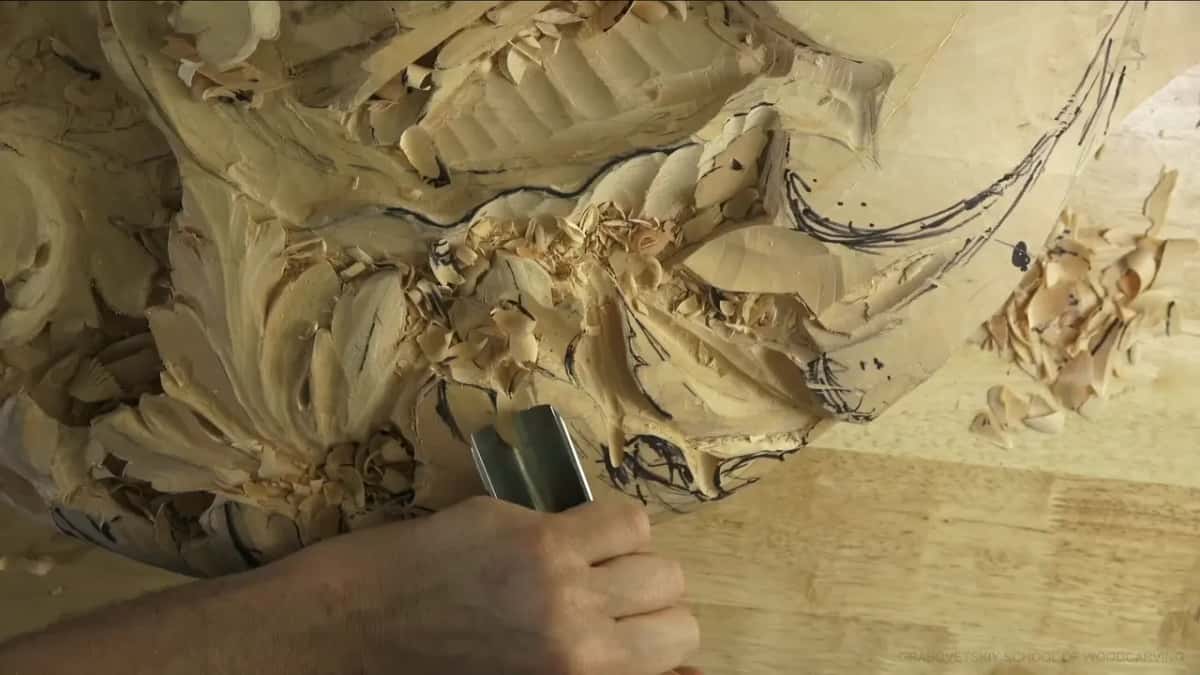
Anything the next stage still needs. In part 6 I didn't go deep yet, because the concaves and convexes were still to come, and I was careful not to undercut too much for the same reason. Undercutting there could give me a big problem later, and I don't want to see any problems. Earlier I told the camera, in part 2, that it was a good idea not to dig too deep in one area, no more than I needed, and showed it closer.
Rolling needed a limit too. I rolled a number 5 along the new outline and got a beautiful shape out of it, then eased off, because rolling too much would lose the overall feel.

The clean-up at the start of part 2 kept the overall thickness on purpose. Later, in part 4, I kept a high spot and went upward only a little, with one side of a 20 mm (3/4 in) number 11.
Plenty of material is the phrase I kept coming back to near the end, in parts 9 and 11, when I did go deeper. The deep holes came in part 10, with a 10 mm (3/8 in) number 9 and a mallet, and the page for this whole course tells that part. If your doubt is about one single cut, not a whole stage, workshop 42 is where I dealt with that.
How clean is the section when the session ends?
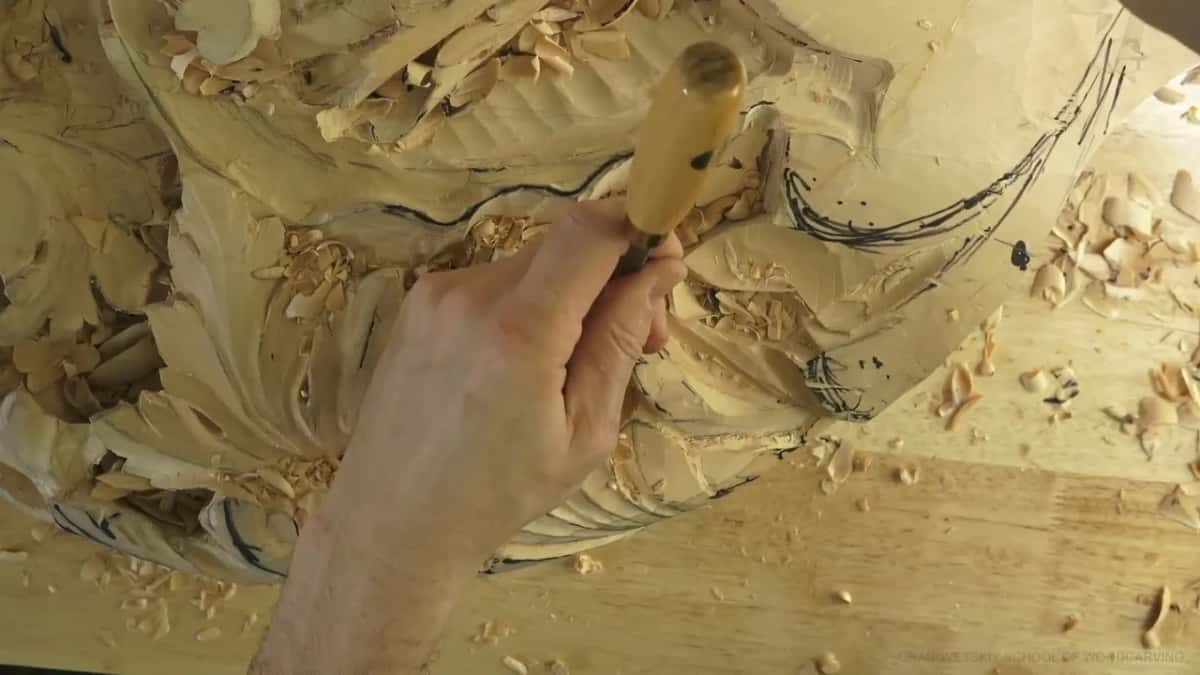
Clean enough to read, and still not finished. Loose junk was still stuck in the cuts when part 12 came around. I hooked it out with a number 11, carved the opposite direction to undercut toward the inside of the cut, and once all of it was free I took a hair dryer to the chips.
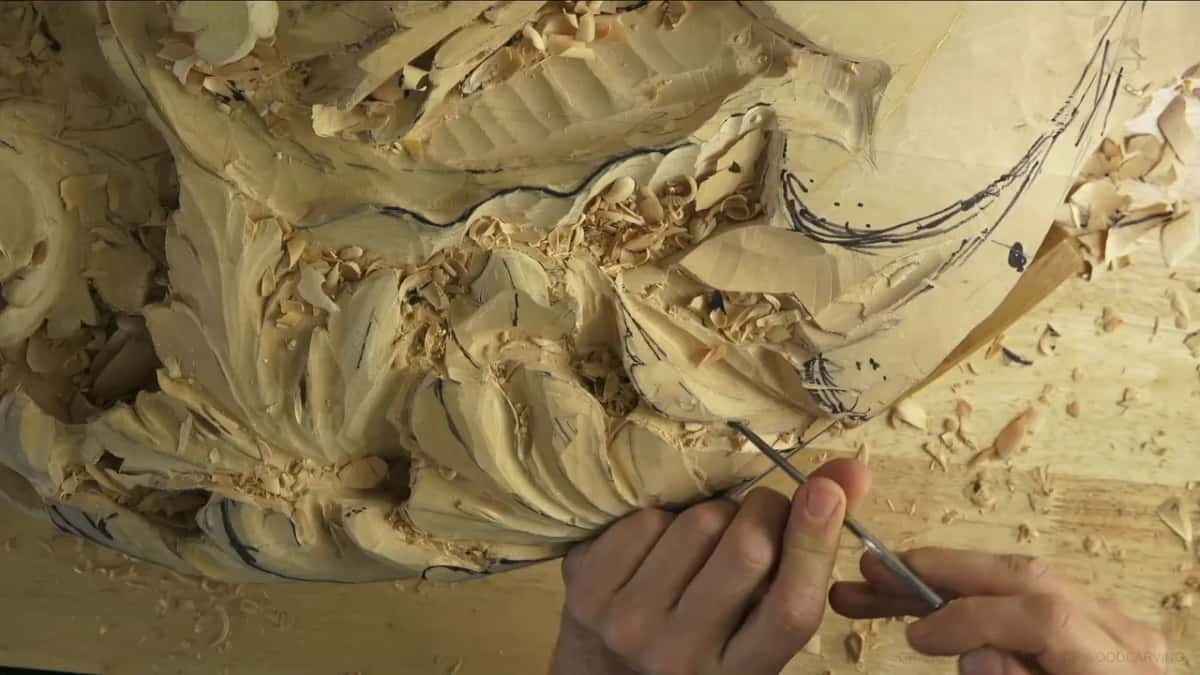
Then I looked at the whole thing. Beautiful development, I said, look at the overall picture, how it flows. Later in part 12 I carved against the grain on a part that still had concaves waiting, so it wasn't the final pass, and I didn't worry about it. I even told everyone that if they didn't agree with me, I'm okay.
A half-carved form can also be plain confusing to look at, a separate trouble I took up on workshop 45. The workshop before this one, workshop 52, and the one after, workshop 54, carry the same board on either side of this session, and Part 4 carried it before that.
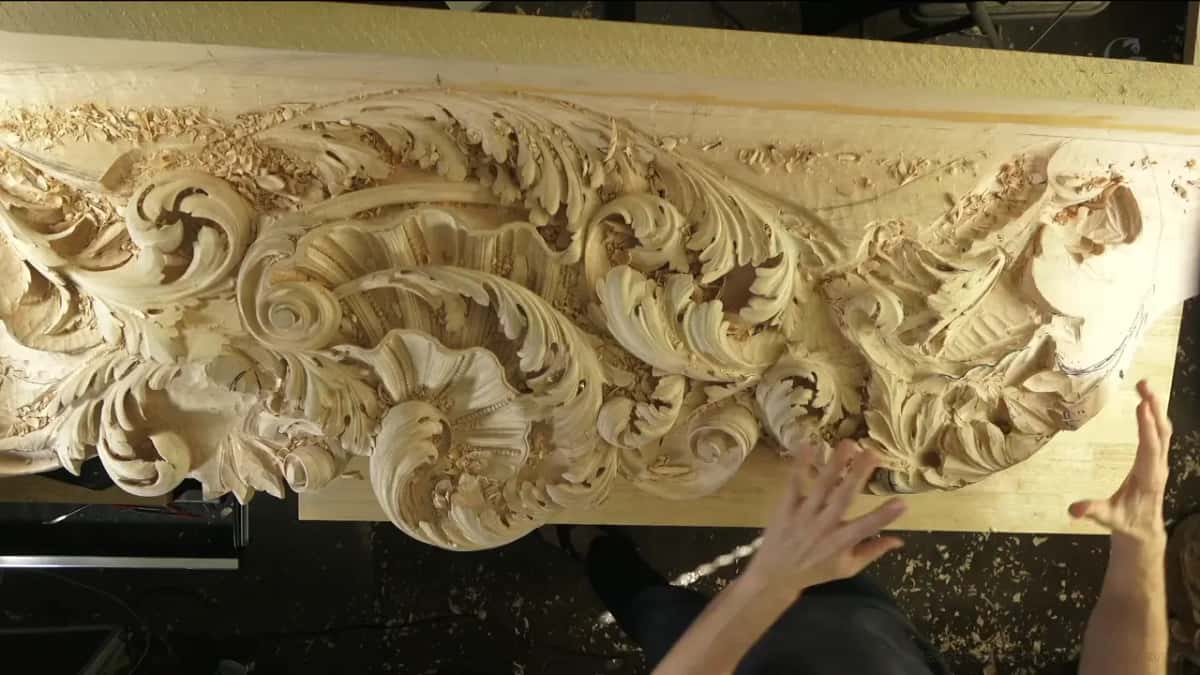
Is the ugly part worth watching?
You'll see how it developed, because I kept the camera running through the ugly stretch. I filmed workshop 53 early in 2020, right when the virus was pushing some of my in-person classes to other dates. Five cameras were running, all I had to connect, and there were still spots none of them could show. For those I promised pictures later on, multiple ones. At one spot I even apologized that I couldn't place a camera at that angle. I asked people to comment, too, and to ask me when something didn't make sense.
Every bit of the mess on this page is in those twelve parts, the no buenos with it. One tuition opens every course in the school, and this room is one of them, starting back at Part 1.
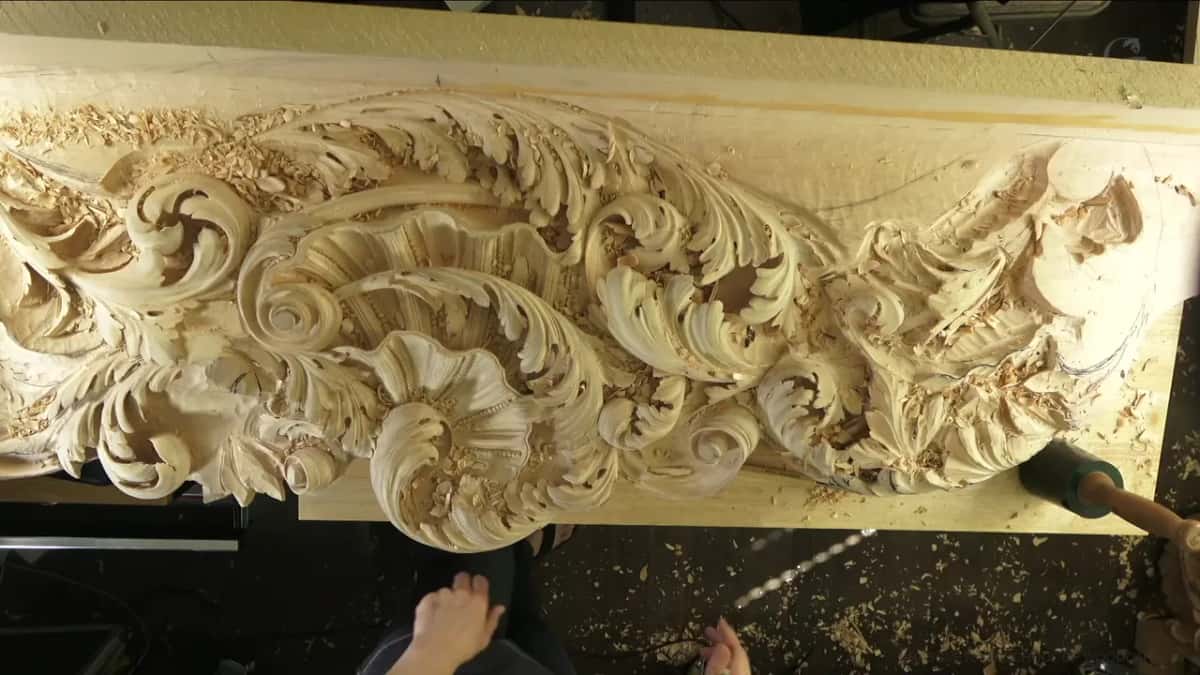
One small thing from the first minutes of part 1. A corbel will join the board right beside this section, and I planned to use, probably, large Festool Dominoes for it, so I made sure I was leaving enough meat there.
Would you rather watch a leaf go wrong and get put right than only see it finished? Would it help to know which marks on a board you can ignore? Then carve along with this session.
How it's done
- Clear the old marks. Take the section back to clean wood with a skew so the next movement shows. I let the original lines go.
- Set in the line you like. Outline it before drawing anything else, the way I did on this board. Mine was a 15 mm (5/8 in) number 11, kept shallow where more had to be carved inside.
- Drop the low leaves early. A 30 mm number 11 took two low leaves down at once and gave me the whole picture.
- Blend as a draft. Run the skew over new cuts to see the development, leaving any ridge that still has to roll lower.
- Fix design slips right away. Where a pass went too deep, or two lines met in a T, I cleaned the spot and redrew the middle line. The double line stayed.
- Free the waste and look. Hook the loose waste free, blow it off, then look at the overall picture.
Frequently asked questions
Is it normal for a carving to look bad halfway through?
Very normal on my bench. Early in workshop 53 I warned the camera the section would look like a mess, and in parts 3 and 9 I called it messy again, before blending and cleaning brought it round.
What is a preliminary cut in wood carving?
A first pass that shows the shape and gets replaced later. My preliminary separations in part 4 went in with a 7 mm number 11, about a quarter inch, while the overlaps between divisions waited. I outlined a little bigger first on purpose.
What makes a carved curve look wrong from one angle?
Viewing angle fools the eye. On this board one curve seemed to lean to the left on camera, yet looked at straight on, the curvature was not that extreme. I still moved it slightly so it went right underneath, and it was better.
What to carve next