
Alexander Grabovetskiy, woodcarver, School of Woodcarving · Published 2020
What tools do I need for relief carving?
Quick answer: A relief carving kit is a short row of gouge shapes with one job apiece. On a Venice room section I took waste down with a 60 mm (2 3/8 in) #2, outlined with a #11 in five widths, shaped with a #3 and a #5, and reached deep pockets with a short #9.
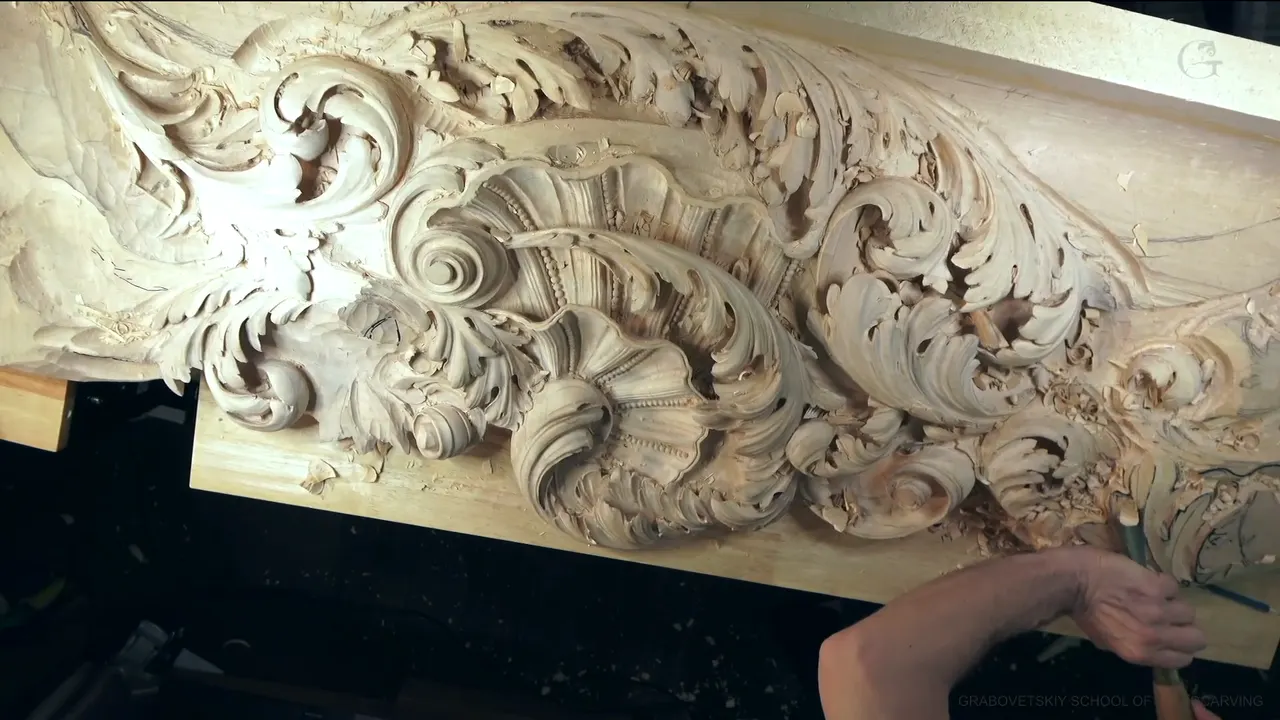
Relief carving tools are a few gouge shapes, each picked for the job in front of it, plus one or two odd ones for spots nothing else can reach. Workshop 50 of the Venice room starts a fresh section of the board, and across its twelve parts I kept reaching for the same short row. A wide flat gouge took the corner down. All the outlining went to the #11 in five widths, two medium sweeps built the form, and one short #9 went in sideways, the only way it would fit.
Does a wide gouge move more wood in one pass than a narrow one? And a deep sweep, does it leave a deeper groove than a flat one? Then you already know how I pick, and the rest is which shape did which job on one real board.
I'm going to be honest with you. This is not a shopping list, and I won't rank a single maker. You'll get the tools I picked up in workshop 50, with the reason I gave on camera for each one. The board I'm on is 10 feet (about 3 m) long, and I said it isn't even the biggest piece in the room, with columns still to come. Part of it went out as a live stream, so I checked the chat now and then and answered what people asked.
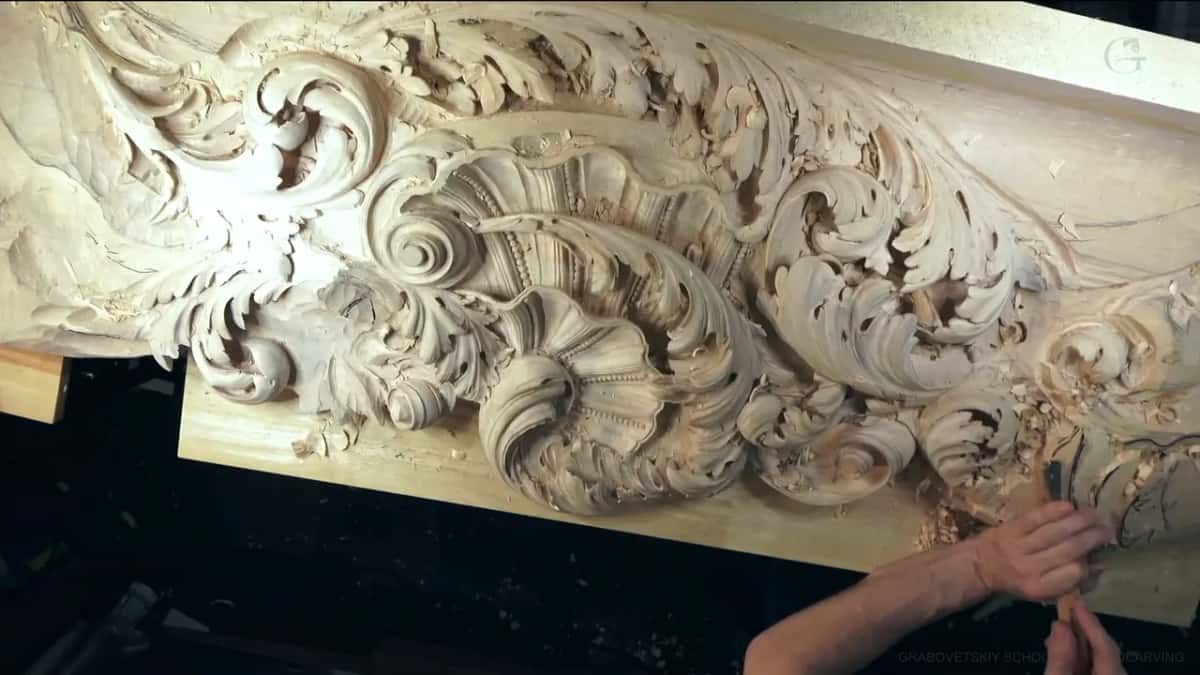
Relief carving tools from one real panel
The big corner came off with a wide #2, because a skew would have taken too long.
The outlines went in with a #11, and I used five widths of it.
A freshly reshaped #3 brought the waste down to the main form.
A #5 raised the middle ridge, and on one pipe it kept me from digging too deep.
Two gouges about an inch (25 mm) wide, an #8 and a #7, hollowed the big concaves.
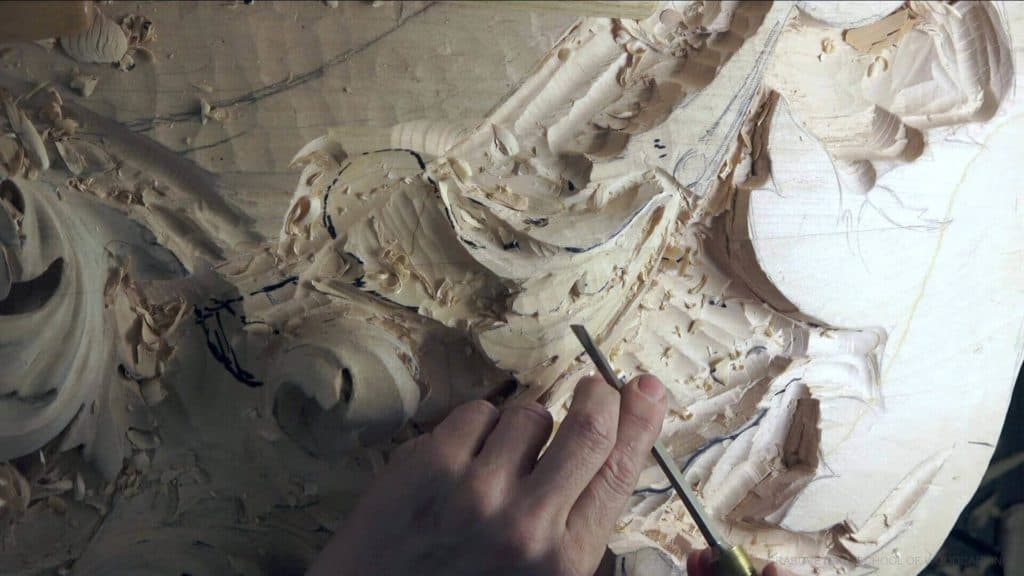
Going in sideways and turning, a short #9 reached the deep, tight pockets.
A brass mallet came out where space was tight.
Why start with the widest flat gouge?
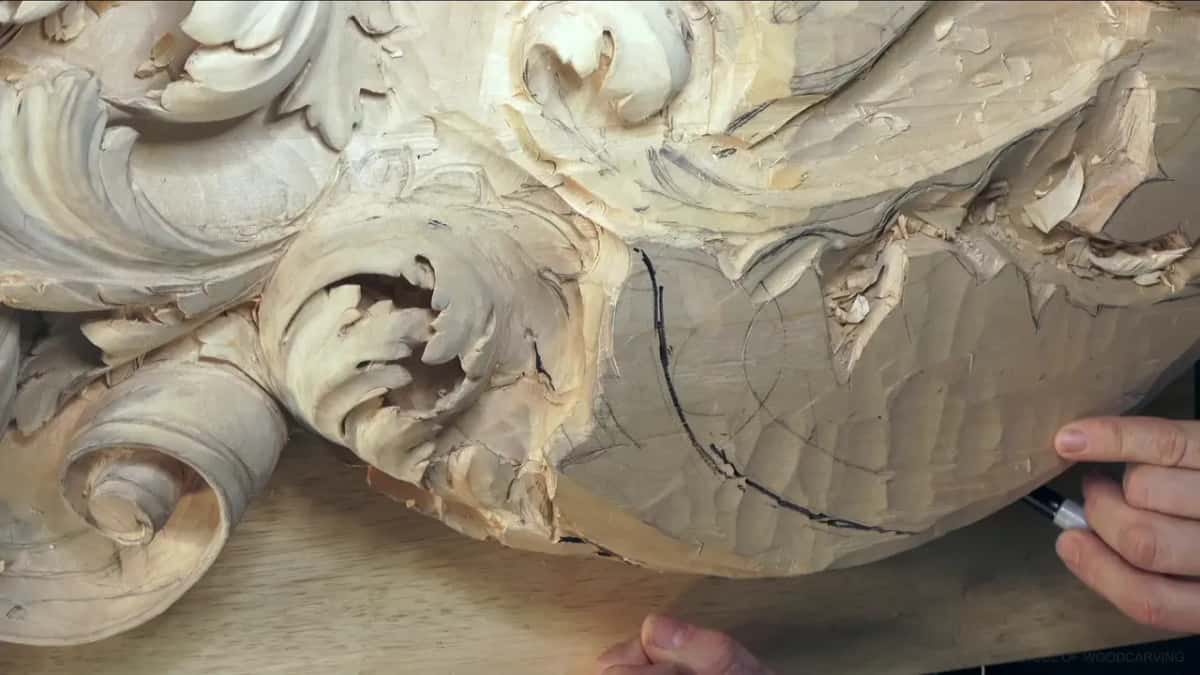
A skew could have done it, little by little, and I said so before I reached for anything else. It was going to take me too long. A big gouge was the wiser choice, a #2 that is 60 mm (2 3/8 in) across, so I chopped the chunk off with it and changed position to work with the grain.
I had a big chunk there, and I didn't want to lose the overall feel or the dimensions. Before any chopping I drew the idea with a marker, a center line for the main movement and a second center line, both running all the way down.
The right side I left alone. A big corbel attaches there later, and another one goes on the far side.
For a while I carved with the gouge upside down.
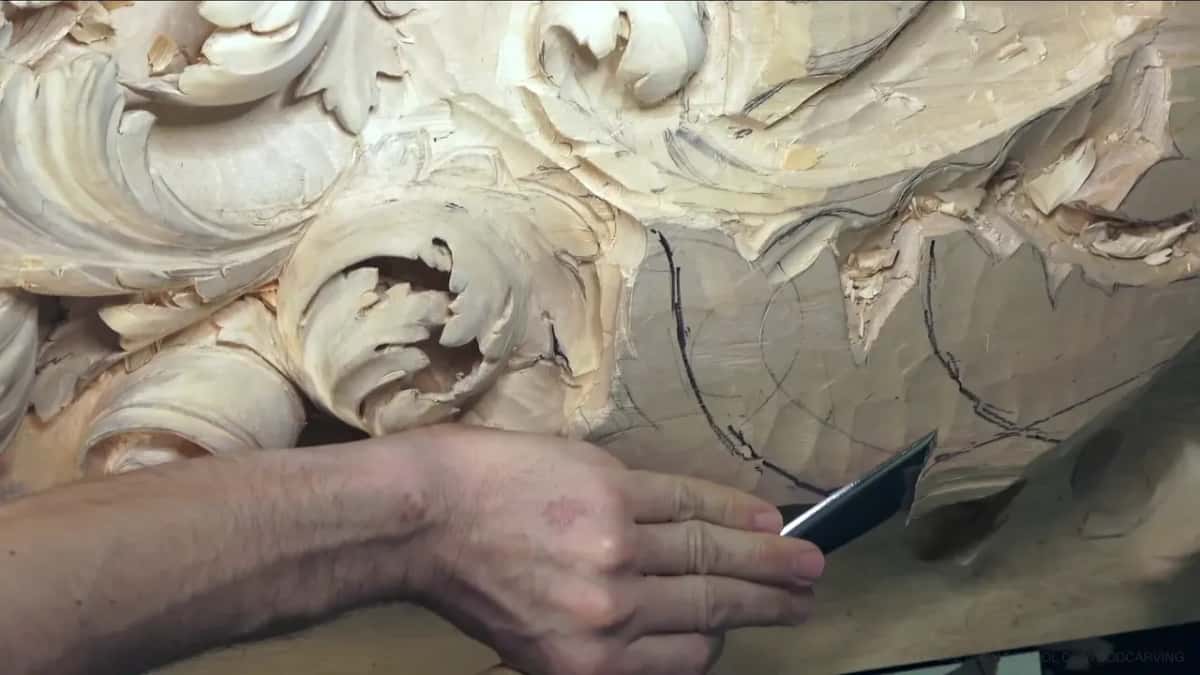
Why five widths of the same #11?
Each width had its own job on a relief this size. First came the 15 mm, which I called approximately five-eighths of an inch, relieving the separations, and I kept it light so I wouldn't hit the design already carved below it. Before outlining the next movement I made sure I had enough material left for it, then set it in with the same tool.

A 7 mm (9/32 in) made the preliminary cut for two big eyes, and I could have gone deeper right then. Part 4 had the same tool relieving the little triangles, as I call them, and I said on camera I always start with the relief cut. Later, in part 7, I said some of you probably doubt that, and that it may sound funny, but it's just the right thing to do.
Where one outline needed more depth I took the 18 mm (about 11/16 in). My 4 mm (5/32 in) dug a little inward, and later it cut my first channel on a new division. One separation in part 6 got relief cuts from two sides to save a ridge.
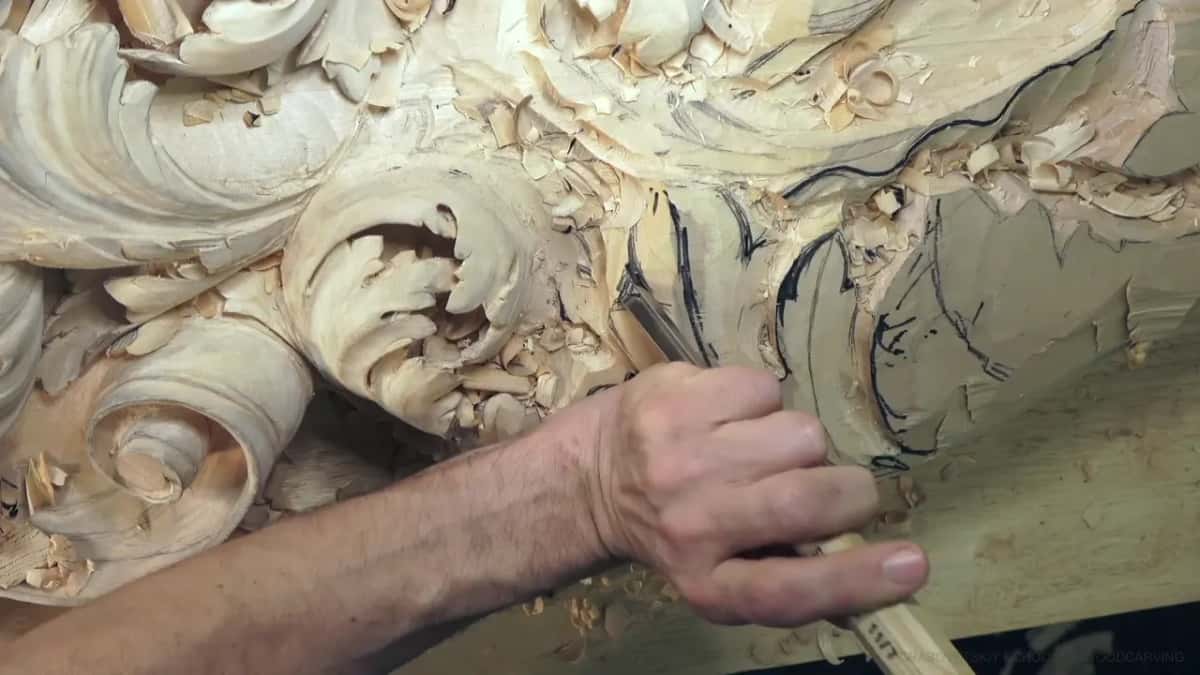
I laid a #11 of 5/8 of an inch (15 mm) on its side there and took a lot of wood away next to the part that stays highest, though I warned myself not to get too excited. For part 10 I needed a larger 11, and I knew I'd lose the detail I had drawn there, so I said I'd redraw it.
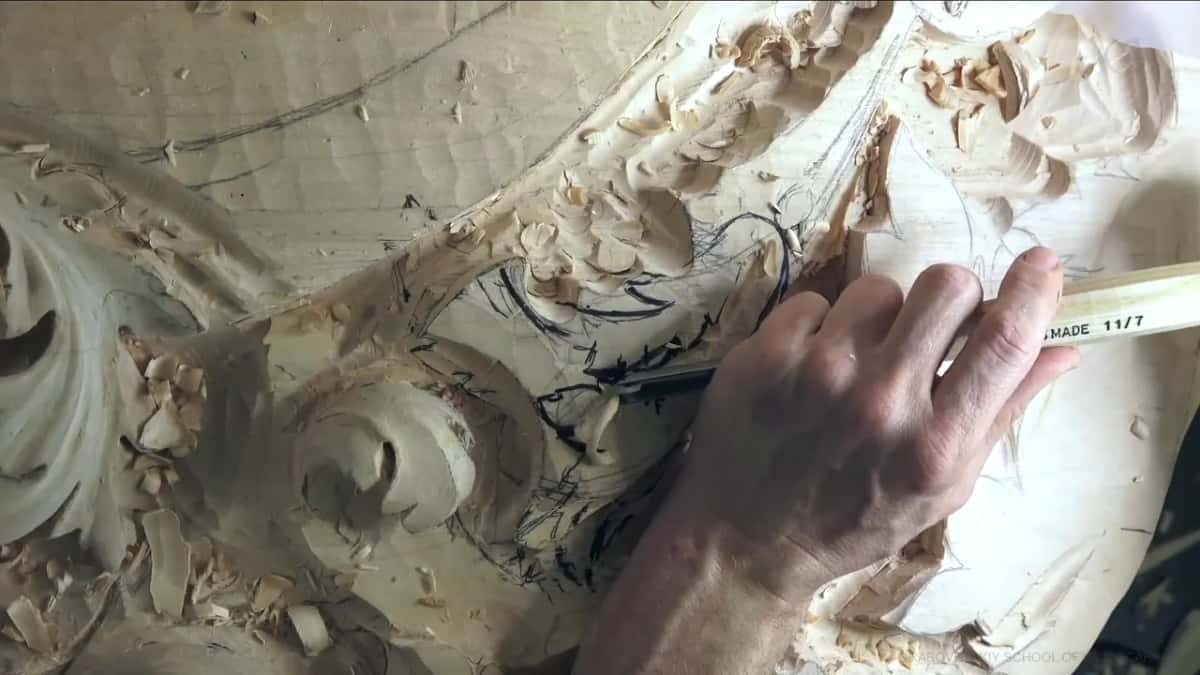
Near the end the 5 mm, 3/16 of an inch in my words, ran one long groove, and I made it somewhat deep on purpose because I wanted it to cast a shadow.
Early on I corrected myself and called the 7 mm a veiner. The side of an 11 stood in for a #3 on one ridge, so I didn't have to switch tools.
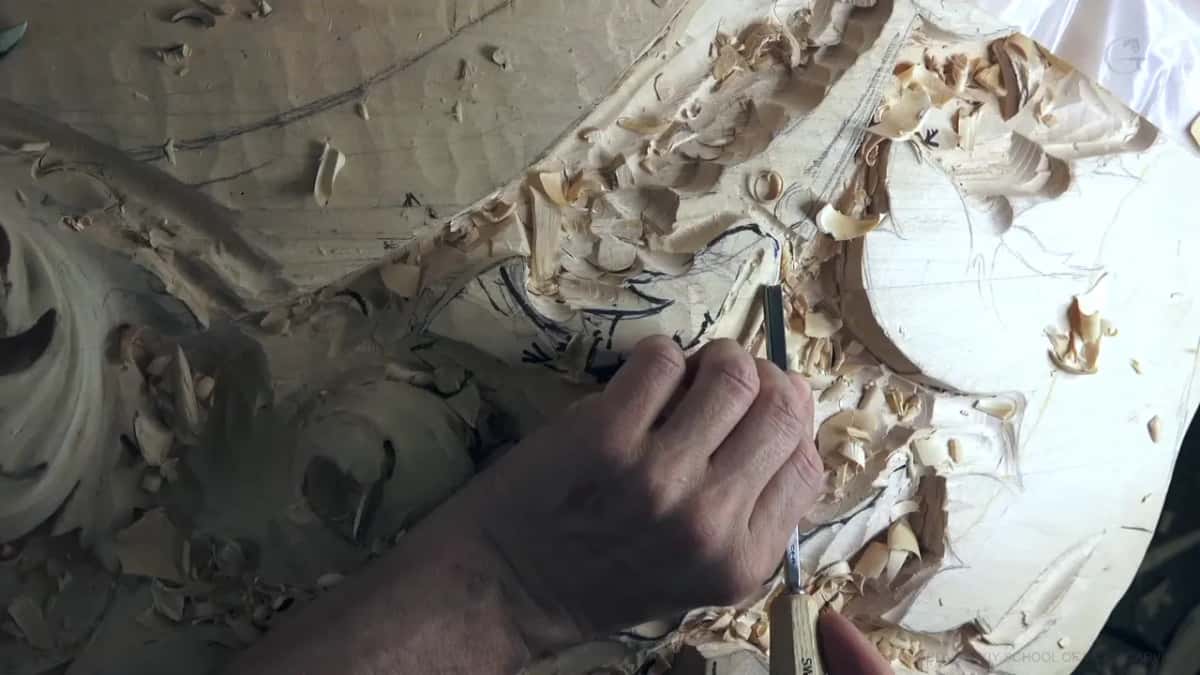
What cuts the main form once the waste is gone?
A #3 did that job here, 20 mm wide, three-quarters of an inch as I put it. It had come out of a box of new tools a few days before, and I'd already reshaped it the usual way, with a really long bevel. That's the way I love to shape my tools. I hadn't opened the rest of the box yet, only that one.
After a little buffing I took the waste away with it to create the main shape, and from there I could see exactly what was going on.
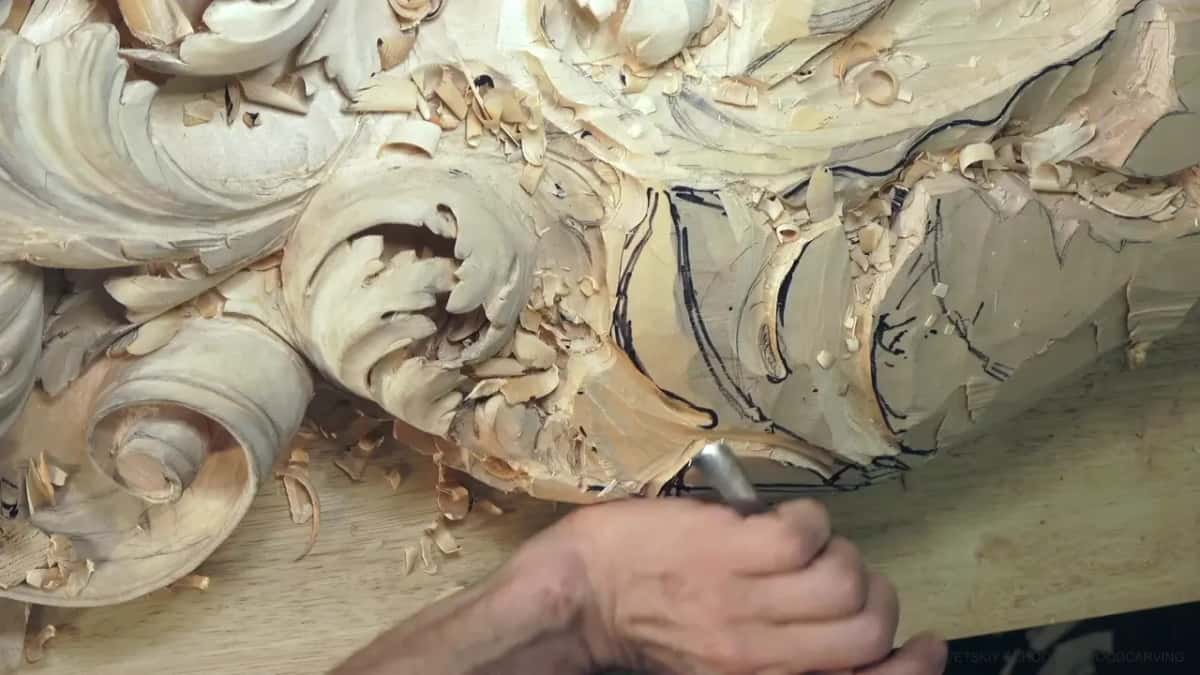
One honest thing. A minute later I said it still wasn't too sharp, so for the middle line I set it down and picked up a #5. Three parts later it was still in my hand, chopping in around another separation. In between, part 5 gave me three choices for one ridge, the same 11, a bigger 11 or a flatter gouge like a #3, and I took the flatter one.
When does a shallow #5 beat a deeper gouge?
When I wanted the shape to rise rather than sink. On the middle line I ran the #5 one way and then the other, and the middle ridge came up a little.

Later, on a pipe, I told the camera I don't want to excavate too deep, and that was exactly why I was using a number 5. Every pipe on this acanthus goes to the center line. Twice in one breath, too.
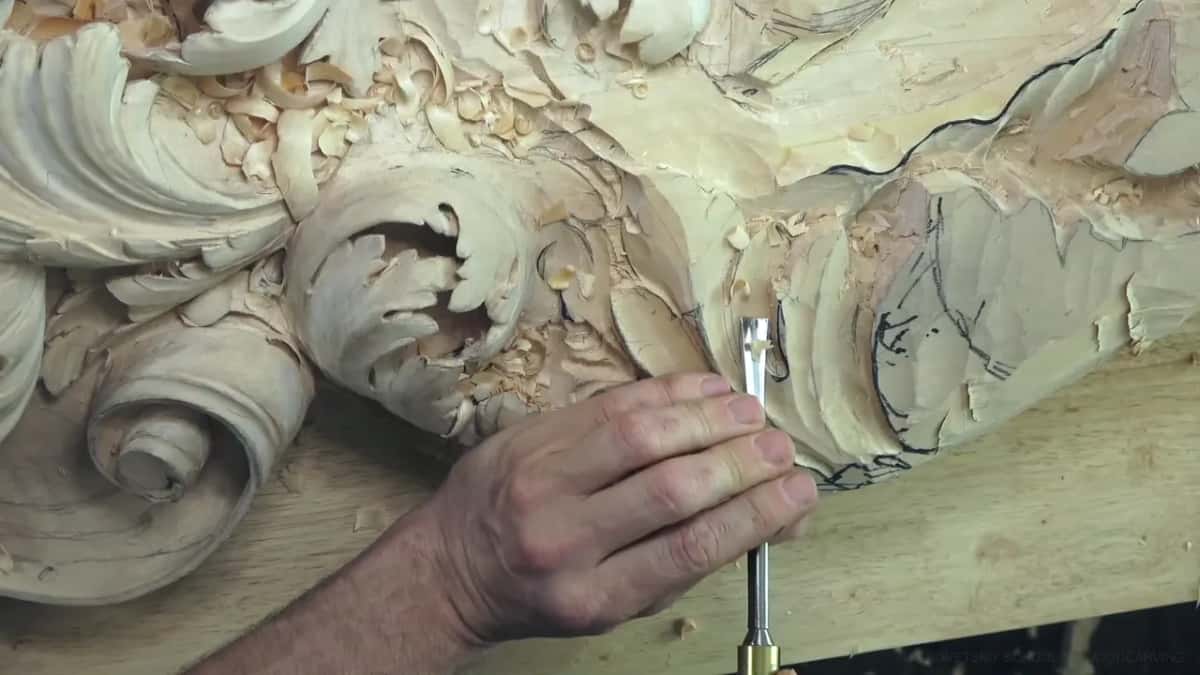
A 20 mm (3/4 in) #5 fit the profile I needed in part 8, and I didn't even need the mallet for it. See how nice that shape is, I said. Let me use whatever fits the profile, I said just before. Choosing a width pass by pass has its own page.
Which gouges hollow out the big concaves?
Two wide ones did it, an #8 and a #7, each about an inch (25 mm) across. With the 8 I went into a concave that had to run all the way across, with almost none near the middle line and much deeper toward the edges, and I began carefully, keeping clear of that line.
Look how big my bevels are, I said about the 8. That's what gives me the ability to carve cleaner.

For a pipe in part 8 I started to say the same #11 would work, thought it might be a little too deep, and switched to an 8. Better there, nice and uniform.
I used the #7 in part 6 and again in the last part, where it was already showing beautiful development, I thought. There it rounded a section inward, and when I turned it over to start the fillet I said maybe not, maybe too early, and went back to an 11.

For rounding edges like that, a plain skew gave me exactly the same idea as a modified one I love, and I said you don't have to buy the special tool.
What reaches a spot a gouge can only enter sideways?
A short #9 does, if you go in on its side. Late in part 8 I said I'd excavate a little deeper, but not too deep, because I didn't want to create a problem for myself.
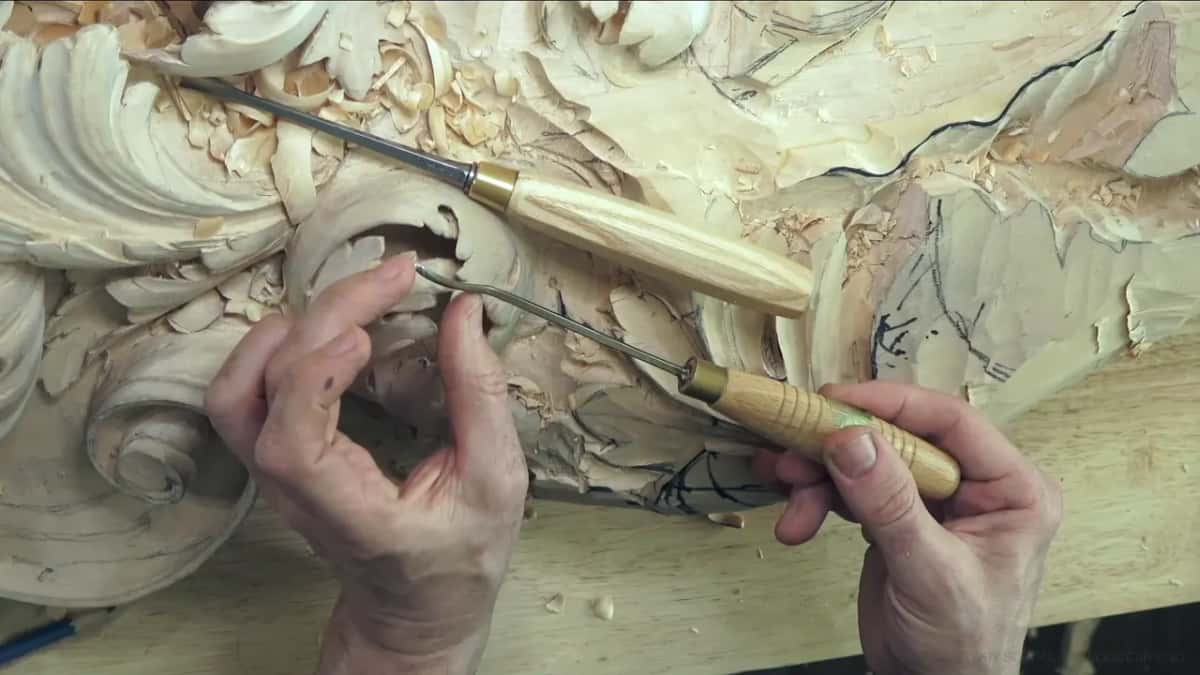
The tool I took was an Auriou number 9 with a really short cutting part. A friend who speaks Russian had asked me about it, since I use it a lot on this project, so I answered him partly in Russian.
Some spots only take a tool sideways. I slip it in on its side, make my rotation, and keep carving right along the side, and it goes really deep without hitting the walls. It can't come straight back out, either, so I rotate it again to get it free.

Flexibility, I called it. Another maker's number 9 works the same way, really short and slightly bent, and I showed that one too. Hope it makes sense, I told him at the end, and I added a line in Russian hoping he'd watch.
Do you need more than one mallet?
On this board I did. In one spot I had no luxury of space, so the tools couldn't go in the normal way, and my mallet's head was simply too big for it.
So I picked up a brass one. A brass mallet is used a little differently, I said, and you set it right on your palm and knock.
Rubber against brass is a separate question, answered on another page.
What else did the bench need besides gouges?
A marker, carbon paper, two push pins and an old ball pen. Messy is the word I used for the marker in part 11, though it doesn't leave dirt on the wood the way a pencil does.
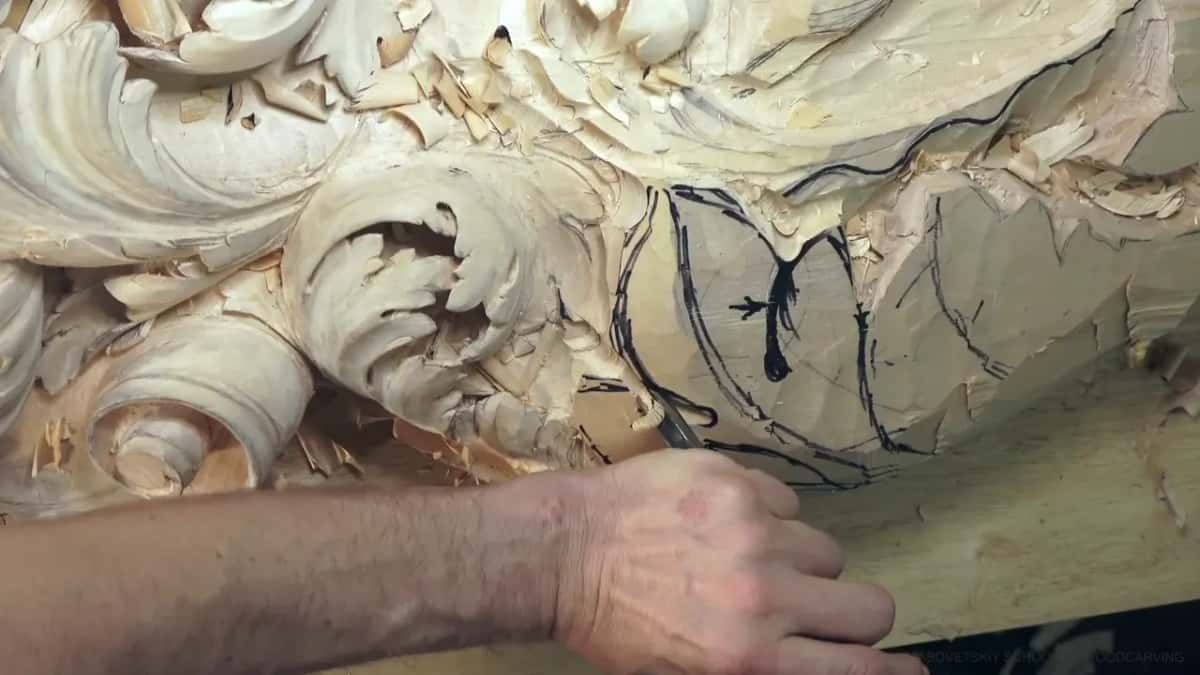
For the matching movement on the opposite side I flipped a plastic tracing, pinned carbon paper under it with two push pins, and went over the lines with an old ball pen. It came from a bank I don't think is even in business anymore, and I said you can still buy carbon paper, at least in the United States.
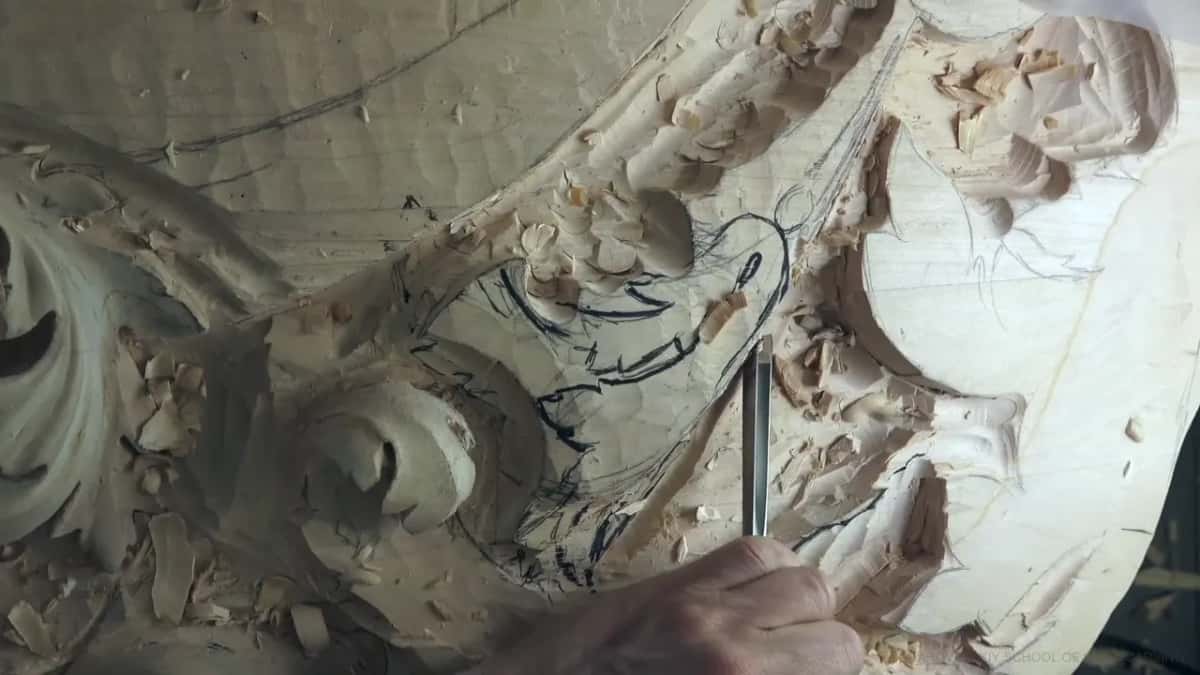
How did carvers manage without a thousand chisels?
A viewer asked me that in the middle of this workshop. The question was how people who carved about a thousand years ago did their work without a thousand chisels or gouges. I had already tried to answer it in the comments, I said, but some of you had missed that. My answer was that nobody knows exactly how many tools they had, and that it also depends on the country and the location.
My beginner's course is built on one knife. You can't carve a leaf like this Venetian one with a single knife, though.
I've done good work with one knife and one gouge myself. It just takes much longer. When I was in Russia my teacher gave me one knife at first, and I had to master that knife before I got my first gouge from him, which took a long time. If you can master a knife, he would say, a gouge is going to be a piece of cake.

A deadline changes the math too. In four years I could do a lot of beautiful work on one piece, but customers nowadays want it done yesterday, and we don't have that luxury now. I don't have too much time, I said in part 9, so I have to move much quicker.
Time is also why the big #2 took that first corner instead of the skew. Rasps save time as well, and I said I'd lost a lot of it doing everything out of the chisel, because until this project I thought rasps weren't really authentic to wood carving. On that spot I didn't even need one, because the gouge left a really nice surface. At the very end I needed no sandpaper, rasps or rifflers. What to buy first is a different question, and there's a page for it.
Which tool did which job on this section?
The whole row fits in one small table.
| Tool | Job | Why |
|---|---|---|
| Wide flat #2 | Chopped the big chunk off, along the grain | Skew would take longer |
| Five #11 widths | Relieved separations, set outlines, opened eyes and grooves | True to Venetian work |
| Reshaped #3 gouge | Took the waste away to the main form | To see what's happening |
| Medium #5 gouge | Raised the middle ridge and shaped the pipes | Not wanting it deep |
| Inch-wide #8 gouge | Hollowed the concave, deeper toward the outside edges | Big bevel, cleaner carving |
| Short Auriou #9 | Went in sideways, rotated, then carved the side | Deep without hitting walls |
| Brass mallet instead | Knocked from the palm in a tight spot | Other head too big |
Is a short tool the one that fits a deep, narrow pocket? Would a wide gouge beat a skew on a big corner? Then you have the whole idea, and all twelve parts of workshop 50 are in the tuition, with every tool on this page at work on the real board.
Workshop 51 comes next in this course, and workshop 49 closed the part before it.
How it's done
- Mark the main movement. Draw the center line of the big movement with a marker before any gouge touches that section.
- Knock the corner down. Take the waste off with a wide flat gouge, moving around until you are working with the grain.
- Split it in three. Divide the section into three main divisions, and send each one toward the center line.
- Relieve the separations. Use a number 11 about five-eighths of an inch wide and keep it off the design already carved below.
- Set the eyes in. A preliminary cut with a 7 mm (9/32 in) veiner marks each eye.
- Shape, then raise the ridge. Bring the waste down to the main form with a flat #3, then run a #5 along the middle line both ways.
- Reach the deep pockets. Where only sideways fits, slide a short #9 in on its side, rotate it, and rotate again to back it out.
Frequently asked questions
Can a gouge do the job of a V tool?
On this Venetian panel, yes. I kept V tools off it on purpose to stay authentic to the Venetian style, and the outlines, eyes and grooves came from a number 11 in one width or another. I said so in part 4, while I relieved the little triangles.
What clears chips out of a deep carving?
An old hair dryer does it. Most carvers just blow on the chips, but at the start of workshop 50 I showed the dryer for anyone who doesn't like the noise of an air compressor, and I said a couple of seconds and it's all gone.
What is a fillet in wood carving?
A rounded chamfer, as I put it on camera. I began to call an edge a chamfer, stopped, and said fillet, because it is still a chamfer but a rounded one. Then I kept rounding it, since the movement had to be gradual in three dimensions.
What to carve next