
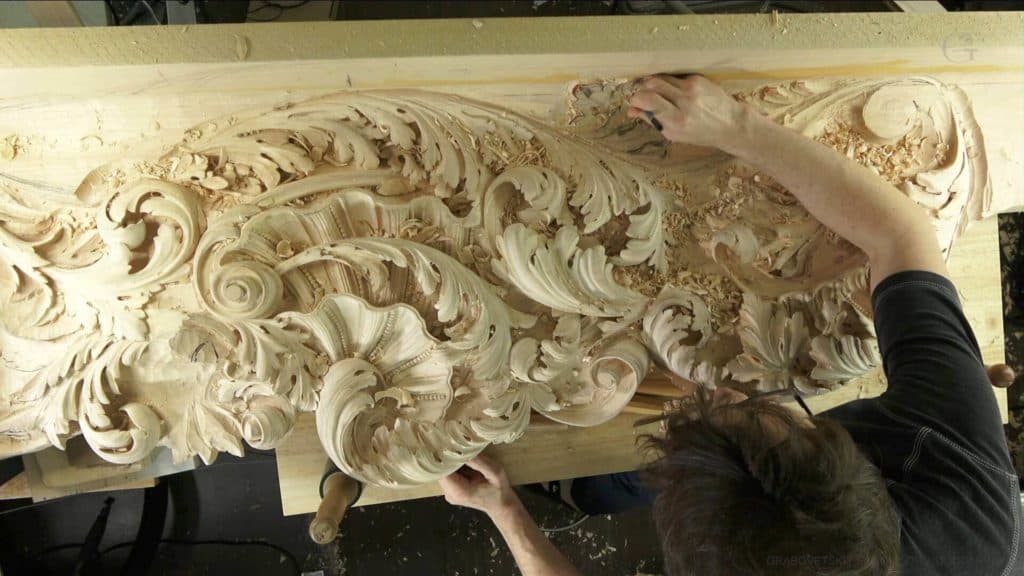
Alexander Grabovetskiy, woodcarver, School of Woodcarving · Published 2020
How thick should wood be for relief carving?
Quick answer: The thickness of wood for relief carving is the most depth a board can give, so every layer has to fit inside it. On my Venetian panel, the overhang I call the ceiling is eight quarter stock, one and 15/16 of an inch. At one inch deep, I still had a leaf underneath, a shell and other details to carve.
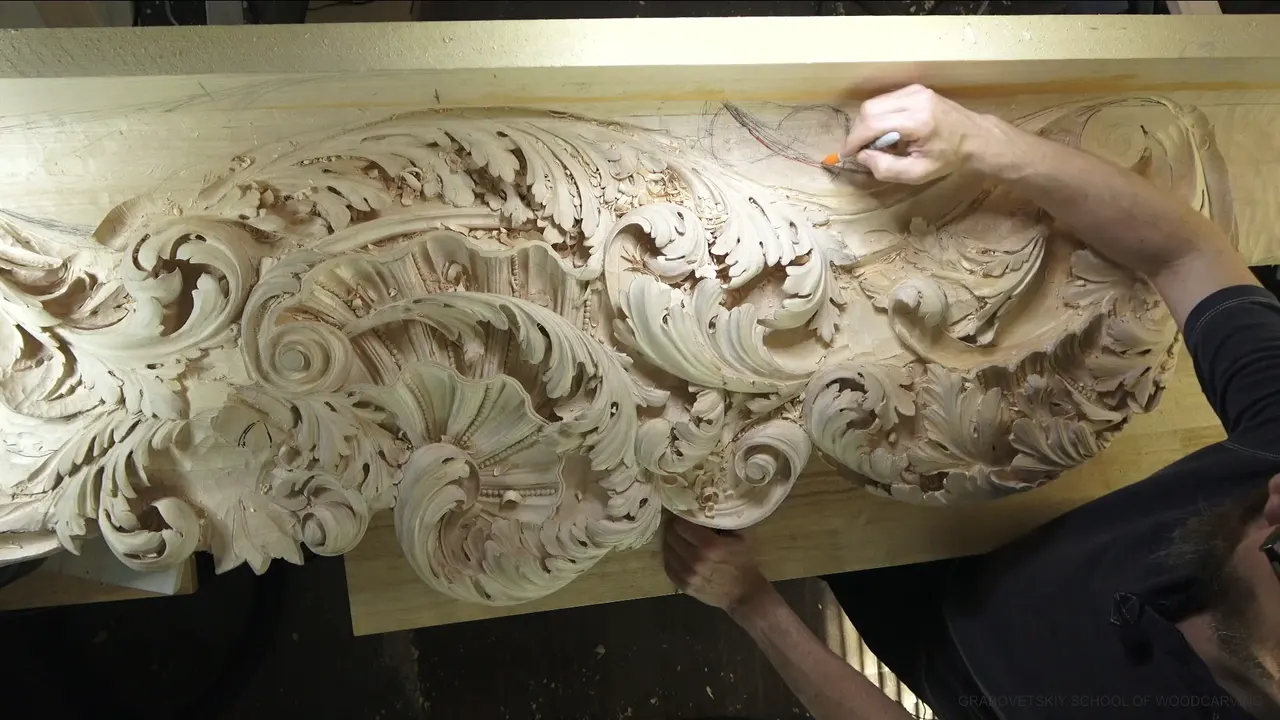
Relief carving wood thickness is the most depth a board will ever give you, and on my Venice room panel the overhang I call the ceiling gives me a little under two inches. The board is eight quarter stock, one and 15/16 of an inch, a little less than 50 mm. It was glued up back in Part 1 of this room. I'm glad I have that much, and in workshop 59 it decided what kind of flip I could carve.
"How thick should wood be for relief carving?" is a fair question. On this ceiling the answer is the board itself, spent a little at a time, because the flipping leaf, one more leaf underneath it and a shell all have to come out of the same two inches.
Would it help to see how deep a real carved ceiling goes before you choose a board of your own? Would you like to know where I held back on purpose? Then follow this one board through workshop 59, where every hollow had to leave wood for the next.
You'll see what two inches allowed, and what they made me change.

Relief carving wood thickness on one ceiling board
Two inches is all this ceiling has, and every hollow in it comes out of that.
This board's thickness talked me into a partial flip.
A leaf underneath and a shell still need their share, so I hold back early.
A small plug cut showed me how far down the rest should go.
Halfway down, I still had details left to carve.
Dig too deep and the tool marks show from below, and the leaf turns weak.
What is an 8/4 board?
Two inches, near enough. In North America, hardwood lumber is sold in quarters of an inch, so 4/4 means a one inch board, and 8/4 a two inch board. Mine comes in just under that.
That is the whole budget for this ceiling. Every hollow in this workshop, deep or shallow, comes out of it, so I have to be mindful how deep I go, and mindful of how it will all blend together.

The section I worked on sits right in the transition to the ceiling, a concave on the inside with my molding close by. I'm limited from both sides there, and if you don't think that's hard, try it once. In one spot I couldn't use the mallet at all with the tool I had, so I just pushed it by hand.
A back bend helped me a lot. Even with that molding in the way, I could lay it almost parallel to the ceiling and still carve. It can't go uphill at that transition, though, so I came at it only from the ceiling side. If you're really serious about wood carving, at least consider buying a back bend.

What did two inches decide before the first gouge went in?
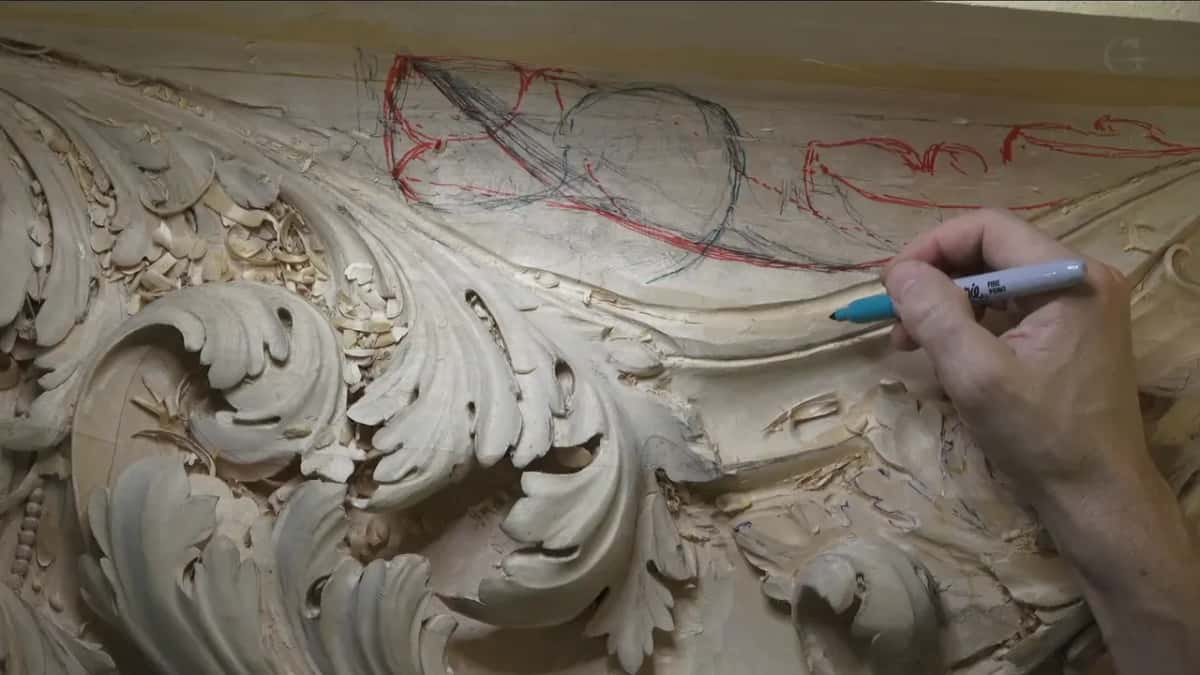
The flip. This section of acanthus has to look like it flips over, and I could draw it flipping over completely or only partway. The complete flip was one choice, but I also had a challenge in how thick that board is. So I drew a partial flip, with its middle line running right on through to the other side.
Partial still meant going deep. That spot is already part of the ceiling, the flip has to round over, and I have to excavate deep to get it. In return it gives me a beautiful shadow and a beautiful transition, and that's the way I went.
I drew both choices on the wood in marker, one in a second color, before any gouge touched them. I don't need the colors myself, because I know which part overlaps which. They are there so you can follow along.
A full flip is a different job, and it has its own lesson back in workshop 16.
Why not dig the whole depth at once?
Trouble. I can always go deeper later, but if I go too deep, too soon, I can be in trouble. Another movement comes in from underneath this spot, so I don't want to be too crazy removing material.
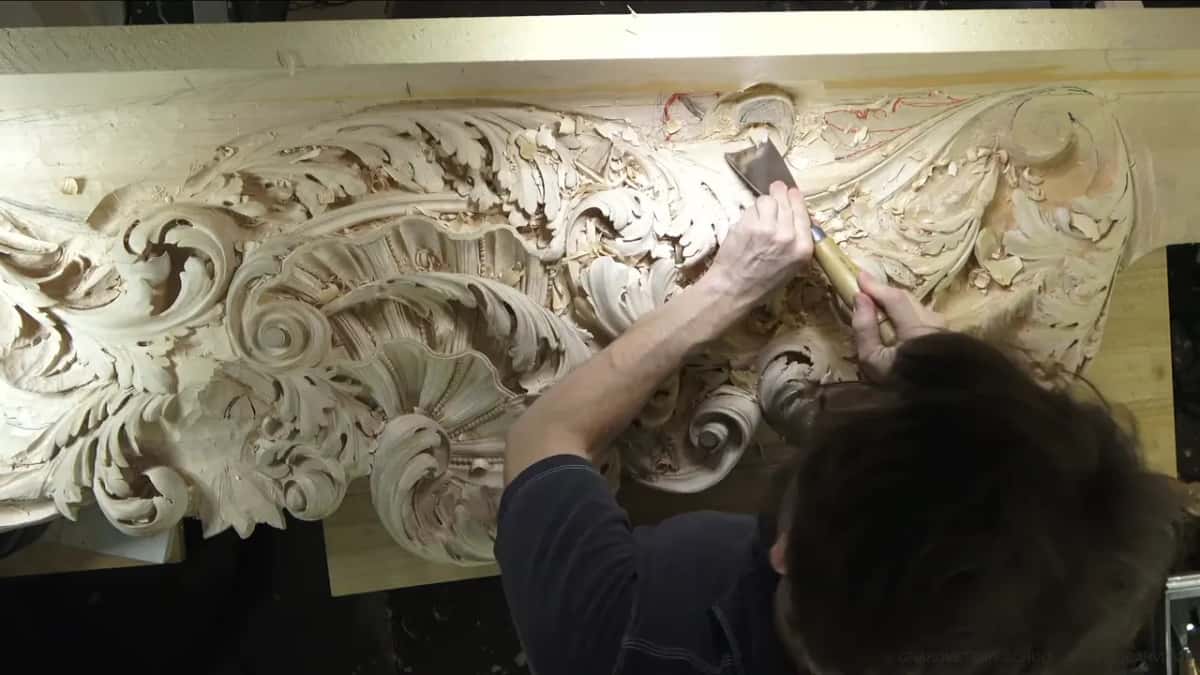
So even the big tools went in with a limit. I went around the section with the big number 7, 80 mm, three and one-eighth of an inch. Then a number 9, 20 mm, three-quarter of an inch, went in for a plug. I set it in and rotated it carefully, and a big plug of wood came out with really good depth right away. I felt like a butcher, taking that much at once.
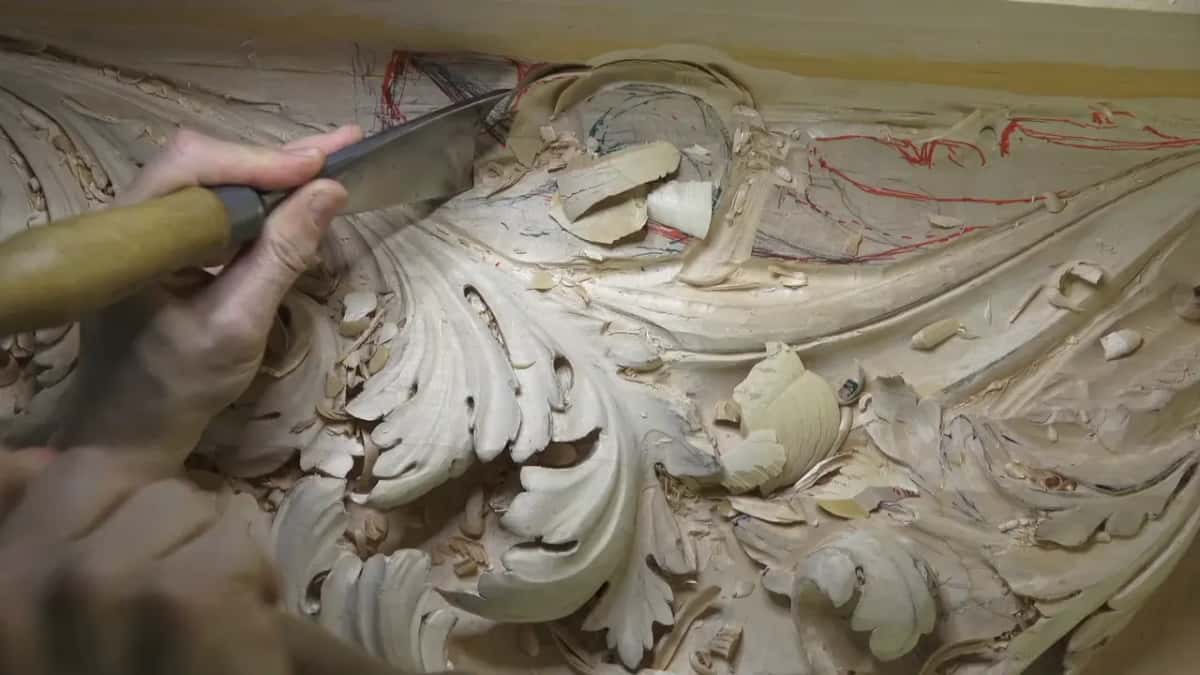
Deep, but not too deep. Once the roundness and the main movement are there, I can come back with a number 11 and excavate much deeper.
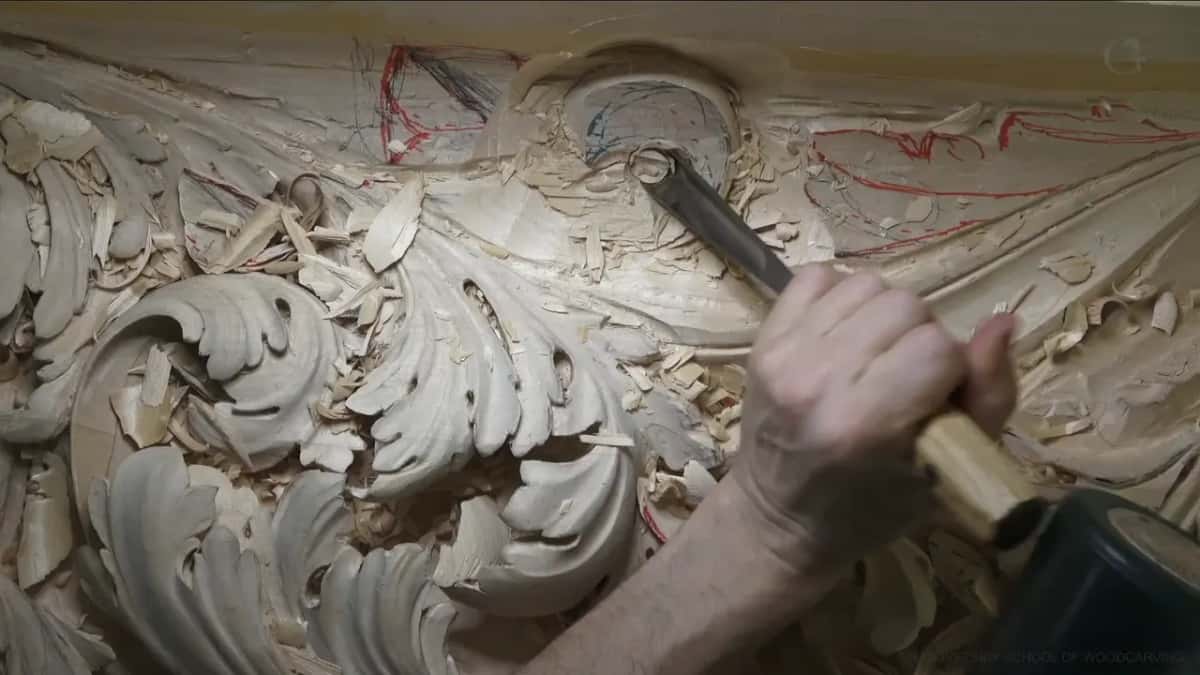
Where does the rest of the wood go?
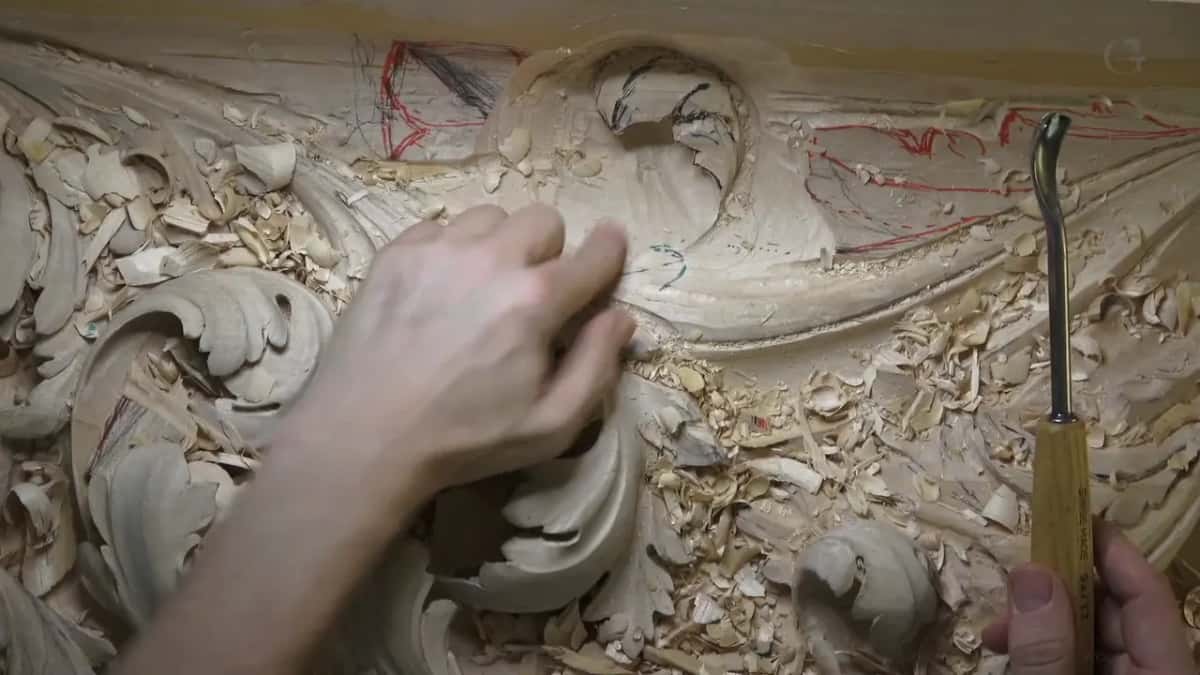
Into parts I haven't carved yet. A leaf will stick out from underneath this flip, and it is going to go deeper, so the two weave into each other. Later a shell comes from underneath too, and it will weave into the same spot. I told you it would be something unique. I think it will look good, or I hope so, anyway.
Even the cleanup held back. When a number 11, about 7 mm (9/32 in), took some of the mess out, I kept it light, because there is another leaf still to develop and a shell movement coming later. I've got only two inches, and I have to be really wise how deep I go.
Where a part has to come from underneath, I knocked it down using a number 3, 7 mm (9/32 in), because I needed a gradual movement there. I checked the slope with the gouge itself as I went.
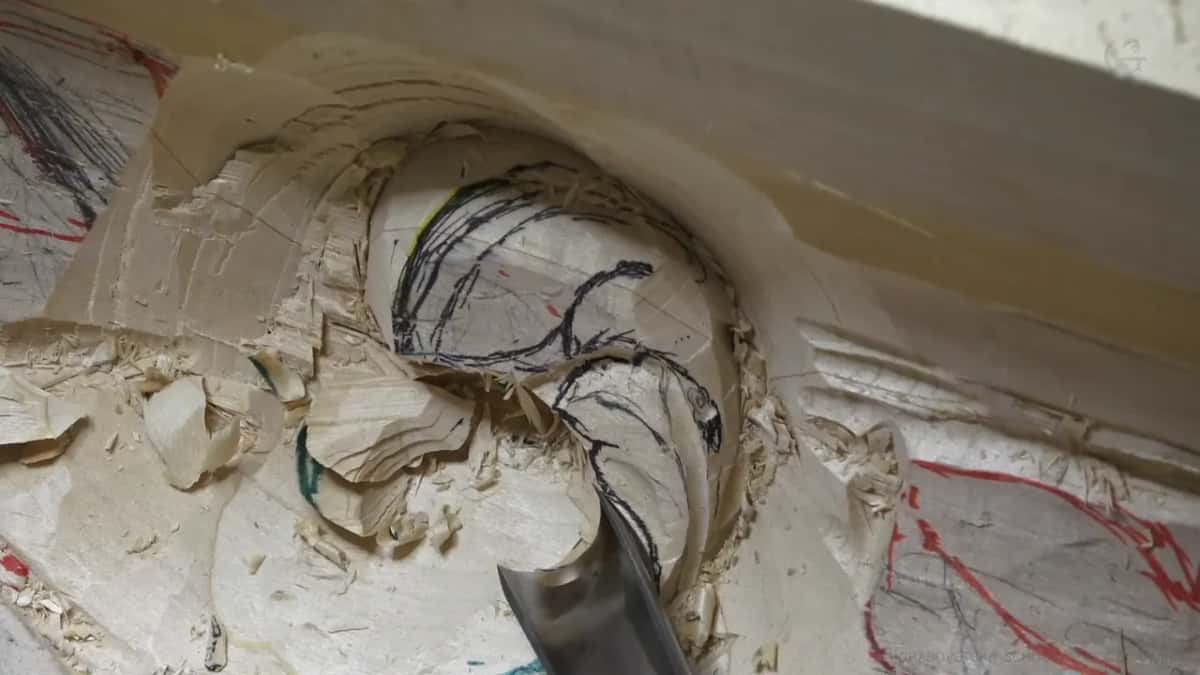
The eye went the same way. A number 11 near 4 mm (5/32 in) opened it, and I could have gone a little deeper, but I still had to carve the concave and convex movements around it.
The number 5 that fit the letter S, about seven-eighths of an inch (22 mm), stayed shallow too. It gave me the boundary, and the lower leaf was still to come.
Does the drawing survive the digging?
Parts of it. I'm not afraid of losing the middle line, because I can always put it back, and sometimes I have to change it anyway because of the excavation. It just changes everything sometimes.
All I need right then is the main movement, and the boundary line comes back later with no problem. Once I didn't even mark a new division until the area was clean. Then I decided.
By the end there was so much marker to clean up, and that was no problem at all.
How deep had I gone by the tenth part?
One inch. I stopped in the tenth part and said it to the camera. I've got only two inches, I'm already one inch in, and I still have to carve other details, so I can't go too deep.
Earlier, near the letter S, a small plug cut told me. The tool was a quarter inch, about 6 mm, and I couldn't make a complete rotation there, attacking from two sides. I could still lift some of the plugs out, and it gave me a really deep shadow. That way I already had an idea of the depth before any undercut.
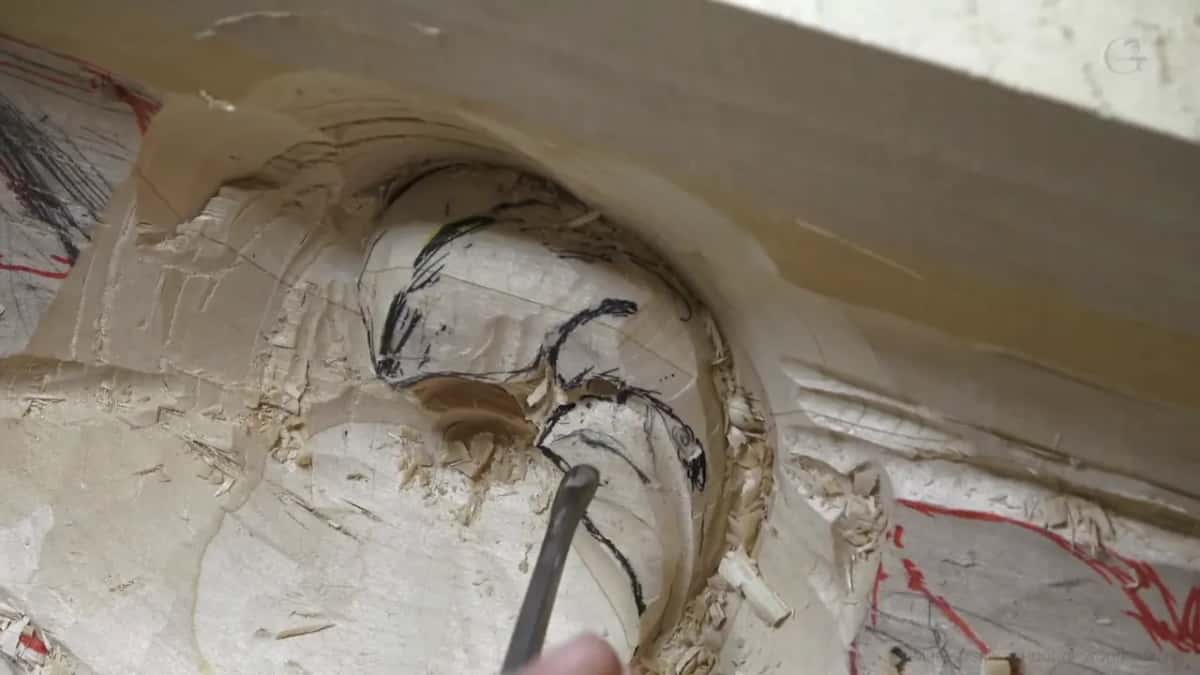
Early on, with a 12 mm (1/2 in) Pfeil number 11, I only checked whether it was deep enough yet. Carving a panel down to an exact, measured floor is a separate question, and the Part 9 page takes it on.
Why go deep at all?
For shadow, and for the right feel of the flip. I need that depth to get the flip movement the right way. I mean the right feel of it.
Under the flip I went in with a 20 mm gouge again, and it's like shoveling out, exactly that. You can already see the shadow, moving one way, flipping, and going the opposite direction. That's gorgeous to me.
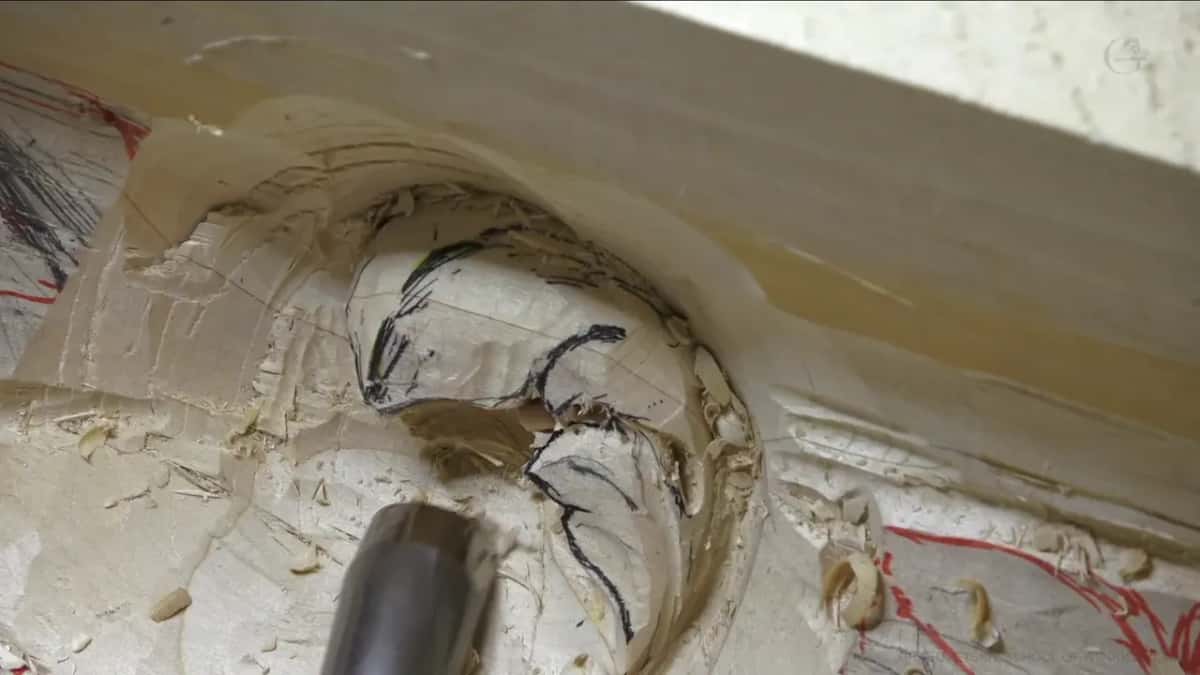
Where I could, I dug much deeper, to connect with my main undercut. A 6 mm number 9, a quarter inch, took me even deeper after that, and in one spot I could go much deeper without touching my molding, which I'm careful not to mess up.
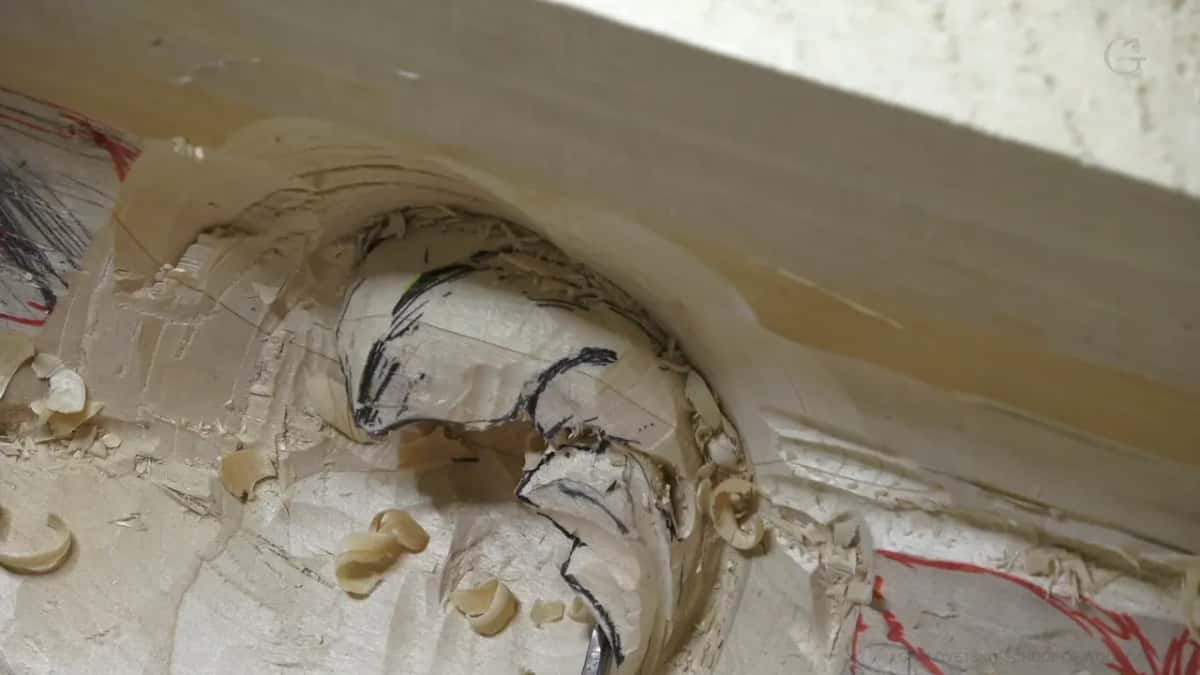
Some hollows stay small on purpose, though. Near the end I carved small concaves beside the middle line with a number 11, 4 mm (5/32 in). Small, but still readable by the human eye, and the ridges between them cast some shadow too.
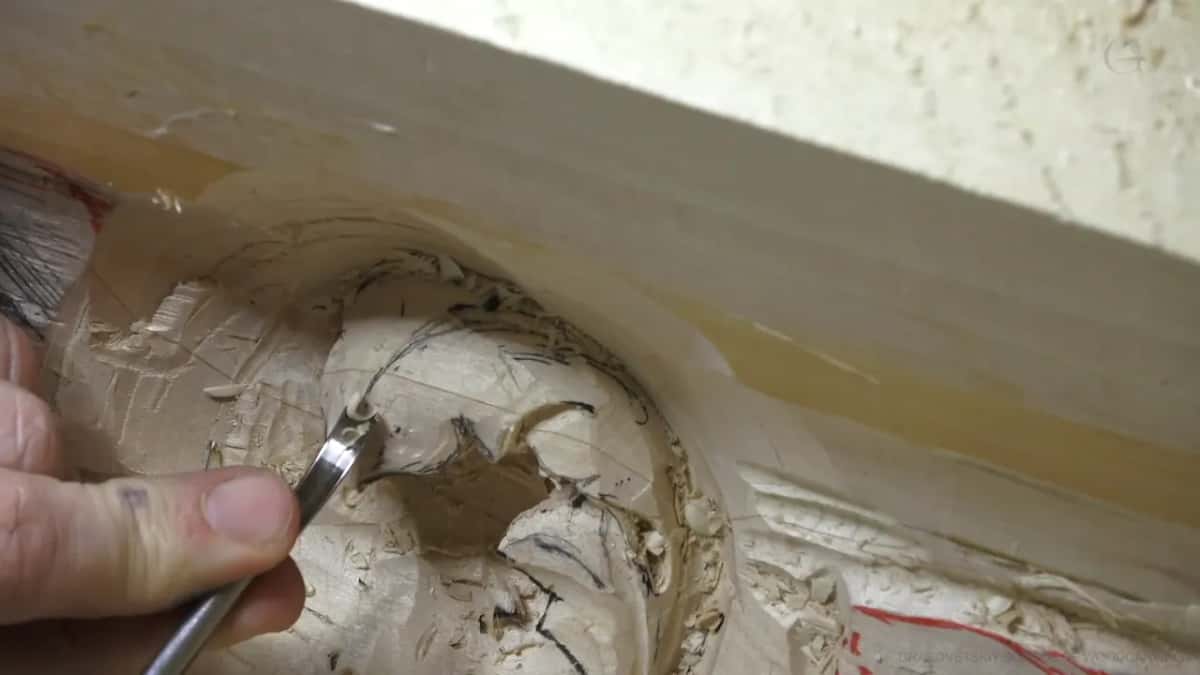
The course page goes into why shadow matters more than detail.
What do you lose by carving too deep?
Tool marks, first. If I dig too deep, I create tool marks, and I don't want to see many of them inside, because on a ceiling they're visible from the floor up. When I cleaned one side with a small number 9, 3 mm, one-eighth of an inch, I went carefully, so there would be no extra tool marks inside to deal with later. Even with the wide number 7 I stopped early, before it made marks that would be hard to get rid of, and switched to smaller tools.
Strength, second. I could undercut even more. But I still have to make sure it's strong enough, so I don't make it too weak. No bueno.
And the tool pays too. When the number 9 put too much stress on the blade, I turned to a number 11 spoon gouge, 10 mm (3/8 in), and went uphill with it. Feel your tool when you do this. When it's too much stress on the blade, make a little less pressure.
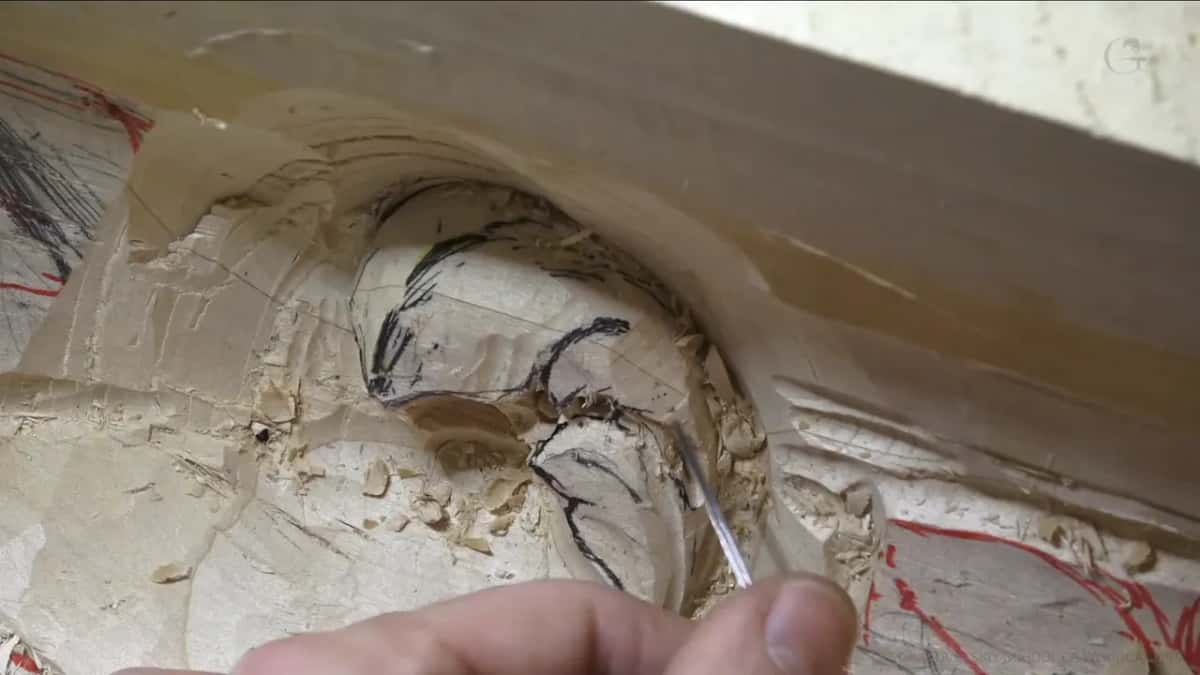
I also keep an eye on what the grain does in there, and go in little by little, without forcing. Under one leaf a single clean pass along the whole undercut was almost impossible, so I changed the angle, went in little by little from another angle, and then connected the two.
Which gouges took the depth out?
The 20 mm number 9 did the heavy digging, and the small tools came after it to clean. This is how the depth got spent in workshop 59, tool by tool.
| Tool | Depth | Where |
|---|---|---|
| The big number 7, 80 mm (3 1/8 in) | went around the section and made a canvas to draw on | the whole section |
| A number 9, 20 mm (3/4 in) | lifted one big plug and gave good depth right away | the first hole |
| Quarter inch plug (6 mm) | showed how deep the rest should go before undercutting | near the letter S |
| Spoon number 11, 10 mm (3/8 in) | went on uphill after the number 9 strained | under the flip |
| Small number 9, 3 mm (1/8 in) | cleaned one side without leaving extra tool marks behind | inside the hollow |
Later in the workshop I picked up a number 9 of the same size, and that one is an Auriou, a French brand. It could just as well be another brand. Any number 9 will work.
Why leave it rough for now?
There is work around it still to do, and I don't want it too fragile yet. It's a rough shape, like rough carpentry when you're framing a house. It looks like a house, but it's not a finished house yet. You see the main frame.
The undercut waited for the same reason. Until the smaller divisions were in, I didn't want to rush it, and the final shape still had to come.
At the end I tried my new riffles and rasps, to see if the overall shape was good and to take off some marks. It's not the final form. I can always hit it again with the gouge. The rasp couldn't reach everywhere, though, because the ceiling and other parts were in the way.
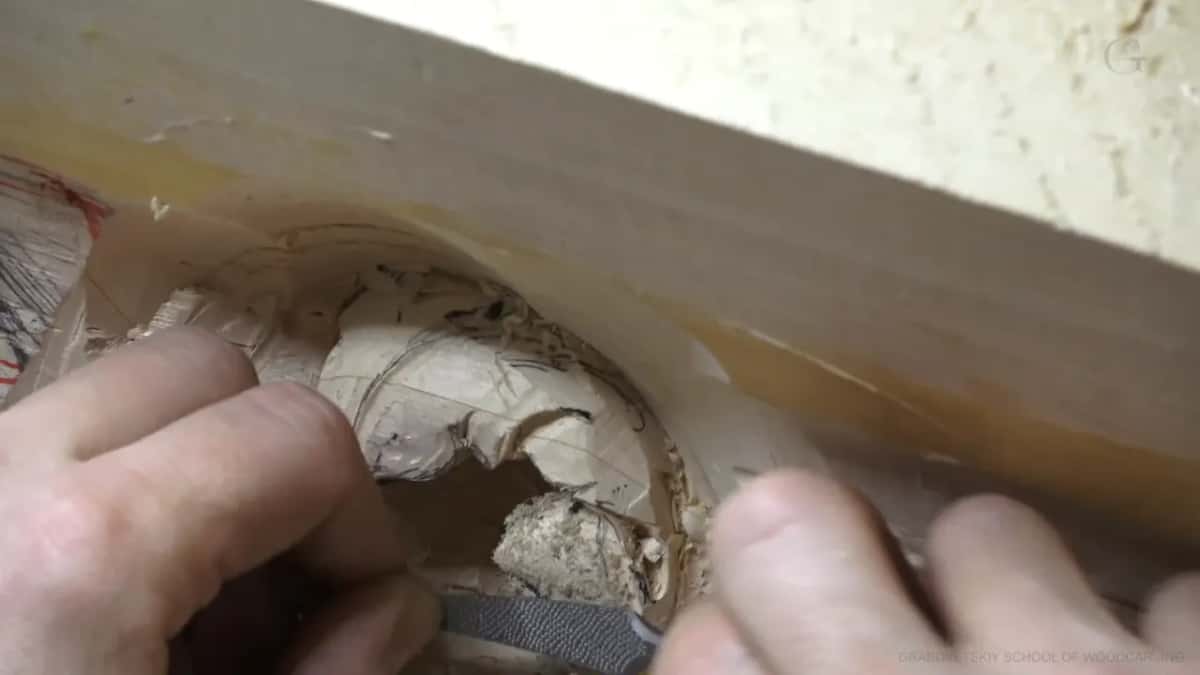
The messy middle of a carving has its own page, from workshop 53.
What if a ceiling like this is too much for you right now?
Try a small section. Please don't get frustrated if you can't carve something like this. Just try. It's up to you whether you carve it or only watch, and my goal is just to show it to you.
Furniture makers will find lots of ideas in this kind of relief, and more so if they make reproductions of furniture from certain periods.
Somebody who has never carved should start here instead. Height can also be built up on a thin board with its own offcuts glued back on, and the Hashemi flowers lesson does it that way.
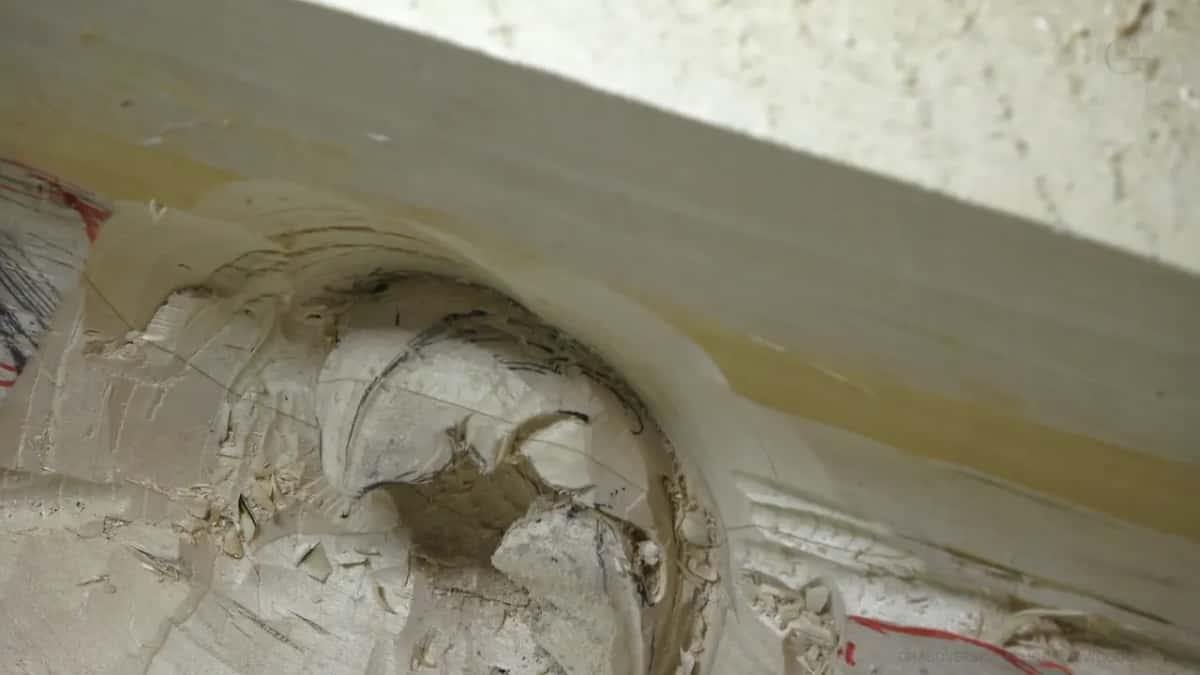
Want to watch this flip come out of the board, part by part? Would it help to see the rest of this ceiling as well? Tuition opens all twelve workshops of this part of the room, and the lessons map shows where each one sits, with workshop 58 just before this one and workshop 60 right after.
One small thing from that day. Partway through I switched markers, because there was too much black on the board already.
How it's done
- Set the design against the board. Before the flip went in, I weighed a full flip against two inches of wood and drew the partial one instead.
- Outline, then go around. A 12 mm (1/2 in) number 11 set the outline. The 80 mm number 7 went around after it, taking only some.
- Lift one plug and stop. Set a 20 mm (3/4 in) number 9 in, rotate it with care, and let one big plug come away. Deep enough for now.
- Hold wood back for what comes later. Another leaf and a shell were still ahead, so the small gouges beside them went in light.
- Probe before you undercut. A plug a quarter inch across, 6 mm, gave me an idea how deep to go.
- Ease off when the blade strains. Feel the tool. When the blade strains, I press a little less or switch to a spoon gouge.
- Check what is left. Halfway down, with details still waiting, I said so out loud before going on.
Frequently asked questions
Is two inches enough for a carved overhang?
I was glad to have a board that thick for this ceiling. Still, two inches is not much, so depth takes real care, because the flip, another leaf and a shell all need the same wood, and some of them haven't been carved yet.
Why did the flip on this ceiling end up partial?
The thickness of the board. Flipping it all the way was one choice, but two inches made that a challenge. The partial flip still needed deep excavation right at the transition, and it still gave a beautiful shadow and transition in return.
Can you always carve deeper later?
Deeper, always. Going too deep too soon is the trouble, because the other leaves need that same wood. The lower leaf, a shell and the final undercut were all still waiting on this board when I dug the first big plug.
What to carve next