

Alexander Grabovetskiy, woodcarver, School of Woodcarving · Published 2022
Why do carvers hunt for antique English gouges?
Quick answer: Antique English carving gouges are worth hunting for their profiles rather than their age. The sweeps in my Herring Brothers tools follow a line I can trace through two apprenticeships back toward the shop that supplied Grinling Gibbons, and whatever the paperwork says, the curve in that steel is the curve Baroque work was carved with.
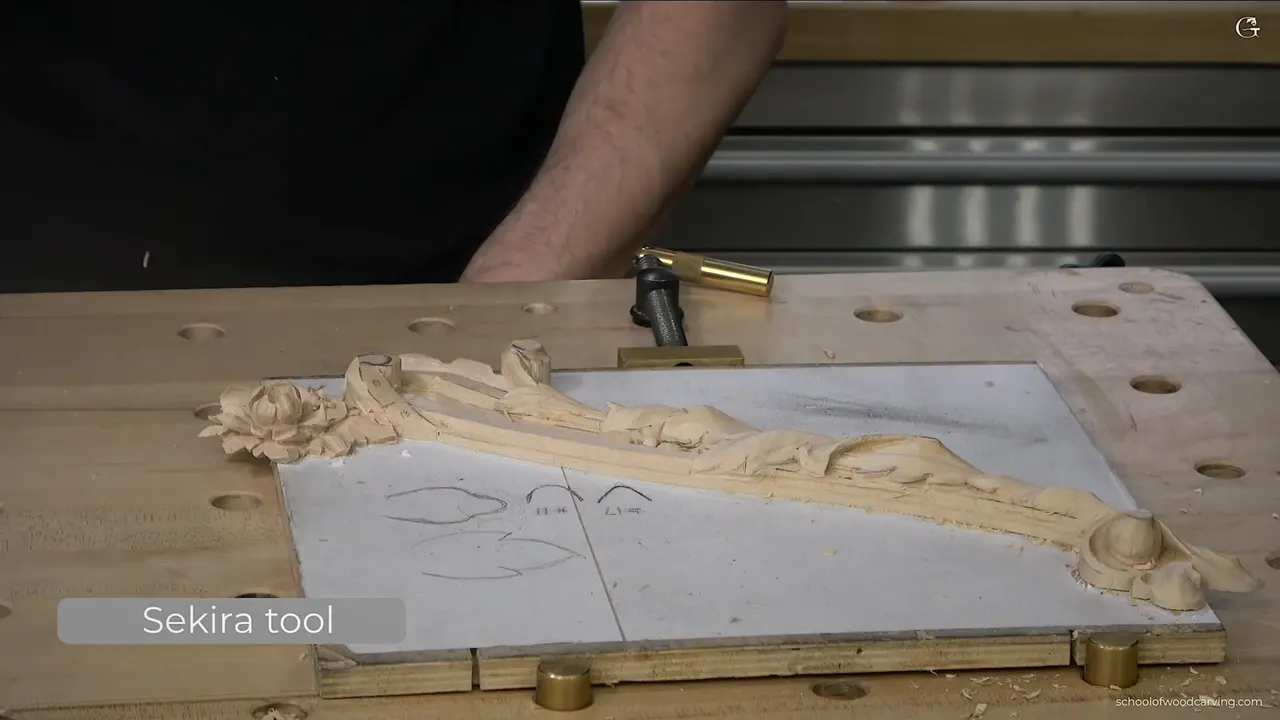
The gouge in my hand is older than my country. It is a Herring Brothers, bought secondhand, and I reach for it on work like this because of the shape ground into its end rather than because it is old. That shape came down a chain of apprentices, and the chain starts at a workshop that supplied Grinling Gibbons.
Gibbons lived from 1648 to 1721 and carved at Hampton Court, Windsor and St Paul's, and the museum collections still hold his panels. In his last years he was the most famous carver in London.
Which means somebody was making his tools.
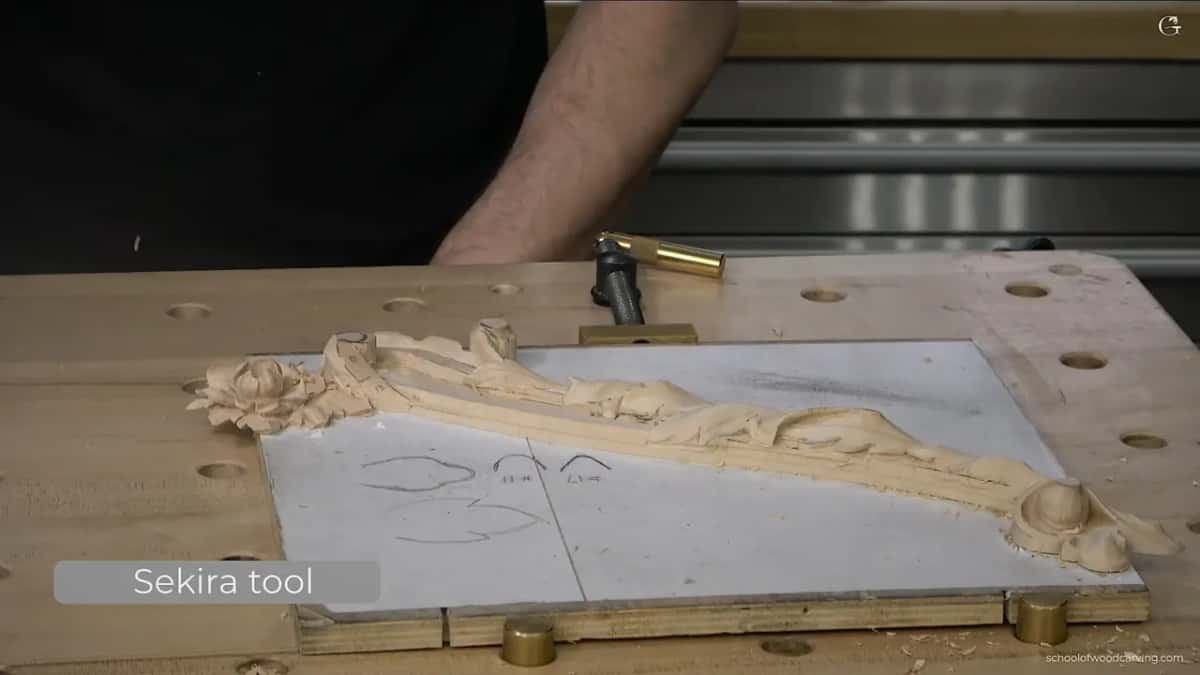
Below is the chain as I understand it, what it means for the sweeps you can still buy today, and the cleanup work I was doing on this acanthus panel while telling the story.
The short version of the chain
- One London toolmaker supplied Gibbons for years and knew exactly which profiles the man wanted.
- Addis trained there, then opened up a street away around 1718.
- A Herring brother served his time at Addis. He also married into the family.
- Herring set up separately and carried the same profiles and the same steel across with him.
- Both firms won prize medals for their metal and had them stamped on the tools.
Why do carvers hunt for antique English gouges?
For the sweeps, mostly. A modern catalog gives you a tidy range of curves that suit most jobs. An old English range was ground for a particular kind of ornament, and when you carve that ornament the tool lands in the hollow like it was made for it, which of course it was.
Let me say this plainly. The chain above is the version I have pieced together, partly from dealers and partly from what came with the tools, and I cannot hand you a document for the apprenticeships. The dates for Gibbons are solid. The rest is trade history, passed along the way trade history usually is.
What I can show you is the steel. The bevel holds an edge longer than most of what I have bought new, and the Sheffield makers competed on exactly that.
Does having more tools actually make you better?
More sweeps make certain shapes possible that are otherwise not. Look closely at Gibbons work and you find undercuts and hollows that no reasonable set of straight gouges can reach, and the explanation is not that he was superhuman. He had an enormous number of tools, many of them made for one job.
A beginner with forty gouges still carves worse than a beginner with six. The tools do not carve. They only remove the excuse, and the tools course spends as long on what not to buy as on what to buy.
My own rack grew slowly and mostly by accident. Somebody dies, a shop closes, a box of chisels turns up at a sale, and thirty years later you have the range you need for the work you actually do.
What was I carving while telling that story?
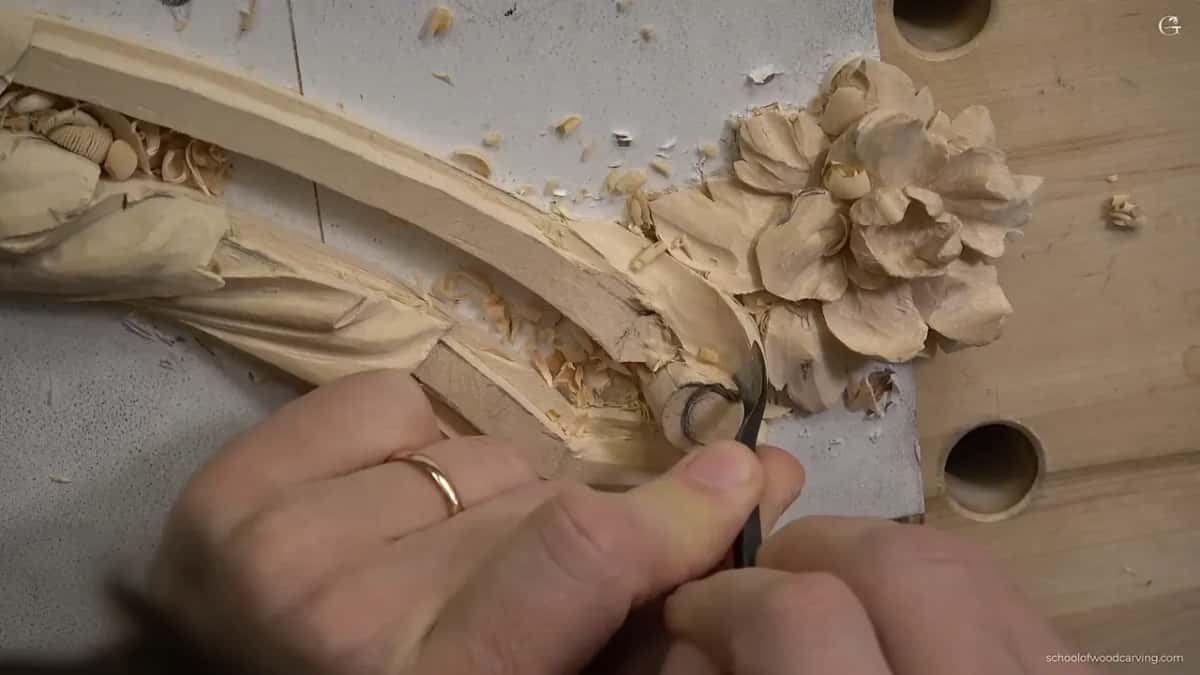
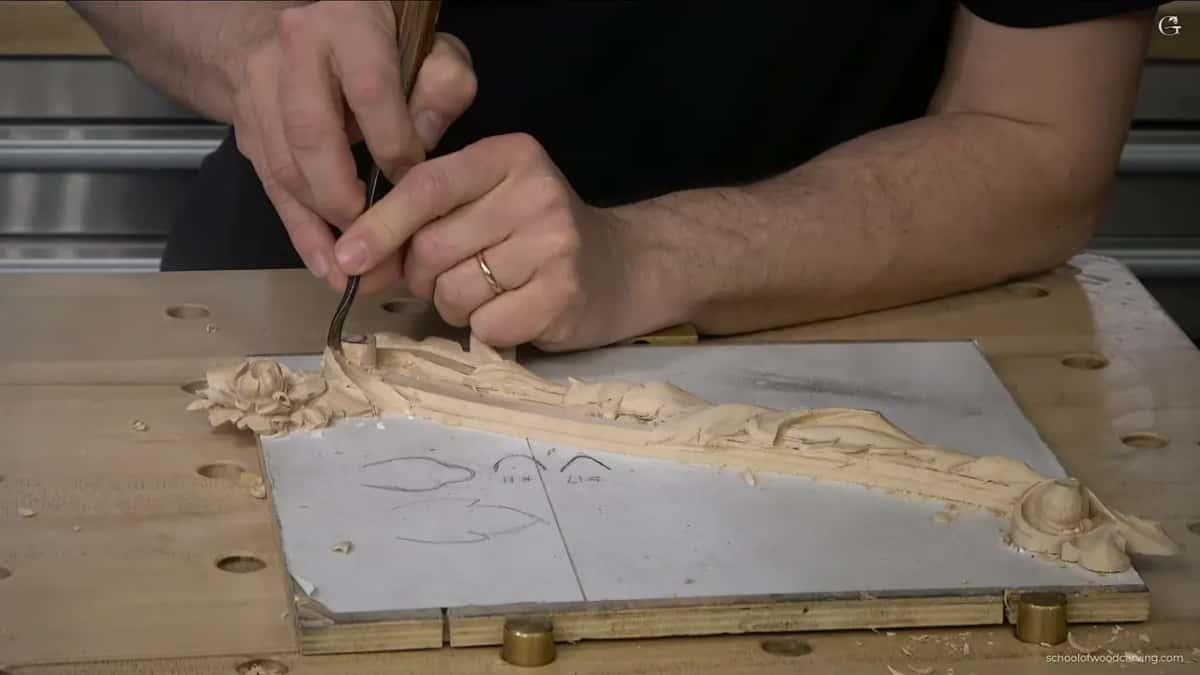
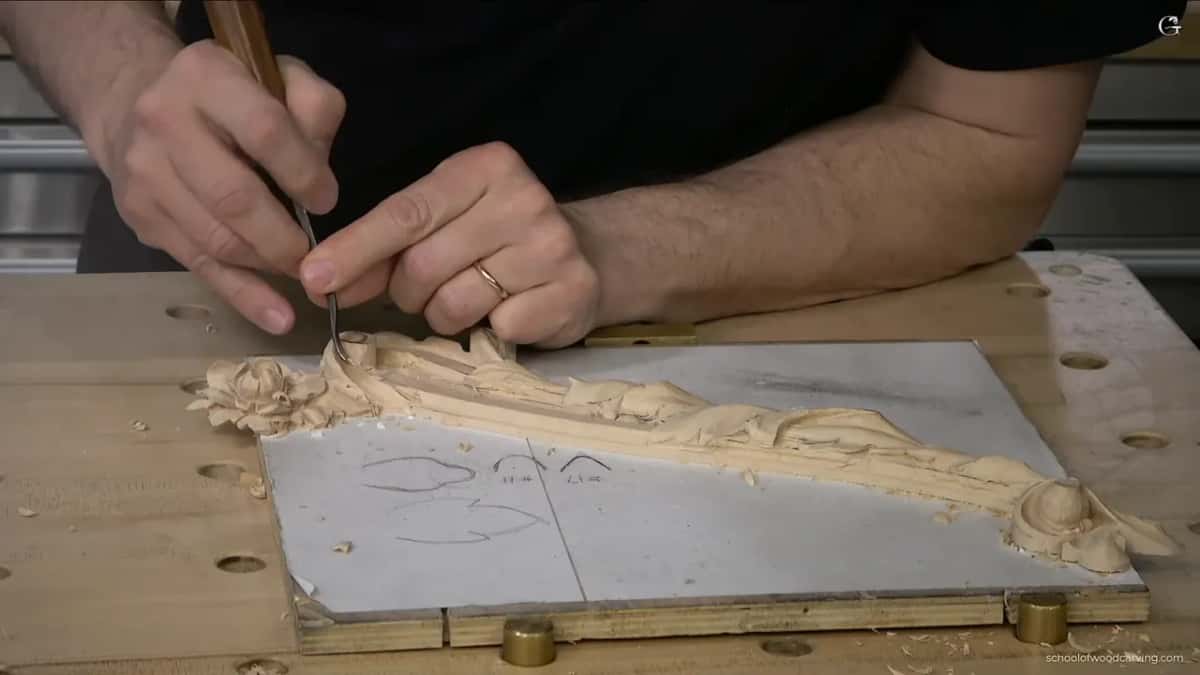
Cleanup, which is most of what a panel needs near the end. Three divisions on this acanthus looked too similar to each other, so one got opened out, another had a longer channel running up toward the center line, and a third had a section removed so a leaf could pass underneath its neighbor.
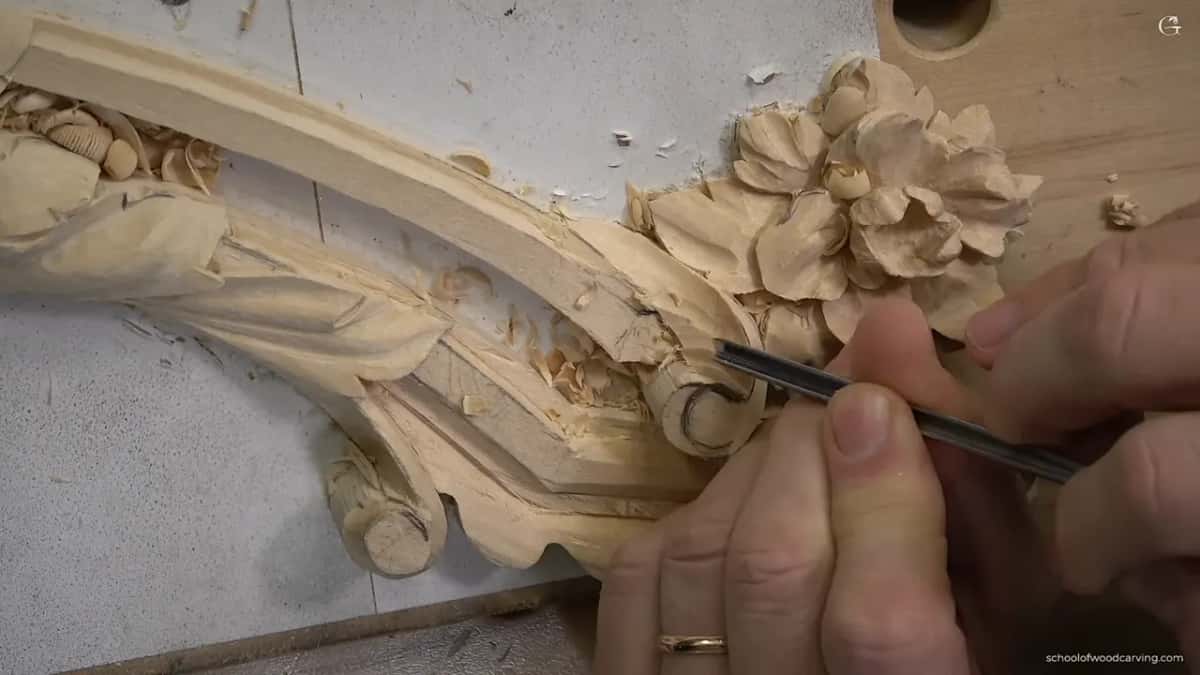
Sameness is the quiet killer in ornament. Three shapes the same size, sitting the same distance apart, carved to the same depth, read as a pattern rather than as growth, and no amount of fine detail rescues them afterward.
So I go looking for the repetitions and break one of them. Usually the middle one, which is the habit the design course drills hardest.
Which tools did the cleanup take
| Tool | Where it went during the cleanup pass on this panel | Note |
|---|---|---|
| Eleven, two and a half | opening separations | kept well above the line where the molding is eventually going to sit |
| Half inch three | running along an edge, and starting a first undercut that is not the final one | keep the hand very light here |
| A number 4 | tight corners | an eighth of an inch, and far easier to steer in a small space than anything wider |
| One millimeter veiner | right down inside a single separation | inverted |
| A seventeen, three millimeters | the square section beside the volute, left side held at ninety degrees to the ground | square |
| A Herring spoon | the ridge | antique, short bent, and worn at one corner by somebody else |
How deep should a first undercut go?
Around one and a half millimeters, with the flute turned out to about three o'clock. That is enough to put a dark line under an edge and let me judge the shape, and it leaves everything still correctable.
Deeper undercut means more fragile carving. No way exists around that trade. A piece hanging on a wall where nothing will ever touch it can go as far as your nerve allows, and a piece going onto furniture cannot.
There is a modern way out, which I mention without recommending it for everything. Resin stabilizing, the sort of thing people do with a vacuum chamber and a pump, turns thin basswood into something close to plastic. The chamber needs to be big enough for your piece, and mine is not, so paper thin stays out of reach here whatever the floral panel may tempt me to try.
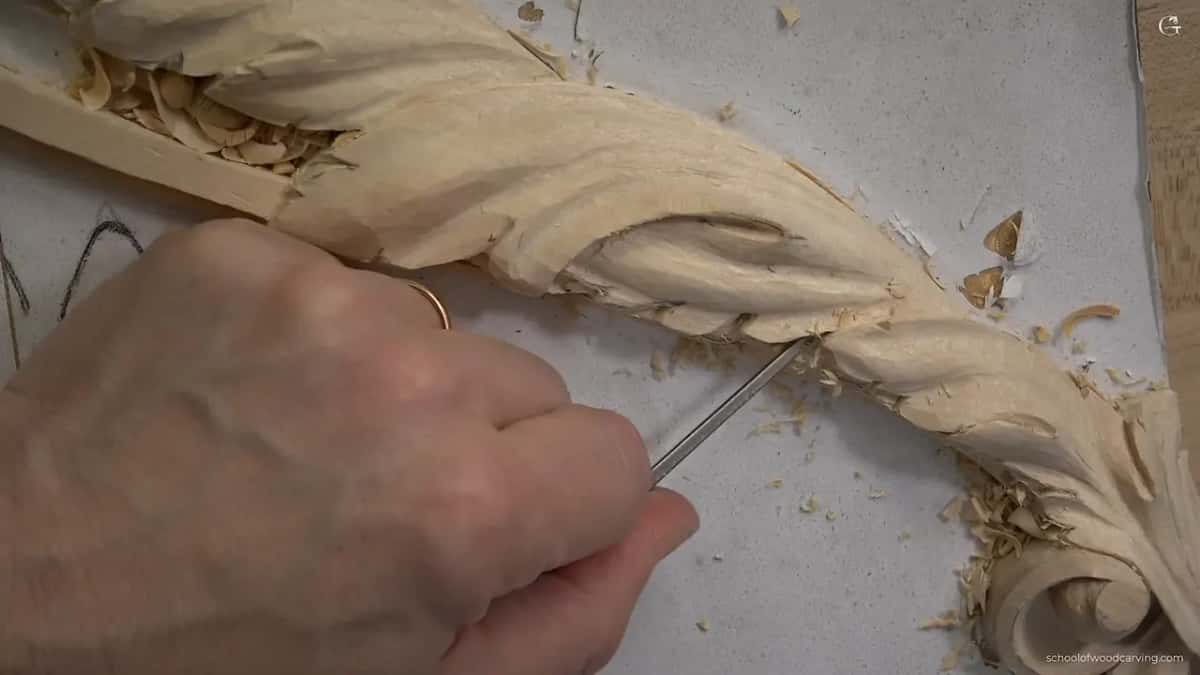
Why does slicing beat pushing?
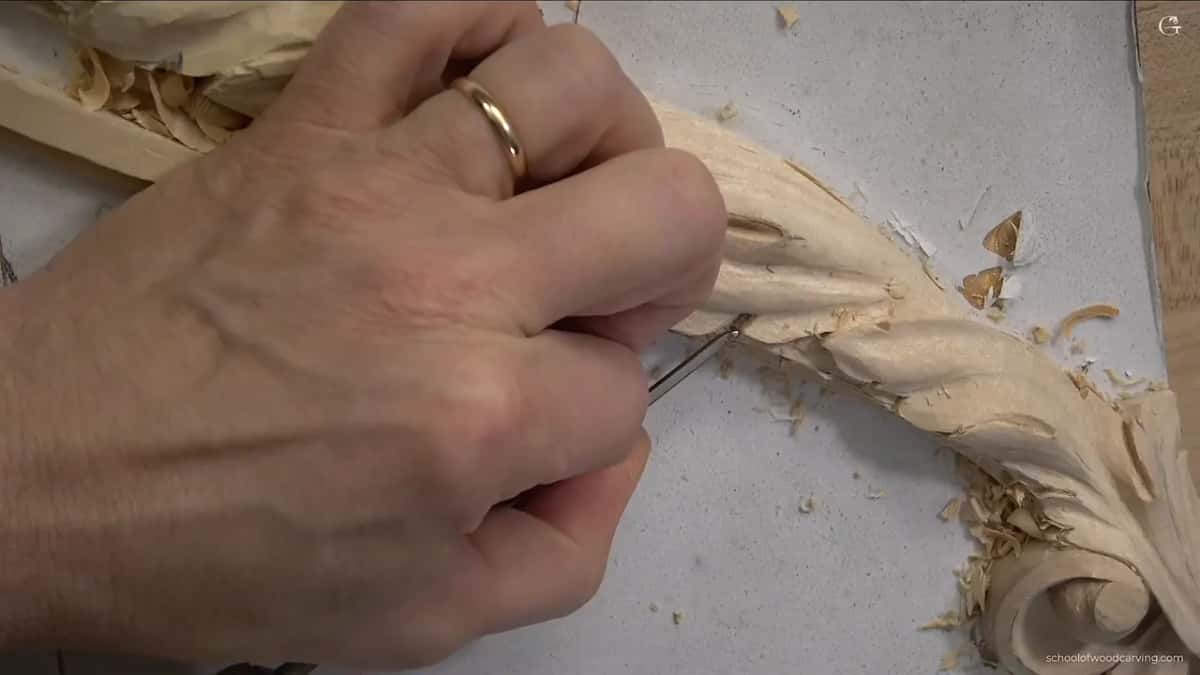
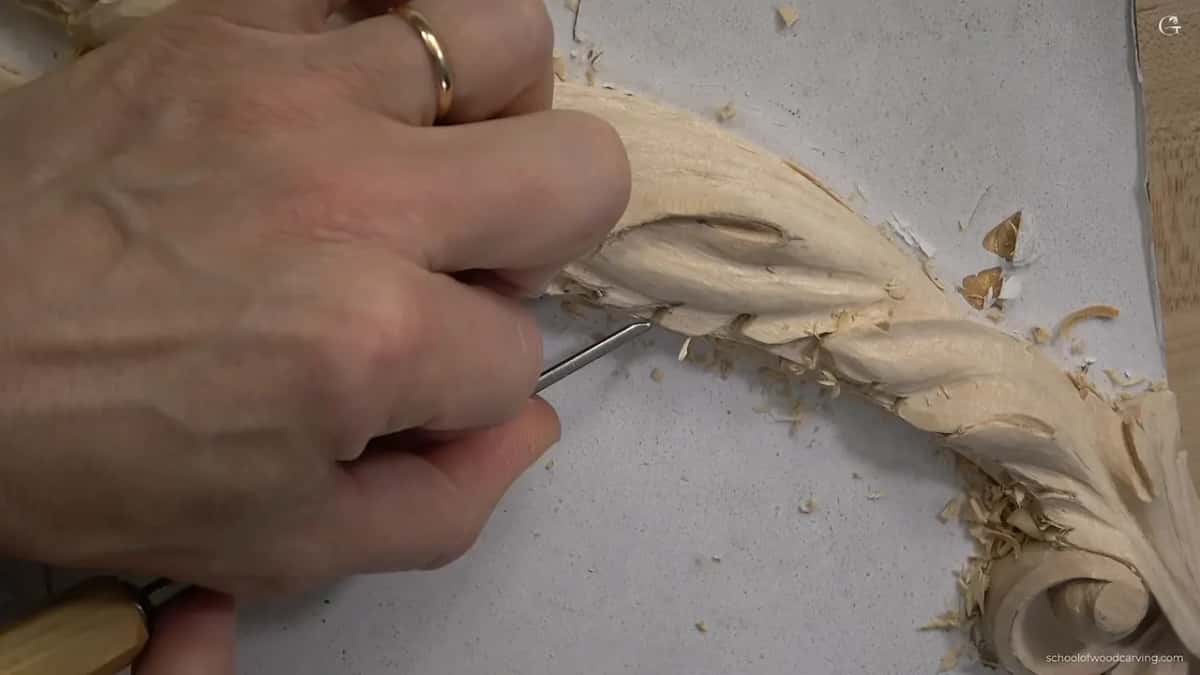
The edge does less work per millimeter when it travels sideways. Push a gouge straight in and the whole width of the edge has to sever fiber at once. Rotate it as it goes and only a short part of the edge is engaged at any moment, which is why a sliced surface comes off the tool clean enough to need nothing afterward.
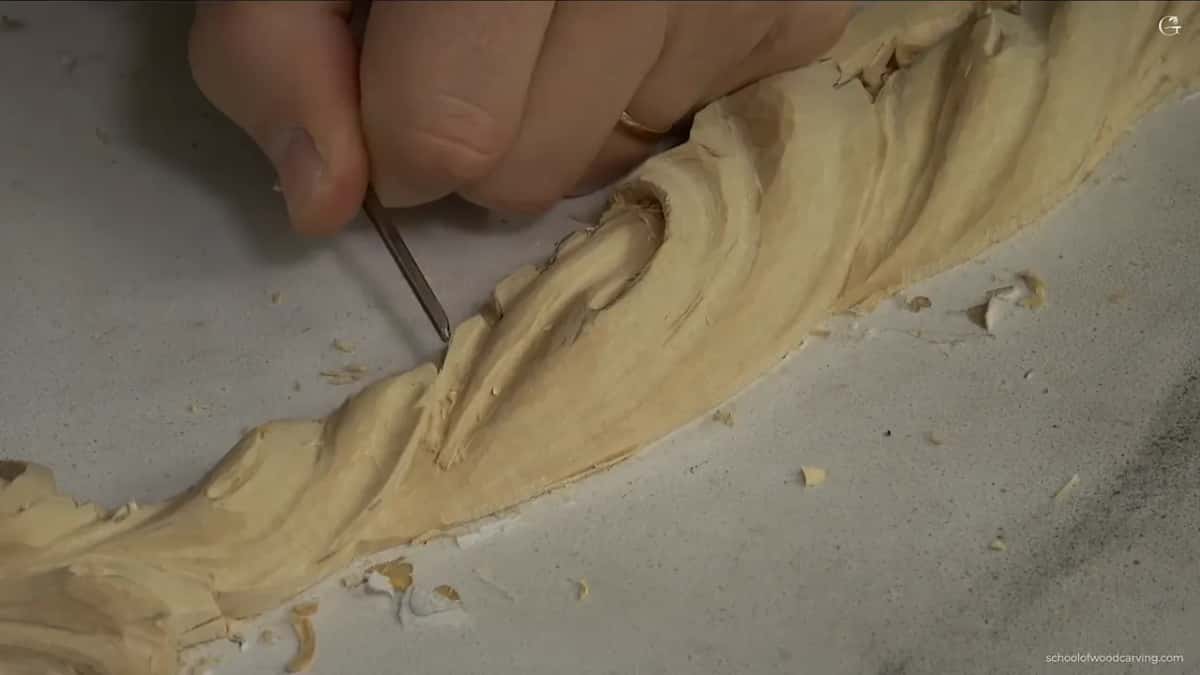
On this volute the wood kept changing direction under me, and slicing is what made that survivable. I scoop rather than shove. When a stroke feels like effort, the answer is almost never more effort.
Ask any carver what separates a good surface from a sanded one and you will get this answer, in different words, from all of them.
Do you ever use sandpaper?
On this panel, yes, and I changed my mind about it fairly recently. For years I thought abrasive on carved work was not authentic, and a question from a viewer after a livestream made me think about it properly.
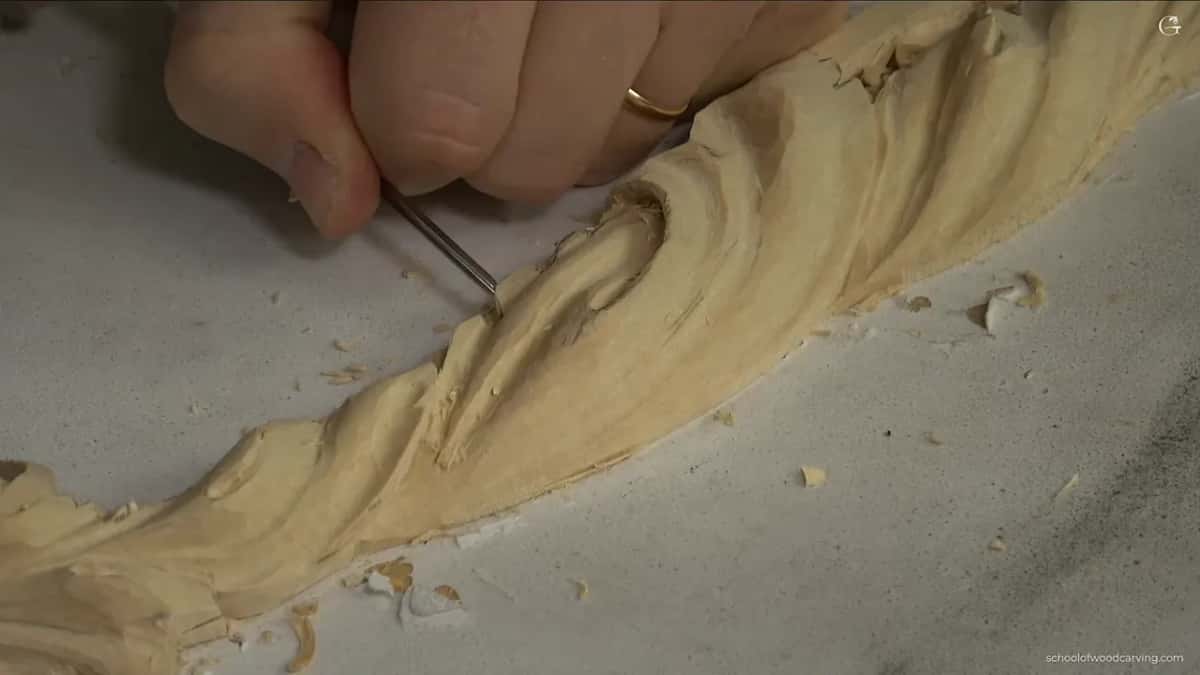
What it depends on is the finish. This piece is going under paint, so hunting every facet out with a gouge would burn hours that the paint will hide anyway. A piece going under oil or wax is a different matter, because there the tool marks are the surface and abrasive flattens the life out of them.
So the honest answer is that it depends, and anyone who tells you there is one rule is selling something. Our own sharpening course exists partly so that the question comes up less often.

What is the taper rule?
Ornament never runs parallel. Measure across two points of a movement near the base and then across two points further along, and the second measurement must come out smaller, or the whole thing reads as machined pipework rather than as something grown.
I caught myself breaking it here. Seen from above, two points on this volute were almost the same distance apart, which from the side looked passable and from above did not. Ten minutes of pencil work and a recut fixed it.
Tapering is one of those rules that sounds fussy until you see a panel where it was ignored. The Greek acanthus makes the point even harder, because there the taper is most of the design.
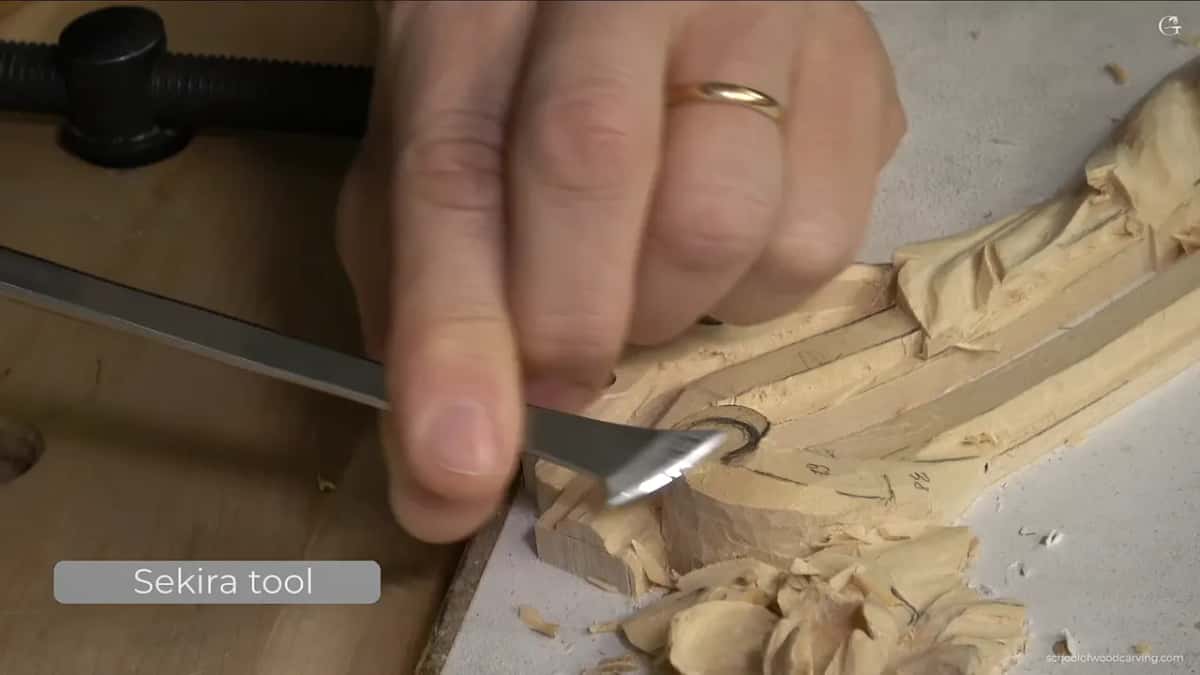
What is the Sakira tool for?
Cutting where the grain turns against you halfway through a stroke. The blade is shaped so it keeps slicing after the fiber changes direction, which on a curved slope means one pass instead of walking round the bench to come at it from the other end.
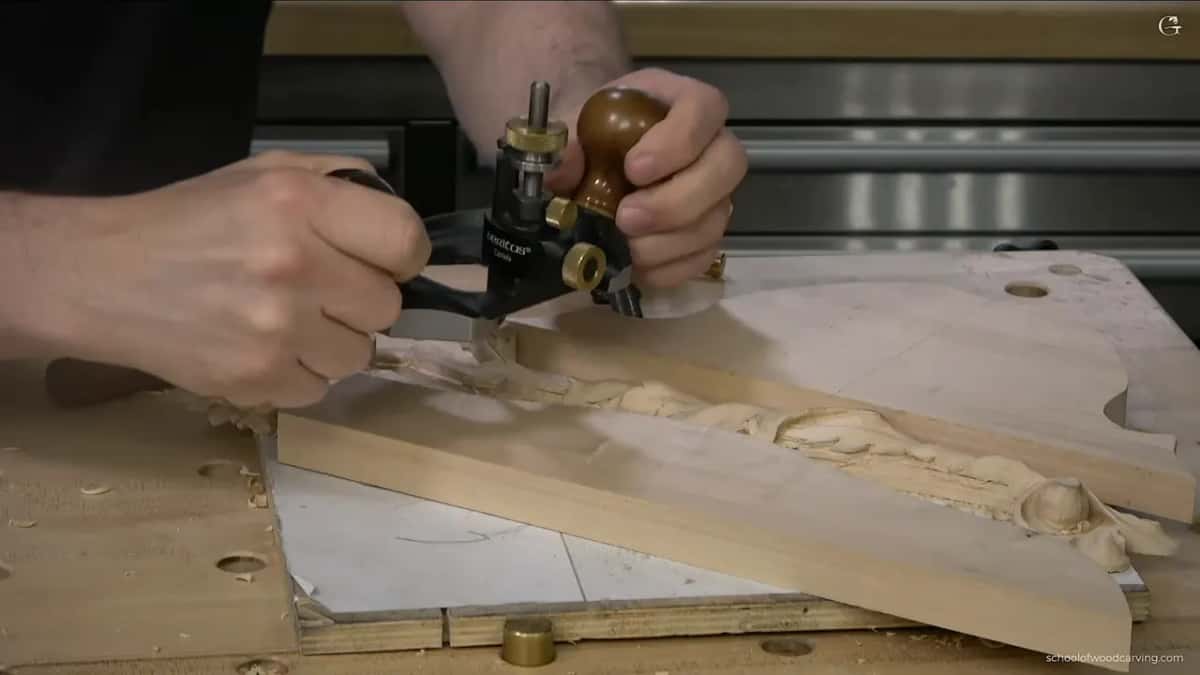
Most gouges cannot do that. Start with the grain on a curve and you will be cutting against it before the stroke finishes, and the usual answer is to stop, turn the work and approach from the opposite side. This one lets you carry on.
It is not a beginner purchase. A tool that forgives a bad direction also hides the lesson about grain that every carver has to learn properly first, and there is an argument that it should stay in the rack until the first cuts are second nature.
What breaks, and does it matter?
A leaf tip went while I was cleaning, and the honest answer is that it did not matter at all. The piece is now slightly smaller than drawn. Nobody has the drawing.
Beginners lose whole afternoons to this. Something snaps, the mood goes, and the panel sits untouched for a week. Meanwhile the fix is almost always to carry on and let the shape be a little different from the one on paper, because the drawing was a proposal rather than a contract.
Real damage is different, and you can tell the two apart by asking whether the shape still works. A shorter leaf works. A leaf with a split running into the ground behind it does not, and that one needs a decision rather than a shrug.
How light should the hand be near a molding?
Light enough that the tool leaves no line at all. Press a gouge against the edge where a carving meets a molding and it stamps a mark into the molding face, and that mark has to be planed out of a surface that is about to be shaped to a curve.
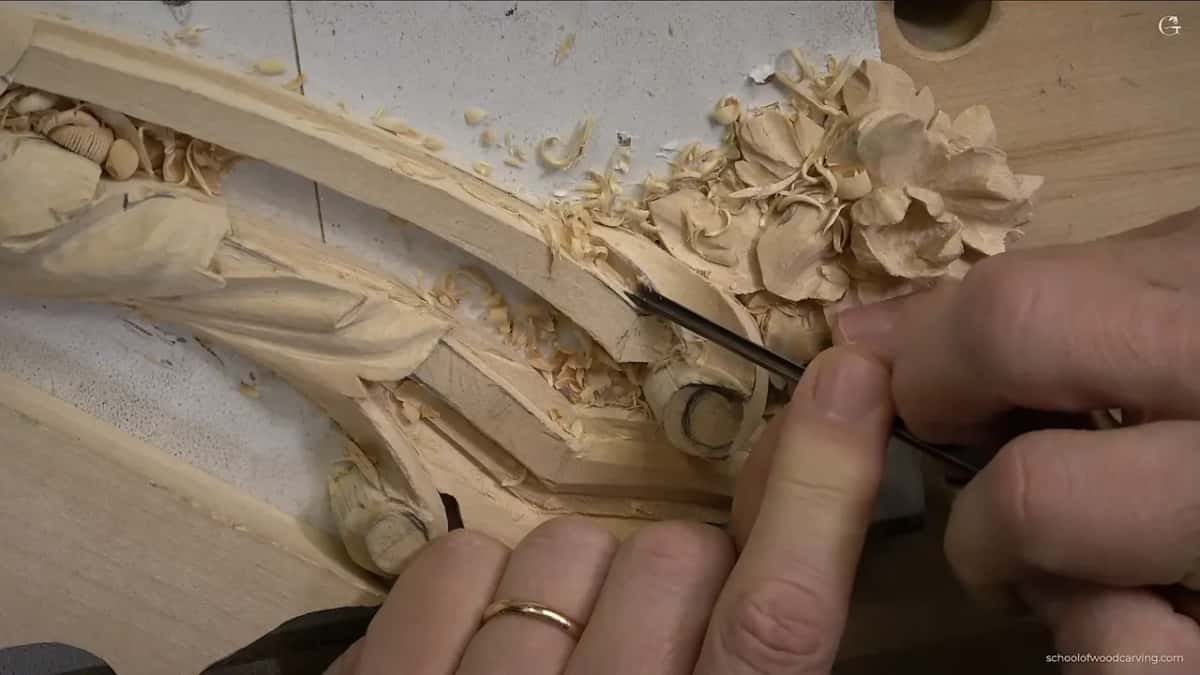
Under paint it would barely show. I can still feel it with a fingertip, which is enough to bother me for the life of the panel, and that is the real reason for the light hand rather than any rule about technique.
No pressure at all is the instruction I give myself out loud, several times, while working this area. Saying it seems to help.
How do you reference a depth when nothing flat is left?
Use the piece you sawed off. By this stage the panel has no flat surface to rest a gauge on, and the offcut from the original blank does, so I keep those pieces on the bench instead of sweeping them into the bin.
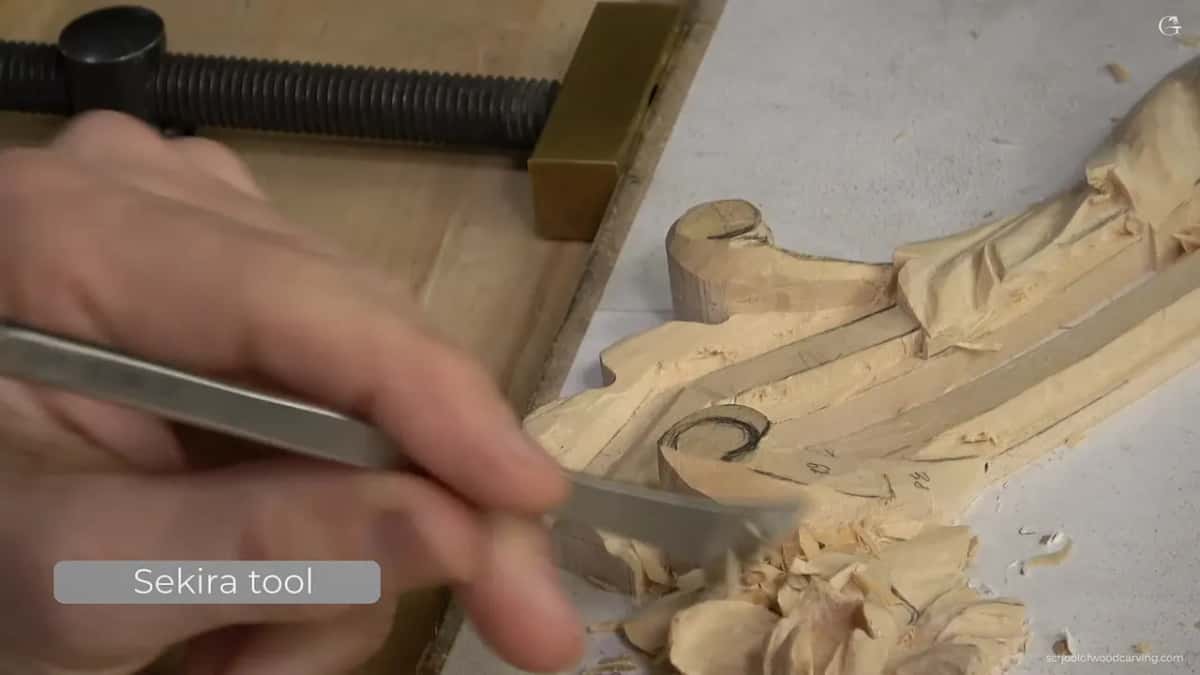
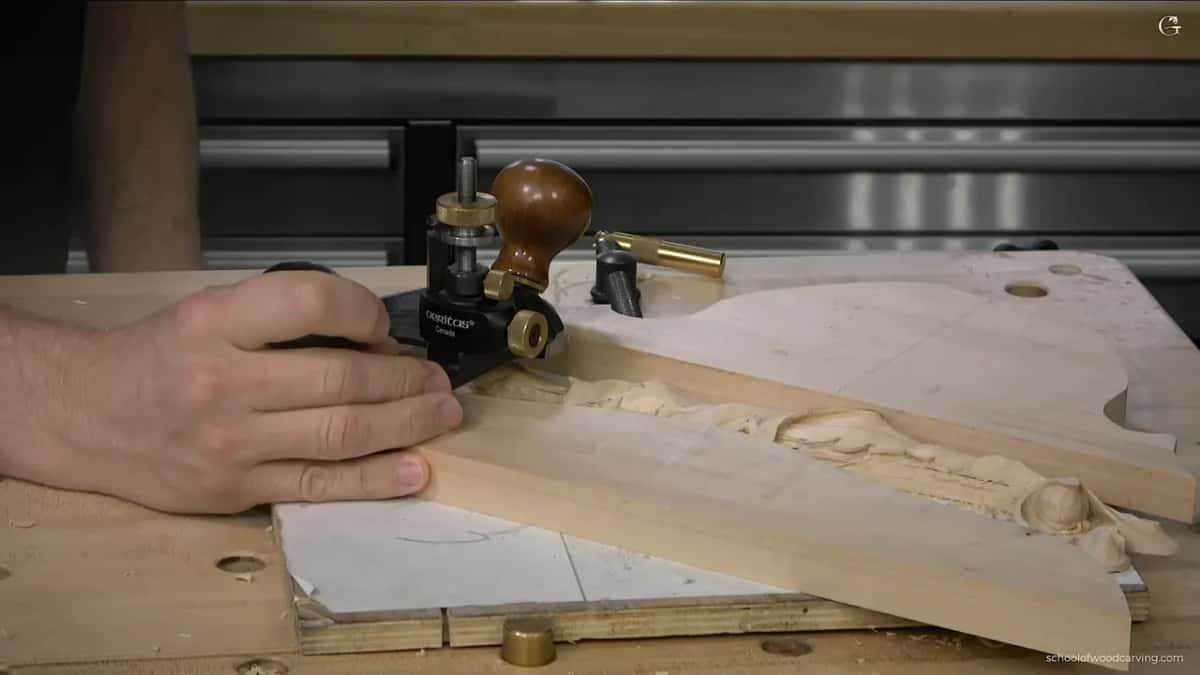
Two of them, one each side, gave the router plane something to ride on while I brought the molding ground down to its final depth. Cost me nothing at all, since I had already sawn them off the blank on the first day of the whole project.
Anyone doing this kind of work should get into the habit. Bandsaw scrap makes a straightedge. The same piece will serve as a depth reference, as somewhere to test a new sweep, and as a sanding block, all for nothing at all.
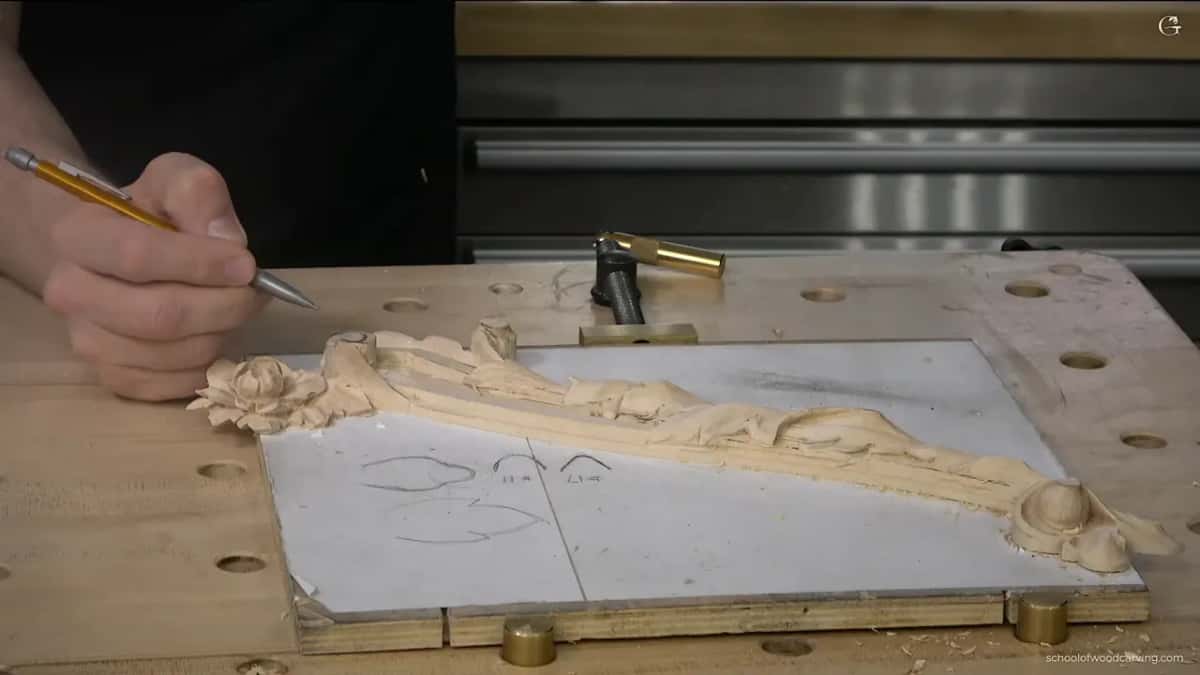
Why rough out before the router plane?
A plane blade is wide and unforgiving. It arrives very sharp and very flat, and if it meets a ridge of waste running the wrong way to the grain it will lift a chunk out of a surface you cannot replace.
I take the bulk away first, get within half a millimeter, and only then let the router plane do the last pass. Even then I set it high and creep down.
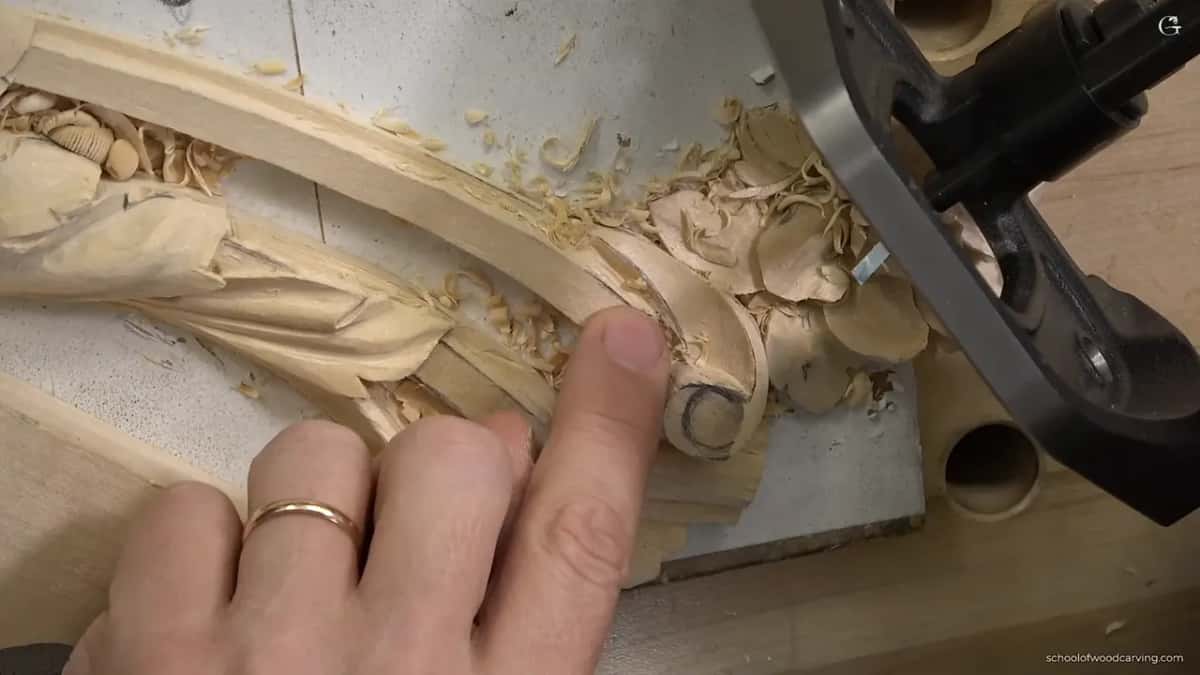
The blade width matters more than people expect. Mine was too wide for this space, so I swapped to a sixteenth of an inch and the job went from a fight to a formality.
How close do two sides have to match?
Close enough that nobody catches it, which is tighter than it sounds. Measuring the two molding grounds here they came out a little different, about a quarter or a half of a millimeter apart, and logically they should have been identical.
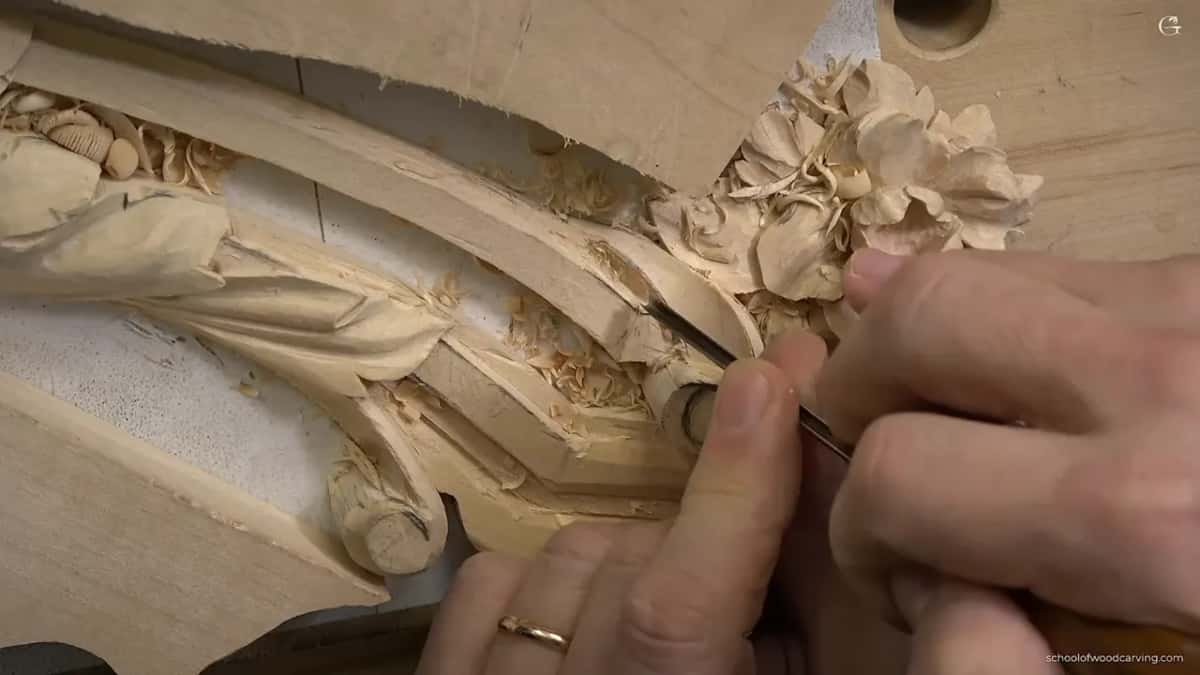
That is a small variation, I said, but it makes a big difference. Not a big deal, and it still bugs me. I did not want to create a problem where the two grounds meet.
If this kind of fussing sounds like your idea of a good afternoon, come and carve with us. Shall we carve?
One thing about that Herring Brothers spoon. It arrived with a corner already worn away by whoever owned it before me, and I left it alone rather than grinding it square, because that worn corner gets into a place a perfect one cannot. Somebody spent years wearing it to that shape. It seemed rude to undo their work.
Next the moldings get carved, the shell goes in against the acanthus, and the whole panel finally comes off the board.
How it's done
- Break up any three shapes that match. Open one out, lengthen another, take a section from the third.
- Keep every cut above the molding line. The line is invisible on camera and it still governs everything near the edge.
- Swap to a smaller tool rather than use a corner. A number 4 at an eighth steers in a tight space where a half inch blade fights you.
- Keep the first undercut shallow. A millimeter and a half is plenty, and nothing is decided yet at that depth.
- Slice instead of pushing. Rotate the gouge as it travels so only part of the edge works at once.
- Check the taper from above and from the side. Nothing in ornament runs parallel, and above is where you catch it.
- Take the bulk off before any plane touches it. Within half a millimeter is close enough, and a wide blade meeting waste tears wood out.
- Ride the router plane on saved offcuts. Two pieces, one each side, give it the flat surface the panel no longer has.
Frequently asked questions
Who made Grinling Gibbons carving tools
A London toolmaker supplied his workshop for years, and an apprentice out of that shop later founded Addis around 1718 on the same street. Trade history rather than documented record, so treat it as the story it is.
Are antique carving gouges better than new ones
Their sweeps differ rather than improve. A range ground for period work drops into the hollows that period work needs, and old Sheffield steel keeps an edge a long while.
Does owning more gouges make you a better carver
Beyond a small set, no. More sweeps make shapes reachable that were not reachable before, which shows in Gibbons work, but a beginner carves worse with forty tools than with six.
What to carve next