
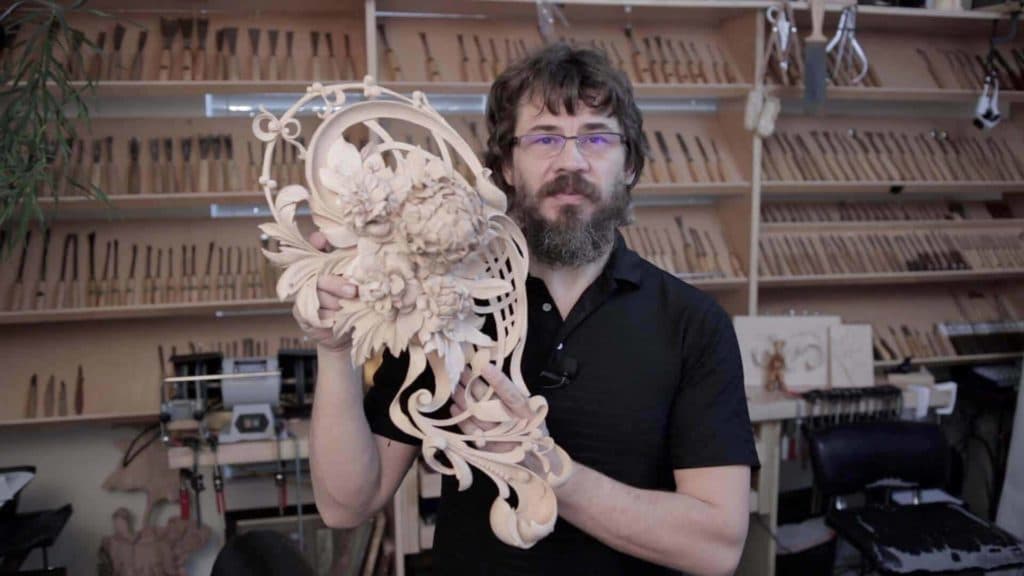
Alexander Grabovetskiy, woodcarver, School of Woodcarving · Published 2022
What should a finished acanthus leaf over a molding look like?
Quick answer: A finished acanthus leaf over a molding is a piece whose moldings sit at the height of the last piece and keep a true line with no undercut beneath it, and no pressed tool line. The leaf should seem to slip underneath, and the shape has to read sideways as well as from above.
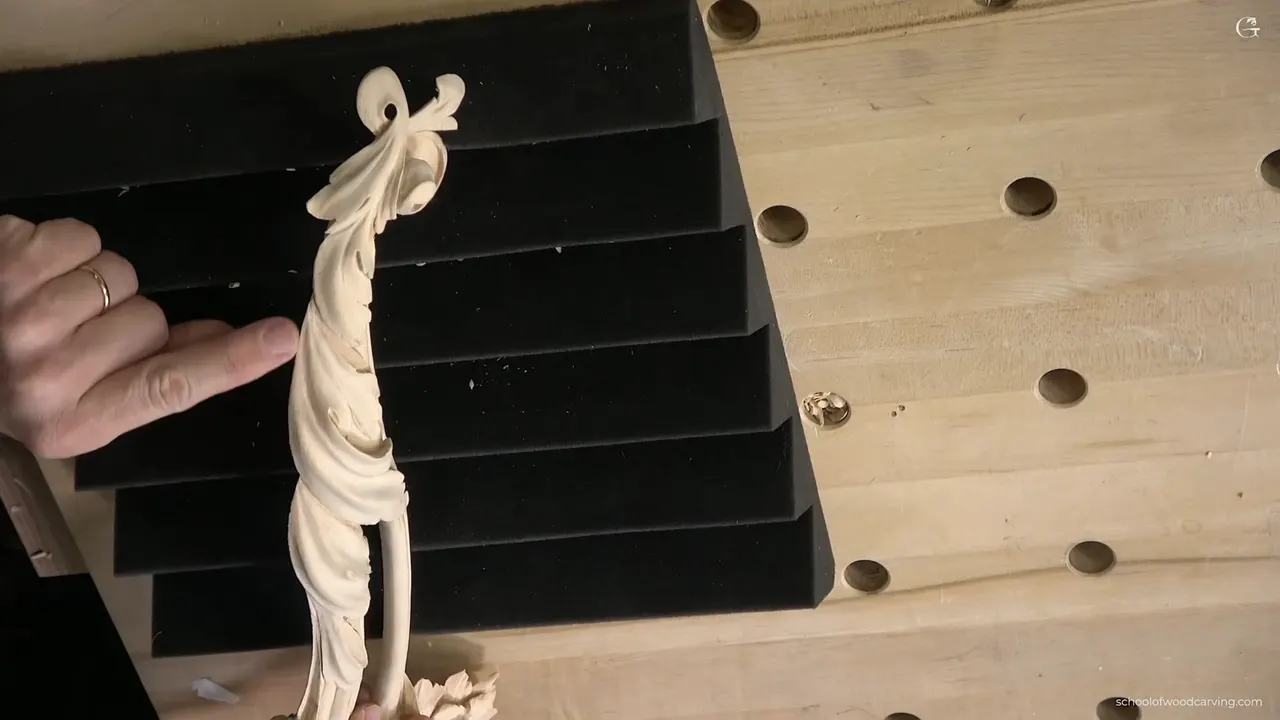
A good acanthus molding is one where every molding matches the last piece in height, keeps a true line, and lets the leaf feel like it goes somewhere underneath. I carved four of these for one panel in Acanthus over Moldings and checked each one as I went. The same acanthus leaf carving idea works on other projects too, mirrors included.
Has the leaf got its shape? Do the moldings have theirs? Then the piece is ready to be looked at, slowly, and from more than one side.
I'm going to be honest with you. When I work on the same piece all day long, I have a tendency not to see my mistakes. My checks lean on a router plane, a paper gauge and turning the piece. This last page of the course takes one photo of your work, as a jpg or png, and I look at that photo myself.
Below are the checks I made on camera across the ten lessons, with the faults I named while I carved.

Six things I look at on each finished piece
Every molding matches the previous piece in height, and the router plane proves it.
Each molding keeps its true line, one wall upright and nothing undercut under it.
No line shows where a tool pressed too hard.
Each leaf seems to pass right under the molding.
The movement reads in a side view as well as it does from above.
Ridges are blended, stripes are few, and the sharp spots are gone.
What should a finished acanthus molding show?
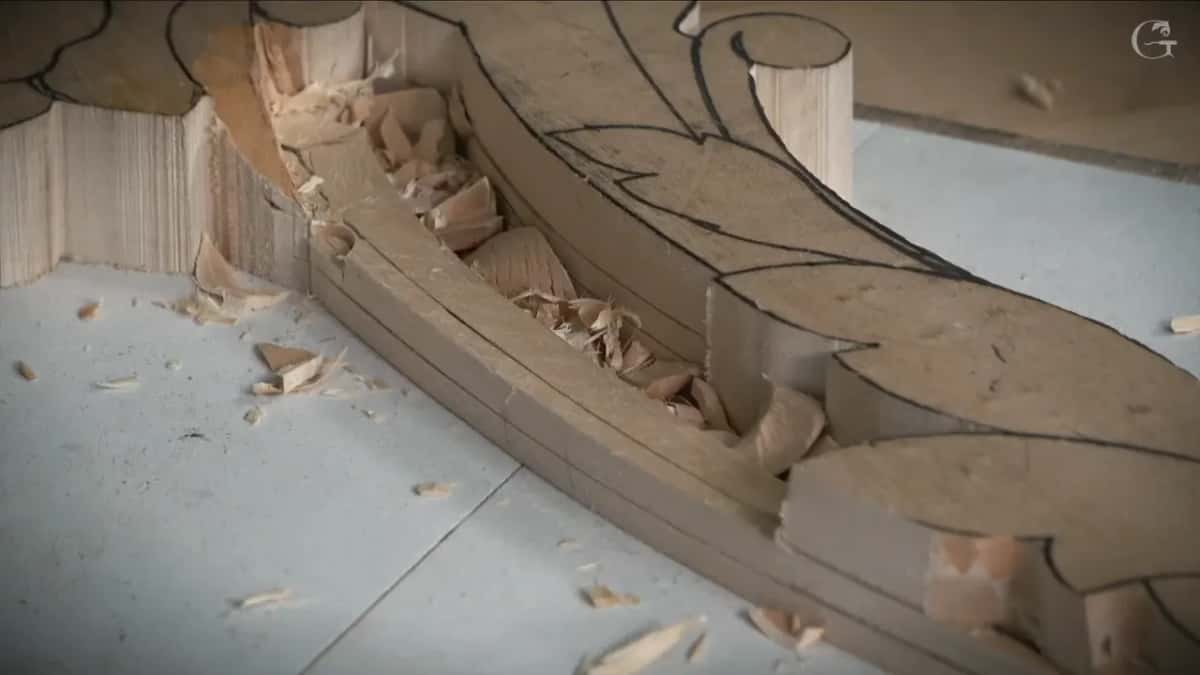
Heights come first, and I check them with a tool. Early in lesson 1 I showed four pieces that go on the same panel, with one more carved piece for the bottom, and the sections connect like a mitered molding. Four leaves can each be a little different. The moldings come out at one height.
Is every molding at the height of the last piece?
It has to be, and the router plane tells me. At the end of the first part of lesson 1 the plane was right on the line, and I said it on camera. I know for sure this height matches what I have on the previous piece. Next part, first thing, I checked again with the plane, and yes, I was pretty much right there.
For the profile I made my own gauges. Plain printer paper, the molding drawn on it, and green tape to make it more solid. Blue tape works, even Scotch tape. Tape makes it a lot easier to trace and check, and then the gauge goes against the wood to see if it fits. Mine fit really good. Almost good, right? Those gauges stay close by on my workbench, so I can reference them any moment.

Before going to the line in lesson 2, I checked the height, and that's perfect height. About a minute later came the second check. I am the same level, and that way I know my molding will match on the right hand side and the left. Double check. That's it.
Even so, one height in lesson 9 came out a little different, a quarter of a mil or half a mil, when logically they should match. Not a big deal, but it still bugs me.
Has the molding kept its true line?
It has to, and lesson 6 says it in plain words. If you're going to do this same project, acanthus or any other movement over molding, make sure you don't mess up the molding itself, and keep the true lines of the molding.
Here is how I protect that line. My release of the future molding in lesson 2 used a small number 17, 3 millimeters (1/8 inch) wide, with one side of the tool held at 90 degrees to the surface. Undercutting right underneath of that line would be a big mistake. Later I took a knife and did the same release, just to prove that for some operations the tool does not really matter. The result is exactly the same if you don't undercut.
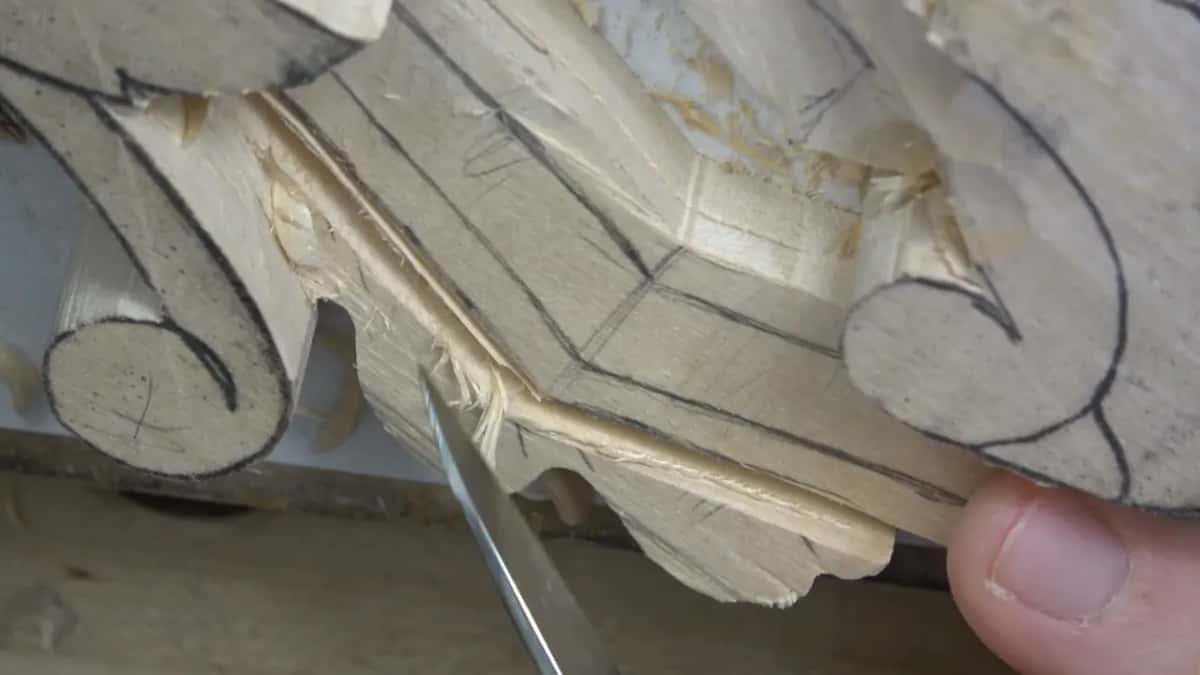
Twice I used the words huge mistake about that undercut, in lesson 1 and again in lesson 6. My words in lesson 9 were softer. Hitting below the line is a big mistake, although not that huge. Still possible to fix. But I really don't want to do it.
One more habit sits behind a true line. Chopping down toward the line, I don't go all the way. About a millimeter and a half stays, about 1/16 of an inch, because I need some space. I called going right onto the line a big mistake.

Can you see where the tool pressed?
A pressed line can be visible, and you can feel it with no problem. Both came up on camera.
The careful version is in lesson 2. A number three, 3/4 of an inch, by Henry Taylor, sat on the line and went straight down. Pushing too hard was out, because a big line there is going to be visible. Just enough pressure to remove the material, not more. That number three still has some sweep, so on the other side its corners would dig inside the line. For that side I took a number one, about 15 millimeters (5/8 inch), double bevel in my case.
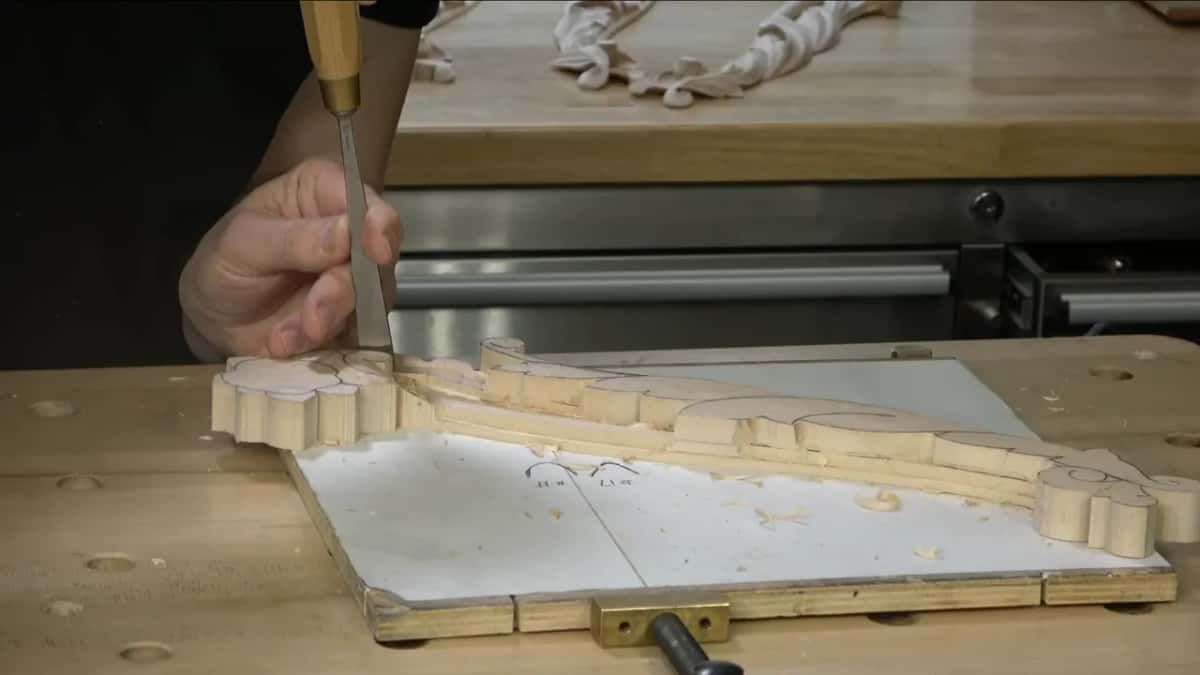
The worry came back in lesson 9 with a half inch number three. Pressing too hard would leave a line from the tool in my molding, and that line is hard to get rid of, since I was planning to undercut deeper with a number 11 for the shadow. On that panel it's absolutely okay, because it goes under paint. I can still feel those lines with no problem. It bugs me and bugs me. Something there doesn't look right.
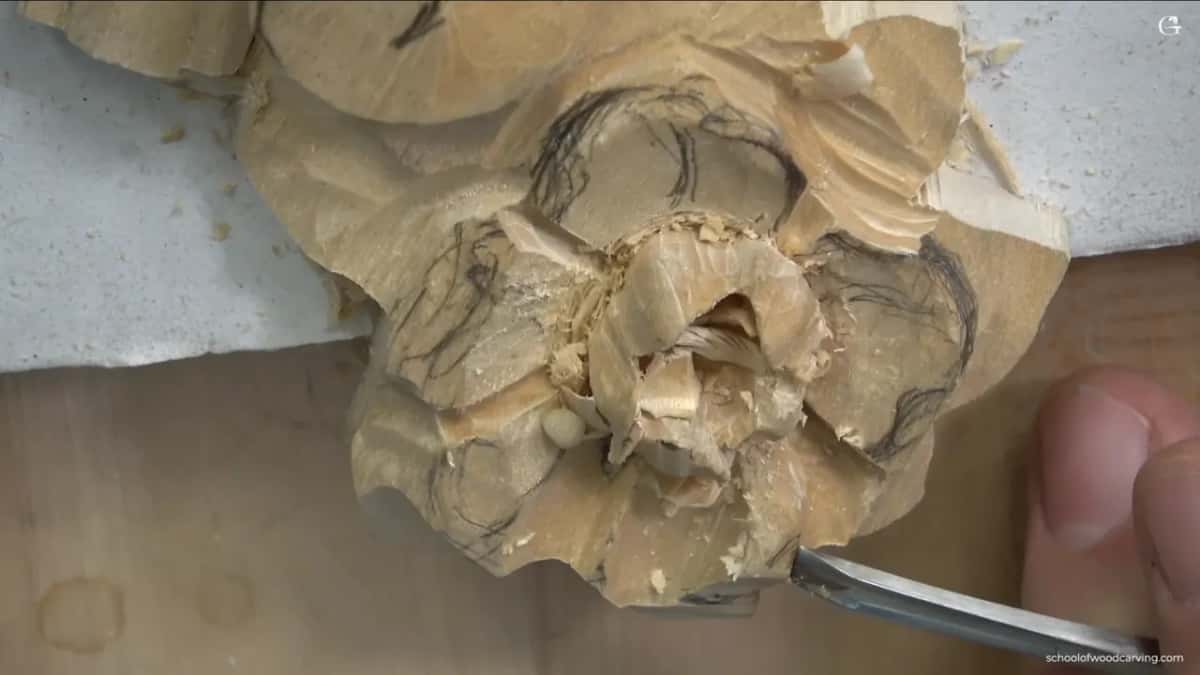
Petals can suffer the same way, and one did in lesson 8. With a half millimeter number 11 veiner I pushed too hard and slightly destroyed the look of the one I had just carved. So I excavated a little deeper inside it and cleaned it using a number three, 1/8 of an inch.
Why paint grade forgives more than stain grade
A small tool line passes on paint grade, and on stain grade it doesn't. In the last part of lesson 1 I kept the corner of my tool from digging under the higher part of the molding. Dig too deep there and you create a line. For paint grade I guess it's okay, but try not to do that. On a stain grade piece it would be a big mistake.
These four pieces get painted white. So near the end of the course I said there was no reason to spend so much time cleaning. Your piece might go under a stain instead. In that case the line I let pass on mine would be the big mistake.
Does the leaf seem to go underneath?
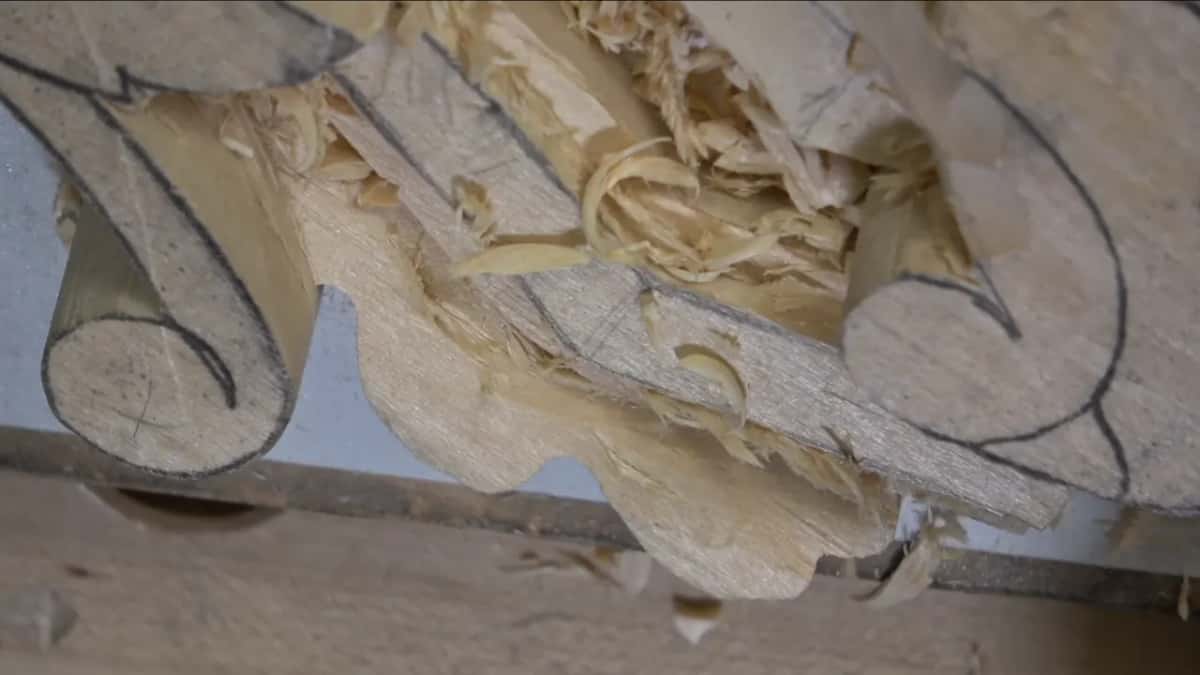
It should, and the molding has to stay whole while you make it so. The idea in lesson 9 was not to get my molding damaged, and with the same tool I left some material right there. I really wanted that leaf to feel like it's going somewhere right underneath. Over in lesson 3 the acanthus beside the volute went really low, sitting on top of the molding, so it has to kind of wrap.
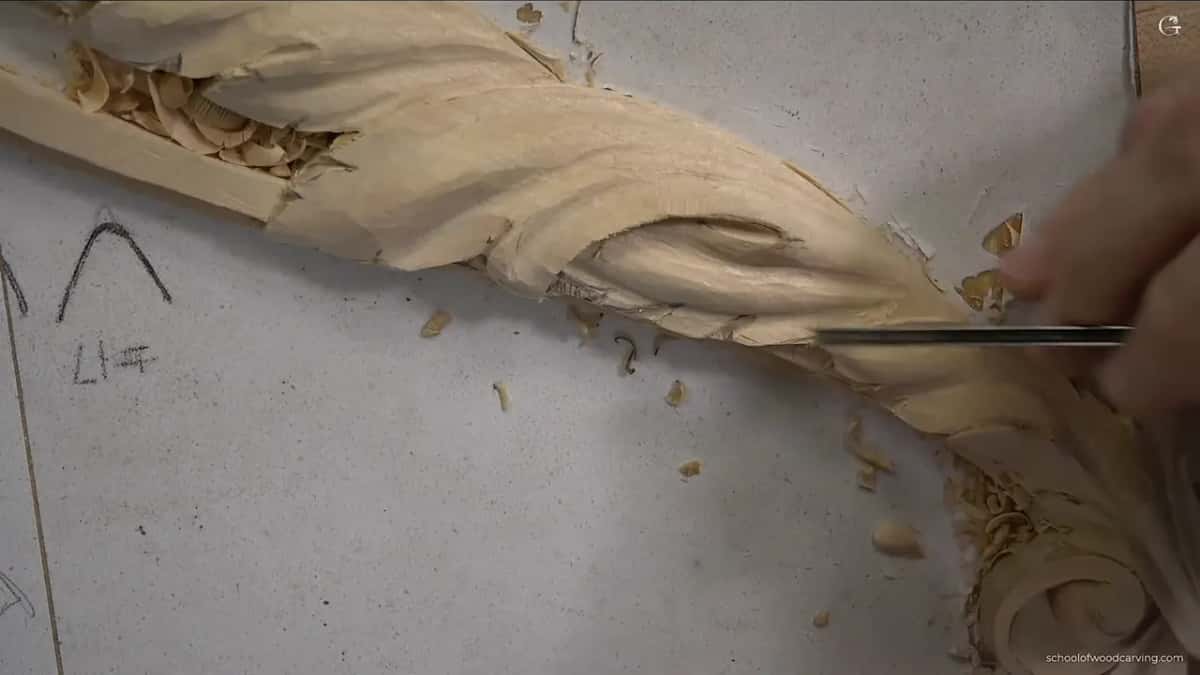
Lesson 10 brought it up again while I excavated to the edge. Make it feel like the stuff is just applied right on top. I could go really to the extreme with it. Do I have to? No, I don't. Then I took my knife, placed it upside down, brought the stroke to the edge and blended my undercut with that edge. That one move gives a beautiful shadow.
Why turn the piece and look from the side?
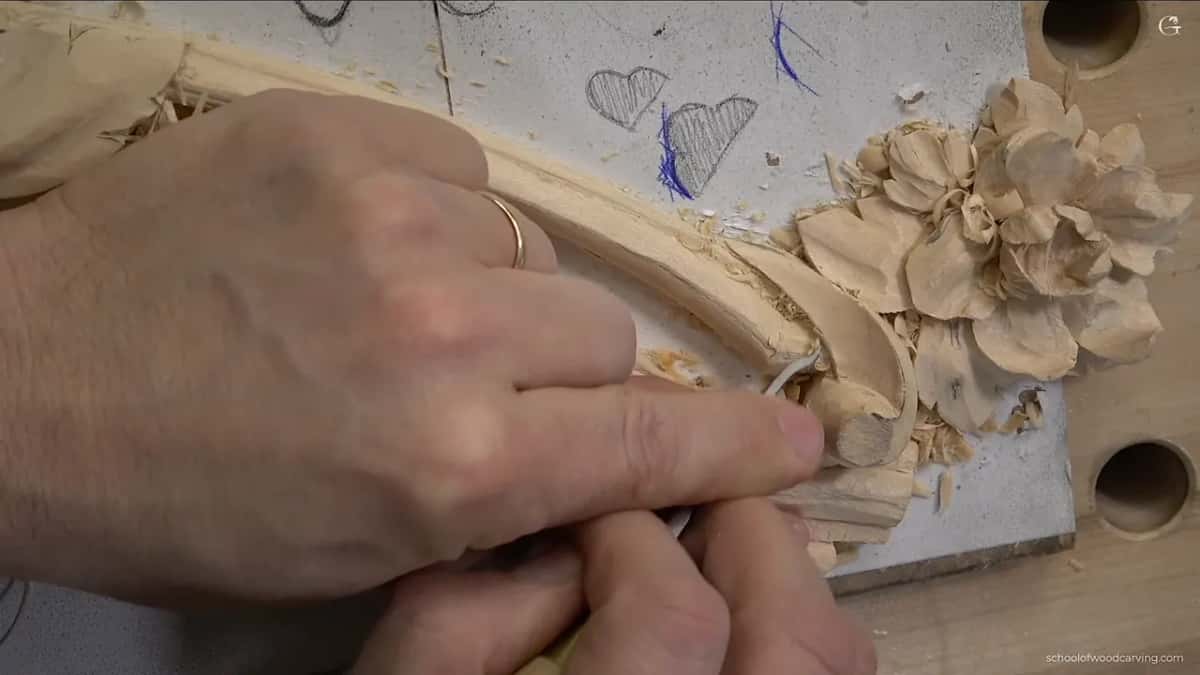
A shape can look okay from above and wrong in a side view. One part in lesson 10 was not flowing nicely. It looked okay from above. Seen sideways, it did not, and I needed it to go really nicely downhill. That is why it's really important to look from different points of view, and if you're working in 3D, to look from the side.
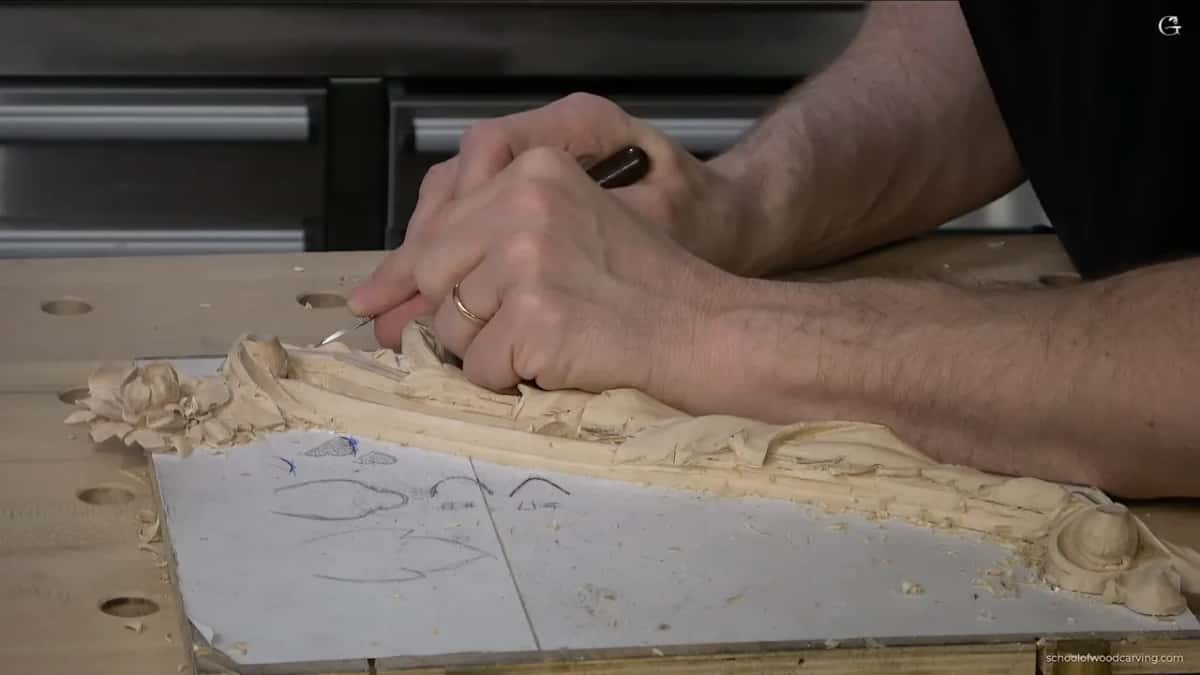
The other way round happens too. At first the side view in lesson 2 was not appealing, with no really gradual movement, so I worked it until it came up gradually. Good, as far as the side. Above was a different story, and I had to fix that movement. A nice tapered look was what I was after, the lines going outward from each other. If they don't taper, it's going to look really bad.
I showed the piece in lesson 5 from different points of view and asked you to think of a drone flying around it. Do the same with yours.

Where do ridges and sharp spots hide?
On my pieces the ridges showed up near the edges and around the center line. My goal in lesson 8 was to make sure everything transitions really smoothly to the edge. It's okay to detect a small movement. That's absolutely fine. But I don't want to see any hard edges of the ridge. Later in the same lesson, on the leaves, I was making sure no ridges ran toward the center line. Don't put too many stripes.
While blending in lesson 7, I said I don't really want to create sharp spots, and showed the shape from above and then sideways. On a flower in the same lesson a line ran almost straight under the center, and it was not good. I wanted it really flowing, really low closer to the center.
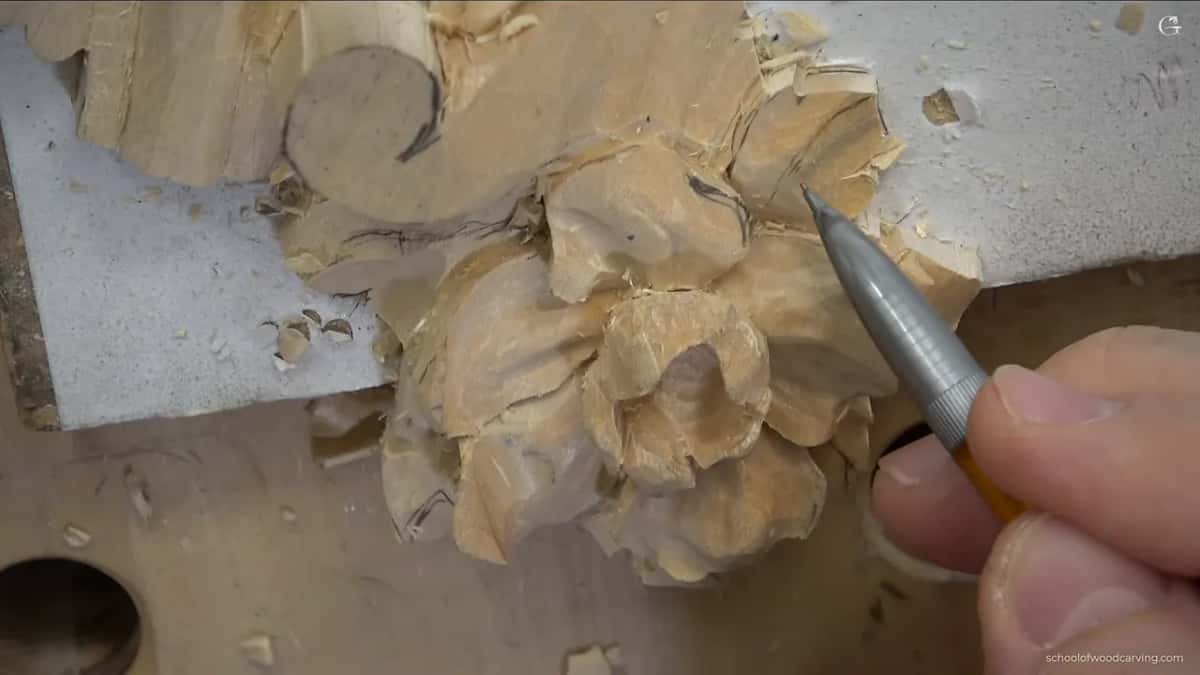
The pipes on the leaf get their own check. In lesson 4 I was somewhat after shadow, but I did not want to roll the pipe backward or make it look like a natural pipe. Don't dig too deep underneath it. One spot came out a little too deep, so a number 11 cleaned it again and blended it nicely.

How close do the four pieces have to match?
Exact in height, and only about the same everywhere else. Before carving one part in lesson 3, I looked at the previous pieces, saw how low that part goes, and redrew from them so I would do exactly what needs to be done. I checked the previous one again in lesson 4, for the divisions and an eye.
Petals are another story. Redrawing a petal in lesson 6, I said I'll be okay without perfect, as long as I keep about the size of my previous piece. For the flower center I double checked the previous one too, and it came to about half an inch, between 12 and 14 millimeters. Divisions next. I don't have to make them exactly the same as on another one.

Here is how I put it in lesson 7. From above, the overall shape still has to be about the same. Inside that shape you can be more creative. That part had a beautiful edge with some curliness, and I said I really love it.
Does a molding have to be perfect?
A molding needs to read as a molding, and perfect is not required. Carving along its line in lesson 2, I said perfect isn't needed, and of course it doesn't have to be wavy like a river. Not perfect, but make sure it still looks like a molding, not just a Modern Art molding. I was not going to force it, so I left it like that for now.
The moldings are the last thing I carve from the front. Lesson 10 calls them probably the easiest part of this composition. A middle line goes on first, which needs no perfection, but try to be still accurate. Then come multiple chamfer passes, adjusting until I get the final shape. In lesson 6 I said the same about the side of a molding, that by doing multiple chamfers I can create my half round.
Which tool did each check?
Here are the tools behind each check, as I used them. A router plane, a gouge or two, a knife, and the habit of turning the piece.
What I check | What the piece should show you there | My tool | The fault I named on camera |
|---|---|---|---|
Height of moldings | Level with the molding on last piece | Router plane | Running right onto the line early |
Line of molding | One wall straight down at 90 degrees | Number 17 | Undercutting underneath that line, huge mistake |
Edge pressure marks | No line where the tool went down | Number three | Pressing too hard on the molding |
Leaf over molding | Seems to slip right under the molding | Upside-down knife | Damaging the molding under the leaf |
Side view flow | Goes nicely downhill seen from any side | Turning it | Fine from above, poor side view |
Ridges and stripes | Small movement fine, no hard ridge edges | Light blending | Too many stripes toward center line |
Watch the grain while you do any of it. Coming from the wrong side in lesson 2 would raise that grain and make big mistakes, so I attacked from the left side going out.
Are my own four pieces done?
Almost, and I said so at the very end. Let me see, maybe I didn't even do a hundred percent all of them. One was almost done on the back. Everything was brought to the edge, and where the leaf goes underneath I carved a little better undercut. Please understand, that is not done yet completely. I will get it ready for the paint a little later. At the end I laid all four of them down on the table, the pieces of one relief panel.
Height, line, pressure marks, the leaf going under, the side view, the surface. That is the whole list on this page. If you want to carve the next one with me, every lesson of this course and the rest of the school sit behind the tuition page. The acanthus leaf is an old ornament, and this course carries it across a molding.
How it's done
- Make paper gauges. Draw each molding profile on printer paper and stiffen it with tape.
- Plane to the last piece's height. Set the router plane on the line, so this molding lands exactly where the one before it did, then check once more.
- Free the molding with one wall upright. Keep one side of the number 17 perpendicular and nothing underneath the line. A knife gives the same result.
- Go light along the edge. Only enough pressure to lift the wood, which is how I held back in lesson 2.
- Turn the piece. Look from above, then sideways, and fix whichever view does not flow.
- Compare with the previous piece. Redraw from it, keep sizes close, and let the petal divisions differ.
- Blend ridges and sharp spots. A small movement can stay. Hard edges of a ridge and extra stripes go.
- Lay all four out together. Lay them down on the table, all four, and look at the result.
Frequently asked questions
What is the big fault to avoid on the molding itself?
Undercutting beneath the molding line. I called it a huge mistake in lessons 1 and 6, and in lesson 9 I said it can still be fixed, though I'd rather not. When I chop toward the line, I also stop about a millimeter and a half short of it.
Will a tool line matter on a painted piece?
On the lesson 9 panel, which goes under paint, I let it pass. I can still feel those lines, and they bug me. On stain grade, a line from a corner digging under the high part of the molding is a big mistake, as I said in lesson 1.
Should every piece in a set be identical?
Heights, yes, checked with a router plane against the previous piece. Petals and divisions, no. I keep them near the size of the last piece and let the inside of each flower be a little different, while the overall shape seen from above stays close.
What to carve next