

Alexander Grabovetskiy, woodcarver, School of Woodcarving · Published 2022
How do you get a carving off the board it was glued to?
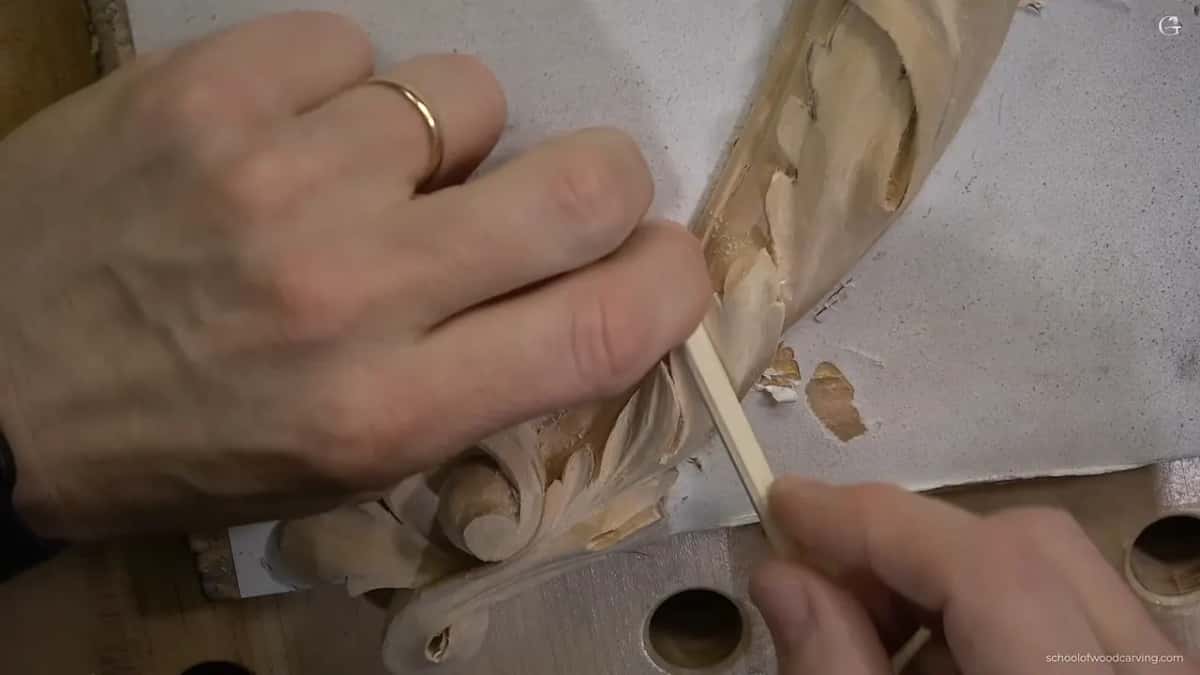
Quick answer: Getting a carving off its backing board is a chisel job done by ear. A flat blade slides between the paper and the board, a mallet moves it a little at a time, and the paper tells you where it is still stuck, because the sound changes the moment it lets go.
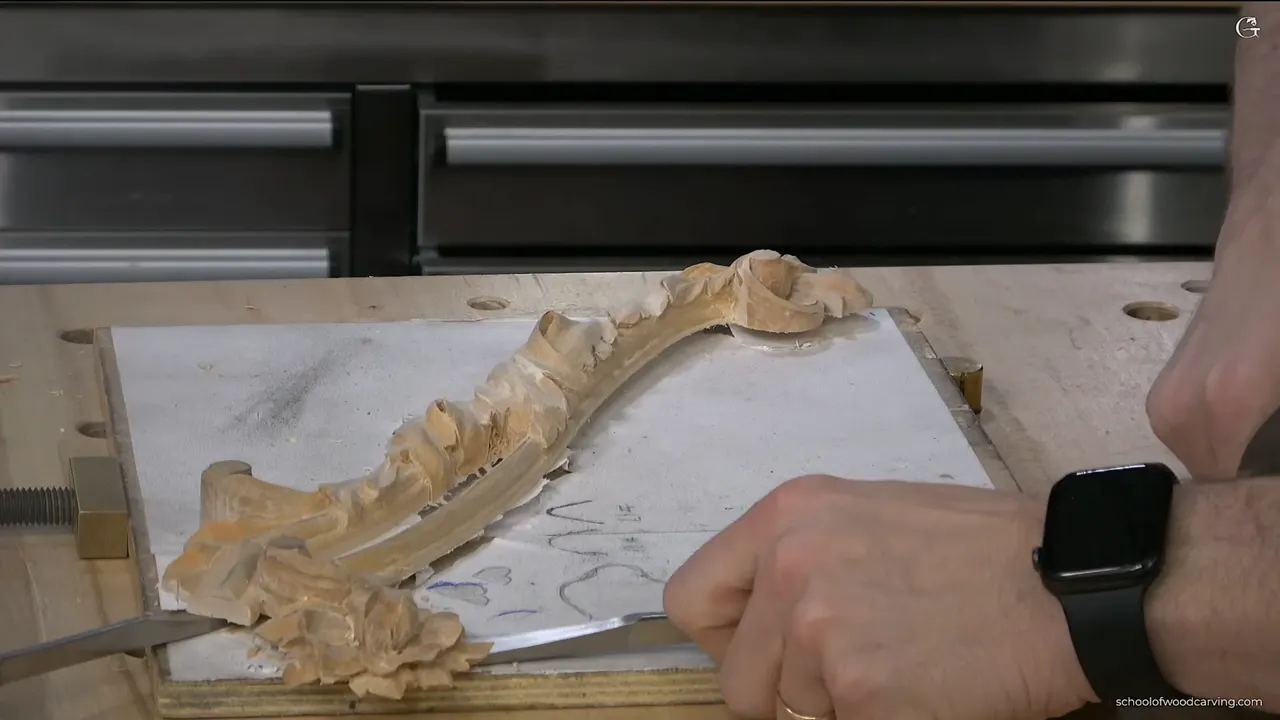
The whole panel was held on by one sheet of paper. Spray glue, a sheet of paper, a backing board, and a carving that never shifted once under ten weeks of mallet work. Taking it off again is the part nobody films, and it is where a finished piece most often breaks.
The tool is a chisel. The skill is listening.
Every hour of this panel sits on that board, and there is no second copy of any of it. So this is the one operation in the whole panel process where I slow right down and stop talking.
Paper releases with a sound, a dry tearing noise that runs ahead of the blade, and when that sound stops you have found a spot that is still stuck and pushing harder will snap something.
Below is how the panel came off, what I did to the back afterward, and why the bench gets cleared of everything hard before any of it starts.
What the release actually takes
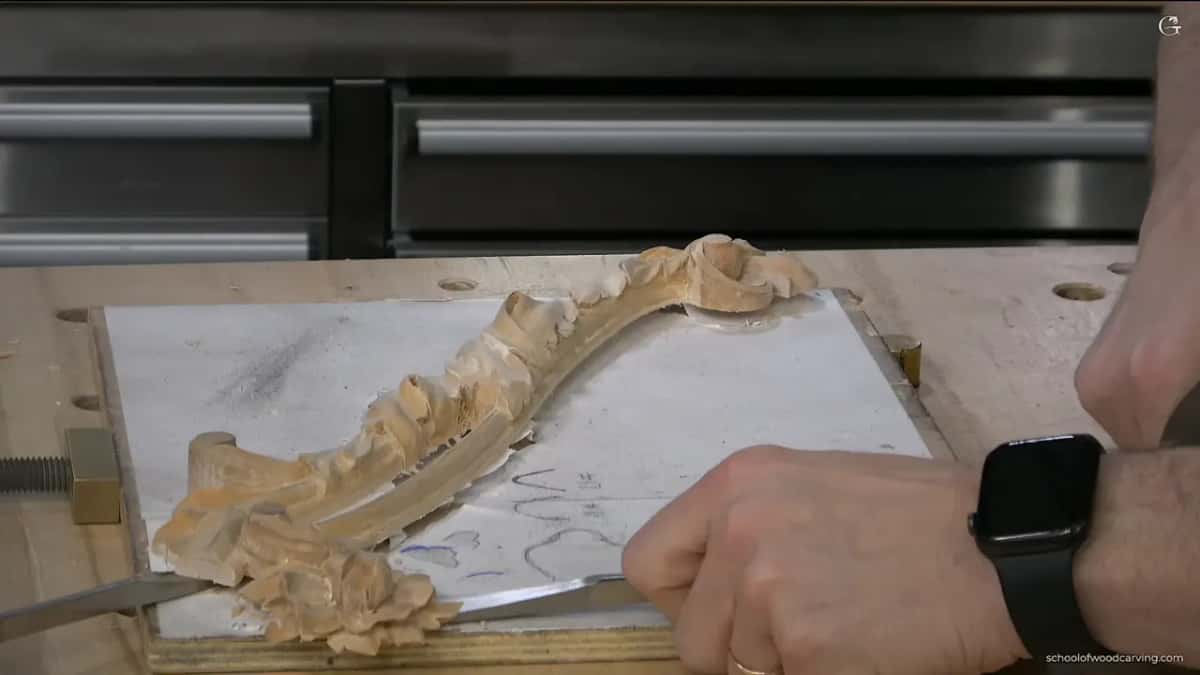
- A flat chisel, or a gouge that is barely curved at all, wide rather than narrow.
- Light taps. Never down the middle.
- Listen, because the paper will tell you where it has let go and where it has not yet.
- A cotton pad soaked in alcohol for anywhere stubborn.
- Foam down first. Always.
Getting it loose without losing anything
Work a flat blade beneath the paper, then travel round the perimeter rather than driving in from one spot. A gouge with the faintest bend in it did the job, with a mallet behind it, and the panel came away in about four minutes with three places that needed persuading.
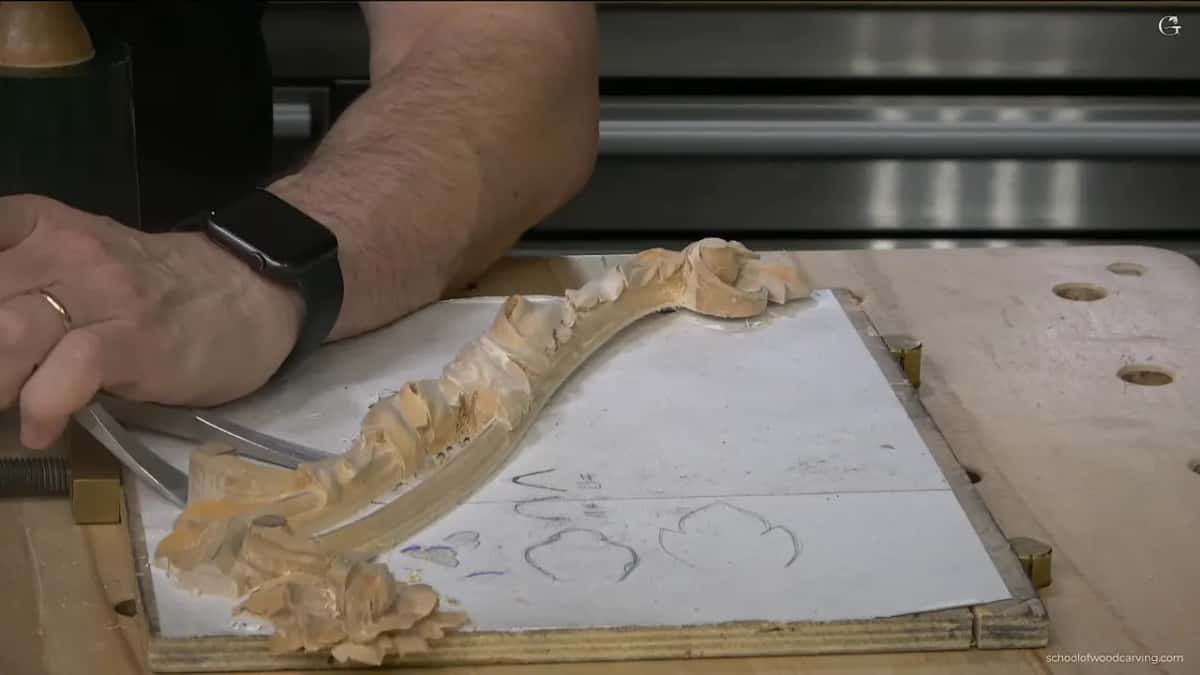
Spray adhesive holds far better than people expect. That is the whole reason this method survives a job this long, and it is also why the release needs patience rather than force.
Where it fights, stop. Go around to another edge and come back, and the stuck area usually releases from the other side without any drama at all. Alcohol on a pad softens the glue when nothing else works.

Why put the carving on foam?
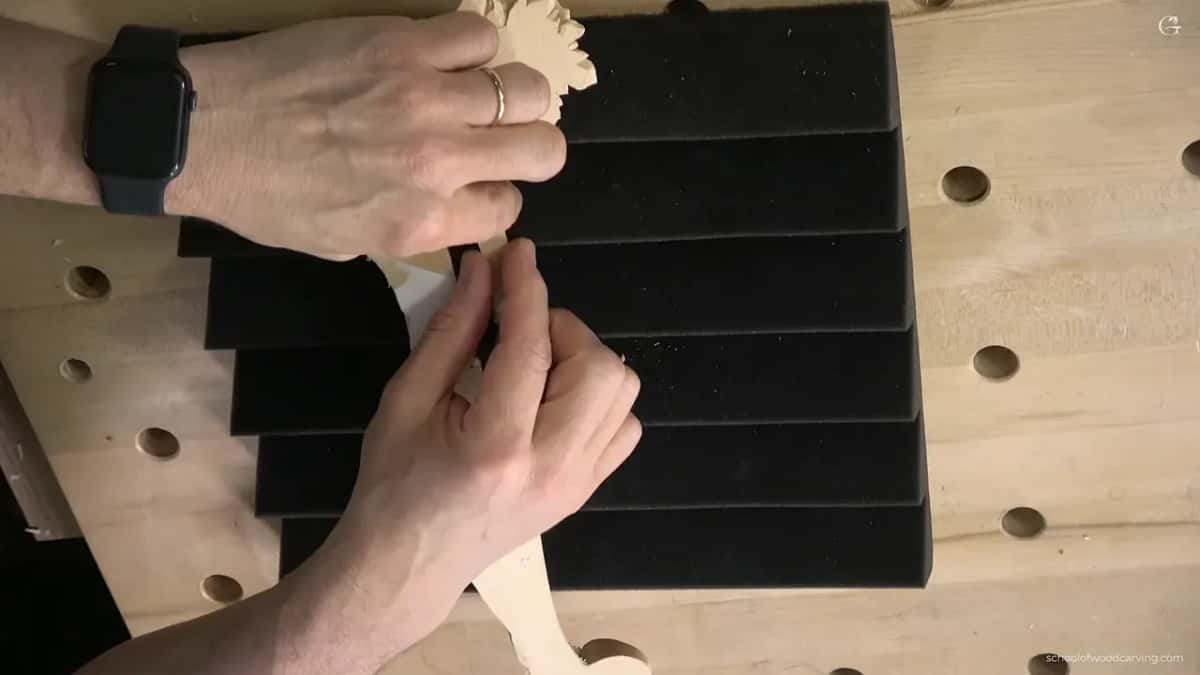
A finished face laid on a hard bench breaks at the first tap. I use a piece of soundproofing foam, the ribbed sort, which compresses under the high parts and supports everything else.
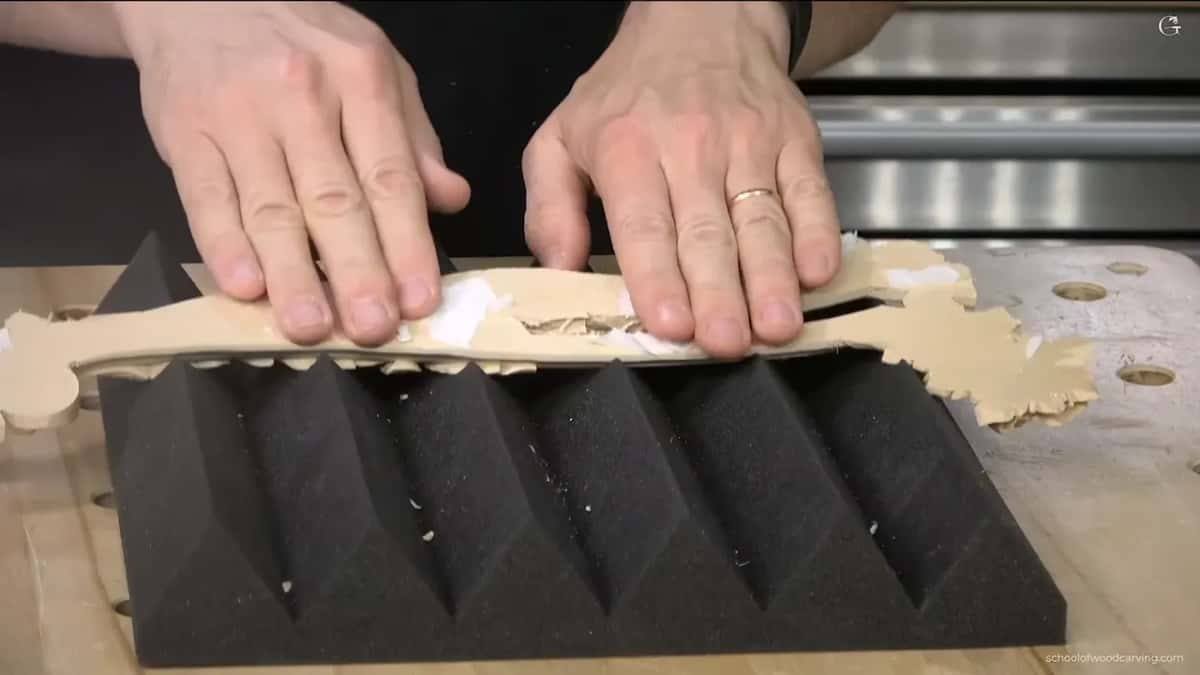
Before the foam goes down the bench gets cleared. Every gouge, every offcut, anything hard enough to press a dent into a petal. One chisel left under the foam is enough to ruin the lot, and I have seen it happen to somebody.
The foam also grips. Press the panel into it and the shape sets, so the piece stops sliding while you work at it from behind.
What actually gets done to the back?
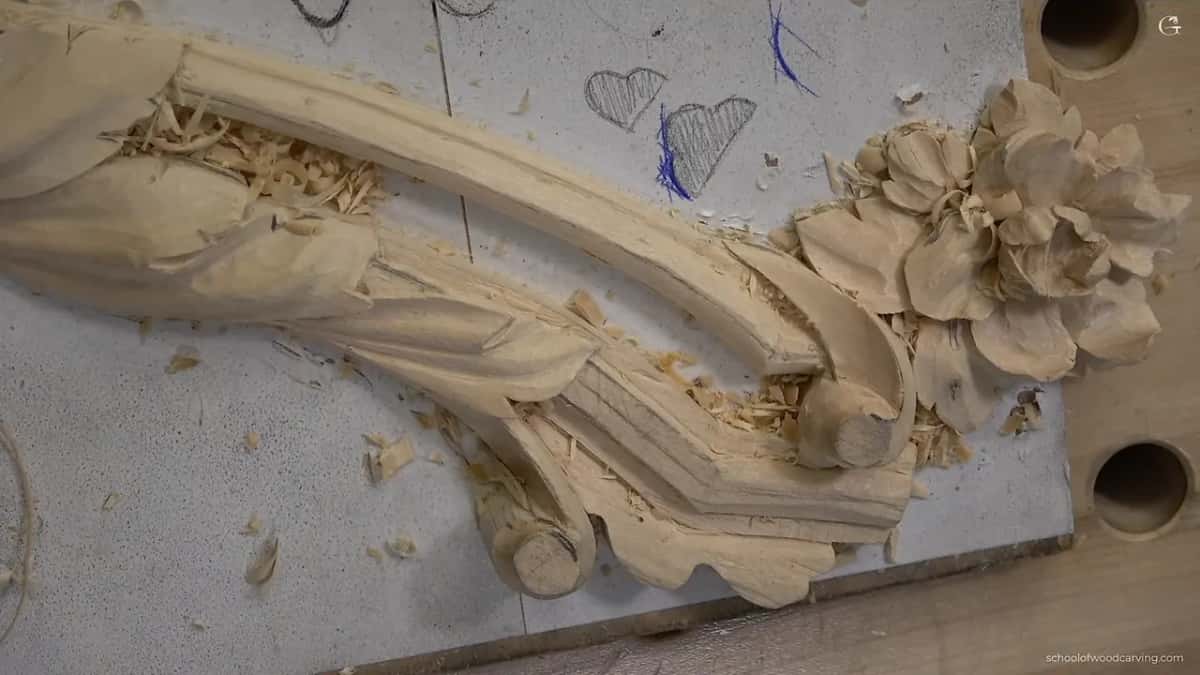
Everything comes to the edge. Seen from the front this panel already looked right, but from behind each petal still had a wall of waste standing under its outline, and that wall is what makes a relief look pressed out of a block.
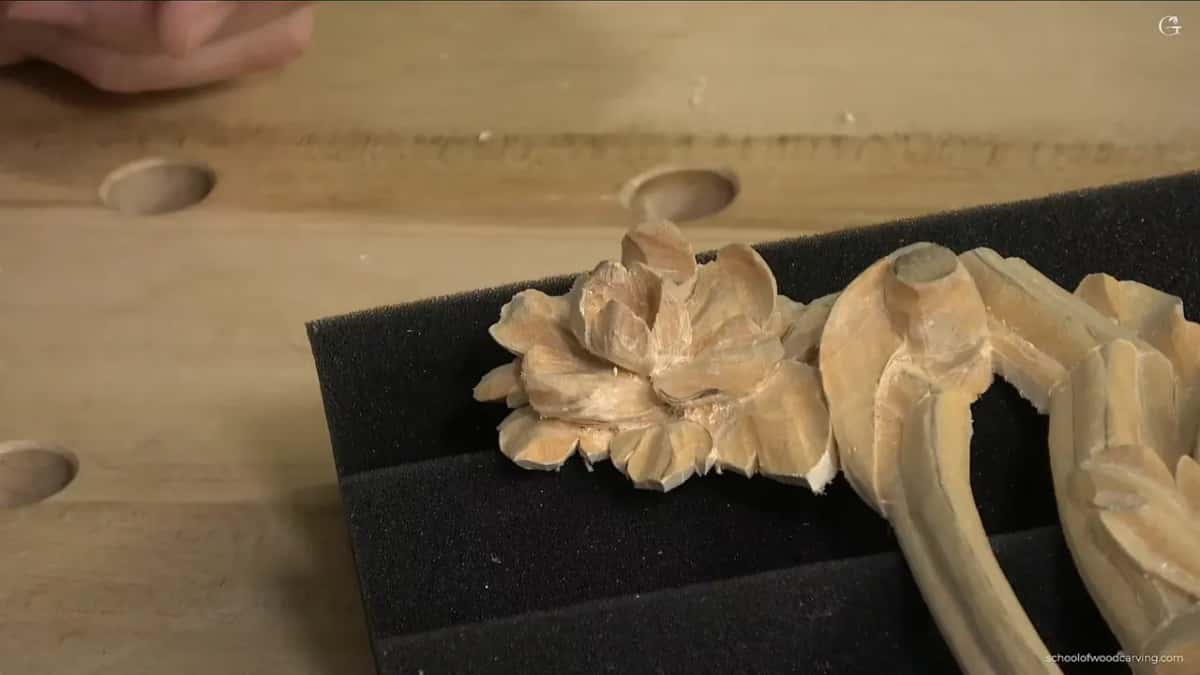
A quarter inch number 5 takes it away, working outward from underneath. When it is gone, light passes where light should, and from the front the edge suddenly reads as thin even though the thickness barely changed.
The molding is the exception. Nothing gets undercut there, only cleaned, because a molding that runs off the edge of a panel has to keep its full section where it meets whatever it joins.
Which tools did the back and the moldings take
| Tool | What it did once the panel finally came off the board | Note |
|---|---|---|
| A bent three | separating | slid flat between paper and board, then tapped round the perimeter with a mallet |
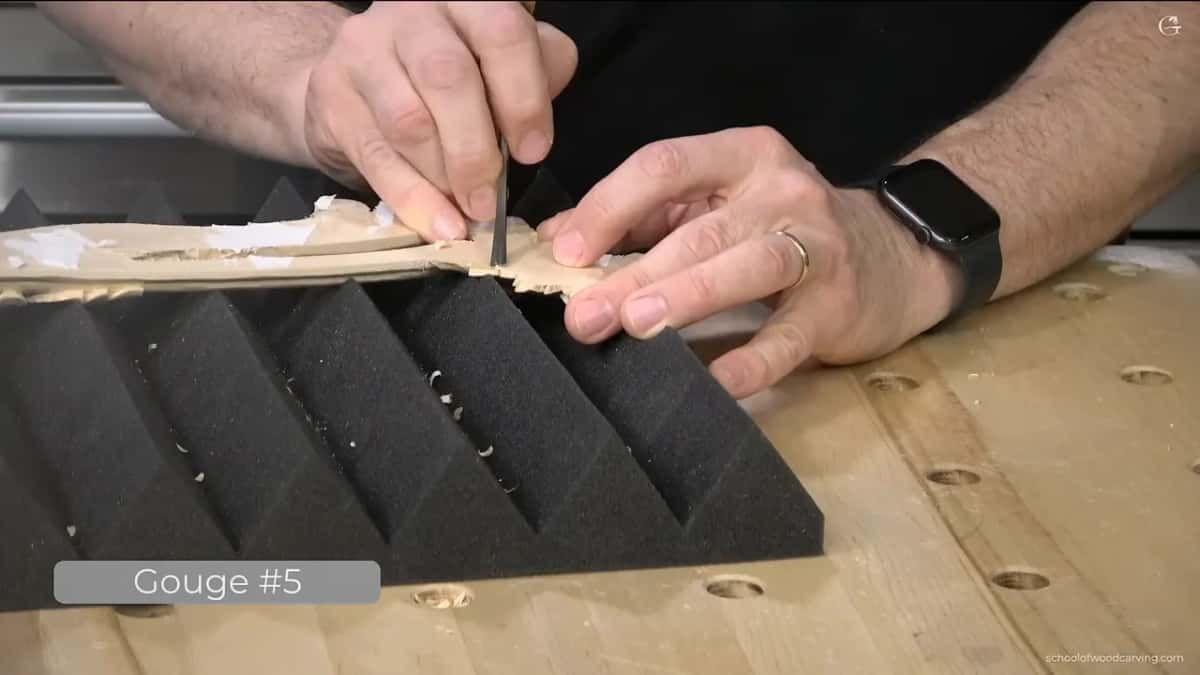
| Quarter inch five | taking the waste wall out from behind every petal and every leaf | from below |
| A small knife | chamfers along the molding, and the convex between them | not a single gouge involved anywhere |
| Ten millimeter nine | the shell | initial passes down to the marked line, roughly three millimeters off the ground |
| Bent skew seven | cleaning strokes nothing straight could ever reach into | homemade |
| Half millimeter veiner | the eyes | two directions, out to the tips and then back in toward the middle |
Can you carve a molding with only a knife?
All of it, and I did most of this one that way to make the point. A molding is a series of flats that get rounded over, so multiple chamfer passes and then a blending pass will produce the profile without a single gouge.
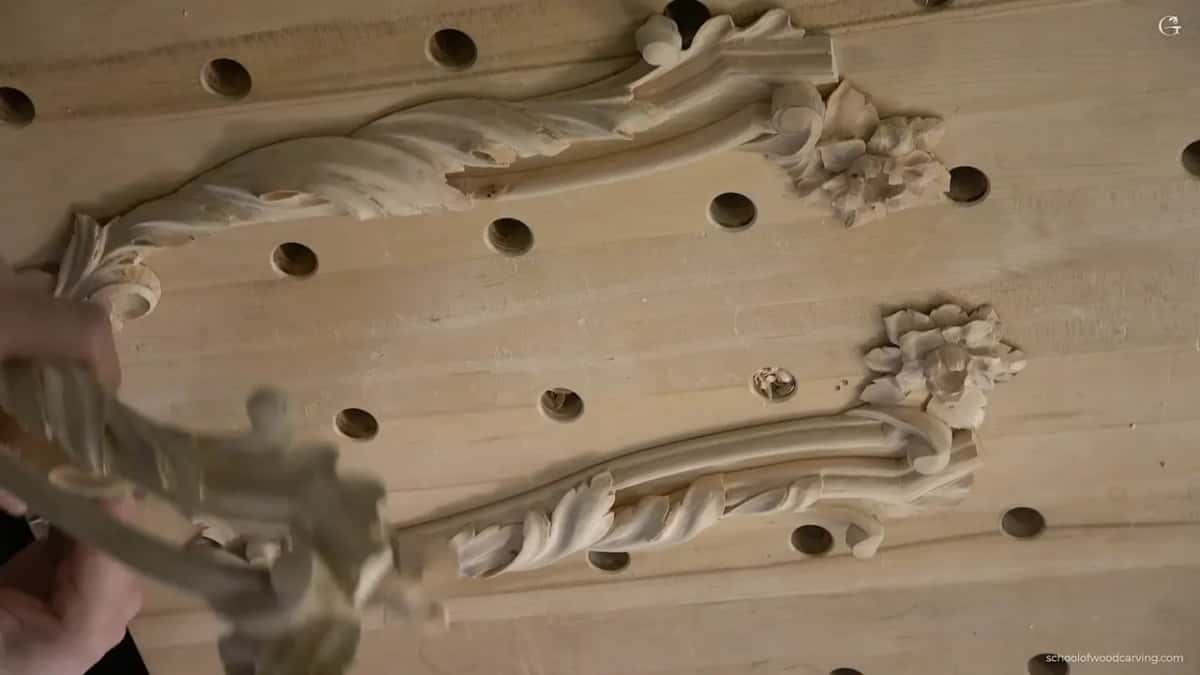
Draw a middle line first, down the length of the molding. Everything afterward is measured off that one line, and without it the two halves of a rounded molding drift apart in a way that shows badly under raking light.
You can make the knife too. A hacksaw blade, ground and handled, gives you a tool for almost nothing, and for years that is how a great many carvers got started before a proper set became affordable.
Why does the shell run against the acanthus?
Opposition holds a design together. The acanthus on this panel travels one way with real momentum, and if the shell underneath travelled the same way the whole thing would slide off the wall in one direction with nothing to stop the eye.
So the shell goes the other way. Same panel, same hand, deliberately arguing with itself, which is a principle the design course takes apart properly.

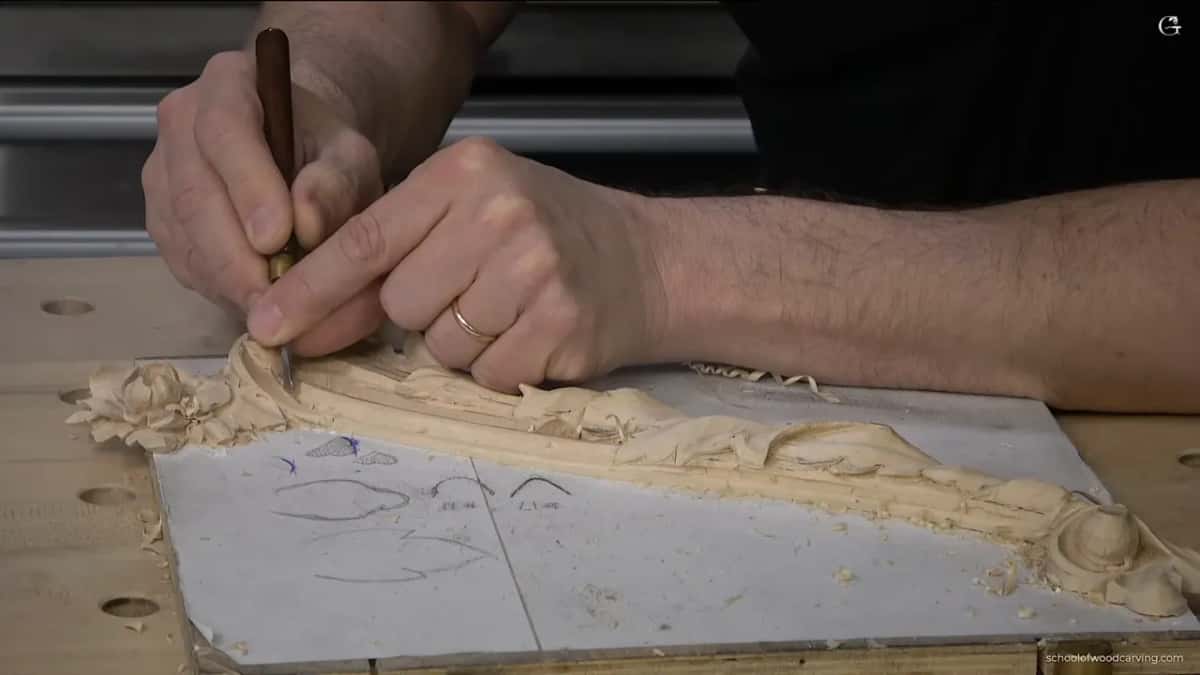
The depths are small. Three millimeters at the lowest point, five at the highest, so a two millimeter range carries the whole shell, and at that scale every judgement is made by eye against a pencil mark rather than measured.
Marking it takes longer than carving it. I set the finished panel from the previous one alongside, went along with a pencil noting where the surface rises and where it drops, and only then picked up a gouge. Ten minutes of marking against perhaps forty of carving.
Why undercut the shell so little?
The shell is background. Two millimeters of movement carries it, from three millimeters deep at the low points to five at the high ones, and anything more would start competing with the acanthus riding over the top of it.
Depth is a way of ranking things. Whatever sits deepest and whatever stands highest are the two positions a viewer notices, and every element in between is quietly telling the eye where it comes in the order.
Get that ranking wrong and no amount of fine carving saves the panel. Get it right and even a plain shell does its job without anyone noticing it is there, which is the outcome you actually want.
What are the pipes on a shell?
The raised lines running out from the middle. I call them pipes because that is what they look like, and the same word gets used on an acanthus leaf for the same shape, so the habit carries across.
Each one has to lift rather than lie flat. A pipe that runs straight down to the point where it disappears looks dead, and giving it a rise along its length before it turns under is what makes the surface move.
Same rule as everywhere else on this panel, and on every panel before it. Nothing straight, anywhere, at any scale. The Roman acanthus builds a whole leaf out of that one idea.
Why do specialty tools get made rather than bought?
The ones that reach the hardest places stopped being manufactured. I own a bent skew number 7 and a bent number 8, both of which curve when you look down on them, and both clean places that no straight tool can enter.

Henry Taylor made something like them until fairly recently and dropped the line, and the reason is simple enough. Hardly anybody knew what they were for, so hardly anybody bought them, so the tooling was not worth keeping.
You can grind your own from an old gouge or from a chisel nobody wants. One afternoon buys you a tool nobody sells any more.
What makes ornament look applied?
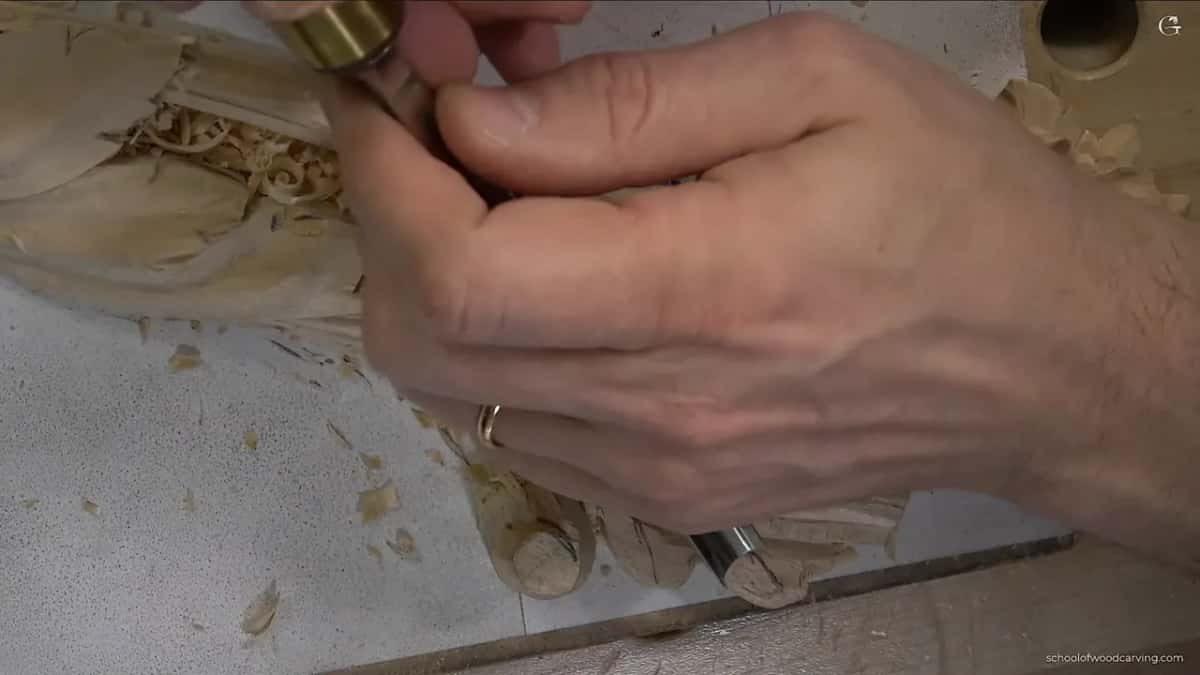
Undercutting right in to where the leaf meets the molding. When the shadow runs all the way under an edge, the eye stops believing the two things came out of one board and decides the ornament was made separately and laid on top.
That illusion is the entire point of carving ornament over a molding. The whole panel is one piece of basswood. It should not look like it.
A one millimeter number 9 with a hooked end does this better than anything else I own. Nothing gets in its way, so it reaches the corner where the two surfaces meet and takes the last of the wall out.

What cleans up an eye?
Two passes in opposite directions. A half millimeter number 11 goes out toward the tips first, then the same tool comes back inward toward the middle, and between the two passes every scrap of waste under the overlap is gone.
Keep the sharp line where one part passes under another. That line is the thing a viewer reads as depth, and rounding it over by accident flattens the whole area at a stroke.
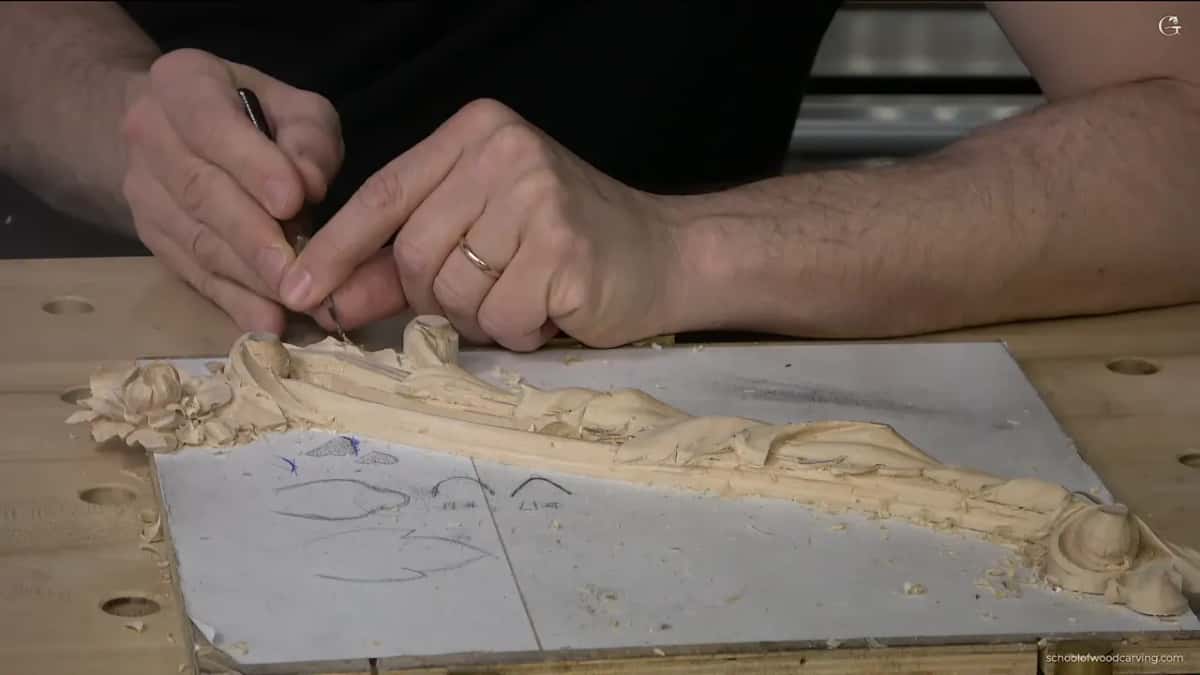
Then undercut a little further with the flute at about eleven o'clock. Carving is light and shadow before it is anything else, and that extra millimeter is where the shadow gets its darkness.
Taking facets off without abrasive
Ride a flat gouge over the ridges in a circle. A number 2 or a number 3, barely touching, moving in small circular movements rather than strokes, takes the top off every facet and leaves no direction behind it.

A student asked me about this after a livestream and it changed how I work. Rasps do the same job faster. I started using them about a year ago after avoiding them for most of my working life, and a hand stitched French one turned out to be worth every penny of what it cost, which was not small.
The stitching matters. A machine cut rasp leaves rows of identical marks that then have to be removed, and a hand stitched one leaves a random pattern that sands out in a fraction of the time.
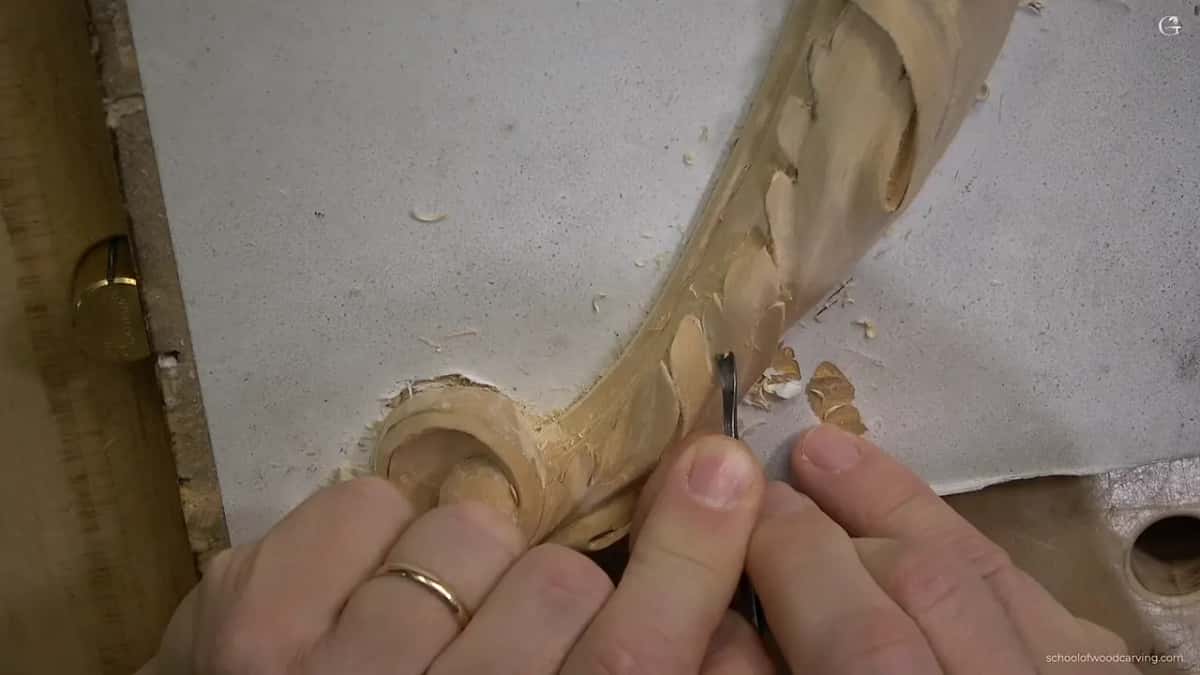
What is left after the back is done?
Paint, and a decision about how far to take the cleaning first. This panel goes under white, so the facets that would matter on an oiled piece matter far less here, and hours spent chasing them would disappear under the first coat.
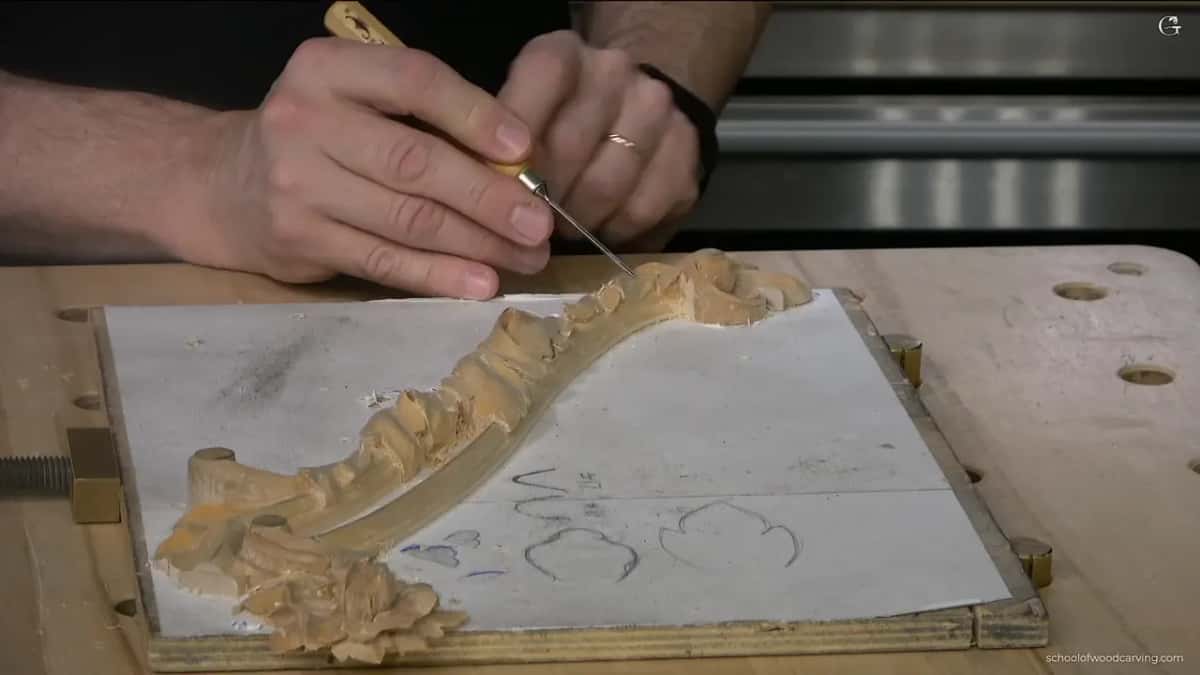
An earlier panel from the same set is already finished behind me, and the difference between the two backs is instructive. That one has every wall taken to the edge and the leaves that pass underneath each other properly opened up. Mine is most of the way there.
Four of these get made in total, which means four of everything. Four backs, four sets of eyes, four moldings that have to match each other closely enough that nobody counts them side by side on the wall.
Which sandpaper, if any?
Mesh backed, and starting at 180 grit. Anything coarser makes more work than it saves, because the scratches from 100 or 120 grit then take longer to remove than the facets did.
Mesh matters for one plain practical reason, and it is not marketing. The dust goes through it instead of loading the face, so the sheet keeps cutting and does not burnish grit into the fiber. I use the Finnish brand; there may well be others as good.

After that you can burnish. A scrap of hard wood rubbed over the surface presses the fiber down and leaves a shine that no abrasive produces. Never metal, which stains the wood grey and undoes the clean surface you just earned.
If this is the kind of finishing you want to learn properly, come and carve with us. Shall we carve?
Cleaning could go further than I took it. I could chase every facet on this thing until the surface came up like glass, and under white paint not one hour of that would show. Knowing where to stop is a costing decision as much as a craft one.
Four of these panels exist, carved one after another over a long winter. They go on a larger Venetian piece with more work underneath them that I did not film, because by that stage it is the same techniques over again and nobody needs to watch me repeat myself for another eight hours.
That is the end of this course. The next one starts, and after that another, and it goes on like that, which is roughly how I have spent the last forty years of carving. Start at the beginning of this one if you came in at the end, or take the Byzantine acanthus next.
How it's done
- Clear the bench of anything hard. A single gouge left under that foam ruins the entire panel.
- Ease a wide blade in underneath. Something barely curved beats a dead flat chisel for this.
- Travel the perimeter, never the middle. Whenever a spot fights back, go somewhere else and come at it later.
- Wet anything stubborn. A cotton pad against the paper, and give it a minute.
- Lay the face into ribbed foam. Foam compresses under the high points and grips the shape.
- Clear the standing waste from behind each outline. Work outward from underneath, and light starts passing where light belongs.
- Leave the molding alone. Clean it, but no undercutting where it will meet another member.
- Run the eyes twice, opposite ways. Out to the tips first, then back the other way.
Frequently asked questions
What is the safest way to release a carving from its backing board
Ease a wide flat blade in underneath, tap gently, and travel the perimeter instead of driving in from one place. Anything stubborn gives up to a little alcohol.
What do you rest a finished carving on while working the back
Soft ribbed foam, with the bench cleared of every tool and offcut first. Anything hard left underneath will press a dent into a finished face at the first tap.
What gets carved on the back of a relief panel
Waste walls standing under each outline come away, so light passes where it ought to. The molding is the exception and gets cleaned rather than undercut.
What to carve next