
Alexander Grabovetskiy, woodcarver, School of Woodcarving · Published 2022
Why does one side of a carving cut come out rough?
Quick answer: A rough wall happens because grain runs one way and your edge crosses it at an angle. Down one side the bevel slices the fibres through. Down the other it lifts them from below, and lifted fibres tear rather than part. Turning the board swaps which wall gets the clean surface.
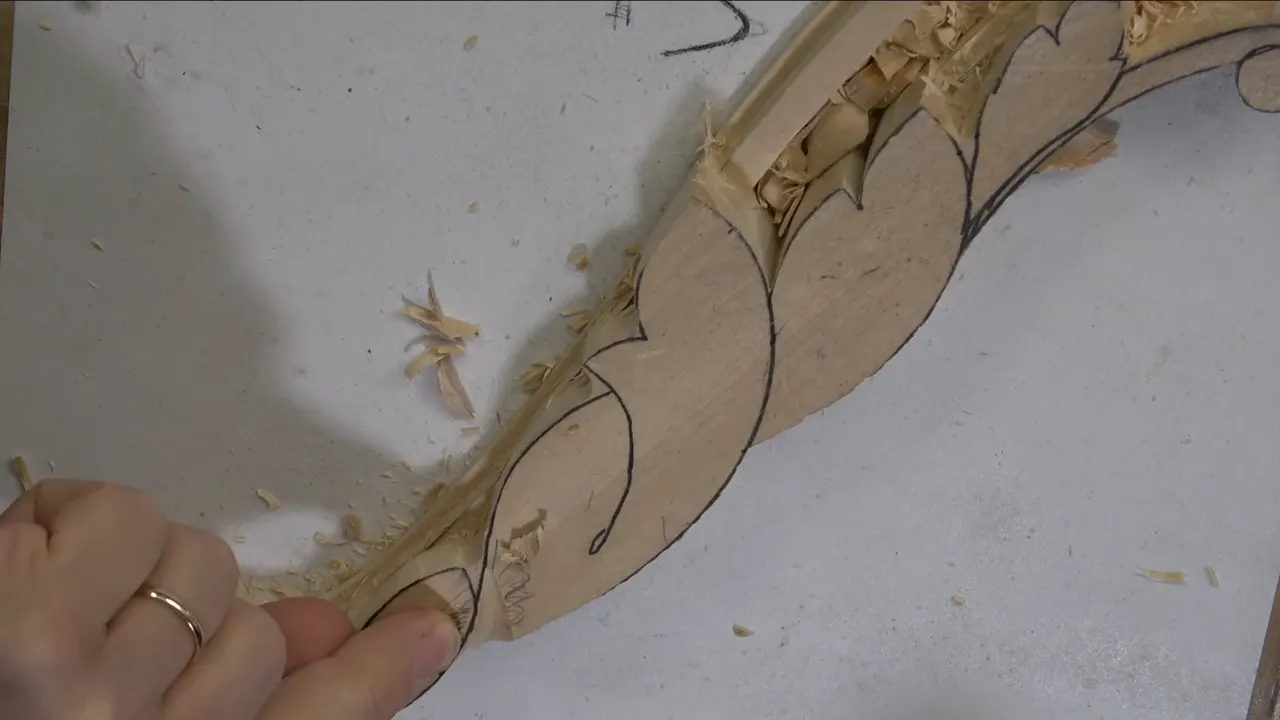
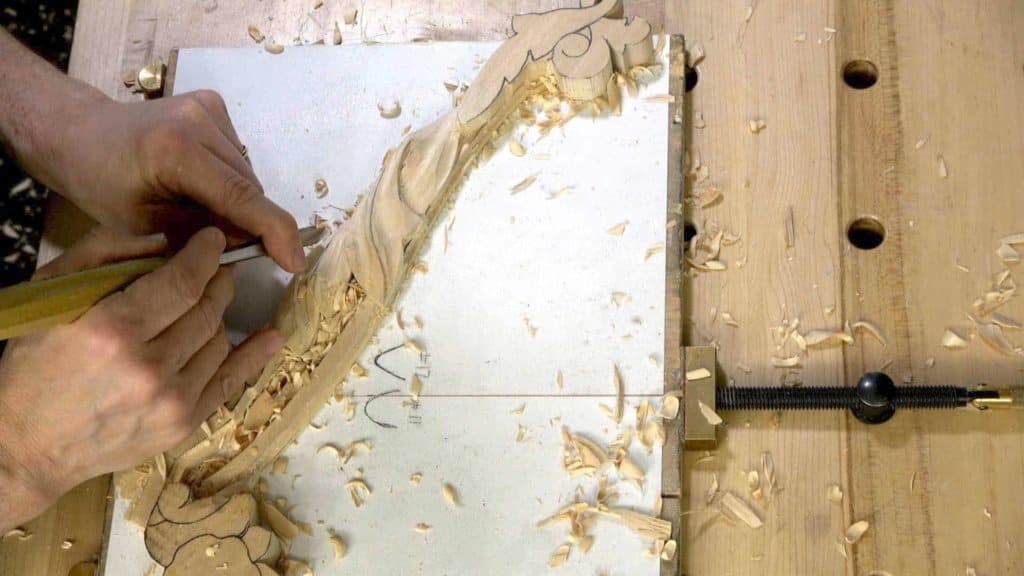
Every gouge cuts two walls at once and only one of them comes out clean. Fibres on one side get sliced through. Fibres on the other get lifted and torn, because the tool is travelling against them. Nothing about your technique changes that. What you control is which of the two walls ends up being the good one.
Decide before the tool goes down. Not after.
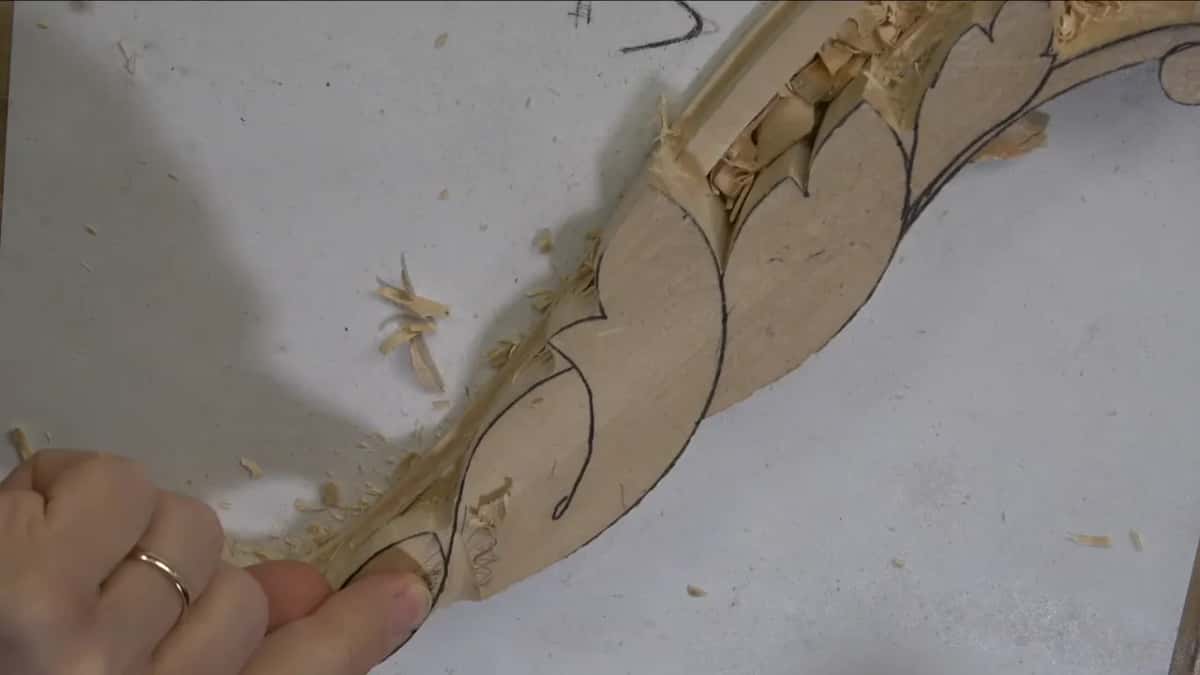
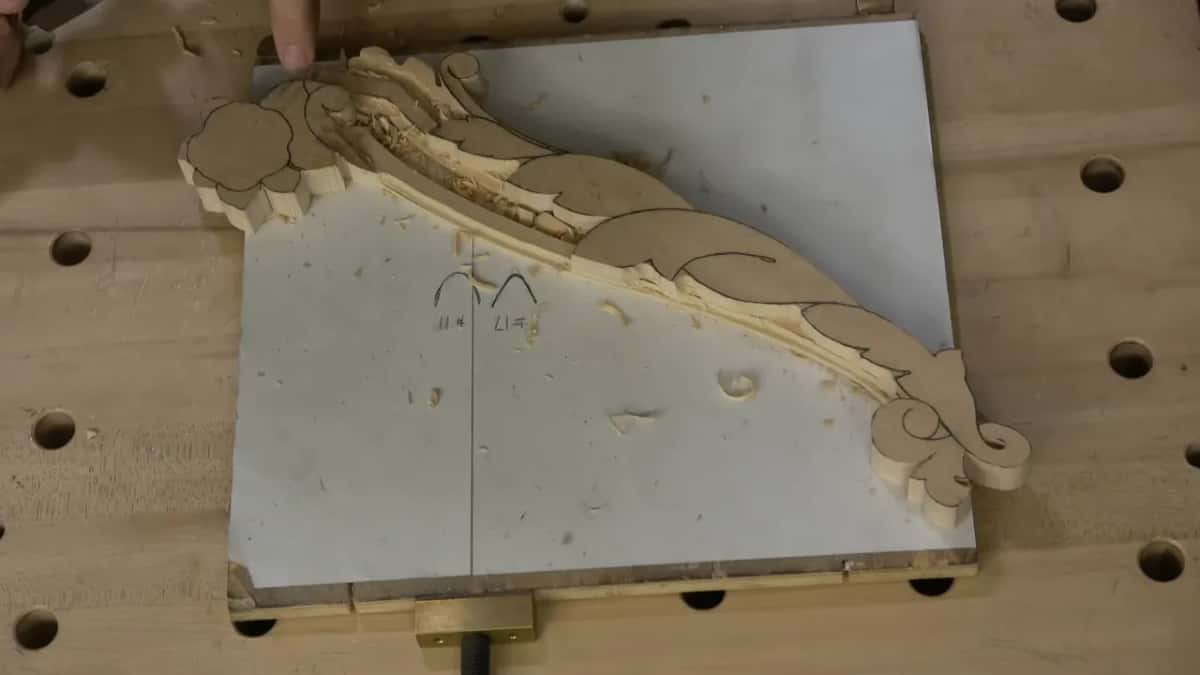
On this piece the left hand wall must come out clean, since it becomes the visible edge of a moulding. I approach from the side that gives me a clean left, let the right go rough, and later something else takes the rough away.
What decides which wall tears
- Grain direction, and nothing else. Turn the board and the clean side swaps over.
- Work out which wall a viewer will see before the first cut, then approach accordingly.
- Coming at the same line from both directions gives two clean walls and takes twice as long.
- Short strokes let you watch the fibres change their mind halfway along.
- A number 17, a V-tool, a number 11 and a plain knife all make this line. Nobody needs to buy anything.
- Venetian carvers had no V-tools, so a V-tool mark surviving to the surface gets the history wrong along with the tool.
Which wall tears, and which one slices
Fibres run one way through the board and your edge crosses them at an angle. Down one wall the bevel slices those fibres off cleanly. Down the other it lifts them from underneath, and lifted fibres tear rather than part.
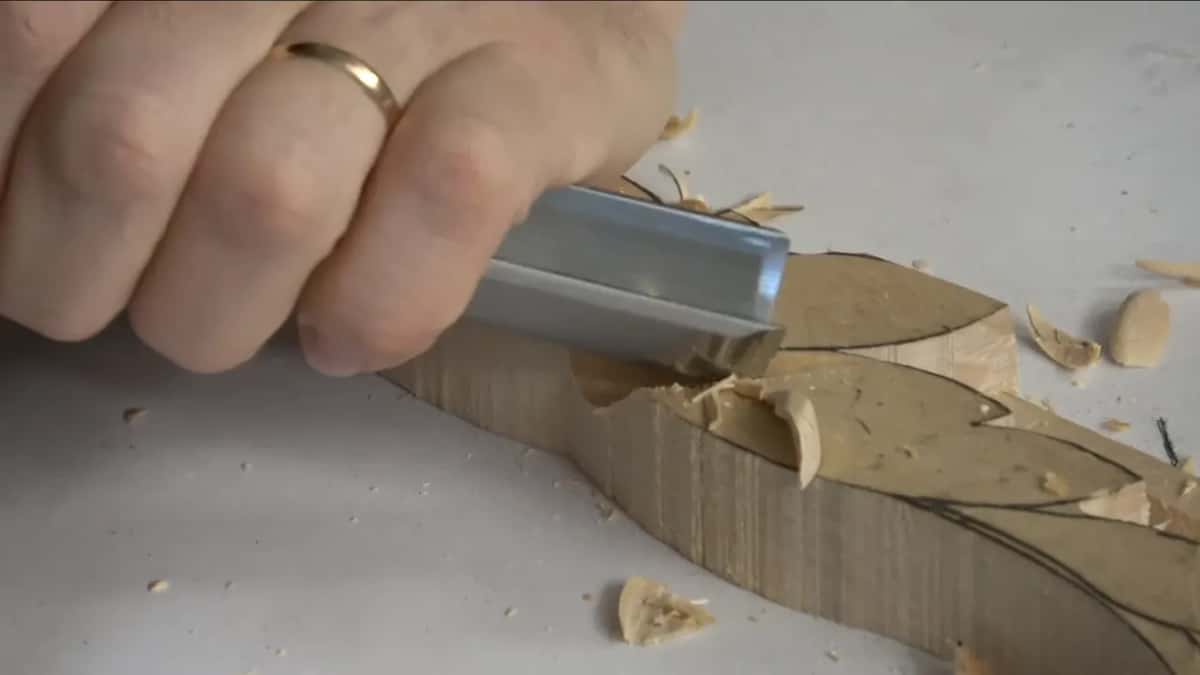
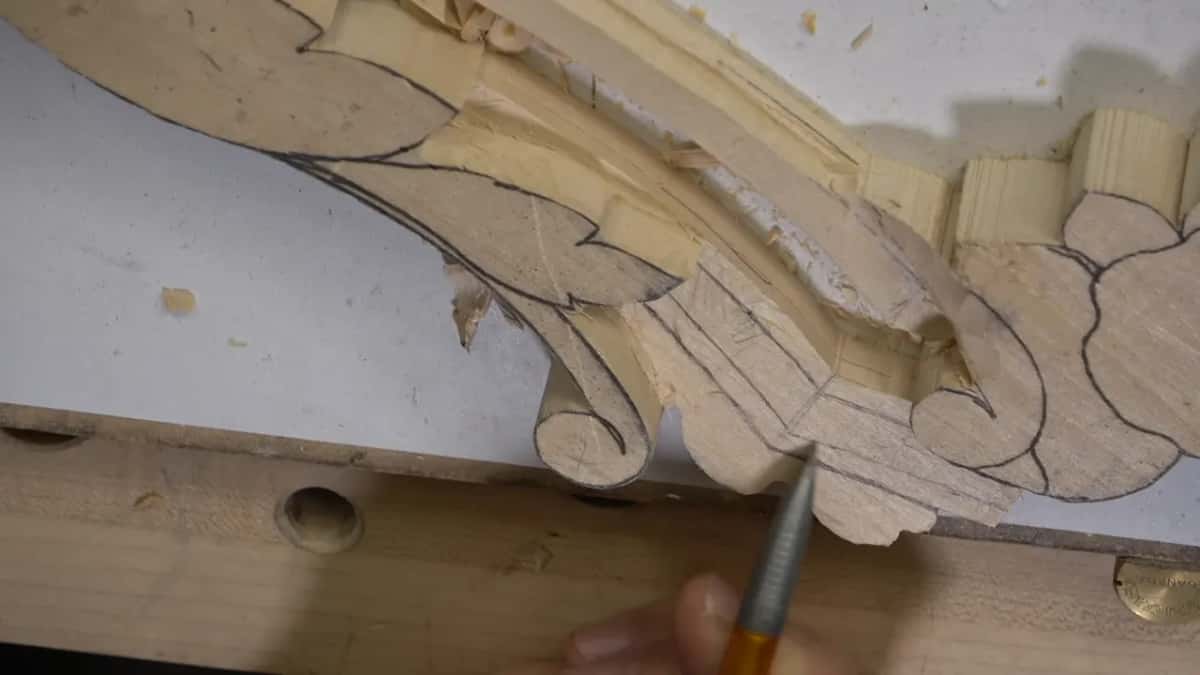
Watch the shaving. Coming from the left here it peels off the left wall in one piece and leaves the right wall fuzzy and slightly torn. Reverse the board and the fuzz swaps sides.
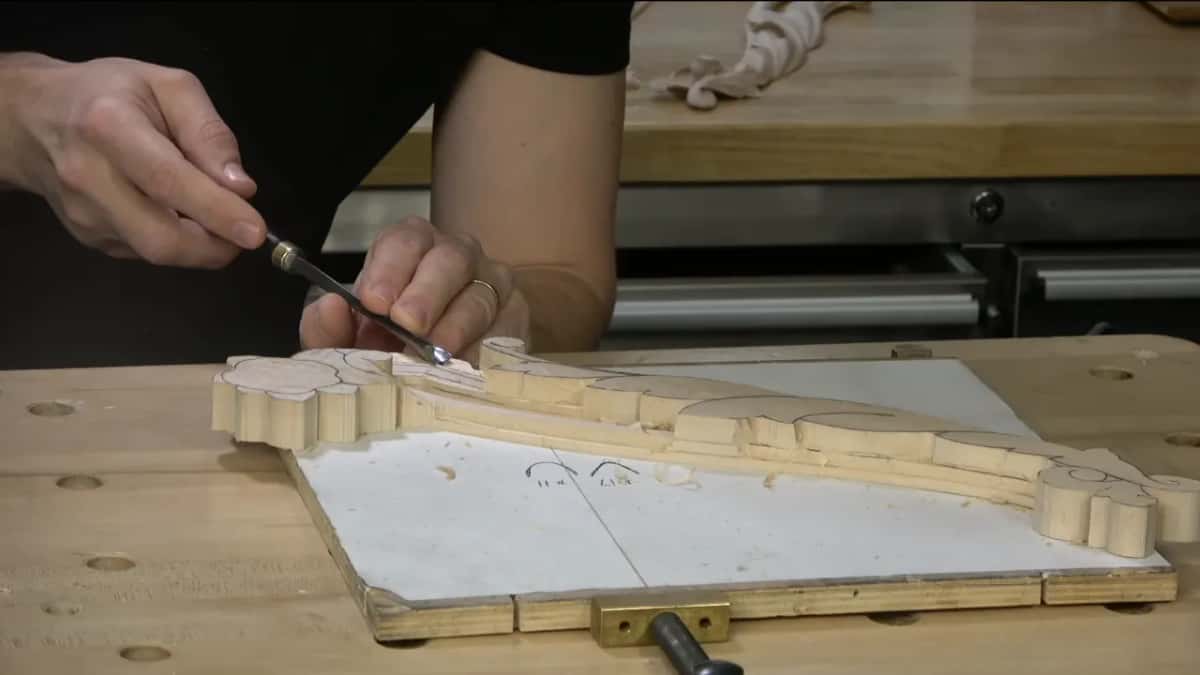
Nothing to fix there. Timber behaves the way timber behaves, and thirty years of practice has not changed it once.
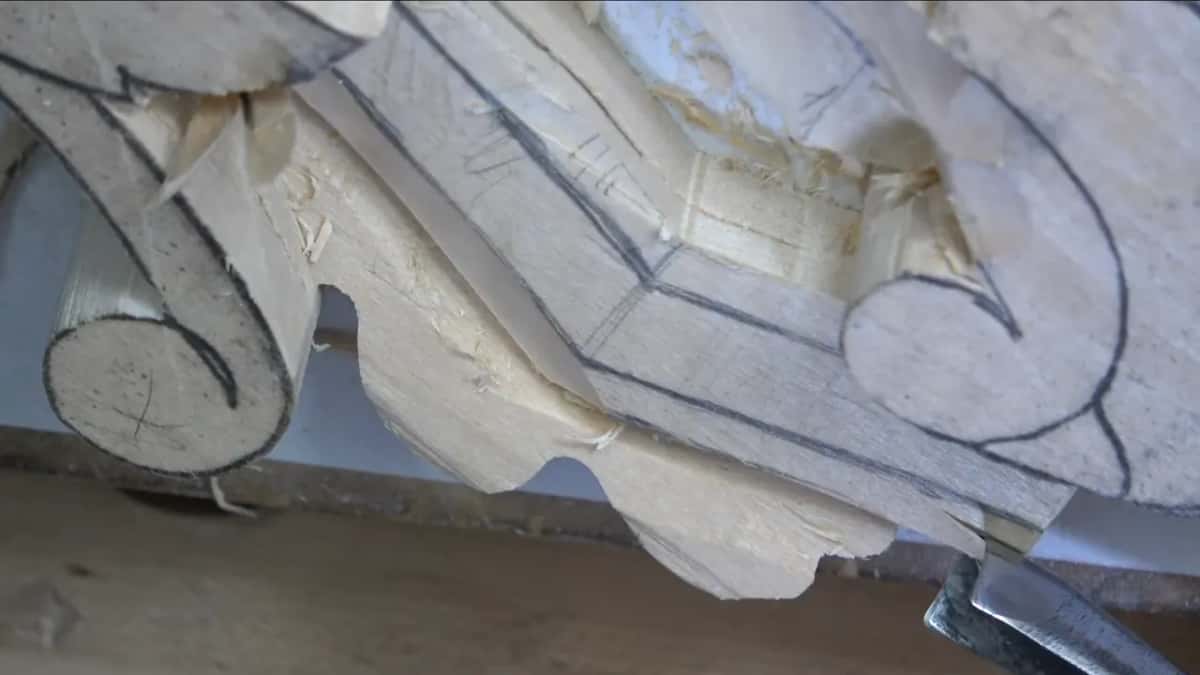
Beginners lose pieces by never asking. Cut without deciding and the torn wall turns out to be the one on show.
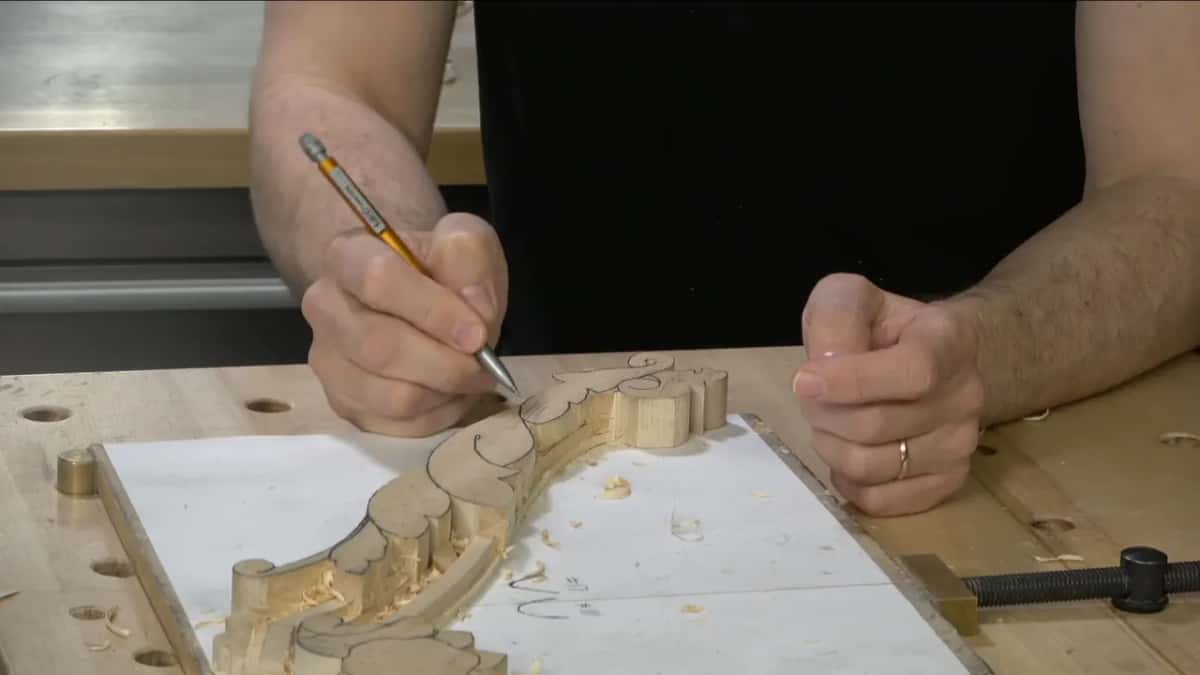
How do you choose the side that stays clean?
Consider what the finished piece will show. A moulding edge shows. A hollow behind an acanthus lobe does not, because a leaf will be sitting over it by the end of the week.
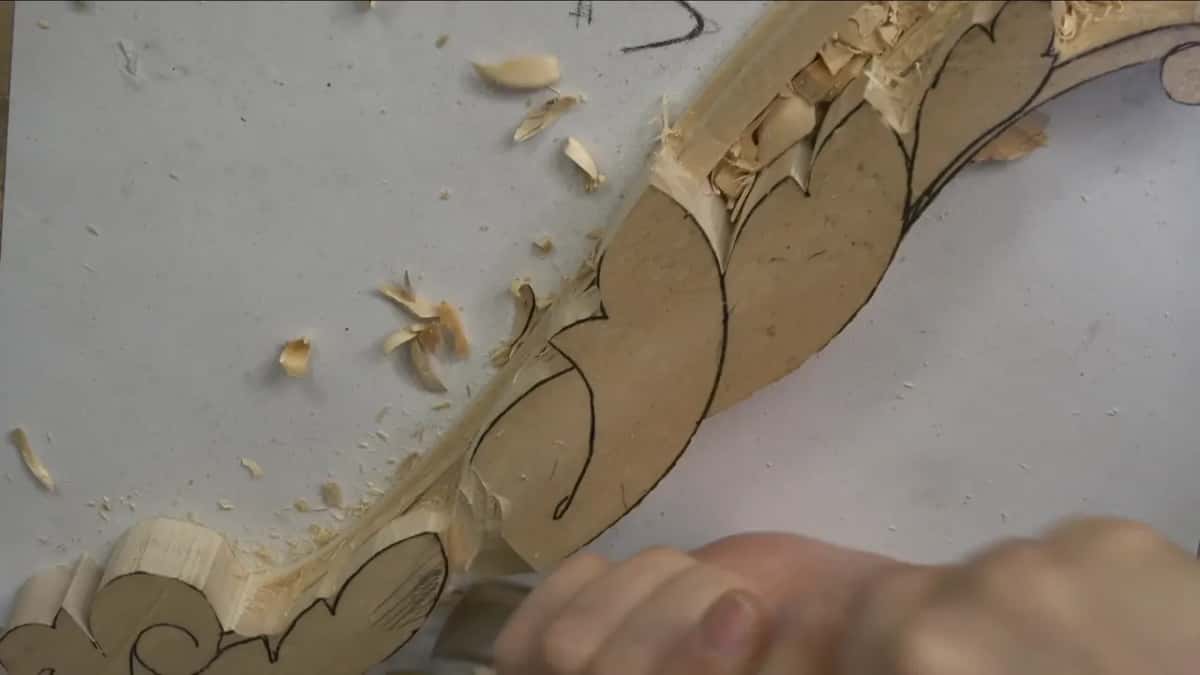
Here my clean wall is the left one. So I stand where I can cut toward the right, take the good wall on my left, and accept the mess on the other side without a second thought.
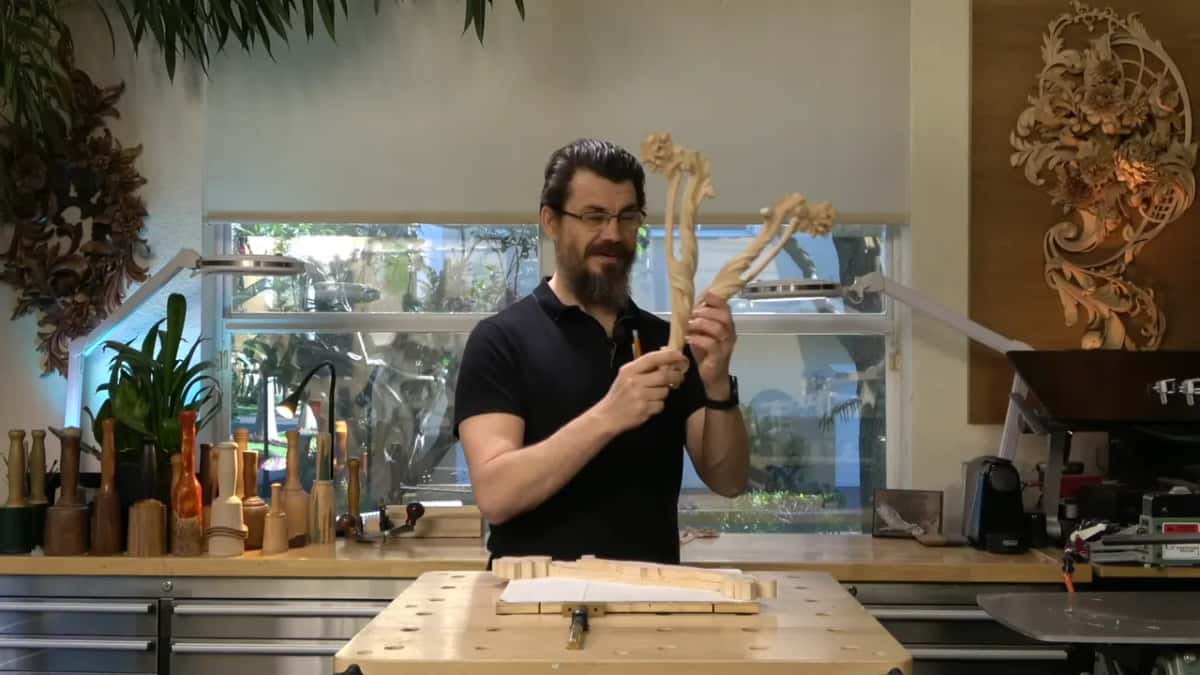
Both walls clean is available too. Take part of it from one end, walk round the bench, take the rest coming back, and the two good sides meet somewhere in the middle. Twice the work. Sometimes worth it.
Grain also changes its mind partway along a board. Short strokes are how you notice that happening in time to do something about it, which is why my first cuts on any line are always short.
The tool between a V-tool and a gouge
Number 17 is the one I reached for, and most carvers have never held one. Picture a V-tool whose point has been replaced with a small gouge, so the bottom of the cut is rounded rather than sharp.
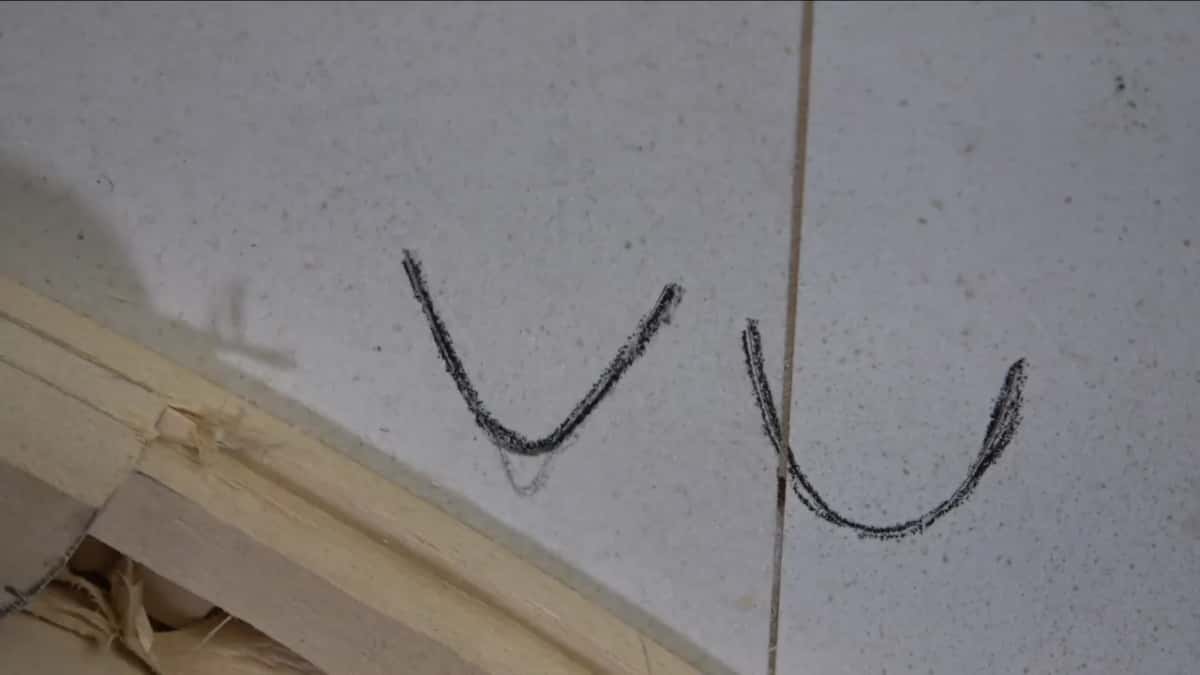
Ink the profile onto a board and lay a number 11 beside it and the difference reads instantly. The 11 is a letter U. The 17 is still a V, just with a curve where the point would be.

Numbering is a mess across makers. Continental charts call the U-shape a number 11. English and London pattern lists call this same 17 a number 48. The tools course untangles the whole system.
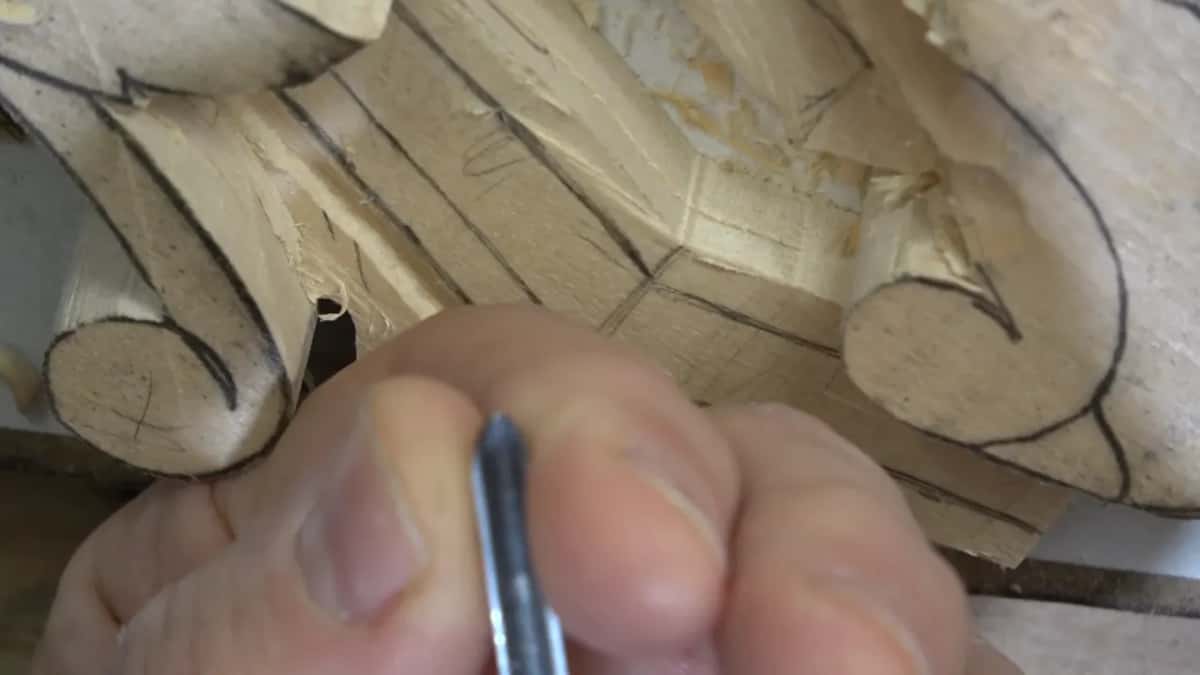
Please do not go shopping on my account. A plain V-tool does this. The 11 does this. I cut part of that line with a knife purely to prove the point, and the result is identical.
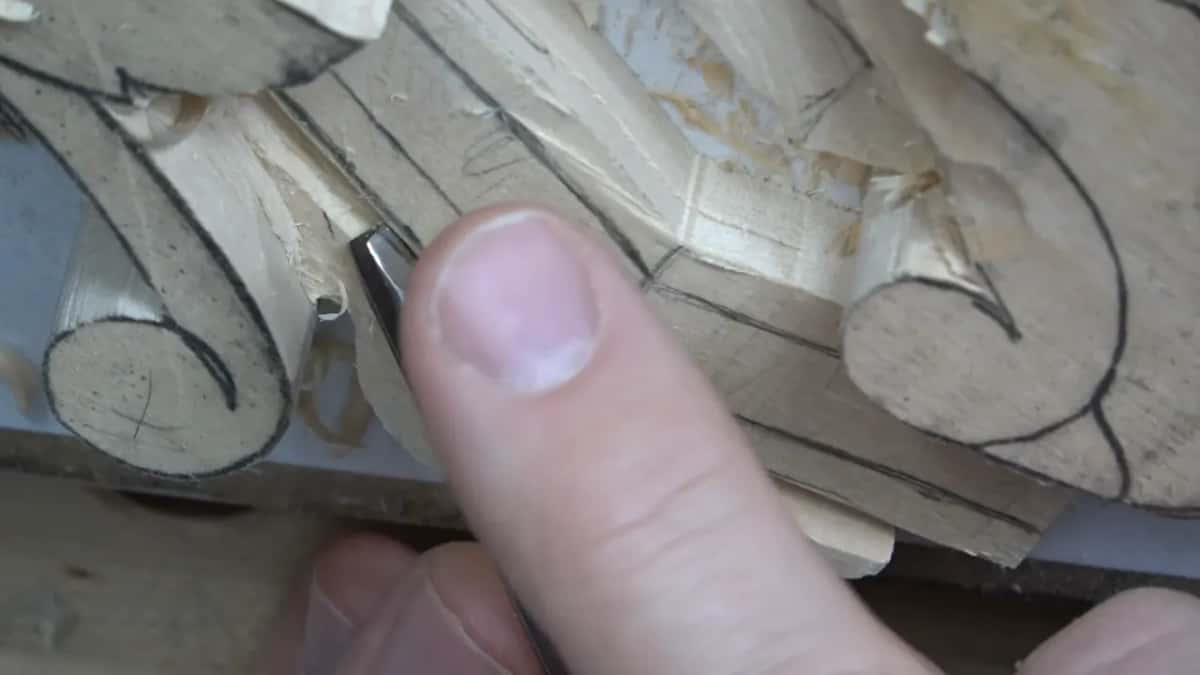
Size matters more than type once you have chosen. Three millimetres of 17 went into the tight corner, six millimetres did the main run, and a twenty millimetre one came out for the long sweep where a narrow tool would have wandered.

Whatever the width, the working edge must stand perpendicular to the surface. Lean it and you have undercut the line you were supposed to be defining, and there is no repair for that on any grade of work.
Angles a V-tool comes in, and the one I like
Ninety degrees, sixty, forty five, thirty five. Those are the ones you will find, and the smaller the angle the narrower and deeper the cut that tool leaves.
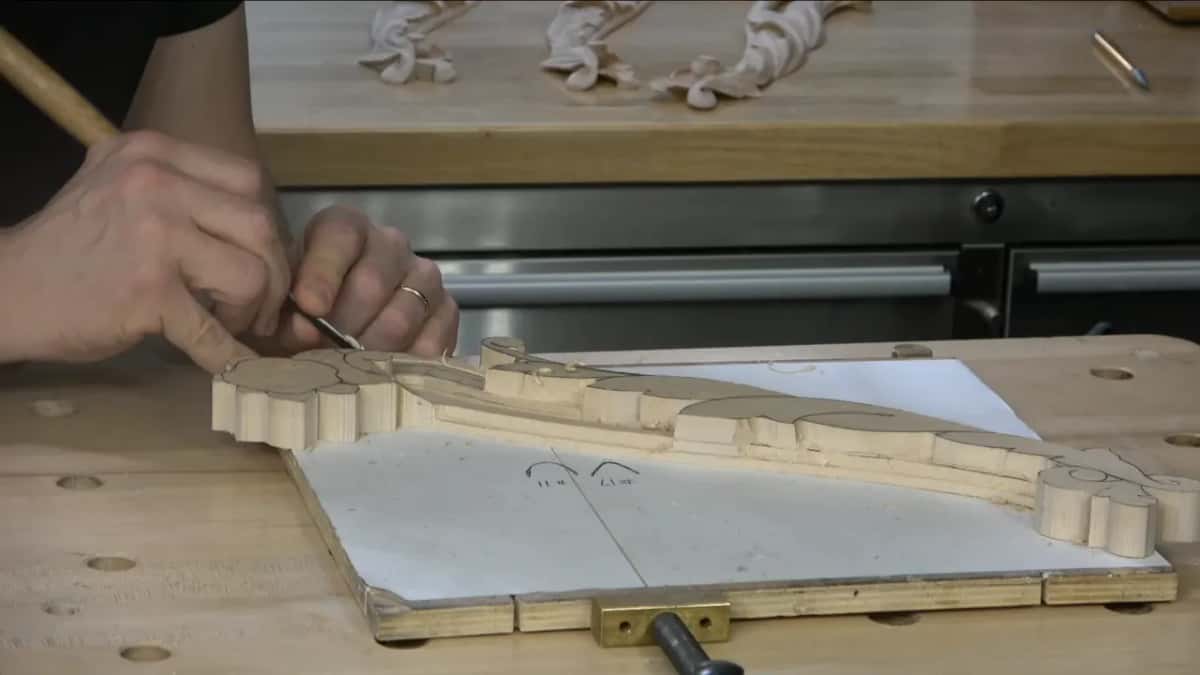
Thirty five is my favourite by a distance. Pronounced, sharp in the corner, and superb under a leaf in shallow relief where a shadow has to appear.
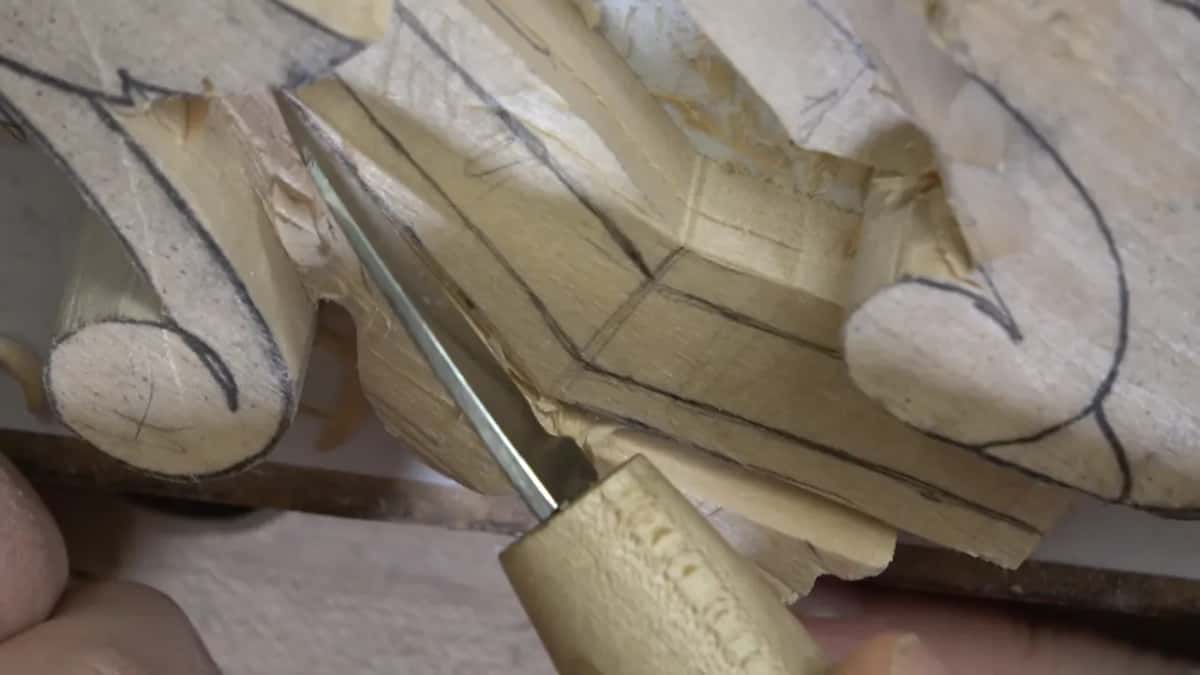
I have never seen twenty two and a half, and I would buy one tomorrow. There are corners on a Venetian leaf that nothing currently made will enter.
Why I keep a favourite tool in the drawer
Something odd happens on this project. My best undercutting tool mostly stays where it is, and the reason has nothing to do with the tool.
This carving reproduces work made in Venice in the fifteenth and the start of the sixteenth century. Those carvers had no V-tools. Every mark on an original was made by a gouge, a knife or a chisel.

So a V-tool mark surviving on a finished surface misrepresents the object, small, invisible to almost everybody, and still false. The Venice Room project is built on that discipline from end to end.
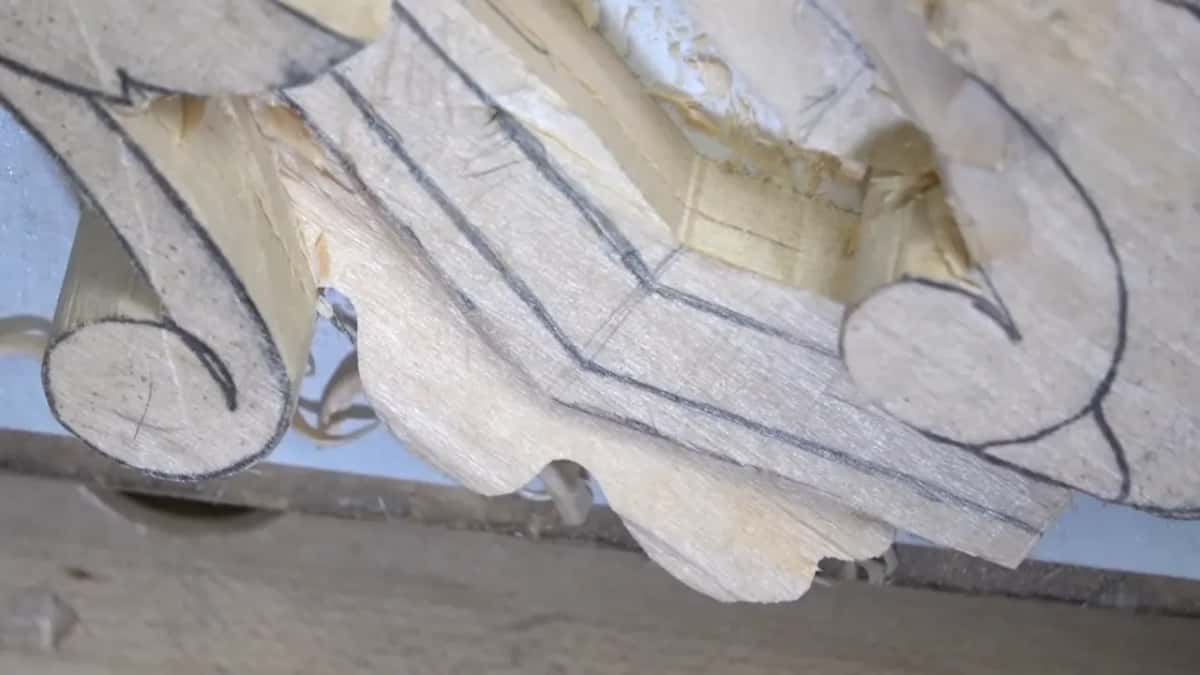
Here I use it freely, because this particular cut gets carved away entirely before the piece is done. No mark survives, so no rule is broken. That distinction is worth more than it sounds.
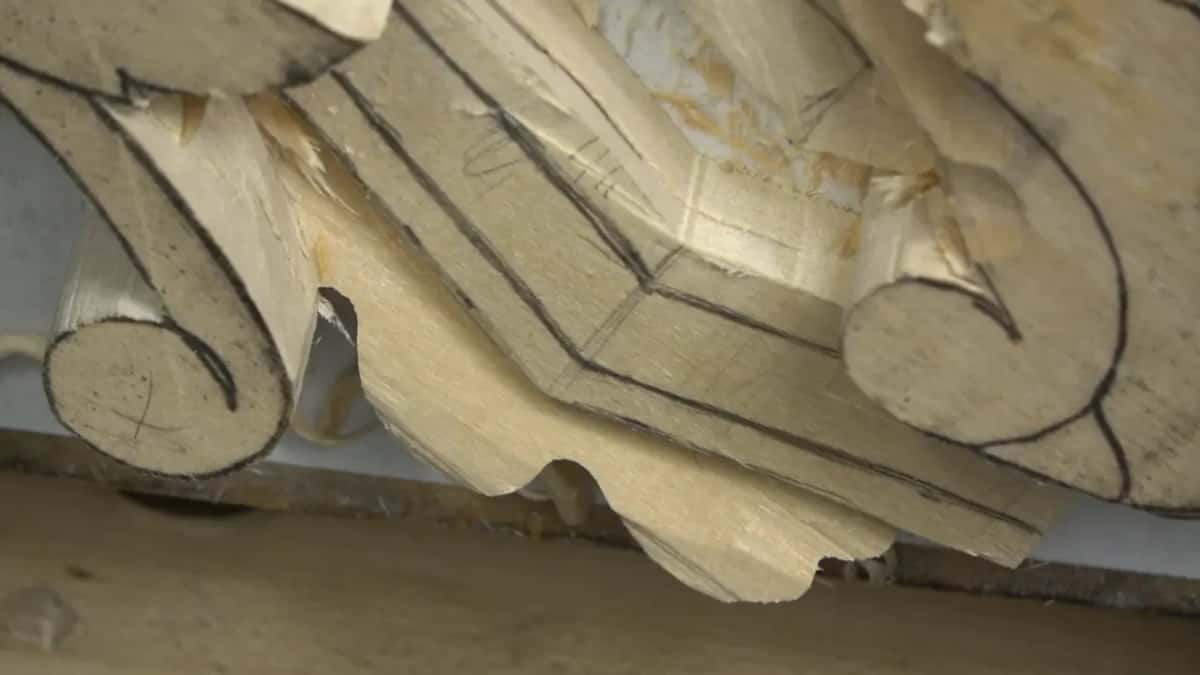
Four tools, one line
| The tool | What that one leaves behind | Where it shines | The catch, and there is always one |
|---|---|---|---|
| Number 17 | V walls, rounded foot | Freeing a moulding from the ground beside it | Hard to find |
| V-tool ground to thirty five degrees | A corner | Beneath a leaf, where a black shadow line is the entire purpose of the cut | Wrong on a Venetian reproduction whenever that mark survives |
| Number 11 veiner | A rounded trench with no corner in it anywhere | Almost anywhere | More to clean up afterwards |
| Any knife | One good wall | Short runs and tight corners, plus every awkward spot where a handle will not fit | It levers |
| Number 3 at three quarters of an inch | A faint sweep | Straight down a drawn line | Corners dig in the moment that line curves |
| Number 1, double bevelled | A dead flat wall every time | Curved moulding lines | Nothing at all, which is why it finishes the job every time |
Ordinary carpentry chisels belong in this list too. Nothing on that table needs to be sold as a carving tool, and half of what I reached for today would look at home in a joiner's chest. A beginner can start with four tools and get a long way before buying a fifth.
What a knife does that a gouge does not
Knives lever. Getting a chip out means twisting the blade a little, and that twist takes it deeper than you intended, which quietly undercuts the wall you just made.
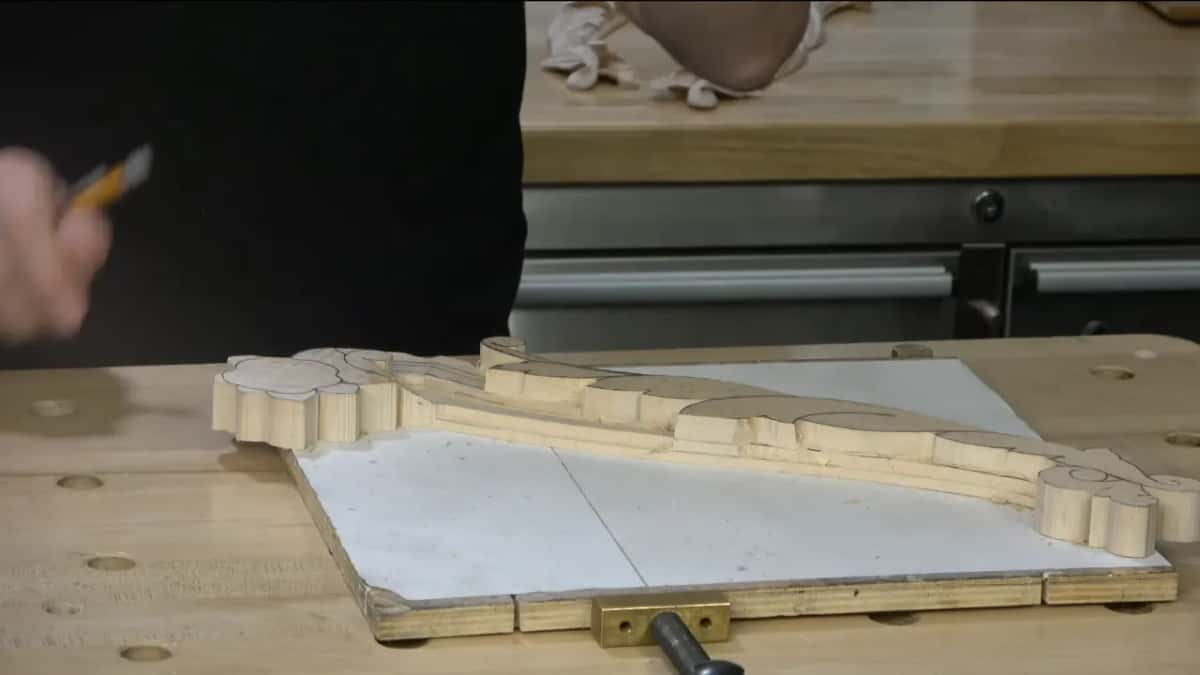
Paint hides that. Under a clear finish it becomes a dark line where no line should be, and on a fine detail it can cost you the piece.
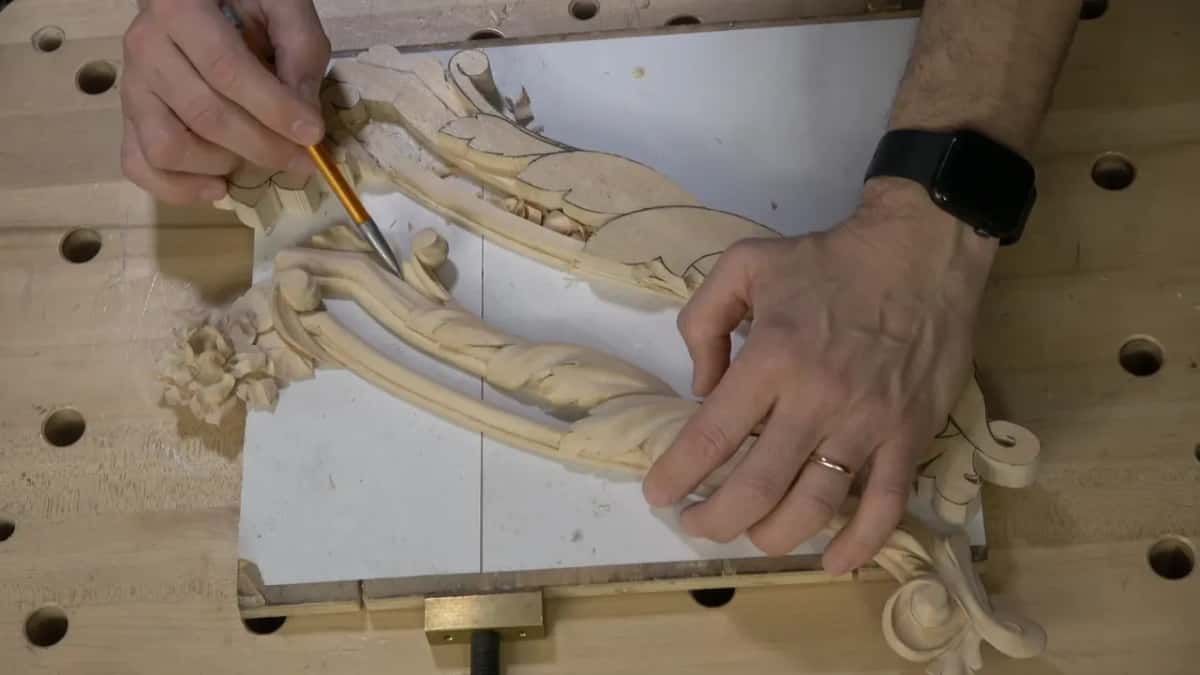
Watching for it beats avoiding knives altogether. Plenty of this moulding was cut with a knife and it came out the same as the 17 did.
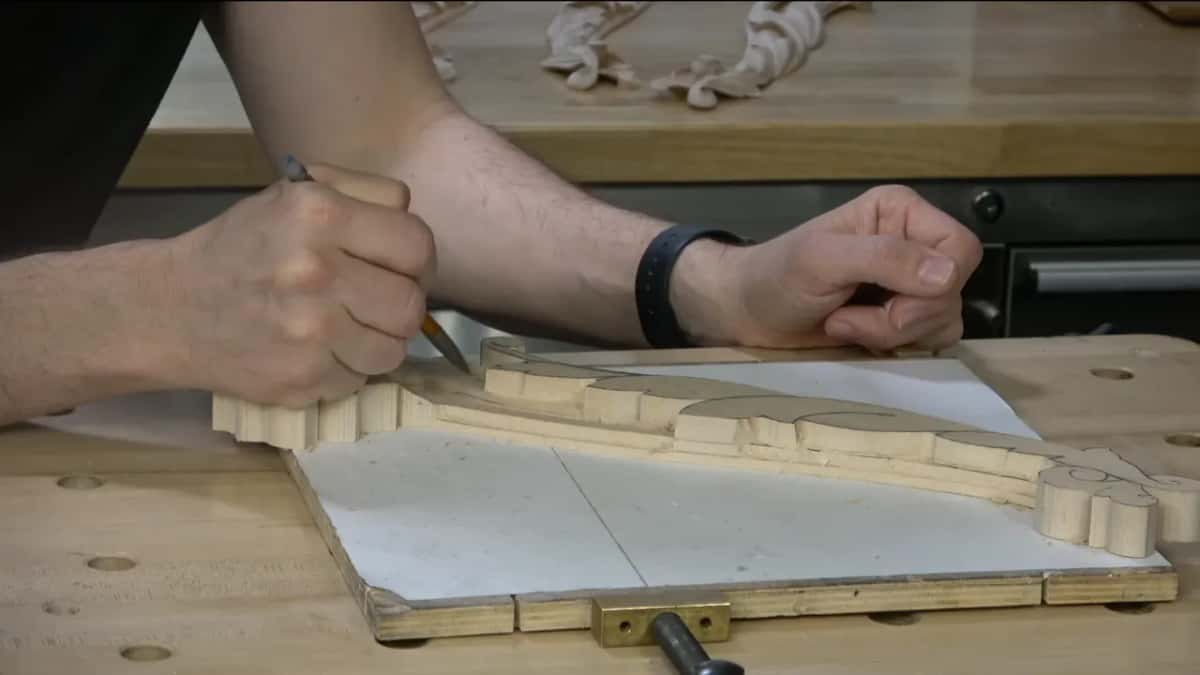
Deciding the clean side takes about two seconds once the habit is there. Read the drawing, work out which wall lives on into the finished surface, then stand where your body can cut toward the other one. That is the whole method and it never gets harder than that.
Nobody outside a workshop will ever notice any of this, which is exactly why it matters to me. The people who made the original were solving the same problem with the same grain, and the least I can do is meet them on their own terms rather than take a shortcut they never had.
The molding underneath all of this
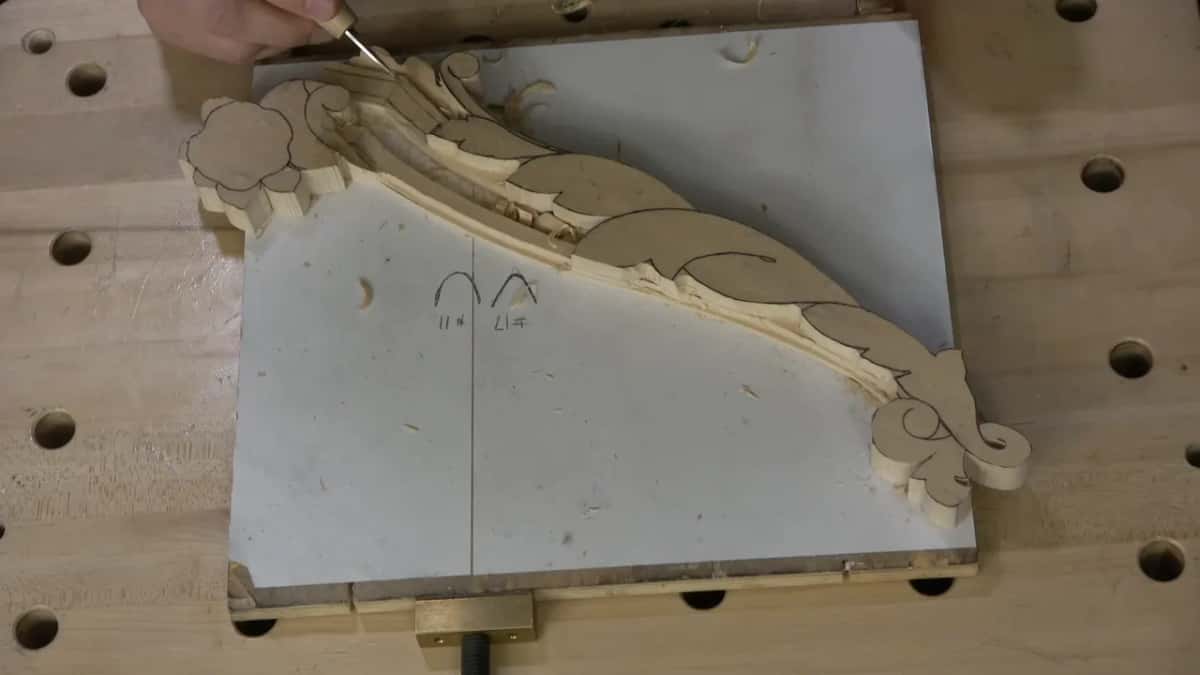
What I am releasing is called a clover. Convex through the middle, a fillet falling away on each side, and the whole thing about five millimetres wide, which is three sixteenths of an inch.
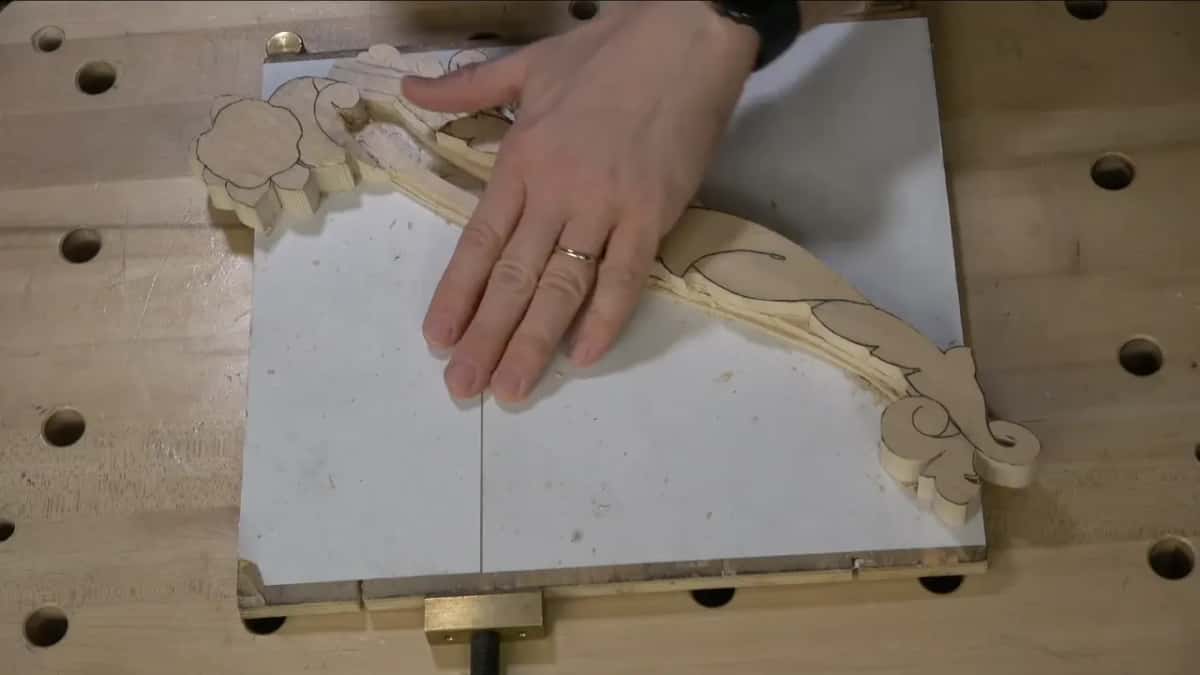
Marks for it went on by eye. My paper profiles are on the bench and I glanced at them, and after four of these my hand knows the shape. It does not have to be perfect at this stage.
Half a millimetre mechanical pencil draws the lines. Cheap ones. I own expensive pencils and they do nothing the cheap ones fail to do, except break less often, which they do not.

Then the moulding gets left alone. Rough shape only, no final profile, because the acanthus goes over the top of it and I would only damage finished work. The workshop after this one starts on the leaf itself.
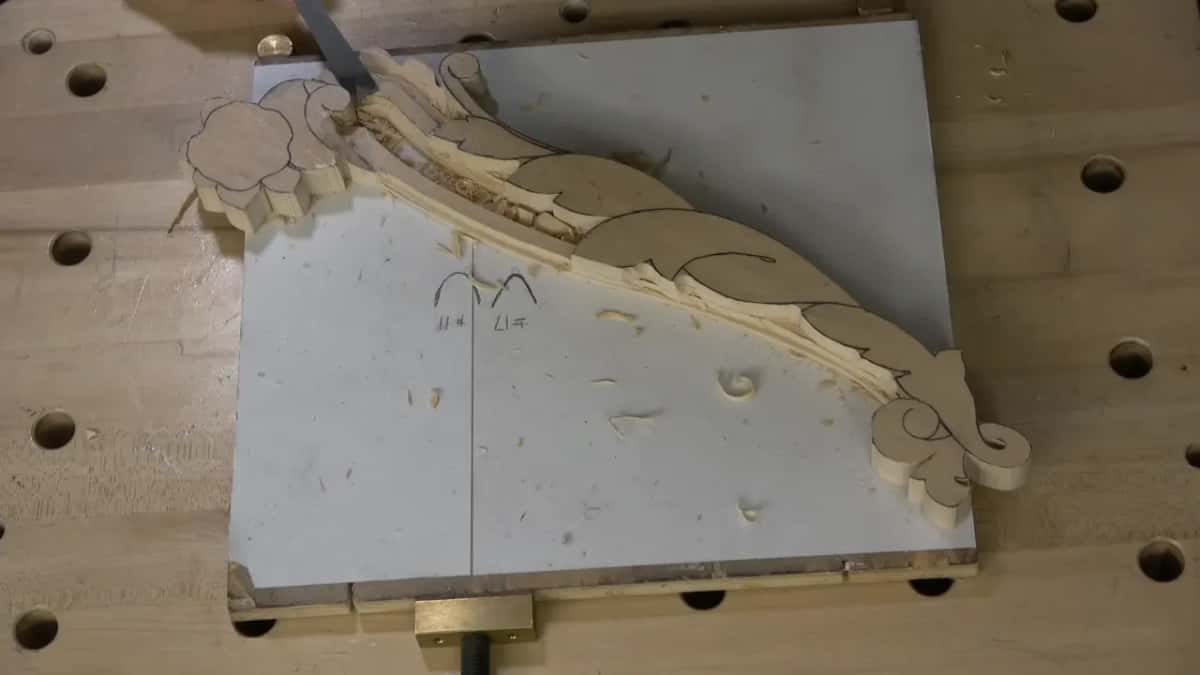
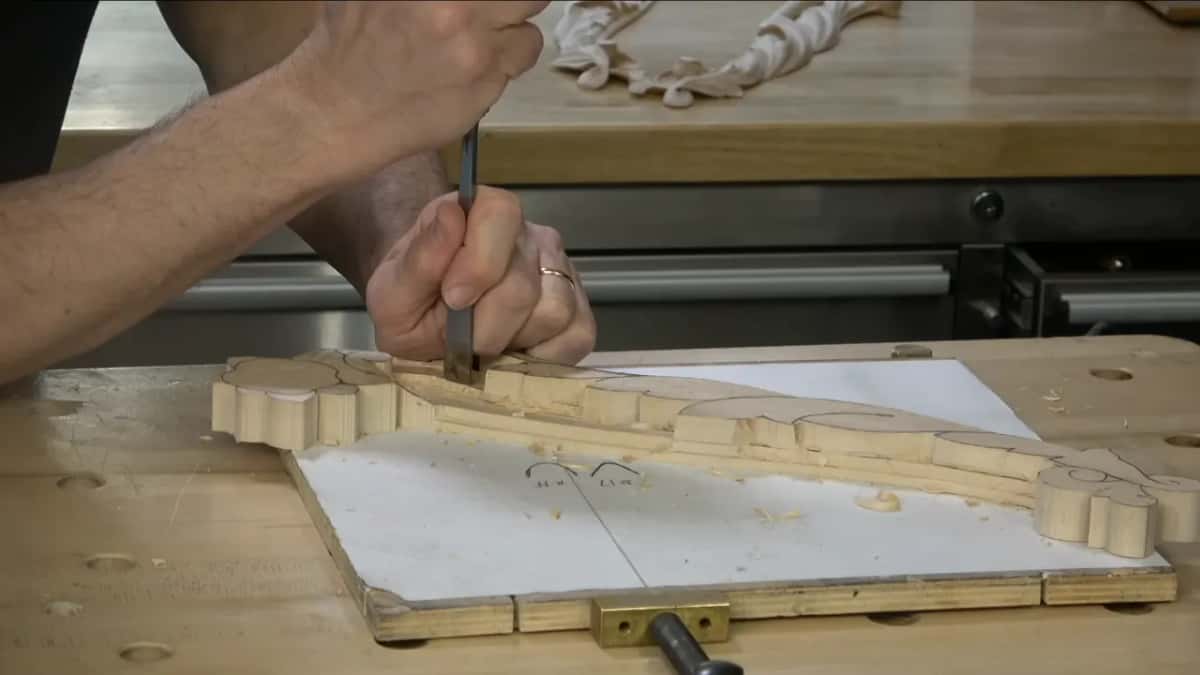
Then the middle of that moulding has to be released, which means going deeper on one flank than the mark on the opposite face suggests. Both marks were made with the same gauge, so when they disagree it is the carving that has drifted rather than the marking.
Perfection is not required at this stage. It does have to look like a moulding, though. A wavy line reads as a mistake rather than as a decision, and there is no style of ornament where that reads well.
Chopping to the line without touching it
Number 9 at half an inch, mallet behind it, placed almost on the drawn line and stopped about a millimetre short. Every following chop lands in the middle of the last one.
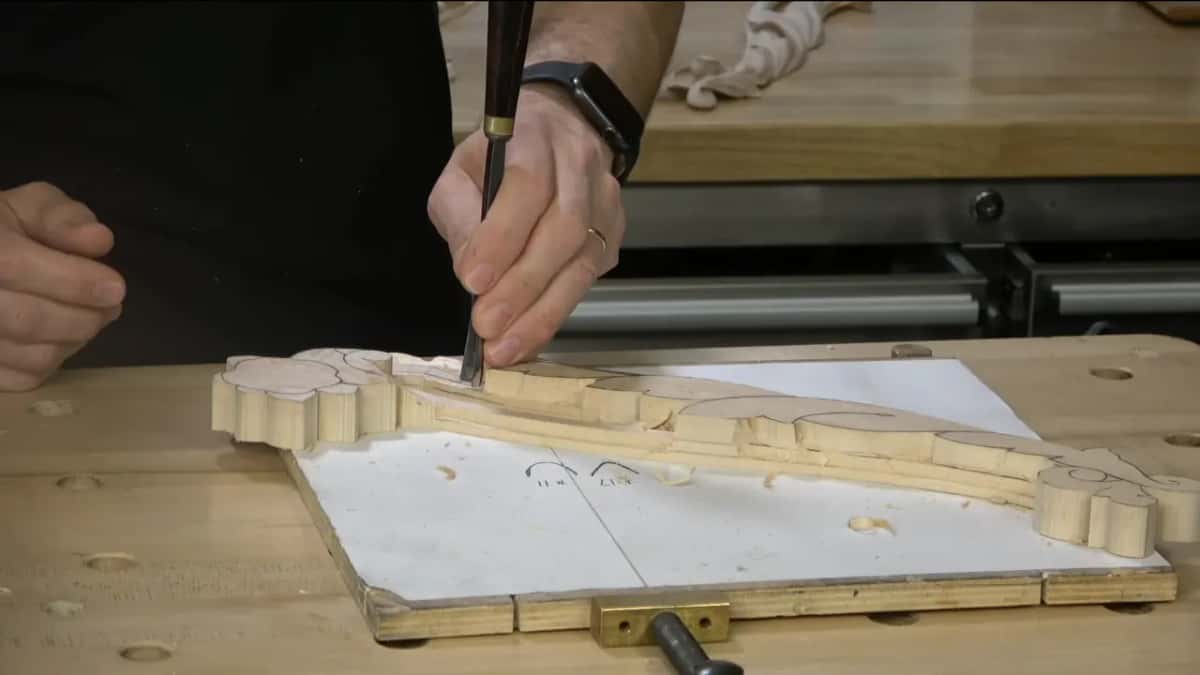
Grain has a vote here as well. From one direction the cut raises the fibres and a chunk goes that should have stayed. From the other it behaves. Better to reverse the board than fight it.

Then horizontally into the bottom of those chops, and the waste comes away between the two cuts without any force at all.
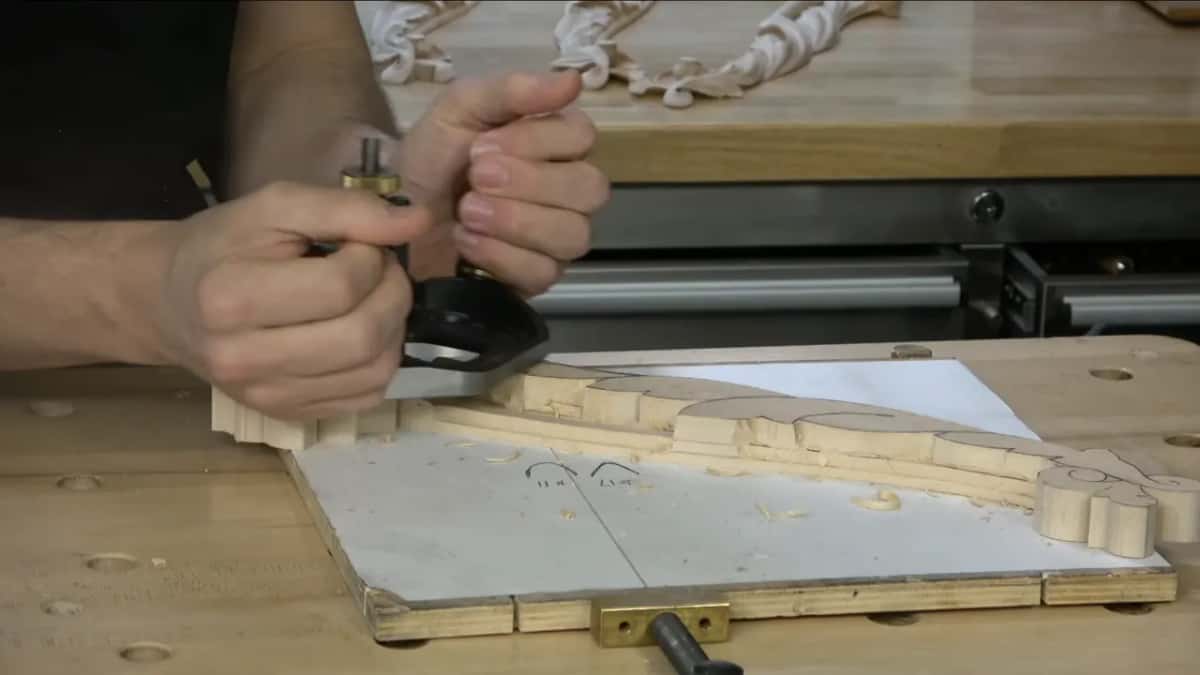
A router plane levels what is left, pivoting on one hand, only the corner of the blade in the wood. Blade came down to three thirty seconds to reach between the volutes. That plane has a workshop of its own.
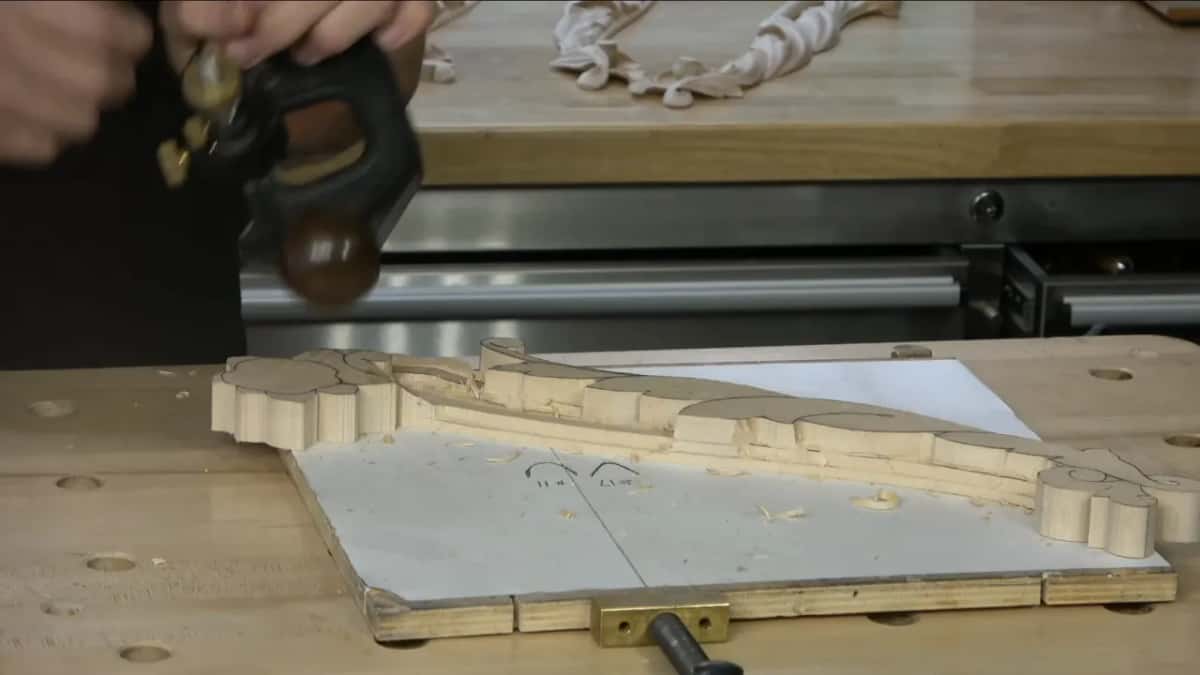
One of my number 9s here is an antique with no modern marking on it at all. Beautiful thing. The steel behaves differently from anything made today and I have never worked out why. Old tools come up constantly in the questions students send me.
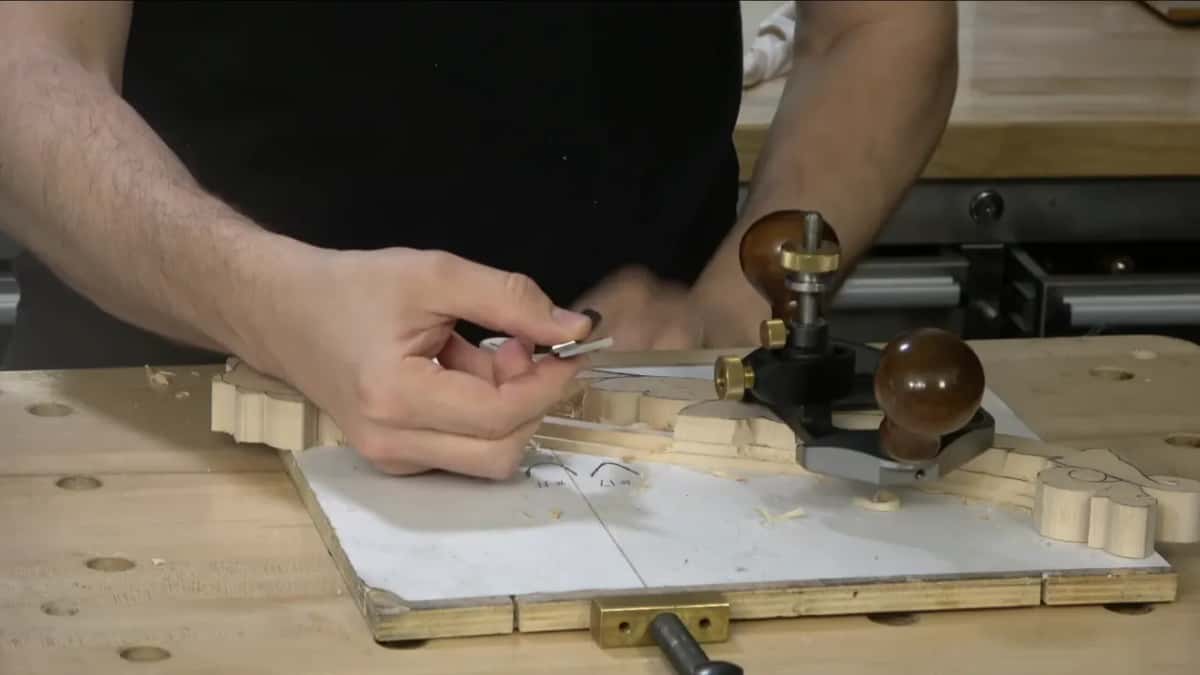
My number 3 by Henry Taylor at three quarters of an inch went on the line first, and its sweep dug both corners in where the line curved. So a number 1 at fifteen millimetres, double bevelled, finished that side instead. Byzantine acanthus throws up the same problem on nearly every lobe.
The mallet a turner made me
Something I have never told anybody outside a classroom. Several classes run at once at the Marc Adams School of Woodworking, and when I teach carving there, whoever is teaching turning that week makes me a mallet.
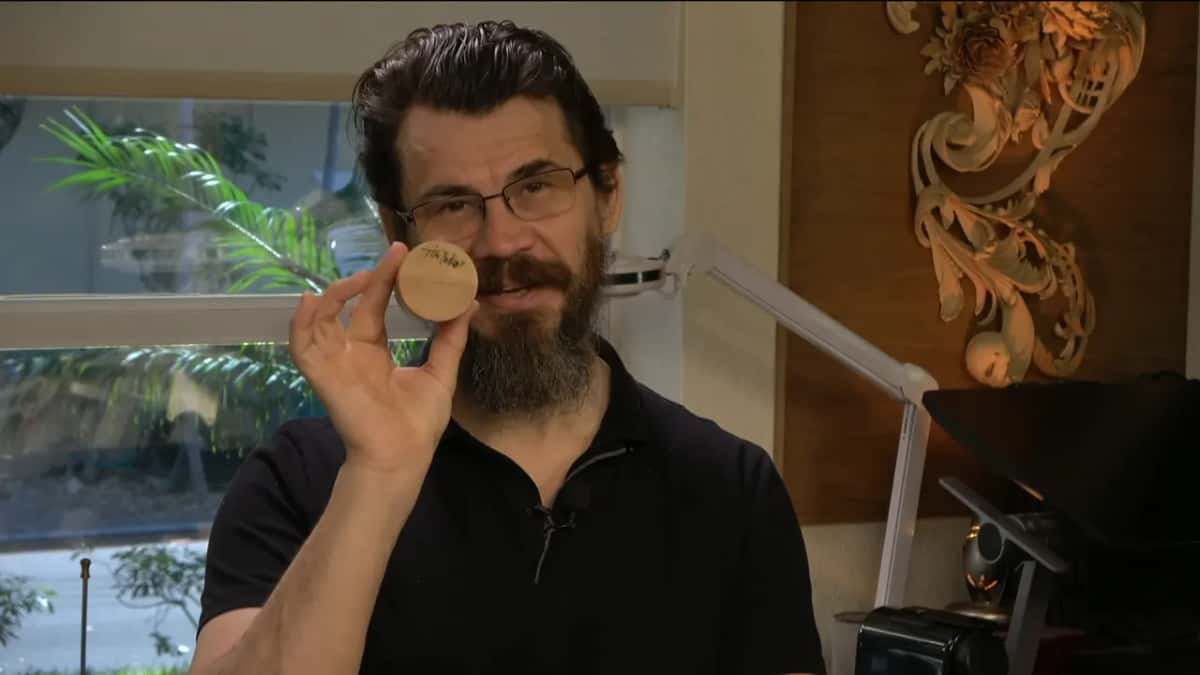
Every mallet on my bench arrived that way. This last one came from Tim Yoder, in cherry, and it is tiny. I will not use it. I do not want to mark it.
My working mallets have ugly green heads, and one blue one, with some kind of silicone cover. Wood heads make a noise I have listened to for thirty years and would rather not listen to any more.
Placing a palm underneath the head and knocking with that works as well as any mallet, and it makes no noise whatsoever. Plenty of carvers I respect work that way all day long.
We carved white oak leaves and a couple of acorns in that class, full three dimensional work, and we did not finish. I keep trying to design simpler week long projects and I keep failing.
Ever wonder why one edge of your carving looks crisp and the opposite edge looks chewed, on the same cut, made by the same hand? Ever turn the board and find the problem has moved? Nothing is wrong with your tools. Then let us carve, and I will show you which side to give away.
There are lots of ways to milk a cow, as they say. Acanthus Over Moldings runs ten workshops, the first one covers holding the work, sharpening is what makes any of these cuts possible, and tuition opens every lesson in the school.
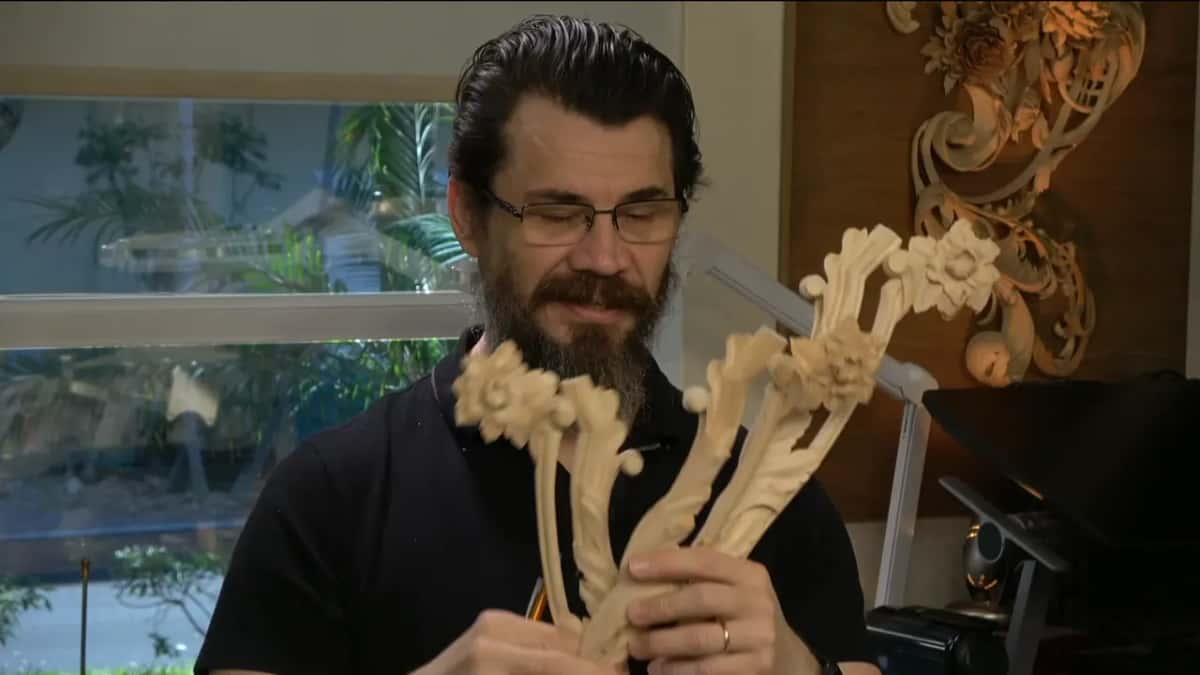
Three of these details are carved and sitting on the shelf behind me, painted grade, and they do not look bad at all. Shall we carve?
How it's done
- Find the wall that will still be visible. A molding edge lives on into the finished piece, while a hollow under a leaf disappears under the leaf.
- Stand so you can cut away from that wall. Approach from the side that leaves the visible face sliced rather than lifted.
- Take the first few cuts short. Grain changes direction partway along a board and a short bite gives you time to notice.
- Come back the other way if both walls must be clean. Half the line from one end, walk round the bench, the other half coming back. Twice the time, two good walls.
- Release the molding with a 17, a V-tool or a knife. All three make the same line. Hold the working edge perpendicular so nothing gets undercut.
- Chop down with a number 9 and stop a millimetre short. Half an inch wide, mallet behind it, each chop landing in the middle of the one before.
- Cut horizontally into the bottom of those chops. Waste lifts out between the two cuts and no force is needed anywhere.
- Leave the molding profile rough until the leaf is carved. Finishing it now means damaging finished work later when the acanthus goes over the top.
Frequently asked questions
What makes one wall of a gouge cut tear
Fibres get lifted from underneath there instead of being sliced through. Sharpening will not fix it. Reversing the board is the one thing that moves a torn wall somewhere nobody is ever going to see it.
What is a number 17 carving tool
Picture a V-tool whose point has been replaced by a small gouge, giving a rounded bottom to the cut. Continental charts call the plain U shape a number 11, and English or London pattern lists number this same tool 48.
Do you need a number 17 to carve a molding
Nothing about that line requires one. A plain V-tool does it, a number 11 does it, and I cut half of this molding with an ordinary knife to prove the point. Several tools reach the same result.
What to carve next