

Alexander Grabovetskiy, woodcarver, School of Woodcarving · Published 2022
Should you paint a wood carving?
Quick answer: Painting a carved panel is normal, not a modern corruption. Sixteenth century makers colored wood in greens, blues and rose tones, trying to imitate richer timbers than they could buy. Keep it faint, a wash rather than a coat, so the wood still shows through underneath.
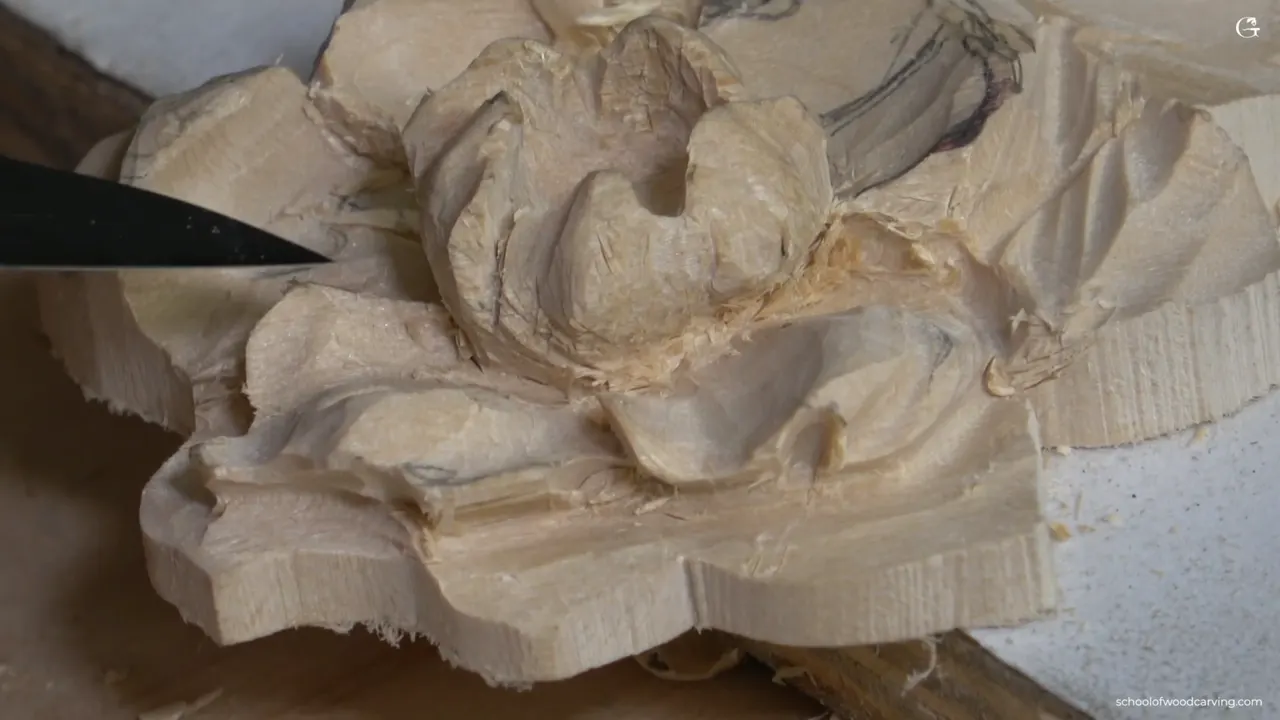
Ask most people what color an old carved panel was and they will say wood color. A lot of them were painted. Green, blue and rose went onto furniture in the fifteen hundreds by makers chasing timbers they could not afford, and this flower of mine is going under white paint when it is finished.
Which changes how I carve it, right now, before any color goes anywhere near it.
A brush has to get in behind everything I open up. Wherever the bristles cannot go, raw wood stays raw under a painted surface, and that reads as damage rather than depth.
So below is what the old makers actually did with color, how faint to keep it, and the one carving decision that paint quietly takes out of your hands.
What paint does to a carved panel
- Color on carved wood is historic, not a modern shortcut.
- A wash beats a coat, because grain that still reads through the color is what stops it looking like plastic.
- Muted beats bright. Anything vivid turns carved ornament into a toy.
- Paint needs a brush path, which quietly limits how much you can hollow out below an edge.
- A stained piece has no such limit, so it can carry far more dramatic shadow.
Did old carvers really paint their work?
Deep enough for the shadow, shallow enough for whatever comes next. On this acanthus panel I am working at two and a half millimeters and taking the edge in a little at a time, watching the dark line appear under the petal as I go, the same 2.5 mm tool that set the petals in.
Behind me in that workshop hangs a piece I took to the extreme. Nothing on it gets painted, only a stain, so there was no brush to think about and I hollowed underneath until the leaves float. Both decisions were right, because they were made about two completely different objects.

Ask yourself the finish question first. Then carve. Doing it the other way round means finding out at the paint stage, which is a bad afternoon.
How does paint change your undercut?
It puts a ceiling on how far in under a petal you can go. Carving for a painted finish I reach for a number 11, and the reason is the shape it leaves behind rather than how it removes wood. The 11 is a deep U, so the hollow it puts under an edge is rounded all the way across with no crease at the bottom, and a brush loaded with paint follows that curve happily.
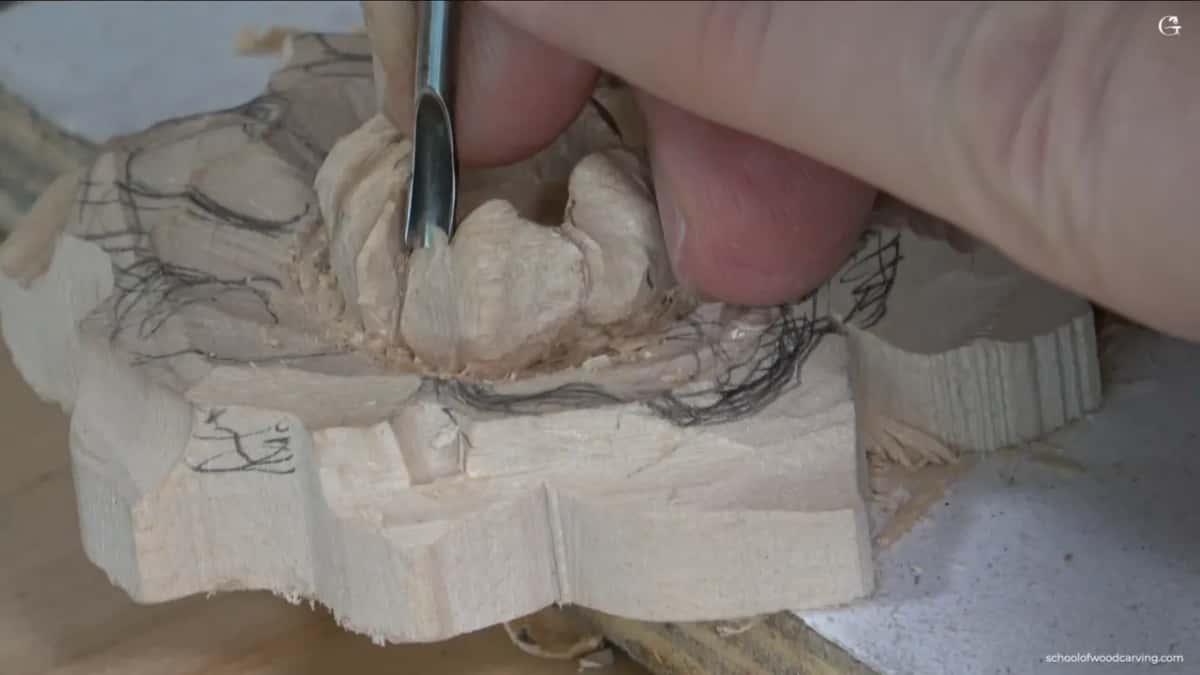
A V tool would be quicker. A V tool also leaves a sharp internal corner that traps paint, holds dust and turns into a black line instead of a soft shadow. The profile you use underneath is doing as much work as the depth.
There is a second effect nobody mentions. The rounded hollow limits how deep I can physically get, which means the tool itself is enforcing the decision I already made. Good tools do that. The whole family gets its own afternoon in the tools course.

What color should you use on carved wood?
Muted, and mixed toward what wood already does. Olive dulled with a little brown sits properly on a carved surface, where bright green reads as a toy, and the same goes for reds pulled toward rose instead of pillar box. Museum furniture collections are full of the evidence.
Makers back then colored wood far more than people expect, always chasing richer timbers than the ones they could actually get hold of. Painted ornament was normal, not a later corruption of it.

If you color a flower yourself, keep it faint. A wash rather than a coat, so the wood still shows through. Bright green looks like a toy on basswood, where a dull olive reads as an old surface. A light ground coat under color was the traditional method.
Which tool for which part of the undercut
| Tool | What it is doing under the edge, and at roughly what size | Why that one |
|---|---|---|
| Number 11 | the undercut itself, two and a half millimeters across | a rounded hollow with no internal corner for paint to sit in and go lumpy |
| Its smaller brother at one millimeter | reaching further in once the shadow has already appeared | reach |
| Skew, an eighth | crisping | it puts a clean straight wall in quickly and leaves nothing to tidy afterwards |
| Fishtail, five millimeters | hollows lying beside a ridge that is already standing proud of the ground | one corner |
| A small spoon | blending | softness where the edges came out harsh and would otherwise read as scratches |
| Whatever knife happens to be lying on the bench | tidying | sometimes the plainest thing on the bench works best |
What makes a fishtail worth owning?
One corner of it. The blade narrows toward the handle and widens at the edge, so the outer corner sticks out past everything else and will slide under an overhang where a parallel blade of the same width simply will not fit.

Mine is an old Marples and Sons, bought secondhand with one corner already worn away. I left it like that. Grinding it square would have cost me the very shape I wanted, and a tool with a slightly eaten corner still does the job it is good at.
Sheffield firms each had their strengths. I am not loyal to one maker, and I own tools from several makers because each of them makes one or two things nobody else makes as well. The Sheffield trade is worth reading about if old steel interests you.

What do you do when you cannot carve with the grain?
Keep the edge sharp and accept it. Not every surface offers a good direction, and on a curved petal the fiber runs three ways inside one stroke, so waiting for a perfect approach means never finishing anything.
Sharpness is the whole answer. A properly stropped gouge slices across grain and leaves a surface you can live with. A dull one tears it and then you are repairing, which is the plain reason a strop lives on my bench and not in a drawer.
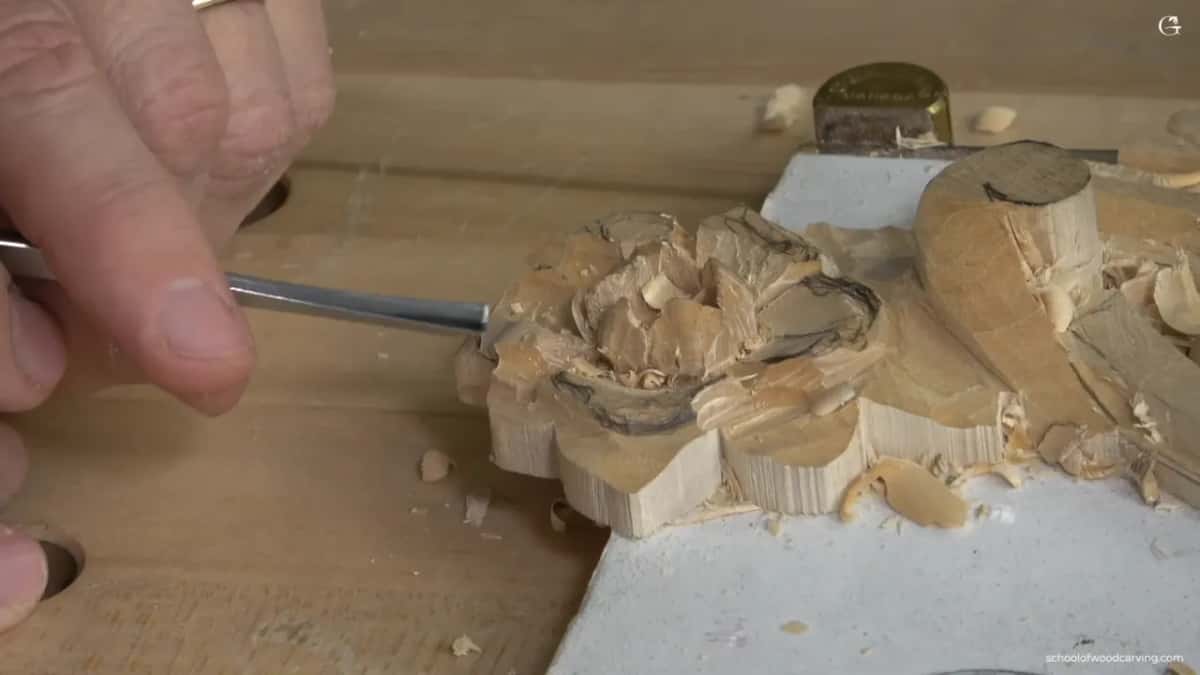
There is a habit that helps. Before committing, I lay the tool on and barely move it, just enough to feel which way the fiber wants to go, and only then do I put weight behind the stroke. Reading first, carving second, which is a rhythm the beginners course drills early.
Why do two catalogues give the same chisel different numbers?
Different countries settled on different sweep charts and nobody ever reconciled them. The small skew I use for crisping an edge is a number 1 in Europe and a number 2 in England, same steel, same shape, two numbers, and a beginner ordering from the wrong list gets a surprise in the post.

So read the picture and the width, never the number alone. Every maker prints a profile chart, the curve either matches what you want or it does not, and the digit beside it is only a filing system.
Width matters more than people think as well. The same number 9 at 5 mm and at half an inch behaves almost nothing alike in one hollow. We spend a fair bit of the tools course on exactly this, because nothing wastes money faster than buying by number.
Should you ever force a chip out?
Never, and it is the cheapest rule on this page to follow. When a small piece will not release, levering at it with the tool already in your hand tears the fiber around it and now you have a hole instead of a chip.
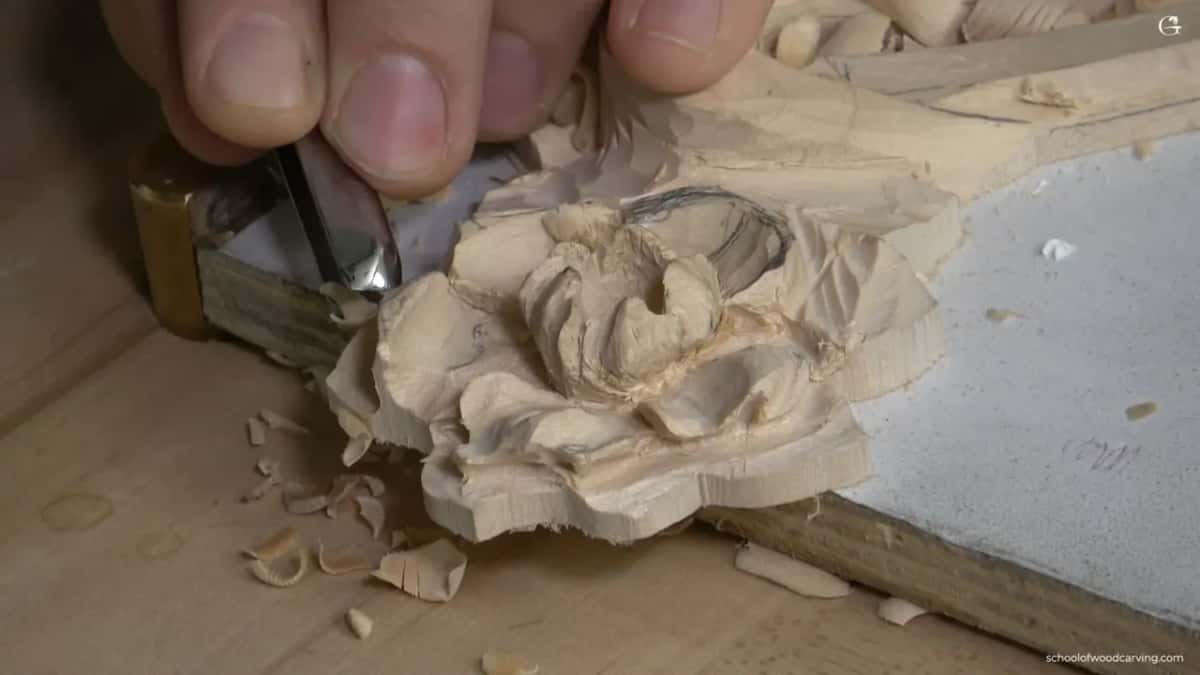
Pick up something else. Something flatter, a 3 at 3 mm, lifts out what the 8 refused to give up, without drama, since a shallow sweep gets underneath instead of pinching. Ten seconds to swap tools against ten minutes of repair.
That instinct covers a lot of ground. Any time you find yourself pressing harder, the answer is almost always a different gouge and almost never more force.
Why start with a bigger tool than the detail needs?
A wide sweep leaves a cleaner surface to work on. Take a leaf down with seven millimeters of 11 before fussing at it with small tools and you get one continuous face, where a dozen little strokes leave a dozen little ridges you then have to remove.

That pass prepares the canvas. The big tool decides the plane, the small tools put the movement into it, and doing it the other way round means fighting your own earlier strokes for the rest of the afternoon.
I hardly finish anything on the first pass for this reason. Facets everywhere, deliberately. Facets, not faucets, although I have said it wrong on camera more than once.
Why does everything drop to one level at the center?
Petals grow out of a single point, so they have to arrive at that point together. Follow one petal in toward the middle of this flower and it falls steadily until it meets the others at the same height, and if one of them arrives higher the flower looks broken even though nobody can say why.
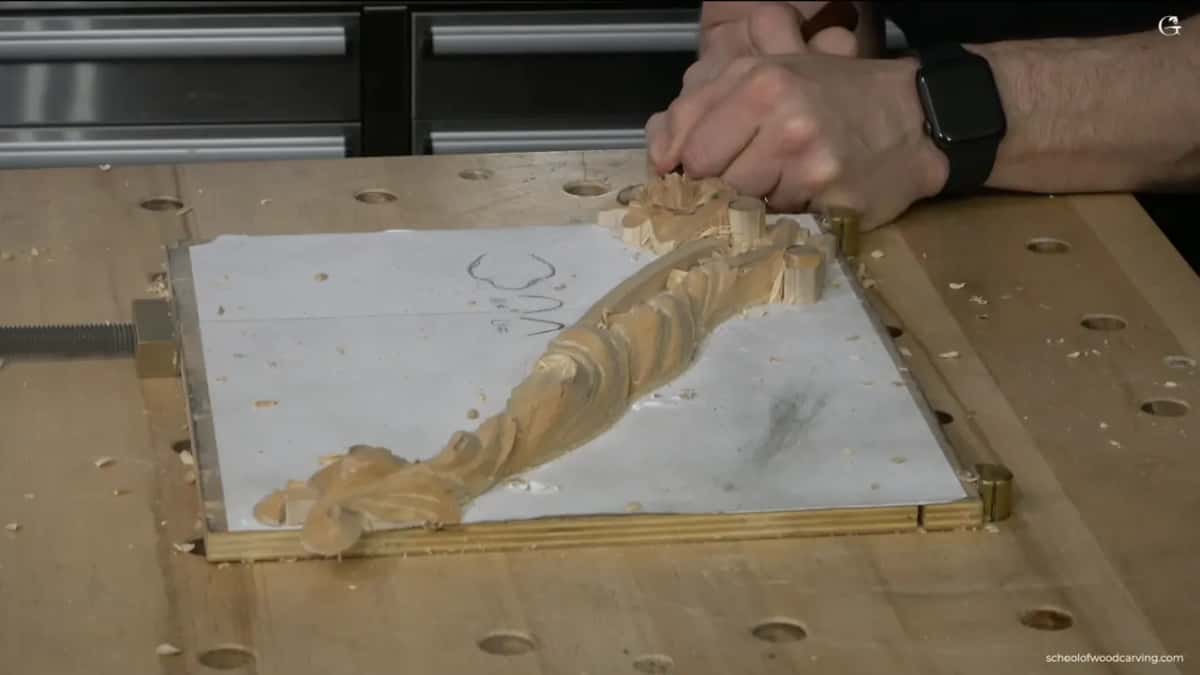
What I had to fix here was a petal running in almost dead straight. Straight looks lifeless, which the modern acanthus course hammers on about for good reason. I took it lower near the center and let it flow rather than travel, and that one change did more for the piece than any detail I added afterwards.
Check it from the side, never from above. From above every petal in the world looks correct.

How much variation should petals have?
As much as you can give them without losing the outer shape. The silhouette of each petal stays close to its neighbors, because that outline is what the eye reads from across a room, and inside that outline you can do whatever you like.
On one of these I put in two curls. The surface drops into a hollow, lifts into a bump, then falls away to the center, and the edge itself rolls backward at the tip. None of it changed the outline by more than a millimeter.
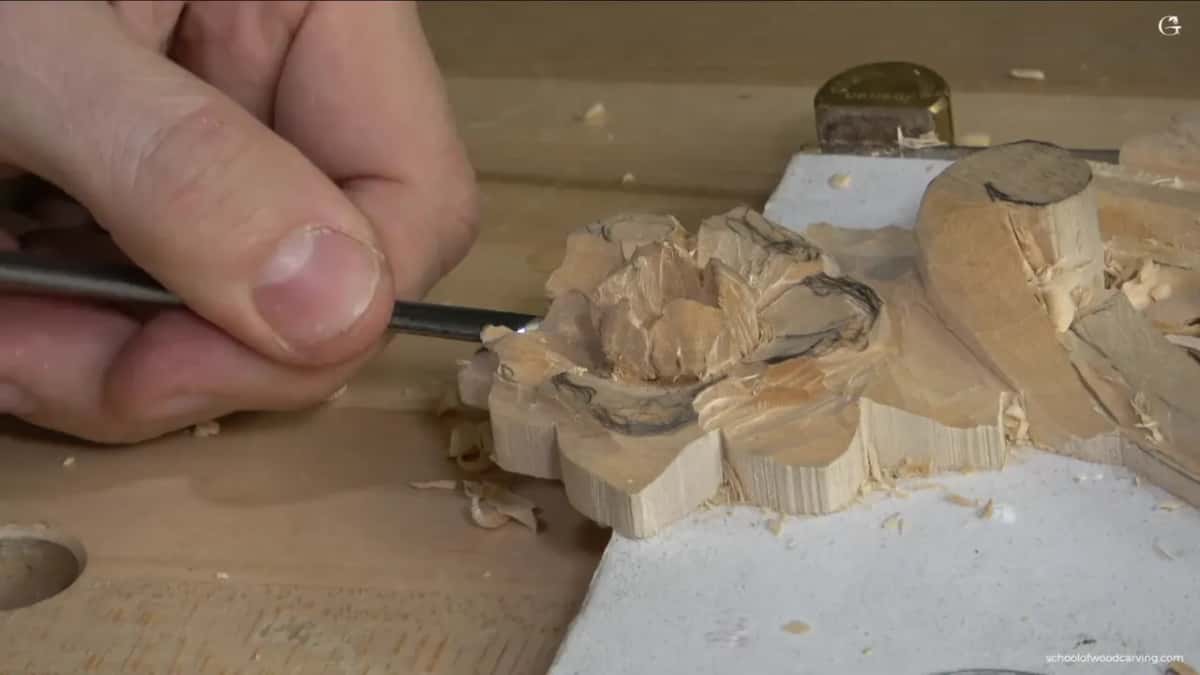
Flowers are the part of this trade I enjoy most for exactly this reason. However carefully you try to repeat one, the next comes out different, which is also true of the Hashemi flowers and of every rosette I have carved in forty years.
Is a carved petal meant to be symmetrical?
No, and the good ones never are. Looking at this petal, one side takes up roughly 61 percent of it and the other about 38, which lands very near the golden ratio without my having measured anything at all.

I mention it because students assume the old proportions were calculated. Some were. A lot of them are just what a trained hand produces when it stops trying to make two halves match, and the design course spends a long time on where that instinct comes from.
Split a leaf exactly down the middle and it dies on the wall. Give it the uneven division and it moves.
Is the shadow on your bench telling the truth?
Probably not, and it catches more carvers than any tool problem ever has. My lights sit in front of me and throw hard shadows into every hollow, so on camera a hollow reads twice as sharp as it really is, and I have to remind myself that the wood is softer than the picture.
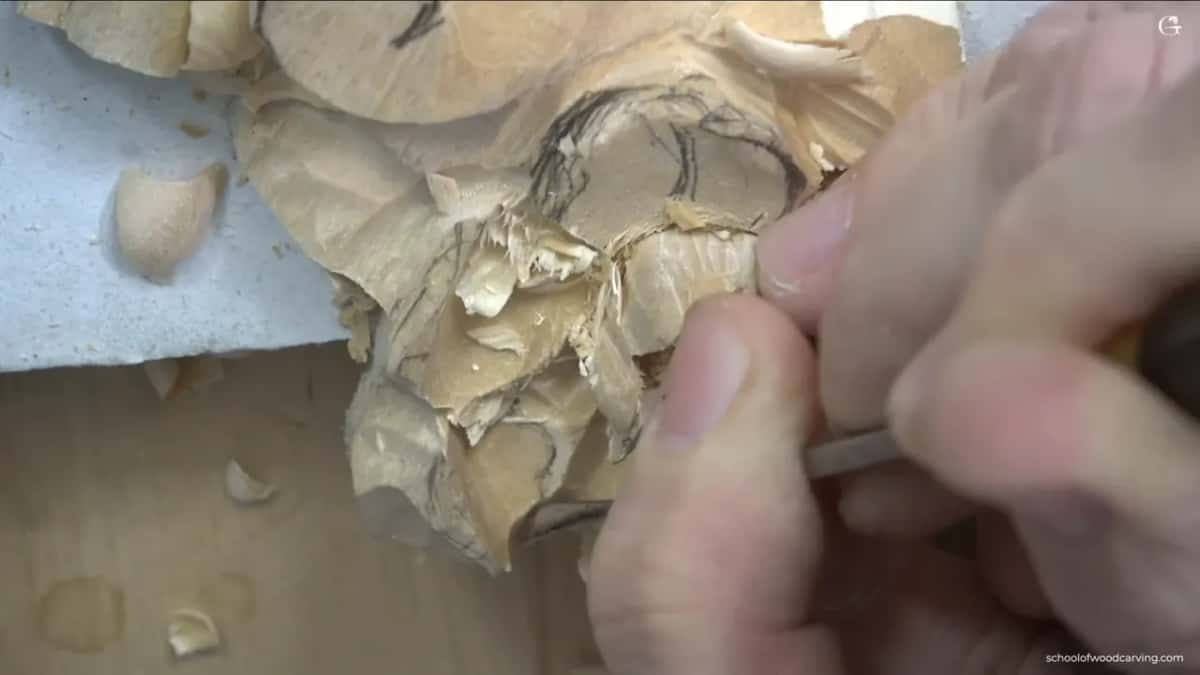
Old workshops solved this differently. A bench went under the window and the light came in sideways and even, which is what you want when you are judging a surface rather than photographing it. Read about any historic woodworking shop and the bench is at the window.
Set up both if you can. Even light for judging the shape, a raking lamp for checking whether the shadow you designed actually appears.
When do you stop undercutting?
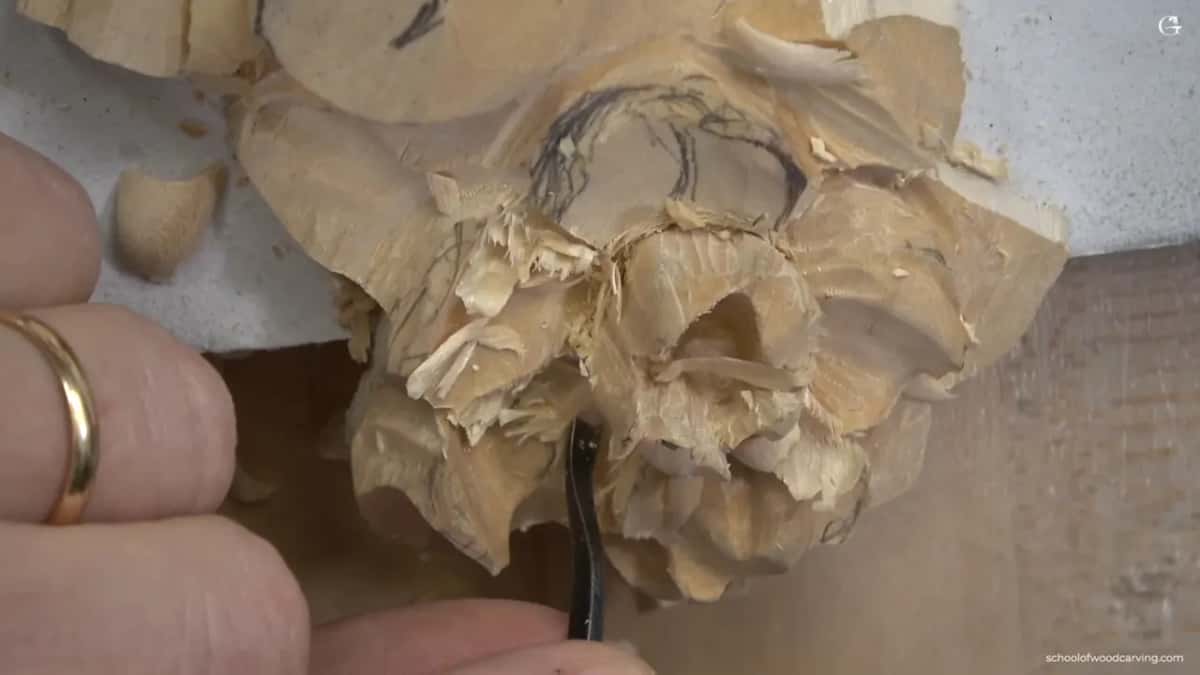
Before the leaves underneath have been carved, always. Those leaves grow out from below the petals and they need material to be carved from, so a final undercut now would remove the wood a later stage depends on.
Preliminary undercut first. Enough to see the shadow and confirm the shape reads. Final undercut at the end, after everything that grows underneath exists, which is the same order of work that carried the whole floral panel through.

Rush that and you get a beautiful petal sitting above nothing at all.
If planning a carving that far ahead sounds like the way you want to work, come and carve with us. Shall we carve?
Three petals finished that evening and two still waiting. I would like more people to leave a comment under the video instead of sending an email, because down there I can see exactly which part you are asking about, and half the time the answer helps somebody else reading it a year later.
The rest of this panel carries on from here, with the two remaining petals and then the molding that everything has been carved down to since the first workshop.
How it's done
- Decide the finish before carving anything underneath. Paint has to reach behind every edge. Stain does not, so a stained carving can carry far deeper hollows than a painted one ever will.
- Rough it out with a wide tool first. Seven millimeters of number 11 leaves you a single clean face to work on.
- Read the grain first, under almost no pressure at all. Lay the edge on and barely move it until you can feel which way the fibre runs.
- Take the preliminary undercut only. Just enough that the shadow shows itself and you can confirm the shape reads.
- Use the fishtail corner beside a ridge. That outer corner reaches hollows a parallel blade simply cannot enter from any angle.
- Swap tools rather than lever a stubborn chip. Something flatter lifts it out.
- Bring every petal down to one height at the middle. Sight along it from the side.
- Leave the final undercut until the leaves below exist. Those leaves need material that a final undercut would already have carried away.
Frequently asked questions
Did old carvers paint their work
Constantly. Greens, blues and rose tones went onto carved furniture across the 1500s, chasing the look of timbers nobody could buy, and the bare wood we think of as traditional is partly just what survived.
Which colors look right on carved wood
Muted ones, mixed toward what timber already does by itself. Reds pulled well back toward rose behave, greens behave once they stop being green, and thinning the mix until grain reads through it matters more than the shade you picked.
What is a fishtail gouge good for
Getting one corner where a parallel blade cannot follow. Its edge is wider than the shank, so the outer corner slides under an overhang while the rest of the blade stays clear.
What to carve next