
Alexander Grabovetskiy, woodcarver, School of Woodcarving · Published 2022
When should you clean up a wood carving?
Quick answer: Cleaning belongs after the whole shape is roughed out, in my shop at least. Changes stay cheap while a surface is still rough, and every hour poured into finishing something you later recarve has simply been wasted. David Esterly worked the other way round, finishing each detail before he moved on.
Two good carvers disagree about this, and one of them wrote it down in a book. David Esterly cleaned every detail before he moved to the next one. I rough the whole piece out first, walk away for a few days, and clean at the end. Both work. Only one suits how I think.
Clean early and every change you make afterwards costs you twice over, which nobody warns you about.
Investing time and spending it are two different things. Investment comes back. Spending does not, and hours poured into finishing a surface you later decide to recarve have gone.
What the argument is really about
- Esterly cleaned as he went, and his reasoning was simple. Leave it and you forget.
- Rough everything, leave it a few days, come back with fresh eyes and opinions you did not have before.
- Changes are cheap on a rough surface and expensive on a finished one.
- Blending happens with a curved gouge and it stops well short of uniform.
- Facets are not faults. They read as brush marks on a painting and taking them all off kills the piece.
- Sandpaper stays in the drawer for the whole job.
The stage where cleaning belongs
After the shape is settled, in my shop. Roughing comes first across the whole detail, so every movement exists in three dimensions before any surface gets attention.
Then I leave it. A few days if I can. Coming back after that gap, I always see something I want to change, and I usually cannot explain why I did not see it at the time.
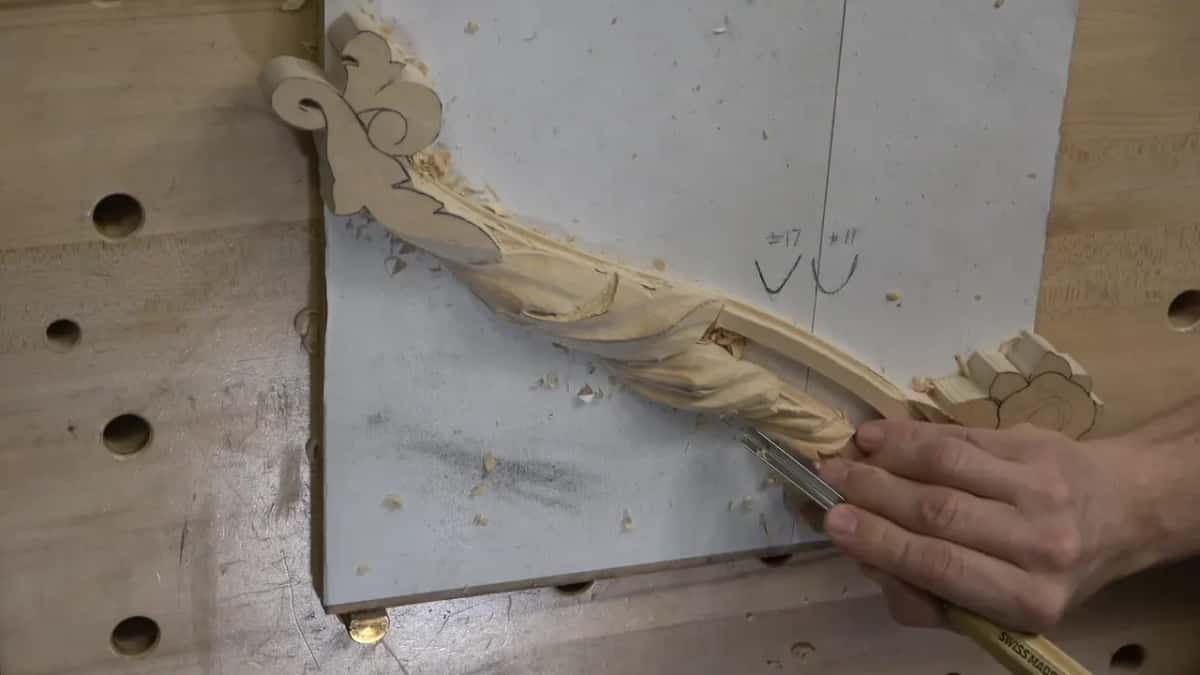
Nothing has been polished yet, so changing it costs an hour rather than a day. Years went by before I arrived at that, and it is the whole argument.
Esterly went the other way and he was not wrong. On a large piece you genuinely can forget a corner, and he says so in his book. My answer is to keep the stages separate rather than to rely on memory.
Investment against spending
Money makes this clearer than wood does. You can invest money or you can spend it, and the difference is whether anything comes back.
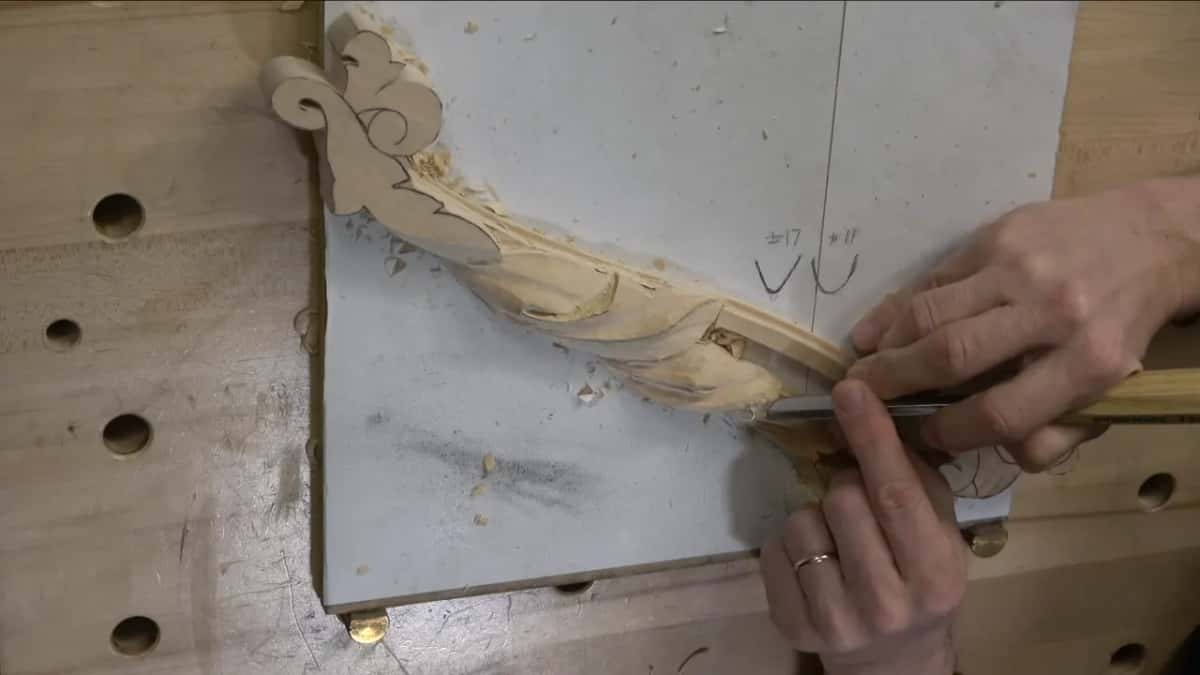
Time behaves identically. Hours spent developing a shape come back in the finished carving. Perfecting a surface you then recarve is money out of the window.

So an early cleanup turns an investment into a spend, retroactively, the moment you change your mind. I am not trying to be philosophical about it. It is just what happens.

Some spots get cleaned early anyway, where I am passing and the tool is already in my hand. Rules that admit no exceptions are usually being followed for their own sake.
The tool that does the blending
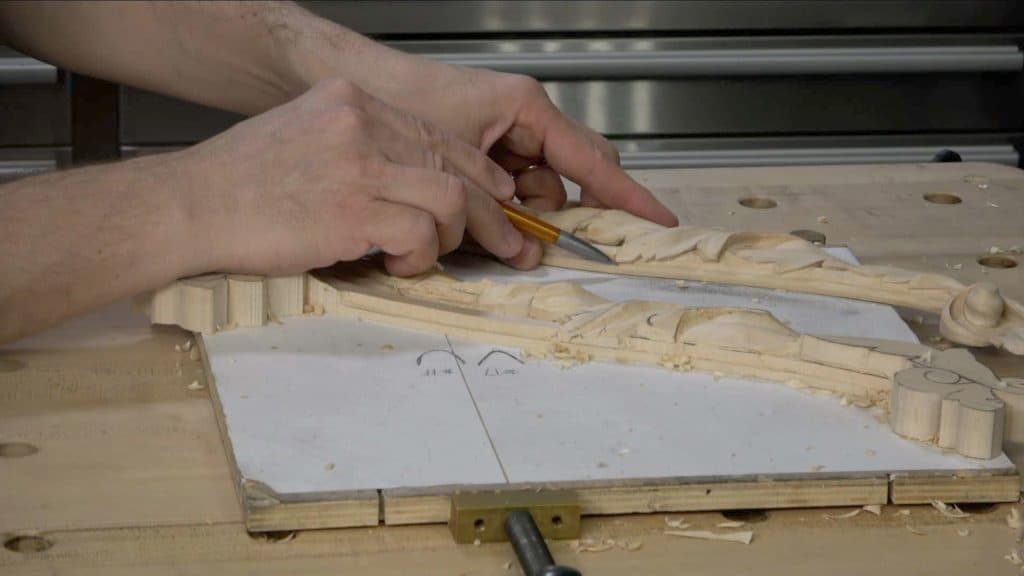
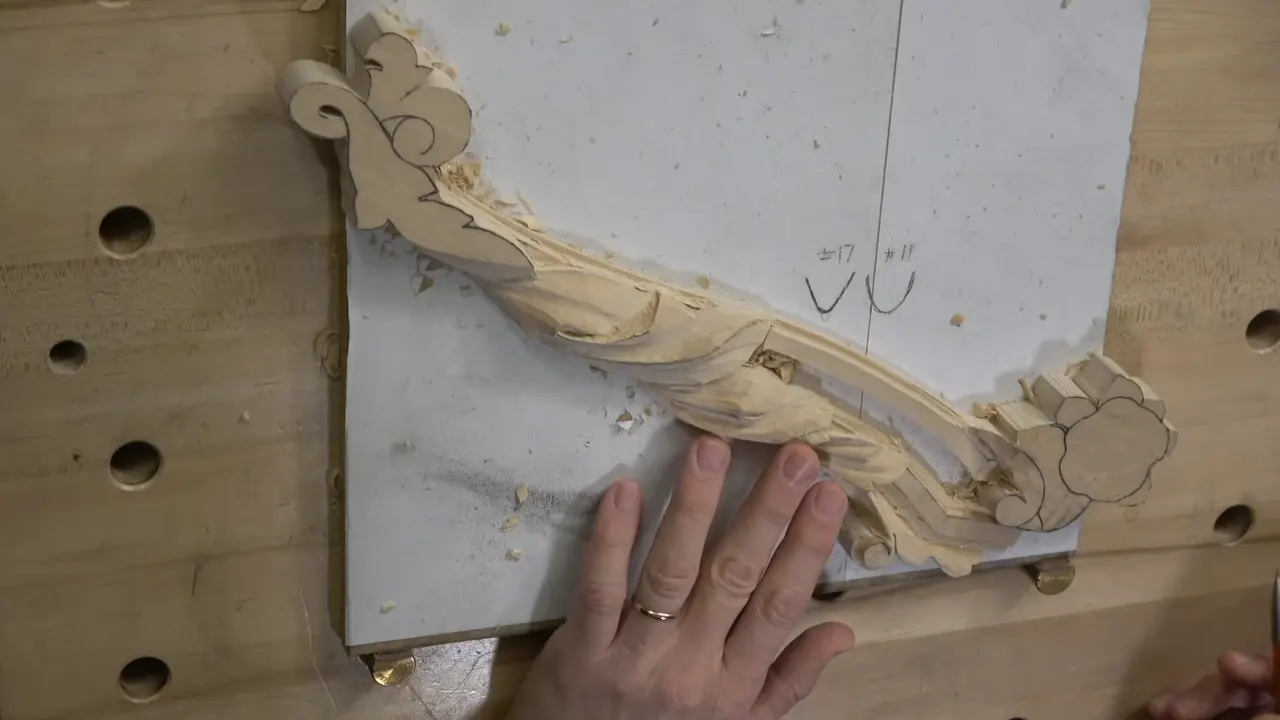
Backbent number 3, a quarter of an inch, worked in small circles rather than straight strokes. Circular motion takes ridges down without flattening the shape underneath them.
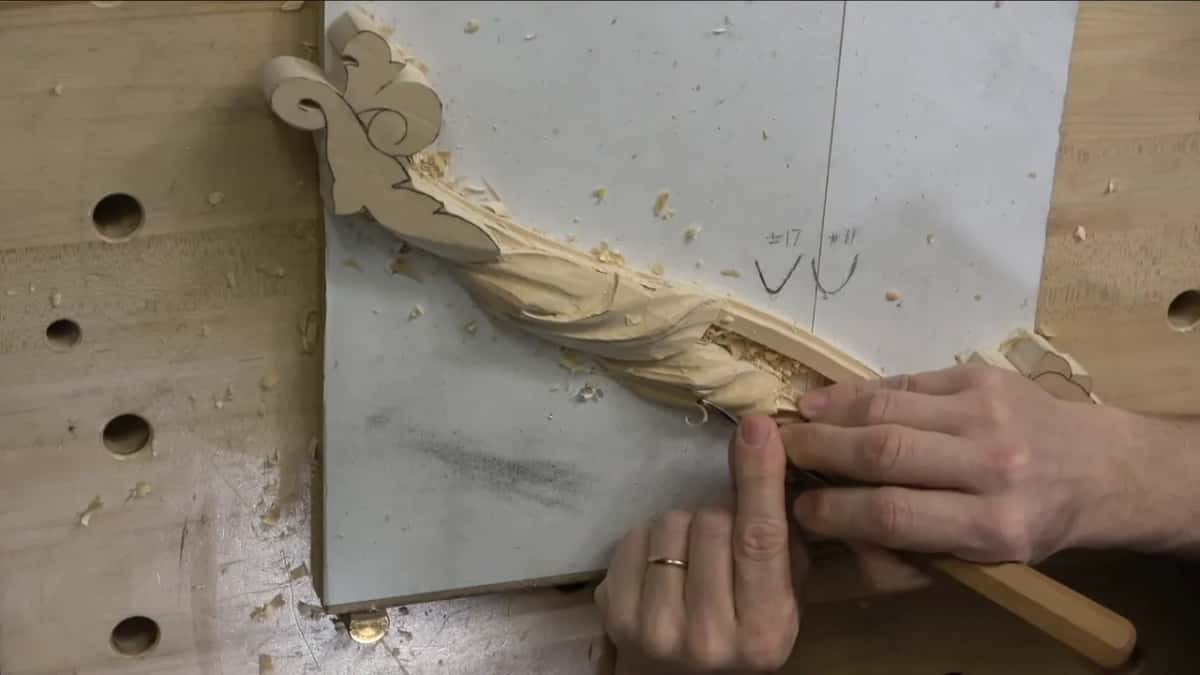
Watch the surface come up as it goes. Clean, even, and still carved rather than sanded, which are two very different looking things under a raking light.

That tool will not go everywhere. Inside a tight hollow it digs, so a number 11 gouge at seven millimetres does that ground instead while the backbent stays on open surfaces.
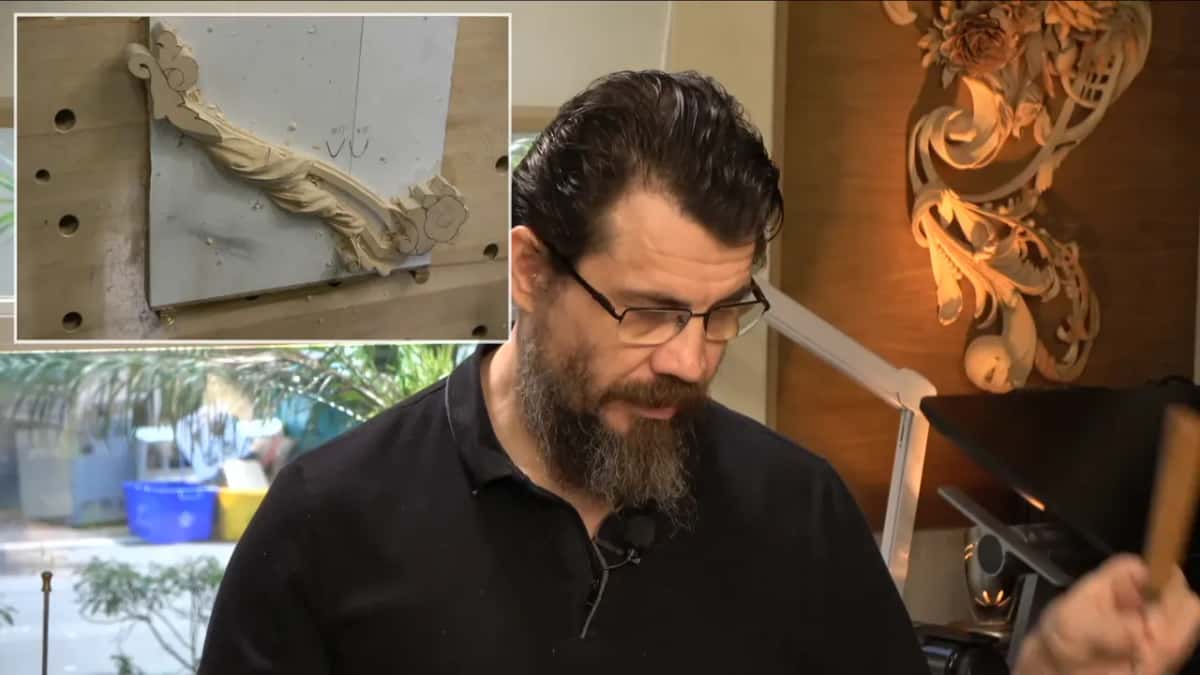
Where the surface runs uphill away from me, a spoon number 11 gets in where a straight tool cannot present its edge at all. Spoon and backbent shapes exist for exactly these two problems.

Why the facets stay
You could take every facet off. Work long enough with a flat chisel and the surface becomes uniform, and I have watched students do it and hand me something dead.
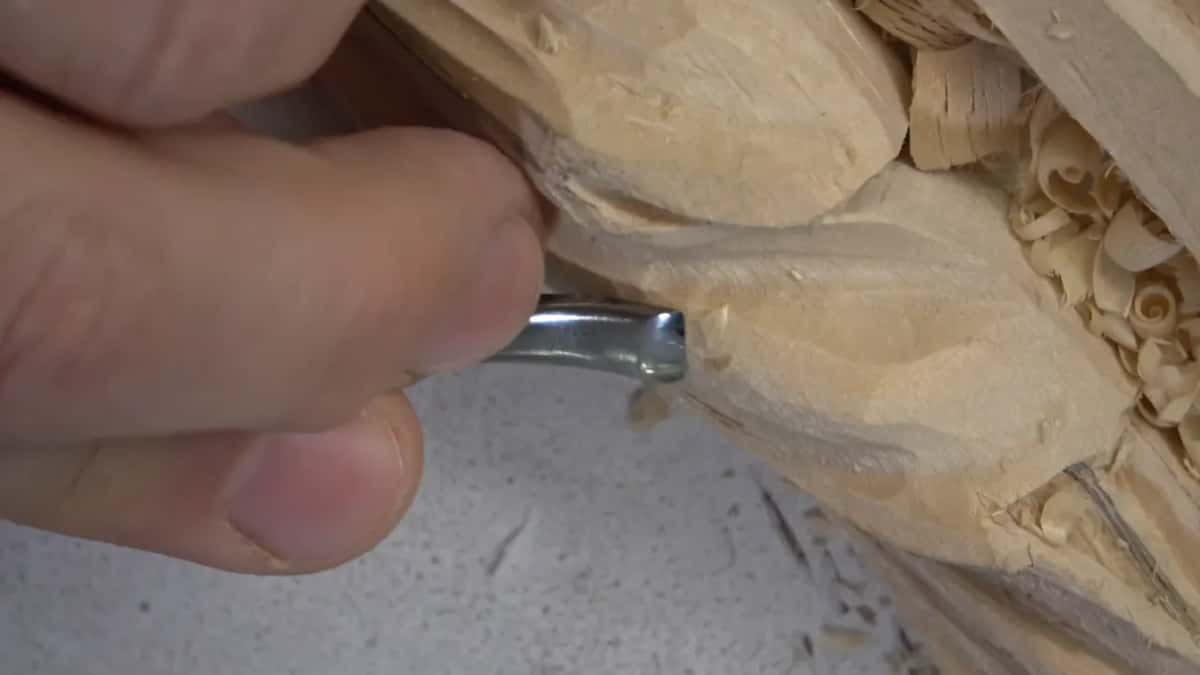
Facets are brush marks. A painting carries the record of the brush and nobody asks a painter to sand that out, and a carved surface carries the record of the bevel in exactly the same way.
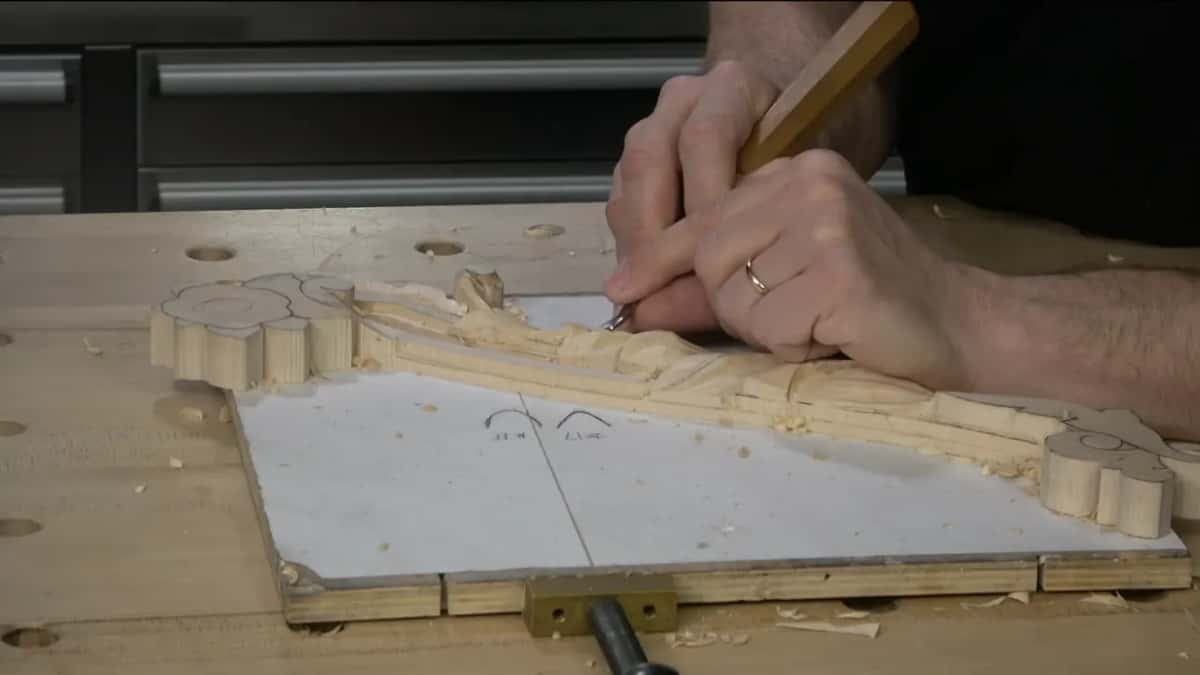
Light is why. A faceted surface breaks the light into small planes that shift as you walk past it. A perfectly smooth one hands back a single flat sheen and the ornament goes quiet.
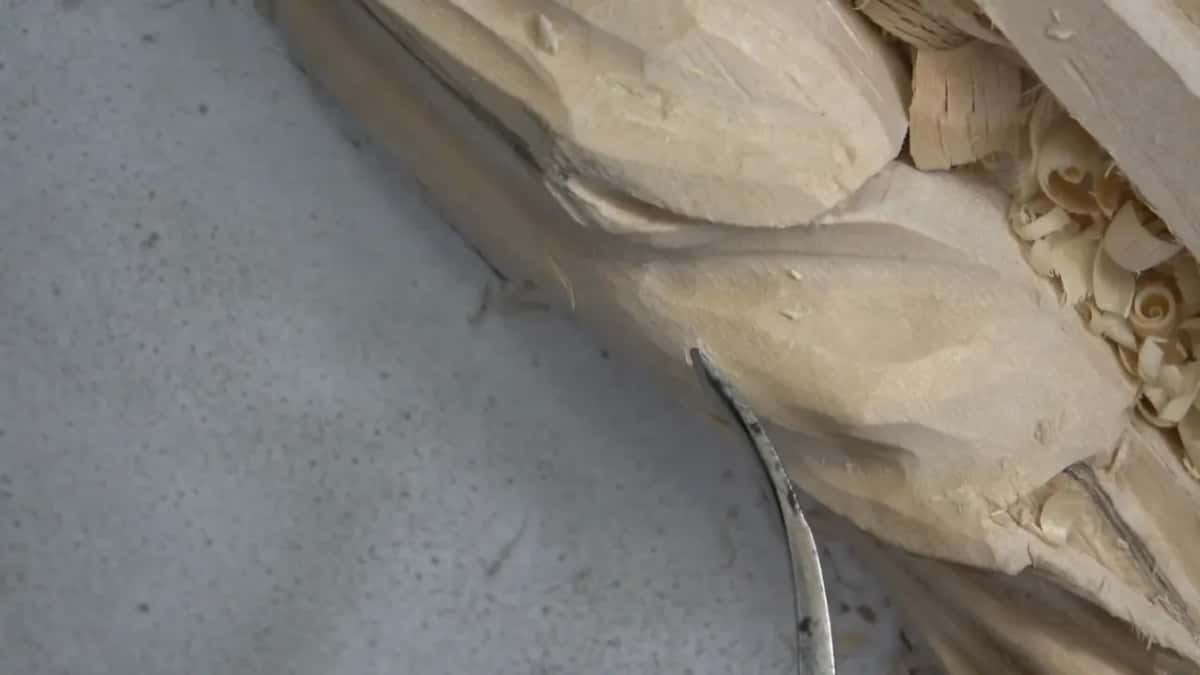
Blending, yes. Slight blending of the harshest ridges, absolutely. Blending to extremes, no, and there is no sandpaper anywhere in this shop for the purpose.

Grain still has a vote at this stage, which surprises people. Blending along the right of the leaf goes cleanly while the identical stroke on the left digs into the fibres, so half of it gets done from the far side of the bench.
Two or three rough spots survived the first pass and needed the number 11 again with the flute at about ten o'clock. Nothing on a carved surface arrives right the first time, and pretending otherwise helps nobody. Choosing your clean side saves some of this and never all of it.
Testing an edge without cutting yourself
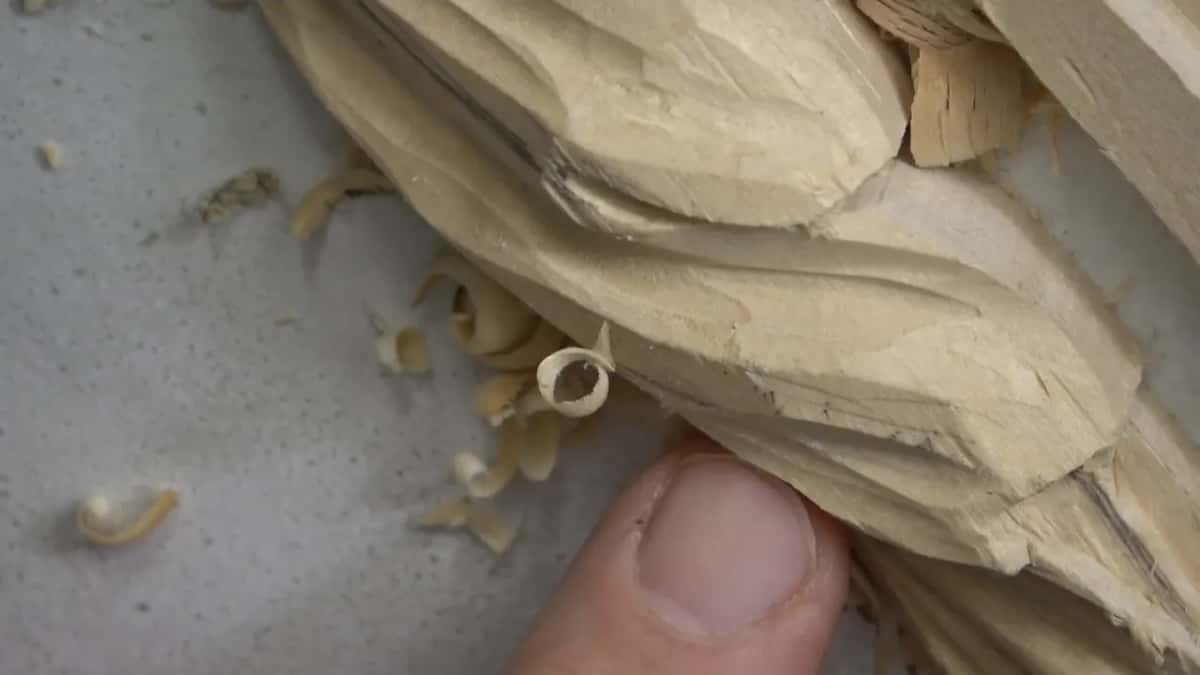
Before any of that the tool needs checking, and there is a right way to do it. Place a fingertip lightly under the edge and draw it outward, away from the steel.
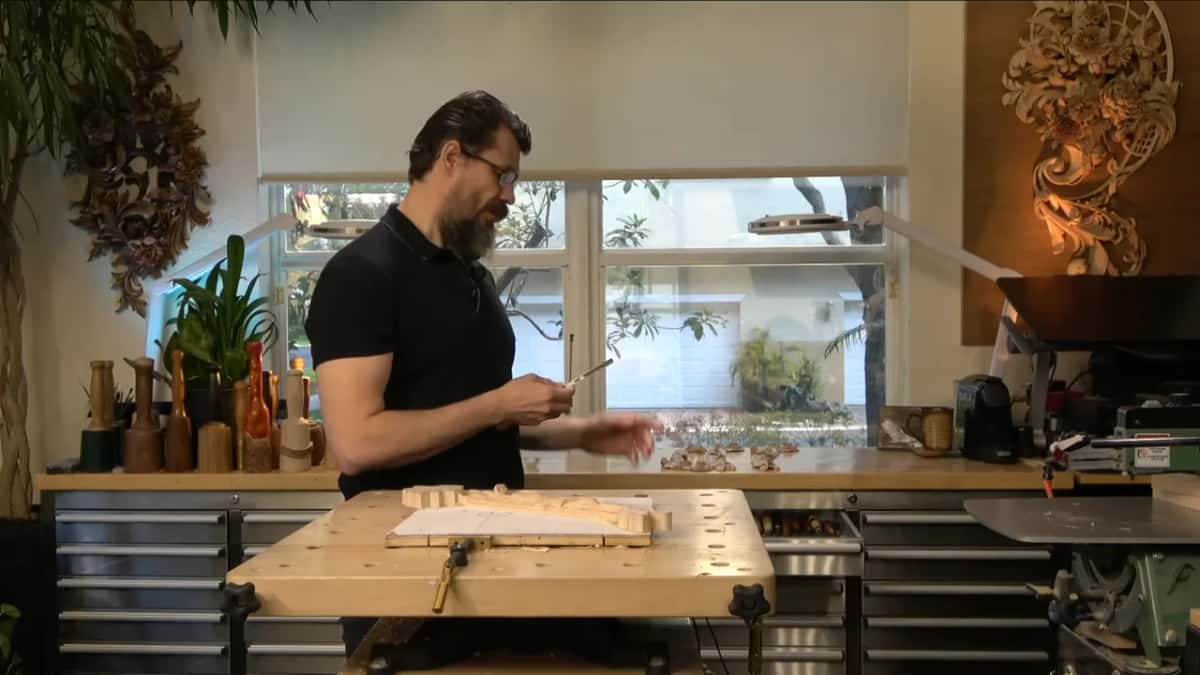
Fingers detect thousandths of an inch. They will tell you an edge has gone dull long before your eye sees anything at all on the bevel.
What people do instead is run a thumb along the edge sideways, the way you would test a kitchen knife. Do that with a freshly stropped gouge and you will bleed. Sharpening properly includes learning how to check your work safely.
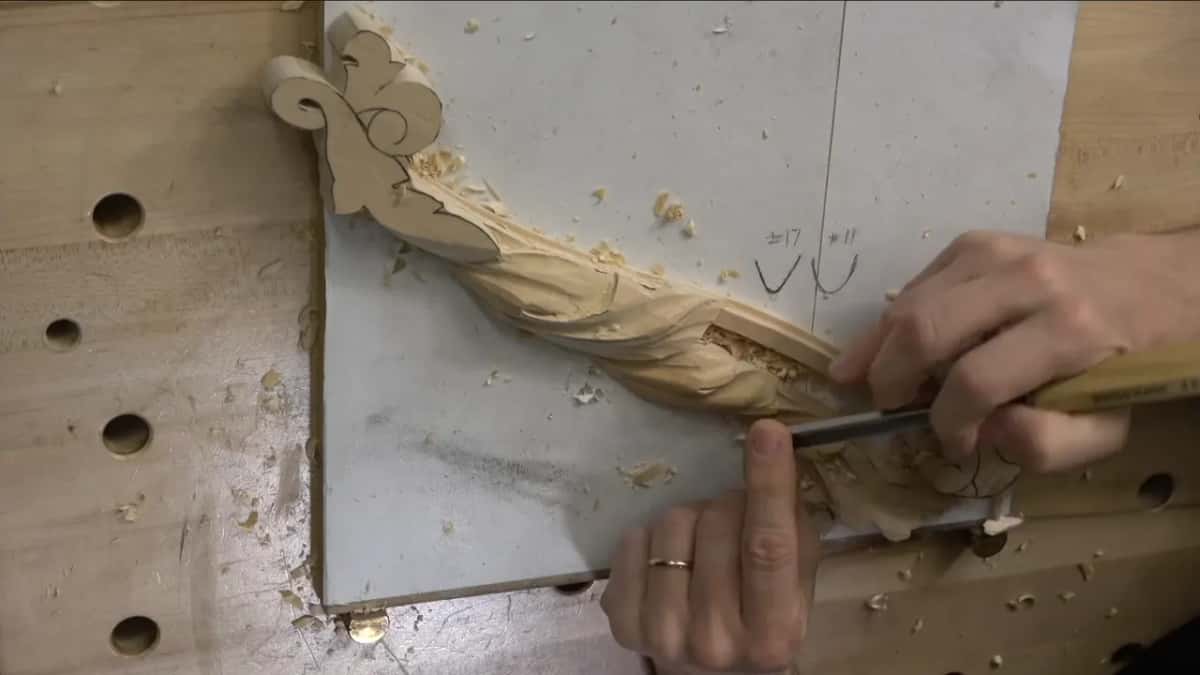
Circles rather than strokes is the part people get wrong when they try this. A straight pass from that tool leaves its own faint ridge, while a small circular motion overlaps itself and leaves nothing to see.
Pressure barely comes into it. The tool rides the surface and takes a shaving you can hardly see, and everything comes up really nicely with no force behind it whatsoever.
Two ways to finish a surface
| The approach | Who actually works that way in practice | Cost | What comes back |
|---|---|---|---|
| Clean each detail before you move on | Esterly | Every later change lands on work already finished | Nothing forgotten |
| Rough it all, then clean | My own shop | Holding the whole piece in your head for weeks on end | Cheap changes |
| A backbent gouge moved in tight circles | Open surfaces | Slow | Ridges disappear and the shape underneath stays exactly where it was |
| Number 11 inside the hollows | Anywhere a backbent corner would dig in | Care | Clean ground |
| Spoon gouge | Surfaces climbing away from your hand | One more tool to buy, and to keep sharp for the two cuts a year it makes | A cut that no straight tool can reach |
| Abrasive paper | Nobody here | Facets, light, and whatever it is that makes a carving alive | Smooth |
Shadow is what I am after under the pipe, and only shadow. Roll that undercut back far enough and the pipe starts to look like a real tube lying on the surface, and that is not what a carved ornament should be doing. Byzantine leaves push that further than Venetian ones do.
Keeping the bench nearly empty
Three tools out. Five when I am busy and not thinking about it. Seven and I have lost track of which number 11 is the sharp one, which has happened more often than I want to admit.
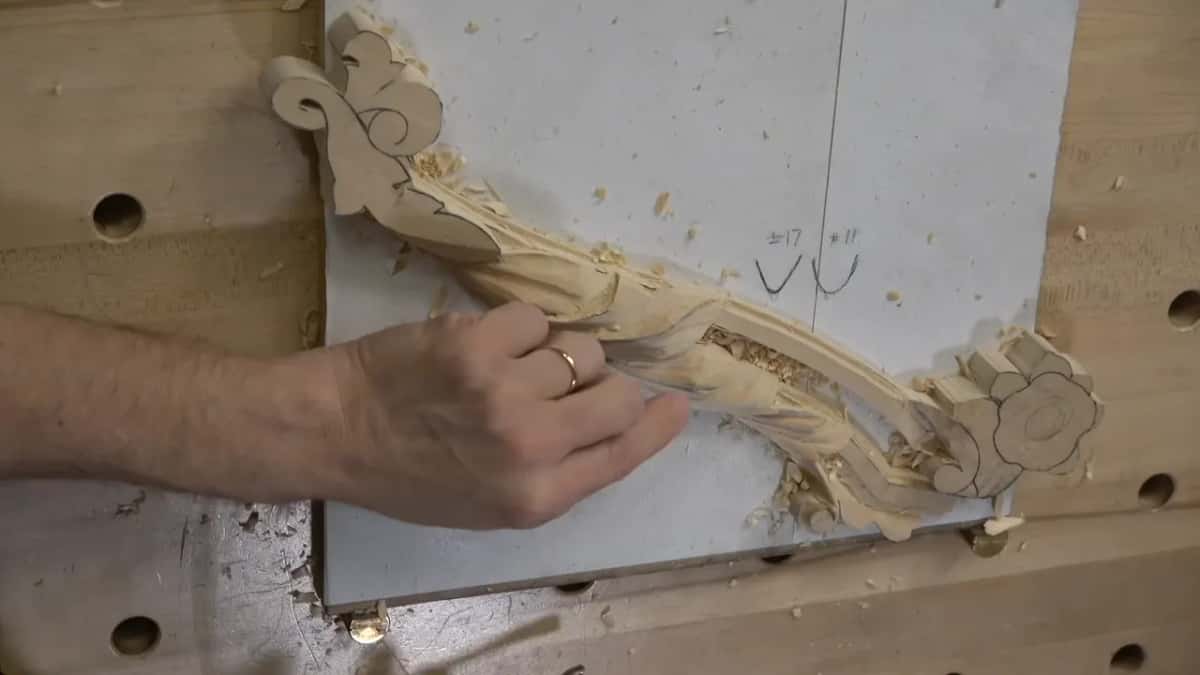
There are tools on every wall of this shop and two more chests you never see on camera. Which is precisely why the bench itself stays close to empty.

Each tool goes back before the next comes out. Sounds fussy. It saves ten minutes an hour and it stops you reaching blind for something dull.
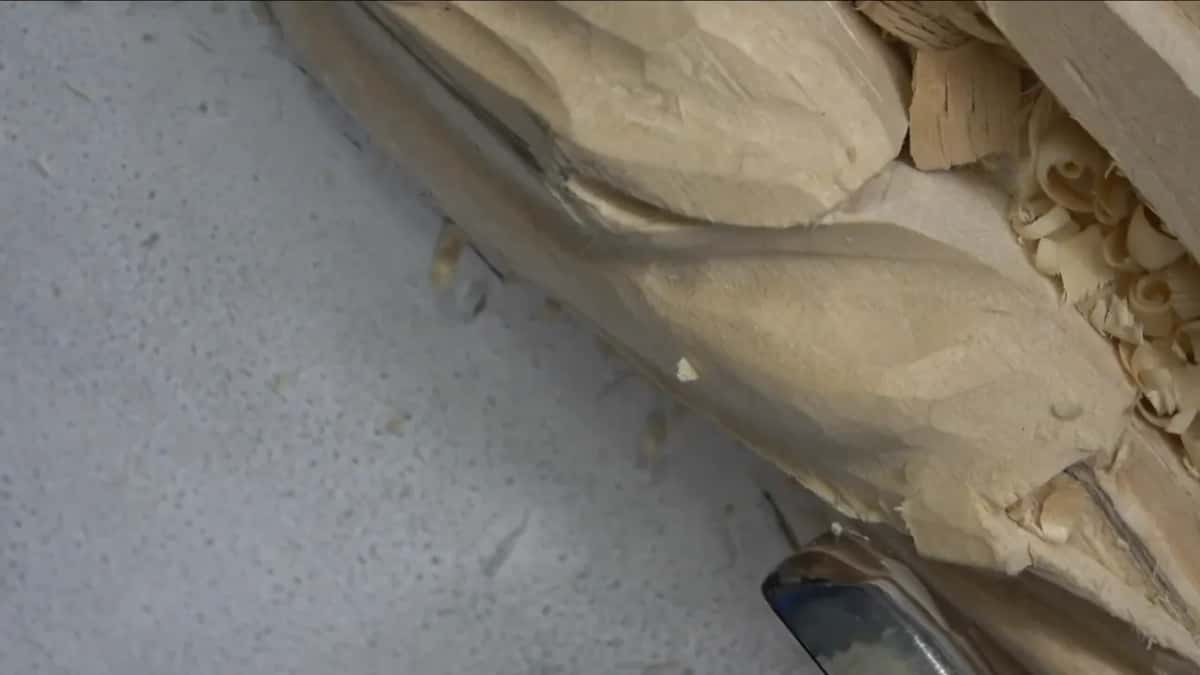
Seven millimetres of number 11 does most of the concave work here, which is one millimetre wider than a quarter inch and makes a real difference on a lobe this size. The wider tool leaves a flatter hollow and I want these hollows shallow.
Direction matters even while blending. Rolling the tool toward the left as the cut runs out feathers it into the edge of the leaf, so the hollow arrives at the boundary instead of stopping dead just short of it.
One ridge has to stay high through all of this, with the surface sloping away downhill on both sides. Flatten that ridge while cleaning and the leaf loses the thing that made it a Venetian leaf.
Where not to undercut
The moulding runs underneath this leaf and comes out the far side. So the edge of the leaf has to stay close to the moulding rather than lifting away from it.
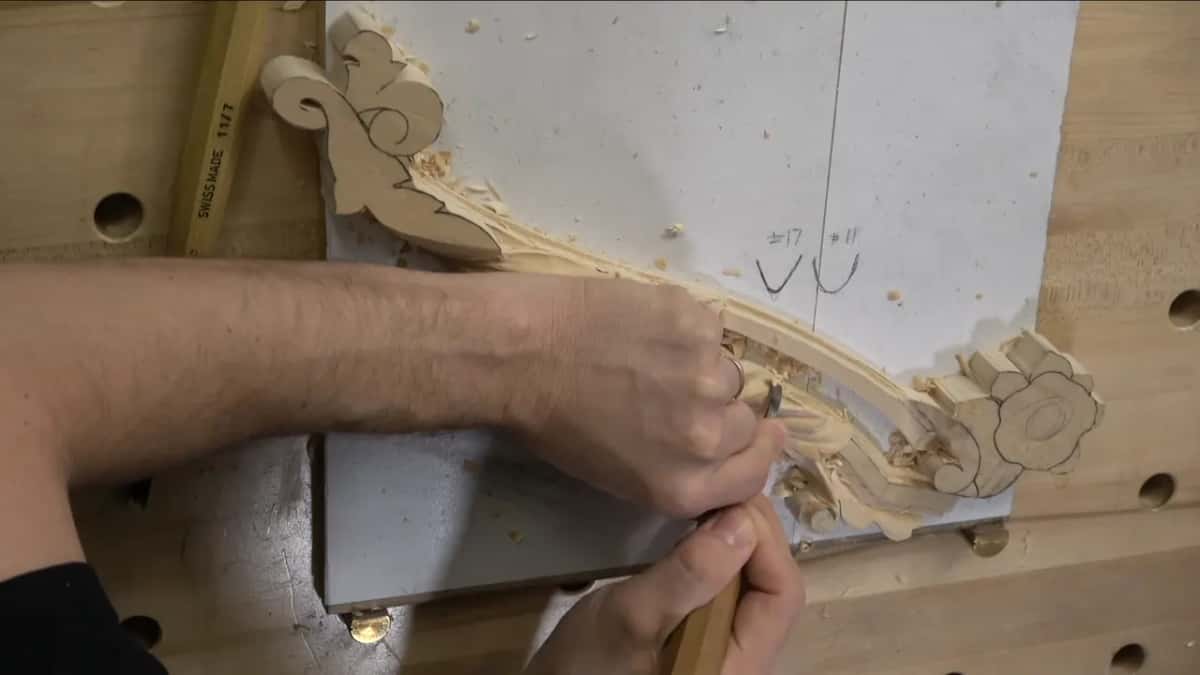
Deep undercutting there would be a mistake twice over. The moulding becomes hard to carve afterwards, and the leaf starts to look detached from the thing it is supposed to be growing across.
Higher up, where the point of the leaf lifts, undercutting is welcome and I take it as far as the wood allows. The first workshop sets out which edges may be cut under and which may not.
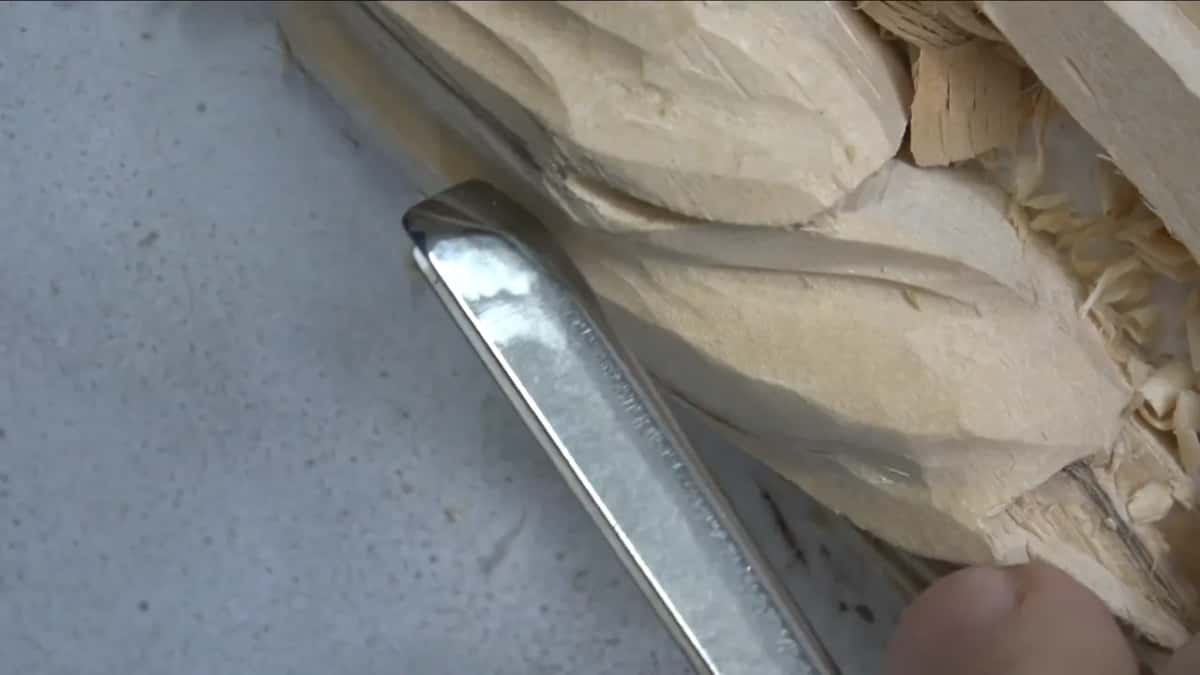
On the pipe I stop short too. A shadow underneath it, yes, but not rolled back far enough to look like a real pipe lying on the board. Relief is an illusion and pushing an illusion too far breaks it.
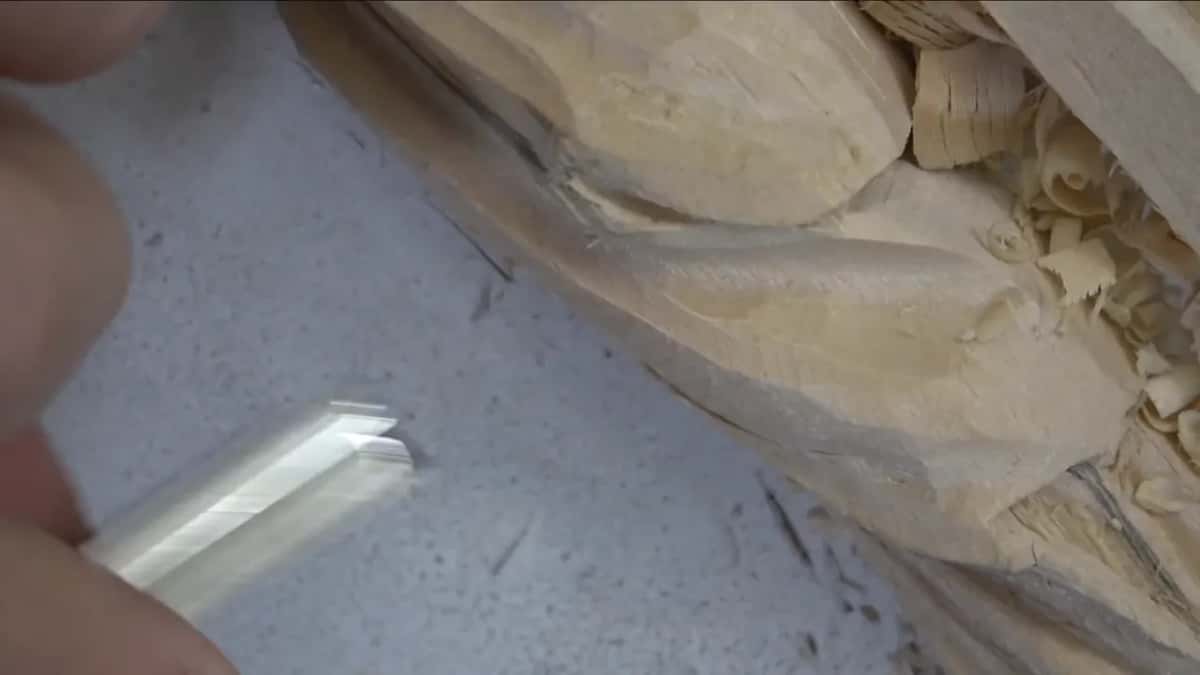
Some carvers keep every tool they might want within reach and work happily that way. I have tried it and I end up picking up the wrong number 11 four times in an afternoon, then wondering why the cut feels wrong.
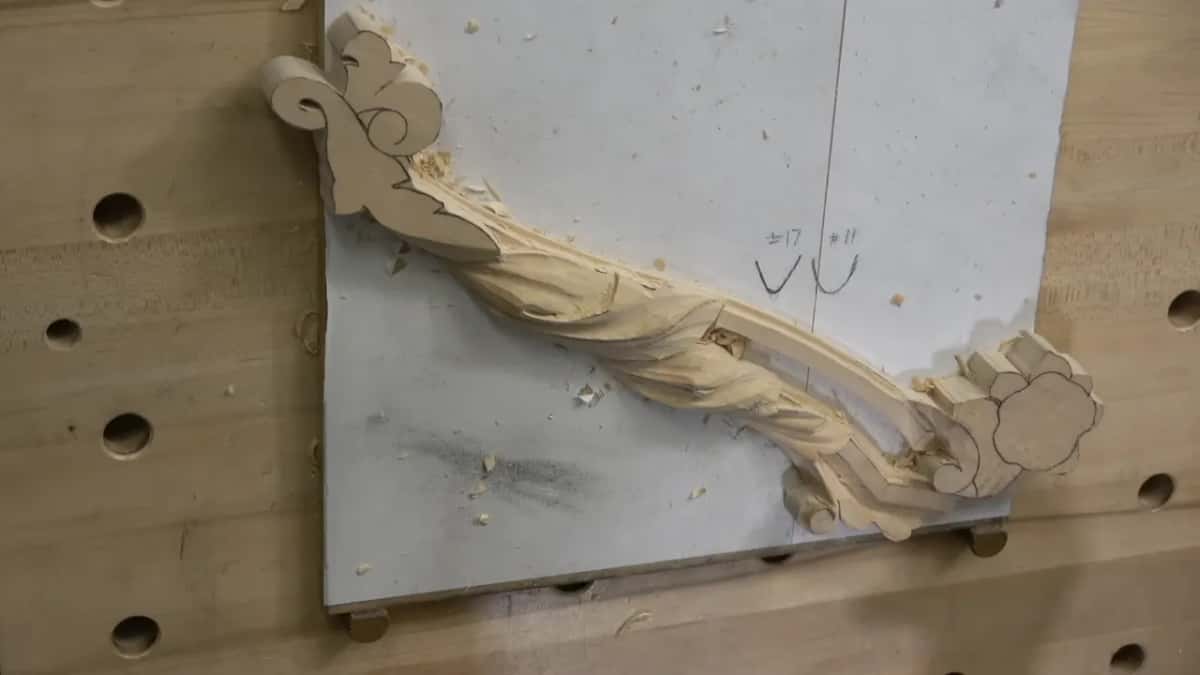
Concave cuts had not been made anywhere on this lobe when the session started. Overall shape first, then detail, and that order is the same one the whole course follows from the very first workshop onward.
Fixing what you do not like
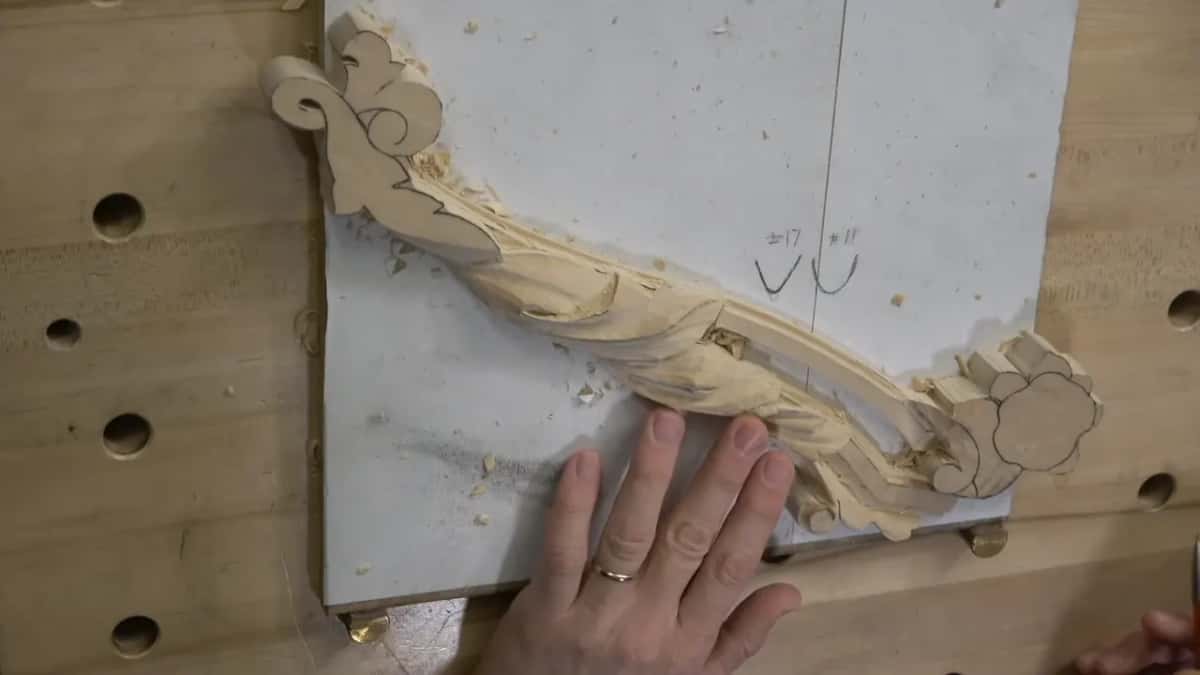
One side of this acanthus sat too high for my taste, so down it came by a millimetre with the same number 11.

Taste is the right word there. Nothing was wrong with it. I sighted along the surface, decided the fall was not gradual enough, and changed it.
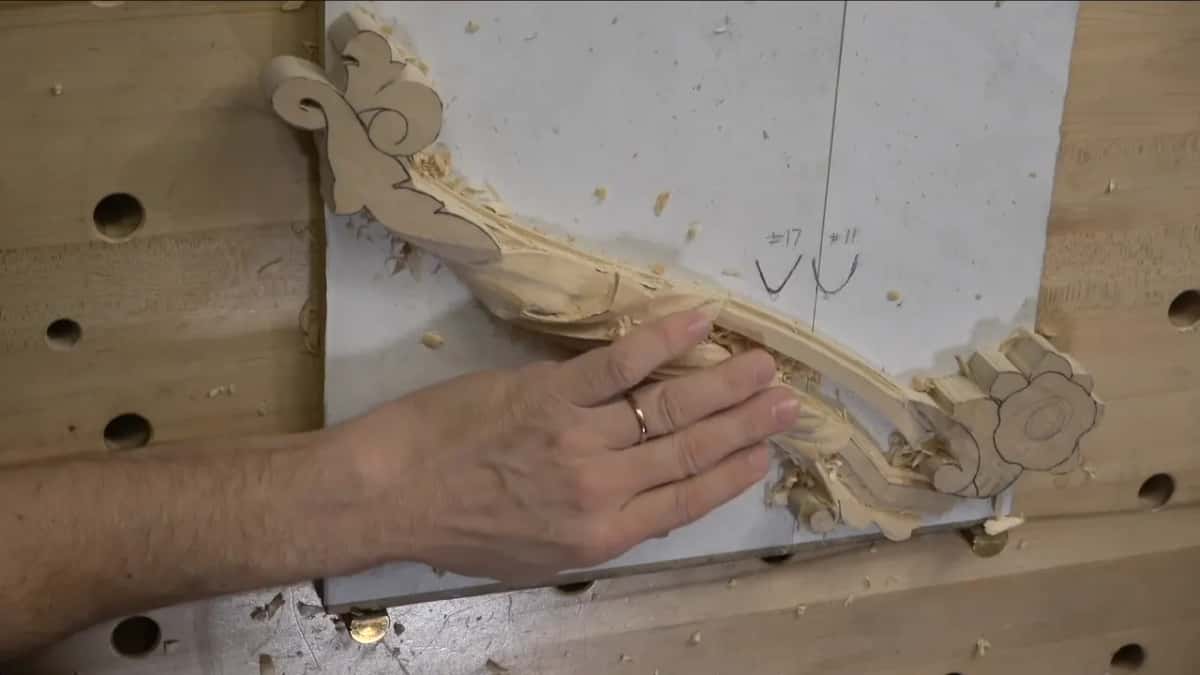
Sighting along a carving rather than looking down at it is the single most useful habit in this whole workshop. From above, everything looks fine. From the side, the truth arrives immediately.
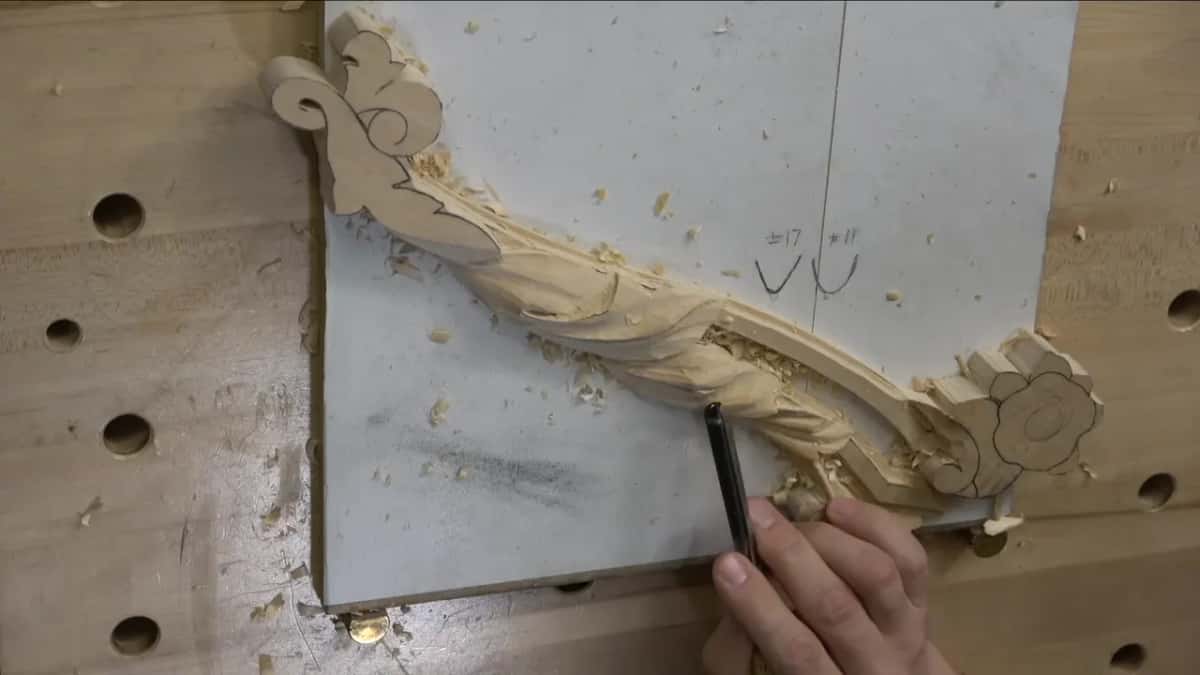
Another cut went deeper than I wanted, and I said so out loud on the recording rather than editing it out. That happens on every piece, and it is not a mistake so much as a decision you now have to build around. Recovering from a cut comes up constantly in the questions students send.
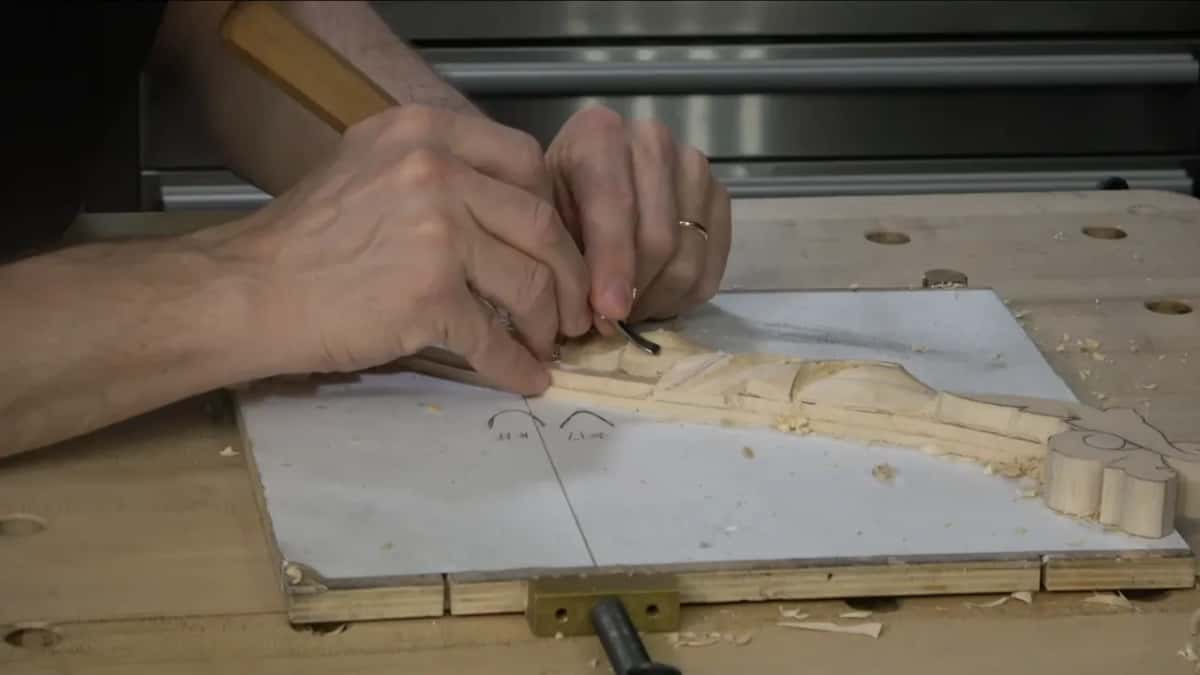
The convex down the middle needed taking down as well, since it had come out larger than the drawing wanted. Backbent first, then a number 11 where the backbent would have dug in, and the middle came back into proportion.
Flipping a gouge upside down gets you a tiny concave on a surface that is already rounded, which is not a cut you will find in a book. It works, and I use it on nearly every leaf.
Plenty left to do after this. Both volutes are untouched and there is a flower still to carve, so nothing on this piece is finished in any real sense. Flowers of this kind have a course of their own.
Nobody needs a backbent to do this, before somebody writes to tell me so. A flat chisel worked carefully reaches the same place. The backbent simply gets there without me having to think about which way the surface is curving underneath it.
The corner that got caught
Right at the start of this session a corner of the tool caught where I did not intend it to. I cleaned it and carried on.
Nothing dramatic. On a rough surface a small accident disappears under the next ten cuts, which is one more argument for leaving the cleaning until the end.
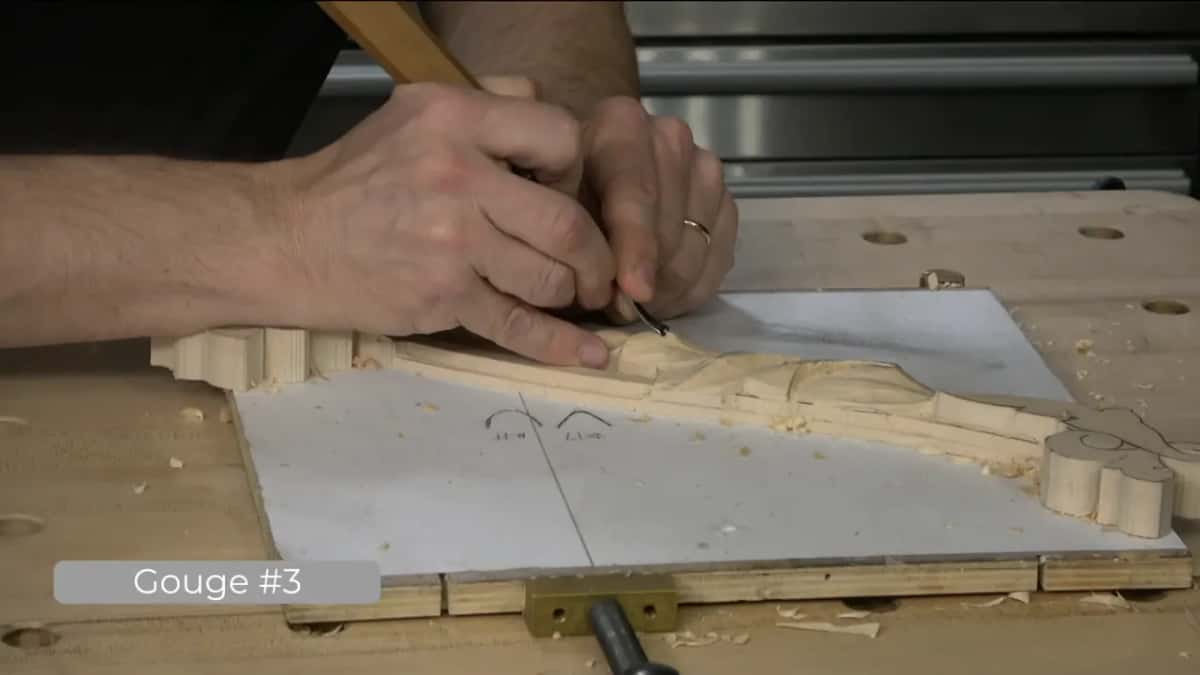
Had that surface been polished already, the same accident would have cost an afternoon. That is the argument in one sentence, and it is why I work the way I do.
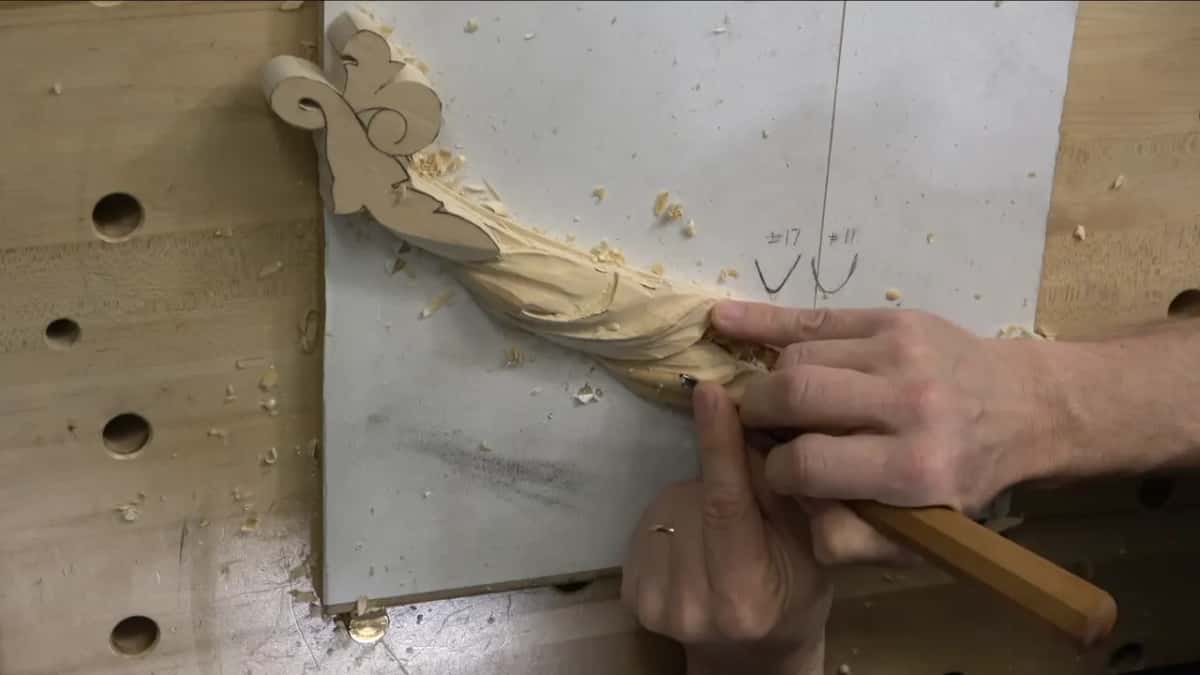
Ever finish part of a carving beautifully, then realise the shape underneath was wrong? Ever have to cut through your own best work to fix it? Almost every carver does that at least once. Then let us carve, and I will show you the order that stops it happening twice.
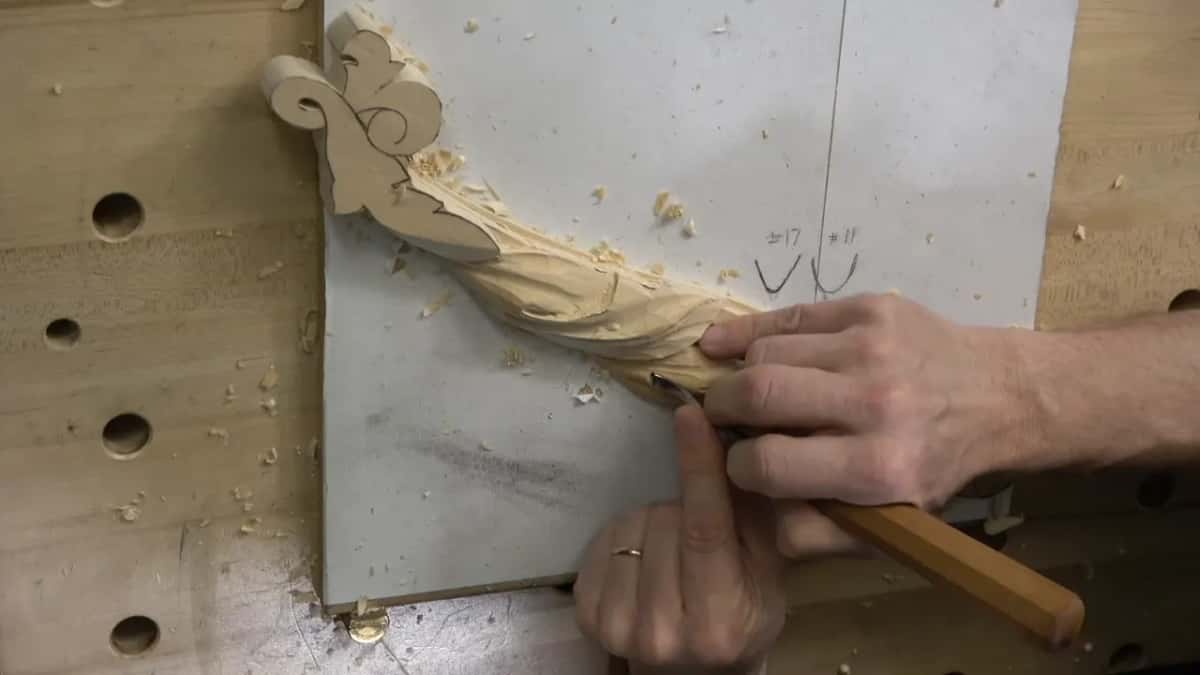
Rough it all, walk away, come back with new eyes. Acanthus Over Moldings runs ten workshops, the workshop before this covers short strokes and a braced hand, the Gibbons class shows the tradition Esterly came out of, and tuition opens all of it.
Circular motion with a backbent, no abrasive, and the facets left where they fell. I like what I see. Shall we carve?
How it's done
- Rough the whole detail before touching any surface. Every movement wants to exist in three dimensions before a single square inch gets finished.
- Walk away for a few days. Coming back with fresh eyes shows you things that were invisible while you were carving them.
- Blend with a backbent number 3. A quarter of an inch, kept circling so the tool leaves no ridge of its own behind it.
- Swap to a number 11 inside the hollows. Corners dig in there. Seven millimetres of 11 clears the ground cleanly.
- Use a spoon gouge where the surface runs uphill. Nothing straight can reach it.
- Test the edge by drawing a finger outward. Fingertips detect thousandths. Running a thumb sideways along a stropped gouge draws blood instead.
- Stop before every facet is gone. Slight blending of the harshest ridges only. Facets break the light and a uniform surface returns one flat sheen.
- Sight along the carving rather than down at it. From above everything looks right. From the side you find out whether the fall is gradual.
Frequently asked questions
Is it better to clean a carving as you go
Not in my shop. Roughing comes first across the whole piece, then a few days away from it, then finishing, because an alteration made to a rough surface costs an hour while the same change to a polished one costs a day.
Did David Esterly clean carvings as he went
He did, and he set out his reasoning in his book. Leave a detail unfinished on a large piece and you forget it. My own answer is to keep roughing and finishing as separate stages rather than relying on memory.
Should you sand a wood carving
No abrasive comes near this work. A curved gouge circling over the surface blends the harshest ridges and leaves it carved, while paper produces a uniform sheen that kills the light across the ornament.
What to carve next