

Alexander Grabovetskiy, woodcarver, School of Woodcarving · Published 2022
Can you carve toward yourself?
Quick answer: Carving toward yourself is the one rule every beginner learns and every working carver eventually breaks. On a complicated panel the comfortable angle does not always exist. What keeps you whole is a properly sharp edge, so you are not leaning on the tool, and hands locked against each other the way a dentist works.
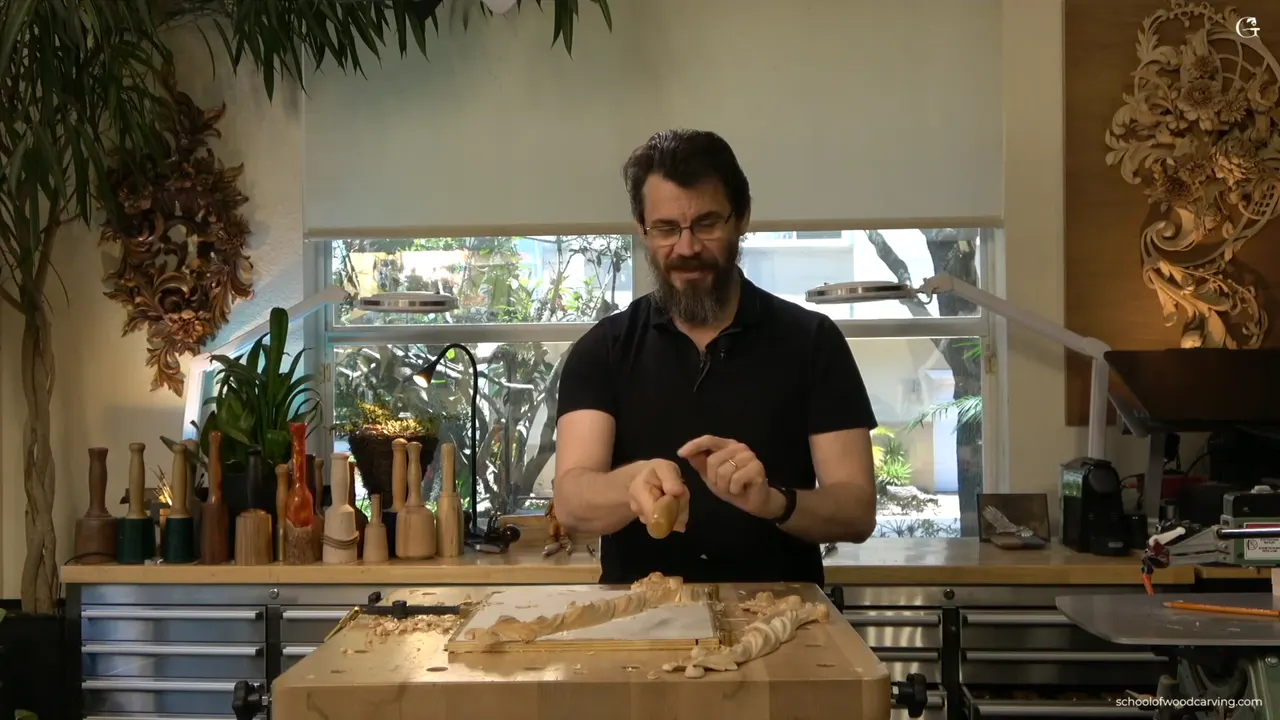
Every carving book on the shelf says the same thing, and the books are right. Keep the edge pointed away from you. I still end up working toward my own hands several times a week, because the panel does not care what is comfortable, and there are exactly two conditions that make it survivable.
Watch me on the flower in this workshop and you will catch me doing it. The gouge is coming back toward my chest. I said so on camera at the time, because pretending otherwise would teach you a lie.
The rule exists for a good reason. A tool that slips while pointed away takes a chip out of the bench. Aimed at your body, that same slip goes somewhere worse.
So here is the honest version, the one nobody writes down anywhere I have read. These are the conditions.
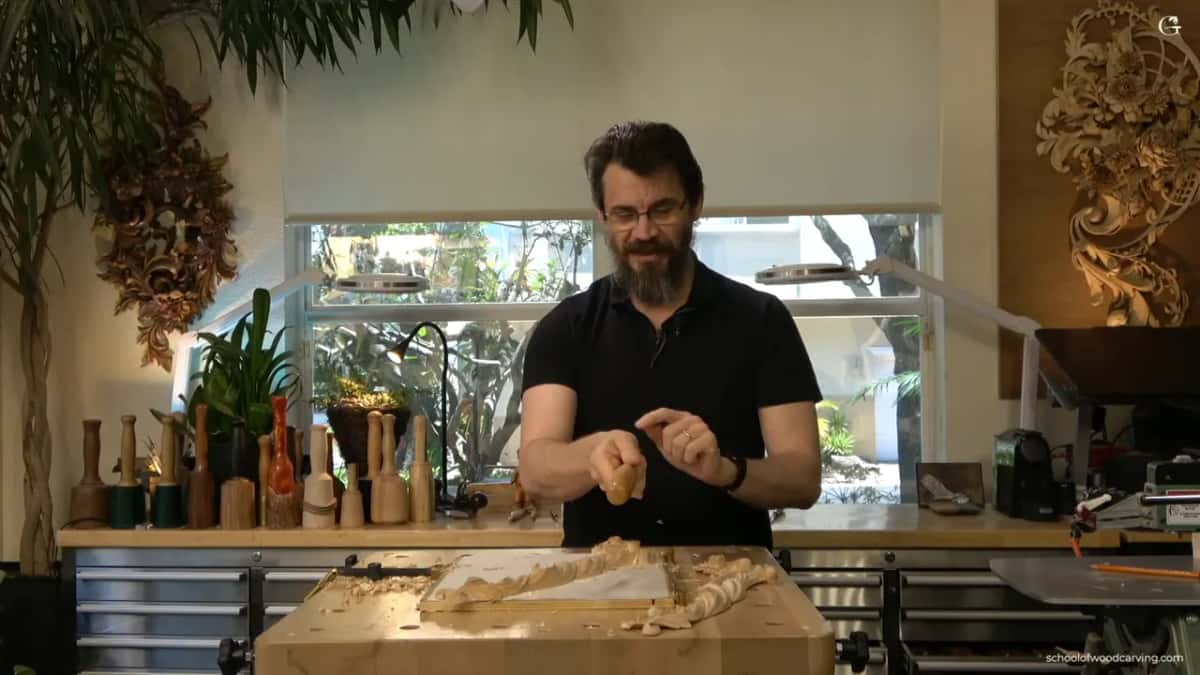
What must be true before you turn the edge around
- The tool is properly sharp. A dull edge needs force, and force is what slips.
- Your hands lock, wrist braced on wrist, so the blade cannot travel.
- You are taking small bites. Not one heavy stroke.
- You have honestly looked for another angle first and there was not one.
- Nothing that matters sits in the path of the blade. Your own thigh counts.
Can you carve toward yourself?
On hard work, sometimes you have no choice. A deep hollow in the middle of a rosette has one approach that reaches it, and rotating the board does not always produce a second one. Pretending it never happens would be dishonest.
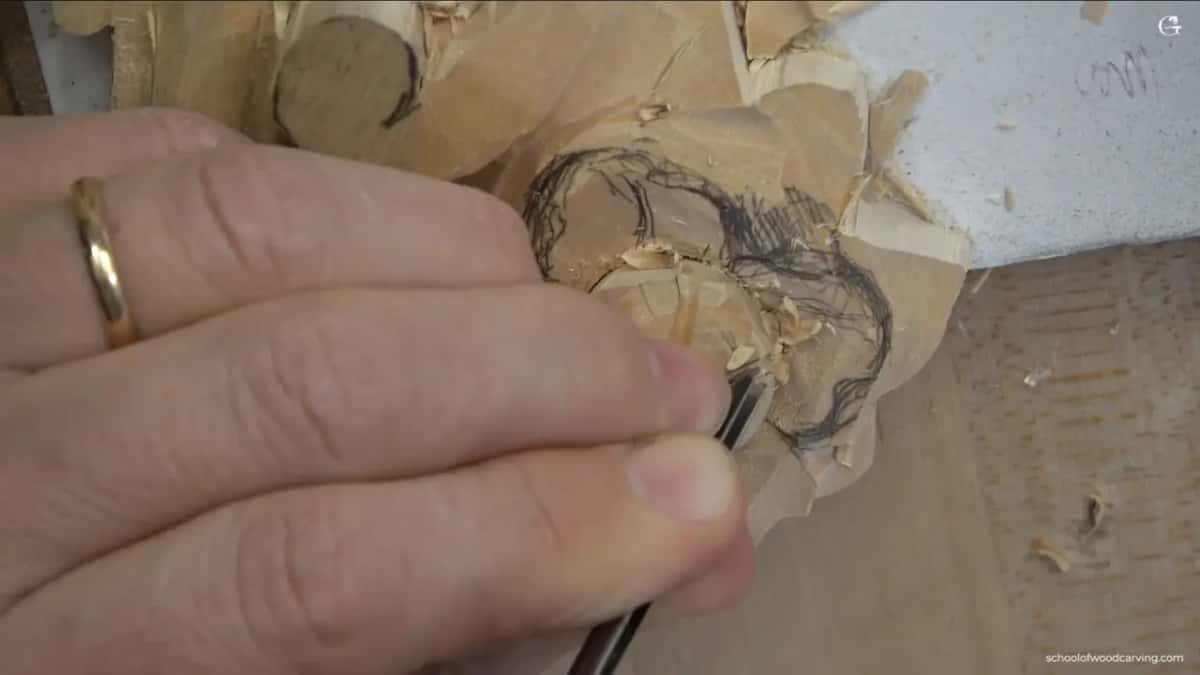
Dentists work toward themselves all day. They lock their hands, one against the other, and a locked hand is really hard to slip. Nothing about that is a free swing.
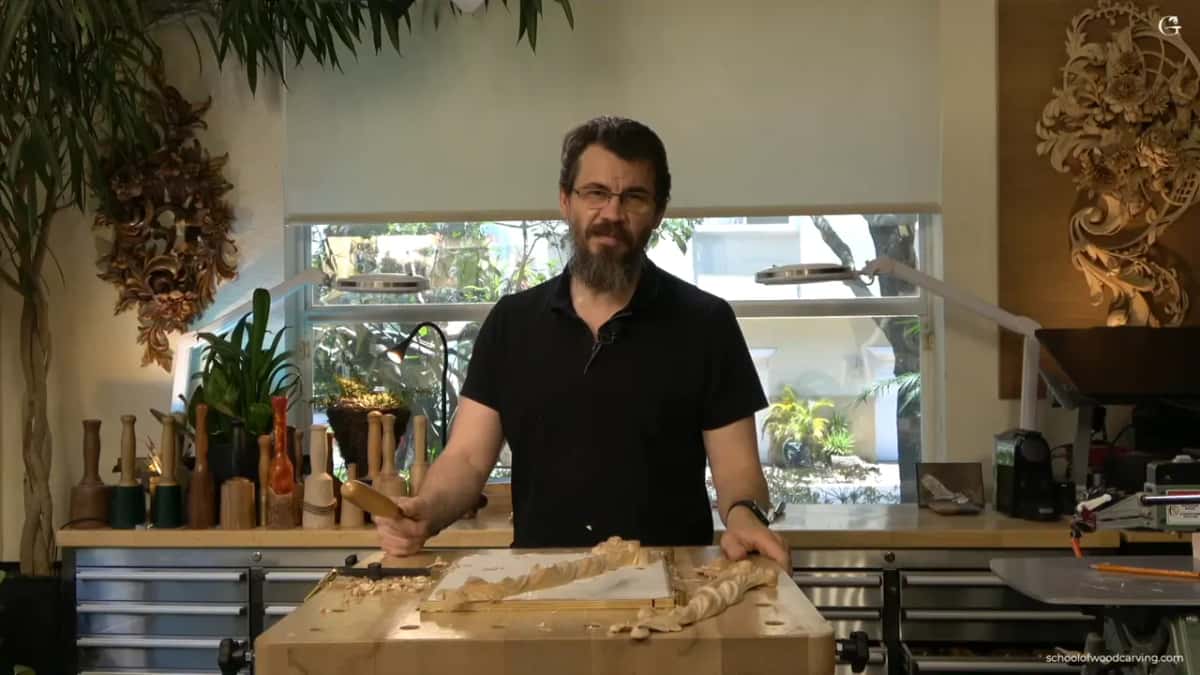
Copy that position exactly. Both hands in contact, one of them acting as the brake, the blade moving a short distance under control. If I cannot get into that position, I stop and turn the work instead, the way the previous workshop handled an unreachable ridge.
Why does a sharp tool make it safer?
Pressure. A properly stropped gouge parts the fiber with the weight of your hands, and a dull one has to be driven, which means you are storing energy behind an edge aimed at your own body.
Then the wood gives way suddenly, because wood does, and everything you were pushing with arrives somewhere unplanned. That is how a tool slips. My first technique against it is sharpening, and the second one is locking your hands.

So the safety advice and the quality advice are the same advice. Keep them sharp. Which is also why I stop mid job to buff a tool rather than finishing the section first, which students always find strange until the day it saves them.
None of this replaces sensible protective gear. It sits underneath it.
What does setting in actually mean?
An outline carved round a shape, made before you lower anything beside it. Carvers have called it setting in for a long time, and once you know the name you will see why every relief job has the same rhythm to it.
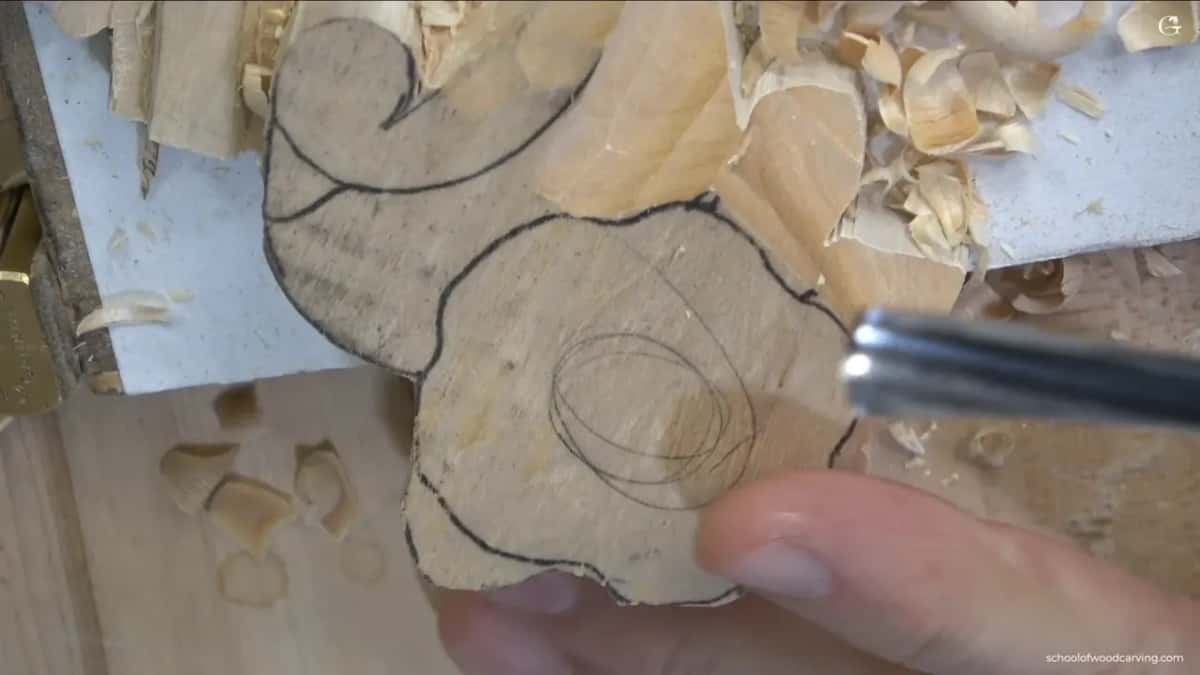
In relief work you have layers, and each layer gets handled separately. Set in the edge of the layer, take the ground down around it, move to the next. On this flower I set the petals in with six millimeters of number 11, then followed with the 2.5 mm size for the deeper separation between the flower and the volute beside it.
The word matters more than it sounds. Treat the whole thing as one long shaping job and you get lost. Work in layers and you finish.

How deep does the center of a flower go?
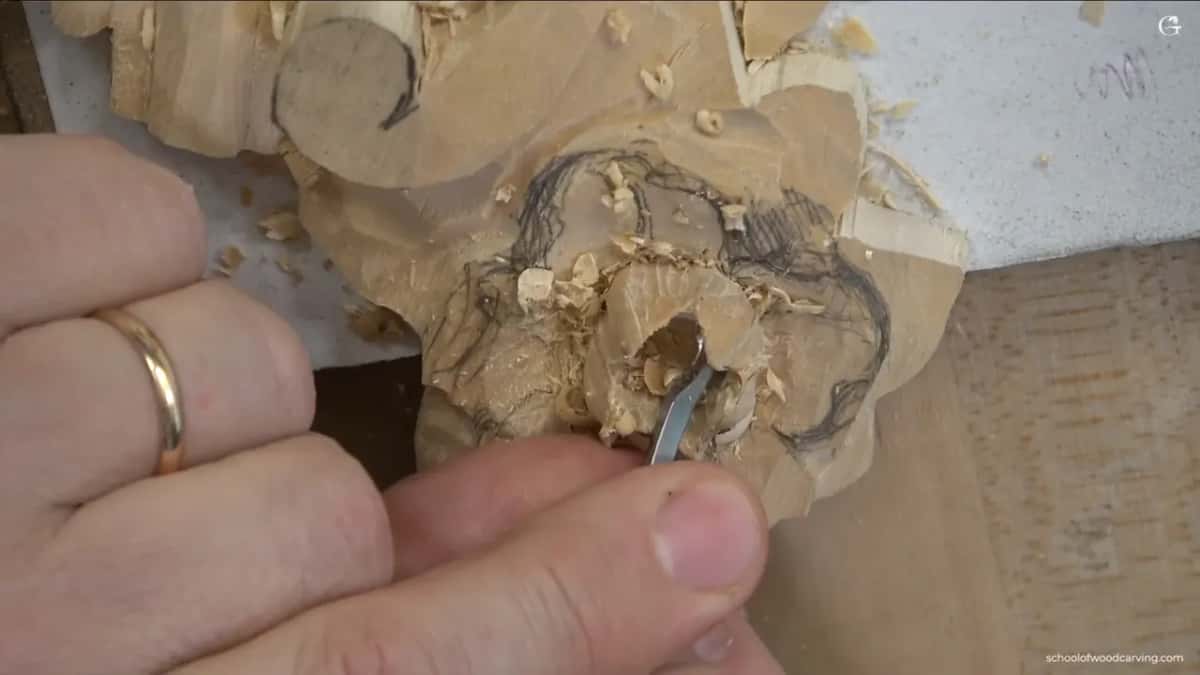
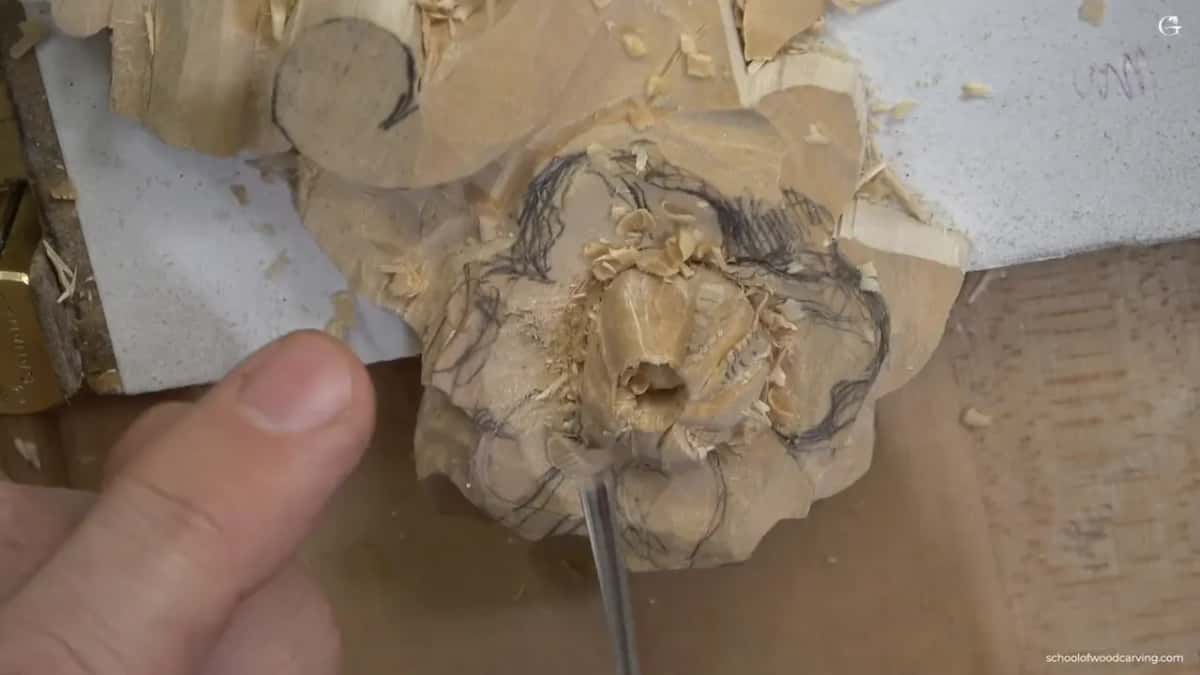
About a quarter inch, 6 mm, and no further for now. I take a six millimeter number 9, plant it dead center of the rosette and make one plunge, which gives me the well the petals will wrap into.
Going deeper now would be showing off. There is a whole cleaning stage later where I can drop it further if the shape asks for it, and until then the extra material is doing useful work holding everything together.
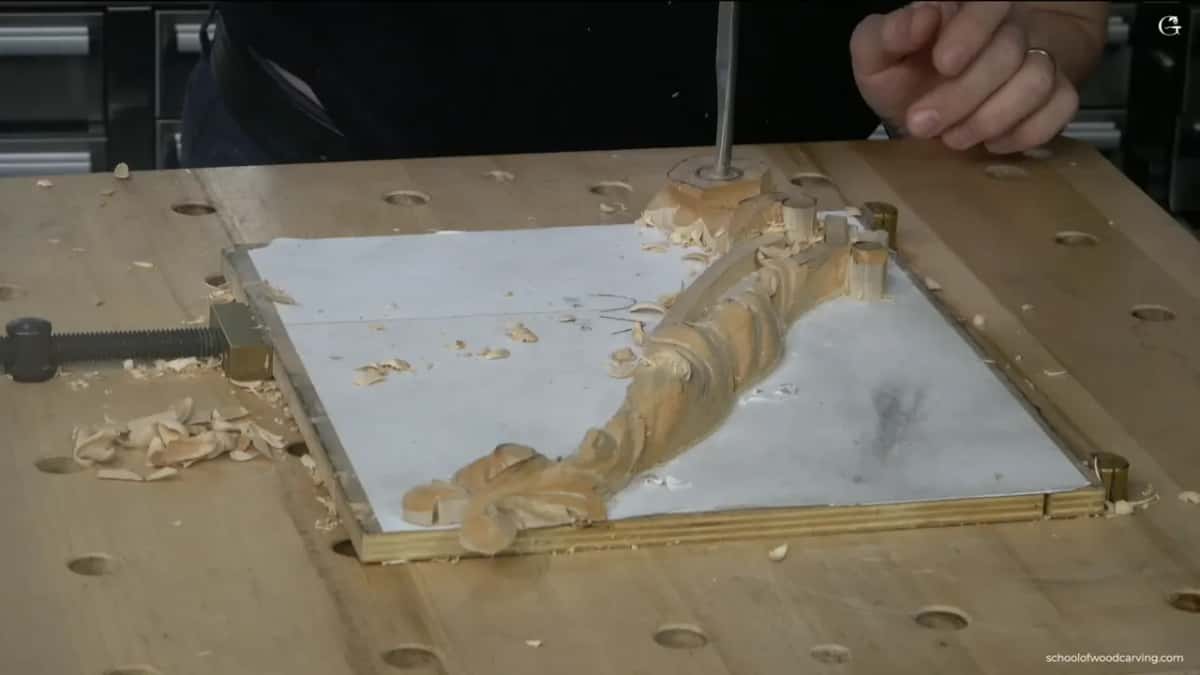
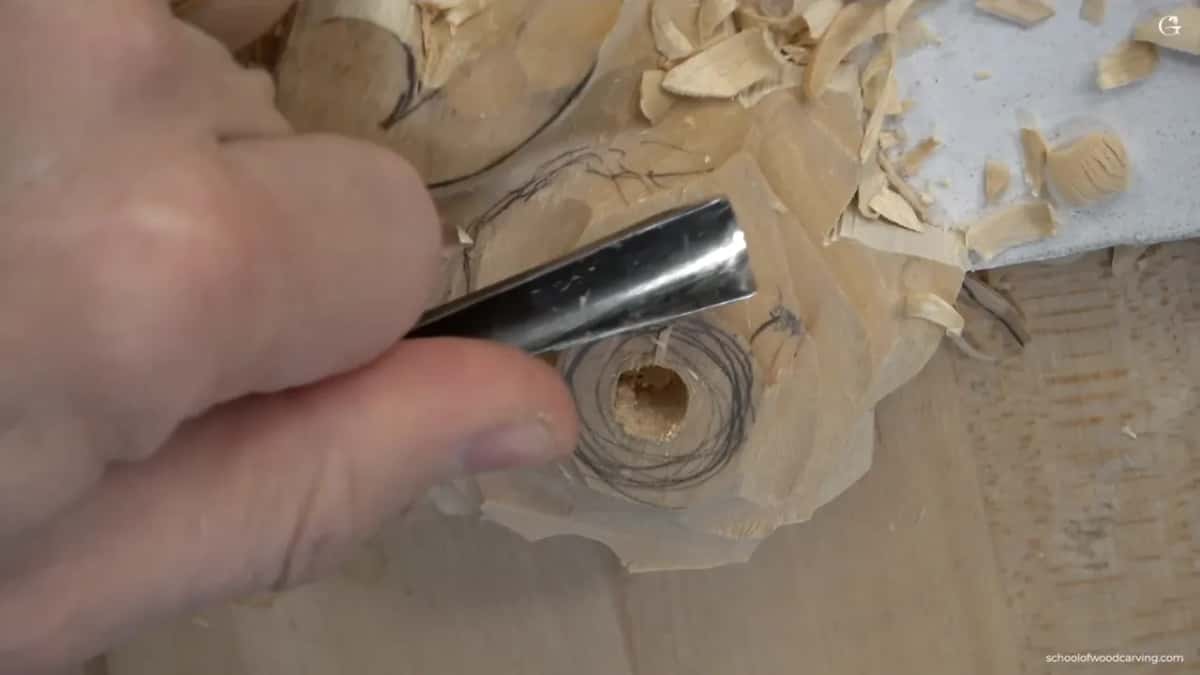
One trick worth stealing. Start that hole small. A small hole can be moved in any direction later, and a big one cannot, which is exactly how I rescued this piece when a number 5 chipped the grain beside the center. I shifted the whole hole a hair to the right and the chip disappeared into the waste.
Which tool did what on this flower
| Tool | What it did on this flower, and how it was presented to the wood | Note |
|---|---|---|
| Number 9, half an inch | normal position | lowering the ground all round the petals, listening for end grain going dull under the edge |
| Number 9, quarter | one plunge straight down at the middle, about six millimeters and no further | depth |
| Number 11 | flute straight up | a millimeter of separation, never more than that, or the petal edges start looking scratched |
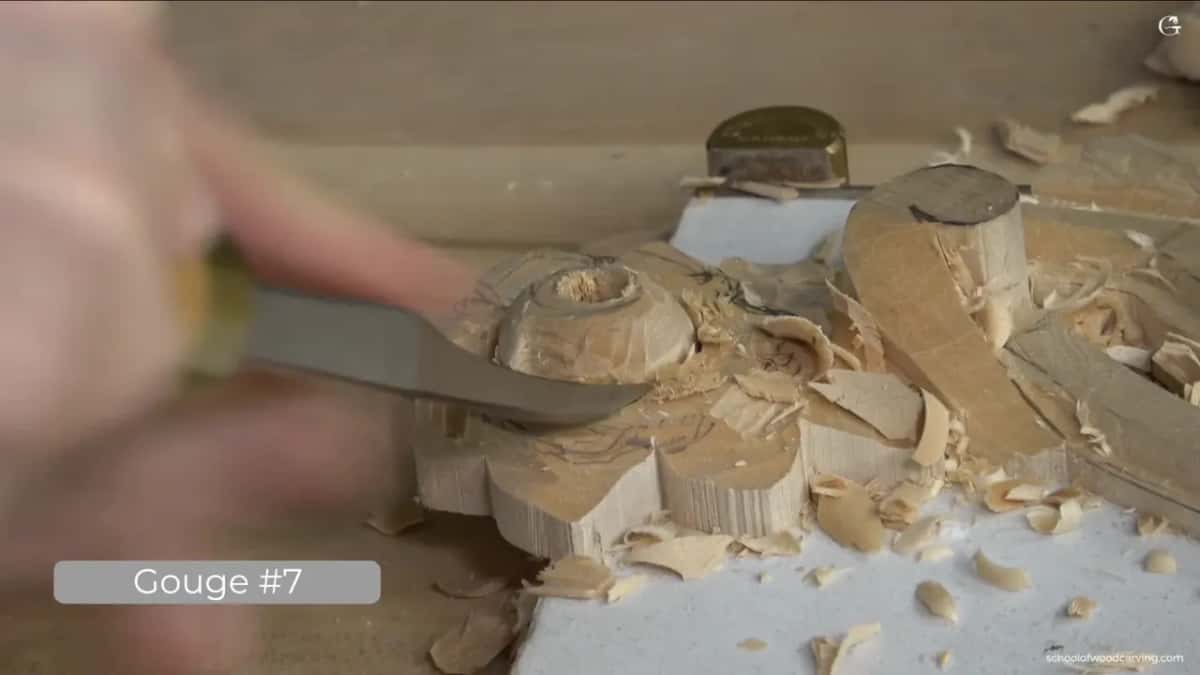
| Number 7, seven eighths wide | inverted and slicing sideways the whole way across the bump until a sphere appears | roughness |
| Number 3 | inverted again, for overlaps | in the middle they all wrap one way |
| The seventeen | relieving small triangles | little bites and no pressure at all, because this is where students chip the grain |
| Number 5, an eighth of an inch | the convex and its two hollows inside every petal | magnifiers |
Why turn the gouge upside down?
To make a convex shape instead of a hollow one. Held the usual way a gouge scoops. Rolled over so the hollow faces the wood, the same tool rides across a bump and shaves it round, and the center of this flower became a sphere that way rather than by carving it flat and then knocking the corners off.
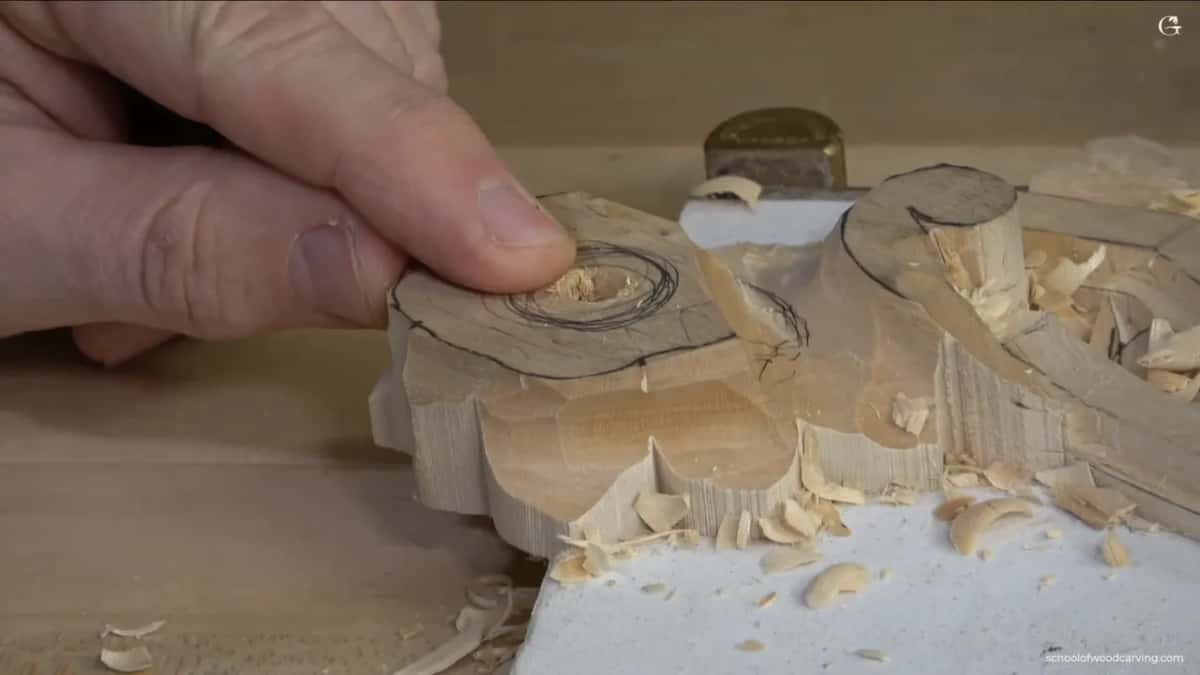
Still a slicing action either way. The tool travels sideways as it moves forward, never straight into the fiber, which is the difference between a surface that shines off the edge and one that needs abrasive afterwards.
Once the dome stood, I used only the corner of the tool to work back underneath it, so the sphere tucks in at the bottom instead of sitting on the wood like a button.
How many petals, and should they match?
Five here, and no, they should not. I draw the divisions deliberately unequal, one a little wider, another narrower, and if you make them the same width the thing looks stamped rather than grown.
Some curl upward. Some lean sideways. That variation is the whole difference between ornament that reads as alive and ornament that reads as a pattern, which is a lesson that runs through every rosette we carve.
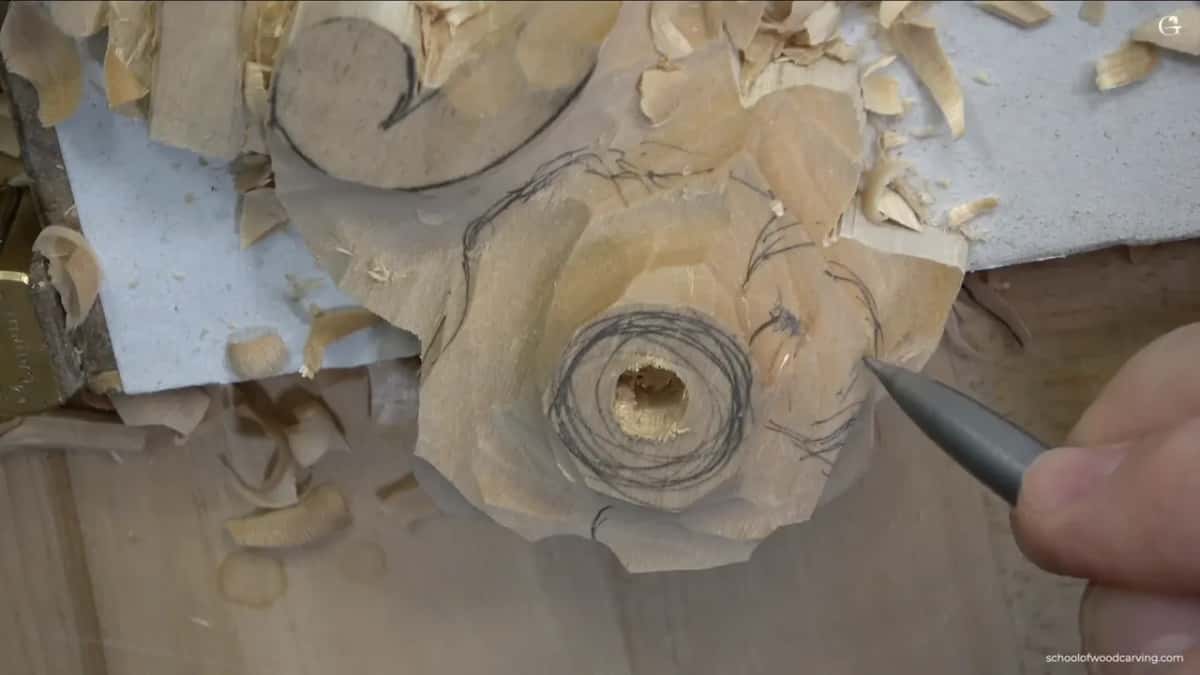
The one place I do keep a rule is the overlap in the middle. Those wrap in a single direction, the way a real flower unwraps from its bud, which the Venetian flowers course takes much further. Out on the open petals they can overlap whichever way they like, because in nature that is exactly what they do once they are open.
What shape is a petal in section?
Convex in the middle, concave down both sides. Take a section across any petal on this flower and you get a low hump with a valley either side of it, and that same section repeats at every scale on the panel, from the big acanthus movements down to a division three millimeters wide.

For that I use a number 5, an eighth of an inch across, with magnifiers on. The middle line first, tool upside down. Then the hollows either side with the tool the normal way up.
Anyone who has carved a Greek acanthus already knows this section. The flower is the same idea shrunk down.
How thin is too thin?
Thinner than it needs to be for where it will live. I could take these petals to paper thickness and they would look spectacular in a photograph, and then the panel goes on a wall with people walking past it every day and somebody catches an edge with a coat sleeve.
So I leave meat in. Not a lot. Enough that a knock does not end the piece, which is a judgement about the room the carving is going into rather than about the carving itself.
Museum pieces get carved differently for exactly this reason. Look at the survivors in the V and A collection and you are looking at a selection effect. The fragile ones did not make it four hundred years.
Why lower whatever is in your way first?
Working around an obstacle costs you three times what removing it costs. Beside this flower sat a section of volute standing proud, and every approach to the leaves ran straight into it, so I stopped and dropped that section below the molding line before carving another petal.

People resist this because the obstacle is not the part they are excited about. Then they spend an hour tilting the gouge at silly angles, taking shallow nervous strokes, and wondering why the surface looks chewed. Clear the path. The work speeds up immediately.
Same reason I clean the scroll saw marks off a side early even though that side will be carved away later. They catch the eye and the eye is meant to be on the shape.
How does end grain sound different?
Dull and dry, a sort of crunch instead of a hiss. You will hear it before you see any damage, and on a curved ornament the grain turns under your tool constantly, so the sound changes several times inside one stroke.
Learn that noise and it becomes a warning system. A clean slice down the length of the fiber sings. The same tool crossing end grain goes flat and heavy, and if you keep pushing through that sound you get a torn wall rather than a carved one.
Beginners in the first course usually notice the sound weeks before they can explain it. No matter. Hands learn ahead of the head.
What is a number 17 for?
Relieving small triangles and corners that a V tool leaves ragged. A number 17 is shaped like a V with a small gouge at the bottom of it, so it clears a corner without leaving the sharp crease a true V leaves, and at 3 mm it gets into places nothing else reaches.

Little bites with it. No pressure at all. Force a small tool into dense end grain and you chip exactly the detail you were protecting. I did it on this very flower and then had to design my way out of it.
Ashley Iles made the tiny number 9 I used for hollowing here. Different makers are good at different tools, and that firm happens to be very good at the small ones.
Why does the molding get a chamfer first?
A flat pass is easier to control than a curve. The molding on this panel is a clover, rounded on both edges with a convex belly in the middle, and I get there by laying two or three chamfers across each corner and then softening what is left between them.
Nobody carves a half round in one pass. You approximate it with flat chamfers and then take the ridges off, which is how every molding profile on a piece of furniture got made before machines.
The important part is stopping at the line where the molding starts. Dig into the molding itself and you have two repairs, not one.
When is it finished enough for today?
When the shape reads and the next session will see it better than you can. I deliberately do not take a detail to perfection on the first pass, because coming back a few days later I always spot a movement that is wrong, and if that surface is already finished the correction hurts.

Work all day on one piece and you stop seeing it. Sleep, come back, and the mistake is sitting there in plain sight waiting for you.
If that way of working suits you, come and carve with us. Shall we carve?
This flower is one small unit of a much larger Venetian panel project, carved in the Renaissance manner, the kind of thing carved in Venice at the start of the sixteenth century. The petals took an afternoon. The panel took months, and at no point during that afternoon did my pen work when I wanted to draw the divisions in red, so the divisions stayed in pencil.
Next time the petals get their movement and their undercut, which is where the shadow finally arrives.
How it's done
- Lower anything blocking your approach. Drop the obstacle below its neighbor before carving the part you actually came for.
- Set the petal outline in. Six millimeters of number 11.
- Sink the middle of the flower with a single plunge. Straight down, about six millimeters, and no further at this stage.
- Round the dome with the tool inverted. A wide 7 rolled over rides across the bump and leaves a sphere behind it.
- Tuck the sphere under using only the corner. Just the corner touches.
- Draw five unequal divisions. Different widths, a few lifting away, others leaning off sideways.
- Overlap the inner petals one way round. Growth unwraps in a single direction at the middle, so the overlaps follow it.
- Shape each section convex, then hollow both flanks. Middle line first, tool inverted.
Frequently asked questions
Is it ever safe to carve toward your body
Under two conditions only. A genuinely sharp edge, which removes the need to push, and two hands holding one another steady so the blade cannot travel far. Missing either one, turn the work around instead.
What does setting in mean in wood carving
An outline carved round a shape before the ground beside it comes down. Relief happens in layers, and each layer gets its outline first, then its surroundings lowered.
Should petals on a carved flower be identical
Uneven divisions look grown and matching ones look stamped. Vary the widths deliberately, let some lift while others lean, and the ornament stops reading as a repeated pattern.
What to carve next