

Alexander Grabovetskiy, woodcarver, School of Woodcarving · Published 2022
How do you carve a petal that curls backward?
Quick answer: Carving a petal that curls backward is mostly a matter of removing one section, not of shaping the whole edge. I round the tip a little, then take material from underneath it, and the eye reads the petal as rolling away from you even though the surface barely moved.
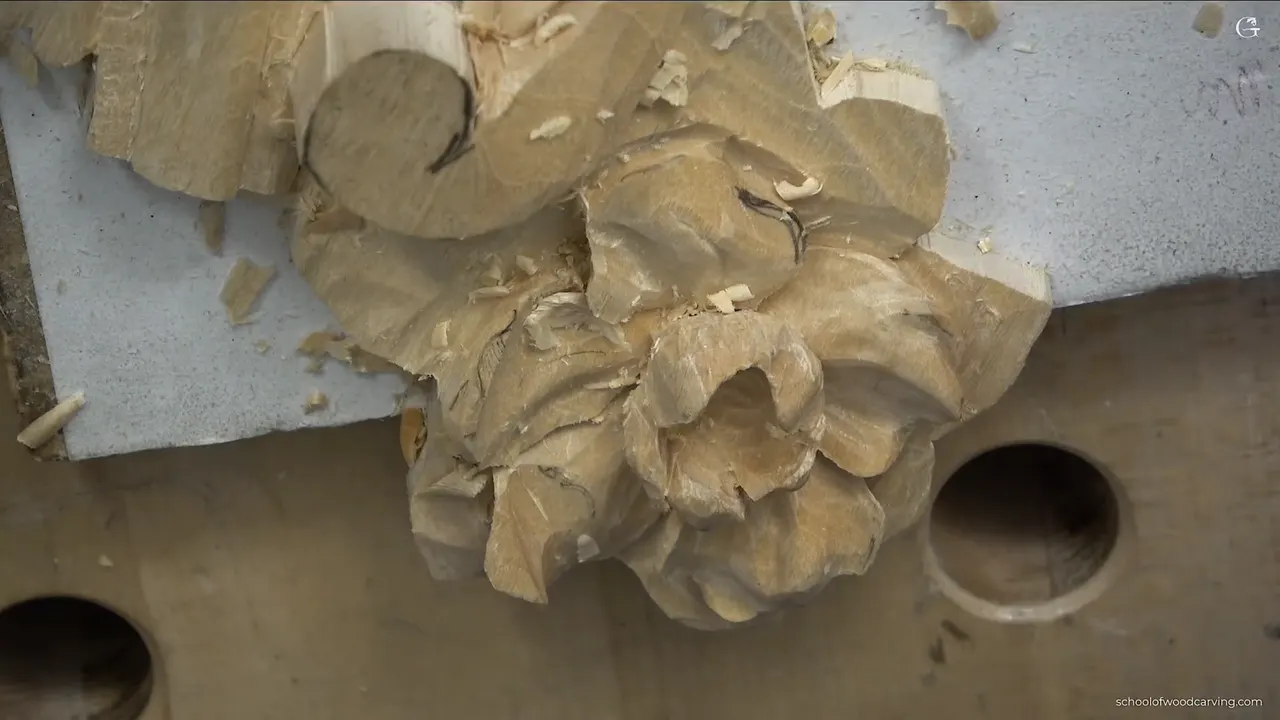
Nothing about this petal actually bends. The wood sits exactly where it sat. What changes is one small section taken out from underneath the tip, and after that the eye insists the edge is rolling away from you. Carvers have leaned on this trick for four hundred years and it still works.
Look at a real acanthus leaf, or a real petal, and the ends almost never point straight out. They roll. They lift. Quite often they turn right back on themselves until the underside is the part facing you.
Carve them flat and the ornament dies on the wall.
Below is the whole sequence on the two petals that finish this Venetian flower, plus the one moment I pushed too hard and had to design my way out of it.

What actually makes the roll read
- A slight rounding at the tip. Very slight.
- Material gone from beneath that tip. The whole effect lives down there and nowhere else, which is why the top surface changes so little.
- Shadow deep enough to go properly dark.
- Not one straight line along the outside.
- The same convex middle and the same pair of hollow flanks that every other petal on this flower already carries.
Making the roll happen
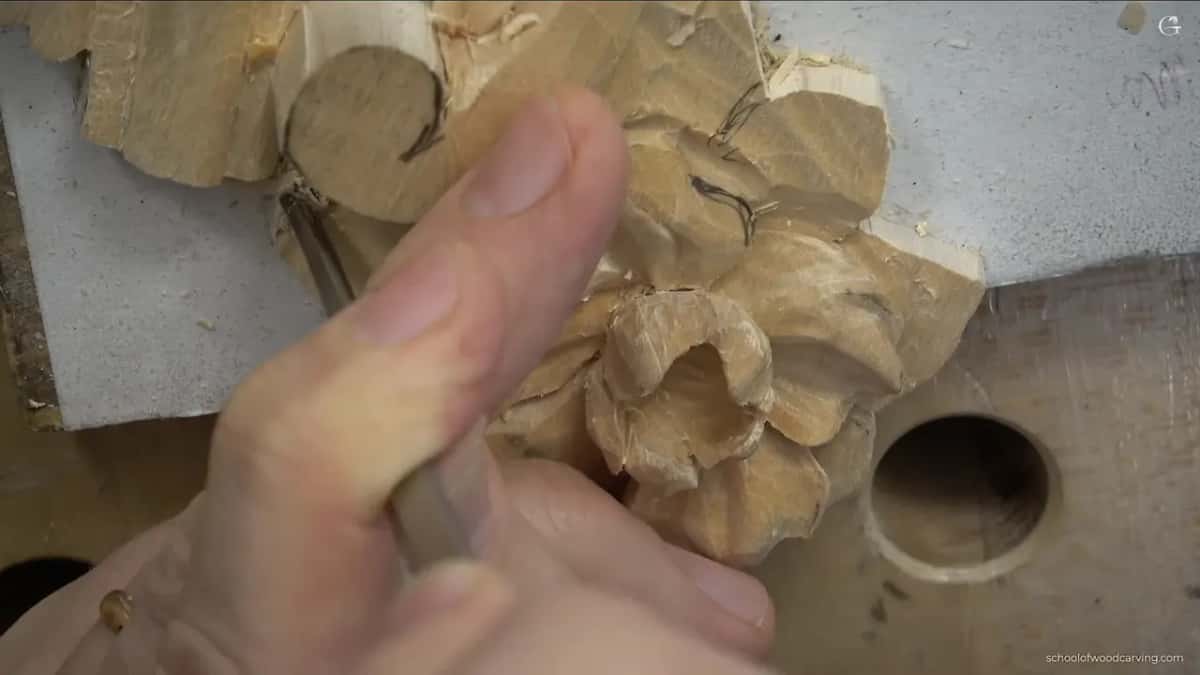
Ease the very end over, then remove a section from underneath it. On this petal a number 5 went over with its hollow facing the wood, took maybe a millimeter off the end, and a small nine then went in beneath and lifted out the wedge that nobody will ever see.
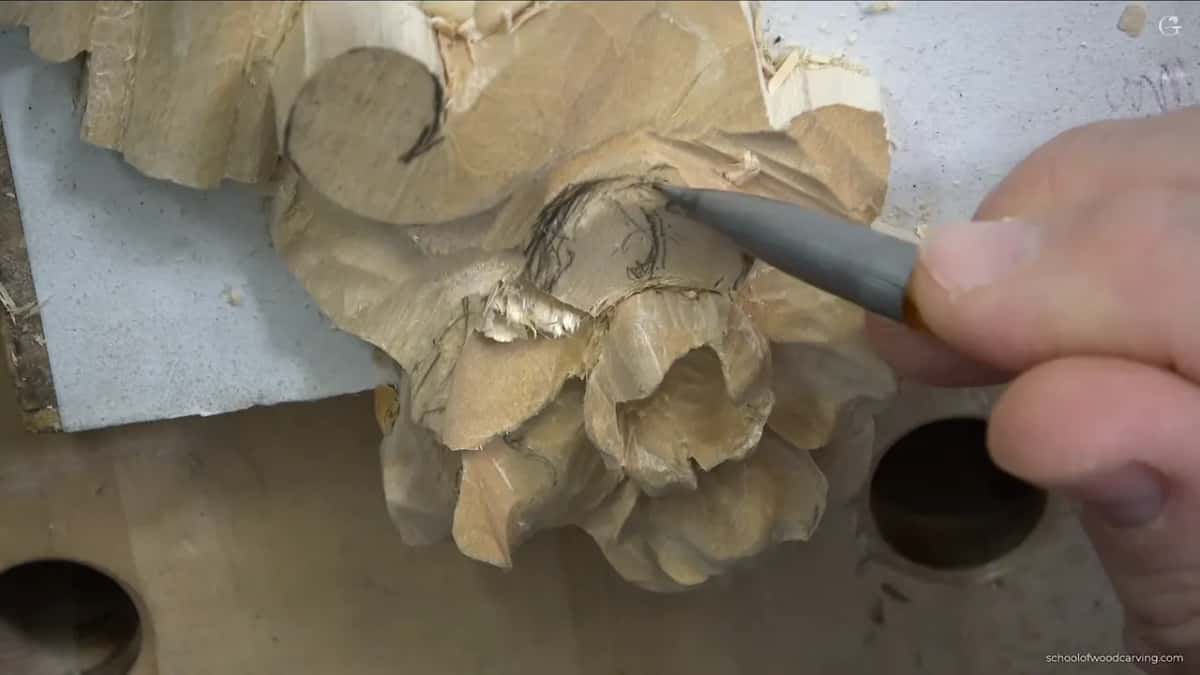
The surface moved almost nothing. What moved was the shadow, and the shadow is what a person standing three feet away actually reads.
You can take it further than I did. A carving destined for a wall, where nothing will ever brush past it, can go to paper thickness at the tip. This one lives on a panel, so it keeps its meat, the same call the Byzantine course makes about its own edges.

Where does the shape of a petal start?
With an outline, before any waste comes off. An eleven at two and a half goes right round the drawn edge first. Then a wide nine excavates beside it, which leaves a wall standing where the petal will be.
That wall is the point. Two or three millimeters of it, standing clear, throws the relief into shadow straight away, and from then on I can see what I am shaping rather than guessing at it.
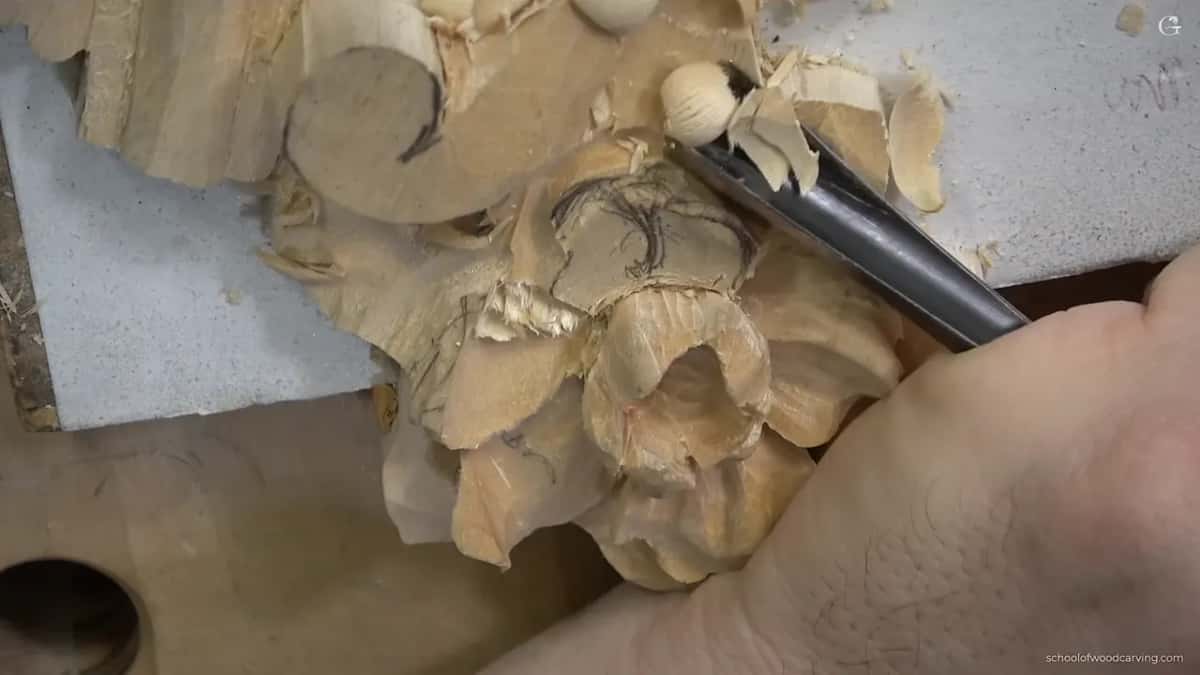
One side of this petal was too heavy when I looked along it. I dropped that side and raised the middle. Losing some of the pencil outline in the process did not matter at all, and I said so out loud at the time. Drawing it back on takes about twenty seconds, and the second drawing is usually better than the first anyway. You know more about the board by then. Try to protect the first outline and you end up shaping to a line that was only ever a guess.
Which tools this stage needed
| Tool | What it was doing on these two closing petals | Note |
|---|---|---|
| Number 11, two and a half | outlining | run right round the drawn line before a single chip comes off the blank |
| Half inch nine | excavating beside that outline until a wall of petal stands clear | the wall |
| A number 1 | a separation too narrow for anything else | double bevel, an eighth of an inch across, and nothing else would fit |
| Four millimeter spoon | hollows | reaches into a concave that no straight blade can follow round |
| Backbent three | blending the whole thing together in slow circles | quarter inch |
| A small knife | undercutting | one crisp pass, and then the same blade blends the area afterward |
Why attack a hollow from two directions?
One wall of any gouge stroke comes out clean and the other comes out rough. That is not a sharpening problem and it is not your technique. The blade is slicing with the fiber on one side and across it on the other, every single time, and no amount of care changes it.

Walk around the bench. Carve the same hollow from the far side and the rough wall becomes the clean one. Two passes from opposite ends and both walls come out right.
Beginners spend months trying to fix this with sharper steel. Sharper steel helps, but the geometry does not care, and the first course teaches the walk-around before it teaches anything clever.
What do you do after you damage a finished part?
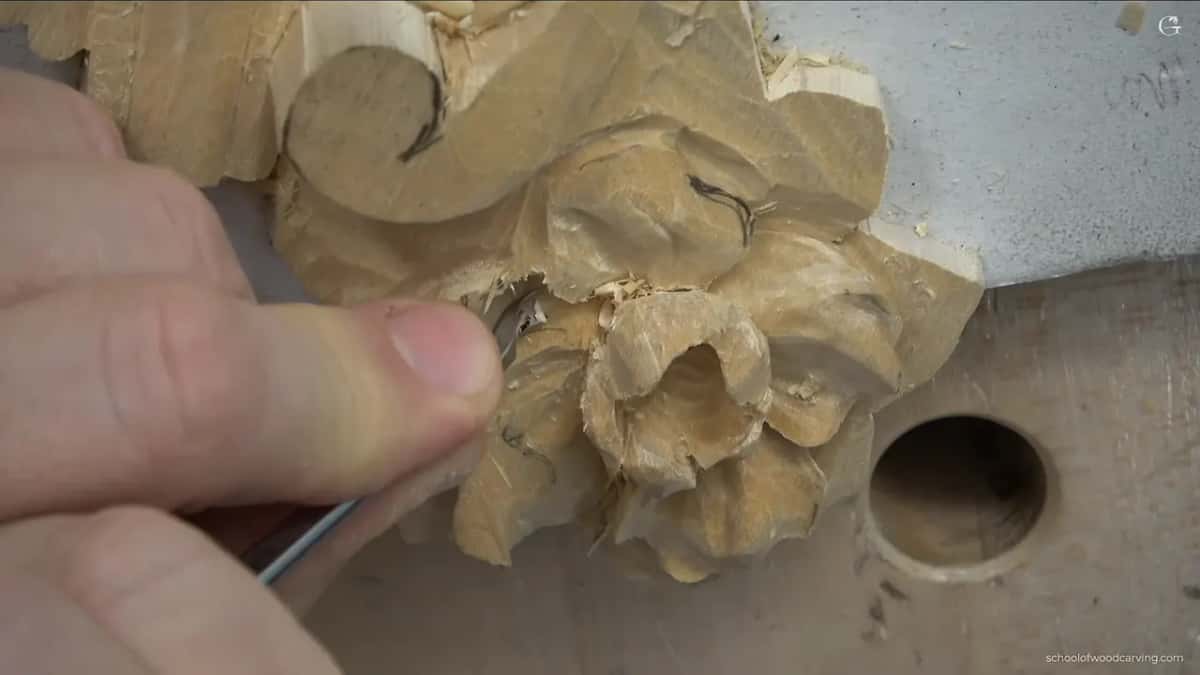
Go deeper rather than patch. Halfway through the second petal I leaned on a half millimeter number 11 harder than I should have and marked the neighbor I had already finished. Filling that is not an option in carving. Basswood does not come back.

The repair was to excavate a little deeper inside the damaged area and let the new floor swallow the mark. A number 3 chisel at 3 mm cleaned it up. Nobody looking at the finished panel will find that spot, and I only know where it is because I was the one holding the tool.
Every carver I respect has a set of these. The difference is that they fix them by taking more away, never by adding anything back.
Filler is the thing to avoid. It takes stain differently, it takes paint differently, and on a carved surface the patch shows up as a flat dead spot beside wood that still has grain running through it. A slightly smaller petal beats a repaired one every time.

Can you undercut with just a knife?
Very well, and faster than with a gouge. A knife driven in beside an edge leaves a crisp straight line in a single pass, where a veiner leaves a rounded hollow that needs a second tool to sharpen it up.
I used one here, then used the same knife to blend the area afterward. That surprises students. A knife does far more than chip work, and a good one earns its place beside the gouges on any bench.

The one thing a knife will not give you is a soft undercut. When the finish is paint and a brush has to reach in there, I go back to a number 11, for reasons the previous workshop covers in full.
What keeps a gouge under control?
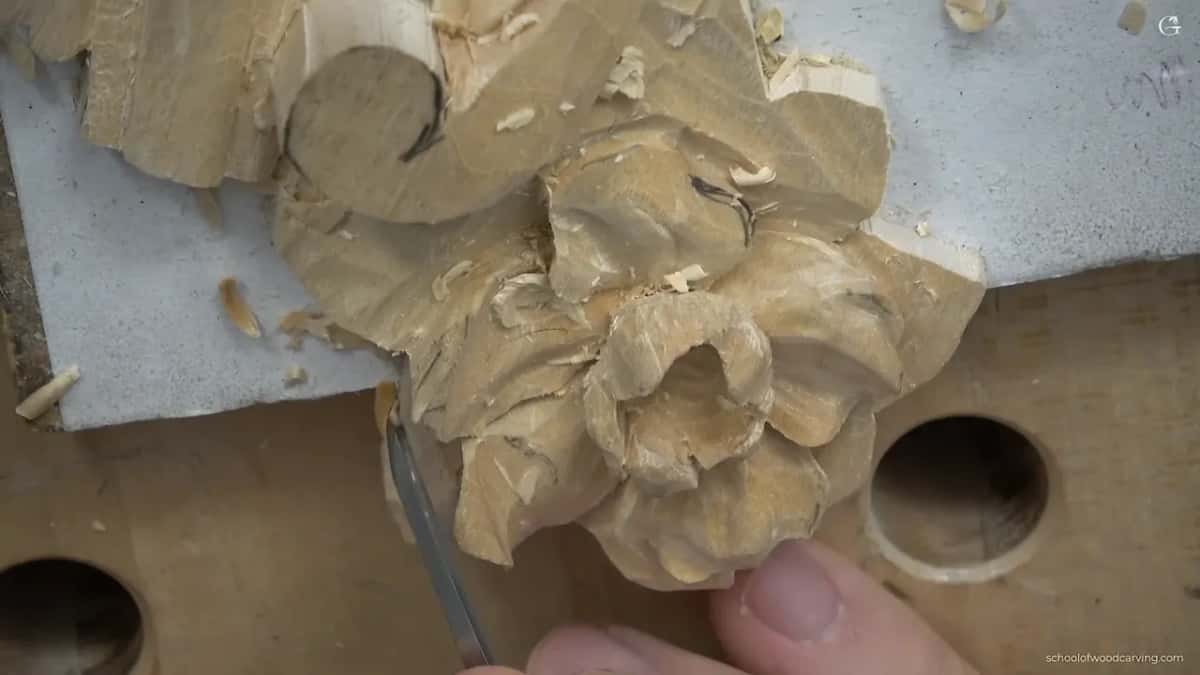
A finger turned into a fixed point. My thumb rests on the work and the tool pivots against it, so the blade cannot travel further than the joint allows even if the wood gives way suddenly.

That single habit is worth more than any tool you can buy. The hand stops being a pusher and becomes a hinge, and a hinge only moves through the arc you built into it.
Watch anyone who has carved for thirty years and you will see it. Nothing is ever held in mid air.
There is a second half to it that nobody mentions. When the angle is wrong for a braced hand, move yourself rather than stretch. I say so on camera more than once, shuffling round the bench to reach the far side of a petal that would have been easy from a different chair.
When do you stop working on a petal?
Just before you think you should. I say this out loud on camera because I catch myself doing the opposite, pushing toward perfection and then hearing that small sound that means a detail has gone.
Roughly one job in ten gets damaged in the last ten minutes, in my experience, and always by me rather than by the wood. Stopping is a skill. It arrives late.

How much detail belongs on a surrounding leaf?
Far less than the flower gets. Deliberately so. Leaves around a rosette are the supporting cast. Give them the same treatment as the petals and the eye has nowhere to land, which kills the piece more surely than a clumsy stroke ever would.
Mine get separations, one hollow each, a middle ridge, and a run of small notches round the outside. Nothing more. The final pair of petals on the flower itself were kept simpler than the first three as well. The design course spends real time on this, because it is a design decision rather than a carving one.
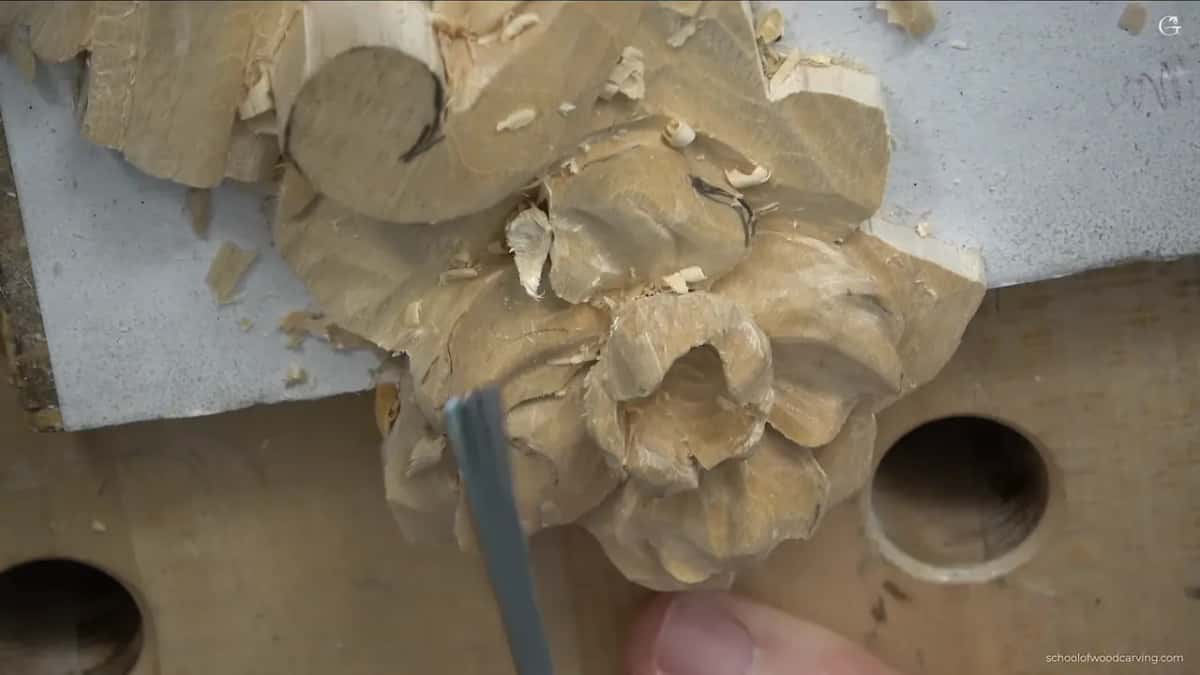
Those small notches do more work than they look like they should. They break the outer edge into little steps, and against that busy edge the smooth petals of the flower read as calm and come forward.
Why blend with a backbent gouge?
A straight blade rides over the middle of a hollow without touching it. The back bent one curves the other way, so its edge drops into the low part and takes the ridges out down there, which is exactly where the facets you can feel with a thumbnail live.

Mine is a quarter inch number 3, near enough flat in sweep. I work it in a slow circle rather than in strokes, because a circle leaves no direction of its own behind, and a surface with no direction in it reads as smooth even when it is not.
The aim is not glass. Small movement should still be visible when you tilt the piece to the light. What has to go is the hard edge at the top of a ridge, because that catches light in a line and the eye reads a line as a mistake.
How deep does a separation between petals go?
About a millimeter, and going further is the commonest beginner error I see. One millimeter of dark is plenty when the light is raking across the panel, and the groove holds its shadow even under flat gallery lighting.

Deeper than that and two things happen. The petal above starts to look stuck on rather than grown, and the wood between the two petals gets thin enough to break when somebody dusts the panel with a cloth.
My separations here went in with a number 11 at 2.5 mm, flute straight up at twelve, one pass. Then I stopped. The rosette course works through the same measurement on a bigger flower where the temptation is worse.
Does it matter if the movement vanishes up close?
Not at all, and this took me years to accept. Put your eye two inches from this petal and the overall movement disappears completely. All you see is tool marks and a lot of mess.

Step back to arm length and it arrives, all at once, the way a face appears out of a crowd. Your brain assembles the thing from shadow and direction rather than from detail, and it does that assembly at the distance a person actually stands at, never at the distance a carver works at.
So judge from where the work will be seen. Hold the panel up. Put it on the floor and look down. A museum overmantel carved eight feet up was judged by its carver from eight feet away, which is why those pieces look coarse in a photograph and magnificent in the room.
What is a plug cut for?
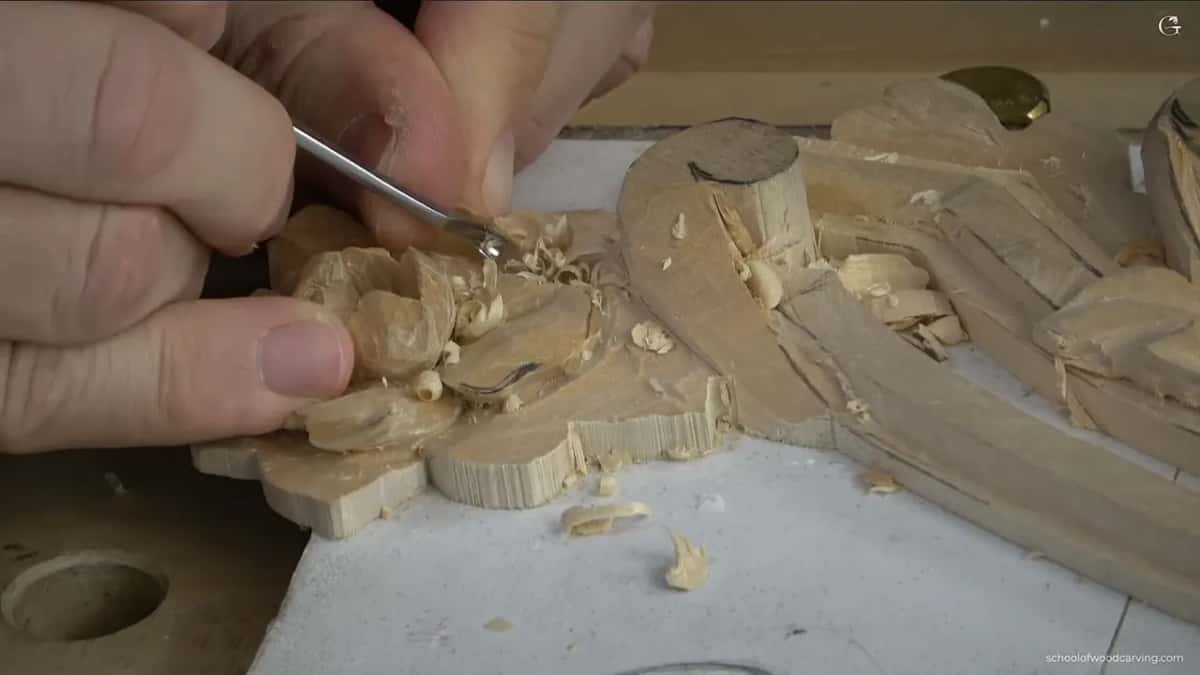
Sinking a hole straight down where a shape has to turn. I plant an eighth inch number 9 vertically, tap it in, and that single plunge gives me the rotation a leaf needs at the point where it disappears behind something else.

A drill does the same job if you prefer, and either tool is fine here. Plenty of old shops used an auger for it, which is worth knowing the next time somebody tells you hand carving means nothing but gouges. Read about any Corinthian capital and there will be bored holes in the roughing stage. I like the gouge because the hole it leaves is already the right curve, so the sides of the shape are half carved before I start carving them.
After the plunge I come in from the side and the waste falls out in one piece. Two moves, and a shape that would take twenty careful strokes is roughed.
What do you do about a line that is too straight?
Break it. On one of these leaves the outer edge came out dead straight and it looked wrong immediately, dull in a way I could see before I could explain. A shallow hollow taken out of the middle of that line fixed it.
Straight is what a machine does. Nature runs out of straight lines very quickly, whatever the species of lime you are holding. Look at any acanthus carved before machines existed and you will not find one edge that a ruler would agree with, and that is most of why the old work still looks alive next to modern copies.
If that way of thinking suits you, come and carve with us. Shall we carve?
One habit I keep having to suppress on camera is blowing the chips off. In the shop I do it every thirty seconds without thinking, because on detail this small the chips hide the very edge you are trying to read. On camera it looks like I am sneezing at the work, so I sit there squinting through the mess instead.
Next the whole panel gets cleaned and the last volute gets carved, which is where the old Sheffield tools come out of the rack.
How it's done
- Outline the petal before any waste comes off. A narrow veiner, following your pencil exactly and no deeper than it needs.
- Excavate along the outside of that line. Keep going until a wall of petal is standing clear and throwing its own shadow.
- Drop the heavy side and lift the middle. Sight along the petal from the side, and do not worry about losing pencil.
- Hollow both flanks, each from its own end. Walk round the bench between passes and both walls come out clean.
- Blend it with something bent backward. Slow circles, a quarter inch wide, leaving no direction of their own behind.
- Ease the very end over. Bevel down. Take about a millimeter off and no more than that.
- Lift out the wedge underneath. Everything before this was only preparation for it.
- Brace a finger against the work. Your thumb turns into a pivot, and a sudden release cannot then carry the blade anywhere.
Frequently asked questions
What makes a carved leaf look like it is curling
Shadow, almost entirely. Take a fraction off the very end and then hollow beneath it, and the dark that appears under there does the work. Your top surface barely changes at all.
Why does one side of a gouge cut come out rough
Fiber direction. Your blade slices along the grain on one wall and across it on the other, every stroke, whatever you do. Carving the same hollow again from the opposite end evens both walls up.
Can you repair a slip in a wood carving
Only by taking more away. Wood cannot be put back, so the usual repair is to deepen or reshape the damaged area until the mark falls into waste. Filler shows up badly under any finish.
What to carve next