

Alexander Grabovetskiy, woodcarver, School of Woodcarving · Published 2022
Should you use short or long strokes when carving wood?
Quick answer: Short strokes belong at the start of any line and long ones come later. Grain shifts direction partway through a board, so a brief cut lets you feel that change while there is still time to approach from elsewhere. Once the shape is settled, longer passes blend one surface into the next.
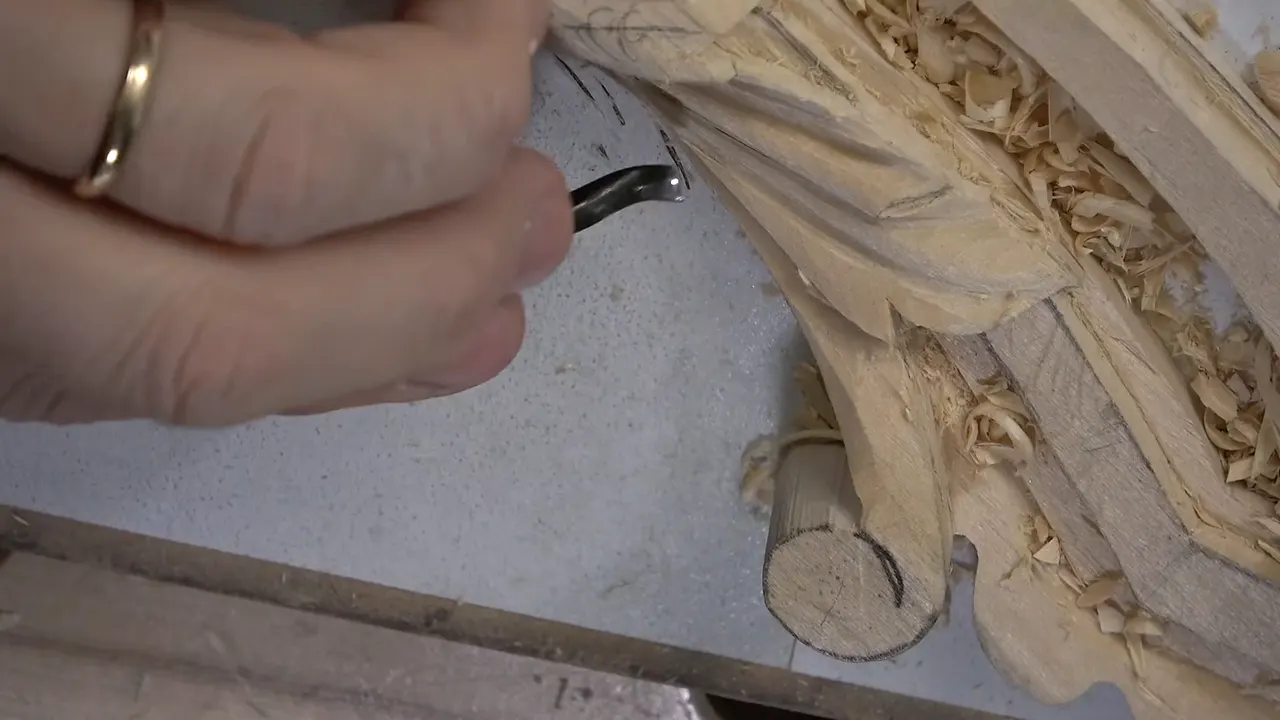
My first cuts on any line are short ones, and it is not about caution. Grain changes its mind partway along a board. A long confident stroke commits you before the wood has told you what it intends to do, and by the time you feel it tear, the tear has already happened.
Short first. Long later, once the wood has stopped surprising me.
People argue about this. Some carvers insist on long sweeping strokes and some on short ones. I mix them, and the mixing is the actual skill.
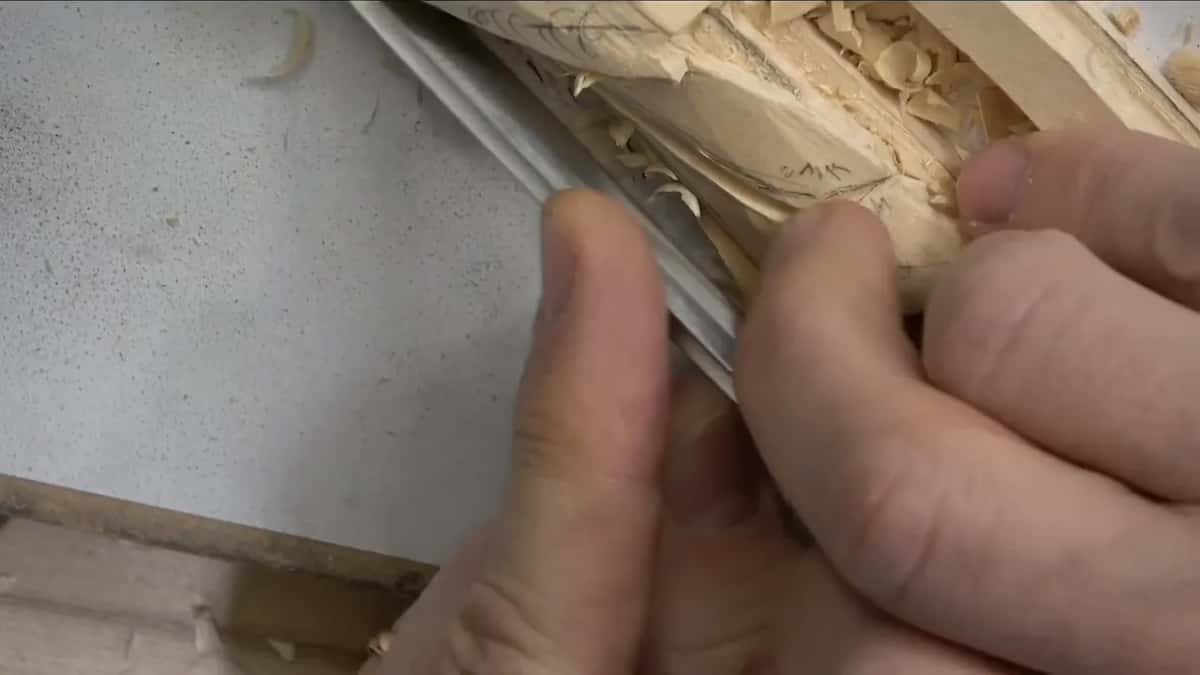
What a short stroke buys
- Time to read the grain before it costs you anything.
- A stopping point every few millimetres, which a long stroke does not give you.
- Control, from a braced hand rather than a tighter grip.
- Both walls of the cut stay watchable, and one of them is always the rough one.
- Depth stays honest. Anything near an eye wants very little, and a long stroke always takes more.
- Long strokes come back later for blending, once the shape underneath is settled.
Why do the first cuts have to be short?
Fibres do not run evenly through a board. They dive, they rise, they change direction under a knot, and wood fibre gives no warning, and a stroke long enough to be satisfying is long enough to cross two of those changes without you noticing the first.

Take a short bite instead and you feel the resistance shift under your hand. That shift is the wood telling you to come from the other direction, and it arrives while there is still time to listen.

Especially true with a U-shaped tool or a V-tool, where one wall cuts clean and the other runs against the fibres by definition. Which wall stays clean is the previous workshop and it matters here.
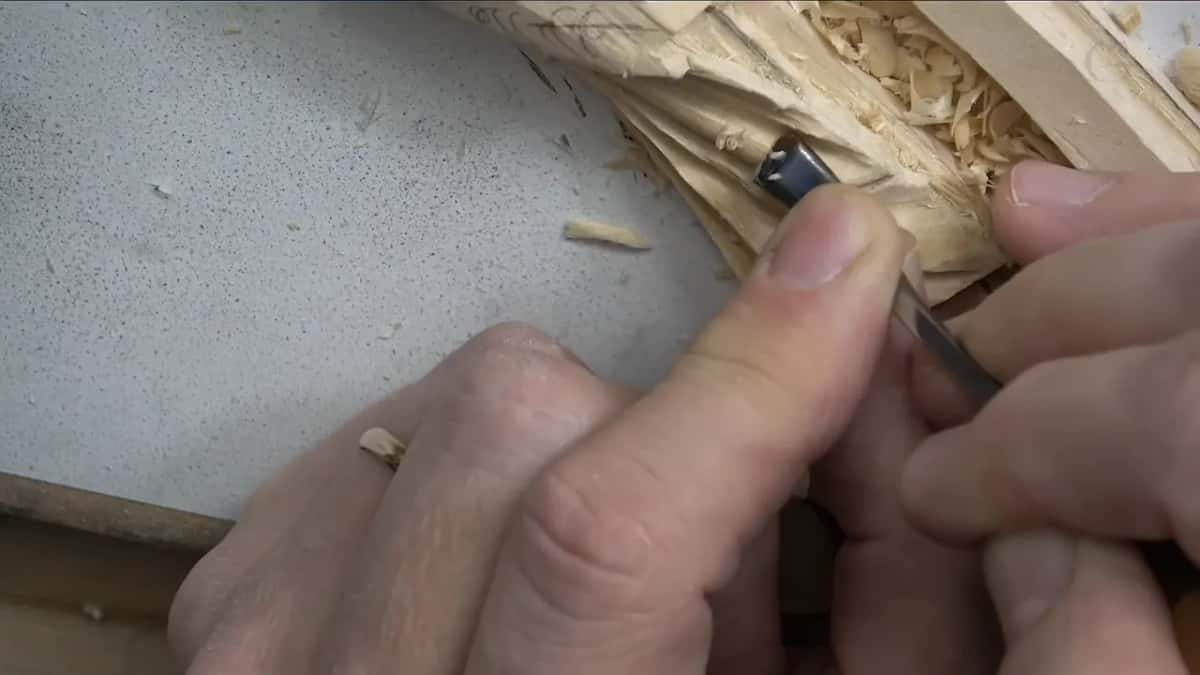
Later on, when the movement is established and I am blending, the strokes get long. That is a different job with a different risk, and by then the surface can afford it.

Long strokes have their moment. Once a movement is roughed in and I am flowing one surface into the next, a single unbroken pass leaves a better surface than six short ones joined end to end. Getting the order wrong is what costs people wood.
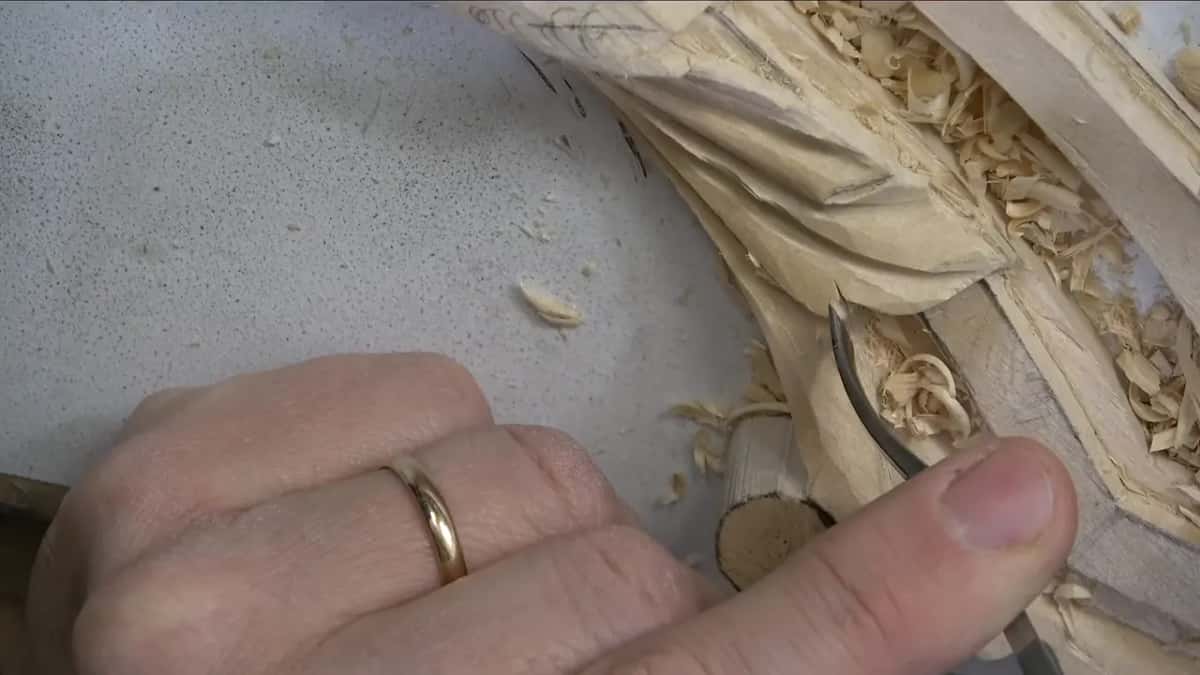
Where control actually comes from
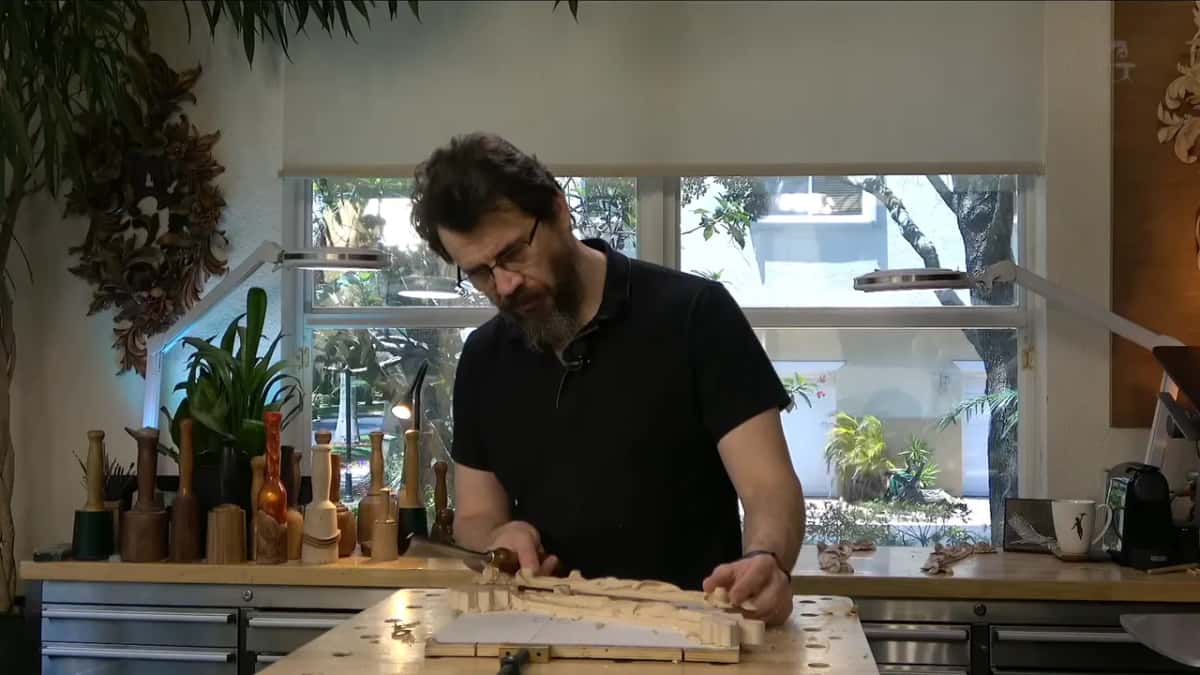
Watch my left hand rather than the tool. It is planted on the board, and one finger, usually the little one, is doing something the camera barely shows.
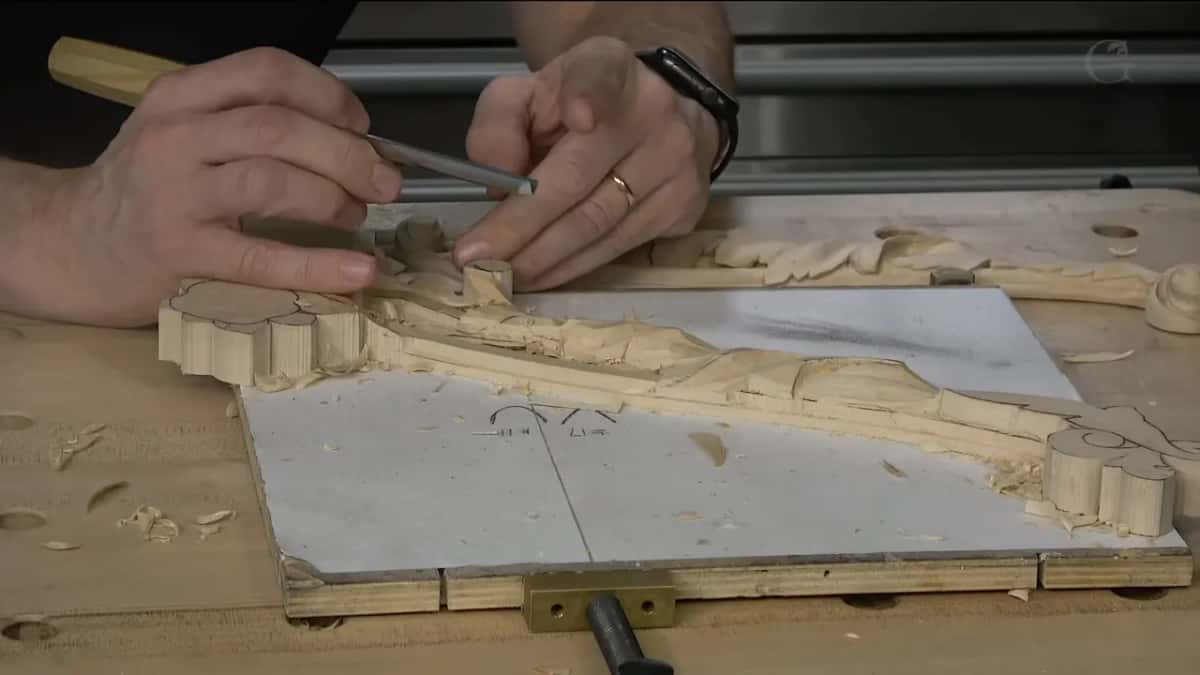
That pinky acts as a stop. With it braced I can make a cut as long or as short as I choose, and end it exactly where I meant to, because the hand is anchored rather than floating on the end of an arm.

Change grip entirely and the rule stays. One hand goes flat on the work, always. An arm alone sends the tool wherever the arm was already going.
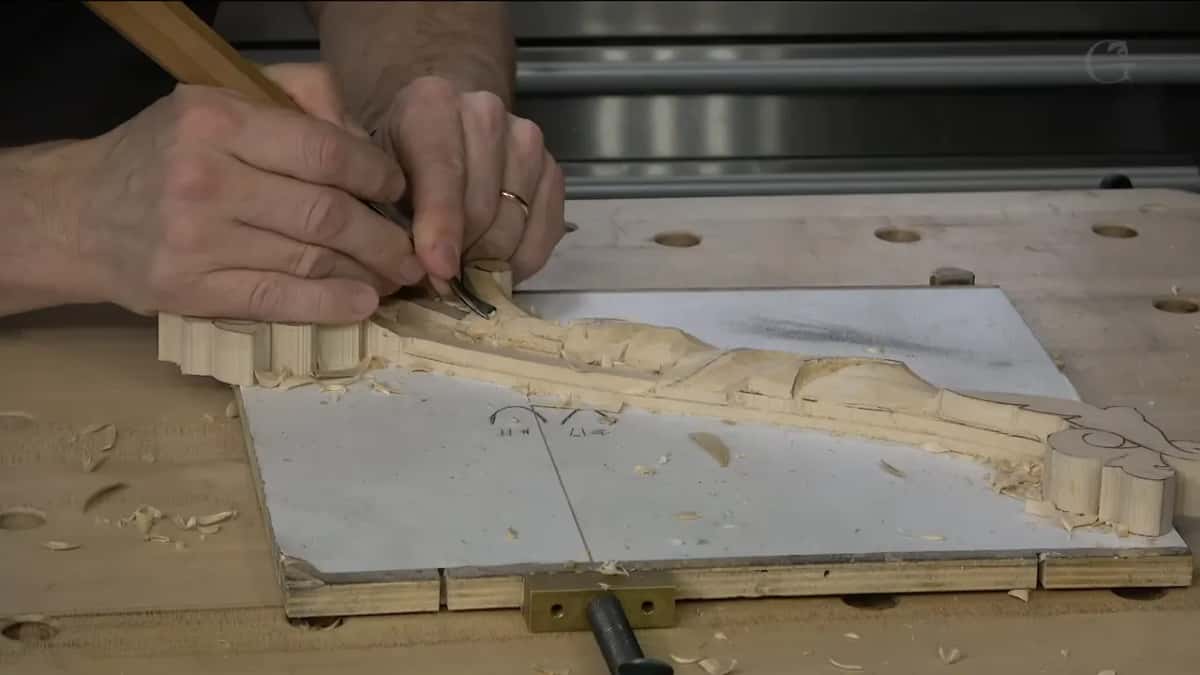
It sounds like nothing written down. Try a millimetre and a half deep cut beside a finished edge without it and you will find out what it was worth.
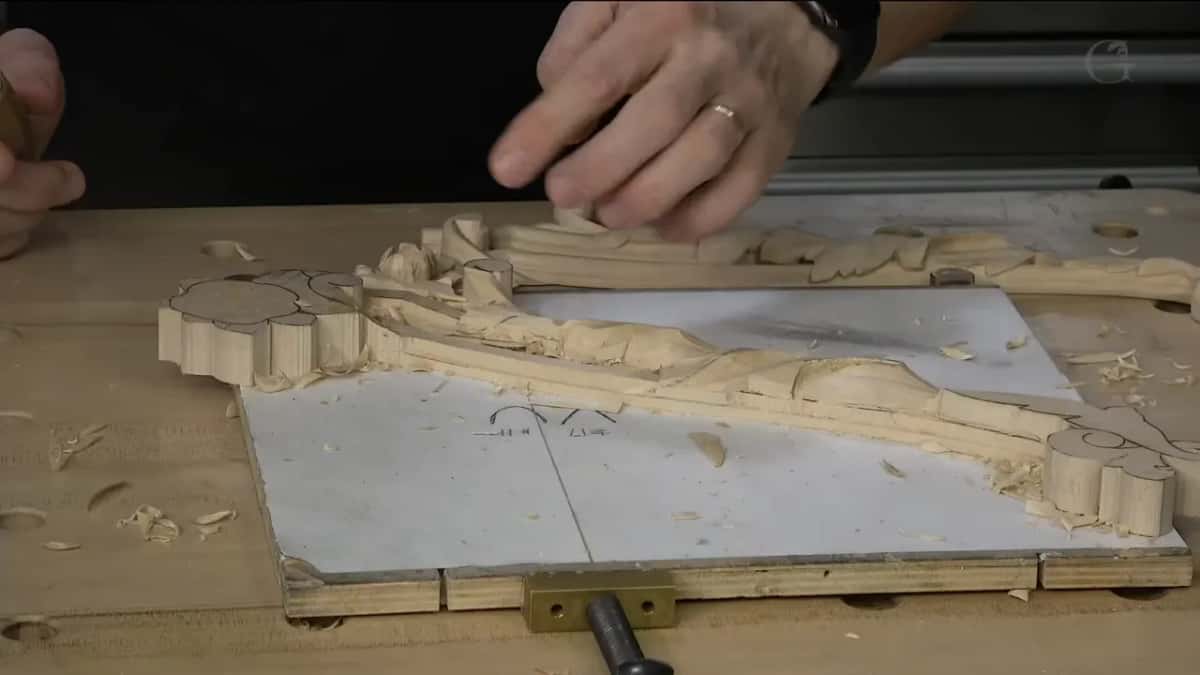
Grip changes through a day and the brace survives all of it. Overhand, underhand, thumb pushing, palm driving. Whatever my right hand is doing, the left stays down on the board, and that is the only rule I have never broken in the shop.
The leaf that runs over the volute
Today the acanthus passes beside a volute and the volute dives underneath it. Checking the three pieces I carved earlier, that leaf sits very low indeed.
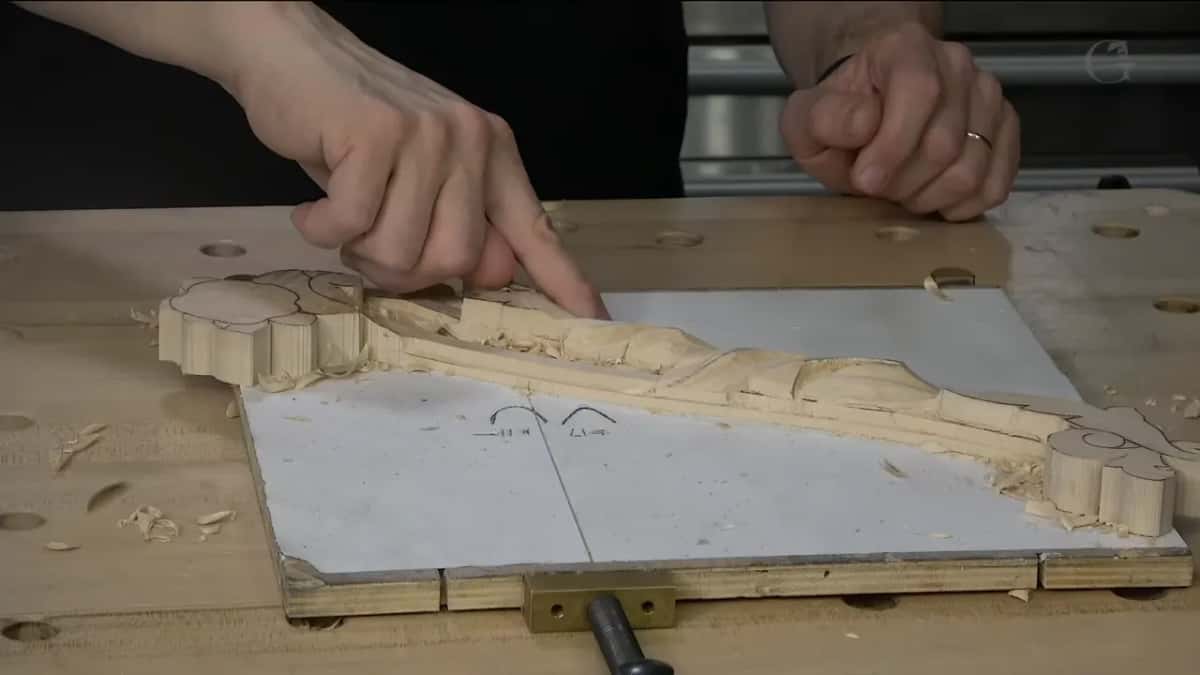
So the first tool is a big one. Number 7, an inch and a quarter wide, because when a lot has to come off, you want the widest thing that fits rather than the one that feels safe.

That rule gets broken constantly in my own shop and I regret it every time. Narrow tools feel safer and they leave a surface made of forty little decisions instead of four big ones.

Then stop and check. Overdoing this is easy and unfixable, so a couple more strokes and the level was right.
Checking is not optional either. Every few cuts I look at the gap running down the flank of the lobe and make sure it matches the one on the finished piece beside it. Nobody sees that measurement in the video and it governs everything.

Mess does not bother me at this stage. Chips everywhere, a rough surface, fuzz in every hollow. Cleaning comes later and cleaning too early is a habit worth breaking, which is the whole subject of the workshop after next.
Redrawing before carving the detail
Out comes the pencil, and before I use it I go and look at the finished piece again. Four of these details go on one panel and they have to match.
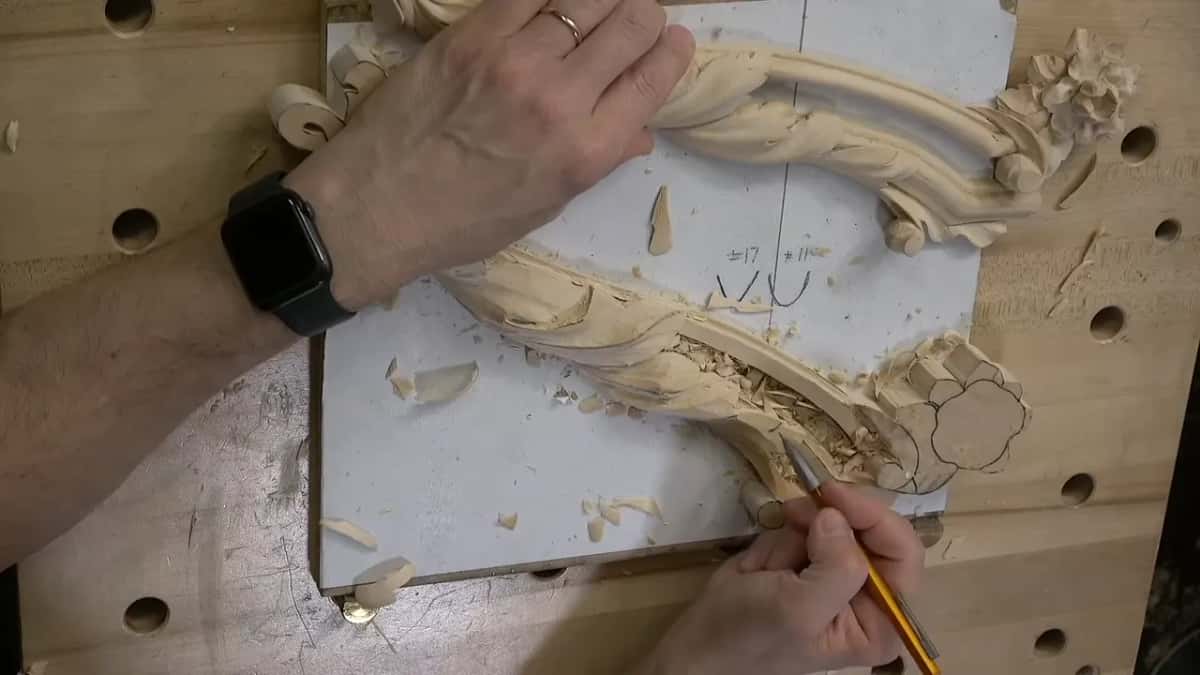
A separation line goes in first, dividing what belongs to the leaf from what belongs to the moulding behind it. Everything afterwards refers back to that one line.
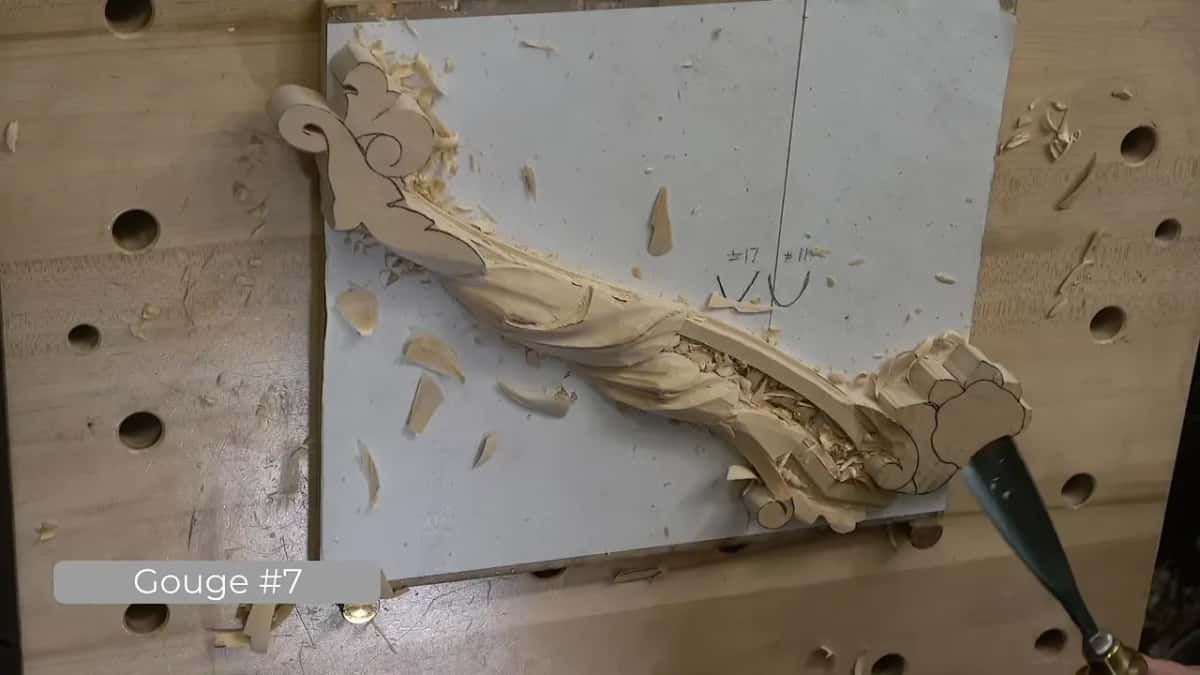
Number 17 at six millimetres takes it, and the tool needed stropping before it went anywhere near the wood. A strop here is a strip of leather and a smear of paste. Nothing complicated has ever been necessary.
Away from the edge only, never into it, and more than a couple of passes. Sharpening properly is a course of its own, and this is the ten second version you do twenty times a day.
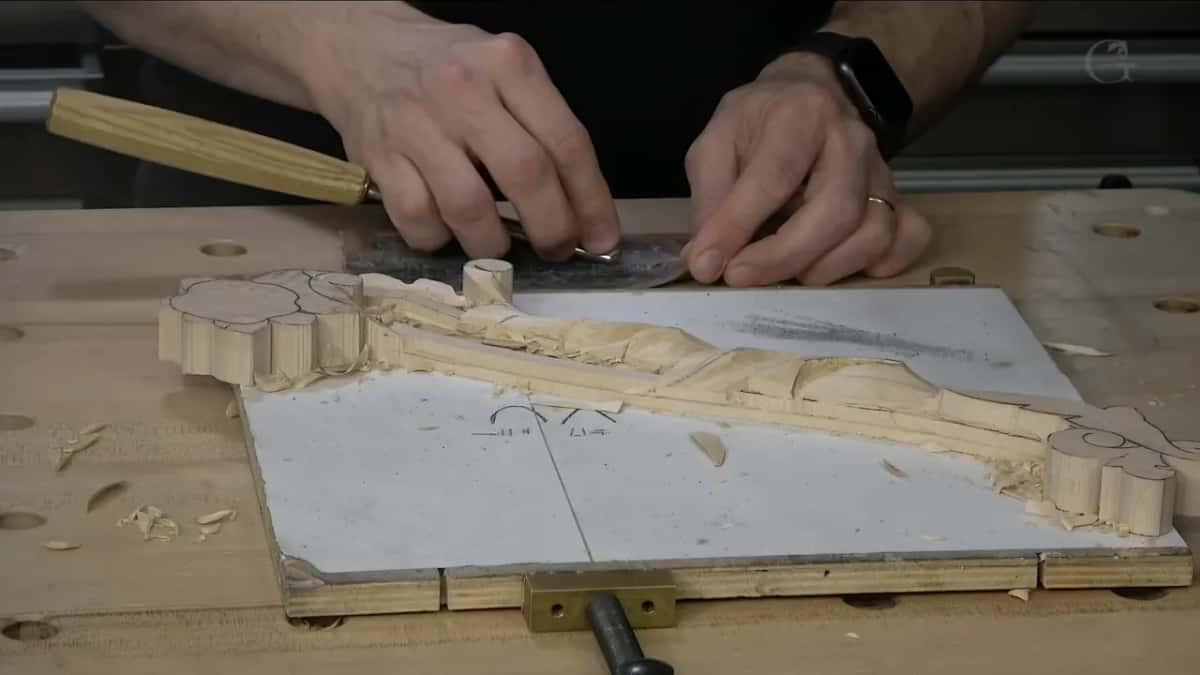
Redrawing matters more than it sounds. Ground gets lowered, the pencil goes with it, and carving from memory is how two pieces on one panel end up different. So the pattern comes back out and the lines go on again before any detail is cut.

Honestly, that leather gets used more often than any single gouge. A dozen passes every twenty minutes keeps an edge that never needs a stone, and honing a badly dulled tool takes far longer than never letting it dull.
Reading the flute like a clock
Tool rotation gets described in clock positions here and it is the clearest language I have found. Flute straight up is twelve, rolled left is about ten, and rolled right lands on one or two.
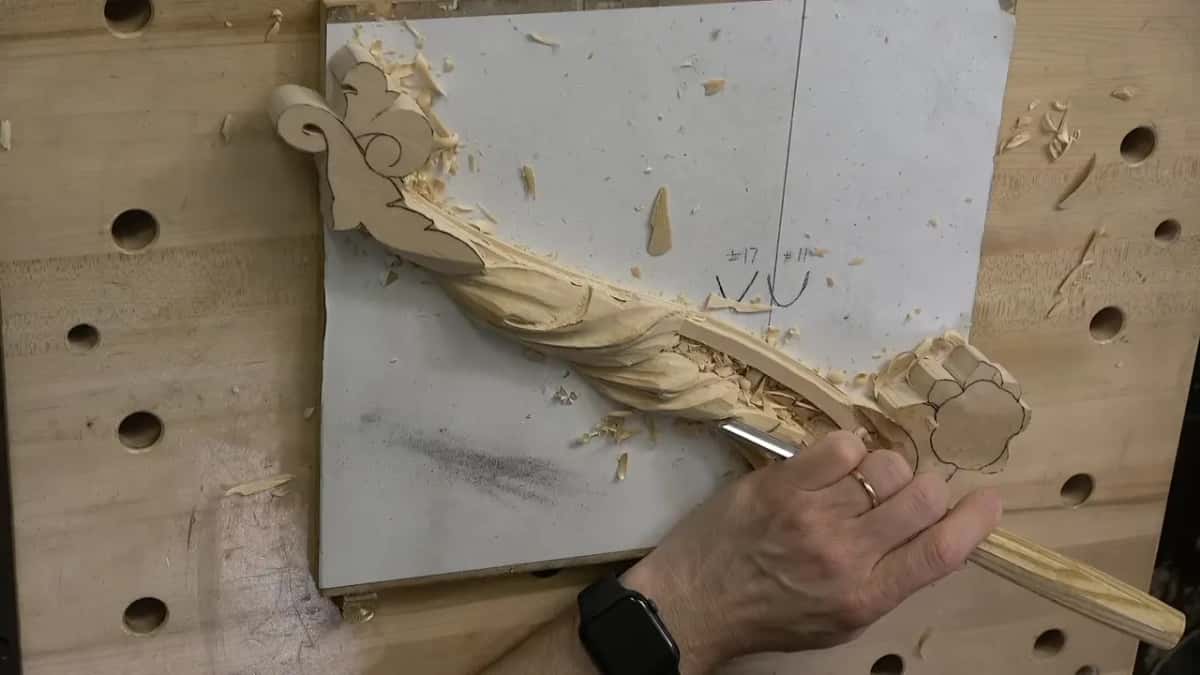
Ten o'clock made the cut beside the volute. One made the overlap where one lobe crosses another, and rolling between them changes the wall with no change of tool.
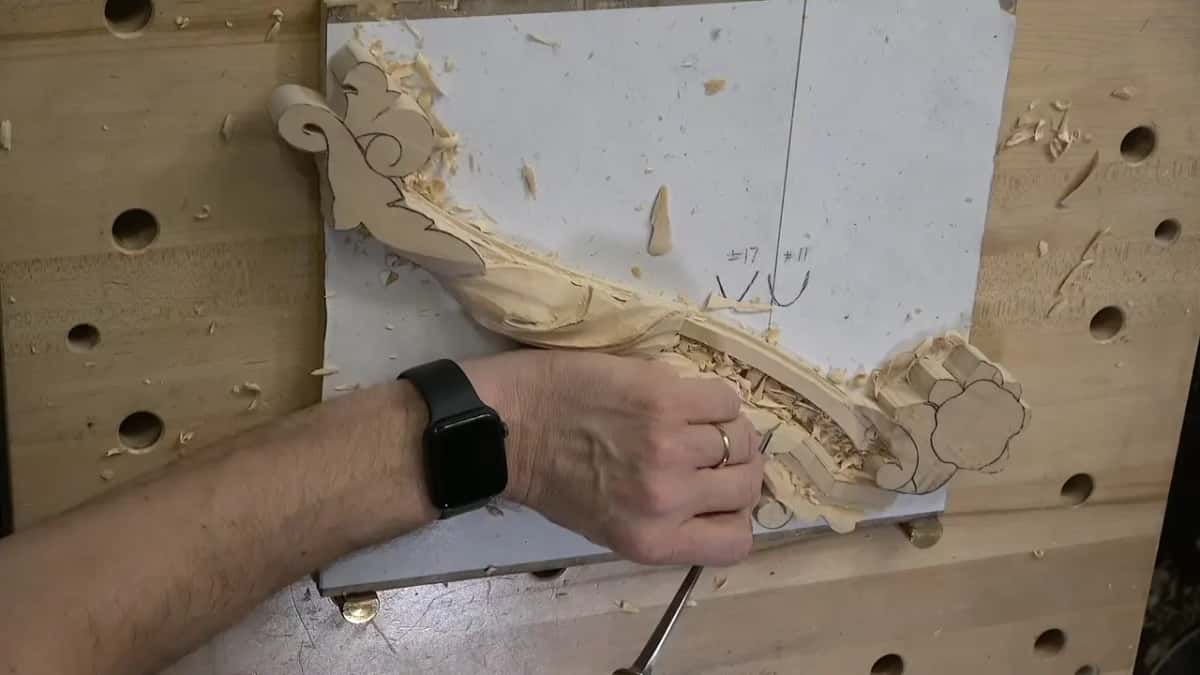
Depth stayed under two millimetres. No deeper. There is no reason for a deep cut there and every reason against one.

Clock language beats degrees for this. Nobody rolls a gouge to thirty seven degrees on purpose, and everybody knows where two o'clock is without thinking about it.
How deep and how wide, cut by cut
| Where on the leaf | Tool | How far in it goes | Why exactly that much and not a hair more |
|---|---|---|---|
| Lowering the leaf beside the volute | A wide number 7 | Down to the level the finished pieces already sit at | Four decisions rather than forty |
| The separation line | Seventeen | Shallow | It only has to say which side is which, and it gets carved away later anyway |
| Overlap where one lobe crosses another | A one millimetre number 11 veiner | Barely anything | Deeper than that and it reads as a crack in the leaf instead of an overlap |
| Round the eye | The same seventeen | Two short cuts, one either side of it | That line has to lift |
| Shaping the water drop at the tip | A skew | Whatever the shape asks for on the day | Habit |
| The pipe under the leaf | Half circle number 9 | Gradual | A step in that flow reads like a fault instead of a decision anybody made |
The ridge that has to stand proud
Roll the tool toward the left as a cut runs out and the wall rises into a ridge. That ridge is the whole point of a Venetian leaf, and everything either side of it falls away downhill.
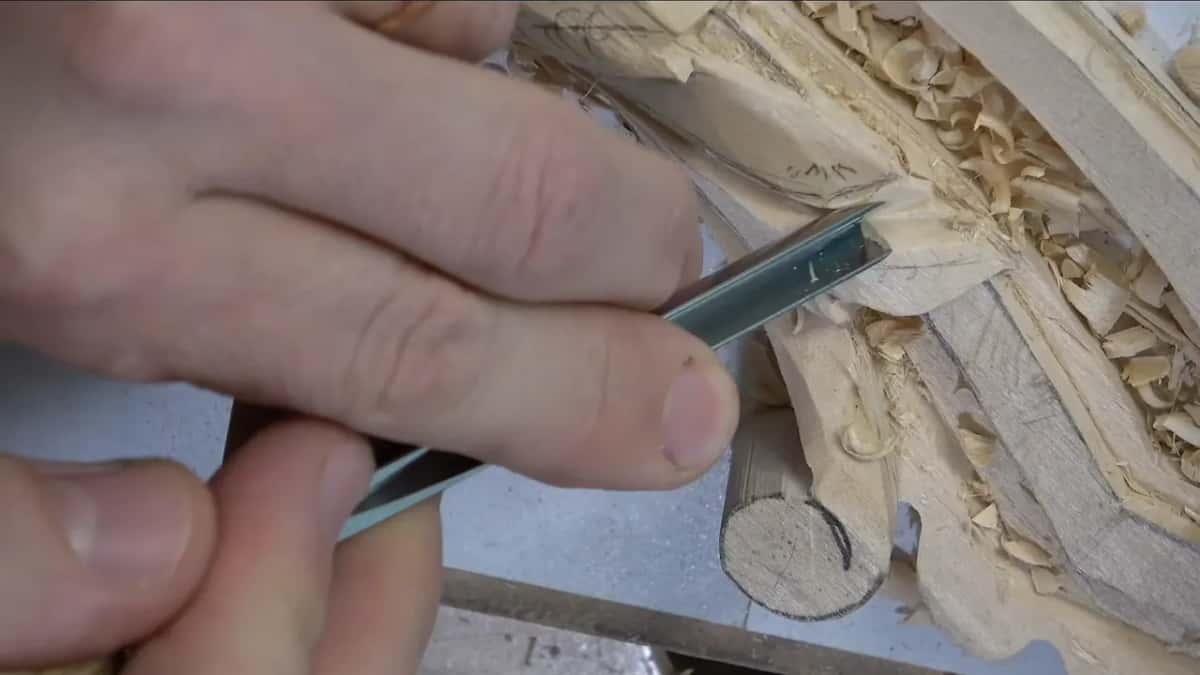
Same thing on the far side. High spot, then downhill, then a high spot again, and what runs between them is what carvers call the pipe.
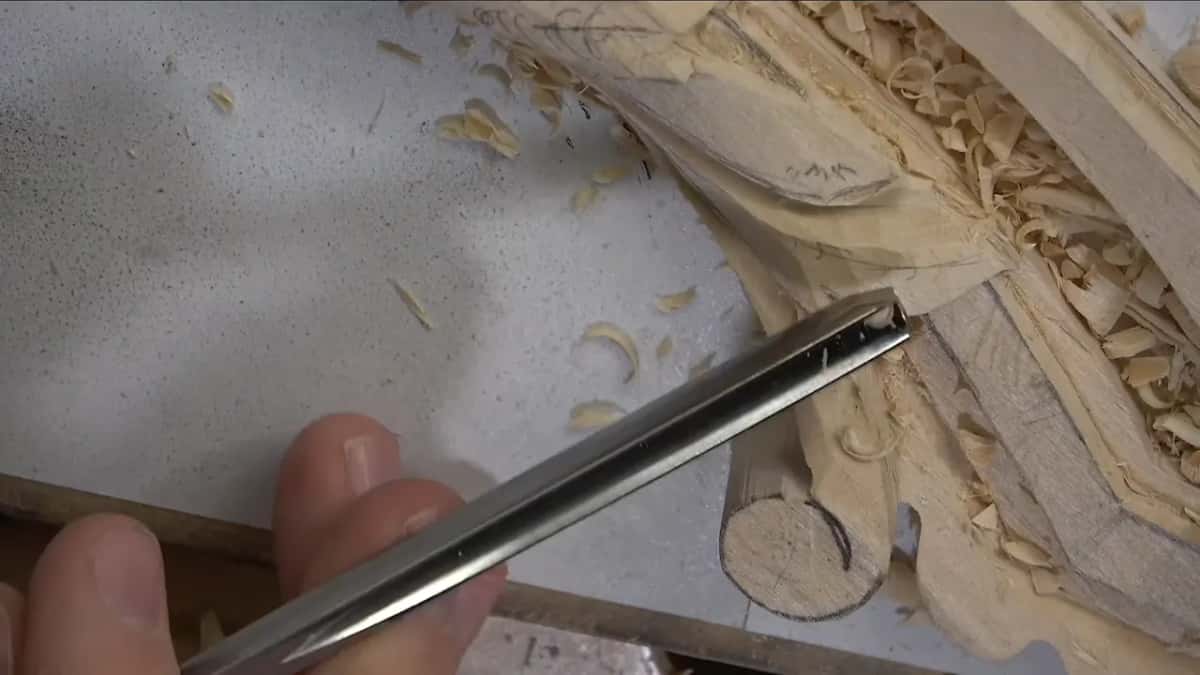
Gradual is the word I keep repeating. Sight low across the piece rather than looking down at it, and the pipe should flow away without a step anywhere in it.
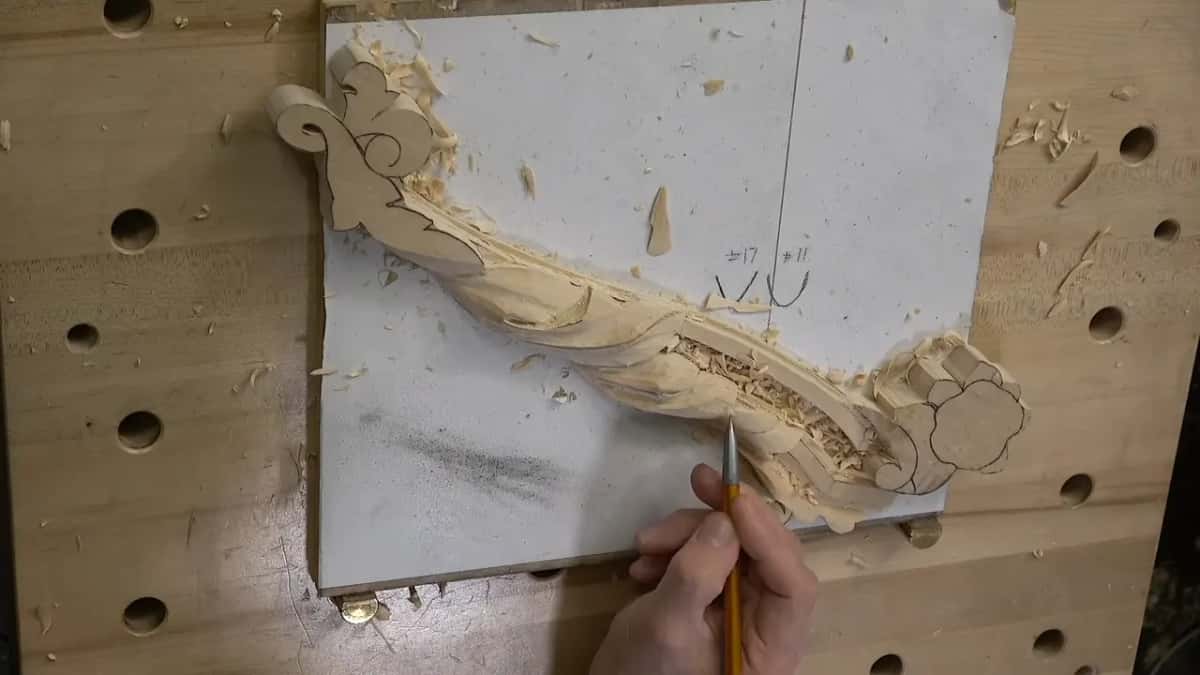
Where two parts of the leaf meet you get the eye, and the line around an eye in this style is always raised. The Venice Room spends a thousand videos on that one rule.
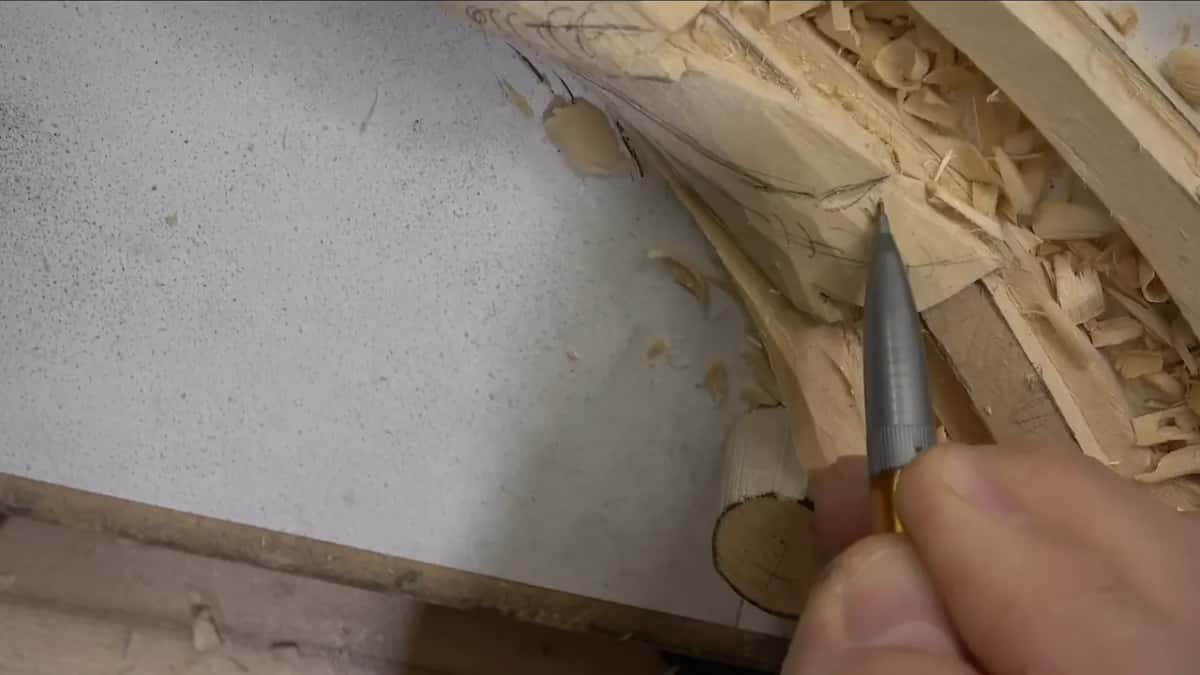
Slowly is the other half of it. I deliberately work slower on a lobe like this than the video makes it look, because the difference between a ridge that flows and a ridge that jerks is about four seconds per cut.
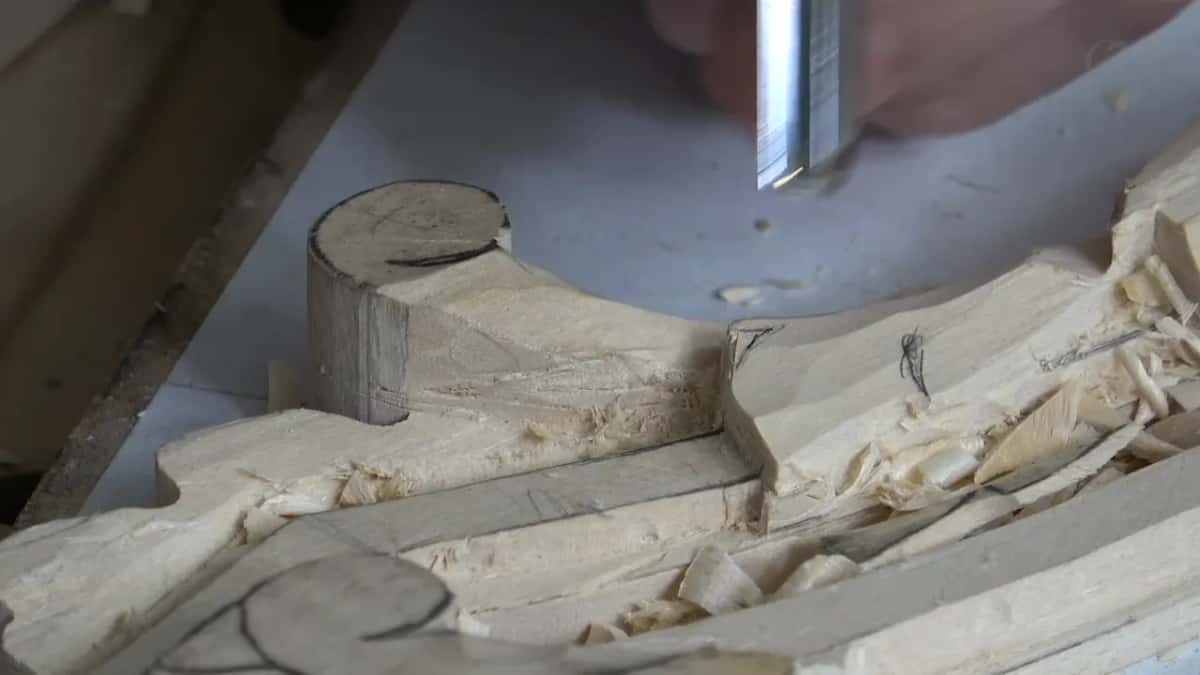
Number 3 comes in behind everything to clean the surface between ridges, and a narrower plane blade, three thirty seconds of an inch, gets into the ground where the leaf meets the moulding. The first workshop covers that plane and the board it rides on.
Making a convex without carving one
Nobody cuts a raised shape directly. You cut a hollow on each side of where it belongs and the raised part appears between them, untouched by any tool.
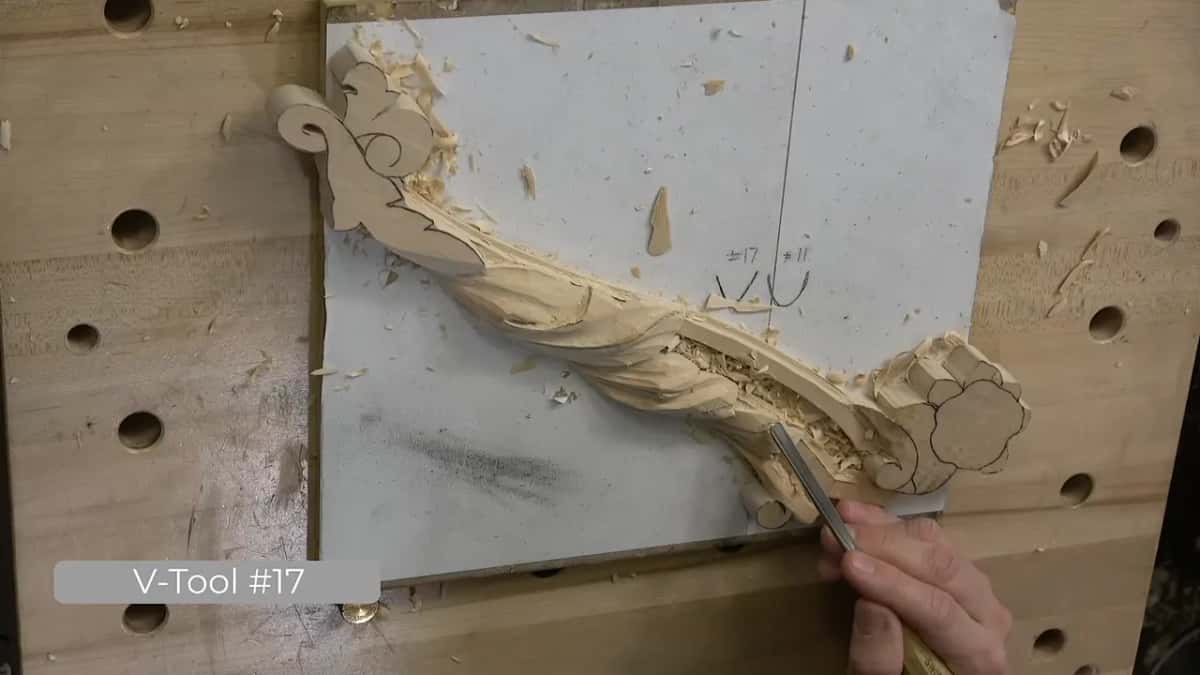
I have said that too many times across too many courses and I am going to say it again, because students still reach for the high spot and flatten it.
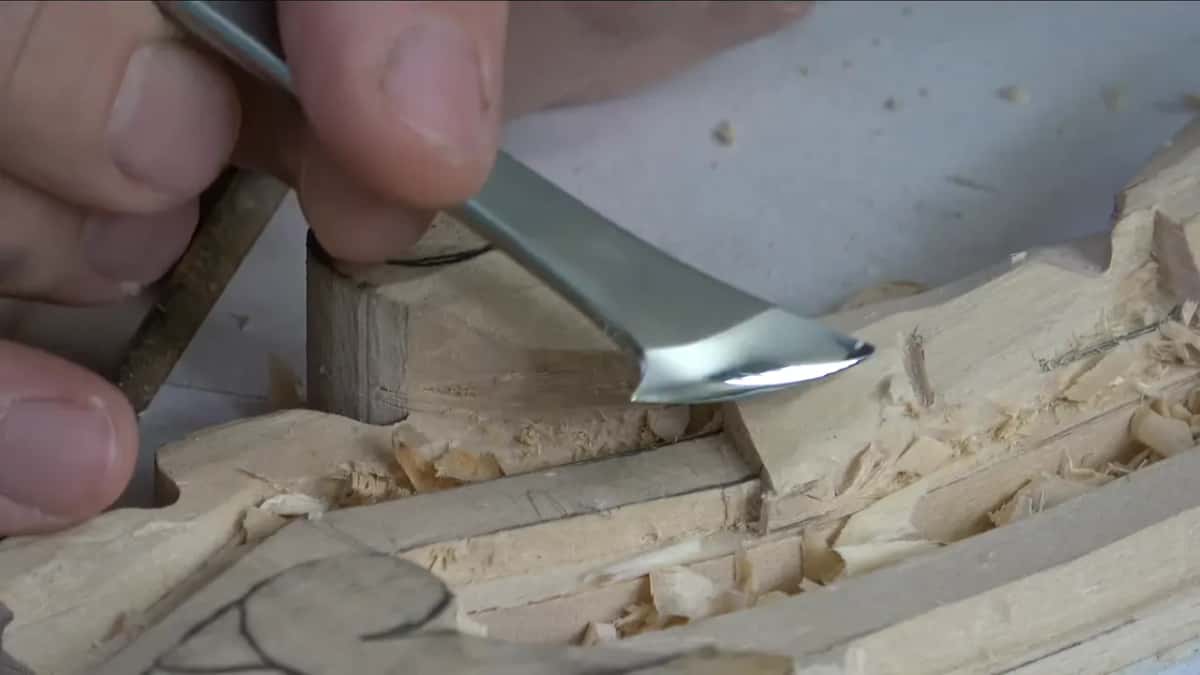
Two concaves. One convex. Every time, on every acanthus in this family. Byzantine leaves and Roman ones handle it differently, which is how you tell the families apart.
Two hollows either side is also why a leaf in shallow relief can look round. Nothing is actually round on this board. Every apparently rounded surface is a flat left standing between two cuts, and the eye supplies the rest.
Same principle runs through all classical ornament, not just leaves. Beads, flutes, volutes, the lot. Once you see it you stop trying to carve the high parts and start carving the low ones.
The hump I had to go back for
Partway through this I looked at the movement and did not like it. There was a hump where the surface should have fallen away, and humps do not improve on their own.
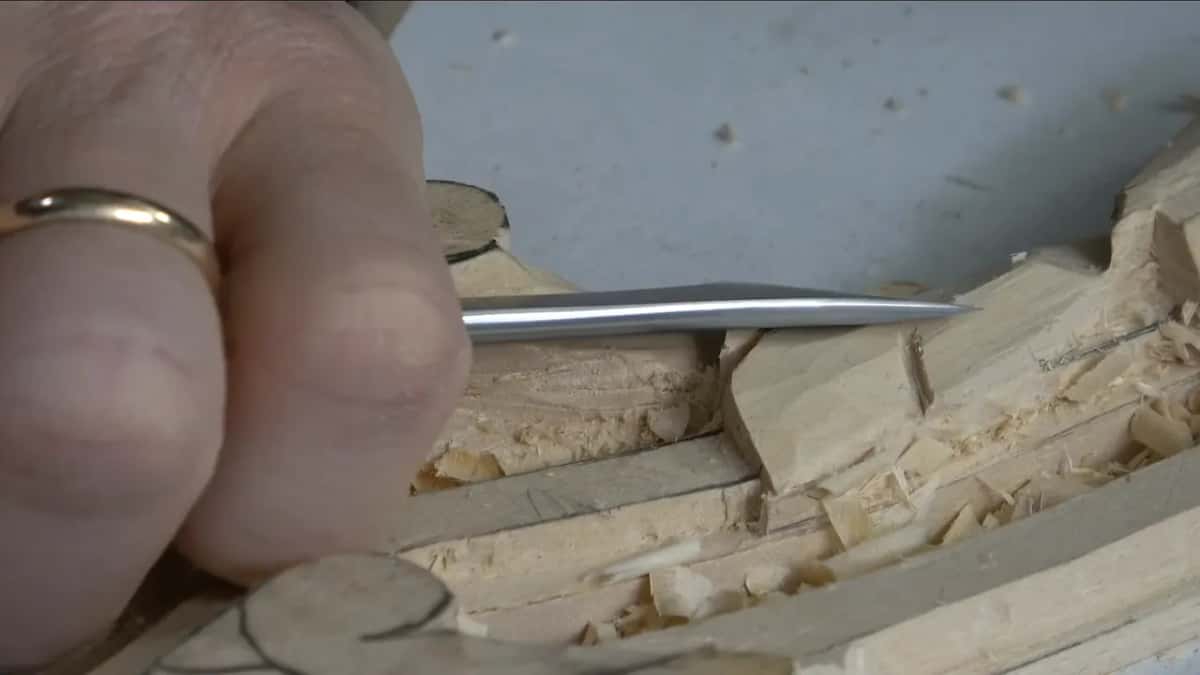
Fixing it meant going back over ground I had already called finished. Ten minutes, no drama, and now the flow reads properly from every angle.
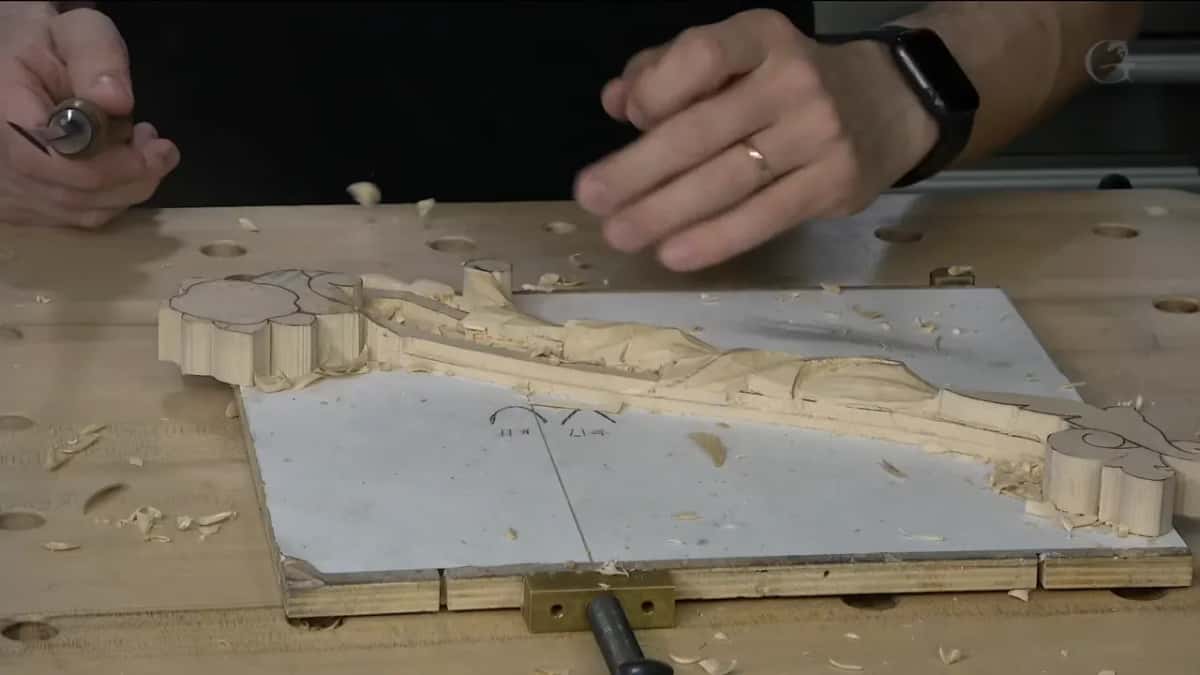
Leaving it would have cost more. Paint hides nothing of the sort, and a bump like that turns up in the one light you never thought to check.
I was having fun that afternoon, which does not always happen, and a good hour of carving is worth saying out loud.

All of this is achievable with fewer tools than I own. A number 11, a knife and one flat chisel would carve this lobe. It would take longer and the result would be the same, and a beginner starting with four tools deserves to hear it plainly.
What I would not give up is the bevel on them. A dull edge turns every short stroke into a shove, and a shove is exactly what this method exists to avoid.
Wrapping is the other thing happening here. This part of the leaf does not sit beside the moulding, it goes over the top of it and down the far side, so the surface has to fall continuously across a member that is itself curved.
Tools I reached for and why
My skew came out for the water drop shape where the lobe finishes. A gouge and a knife would reach the same result. I like the anatomy of that particular tool, and that is the whole reason.
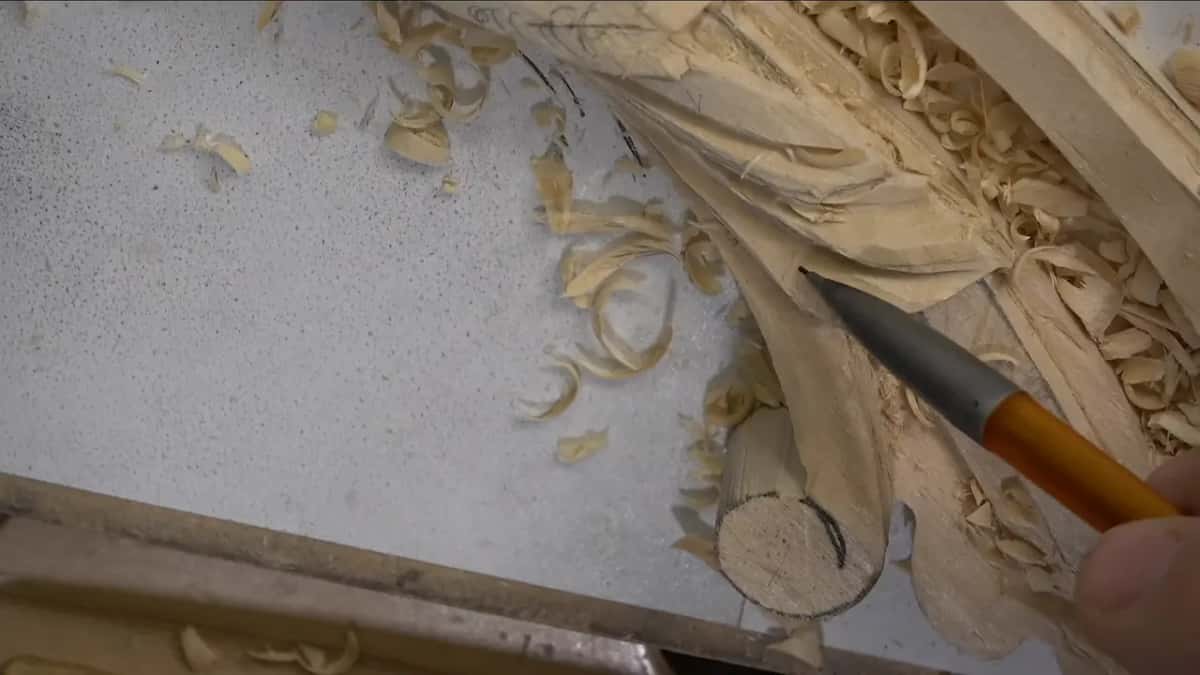
Number 11 at one millimetre handled the overlaps, and at three it took the wider hollows. A half circle number 9 kept the pipe flowing.

Several are antiques carrying markings nobody uses any more, and a few are Swiss made gouges bought new. The tools course works through the numbering, since no two makers ever agreed on it.
Ever start a cut confidently and feel the wood snatch halfway through? Ever wonder why the same tool behaves twice on one board? Whatever is going on sits under the surface where you have no way of seeing it. Then let us carve, and I will show you how to find out before it costs you.

Short strokes, a planted hand, and a ridge that nothing touched. Acanthus Over Moldings runs ten workshops, the next one asks when a carving should be cleaned up, and tuition opens all of them.
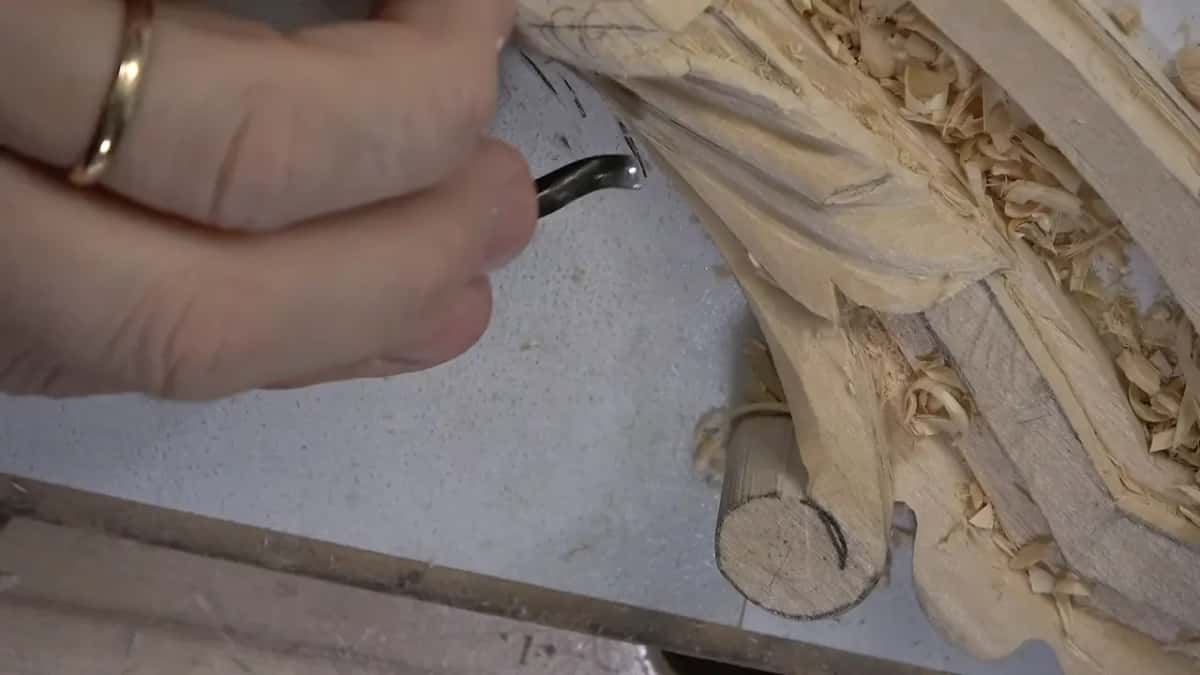
Nothing about this went fast. Do it really slowly, I say on the recording, and the second time I say it I am talking to myself rather than to you. One more check before the tools go away. It looks good. I think I am happy, and I should be. Shall we carve?

How it's done
- Open every line with short bites. A few millimetres at a time, so shifting resistance under your hand arrives as a warning rather than as damage.
- Plant one hand flat on the work. The little finger braced against the board is what lets a cut stop exactly where you meant it to.
- Start with the widest tool that fits. A number 7 an inch and a quarter across took the leaf down. Four large decisions beat forty small ones.
- Stop and compare against the finished piece. Compare the gap down the flank of this lobe with the one beside it every few cuts.
- Redraw before cutting any detail. Lowering the ground takes the pencil with it, so lay the pattern back down and put the lines in again.
- Strop before the tool touches the wood. Away from the edge, never into it. A dozen passes now beats sharpening a badly dulled tool an hour from now.
- Roll the flute like a clock face. Twelve for straight down, ten toward the volute, one o'clock for an overlap. Same tool, different wall.
- Hollow both flanks of anything raised. The high part appears between them, untouched by any tool at all. Carving it directly flattens it.
Frequently asked questions
Should wood carving cuts be short or long
Both, in the right order. Opening cuts stay short so the grain cannot surprise you, and once a movement is roughed in, long passes leave a better blended surface than several short ones joined end to end.
How do you control a carving gouge accurately
Brace one hand against the work with a finger touching the surface. Control arrives from that anchor rather than from a tighter grip, and an unsupported arm sends the tool wherever the arm was already going.
How deep should a cut around an acanthus eye be
Under two millimetres, and no deeper. Anything beyond that starts to read as a crack rather than as one lobe passing across another.
What to carve next