

Alexander Grabovetskiy, woodcarver, School of Woodcarving · Published 2022
How do you keep both sides of a carving at the same level?
Quick answer: Keeping two sides of a carving level is a marking job before it is a carving job. I set a pencil line on the edge of the board at the height I want, then carve down to that line rather than guessing from the surface. My eye lies. The mark does not.
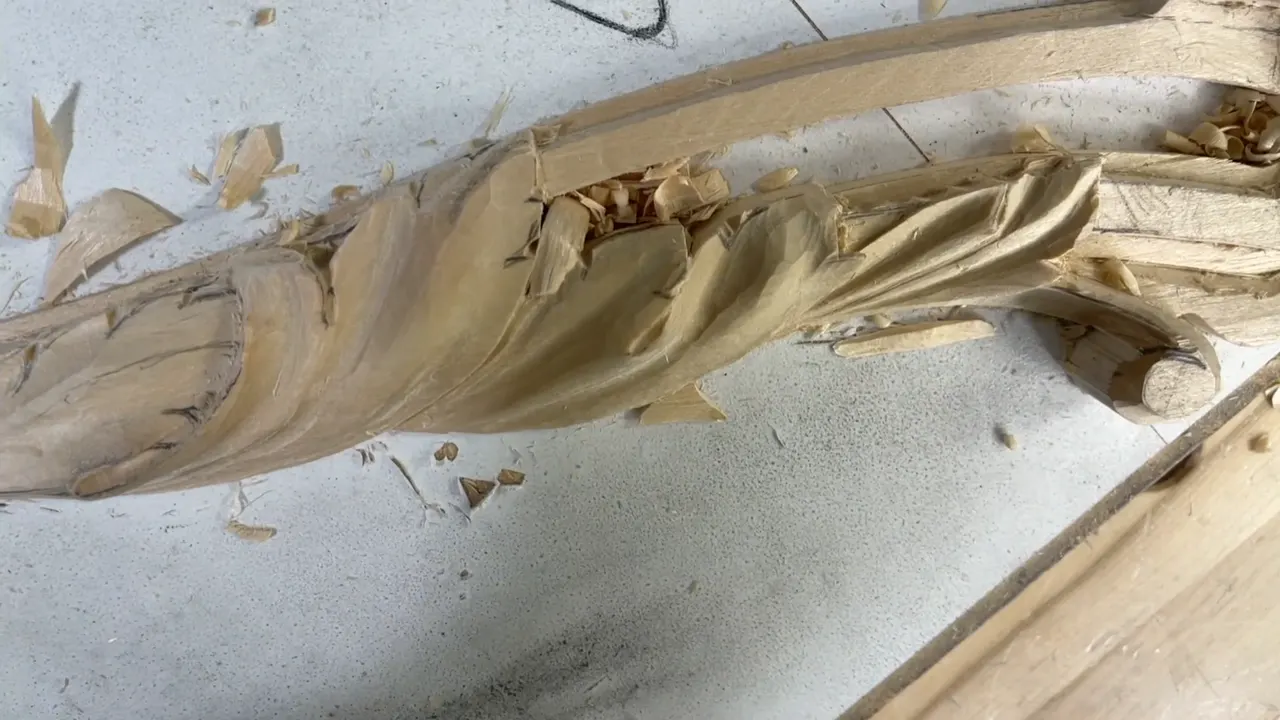
The gouge is rarely the problem here. Two sides of one carving drift apart because nobody fixed a height for them to meet at, so each side gets judged against whatever surface happens to sit beside it. I mark the height on the board edge first. The pencil line judges everything after that, not my eye, and not whatever happens to be sitting next to the wood I am carving.
You shape one side of a leaf and it looks right. You turn the panel, shape the other side, and that looks right too. Then the two sit beside each other and one of them is a good 3 mm (an eighth of an inch) low.
While the wood is still rough that gap costs you ten minutes. Shape over it and the gap is now the thing you built everything else on.
Here is how I fix that height on a Venetian acanthus panel, why the surface is the wrong thing to measure from, and what those two thin lines trailing the gouge are telling you.
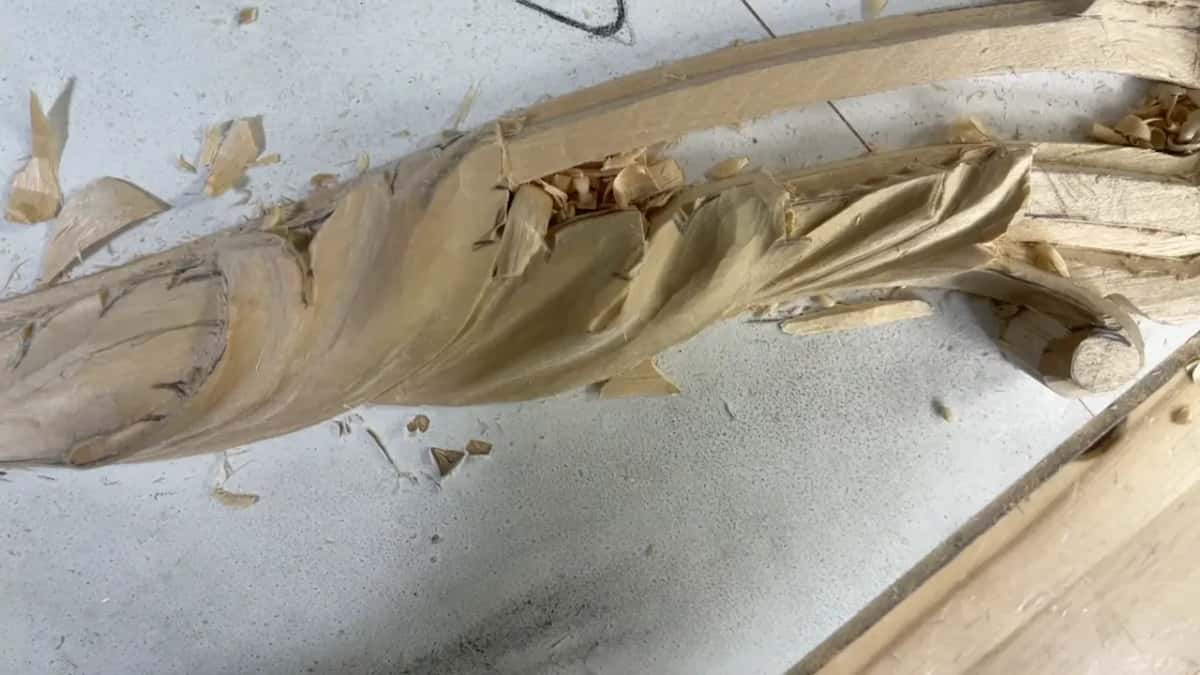
What decides whether two sides match
- One pencil mark along the board edge, set before any waste comes off.
- Every depth after that answers to the mark. Not to the surface beside it.
- Keep looking at the far side while you work. Small variation is fine. A step is not.
- A gouge bent backward reaches under carving that is already standing, which a straight one cannot do without wrecking it.
- Two faint lines trailing the edge mean dull steel, and a few minutes on a strop ends it.
- Leave your walls square for now. An undercut made too early leaves you nothing to correct with.
Where does the height mark go?
Along the thin face, somewhere no tool is ever going to pass over it and rub it away. Mine goes on before I take a single chip off, and from then on I am not carving to a depth. I am carving to a line I can see from where I sit.
Engineers have a word for this. They call it a datum, one agreed surface everything else is measured from, and a shop drawing is worthless without one. Carvers rarely say the word out loud. We need the thing every bit as much, and on a curved panel probably more than an engineer does.
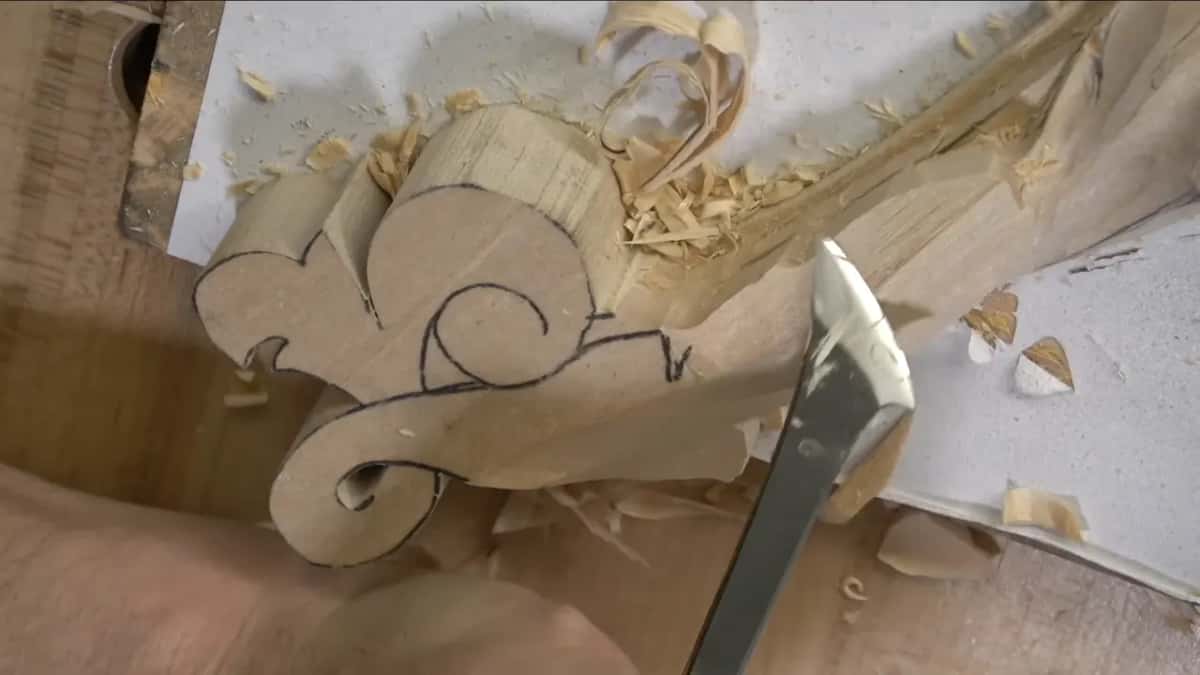
Watch what happens without it. You take the left side down until it looks deep enough. Two hours later you take the right side down until that looks deep enough as well. Both judgements were honest and they were made against different neighbors, in different light, with a different tool in your hand, and the two answers are not going to agree.
With the mark, the question stops being a judgement. The wood is either above the line or it is not.
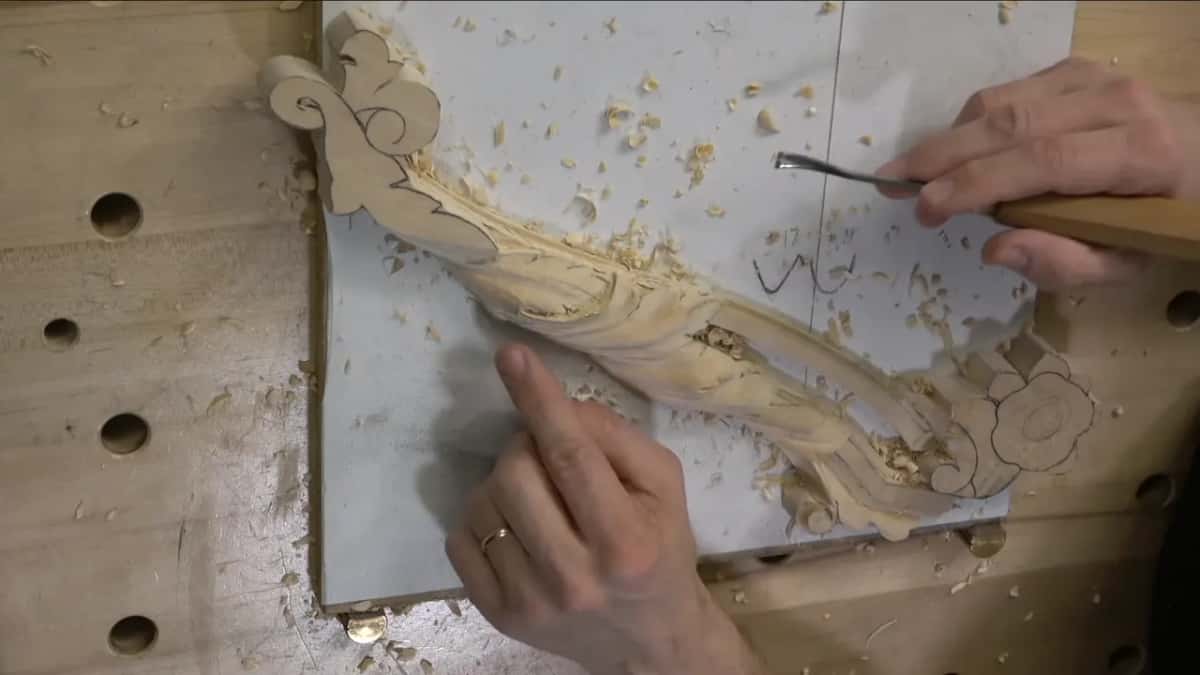
Why not measure down from the surface?
A carved surface does not stay still. The moment you lower the ground around a leaf, the leaf beside it looks taller, and a quarter of an inch that felt deep an hour ago now reads as shallow. Your eye is comparing, always, and it compares against whatever is nearest.
Here my background sits around 10 mm (3/8 in) below the top of the volute. That number came out of the mark, not out of a rule. I checked it, decided it was enough, and stopped. Pushing deeper would have bought me nothing and cost me the material I need later for the flower.
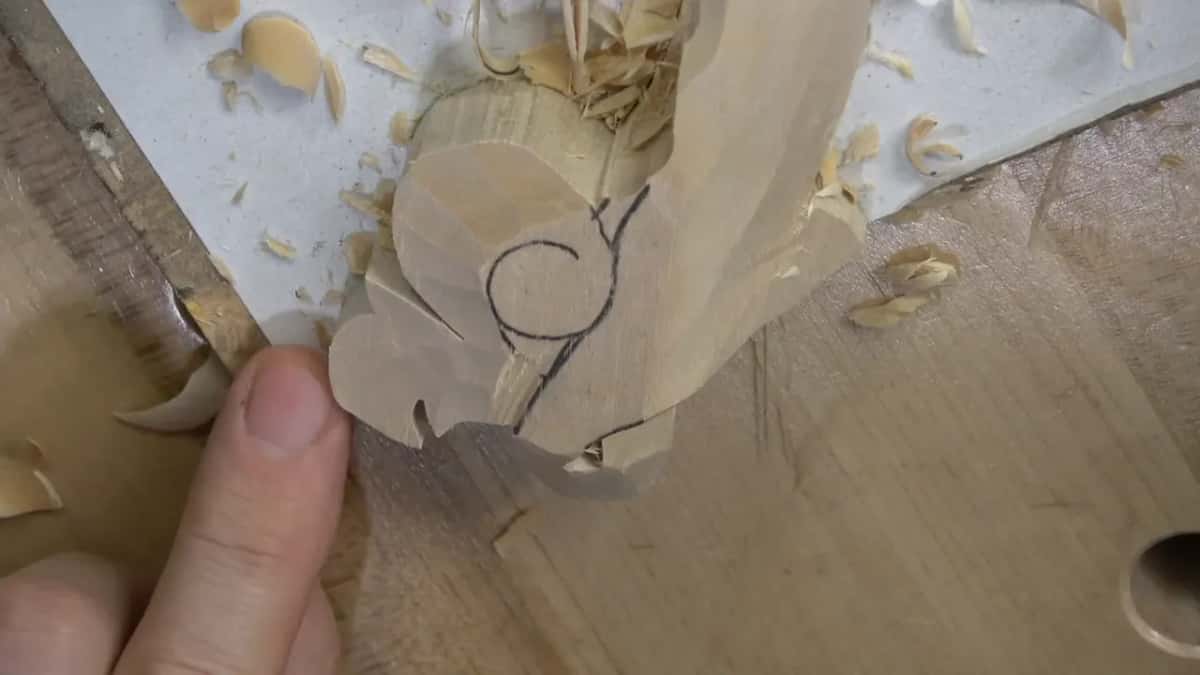
One spot on this piece sat no more than a quarter inch (6 mm) below the surface, so I reached for a number 7 about an inch wide and took the whole thing down in a few passes. A big sweep on shallow ground is safe. The same sweep near a finished edge is how people break volutes.
How do you keep checking the far side?
By looking at it, constantly, in the middle of the stroke and not after. I keep an eye on the opposite side the whole time I am lowering a section, because the whole point is that the two arrive at one level together.
Small variation between them is fine. Honestly, a little unevenness reads better than a machined match, and nobody standing in front of a finished relief is measuring it. What kills the piece is a step you can catch with a fingernail.
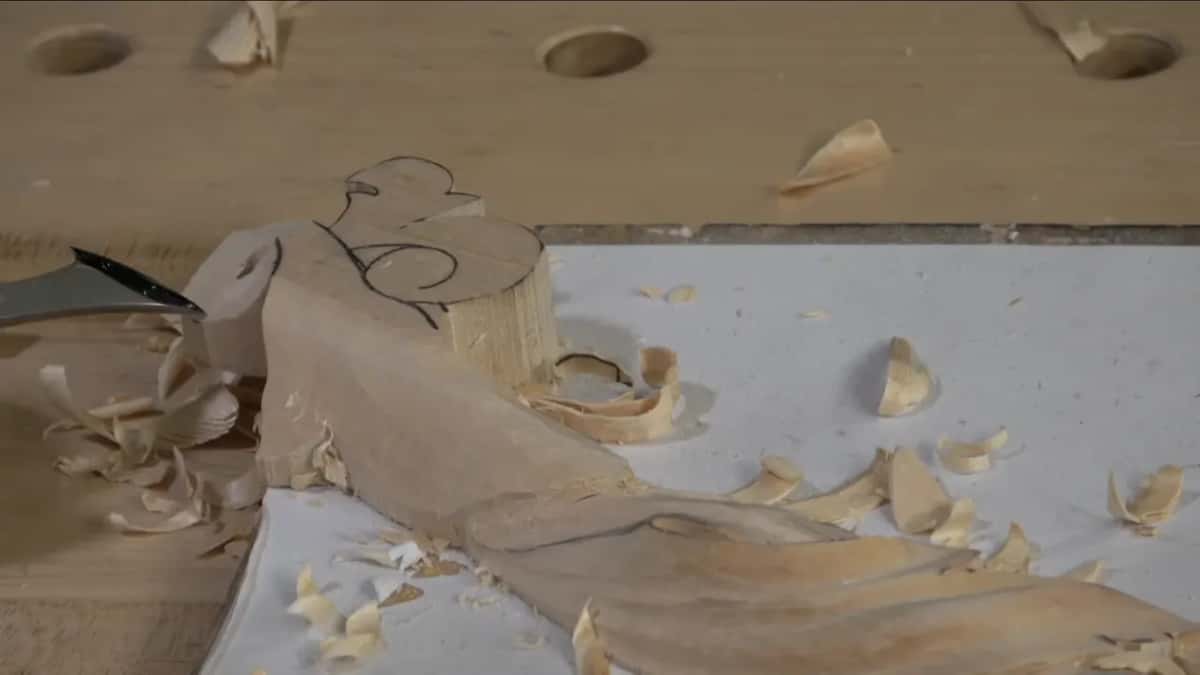
There was a bump on this one where the ground ran downhill toward the loop. Going downhill and then up over a hump and down again is no good at all, so I took the same tool, came at it from the other direction, and knocked it flat until the fall was gradual the whole way.
Sight along it from the side. Seen from directly above, the fall on a piece like this always looks fine even when it is not.
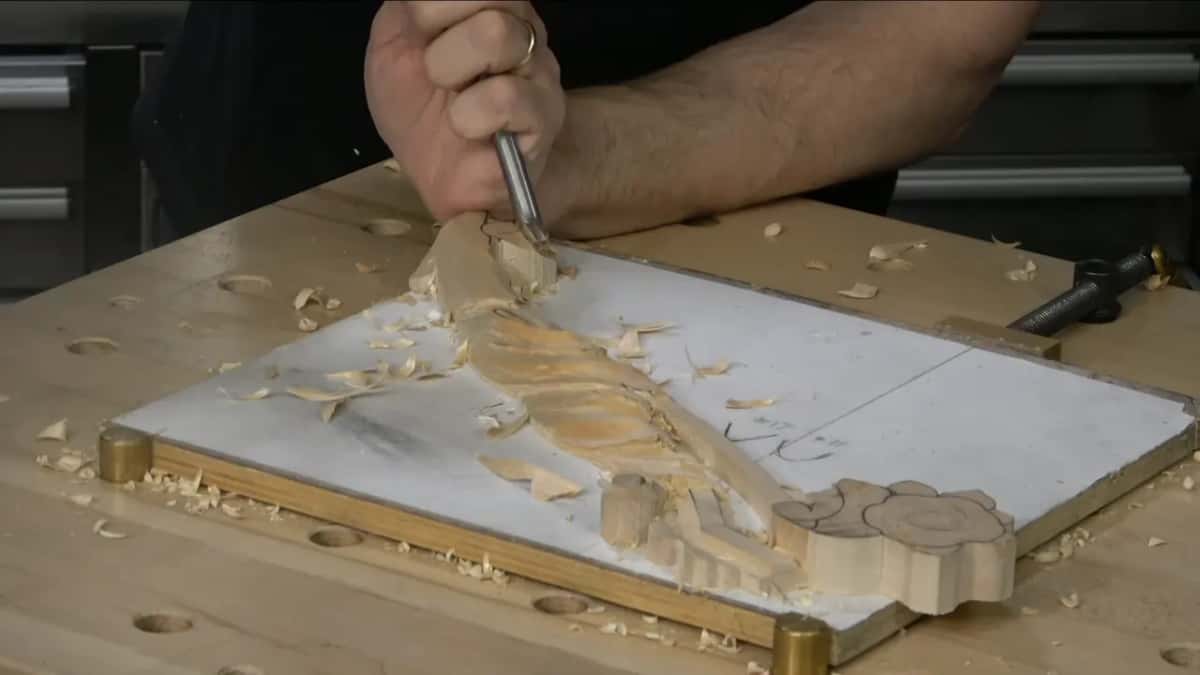
What do two thin lines behind the gouge mean?
Dull steel. When a number 11 leaves a pair of faint tracks down the middle of its own groove, the edge has a nick or a rolled spot in it, and no amount of technique will take those tracks out.
I stopped in the middle of that leaf, buffed the tool, and came back to it. The tracks were gone. That is the whole repair, and it is why a sharpening habit beats a sharpening session.
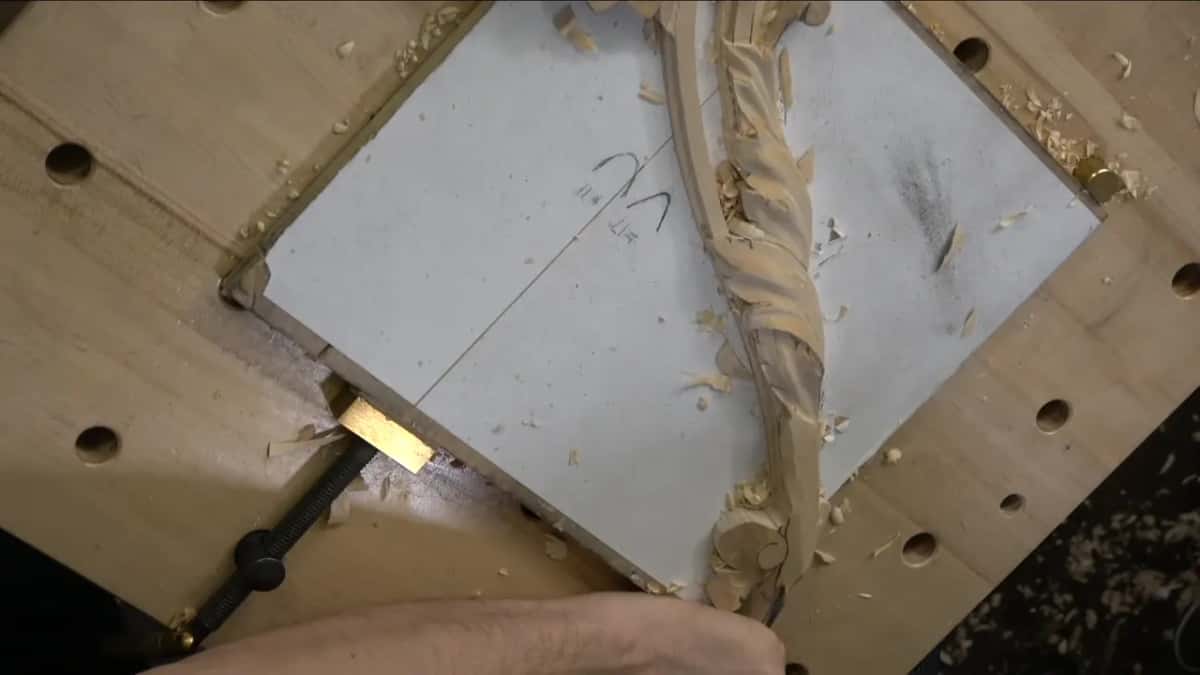
Later in the same hour the tool was not quite 100 percent again, and I could feel it through the handle before I could see it in the wood. I kept going anyway. Not every pass has to be perfect, and this one was going to be blended over.
Knowing which is which takes a while. The short version: if the mark will survive into the finished surface, strop. If it will not, keep carving.
When does a straight gouge stop reaching?
The moment something you already carved stands between your hand and the wood you still have to remove. On this leaf I had a raised section directly in my path, and pushing a straight tool at it would have destroyed the very part I had just spent an hour raising.
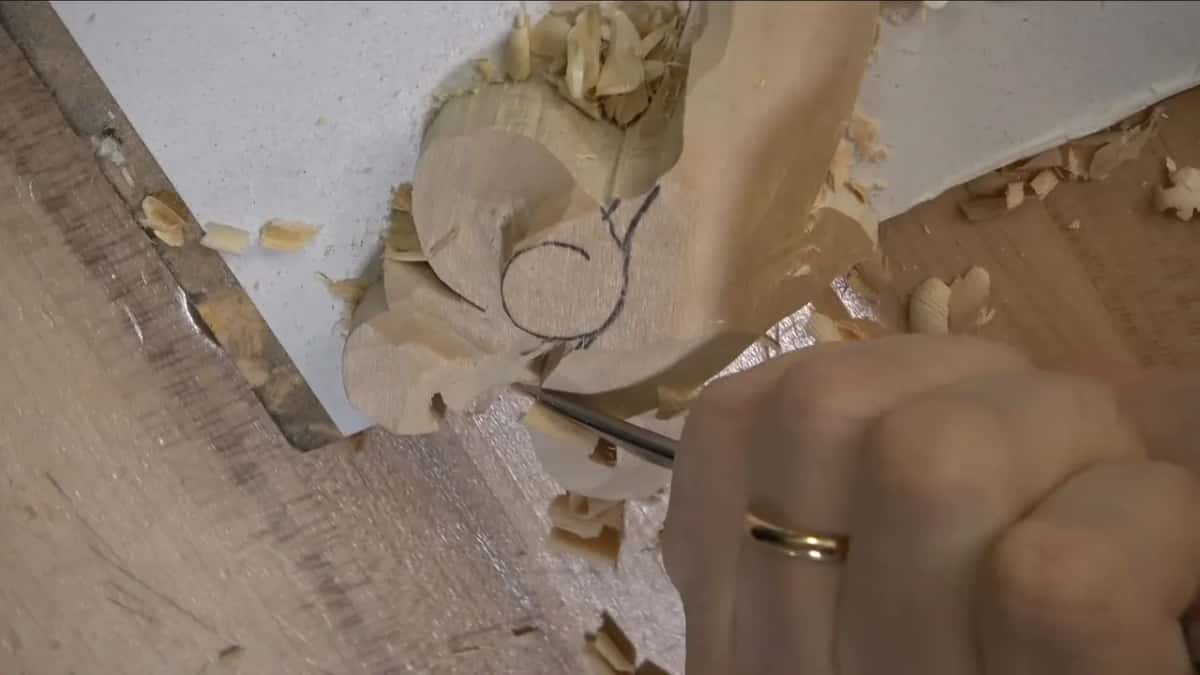
Two shapes solve that. A back bent curves away from the work so the handle clears what is standing, and a front bent spoon dives into a hollow a flat blade cannot enter. I used a number 11 at 7 mm in the spoon form to get underneath, then a back bent to blend the facets away with a slow circular motion.
You can do it with straight tools. I have, plenty of times, and it works if you are careful. I carve for a living, so when the safer tool exists I pick it up, because the hour I save is not mine to gamble with.
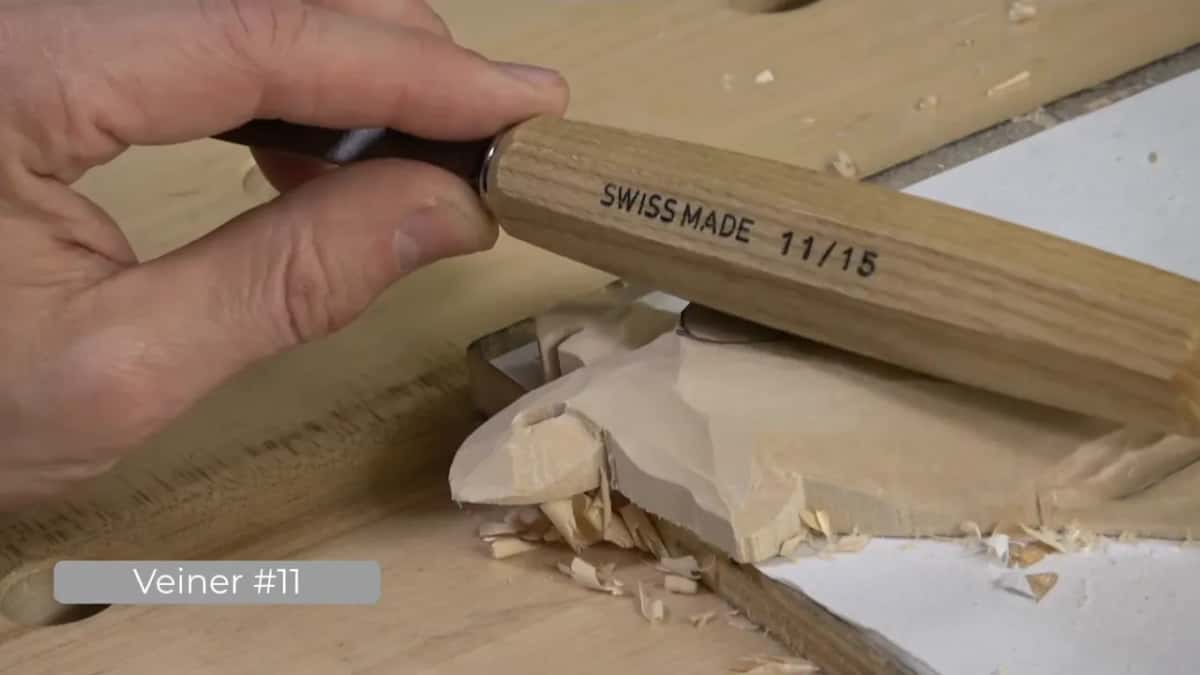
Which tool did what on this panel
| The tool | Where it worked on this Venetian panel, and roughly how far down | What it risks |
|---|---|---|
| An inch of number 7 | speed | it will happily run into a raised volute if one is standing anywhere near the stroke |
| Ten millimeters of nine | excavating close beside the volute, leaving a floor clean enough to read a depth from | the far wall |
| The seventeen | triangles, plus any wall that has to stand square for now | corners |
| Fifteen millimeters, an eleven | one pass | grain that turns over halfway along the groove and lifts a splinter in front of the edge |
| Same profile, two and a half millimeters across | both of the eyes on this leaf | tilt |
| A spoon, tiny | blending ridges toward the water drop shape | tearing where the fiber changes direction underneath the blade |
How square should the wall stand?
Ninety degrees to the surface, and no further, until the shaping is finished. My number 17 went straight down beside the volute so the wall came out square, and I deliberately left the undercut for later because that whole area was still going lower.

Undercut a wall and then decide the ground beneath it needs another 2 mm, and you will find there is no wall left to work with. Square is reversible. Undercut is not.
The same logic runs through the furniture panel course, where every background is settled before anything gets its final edge.
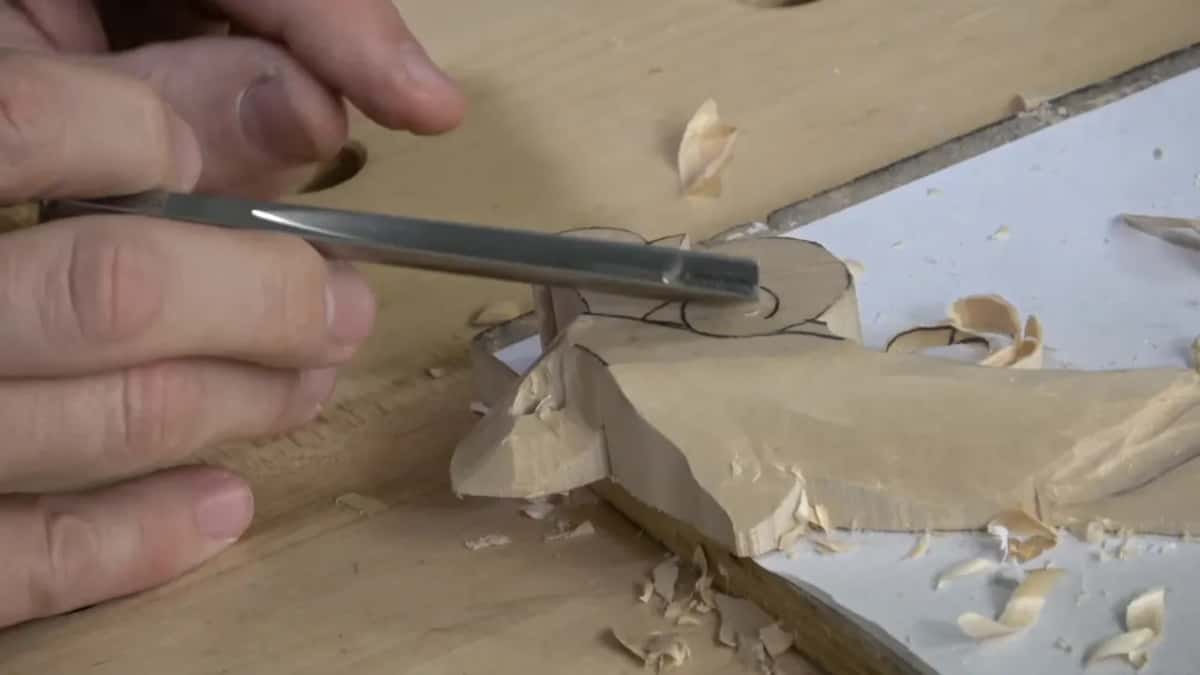
What is a merge line?
A place where the grain turns over on itself, so one approach lifts fiber and the opposite approach lifts it right back. You meet them constantly on curved ornament, and on this leaf there was one sitting exactly where I wanted a smooth blend.
There is no clever stroke for it. You carve up to the merge from one side, walk around the bench, and carve up to it from the other. Force the tool through and the wood will raise a splinter in front of the edge and you will be repairing instead of shaping.
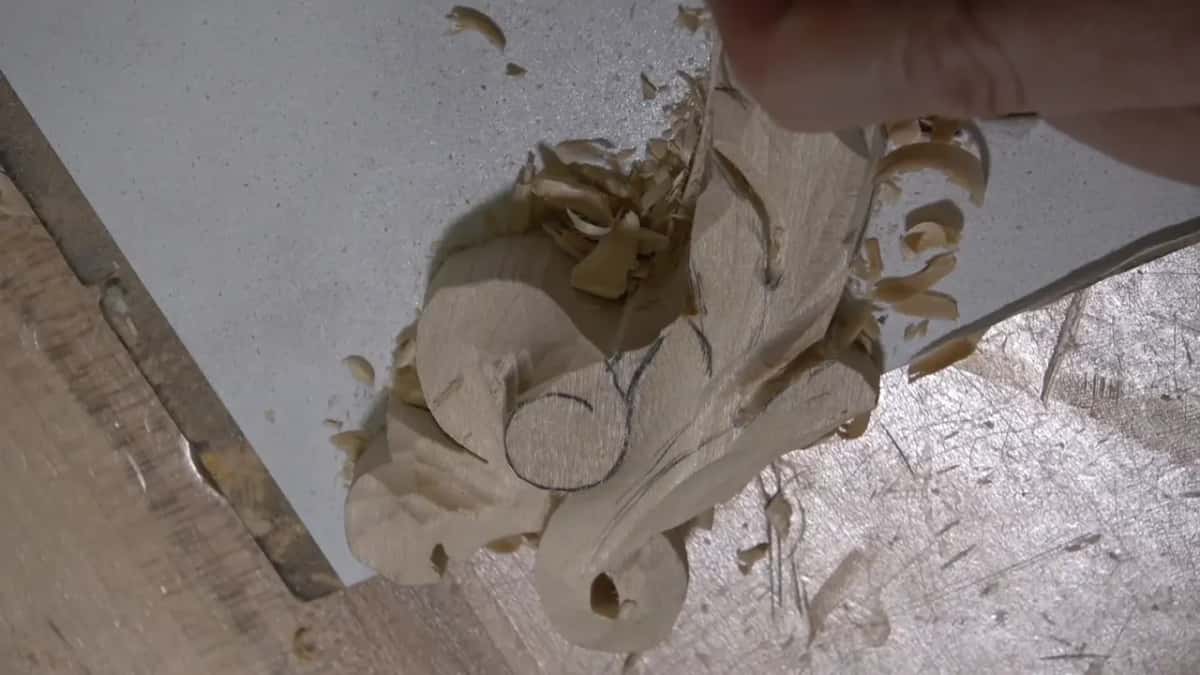
Basswood takes this well. It is forgiving compared with oak, which is one reason I teach on American basswood and why a beginner who starts on construction lumber ends up hating the craft. The lime family covers the European and American versions of the same timber.
Does every ridge have to be raised?
In this style, yes, and the style is the reason. A Venetian acanthus lives on ridges that stand proud with hollows falling away either side, and if you leave the ridge flat you have carved something else. Perfectly good something else. Just not this.
Other schools of acanthus are flatter on purpose. The Corinthian leaf sits somewhere between the two. The Byzantine work in another of our courses reads very differently and is not trying to do what this one does.
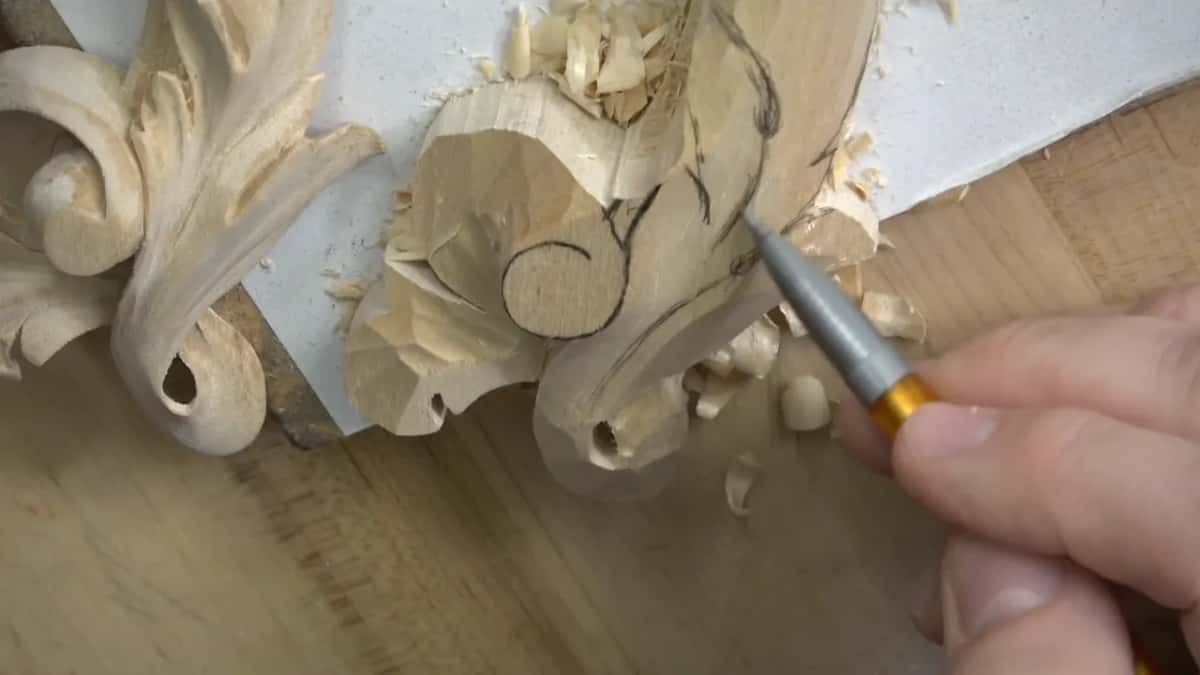
So I carve a concave on each side of the ridge line, carry it right across, and stop when the ridge stands. The temptation is to keep going deeper for drama. Stop early. Tomorrow there will still be wood there to take off, and there will not be if you go too far tonight.
Why do carvers talk about clock positions?
Holding a veiner is not one job but two. The tool has a depth and it has a tilt, and the tilt decides which side of the groove comes out deep and which side runs out to nothing. Naming the tilt by a clock face is the fastest way I know to say it out loud.
Straight up is twelve. Roll the handle a little to the right and you are at one o clock. The other way round puts you near eleven. On the two eyes of this leaf I took the first at one and the second at eleven, which is the whole reason they lean toward each other rather than sitting there like a pair of drilled holes.
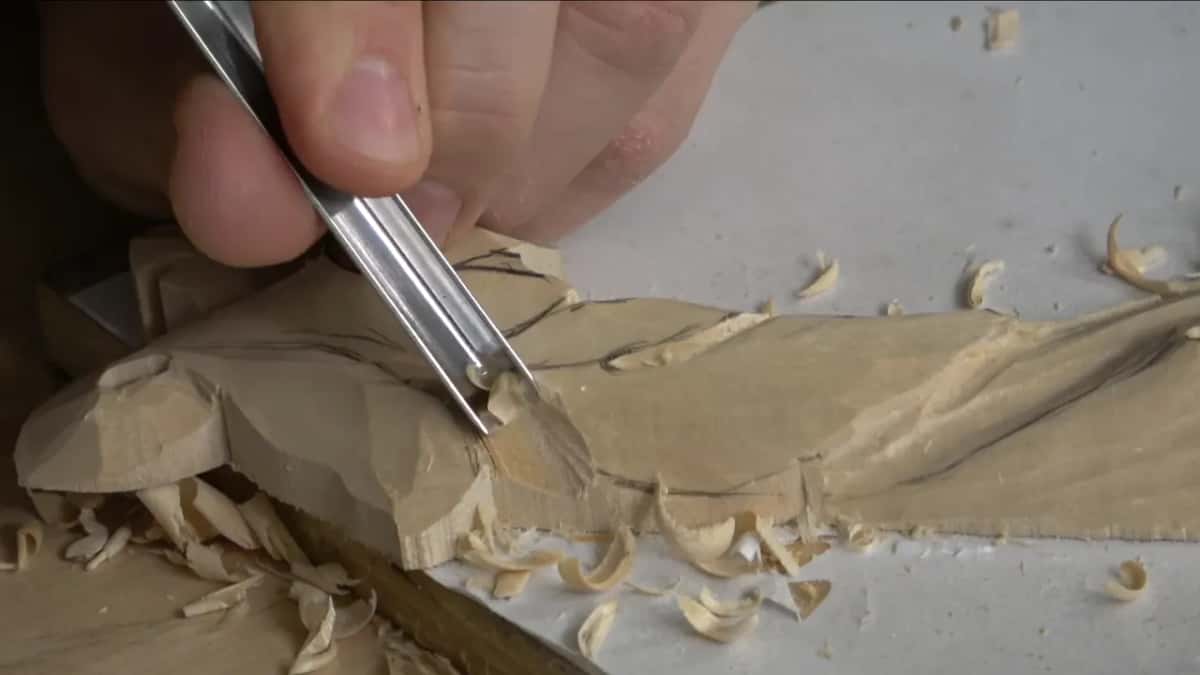
Half an hour of playing with that on scrap teaches more than reading about it. Take a number 11, carve six grooves, and roll the handle a little further for each one. You will see the groove change character without the depth changing at all, and you will never hold one flat by accident again. An afternoon goes on this in the design course.
When do you put the pencil back on?
After the ground is down, and I mean every single time without exception. Your first drawing lived on the surface you just removed, so by the stage the background is settled there is nothing left of it, and carving on from memory is how a movement goes crooked.
I redraw straight onto the carved wood. Separations first, then both eyes, where the overlap falls, and the two pipes running toward the center. It takes maybe four minutes and it is the cheapest insurance on the bench.

One thing worth saying about that redraw. Do not copy the first drawing exactly. You know more now than you did then, you have seen how the grain behaves in this particular board, and the second drawing should be better than the first. A line or two usually moves.
How far do you take it in one session?
Until the shape reads. Then down tools. I am not making it perfect at this stage and I say that out loud about four times an hour, mostly to stop myself. Somewhat clean is the target. Perfect comes after everything else on the panel exists in three dimensions.
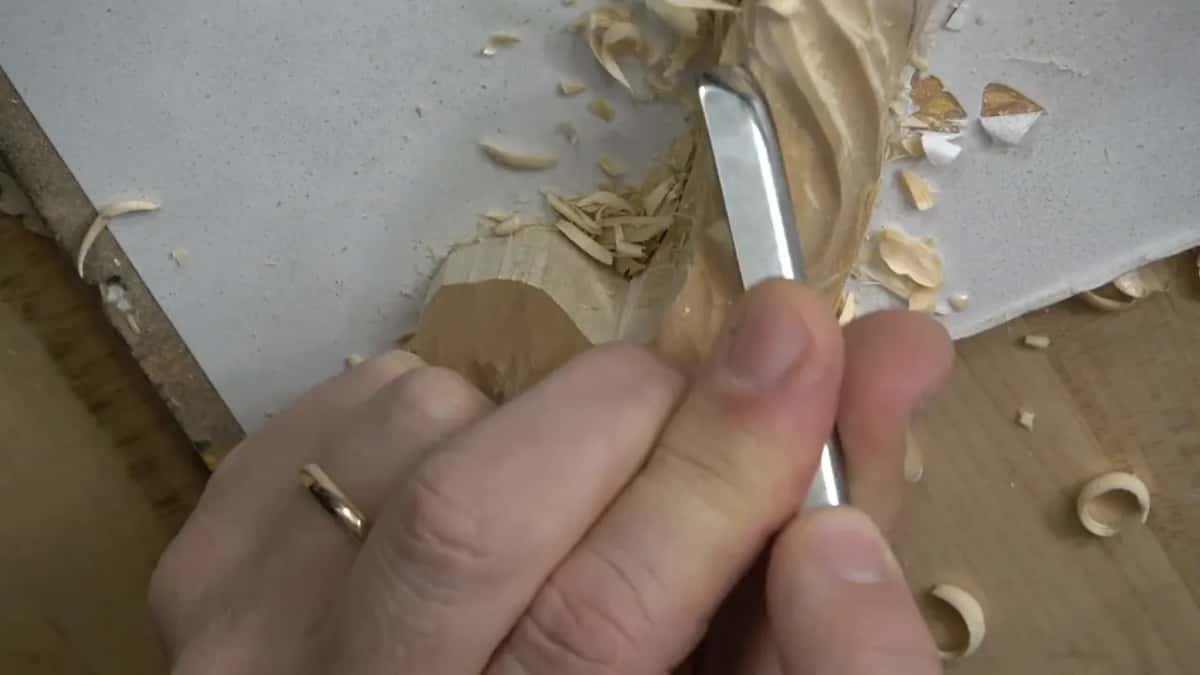
That evening it got dark enough that you could see my neighbor's garage through the window behind me. I kept the camera rolling anyway.
If this is the kind of carving you want on your own bench, come and carve with us. Shall we carve?
Michelangelo looked at a block of marble and released what was already inside it. I have never believed he worked that way. What I do believe is that one pencil line knew where the background was going a full hour before I did.
Next in this course the flower gets its center, and after that the petals get their movement. Both of them are carved down to the same mark.
How it's done
- Mark the height on the board edge first. Lay a pencil line along the thin side face at the height your design wants, before a single chip comes off.
- Rough the ground with a wide sweep. A number 7 roughly an inch across moves it fast.
- Change to a number 9 close to the ornament. Ten millimeters of number 9 excavates beside a volute and leaves a floor you can actually read depth from.
- Glance at the far side during the stroke. Both halves have to arrive together, so check while carving rather than afterwards.
- Take walls straight down at 90 degrees. Square walls stay correctable.
- Flatten a hump before it hardens into the design. Come at it from the opposite direction, taking the fall gradual the whole way down toward the loop.
- Buff the moment the tool leaves tracks. Two faint lines in one groove mean a damaged edge, and four minutes on the buff ends it.
- Redraw the movement onto the carved wood. Your drawing lived on wood you removed.
Frequently asked questions
Where do you put a depth mark on a carving board
Along the narrow edge, at the side, somewhere no gouge will ever pass over. Put it there before any waste comes off and it stays readable for the whole job, which a mark drawn on the face never does.
Why does one half of a carving finish lower than the other
Each half got judged against a different neighbor, at a different hour, with a different tool in hand. Honest judgements made separately rarely agree. A single fixed reference removes all that guesswork.
What causes thin lines in the bottom of a gouge groove
Damage on the edge. A nick or a rolled spot drags two faint tracks along the groove, and no amount of technique removes them. Four minutes on the buff ends it.
What to carve next