

Alexander Grabovetskiy, woodcarver, School of Woodcarving · Published 2022
How do you hold a small wood carving while carving it?
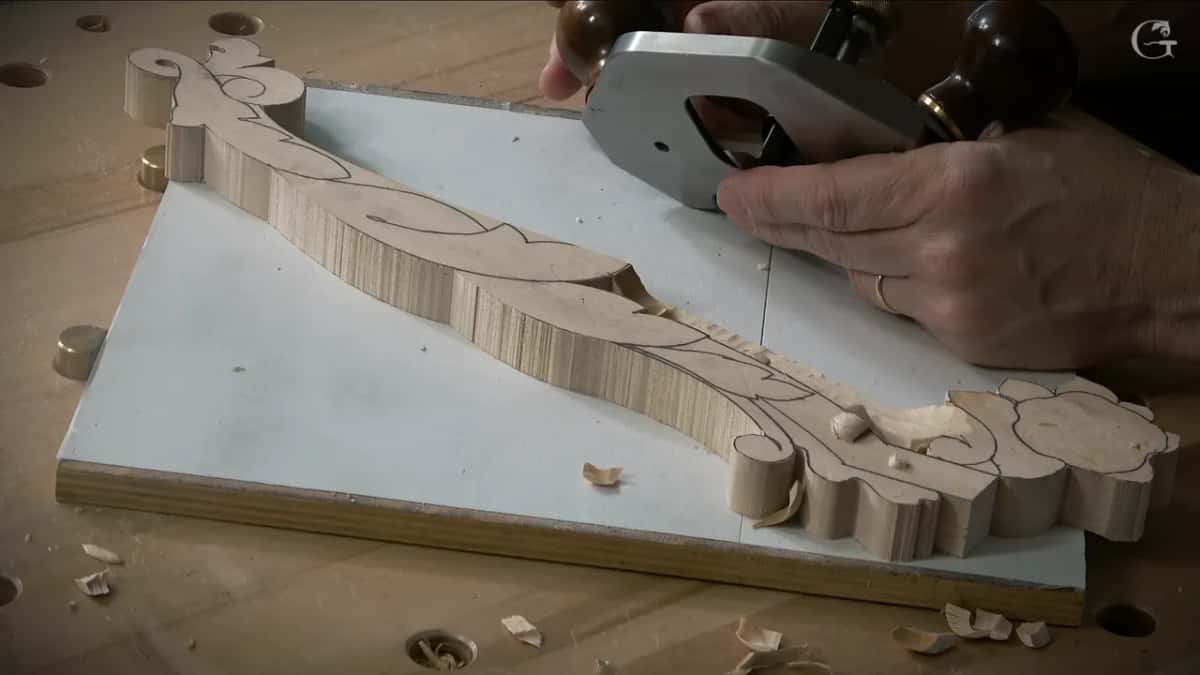
Quick answer: Holding a small carving means gluing it down rather than clamping it. The blank goes onto a plywood board with two sheets of printer paper trapped in the glue line, stuck with spray adhesive. Paper holds through a week of work and then splits under a wide chisel, which releases the carving without damage.
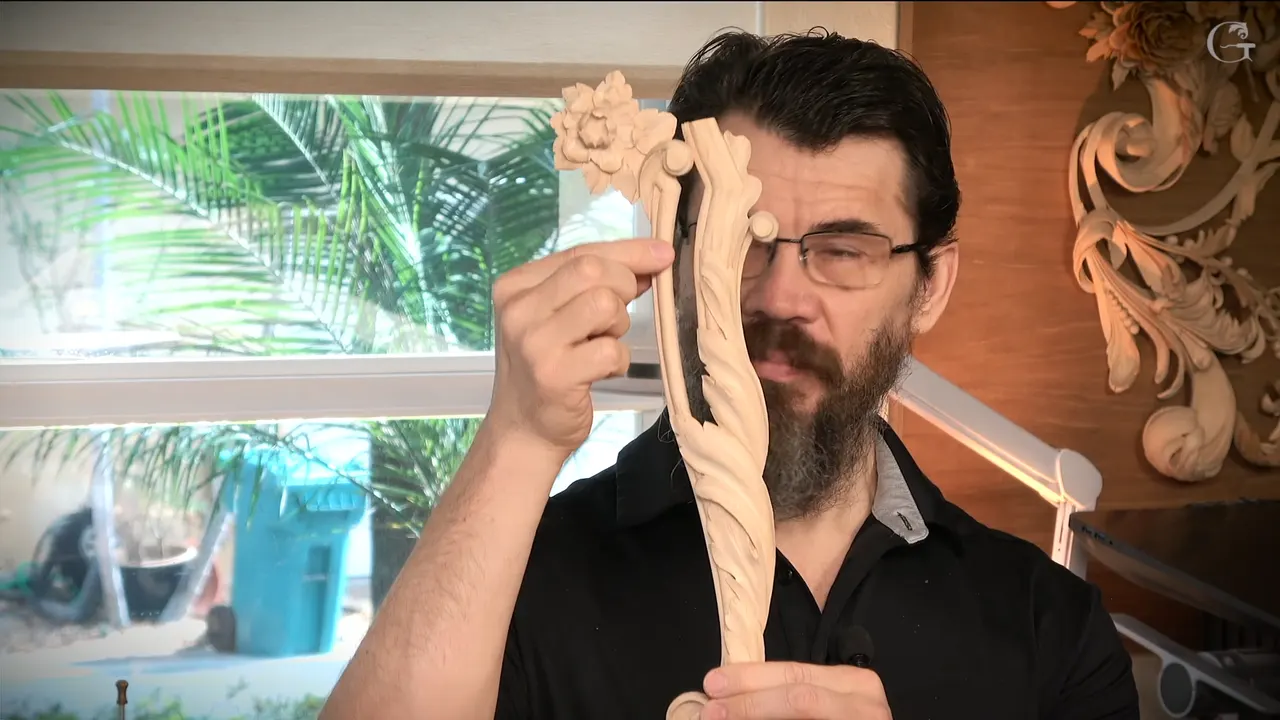
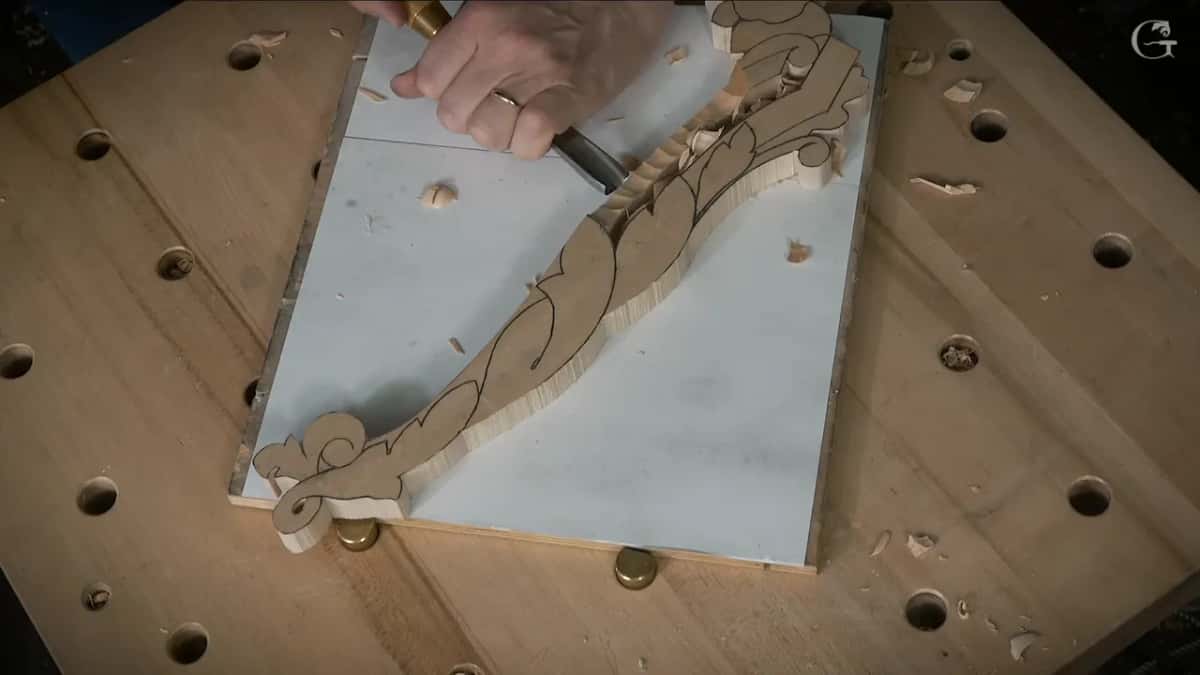
A piece this small will not go in a vise, and clamps sit exactly where your hands need to be. So it gets glued to a board instead, with ordinary printer paper caught in the glue line. Paper does the whole trick. It holds through a week of carving and then splits apart under a chisel.
Plywood underneath. Paper between. Adhesive sprayed onto every mating face.
That detail is an acanthus leaf running over the top of two mouldings, and it belongs on the lower half of a panel I have been building for months. You could put the same thing on a mirror frame, or a door, or a chimneypiece.
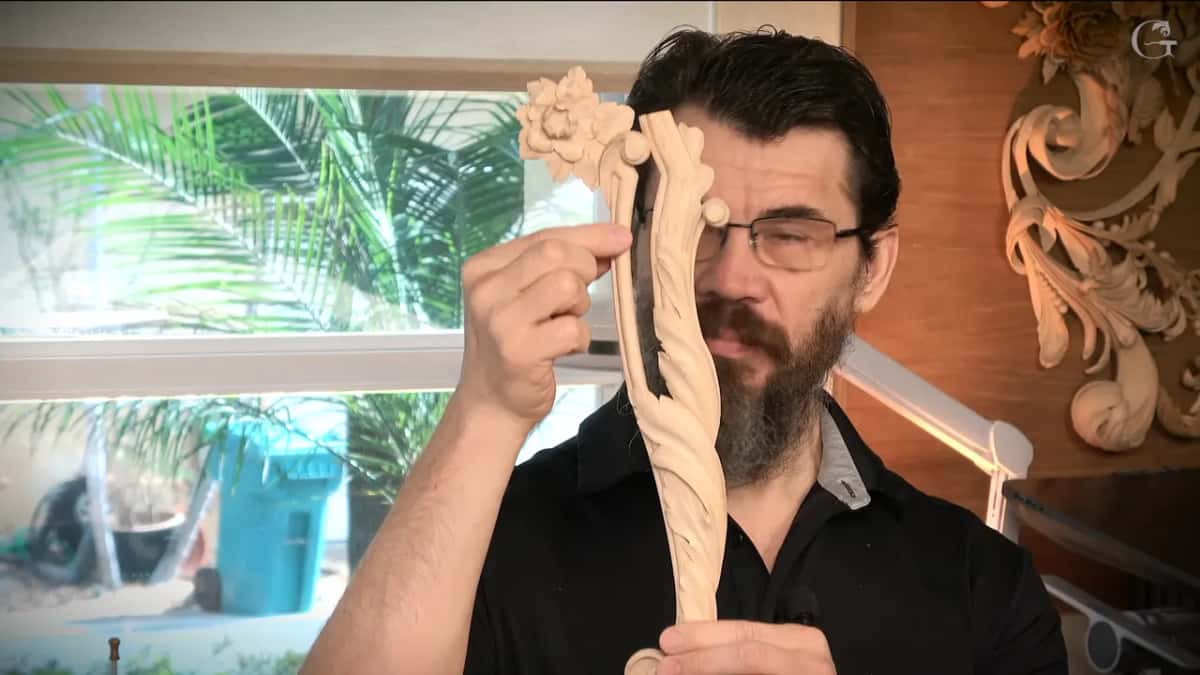
Four of these go on one panel, and a fifth sits along the bottom. Where two meet, the moulding carries on across the joint like a mitre, so every piece has to finish at the same height as its neighbour or the whole run reads crooked.

What holds a small carving down
- Half inch plywood offcut, printer paper, spray adhesive on every mating face.
- Set the blank across the diagonal and a modest board will carry a surprisingly long piece.
- Basswood here, at whatever thickness the depth of the ornament asks for.
- Poplar is a mistake even under paint. Cherry carves better. Oak carves better.
- Molding heights get scored with a marking gauge, on the face and on the edge both.
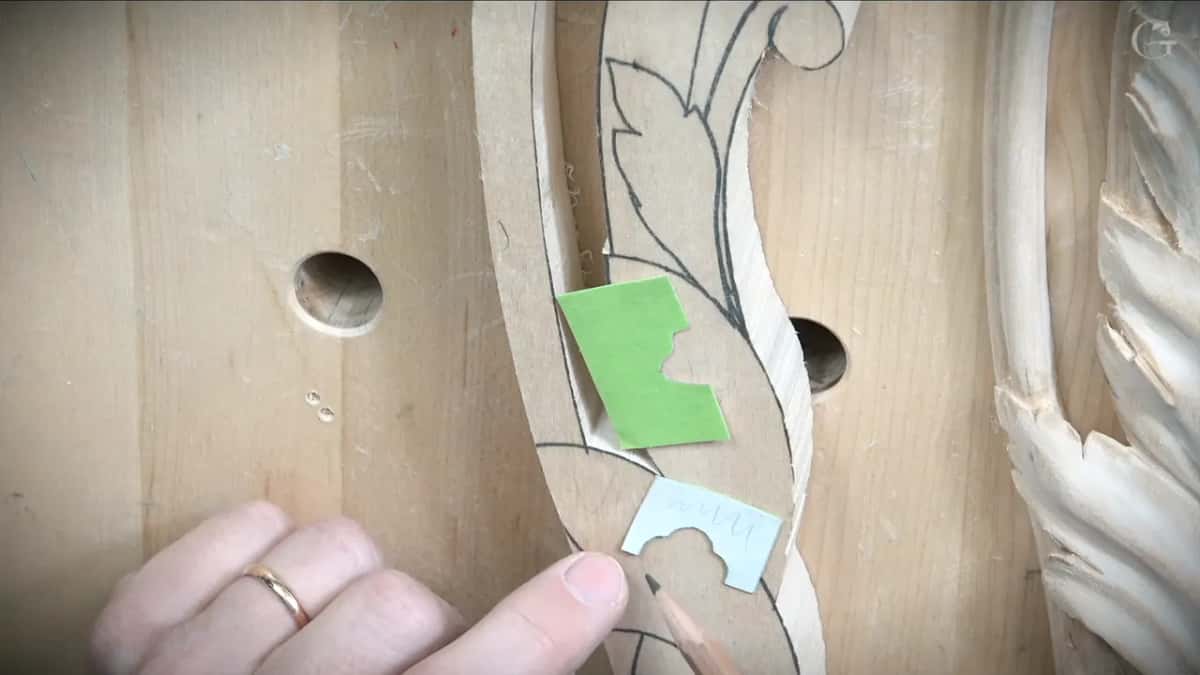
- Profiles live on paper strips taped stiff and kept within reach of your elbow.
What to do with a piece too small for a vise
Glue it to something bigger. My bench has holdfast holes and proper hardware, and for a piece like this that hardware would sit precisely where my left hand wants to be for the next two days.
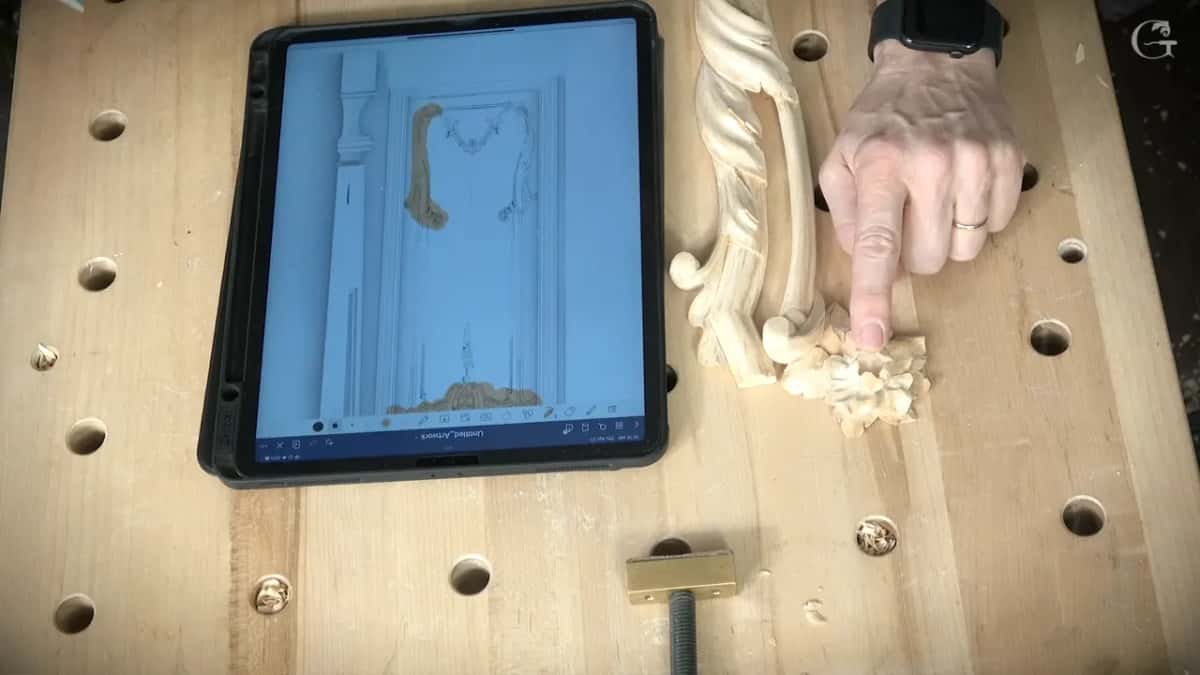
So I build a sandwich. Board at the bottom, a sheet of paper next, work on top, and every joint in it made with spray adhesive rather than wood glue. Titebond does hold. Scraping Titebond away afterwards is an afternoon I would rather not spend.
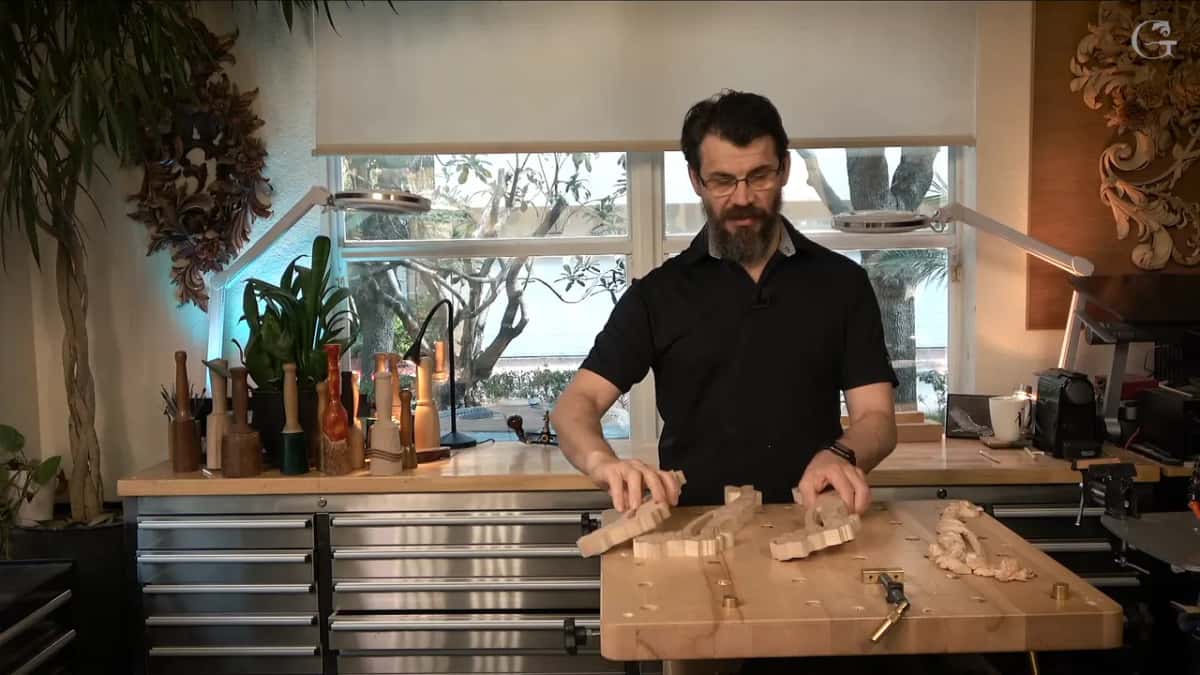
Spray the board. Spray one side of your paper. Wait two minutes until it goes tacky rather than wet, press the paper down, then spray again and spray the back of your blank, and test it with a fingertip before the two ever meet.

My board is an old half inch offcut with one finished face and one rough one. Nothing special about it. It has been lying round the shop for years and it has held a dozen details.

Why paper in the middle?
Failure is what paper is for here. Glue holds to the board, glue holds to the carving, and when the piece is finished you drive a wide chisel into the paper layer and it separates along the fibres without ever touching your wood.

A couple of sheets, in my case. Old ones peel off afterwards like a sticker, and I throw them away rather than reuse them, since a used sheet is already messy and already carrying glue.
One real drawback and I will not pretend otherwise. Spray adhesive collects dust. Everything that leaves your gouge settles on whatever glue is still exposed. These details take a day or two, so it never bothers me enough to change the method.
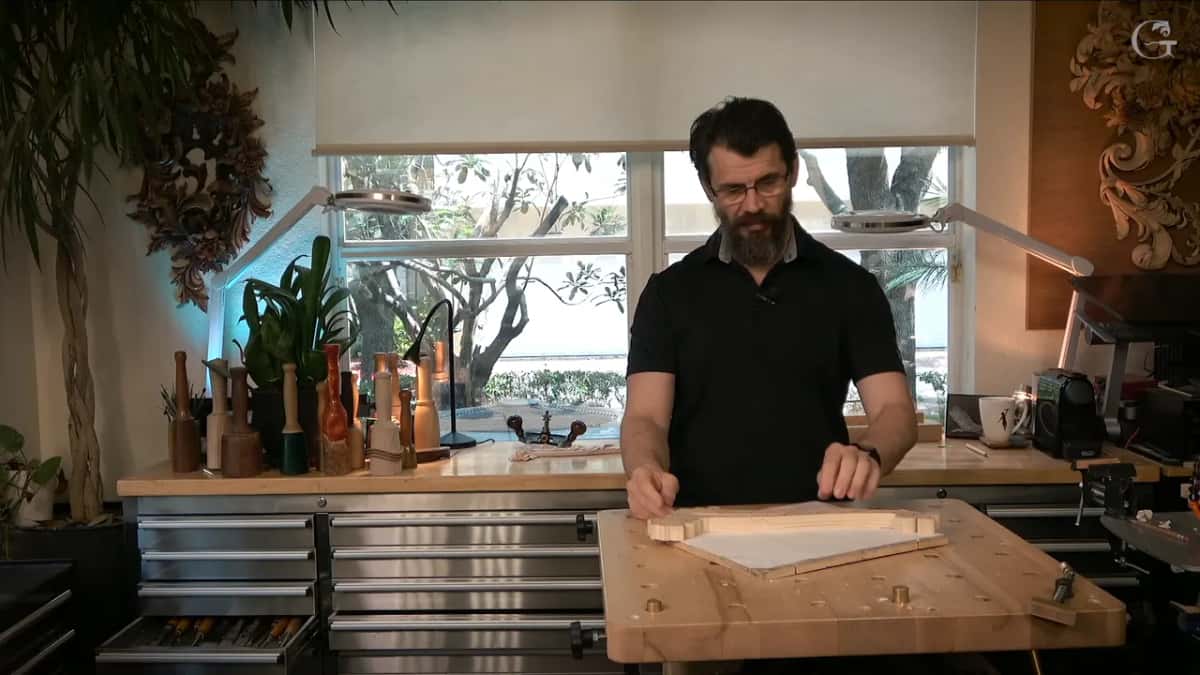
Diagonally is how the blank goes down, since a board that way carries more than its own width. Overhang does no harm at all.
The upper half of that panel is finished already, rosette and all, and I filmed almost none of it because the moves repeat. What changed is the design. I did not stick to my own drawing, and what came out looks better than what I had planned. The Venice Room is where most of that vocabulary comes from.
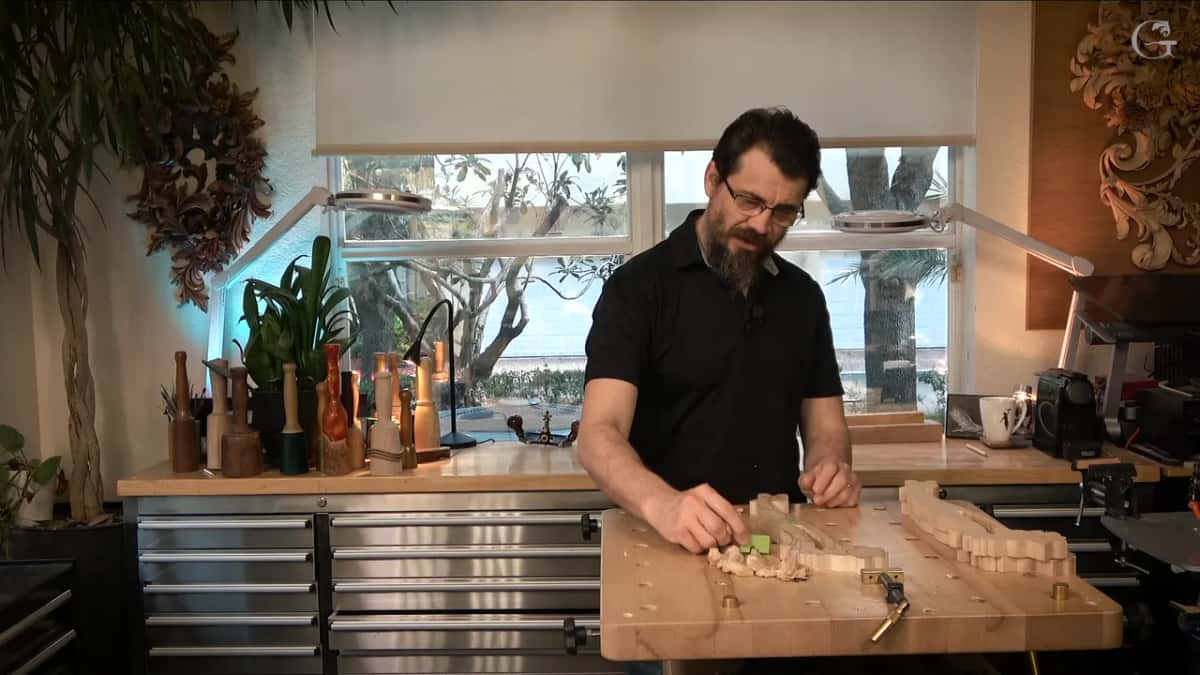
Which wood, and the one to avoid
Basswood here, limewood if you are in Europe, and they are the same timber under two names. This panel gets painted white in the end, so the species hardly matters for looks.

Furniture is a different matter entirely. Walnut carves beautifully and so does cherry, and both take a finish that shows a carving rather than hiding it.
Now the part people argue with me about. Plenty of carvers reason that paint hides everything, so poplar will do. I strongly suggest you do not. It is harder to carve than it looks and it feels wrong under the tool, and feeling wrong matters over two days.
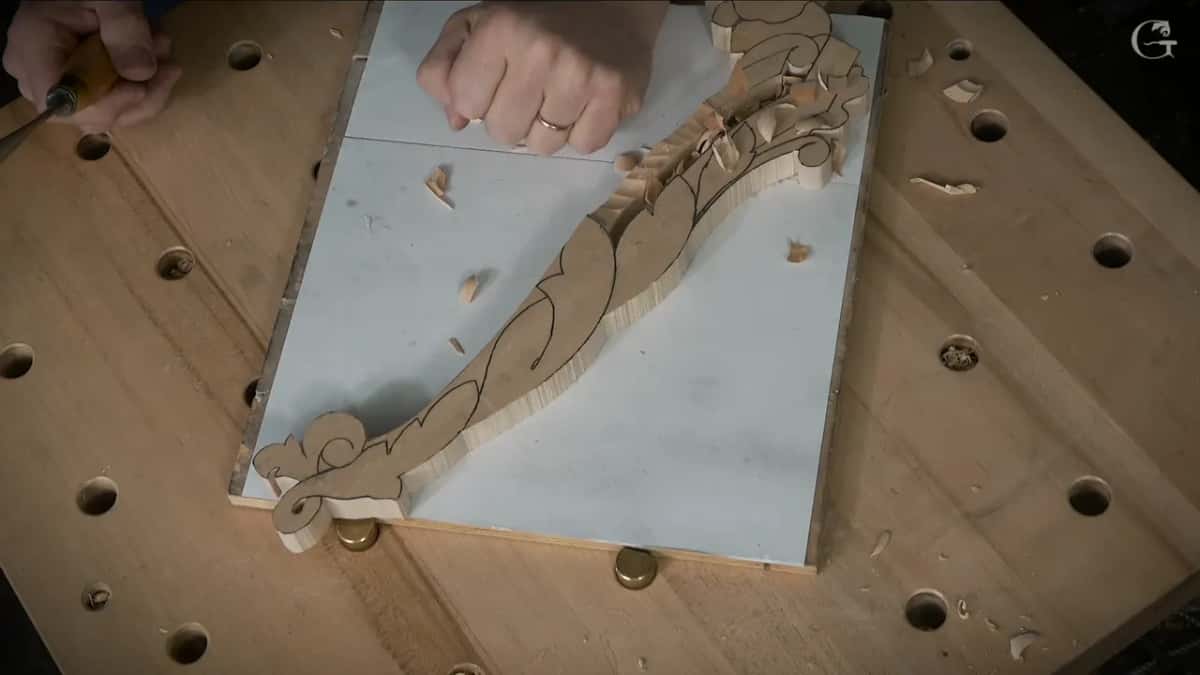
Cherry instead. Even oak, and oak is no beginner timber. I would rather fight oak than be bored by poplar.
Thickness here is seven eighths of an inch, 22.23 millimetres exactly, since somebody always asks. Thinner stock works just as well, a full inch at 25.4 millimetres works, and nothing about this method depends on any of it.
Marking the moldings before anything is carved
Lines came from a marking gauge, which is an ordinary woodworking tool and not an expensive one. A cheap gauge with a sharp knife cutter does everything I need here.
Each line marks the highest point of a moulding. Everything above it is waste. The same gauge went round onto the edge as well, so that height shows on the face and on the side at once.

Then there are the profiles themselves. Two simple mouldings, nothing clever, drawn on printer paper and backed with green tape to stiffen the strip. Blue tape works. Clear tape works.
Those strips live on the bench for the whole project. Any time I doubt a curve I lay one against the carving and the doubt is settled in a second. Drawing the profile properly is its own subject and its own course.
Ways to hold a small carving down on a bench
| Method | What it holds without complaint | Where it fails | How the work comes off again at the end |
|---|---|---|---|
| Holdfasts | Anything with space round it | The hardware sits exactly where your supporting hand wants to be all week | Undo it |
| Adhesive straight onto a board | Small pieces | Almost nothing goes wrong until you try to separate the two afterwards | You do not |
| Plywood, paper, adhesive | Anything from a coin to a swag two feet long | Exposed glue picks up dust all week | A wide chisel, tapped |
| Wood glue with paper trapped between the two | Heavier work under a mallet | Scrubbing dried glue away afterwards costs an afternoon | Same way |
| Double sided tape on a flat board | Very light work only | It lets go mid cut, which is how people get hurt | It falls off |
The first tool to touch the wood
Number 9 at roughly 20 millimetres, three quarters of an inch, and honestly any decent gouge would do. A number 11 veiner would do. The tool matters less than what your wrist does with it.
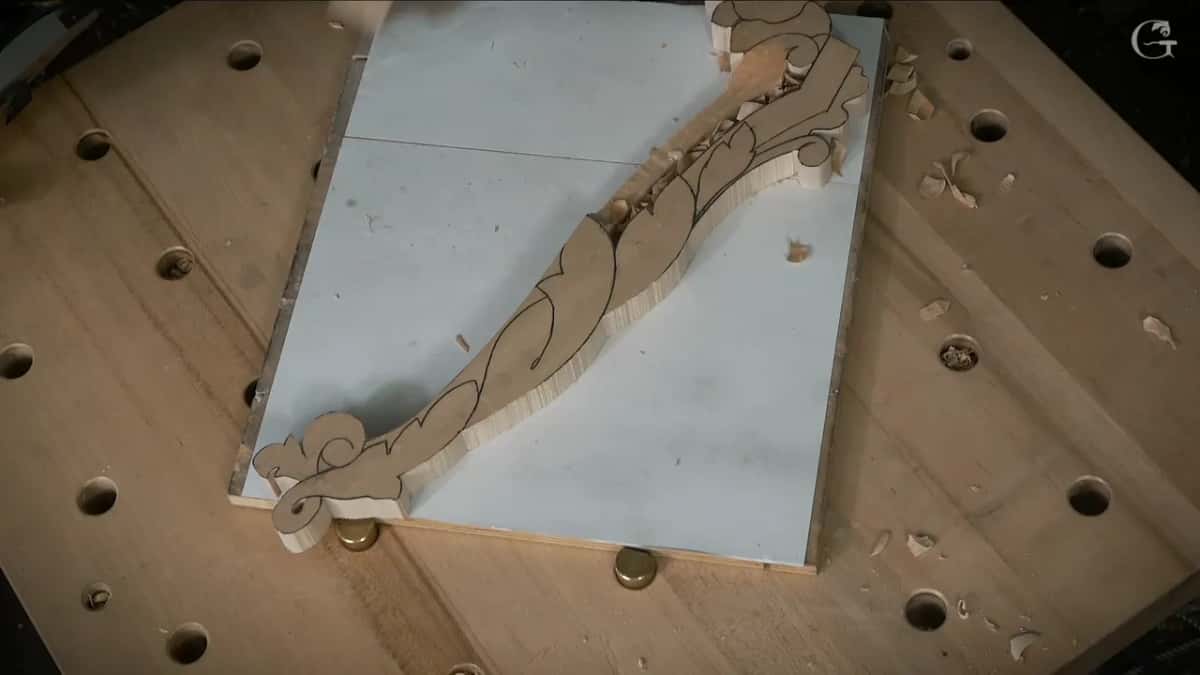
Rotate through every cut. Watch my hand and you will see the gouge turning as it travels, which converts a shove into a slice and leaves a surface you do not have to repair.

Grain decides direction. Coming from one side the far edge breaks out and takes a chip with it, so I turn the board and come from the other, and now the far edge stays clean. The next workshop is built on exactly this question.

My left hand stays flat. Contact is where control comes from, never from gripping harder.
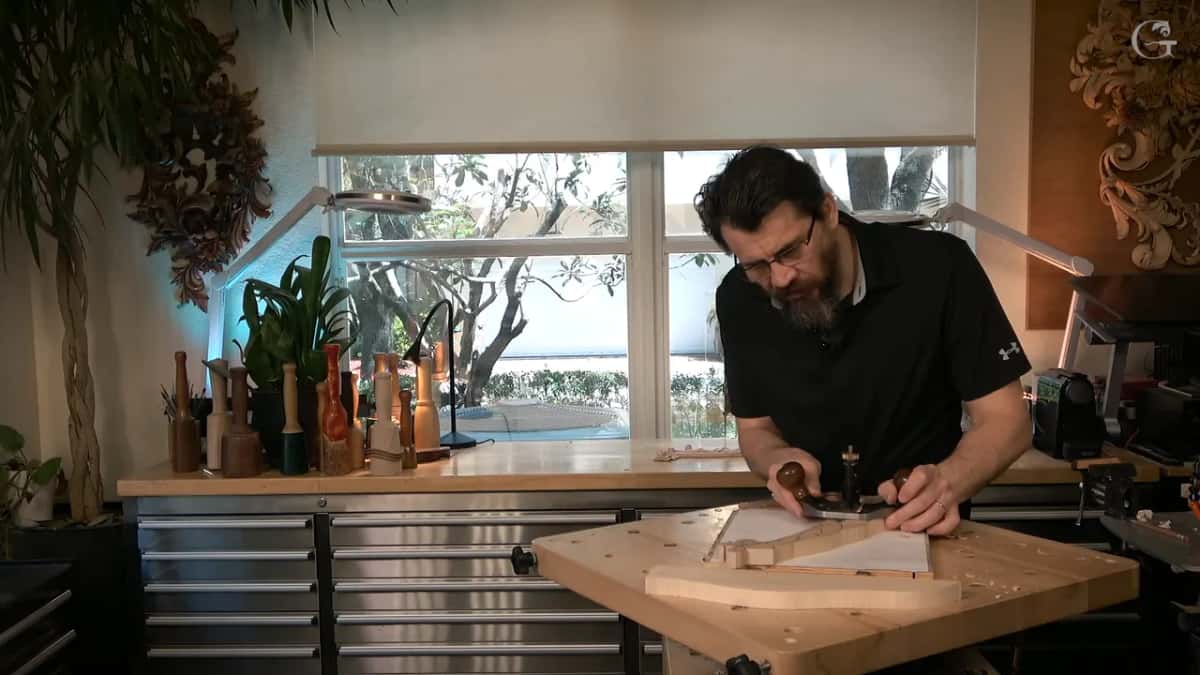
Nowhere near the line, though. I stop short deliberately, because a different tool is going to make the final surface and it needs something left to remove.

One tool earns a mention here. My number 9 has almost no heel behind the bevel, so it enters the fibres with far less fight than a factory grind allows. I reground it myself to get rid of a high bevel, and that low heel is what makes a true straight down cut possible at all.
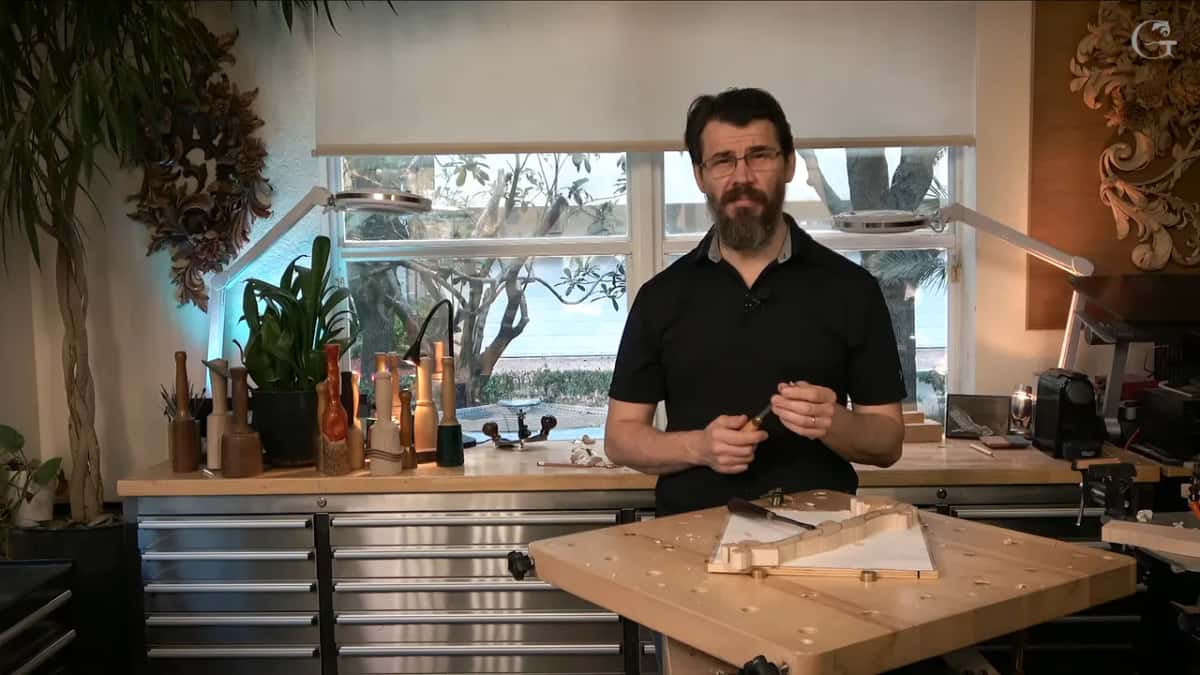
Lay two gouges side by side on the bench and the difference is obvious from the side. One rides on its heel and lifts as it goes. The other stays where you put it. Grinding a bevel down is not difficult and it changes what a tool can do.
Two cuts, always in the same order
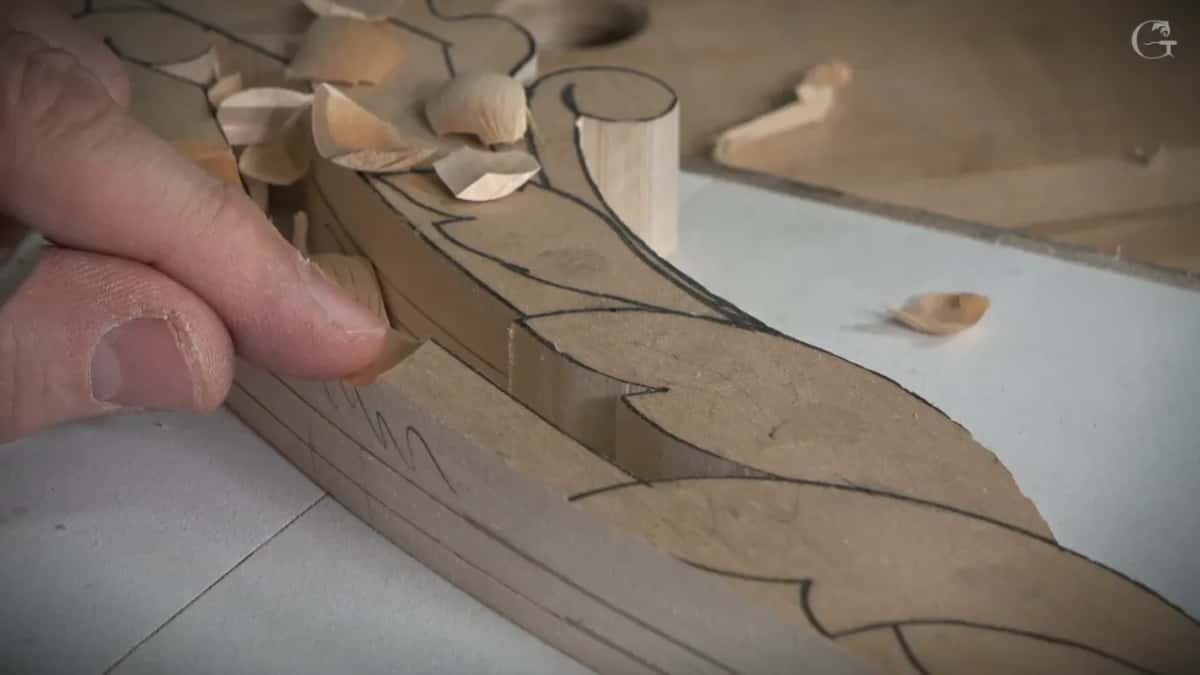
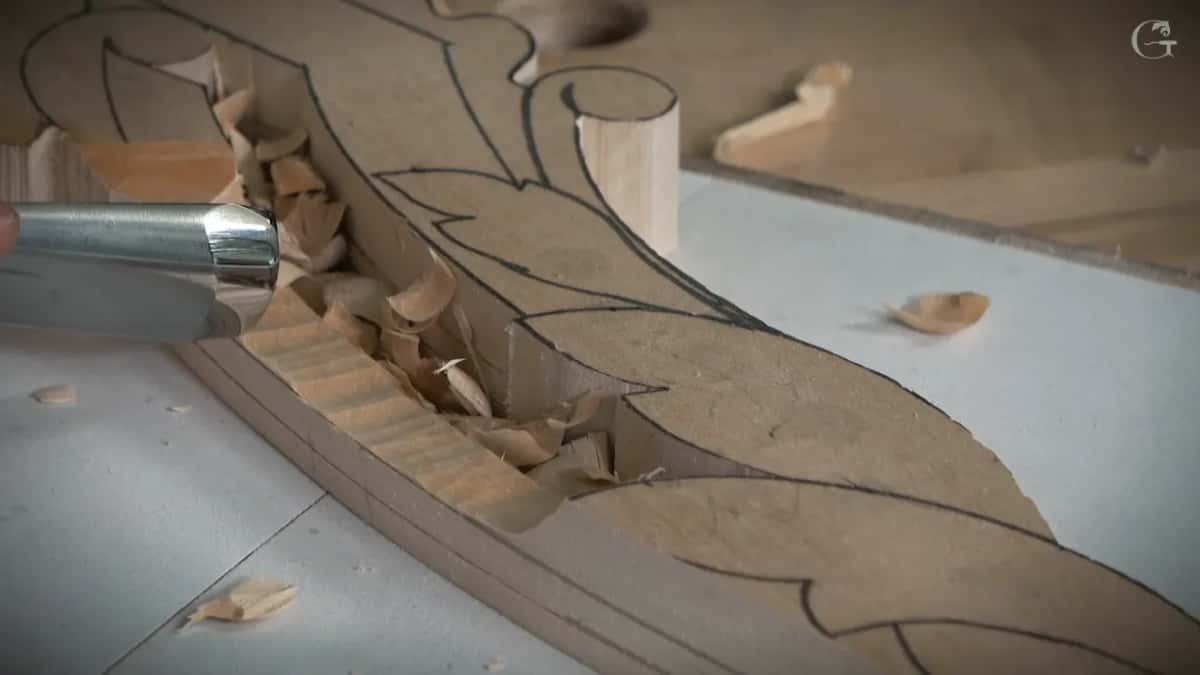
Down first, across second. The gouge goes in at ninety degrees close to the line, then a second cut comes in horizontally to meet the bottom of the first, and the waste lifts out between them.
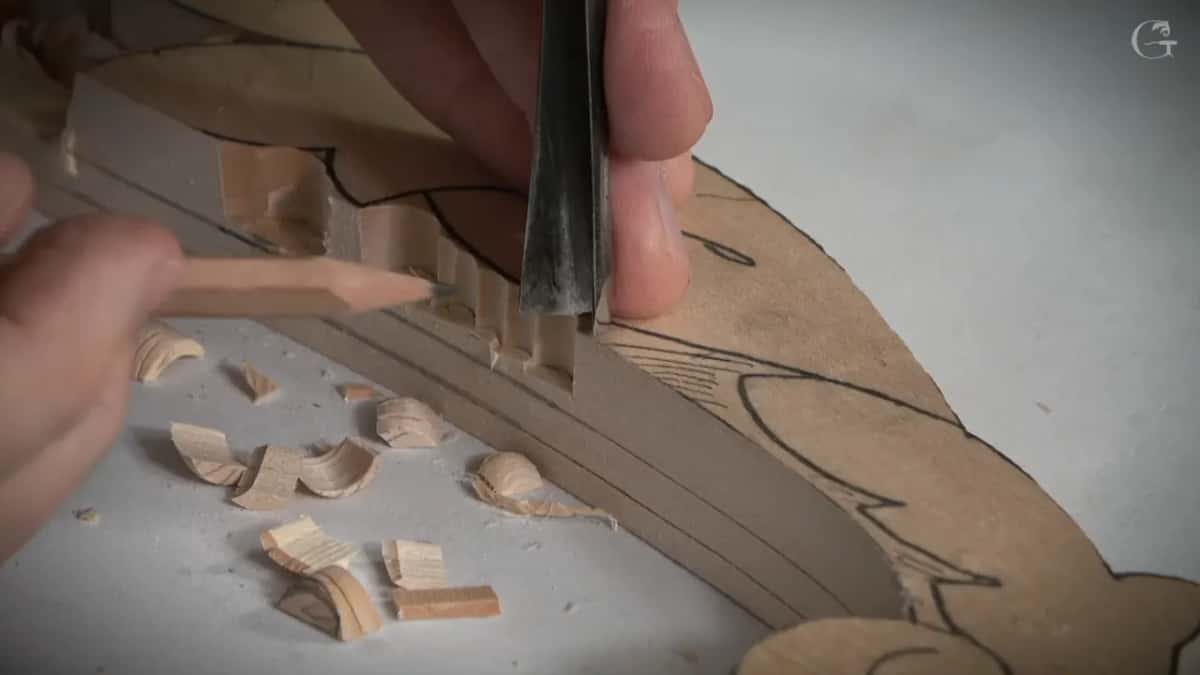
Each chop lands in the middle of the one before it. Half a bite at a time. Less strain on the edge, less effort from your shoulder, and a far more even wall than full width chops produce.

A millimetre stays. Maybe a sixteenth of an inch. Cut to the drawn line at this stage and you have nothing left for the tool that actually finishes the surface.
There is a second method where you shave the waste first and chop afterwards. Works fine in the open. Useless where a leaf already lies over the spot you need to reach, which is most of this panel.

Corners get their own tools. Where two mouldings meet there is a small triangle nothing wide will enter, so a number 12 at three millimetres goes straight down into it, and a spoon gouge laid over on its side cleans the wall behind.
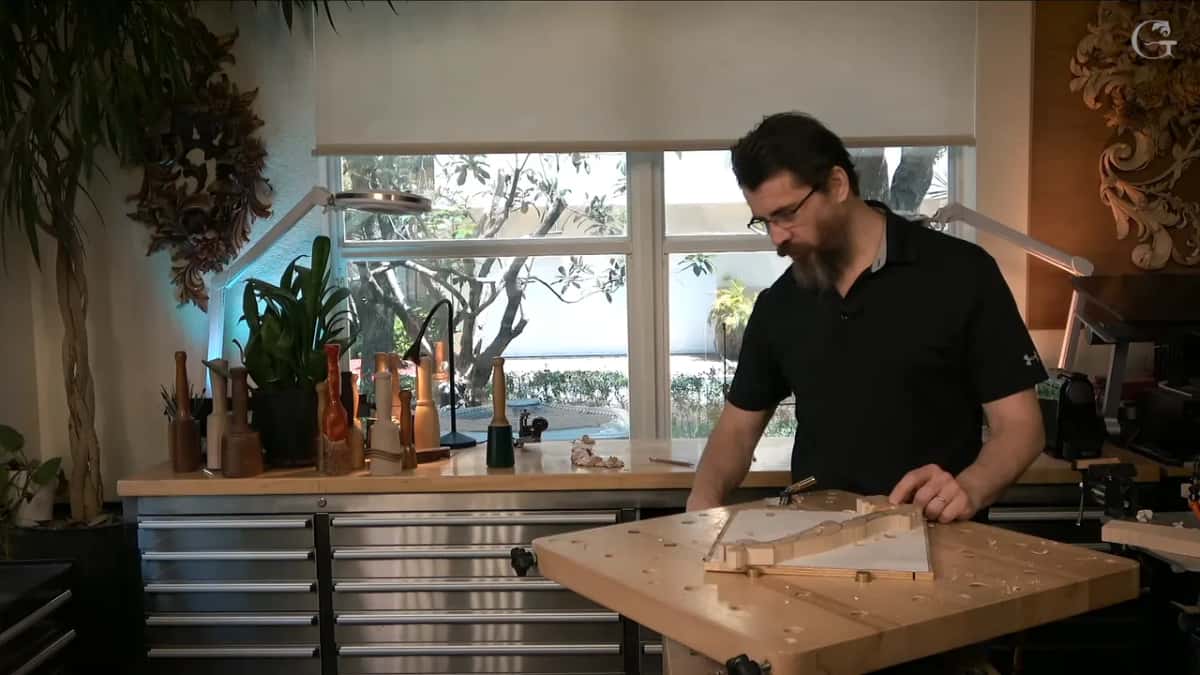
For the curved line I reached for a number 2 at fifty millimetres, then sixty, and neither sat right against the sweep of the drawing. So a number 1 with a double bevel at sixteen millimetres did it instead. That hunt happens on every piece.
Lay the paper pattern back over a cut and it will read half a millimetre out. Trust the scored line rather than the paper. Paper stretches, tape lifts, and that scored gauge mark is the only number which has not moved since morning.
None of this is special to acanthus, by the way. Down, across, level with the plane, and any moulding profile you can draw can be raised out of a flat board. What happens afterwards is what turns it into carving rather than joinery.
The plane that makes the floor true
Router plane next, and I think every furniture maker owns one already. Carvers mostly do not. A whole workshop on this plane exists elsewhere in the school.
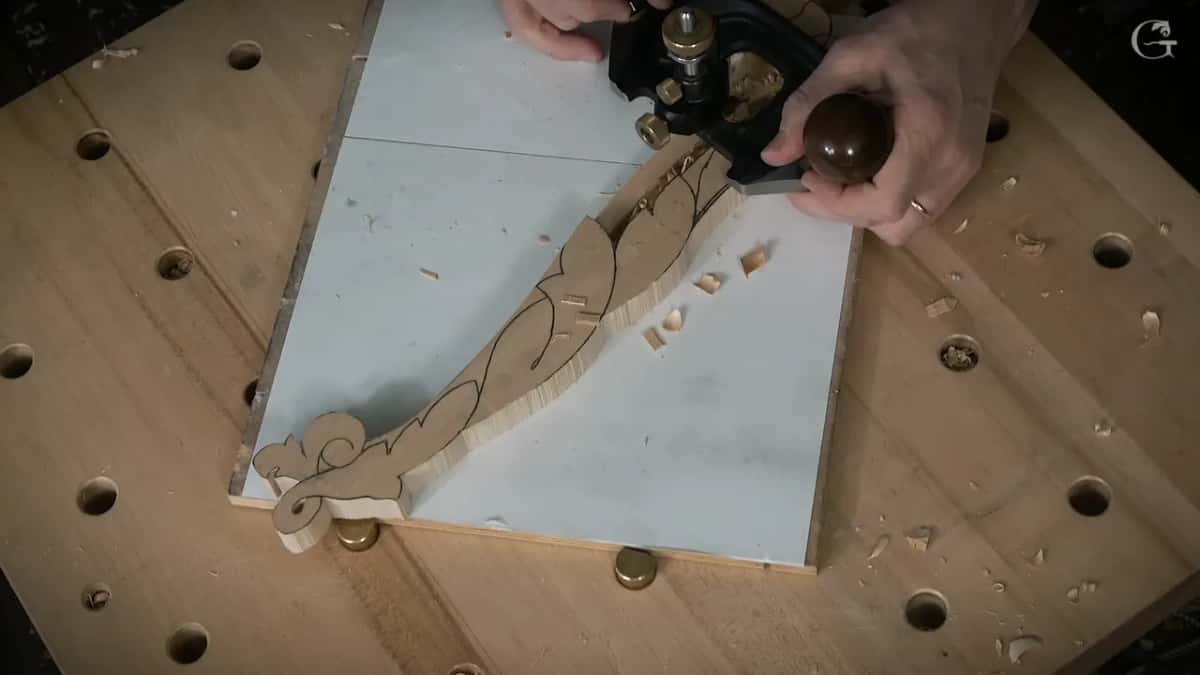
Mine is a Veritas. Lie-Nielsen make a beautiful tool, arguably the better made of the two, and I keep coming back to the Veritas for one reason. Blades. One millimetre up to three quarters of an inch, swapped in seconds, and small work needs the narrow ones constantly.
Here is the trick nobody mentions. Keep the offcut you sawed away from the blank, set it beside the work at the old height, and the plane sole rides on both. Without it the plane tips into the lowered area and gouges the floor you are trying to make flat.
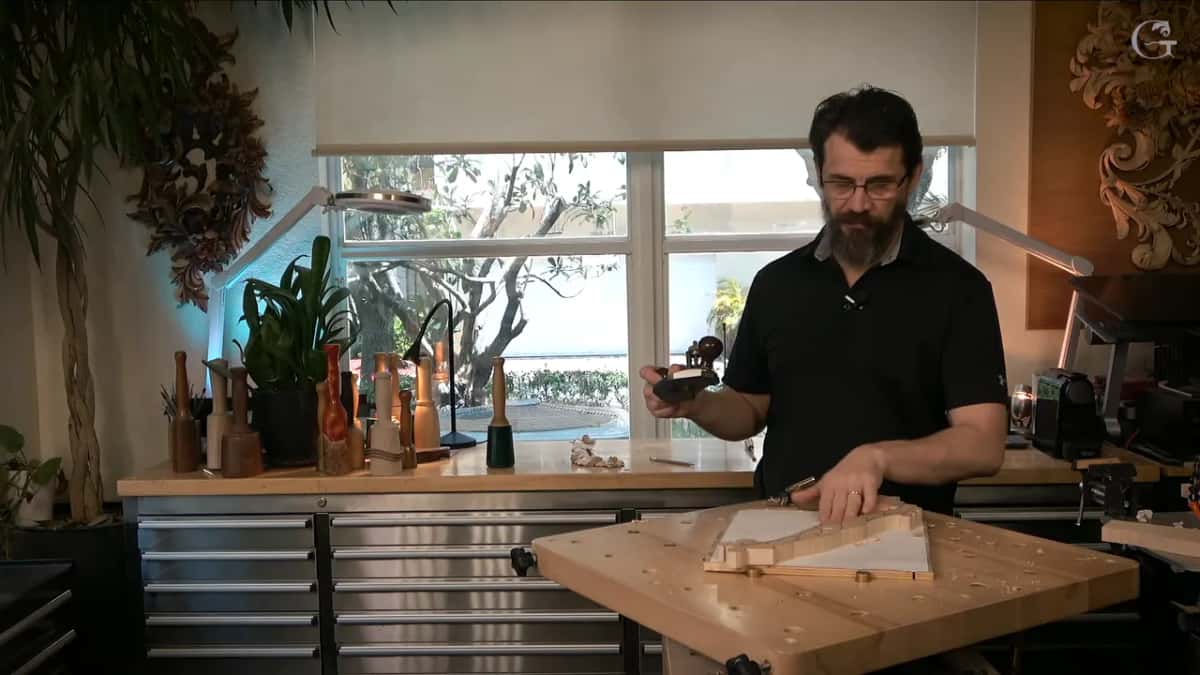
Never force it either. One corner of the blade does the cutting, one hand acts as the pivot, and the plane travels in small rotations instead of being shoved. Force is how a good surface gets ruined at the last minute.
Off comes the support board afterwards, and the cut runs dead on the line at the same height as the three pieces I carved before this one. That is the entire point of working to a gauge mark.
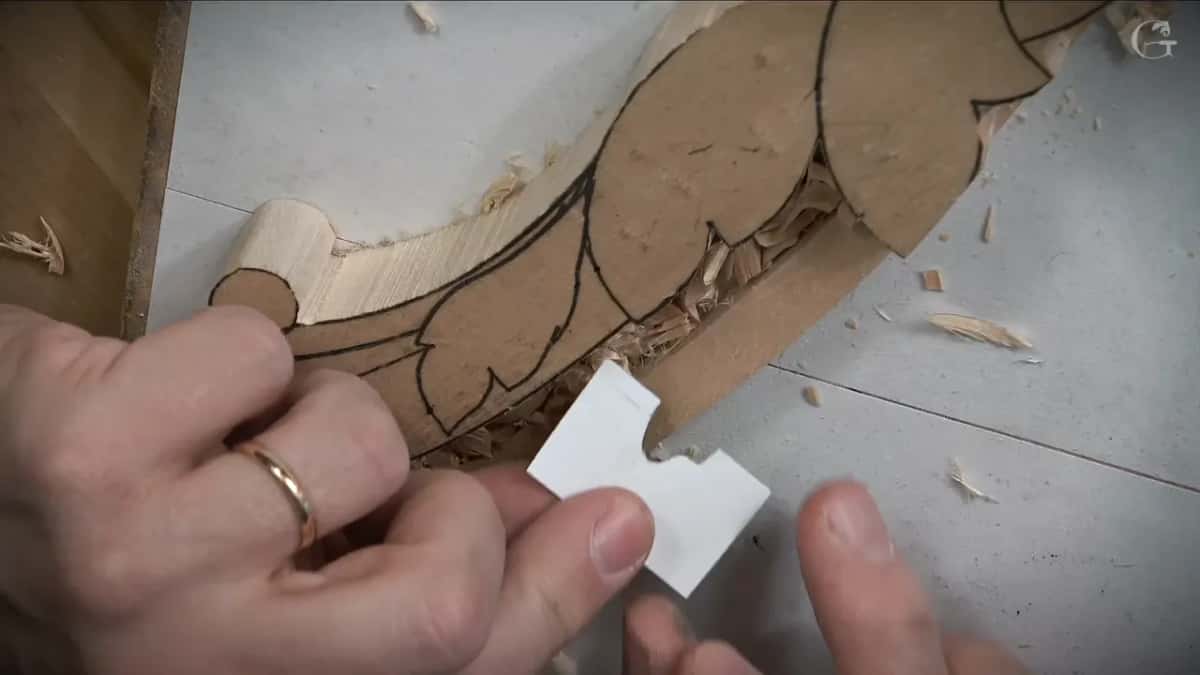
Once the ground is down the drawing has gone with it, so the paper pattern comes back out and every line gets laid in again, right to the edge where the mitre will be. The techniques library has more on transferring a pattern onto a lowered surface.

One mistake to avoid under the moulding
Do not let the corner of the blade dig under the high edge of a moulding. A line appears there, and once it appears nothing removes it.
Think about what happens later. That moulding is going to run on underneath the leaf and come out the far side, and the eye has to read one continuous member passing behind something. A vertical scar across it kills the illusion in a way no amount of finishing repairs. The furniture panel course works the same junction at a larger scale.
Paint forgives that line. Stain does not, and on a walnut or cherry piece it will be the first thing a visitor notices. I keep off it either way, out of habit more than virtue.

Ever look at a carved panel and wonder how the maker held all those small pieces? Ever wonder why your own small work slides around and splits at the corners? Almost nobody mentions the holding. It is the first decision and it settles everything afterwards. Then let us carve.
Two millimetres of number 11 takes the fuzz away afterwards, without pressure. My goal on a day like this is not to mess anything up. I suspect that is your goal too.
We are carvers rather than technical people, whatever technical means. We work with hands. Acanthus Over Moldings runs ten workshops, the tools course covers every gouge above, sharpening keeps them cutting, and tuition opens all three thousand lessons.
That acanthus is Venetian rather than Roman or Greek, which means a raised part runs down the middle of every leaf. One of many acanthus families, and the anatomy of that one is genuinely interesting. Shall we carve?
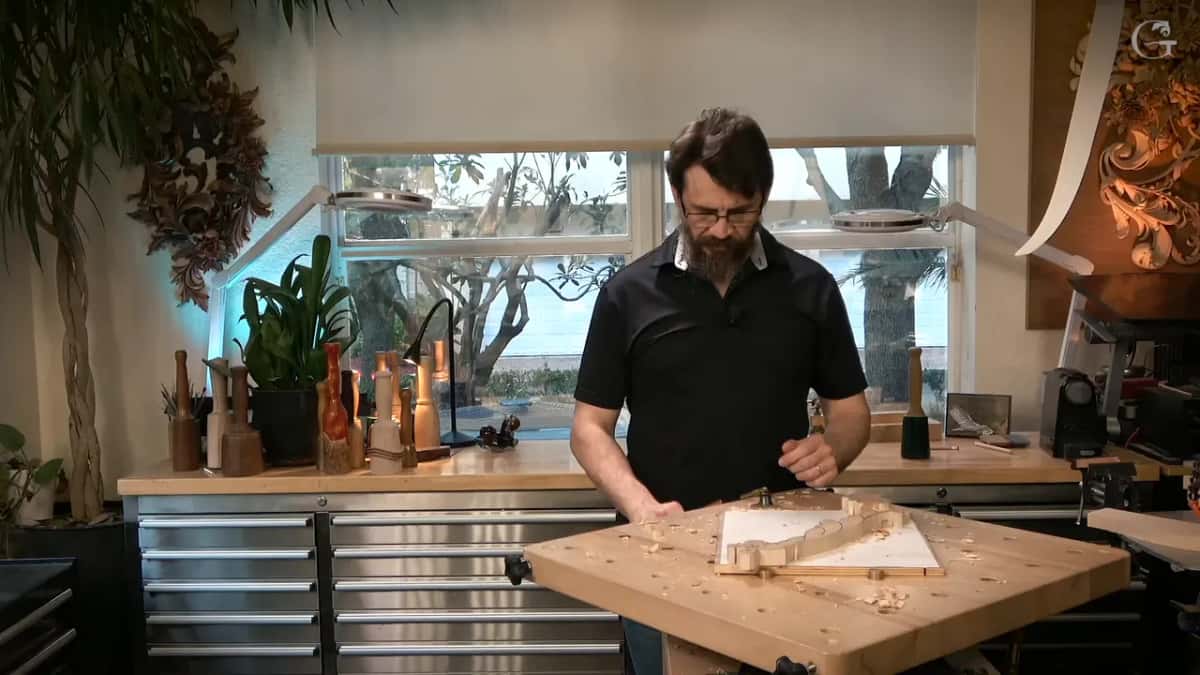
How it's done
- Find a board bigger than the work. Half inch plywood, any offcut. Mine has been in the shop for years and has held a dozen details.
- Spray the board, then one face of the paper. Wait two minutes until the adhesive turns tacky rather than wet, then press the paper down.
- Spray again, and spray the back of the blank. Check with a fingertip. Not sticky to a finger means ready to join.
- Lay the blank down diagonally. A board set that way carries more than its own width, and overhang does no harm.
- Score the molding heights with a marking gauge. Mark the face and mark the edge, so the target reads from two directions at once.
- Tape your profiles onto paper strips. Draw each molding, back the strip with tape to stiffen it, and keep it beside your elbow all week.
- Rough down with a number 9, rotating through every cut. Roughly 20 millimetres wide. Stop short of the line and let another tool make the final surface.
- Level with a router plane riding on an offcut. Set the sawn offcut beside the work at the old height so the sole sits on both and cannot tip.
Frequently asked questions
What holds a small carving that will not fit a vise
Glue it to a larger board, with a sheet of paper between the two. Holdfasts and clamps end up occupying the space your supporting hand needs, and a piece this size gives them almost nothing to grip anyway.
Why put paper between the carving and the board
Paper is the weak layer on purpose. Adhesive grips above and below it, and once the work is done a wide chisel tapped into that layer splits the sheet along its own fibres without ever reaching your wood.
Is spray adhesive better than wood glue for this
Both hold well enough. Spray releases in seconds afterwards while Titebond takes an afternoon to scrub away. Its one real drawback is that any glue left exposed will pick up dust for as long as the job lasts.
What to carve next