
Alexander Grabovetskiy, woodcarver, School of Woodcarving · Published 2021
Does a wood carving have to be symmetrical?
Quick answer: A symmetrical wood carving is one whose two sides mirror each other, and the Venice Room panel in lesson 142 is not built that way. On camera I refused to repeat the opposite side, because I wanted an opening there and a lighter feel. Matching it was always a possibility, I said.
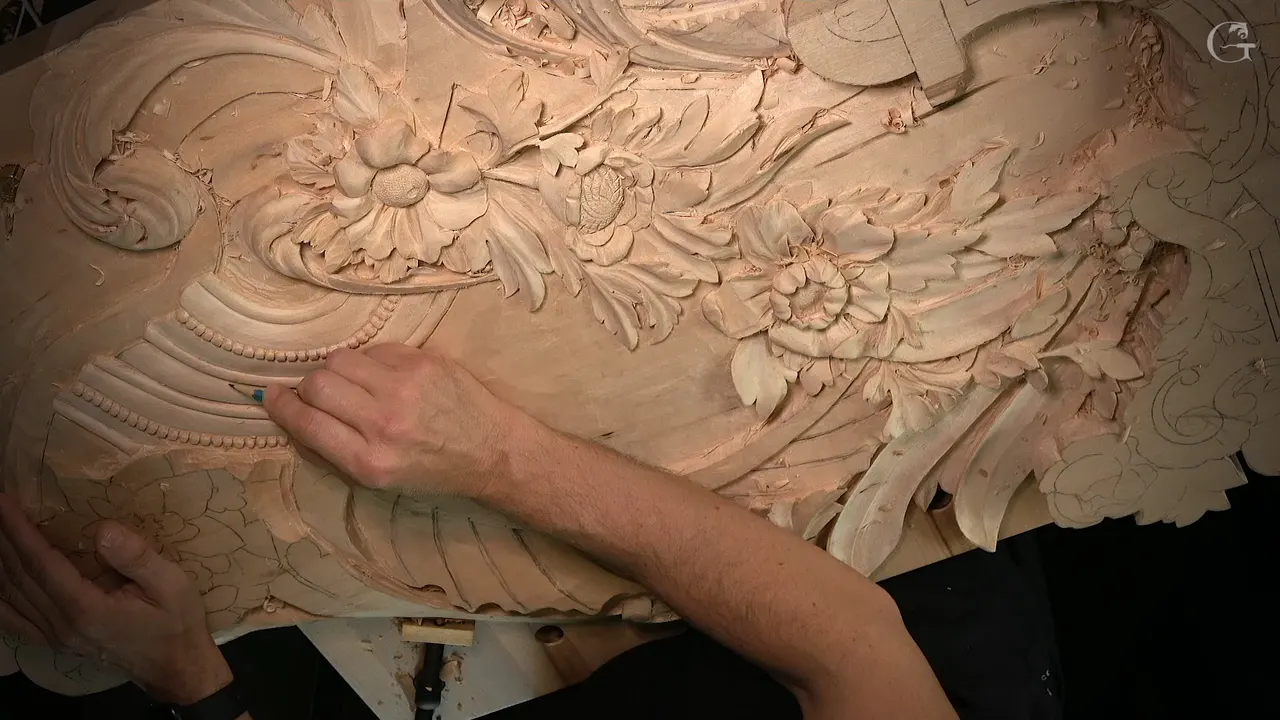
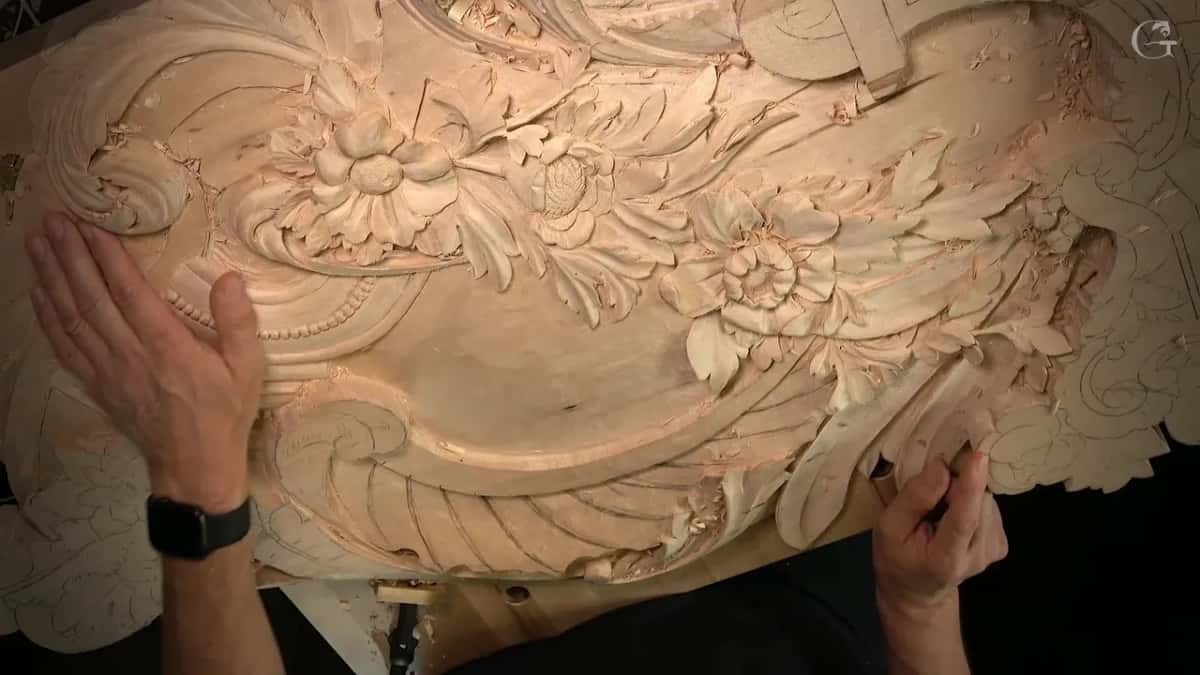
Symmetry in a wood carving is a choice you make side by side, and in lesson 142 of the Venice Room I chose against a copy. The opposite side was already carved. I wanted this side lighter, with an opening, so I said on camera that I don't want it looking just like the other side. I went the other way from a symmetrical copy, and this page shows how it went on my relief panel.
Would you like a panel that looks balanced when you stand back from it across the room? And carved by a hand, too? Your two sides still do not need to be copies.
My own lesson comes first, with the tools I named. After it you get what I said about symmetry in other lessons, each one linked so you can watch it for yourself, and the places where I did mirror a move.
Two sides of one Venice panel, in six short lines
I would not copy the opposite side, because I was after an opening and a lighter feel.
One part goes higher than the other. That got decided before any carving.
A bunch of flowers will be the big idea there, so this side stays lighter.
From where the client will stand, the wall there would show, so I planned to lower that part.
Two leaves in a livestream had to be approximately the same, not exactly.
Some moves I do flip to the other side on purpose.
What did I carve in lesson 142?
Lesson 142 opens with one part of the panel pretty much done. I had made some changes there. The division lines moved slightly to the sides, and I did not follow the 60/40 rule that time. I just thought it would look better that way. The camera went on to the next element of the ornament, and that element is what this page is about.
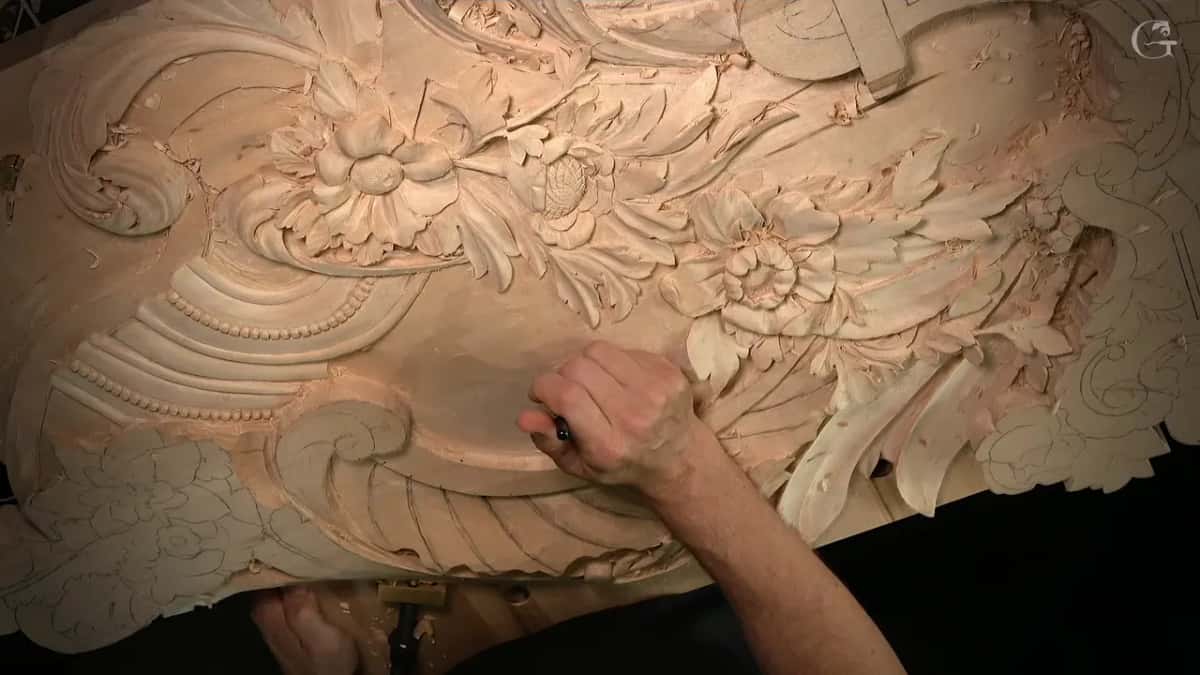
Two ways to carve it came to mind, and I said both out loud. One was a double volute with some kind of acanthus moving along it, a secondary volute and an upper volute. The other was a double acanthus head, where the second leaf sits below the main one. I called that second way probably the most logical.
Style came into it as well. The double leaf, I told you, is one more acanthus movement that used to be common, not anymore, at least in the Venetian style I am working in.
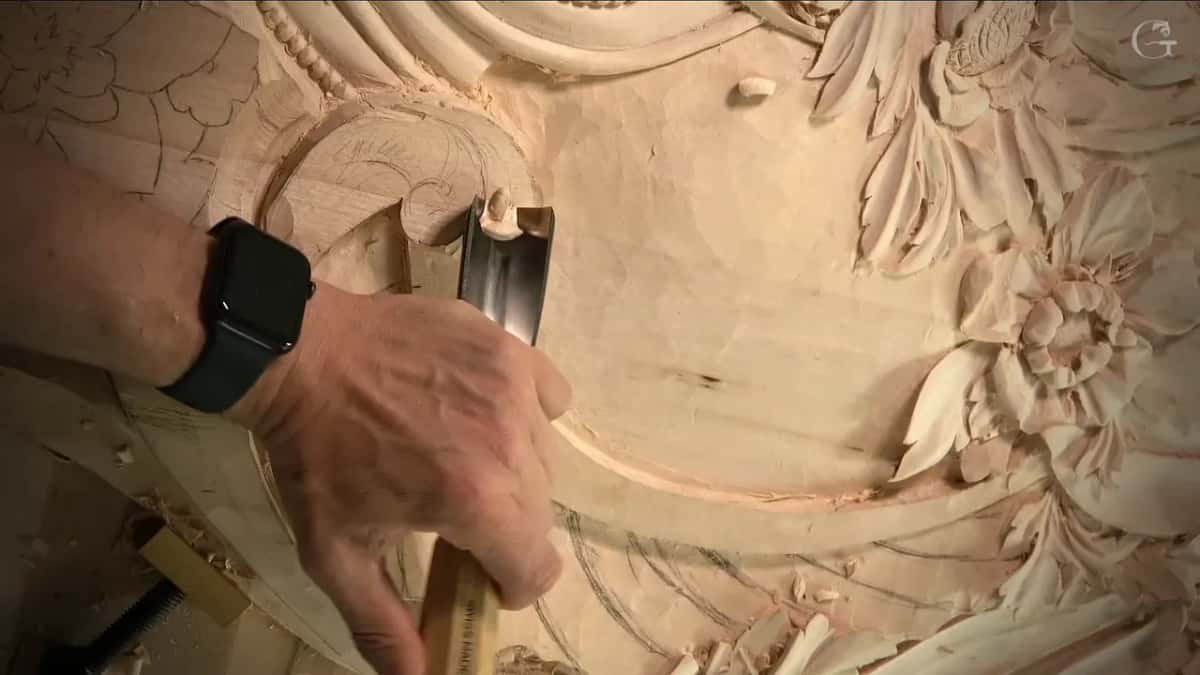
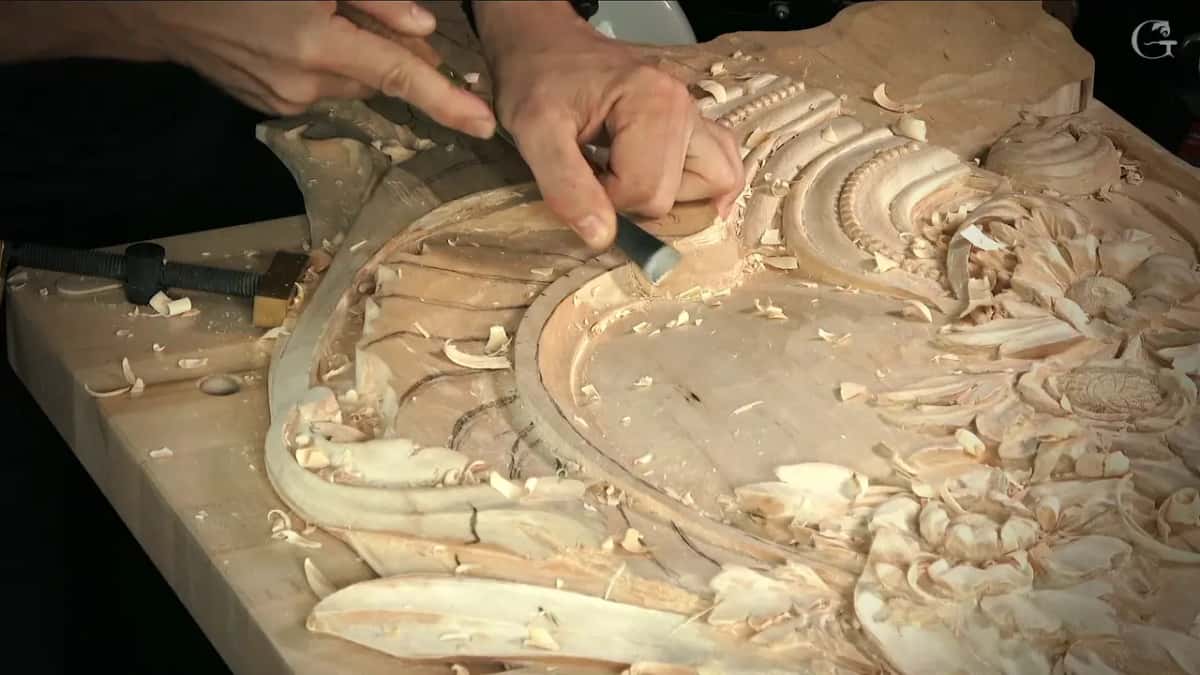
Then the wood set a limit. I could have attacked with a bigger tool right away, 30 mm (1 3/16 in), but looking at it sideways, I did not have enough depth to work around. Let me think what I can do, I said. Maybe more shallower movements. What I wanted was to just round that side and create a dome.
I wished out loud for a lot more material. Lowering the middle of the carving was possible, I said, but I really did not think it was a good idea.
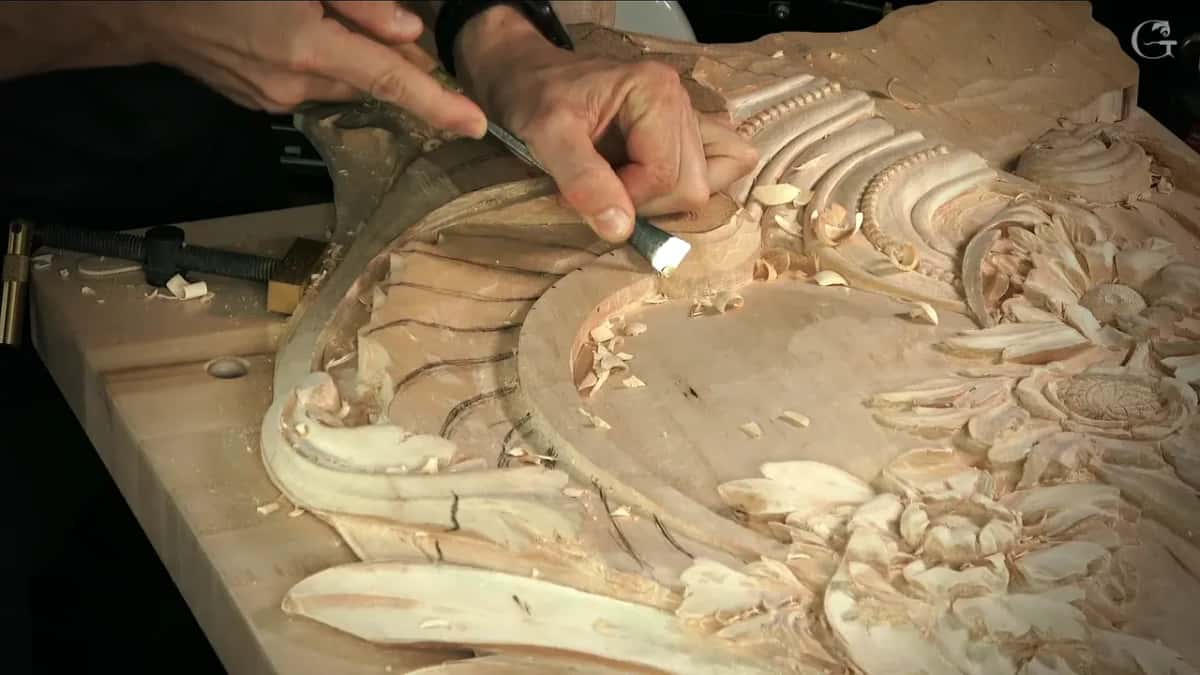
Three short videos hold all of it, and each one runs past the seven minute mark.
Why not carve the other side the same?
I wanted some kind of opening in that area, to give it a lighter feel. That was the first reason I gave, and I gave it before a single pass on the new element.
I said it plainly, too. I don't want to make it look exactly like what I have on the opposite side. It would never be quite the same anyway, I admitted, but I still wanted to avoid that. We'll see, I added.
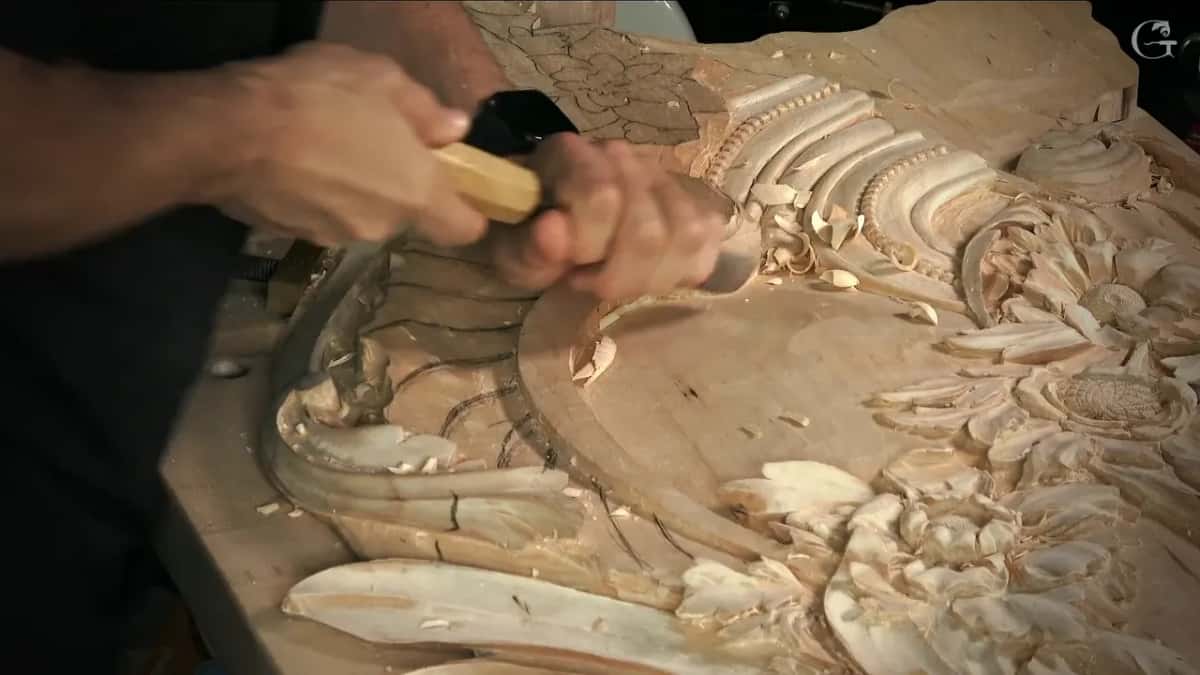
The next decision was about height. This part would sit higher than that part, and I said it out loud: so that decision is made. The first pass went around this line.
For that first line I reached for the same tools I always use in this project, at least, and said it doesn't really need to be that one.
How did I decide what this side would look like?
I stopped and thought about how it should look, and said I have to make the decision.
Two things were out. Bulky was one, and everything looking the same was the other. Like I mentioned before, I said, I don't want to match this one. It's always a possibility. But I wanted this side a little lighter.
My reason was the flowers. There will be a bunch of them in that section, the main guy, the big idea, and I was not going to overwhelm them with detail.
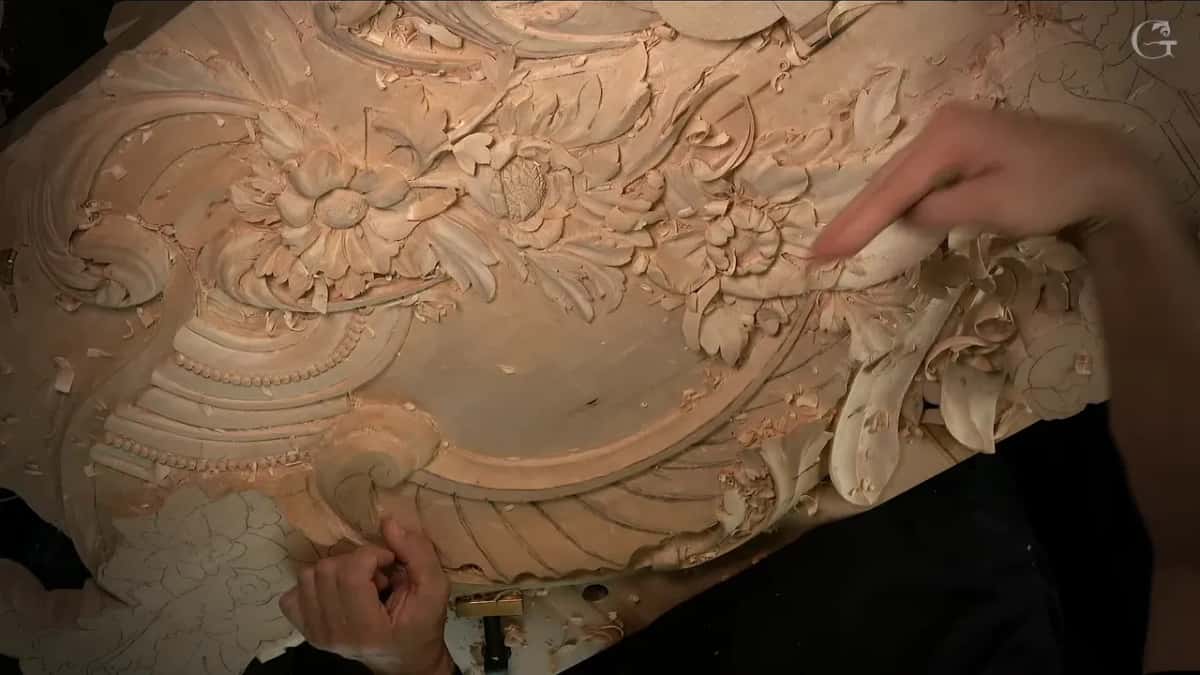
My logic about a wall came next. If I kept this part higher and excavated on this side, taking out the wall, the client would look from this position. The point of view, I called it. Even with a really nice transition there, they would still be able to see that, and I did not think I would like it.
So the plan went another way. I would lower this part and give it a concave look, with an undercut underneath that line. That part would also get some subdivisions to look lighter. The leaf's lower part would lie on top of a future shell, a little easier shell than the ones I did in other areas.
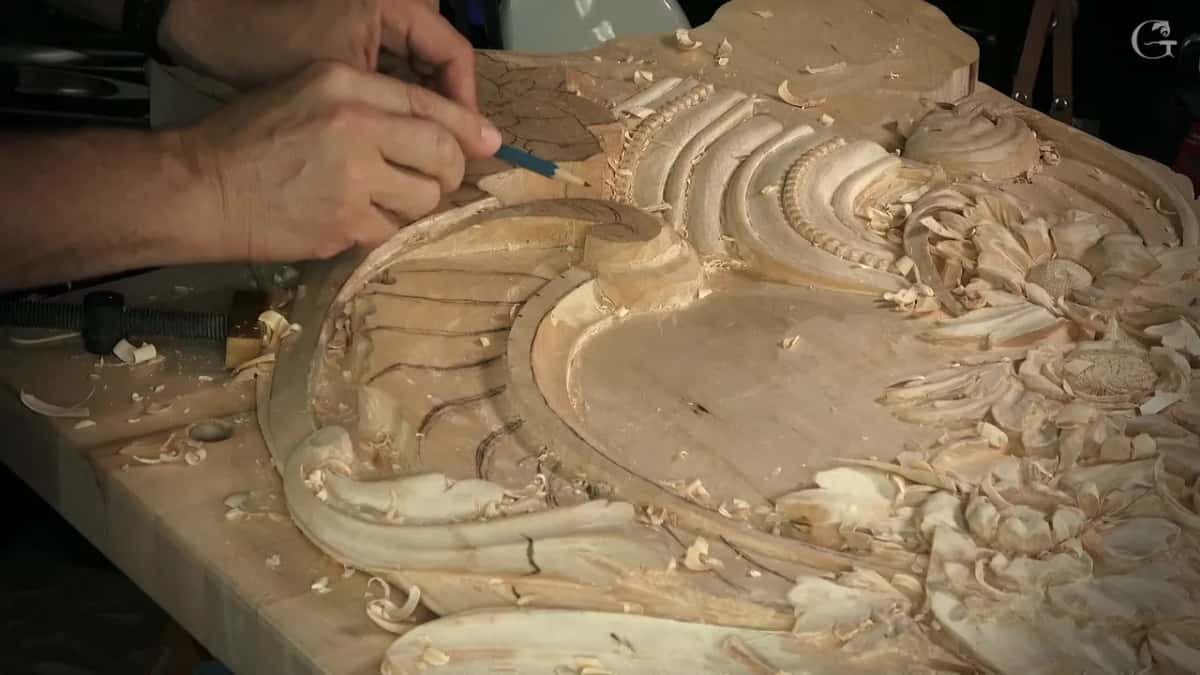
The upper part could then be much lighter, and much more open. I'll achieve a much better result, I think, I said. Then, a breath later, I took it back to a hope: I hope I'm going to achieve a much better result.
The tool for that concave was a big one, a number 11 at 30 mm, and the third video ends as I start creating my concave.
Which tools did the work in lesson 142?
Five of the tools I named on camera sit side by side in the table. No brand came up in the talking, so none is printed here.
Tool | Job | Video | Words |
|---|---|---|---|
Big number 11 | 30 mm (1 3/16 in), opening the new concave | Third video | I'll take a big one |
Smaller number 11 | about 7 mm, one more pass in that section | First video | attack that section maybe about seven millimeters |
Any flat gouge | turned upside down, and maybe a number 3 | First video | any flat gouge will work |
Number 7 gouge | about an inch wide, taking material out fast | Second video | I really need that depth |
Flat number 3 | little by little, chamfering the head more roundy | Second video | I'm not sure if I should say that word |
The smaller number 11 was about 7 mm, and in the third video I apologized for it. Just 1 millimeter bigger than a quarter of an inch, I said, and it doesn't have to be 7 millimeters. I could use a different tool, and it still would give me the same result.
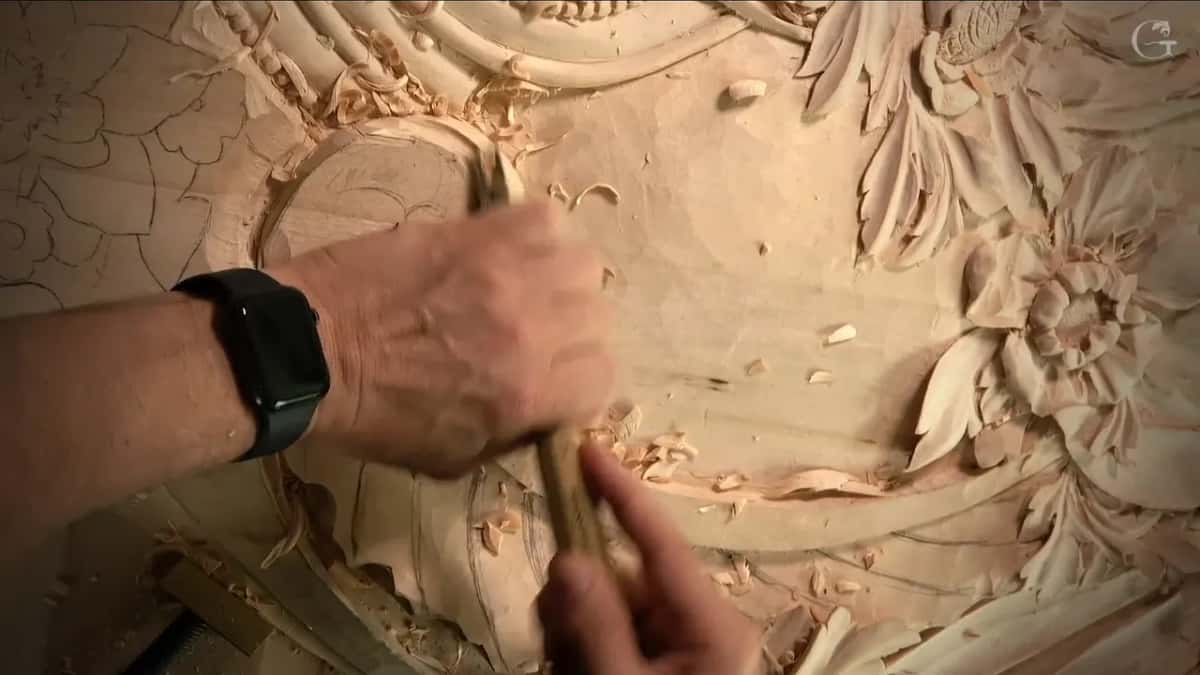
In the first video I lowered one pass all the way down, so the leaf just feels like it's growing from underneath. A double leaf or secondary leaf, I said, not a part of the same movement. Then I said I'd take a flat gouge and use it upside down, maybe a number 3. I was working against the grain there, and I said it's always a good idea to walk around and attack from the opposite side.
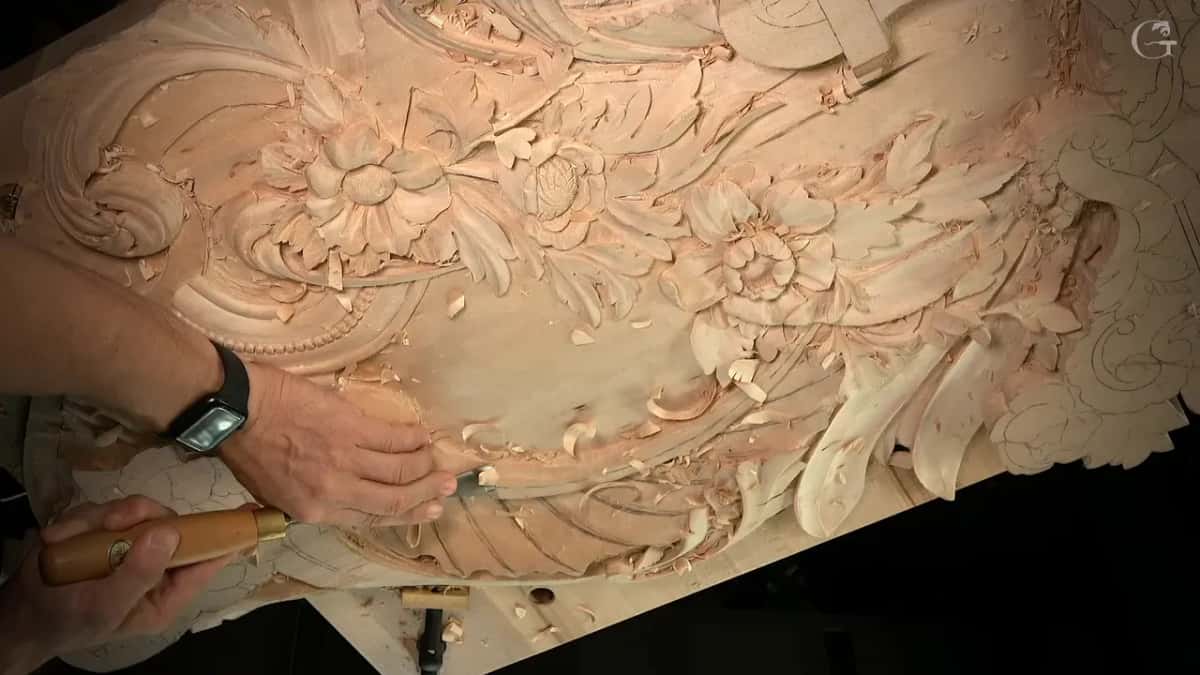
The second video starts with a warning to myself. I had touched my almost finished surface a couple of times, and I said it would be a really big mistake if I would rush it.
The number 7 was about an inch wide, and I said a number 5 would work too. I needed that depth, so the number 7 took material out right away. Then came a concave and a convex, a double movement, as I called it. Near one line I went about 3 mm (1/8 in) away, no more, and said the undercut would come a little later, to create a shadow at about one-eighth of an inch to the final surface.

Every pass was a slice, even against the grain. You can see me starting on one side of the tool and then moving across.

The head of that element got the number 3, little by little, to chamfer it in and make it a little more roundy. I'm not sure if I should say that word or not, I told you. But that is exactly what it is.
Early in the third video I lowered it again, maybe even a little more. Then I had approximately half an inch, maybe not a full half inch, about 11 or 12 mm, from the upper point to that line.

Is a Roman acanthus leaf symmetrical?
A Roman acanthus leaf is symmetrical by design. In lesson 2 of the Roman acanthus course I said I love that type of leaf, and that Greek, Roman and Byzantine carvers, and European carvers after them, all used that symmetrical design. Drawing it starts on a grid, and two pages here walk you through it, one on drawing the leaf and one on where to start. The Roman acanthus course carves that leaf.

A panel with two sides is a different question, and that second question is what lesson 142 answers.
Where do I mirror a move on purpose?
On the chamomile and bow rosette, in lesson 3 of that course, I showed one side of the shape I was working and said the other side gets flipped like this. That one is my high spot, I said, and it goes downhill.
A livestream on April 5, 2020 had the same kind of job with two leaves. This side and that side had to match approximately, I said. Not exactly the same, but approximately. The space between those two leaves was much smaller, and the only way I could do it, I said, was to undercut underneath this side and that side.
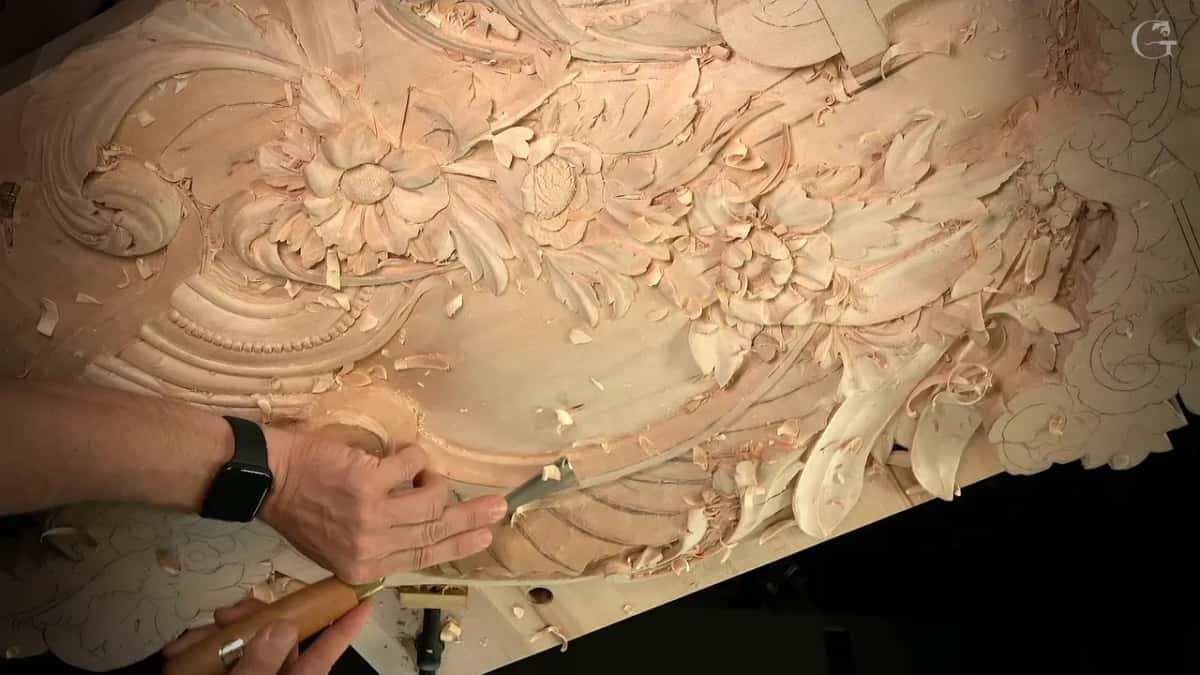
Back on that rosette, in lesson 2, I said this one would not be the same. Still, I really wanted to stay in the boundary of my previous one, and do the distance the same as I had done on it. How the two sides of that bow differ is told on that rosette's own course page.
What did I say about symmetry in other lessons?
In workshop 73 of the Venice Room I called simple symmetry equal-equal, with identical openings and identical eyes. Workshop 72 had me on the human body, a right eye and a left eye, a right hand and a left hand, where one is always a little bigger than another one.
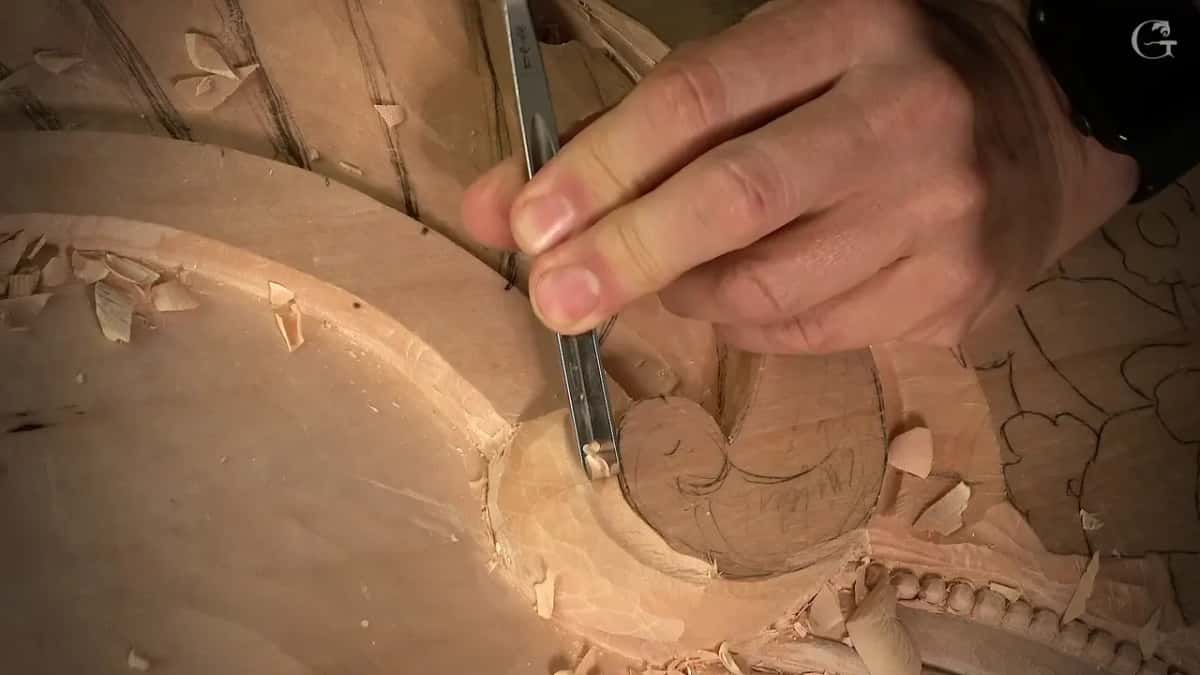
Then in workshop 93 I put it in my own words: "If it's going to be dynamic symmetry, it's going to be somewhat the same, but little different." That idea has its own home in the principles of design course.
On the floral and molding panel I said although it looks like it's symmetrical, it is not, and I like that. Designing the furniture panel, in lesson 14, I said I don't really want to see any symmetry in it, to give really nice motion. In class 4 of the Grinling Gibbons class in Maine I said they need not be perfect, perfect like symmetrical movements, and as a matter of fact, it's better to make it not symmetrical.
And earlier in this same course, in workshop 134, I said there is no need for it to be completely symmetrical all around, and that it would not look nice.
Does a panel that is not symmetrical need less care?
The lower part in lesson 142 still got divided like a molding. I took this point and that point and moved about six parts out of 10, a golden ratio. For the concave and convex I tried to be as close as possible to the golden ratio, and yes, I was eyeballing it. I really don't need to measure it, I said, but if you feel you really need to measure, just go ahead and do that.
In the lockdown video of my introduction course I said design for woodcarving is a little different. I've got one element, but how are you going to place that element in space? In that case it was a weird space, the ceiling and the front, and you have to place it there, surround it with something, and still make it look beautiful and fluent.
Why a shape comes back again elsewhere in a design has its own page, on workshop 41. And why carved petals get left uneven is on the page for the main flowers of a furniture panel.
Is the asymmetry on my panel a lack of care, then? Look at that molding again. The golden ratio still set it, on a side I refused to copy.
Where does lesson 142 sit in the course?
Lesson 142 belongs to Part 12 of the Venice Room, workshops 132 to 143. The Part 12 course page is about carving shadows into a relief carving, and lesson 141 comes right before this one.
Tuition to the school opens every lesson linked on this page. Monthly or yearly, it renews automatically until you stop it. Want to hear me weigh the two ways before the first pass on that element? The first video has it.

How it's done
- Compare it with the opposite side. Before any detail, I said I did not want the new side to copy what I have on the opposite side.
- Weigh the two ways to carve it. A double volute with acanthus, or a double acanthus head with the second leaf below the main one. I called the second one the most logical, and said I still would like an opening.
- Settle which part sits higher. This part higher than that part. Once I said it, that decision was made, and the first pass went around the line.
- Think of where the client will stand. From that position the wall on this side would show, even with a nice transition. I planned to lower that part instead, with a concave and an undercut under the line.
- Divide the lower part like a molding. About six parts out of 10, a golden ratio, set that division. The concave and convex I did by eye, and I said you can measure if you need to.
Frequently asked questions
Should both sides of a carved panel look exactly alike?
On my Venice panel I did not want them to. The side I was carving needed an opening and a lighter feel, and I would avoid making it look exactly like the opposite side. Which part sits higher got settled before any carving.
How close should two matching sides of a carving be?
Approximately the same was my word for it in a livestream on April 5, 2020. Two leaves had to match, not exactly, and where the space between them came out much smaller, undercutting underneath each side was the only way I could do it.
Do you have to measure the golden ratio when you carve?
For that double movement on this panel I stayed as close to the golden ratio as I could by eye, and said I really don't need a measurement there. You can still measure it if you feel the need, and I said that too.
What to carve next