
Alexander Grabovetskiy, woodcarver, School of Woodcarving · Published 2021
How deep should a carved flower be in a relief panel?
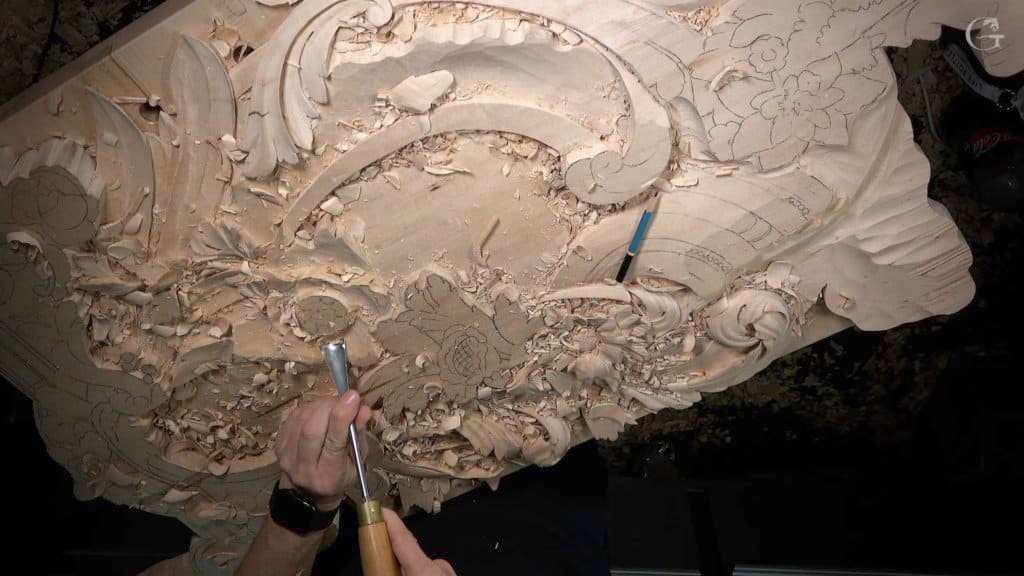
Quick answer: A carved flower's depth in a relief panel is roughly 13 mm, a half inch, top down, on the flower I carved in lesson 134 of the Venice Room. It did not need to be bigger for that kind of flower, I said. Petals lying under a leaf went 5 mm or less.
The depth of a carved flower in a relief panel is about a half inch from its upper part down below, and for the flower in workshop 134 of the Venice Room that was enough. That was one relief carving flower on the Venice Room panel, carved on camera. The numbers under it were smaller again. Where a leaf lies over the petals I went maybe five millimeters. Maybe even less.
You have a flower on your drawing and a gouge in your hand, and the first thing you want to know is how far down to go. Fair question. Every depth on this page is one I said out loud while the tool was in the wood, with my own "about" and "maybe" left in, and the metric or inch twin beside it is the only thing added. I kept them that way on purpose, because you should hear the real words a carver says at the bench while the chips are still coming off the gouge.
Is there a flower in your design? Does part of it sit near a leaf or a scroll? Then its depth is a set of small numbers, one for each layer. Here they are from lesson 134, and from a few other lessons where depth on a flower or a rosette came up out loud.
The depths on one flower, and on two rosettes
- The whole flower in 134 stood roughly 13 mm high, and I called that right for that kind of bloom.
- Petals beneath a leaf came down 5 mm or less.
- Where the flower shows, I said I would sink the outline as far as the surrounding surface, and less deep on the other side.
- Its undercut went in some five millimeters.
- The Venetian rosette had its background roughly an inch down, so the numbers there ran bigger, and a half inch was not yet enough.
- A small rosette block, 10 mm thick in all, started at a sixteenth of an inch.
How deep is a relief carving flower overall?
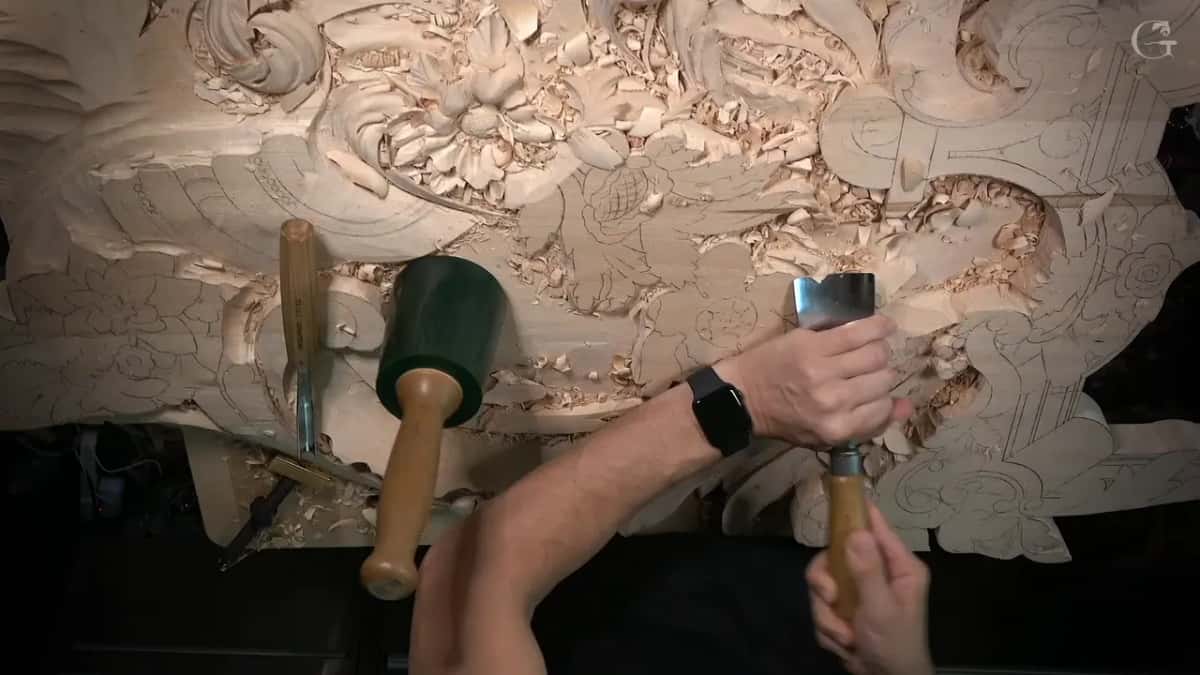
On this one, about 13 mm. I had just cleaned it with a number 7 at 14 millimeters when I looked down and said it: I've got about a half inch from the upper part down below. Good for this type of flower. It doesn't have to be bigger than that.
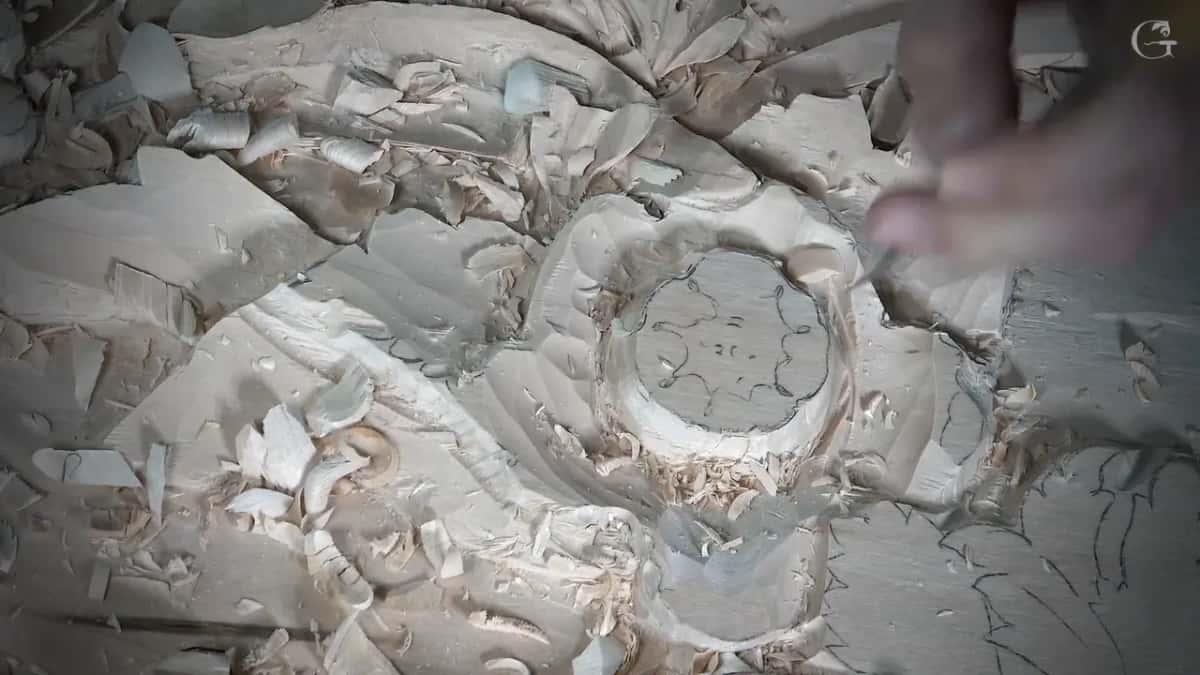
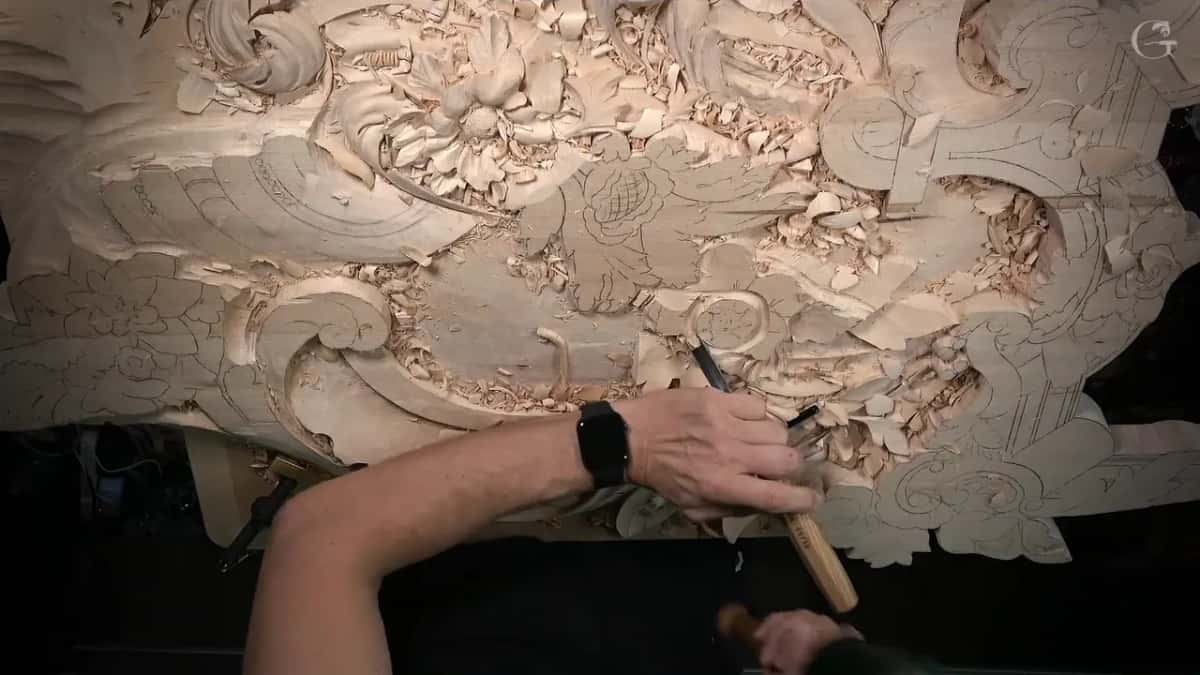
A half inch is not much wood when you count everything that had to fit into it. Into that depth went sloping petals, a leaf lying over two of them, an undercut going in under the edge, and later a sunk centre. Sloped petals, a wavy edge, the number 9 plug in the centre and how the flower came to look glued on are all on the page for the whole of Part 12, how to carve shadows into a relief carving. This page stays with the depths.
Where do the petals come down under a leaf?
Right where the leaf will lie. At the end of the first video of 134 I wanted part of a leaf to lie on top of two petals, those two guys, as I called them. Which means, I said, I have to lower down a little bit parts of those petals. A number 7 blended that end after that.
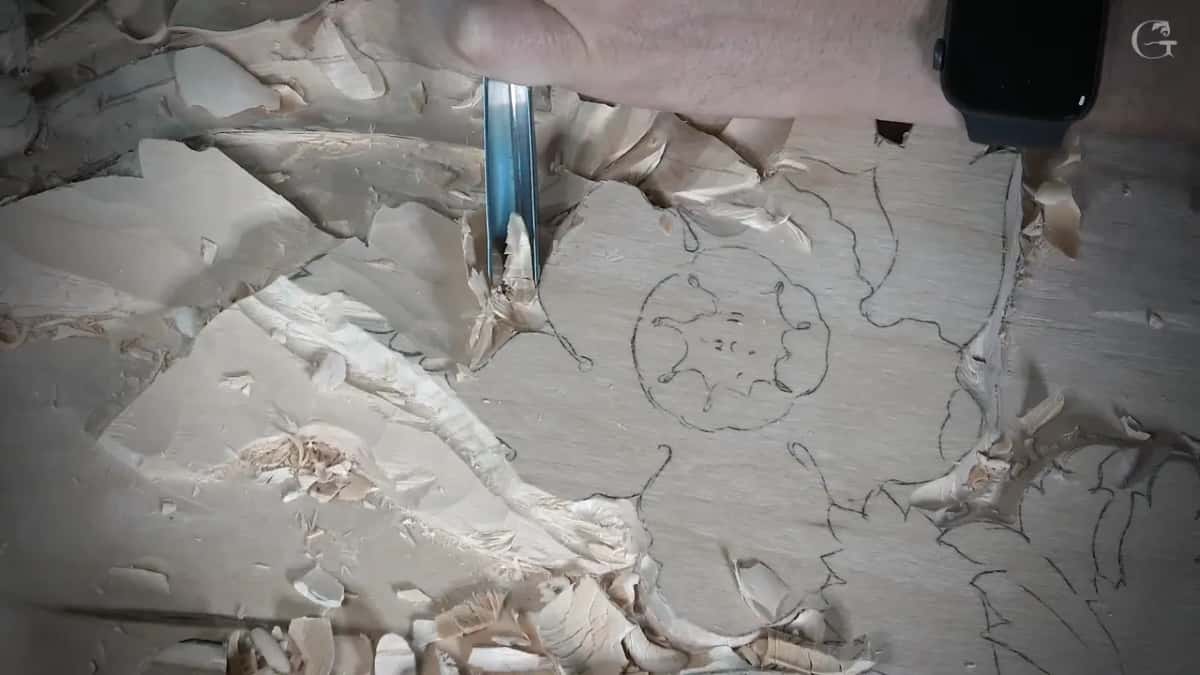
And not far down, either. It really doesn't need to be too deep in this case, I said, because those leaves are going to lay on top of those petals. I can go maybe about five millimeters, no more than that. Maybe even less, maybe three or four, 3/16 of an inch or so. And then, in the same breath, maybe about an eighth of an inch deep, which is close to 3 mm. You can hear me narrowing the number down as I go.
Undercutting comes on top of that. With undercutting, I said, it's going to create a beautiful look.

A leaf lying over flat ground is another job, and the page on a leaf that lies on top of the wood covers that one.
Which side of the outline goes deepest?
The side you will see. After the petals I started the outline around the middle part, and here I wanted real depth. I have to be deep, I said. Really deep.
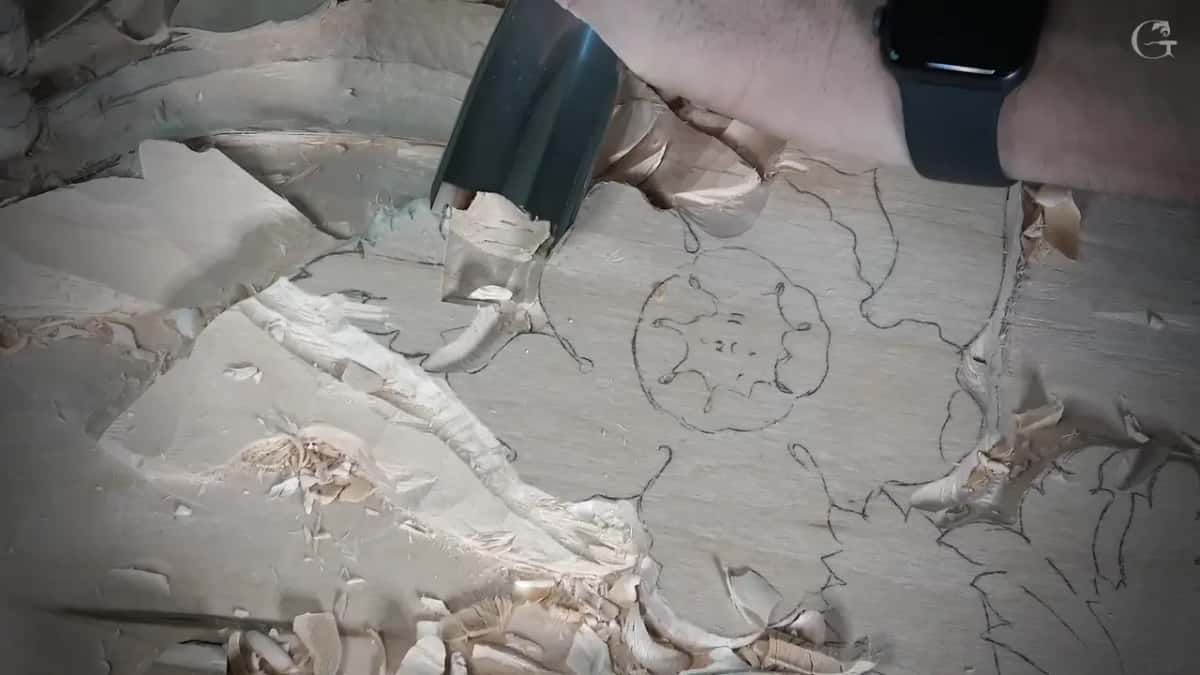
If you would ask me how deep, I'm going to go all the way to the surrounding surface. Those were my words, and then I split it by side: I cannot be too deep on this side, but I can be much deeper on that side. The deep side was the one visible from this point of view, and I said that's going to make a huge difference.
The most extreme pass ran downhill from the sides around that middle part, so everything went in. I added that I also could lower down one side completely, and that it would make a big difference in how much of the middle part is revealed. Next came a number 7, one inch wide, removing wood right away, and I said I could probably go right around with it.

At one point I was about the same level with another part, and I said I cannot go deeper than that. It's not that critical, I added. You will be able to catch it if something is off with the level.
What does the undercut add to the depth?
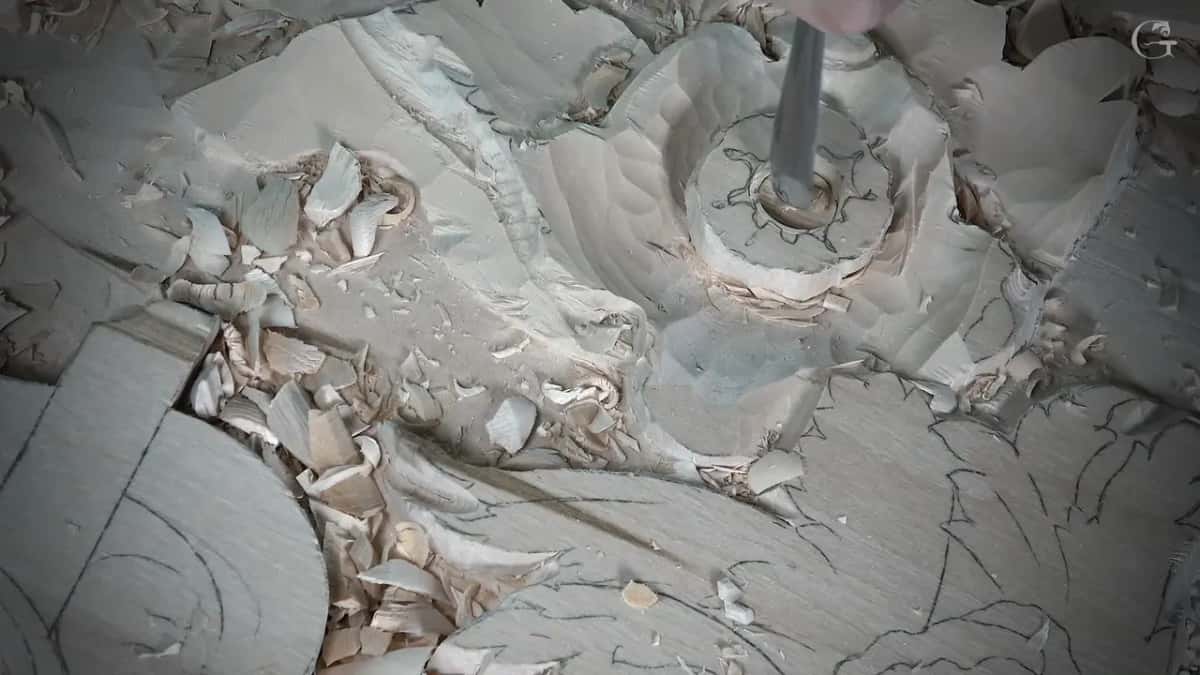
Roughly 5 mm, going in. Around the flower I said I will have to undercut, otherwise it's not going to look nice. In some areas I could already point the tool inward and make that undercut effect, and I gave the reason out loud: I need to make it feel like it's growing from inside, from the middle, just like the real flower.
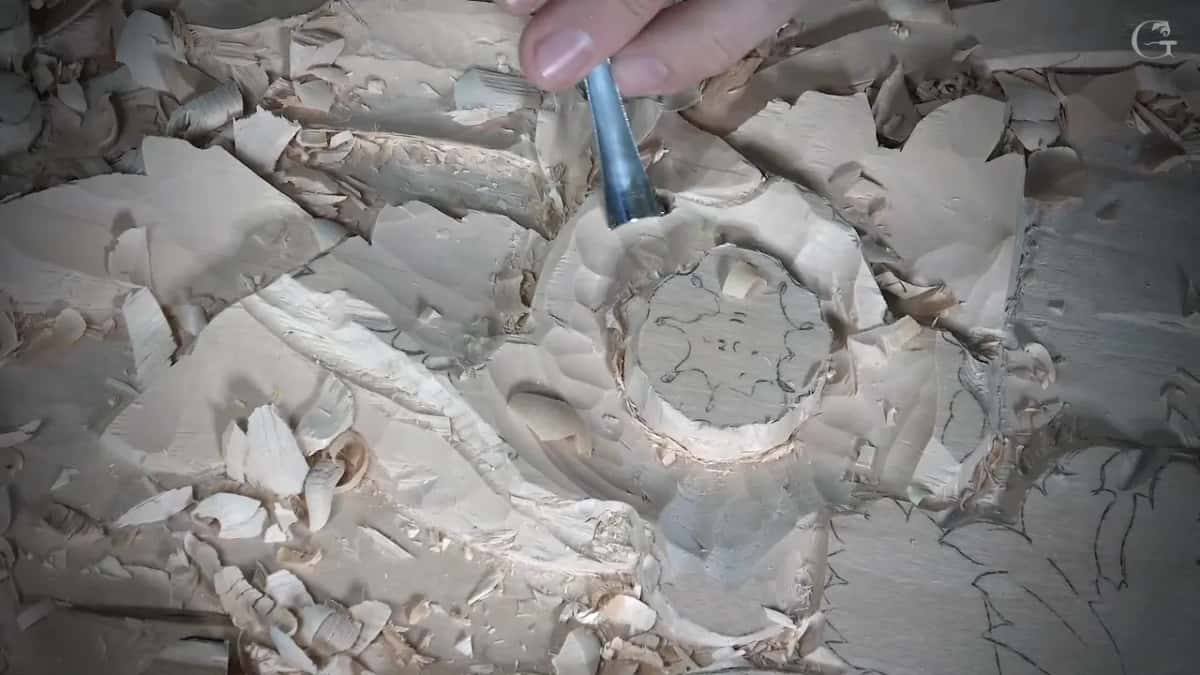
I told you I could do some of that undercutting right away, before I was even working on the petals. Soon after I had quite a deep undercut, about 5 mm I'd say, and I apologized on camera because you could not see it. Five millimeters inward, that's what I had.
Then a number 7, hitting with just one of its corners, went around and took out the extra wood. See how deep a shadow it casts, I said. Really, really deep and beautiful. Some of that wood, I told you, I could probably take out with a one millimeter tool.

In what order did the depths come in 134?
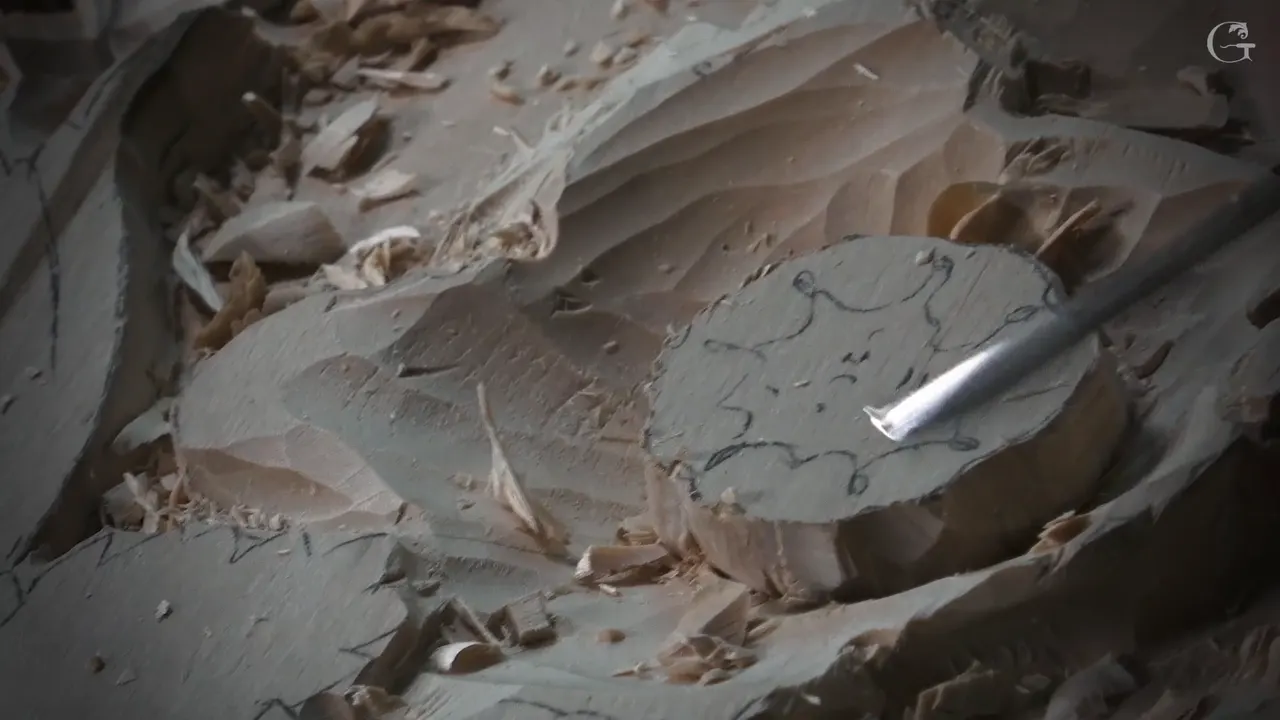
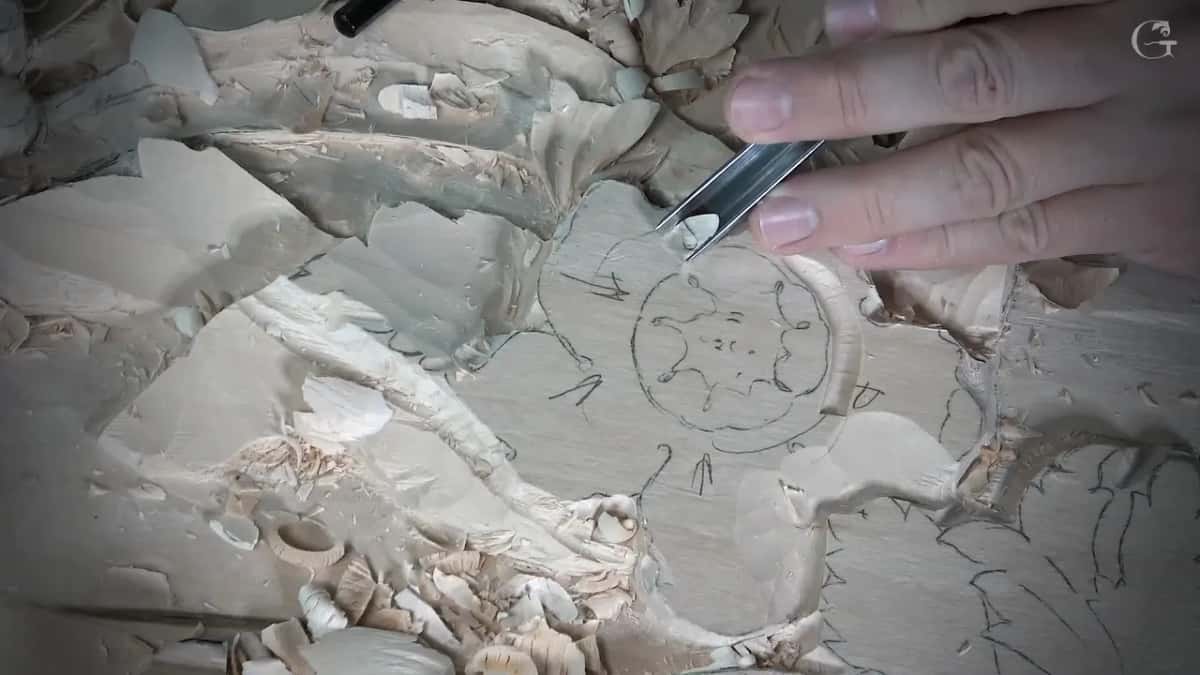
This is one workshop, in the order it happened on that flower. Early in 134 a pencil circle with petals drawn inside it still sat on flat wood beside the roughed-out parts. By the middle of the second video that spot stood up as a round with a ring dug around it.
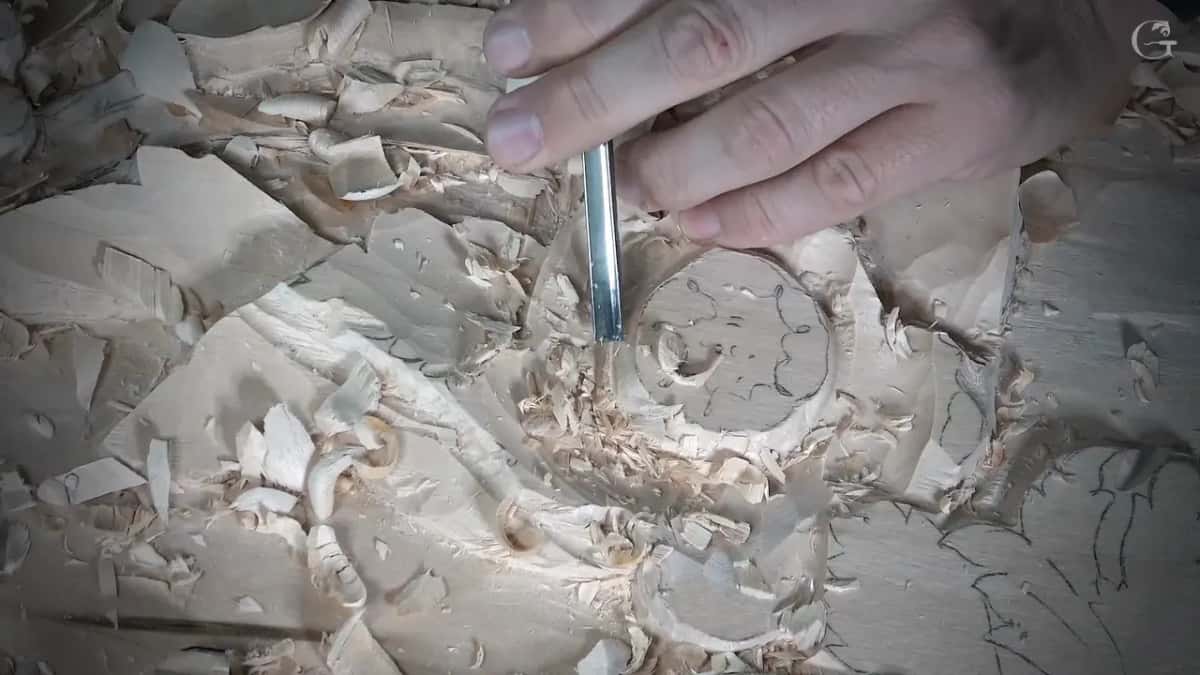
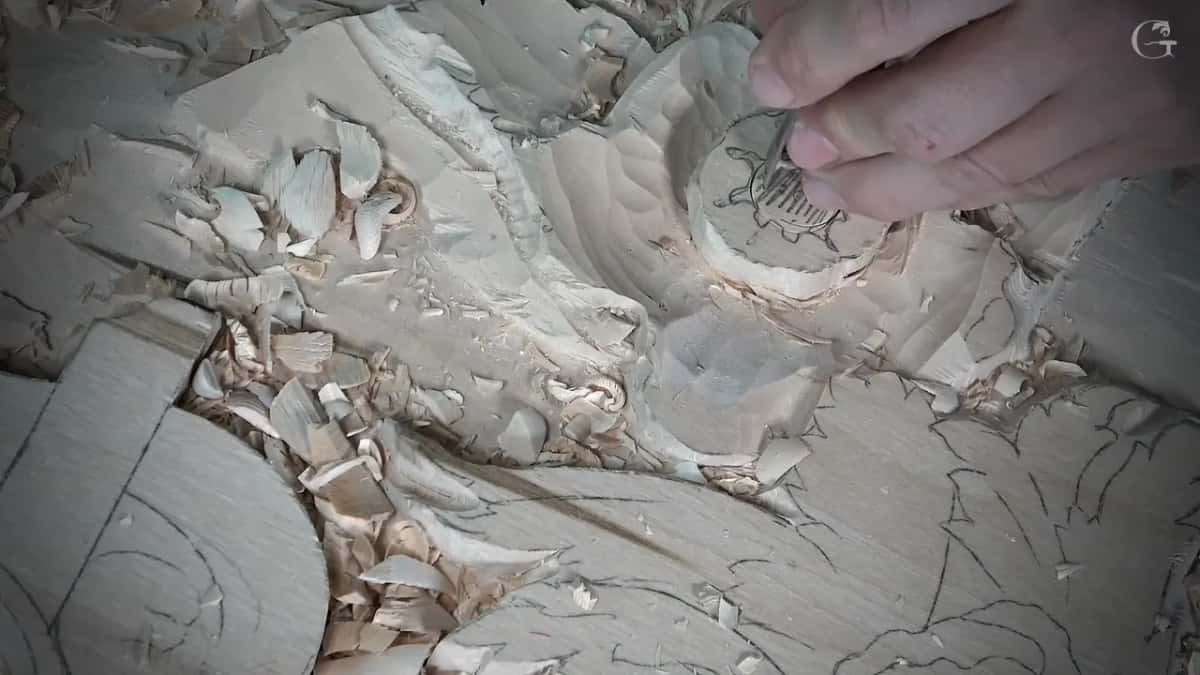
First came the slopes under the petals, with a bigger number 11, because, as I said, the bigger tool I have, the quicker it goes. Then the big number 7, and a number 11 at 10 millimeters to clean. Next the petals under the leaf were lowered, and the outline around the middle part went deep. After that the whole flower got cleaned with the 14 mm number 7, and I checked the height. Then the undercut, and toward the finish of the last video, the centre. It's not the end yet, I said.
What happens when the gouge gets too close?
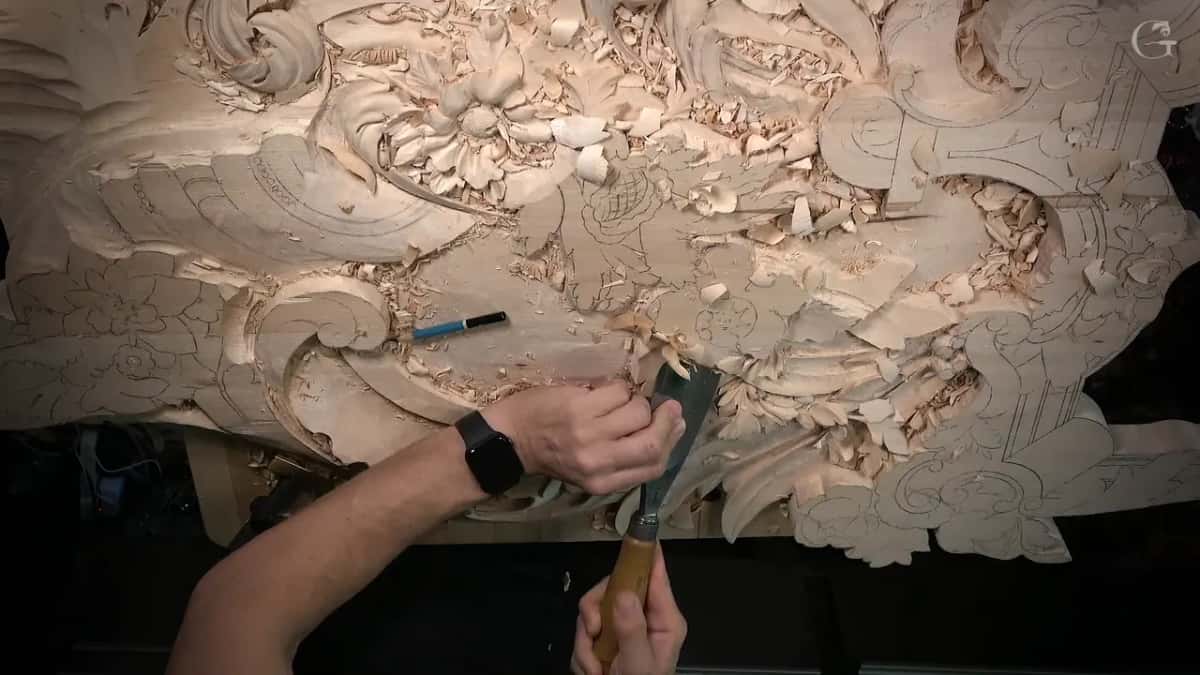
Luckily not much on that flower, though I said out loud that it was dangerous. Cleaning with the 10 millimeter number 11 in the first video of 134, I got a little too close, and then I hoped I did not go too deep right there. Am I okay? Yes, I am okay, I said, but pretty close.
There's going to be some shape there, I said, so I have plenty of material.
In the first lesson of the modern acanthus from a 1903 design I talked about the same danger from another side. Think about it logically, I said: the tool has a curvature, and if you're going to get too close to the line, you're going to create an undercut which you don't need. A big mistake, I said.
Near flowers it came up again. All the mess around the flowers on the Venetian flowers rosette, in lesson 4 had to go, but I was getting really too close to them. I can't use a big tool there, I said, and that would be a big mistake if I would use it. My plan was the same number 17 in a smaller size, like six millimeters, about 1/4 in.

Why did one rosette need so much more depth?
The background there sat about an inch down. I was around a half inch deep at one spot on the Venetian flowers rosette, lesson 5 and said I need to go much deeper. I've got to be at the same level pretty much, I said. That is a high spot.
And as you remember, I went on, I've got about one inch down to the background, and I should be able to get at least to the highest spot. On one side I had about five-eighths, roughly 16 mm, so I could go a little deeper there. That, I said, will make the whole world of a difference.

So the 134 number is not one number for every flower. In 134 I said it suited this sort of flower, while on the rosette, with an inch of drop to the background beside it, a half inch left me saying I needed to go much deeper. Two panels. Two answers.
What sets the depth on the second side of a rosette?
The first side does. For the chamomile and bow rosette, lesson 2, I looked at the first piece, and its low spot was about 3/16 of an inch. Which means, I said, I can remove really low some of the spots on the new side. Almost all the way to 5 millimeters. Maybe slightly higher than 5 millimeters. For that I reached for a big tool, like a number 11, of course, to start working around.
That rosette pairs a chamomile bloom with a carved bow, and my number for the new side came straight off the first piece.
How shallow do the first passes on a small rosette stay?
A sixteenth, then an eighth. This is the flower rosette, lesson 1, the small one, and its block is only three-eighths of an inch thick. Only 10 millimeters, I said, and you can always overdo it. I drove the gouge about maybe a 16th of an inch deep, roughly 1.6 mm, and said that at this moment I don't have to go deeper.
One part later it was one step more. Right now, I said, I can't go deeper than an eighth of an inch, although a little later it's going to be a little deeper. But for now, an eighth, which is about 3 mm, and not deeper.
How far that rosette goes in the end, and how the flower sits inside such a thin block, is on the page for the whole flower rosette course. The difference from 134 is the scale. A board ten millimeters thick has no half inch to give.
Every depth from these lessons, side by side
Here are the numbers in one place, each with the lesson where I said it and a word on why, in millimeters and inches mixed the way they came out.
| Layer | Depth | Lesson | Remark |
|---|---|---|---|
| The whole flower | Near 13 mm high, the whole height | Venice 134 | Right for this kind of bloom |
| Petals under leaf | At most five millimeters, three might do | Venice 134 | A leaf lies over that spot |
| Undercut all round | Roughly 5 mm inward from the edge | Workshop 134 | Or it will not look nice |
| Rosette low spots | Nearly down to 5 mm, maybe higher | Chamomile rosette | Matched to the first piece's spot |
| First rosette passes | A sixteenth, then an eighth, no deeper | Flower rosette | The block is just 10 mm |
Other depths live on other pages. A small flower on a molding has its own lesson in how to carve a small flower in relief. For a whole relief panel, see the Part 9 course of the Venice Room. How much wood to leave for a concave is a different measure altogether, and lesson 129 gives it with the numbers I used on that part of the panel. Thin wood? Lesson 70 is about how to avoid carving too deep in wood carving when little wood is left.

Where can you watch the flower in lesson 134?
In the three workshop videos of lesson 134, pass by pass, with my hands in the wood for every slope and for the last gouge in the centre. The panel is carved in the Venetian style, and lesson 133 comes right before it, lesson 135 right after. Every video in the school is open with tuition to the school, monthly or yearly, renewed automatically until you stop it.
How it's done
- Bring down the petals under the leaf. Where part of a leaf would lie over two petals, I brought parts of those petals down a little, and a number 7 blended the end.
- Keep that step shallow. Here I said it really should not go too deep, since the leaves would lie on top.
- Take the outline down on the side that shows. Where it shows from my point of view, I went down to the surrounding surface, and not as deep on the other side.
- Clear the wood beside the middle part. A number 7 one inch wide removed wood right away around that part.
- Look at the height of the whole flower. After cleaning with a 14 mm number 7, I looked at the height and said it was good for this type of flower.
- Undercut around the flower. In some spots I pointed the tool inward, and that undercut reached about 5 mm, quite deep, I said.
Frequently asked questions
How far down do the petals go under a carved leaf?
Maybe five millimeters in lesson 134. That was the limit, I said, and then three or four might do, 3/16 in or so, or about an eighth. Those petals sit under the leaves, and the undercut gives the look, which I called beautiful on camera.
Did the undercut on that flower go deep?
About five millimeters inward, by my own guess while the tool was in the wood. I had to undercut around, I said, otherwise it's not going to look nice. I wanted the flower to feel like it grows from inside, from the middle, like a real one.
Why did the Venetian rosette need more depth?
On that rosette the background sat about an inch down. At one spot I was about half an inch deep and said I needed much more depth there, and on one side I had about five-eighths, so there was room for a bit more.
What to carve next