
Alexander Grabovetskiy, woodcarver, School of Woodcarving · Published 2021
What is a continuous cut in wood carving?
Quick answer: A continuous cut is one unbroken pass of the gouge along a groove, the angle kept steady to its end. My lesson 141 of the Venice Room has it done with a small gouge, after a 3 mm and a 2 mm. It shaved the high spots, evened the bottom, and one low spot told me to shift it.
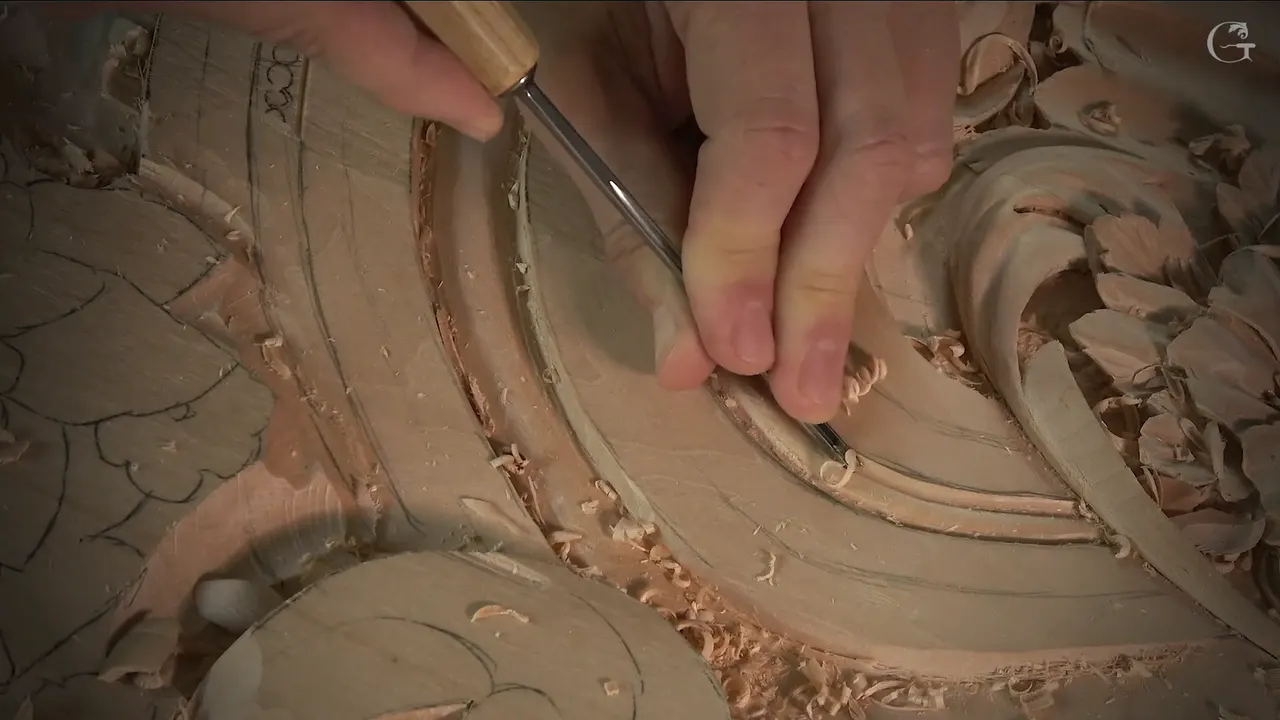
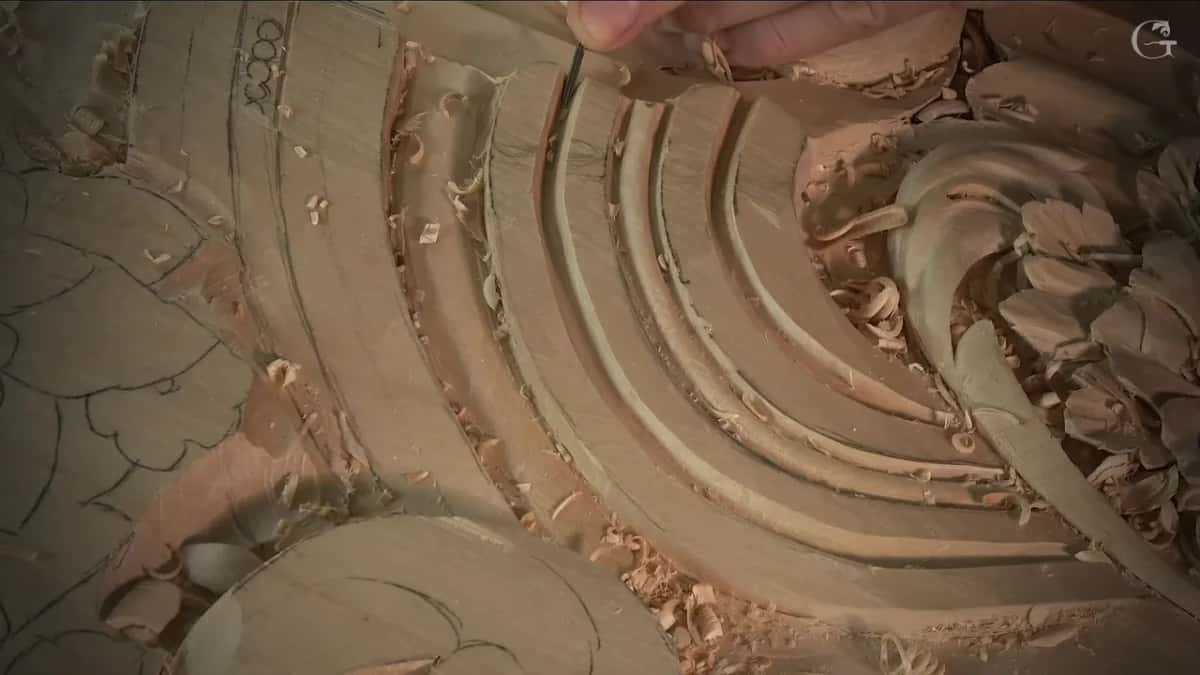
A continuous cut is one long pass of the gouge down the whole groove, with the angle held the same the whole way along. Held like that, the edge catches every high spot and leaves the bottom even. When it drops into a low spot, you shift the angle. That is how to carve a groove in wood by hand when the groove belongs to a carving, and in lesson 141 of the Venice Room that is what I did with a small gouge along a curved band of the panel.
Run a fingertip down the bottom of any carved groove. Can you feel it rise and dip? Would a shadow lying in it wobble in the same places, too? One long pass, with the angle held, is how I take them out.

I'm going to be honest with you about this page, and about how it is put together. My own lesson here is three short parts, and most of what I say in them is the size of the next gouge, so lesson 141 carries only the first half. The second half is my words from other courses, where I talked about the same kind of pass, and every one of them is named and linked so you can go and watch it. Right before this one comes lesson 140, and lesson 142 picks up after it.
The long pass, in five lines
It came after the first passes, when the lines were already there.
With one angle held, the edge shaves the bumps off, and the bottom comes out even.
A low spot is the moment to change that angle.
Depth still came size by size: 4 mm, then up to 7, then back to 1.
I said to attack the grain's meeting point the other way and work it in.
What does a continuous cut catch?
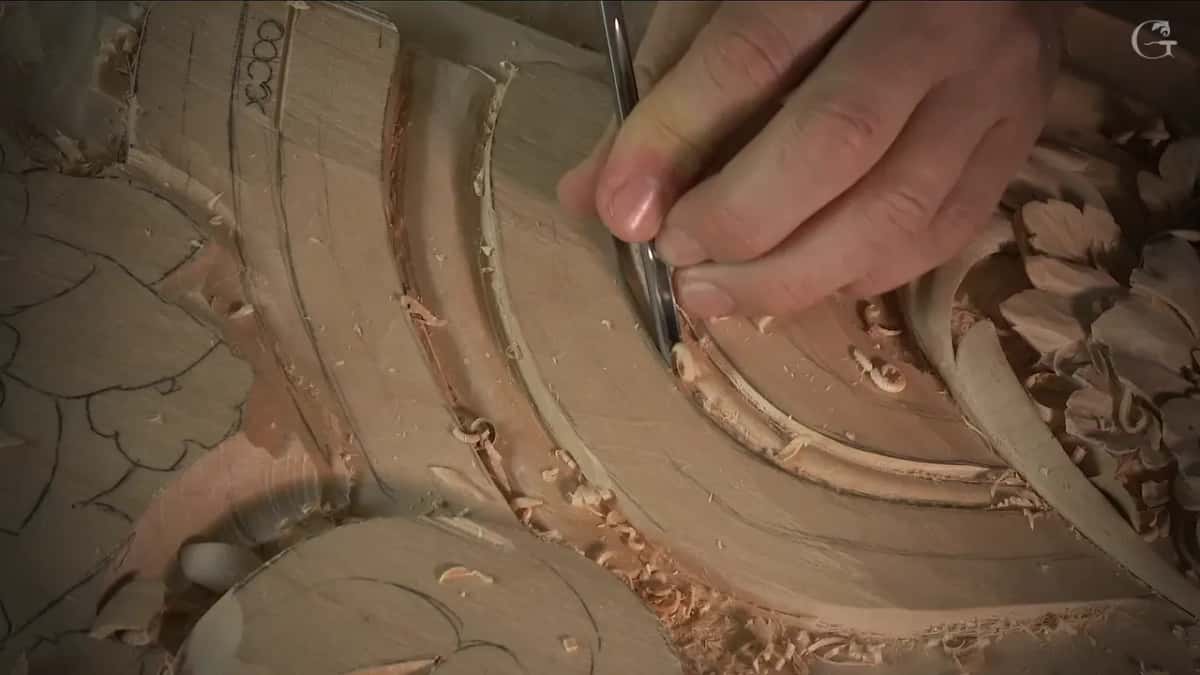
The high spots. I said it on camera in part one of lesson 141, with the gouge still in the groove. When you do a continuous cut and keep holding the same angle, you catch all the high spots, and the bottom comes out even.
Look at the word I used just before that, though. Try, I said. As much as I can.
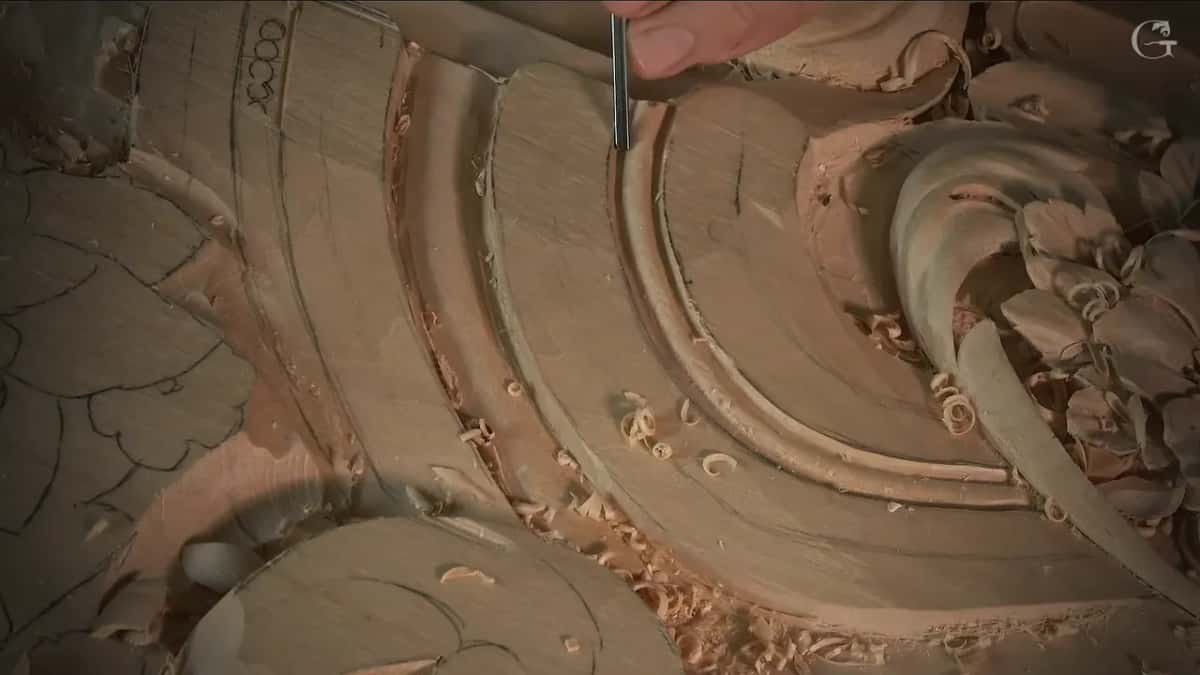
Watch one hand in that part of the video. Two fingers sit low on the steel, right down near the wood, in frame after frame while the gouge travels.
A few seconds later I found one. Here was a low spot, I told you, so I need to change the angle. After that I went on quietly for about half a minute, said okay, wonderful, and turned to the beads.
So one pass gave me two things. It took the high spots down, and it showed me the one place that sat low.
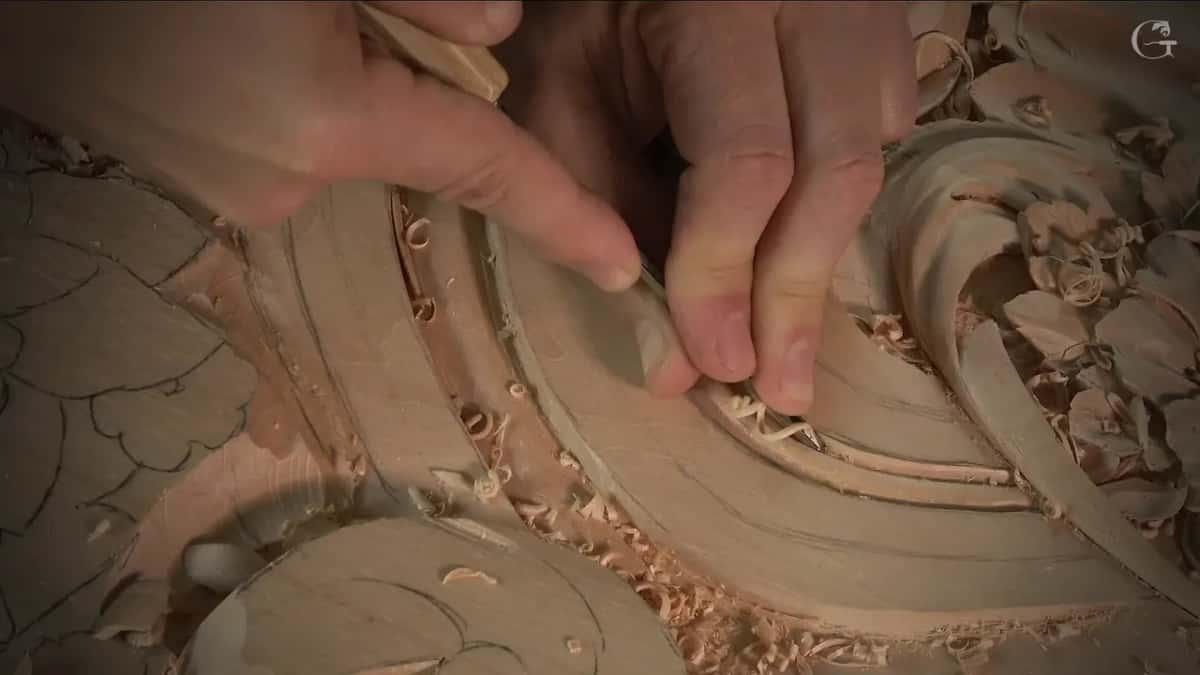
How to carve a groove in wood with one held angle
Part one opens on a strip about a quarter inch wide, 6 mm, running the length of the band. I called it a bead. Then I took it back: not bead, but you know. One side of the beads I would do off camera, I said, and the other on camera.
The long pass came late in lesson 141, after I had gone over the lines twice. I told you on camera that I didn't pay attention. And I really don't worry about making a super clean first go of it, because most of that wood is going to be gone once I make those beads.

Then a number 11 of 3 mm, one eighth of an inch, went back along those lines. Carefully, all the way, and then the other side. After it came a 2 mm, about 5/64 of an inch, over the same ground. Only then did I try the long run.
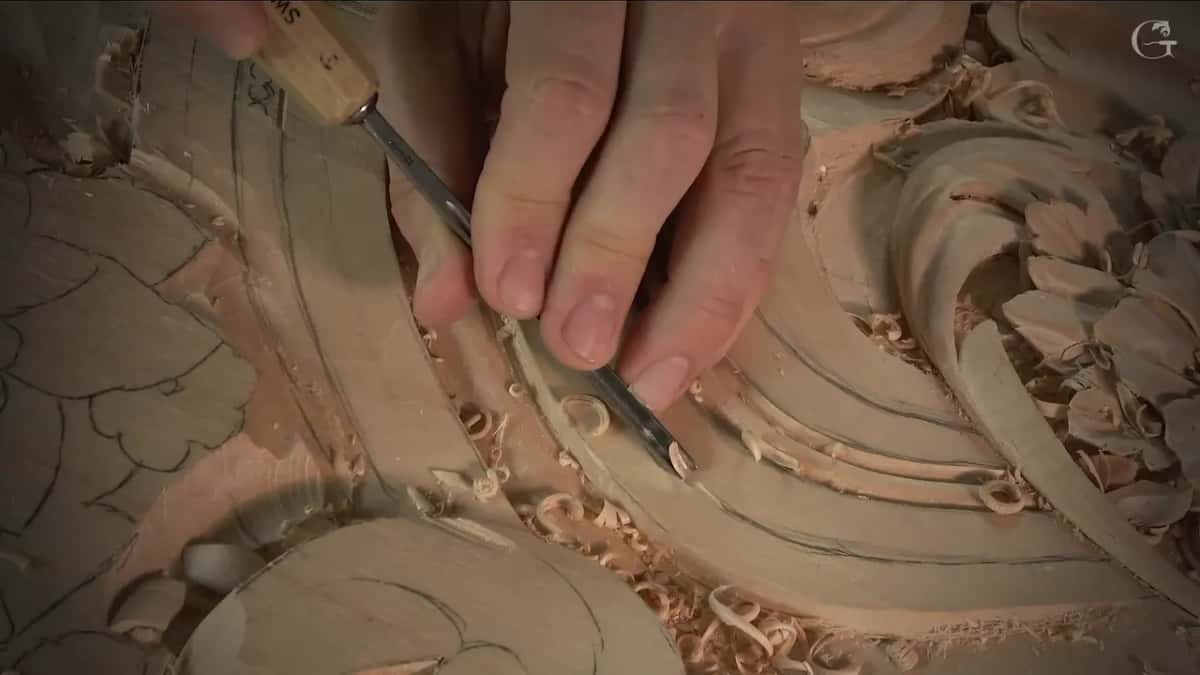
The second groove, in part two, went deeper, and it went a different way. I started it with a 4 mm number 11, which I said is just a little bigger than one eighth of an inch. Then I said I could use an even bigger tool, maybe even 7 millimeters, roughly 9/32 of an inch, to get that much deeper, and I worked both sides and gave it another pass.
After that the sizes came back down. Five millimeters, 3/16 of an inch, and yes, it was a number 11, then 4, then 3, and I said why out loud, just to make it deeper.
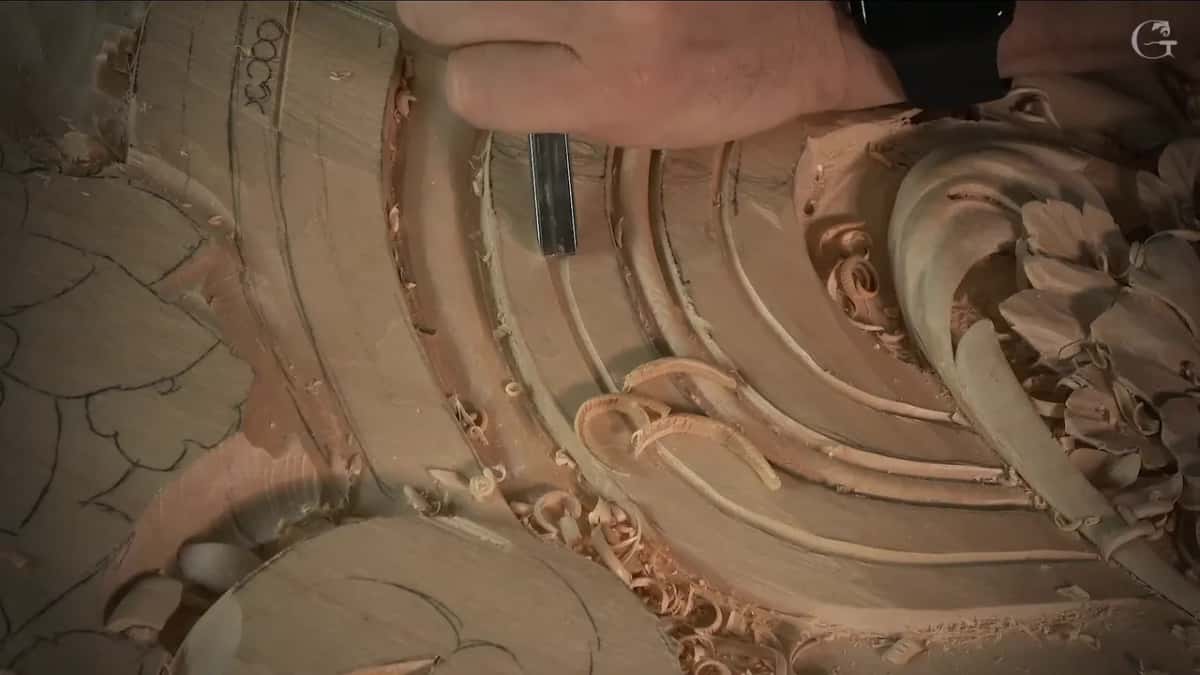
Why does the long pass come after the rough work?
Shape comes first, and the long pass last. My words in lesson 2 of Modern Acanthus from a 1903 design were plain: don't try to make the long pass yet. It is okay at the end, when you are going to clean. But while you are still making the shape, you are at stage number one. I called that stage boasting, and then said it the normal people way, creating the overall shape of the acanthus. I know I have told you that many times, I said, and I repeated it anyway.
My page on short strokes first makes the same point, with short strokes early and the long run once the shape underneath is settled.
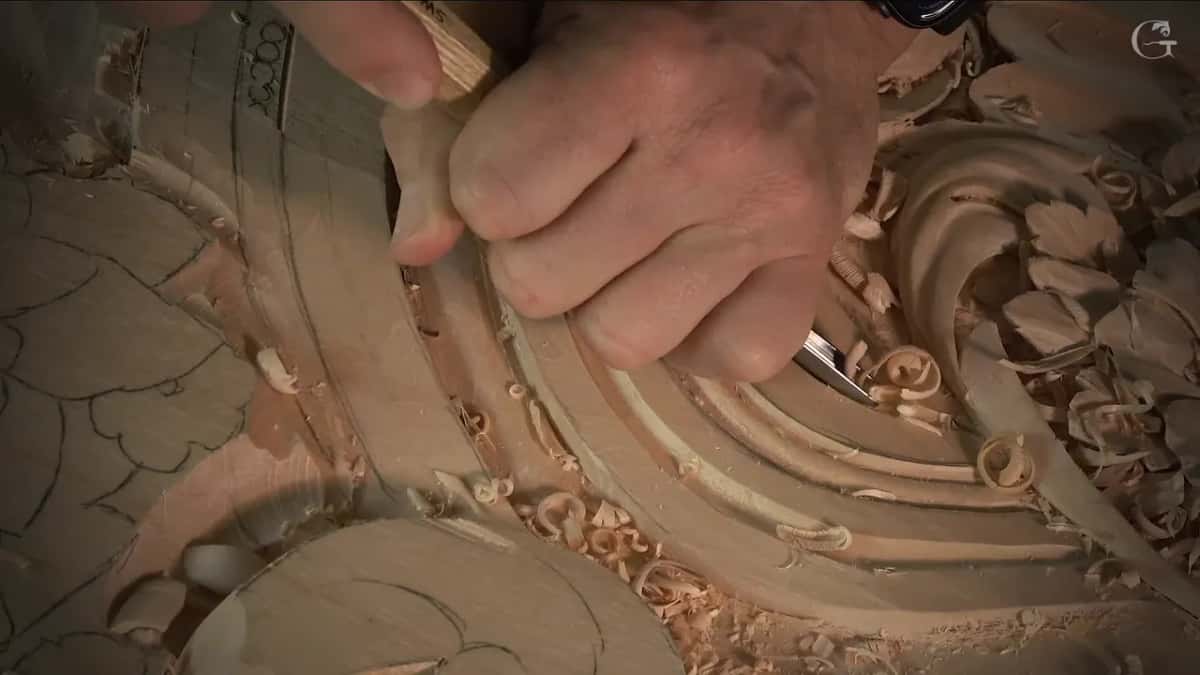
A cleanup cut from lesson 137 is a different pass again, a flatter tool laid on a surface to clean it, while the continuous cut stays down inside a groove.
In 141 it went the same way round as it did on the acanthus. The continuous cut came only after the 3 mm and the 2 mm had done their work on the lines.
What do you do where the grain meets?
Attack it from the opposite side and blend it. Those are my words from part three of lesson 141, said at the spot I called just the place where grain meets.
By then I had turned a number 7 upside down to round it over. Fourteen millimeters, about 9/16 of an inch. Partway along I told you I would have to attack from the opposite side, just to continue all the way.
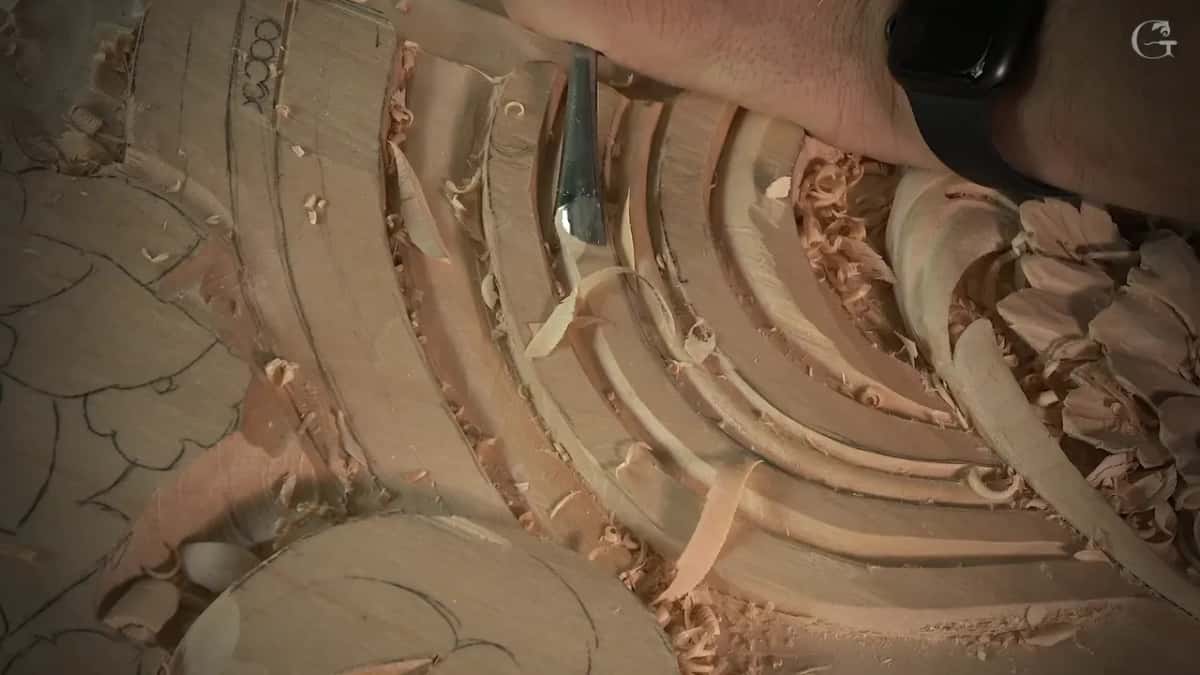
Then the grain. Again, have to keep an eye on what my grain does, I said, and then I set it straight: I mean the grain of the wood, not my grain.
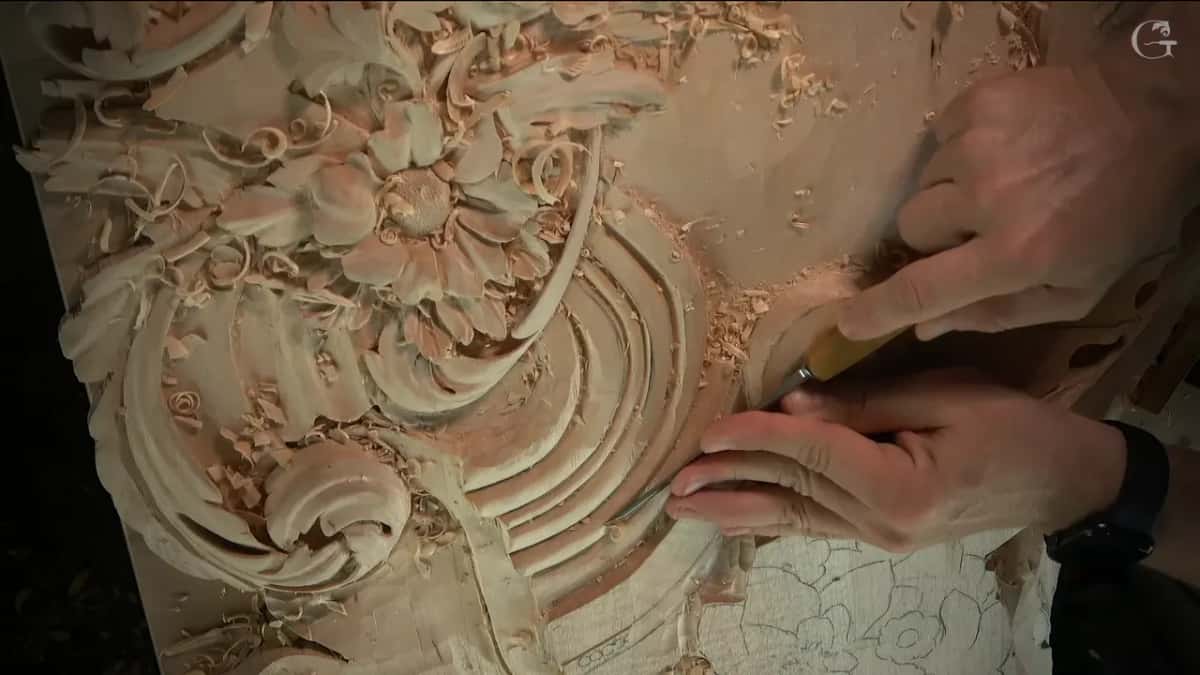
A back bent would help much better there, and I said so more than once. But even with the straight tools it's still possible to do a good job, if you change your position.
The rest of it I said I could get done off camera, just to clean it, because it's the same operation. You should be able to understand what I'm doing from the part you saw.
At the very end I said I would spend a little more time to make those passes somewhat cleaner and nicer. But that is the idea, I said. A few minutes before, I had said it twice in a row: that is the idea I want to see.
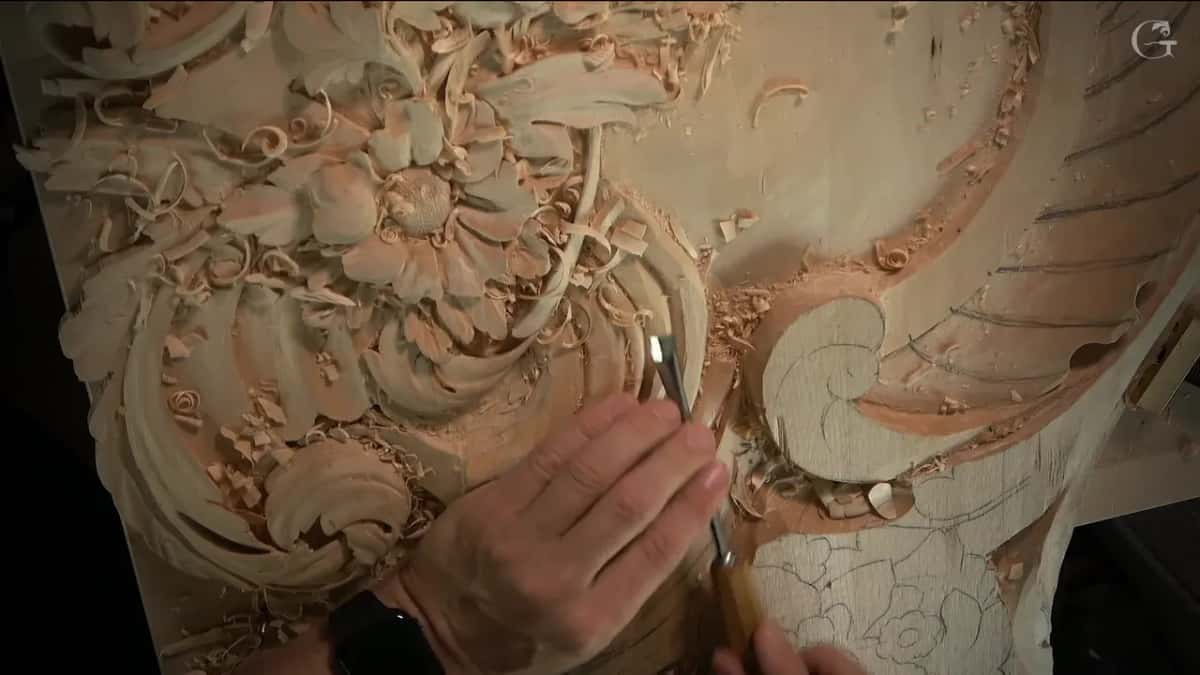
How small should the last pass be?
In lesson 141 I finished at 1 mm, about 1/32 of an inch, and then told you it made no big difference. I was not sure about it on camera, and I left that in. After the 3 mm I said I don't know if I should do 2 millimeters. Yeah, I probably should. I could take it right down to 1.
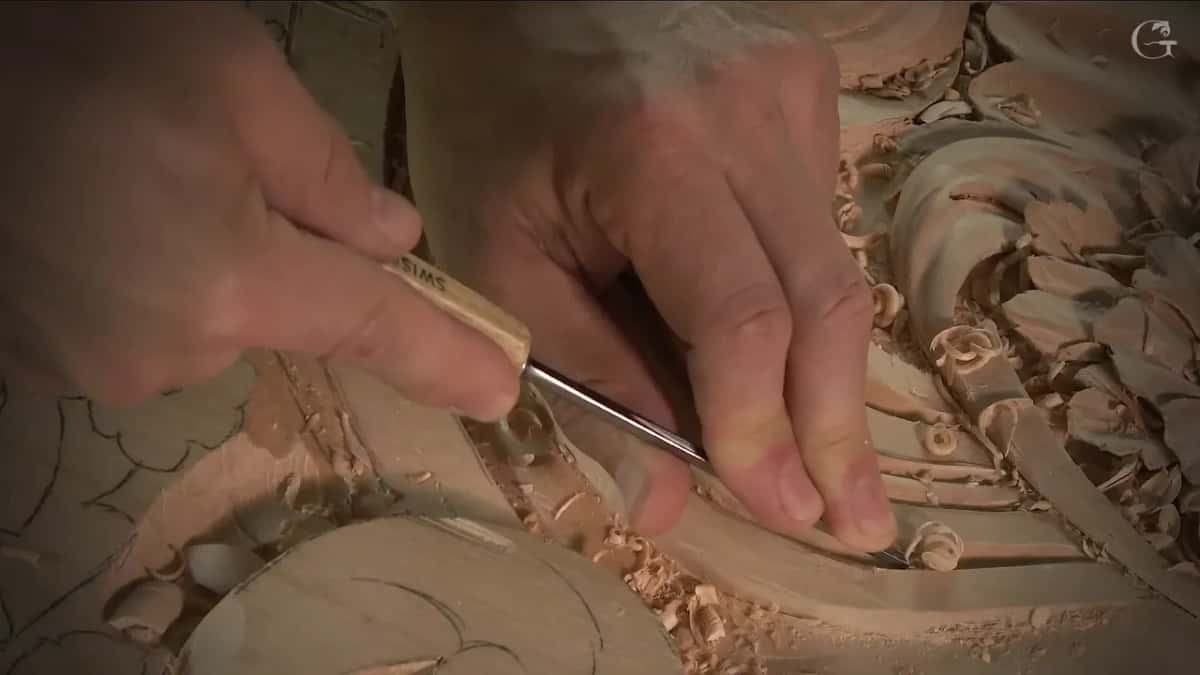
Let me do one and a half, I said, and then, not sure, maybe just 1 right away. Should I, or should I not? I went ahead. Why 1 mm? I really wanted to see a separation there. And when I looked, it actually didn't make a big difference, as far as I could see right then.
Earlier in that part, with the 5 mm in the groove, I said it was going to give me a beautiful shadow. A moment later I fixed my own words: I hope it's going to give me a beautiful shadow.
Part three had one more doubt in it. Maybe it was a little too deep, I said, but I did not know yet, and we would see. I can always make my kind of axis a little lower, so that's not a big deal. I would check a little later how it looks overall, and if I did not like it, lower it with no problem.
The passes in lesson 141, in order
Here is every pass I named in the lesson, in the order it came, so you can follow the sizes up and down.
Pass | What it did in lesson 141 | Tool and size |
|---|---|---|
Going back over | the old lines again, carefully, and then both sides | number 11, 3 mm (1/8 in) |
Next size down | the same lines once more, before any long pass came | a 2 mm, about 5/64 in |
One long run | angle held for the high spots, then a low spot to change it | gouge not named here |
Second groove begins | a first pass in part two, then the same on the other side | the 4 mm, 5/32 in |
Going bigger | a larger tool I said could go deeper, then another pass | maybe seven millimeters, about 9/32 in |
Down the sizes | each smaller size taking it deeper, as I said | five, four, then three millimeters |
Last and smallest | two, then one millimeter, and I said no big difference | one millimeter, about 1/32 in |
Where else did I talk about holding one angle?
On the acroterion, in lesson 4 of the Greek Acroterion, where I said it again while working the other side. Same applies to that side, really important to hold the same angle. I was going against the grain in that moment too, and I said so. It's not the best idea.
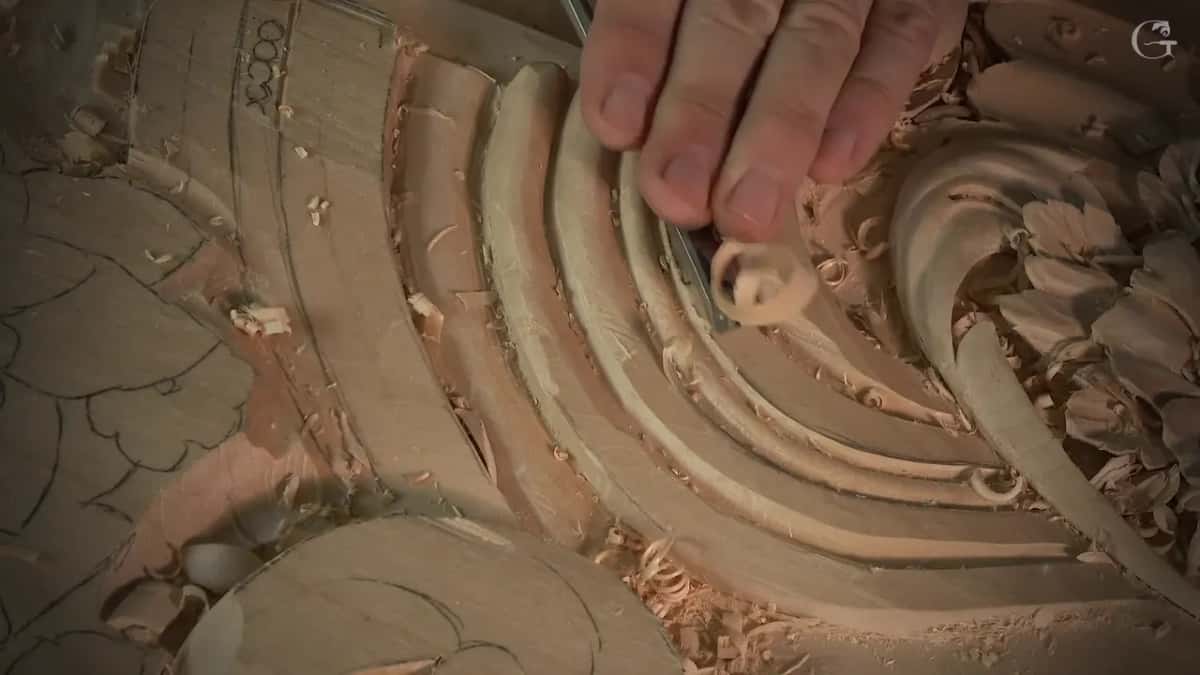
Slice by slice, in lesson 5 of the same course, I took the depth down until it was consistent everywhere around the swirl, and the measure I named was sixteenths of an inch.
Watching the wood itself come off is something I talked about in lesson 1 of the Greek Acroterion. With that kind of pass, how wide it is and how consistent the swirl comes out of the chisel decide how accurate that piece of plinth will be. So I keep watching how it comes out, and at the end I make a slight rotation and let it exit.
There is a moment in lesson 3 where all I said was to make it clean and long.
Does the first groove need a number 11?
On the chamomile and bow rosette I said you really don't have to use one. That was lesson 3, where the beads come in around the rosette. I showed the step again there as part of the project, in case you wanted it without digging back and searching for how I did it before, and I said there's more than one way of doing them.
In my case, I said, I was going to use a number 11 for the first groove. But it isn't needed, and you can use just the V tool. Before it I placed my line by eye, and I asked you to make it as accurate as possible. For me, eyeballing is probably one of the best methods.
Right in the middle of that step I stopped to say I forgot to show you the somewhat final result of the bowl before jumping to the beads.
In 141 I ended up eyeballing too, for a plainer reason. I went looking for my calipers, found them, and they were too big to fit that spot, so I had to just eyeball it.
When is a continuous cut the wrong pass?
In a hard spot, like the one in lesson 60 of the Venice Room, where I said I was not trying to get a continuous cut at all, because that area was a really challenging one.
It was the same story in lesson 59, since a really clean, continuous cut the whole way through was almost impossible for now, so I switched the angle and took the wood out little by little.
Back in lesson 57, setting out the space for my future beads, I said it is better to have a really continuous cut without rushing.
Two more pages sit close to this one. A groove that chips is its own problem, and the page on a chipped groove is about the order of its walls. If you want the number 11 itself, its own page is the one to read.
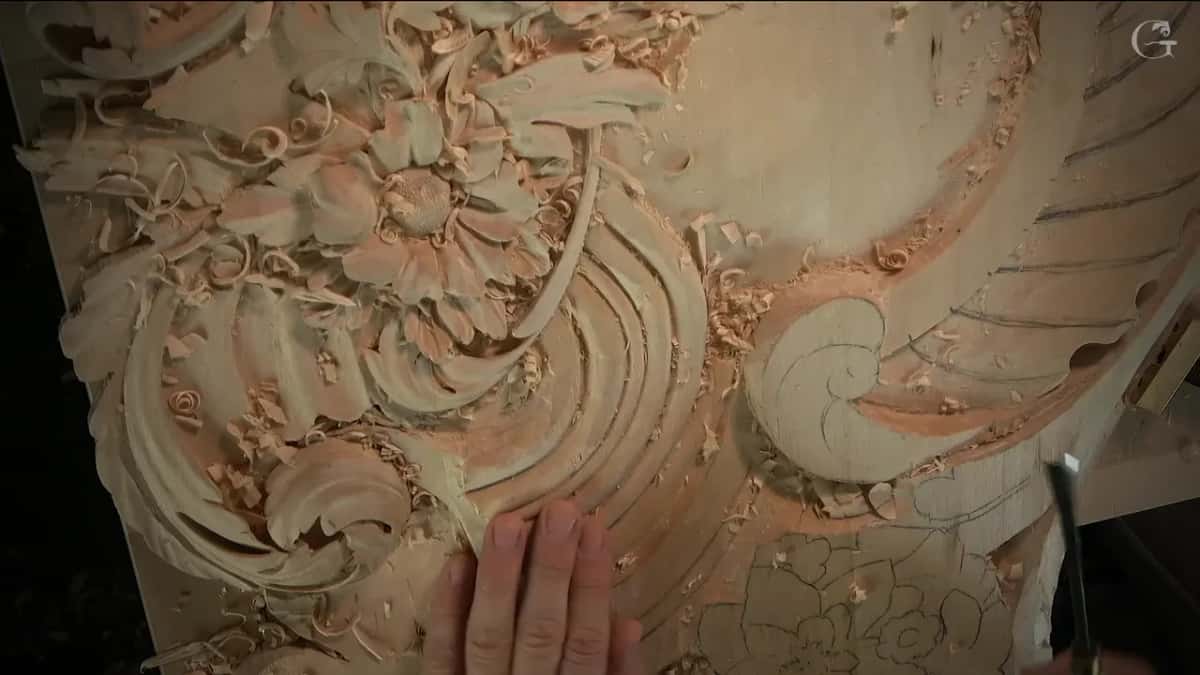
Lesson 141 is three parts of me carving grooves on this relief panel, with the camera close enough to see the curls come off. It opens with tuition to the school, monthly or yearly, and it renews automatically until you stop it. The whole run of Part 12 sits on the course page, if you would rather see the panel first.
How it's done
- Go back over the lines. Take the number 11 at 3 mm, 1/8 in, carefully along each line, end to end, then do the other side.
- Drop to a smaller size. Follow with a 2 mm over the same lines before you try any long run.
- Run it at one angle. Try to carry the gouge down the groove without letting the angle wander, as much as you can, so it takes the high places down and evens the bottom.
- Change at the low spot. Where the groove dips, change the angle, the way I said I needed to in part one.
- Go deeper size by size. For the second groove I began at 4 mm and said a 7 mm could give more depth. Five, four, three, two and one millimeter followed.
- Blend at the grain's meeting point. Come at that spot the other way and work it in, then look at the whole thing later before you decide it is too deep.
Frequently asked questions
What comes before a continuous cut?
Two passes along the same lines came first in lesson 141, a 3 mm number 11 and then a 2 mm. I told you I didn't worry about a super clean first go, since most of that wood would be gone once the beads were made.
Should the angle move during a continuous cut?
At a low spot, yes, and I said exactly that on camera. Holding the angle takes care of the high places. When the groove dropped in one place, I told you the angle had to change, and about half a minute later I called it wonderful.
Does a long pass take the groove to full depth?
Depth came one size at a time in lesson 141. After the 4 mm I said a bigger tool, maybe even 7 mm, could take it much deeper. From there I worked with 5, 4, 3 and 2 mm until the 1 mm. The smaller ones, I said, only took it deeper.
What to carve next