
Alexander Grabovetskiy, woodcarver, School of Woodcarving · Published 2021
Do you have to picture the whole carving before you start?
Quick answer: Carving from the picture in your head is what I do when the design is mine, but the smaller choices still get made on the wood. At the start of lesson 143 I said seeing it was not my problem. Too many ideas was, so I chose one fork at a time.
Picturing a whole carving before you start is something I do on my own designs, since they live in my head, but a lot still gets settled on the wood. Lesson 143 of the Venice Room opens with me saying so to the camera. I know it's sometimes hard to visualize. My problem is not visualization. I've got too many ideas, and that is the problem.
So for anyone asking how to plan a wood carving, here is one workshop where a first idea for one leaf turned into a string of choices, and each choice got made with a gouge in my hand, out loud, while you watched.
Is there a spot on your board where two shapes both look fine? Once the wood comes off, is it gone for good? Then watch the order I chose in, one small call after another.
What lesson 143 shows about planning, in six lines
I began with an initial idea.
Divisions went on where the wood looked like a good area for them.
Each division on one face of the curl got its twin on the other face, moved a little away.
A 2 mm (5/64 in) shadow spot came first, and the opening grew only after I made up my mind.
Two good heights for one part? I took the one that looked lighter.
What I designed myself stays in my head, so I don't carve it from a pattern.
Is seeing it in your head the hard part?
For me it wasn't. Right at the start of lesson 143 I told you I hope you followed my logic, and that I know it can be hard to picture, but seeing it is not what slows me down. Ideas do. Too many of them.
That changes what planning means on the bench. The job in this workshop is picking, one question at a time, and you can hear every question. Do I need it or not? How do I want to see it? Which part goes higher? I answer each one, and carve.
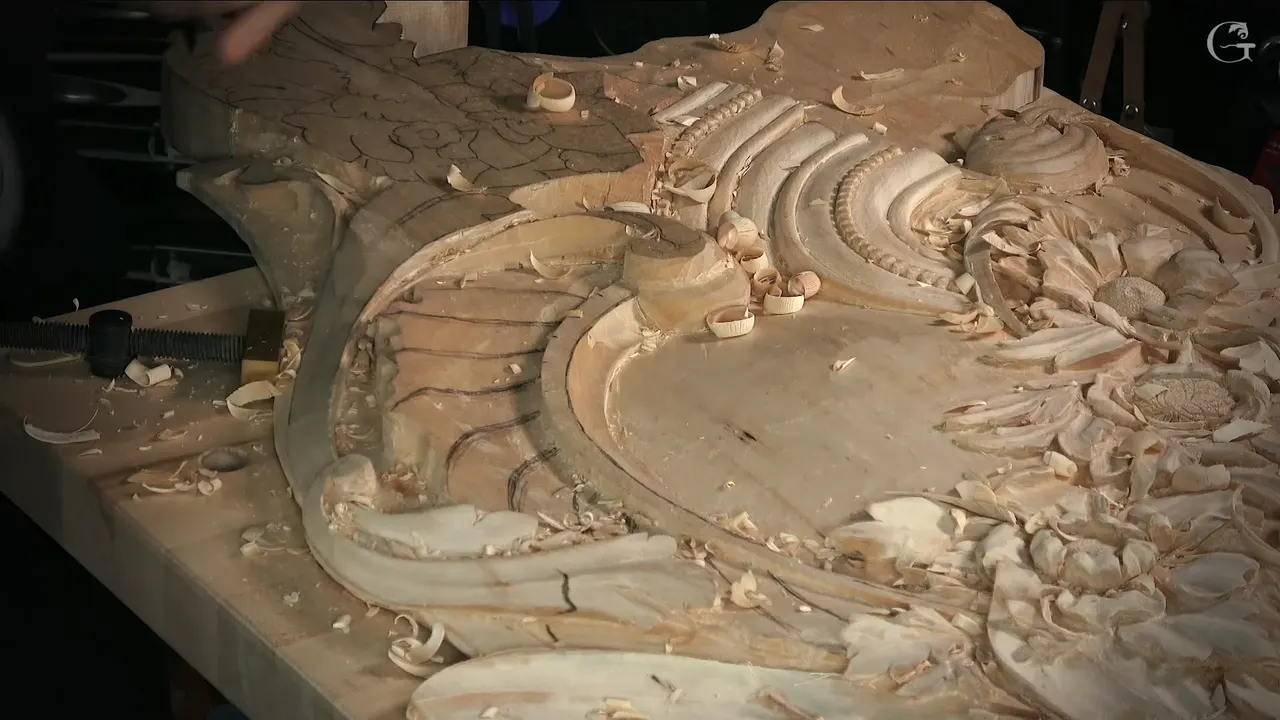
The big hollow I dug in the first minutes of this lesson belongs on the course page about shadows, so I'll leave it there and start with the leaf.
How did I plan the divisions on that leaf?
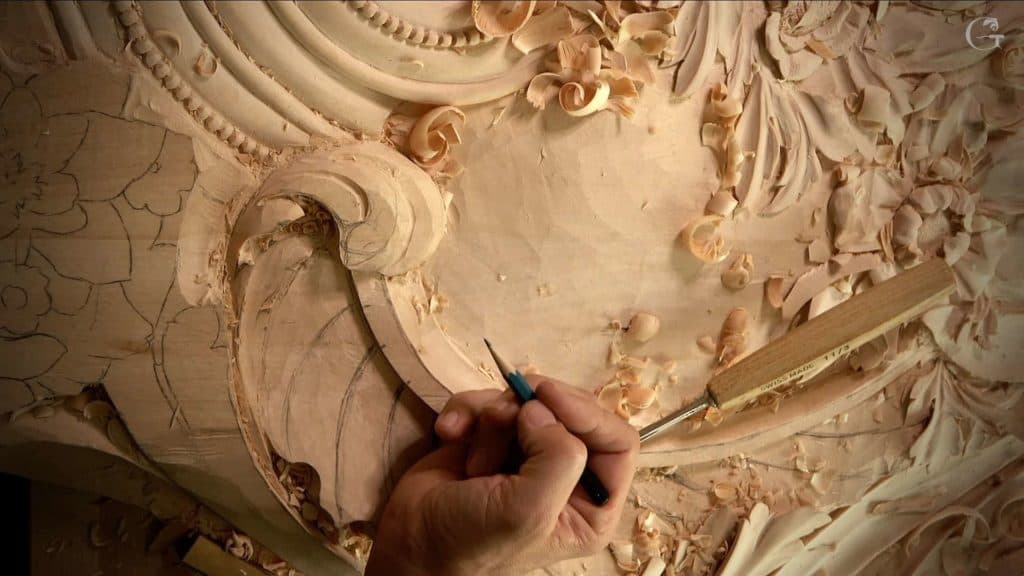
Right on the wood, where the spot looked good for them. After the hollow I said I didn't want to overdo it, as of now at least, and turned to my divisions, because that spot looked like a really good area for them. Simple, but still. Then I saw room for one extra division, somewhere right there, and drew it on.
I showed it to you from above next, so you could see how it was going to look. The drawing sat right on the leaf, where the gouge would go.
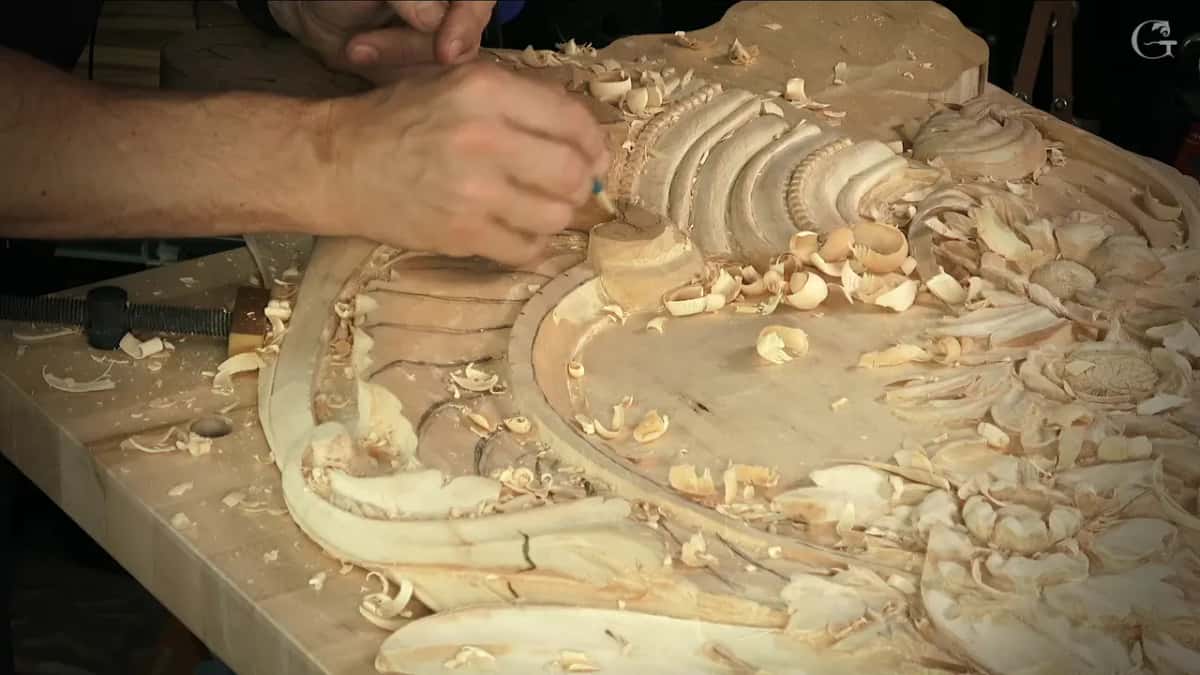
A leaf that wraps asks for one more thing. Whatever I drew on the inside, I had to match on the opposite side, because it's one leaf going like this and then laying like that. Logically, if there is a division here, there has to be one on the opposite side as well. I explained it twice and said I hoped it made sense.
Matched is not the same as level. The partner can't sit at the same height, since the leaf has movement, so I moved it a little away from the first one. If you look from above, they're not at the same position. They are not. How far two sides of this panel stay apart is a question I took up in lesson 142, the workshop just before this one.

On that far side of the movement I also put an eye, and you can see it repeats the eye on the other side. It would be exactly the same movement as the first side, I said. One idea, carried across a fold.
Which choices did I leave open until the wood showed me?
The opening. When I laid out the far side I said I could make a bigger opening in that section. Not really big. Maybe it would be an opening, I said, but I was going to do an eye first. The idea came, and I set it down for a while.
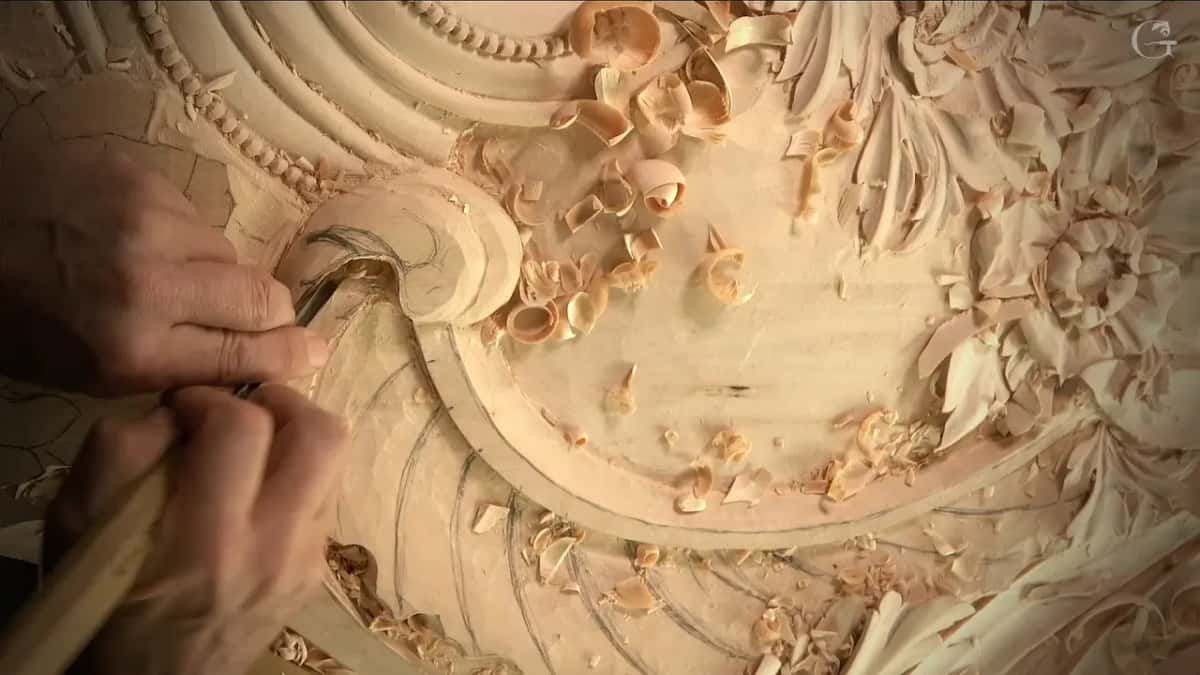
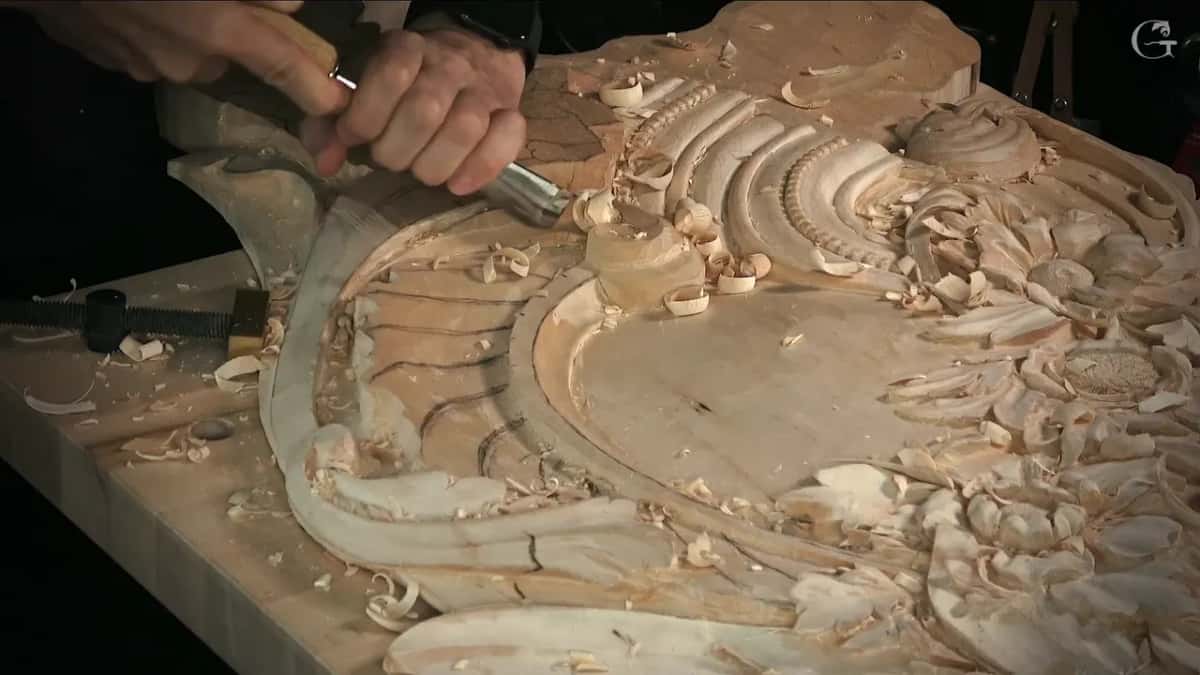
I took a number 11 at 5 mm (3/16 in) and carved the eyes on the bottom and on the top. Here's going to be an eye, I said, and I dug it out this way. I guessed the inside wanted a spoon, but a straight tool was okay on this side. The position wasn't really comfortable. That's okay, I said, and kept going. A smaller number 11, about 3 mm (1/8 in), then dug a better channel there, and I blended it right underneath. Blend that right underneath, I said again. Something like that.
Now the fork itself. With a 2 mm tool, and I said even 1 mm would do, I took the mess out and made a shadow spot. I could open it and go all the way through, I told you, but I didn't know if I needed it. I really don't think I need it. We'll see.
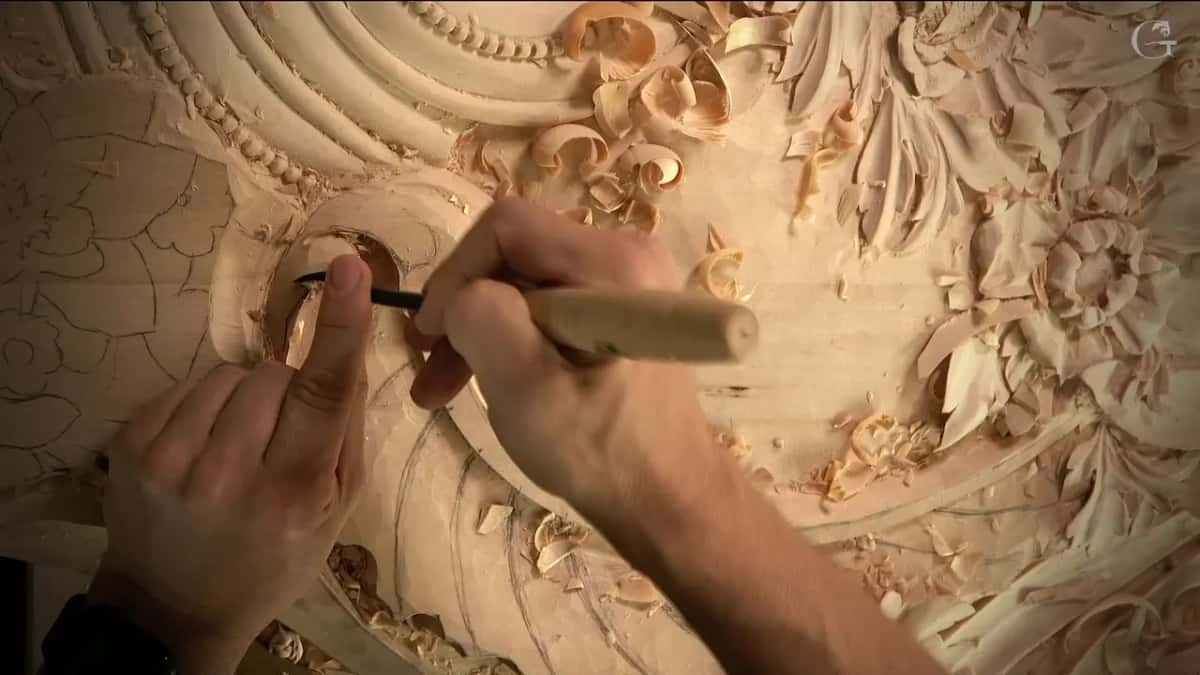
Next I started to say I'd relieve it and stopped myself mid-sentence. Well, actually, you know what? I'm not going to relieve it yet. A few seconds later I made the other call and decided I'm still going to open it, going in from one side, carefully, carefully.
The first tool was a little too big for that, so I grabbed 3 mm, then kept digging all the way down with 2 mm, and a spoon gouge of about a number 5 made one more pass. I wasn't going to worry yet about perfect. You can see it's already opening up, and I said I made the right decision to make it lighter. What makes a carving look lighter is a question with its own page, from workshop 117.

What does a first idea look like on the wood?
Rough. The lesson's third part starts with the letter S curve still waiting for later, and me saying I'm somewhat happy. It's not clean yet, but I am happy. I've got the initial idea.
A 2 mm spoon took care of the inside right away, and I didn't finish it yet, only went far enough to show the movement. How far a hint like that can carry a detail is the question on the workshop 110 page. A couple of relief cuts went in next, and a number 3 came down from above in a couple of spots that will lie on top of the shell.

Every fork in lesson 143, side by side
Fork | What I did about it in lesson 143 | Tool |
|---|---|---|
Where divisions go | a good area first, then one extra right there | drawn on it |
The far side | each division matched across the curl, set a little apart | blue pencil |
Two small eyes | bottom and top, with a straight tool on this side | #11, 5 mm |
A better channel | dug in that spot, then blended right underneath it | a 3 mm |
Shadow spot first | going right through the wood was still only a maybe then | 2 mm tool |
Open it anyway | worked in carefully from that side, and it opened up | 3, then 2 |
Which part rises | one side a little higher, since that looked lighter to me | 3 mm again |
Where the point lands | a little more twisting, not the downhill version I also had | same 3 mm |
How high the head | kept high, so the canvas still reads from that view | no tool |
How do you plan a wood carving when two ways both look fine?
This workshop had me choosing by two things, how light a part looked and whether it would still read from the place people see it. Both came up at the bench.
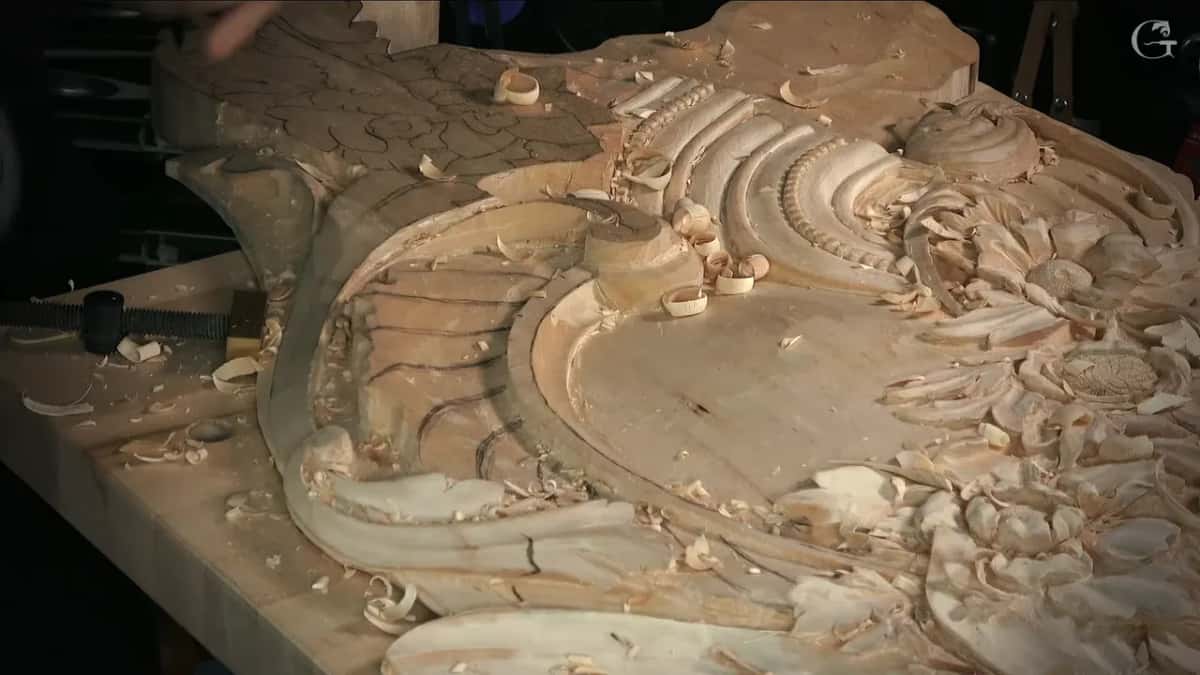
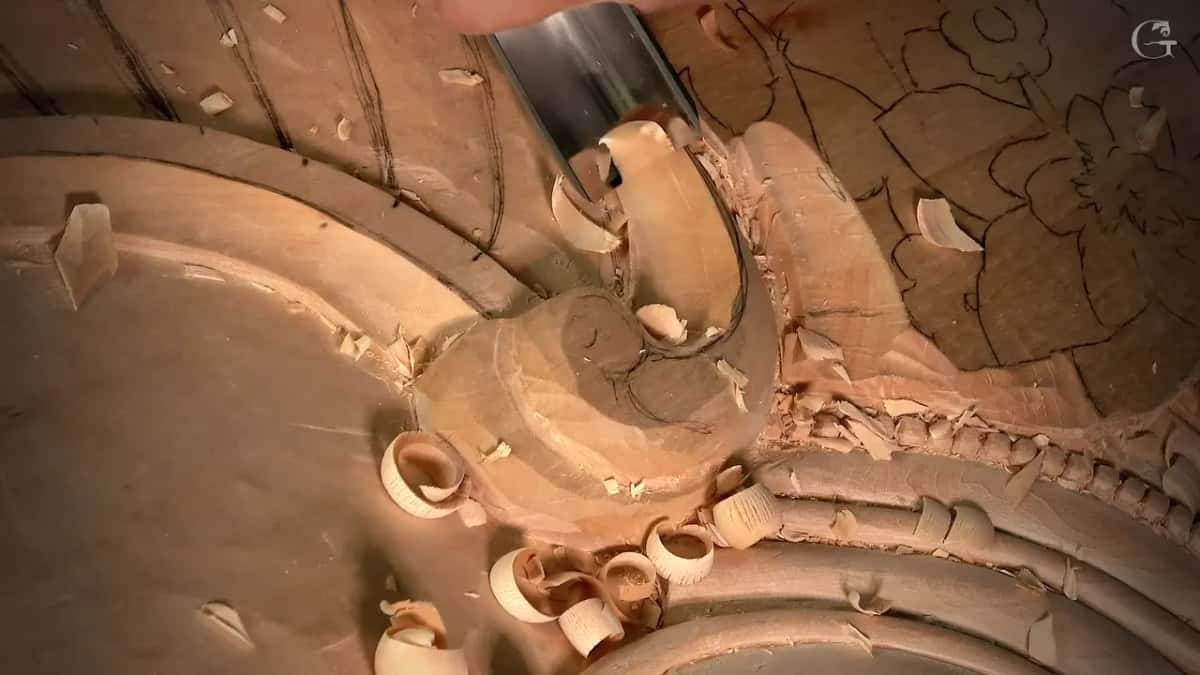
The first fork was which part of the leaf should sit higher. A couple of ways I could approach it, I said. That part higher than this part, or this part higher than that one. If this side of the leaf went a little higher, it would look a little lighter, and I thought much better. So I took a number 11 at 3 mm in my hands and started digging.

The point of that movement was next. There might be something like an eye there, I said, but I wasn't sure. I had to decide where the point goes and how I want to see it, because I don't want to make it look stupid. One way, the point runs somewhat downhill. The other way has a little more twisting, and the point lands right there. I picked the twist. There would be some separations going on there, and I thought it would look good. Then I said I was safe to take that wood away with the same 3 mm, and went around a rough outline of what I was after, not too deep.
A number 3 blended the ridge in. Then the 2 mm number 11 again, to take out all that mess and dig deeper for a really deep shadow. Super deep shadow, I said. Beautiful shadow. Now I'm happy. I was happy about the decision on that part, and there would still be some separations on that side.
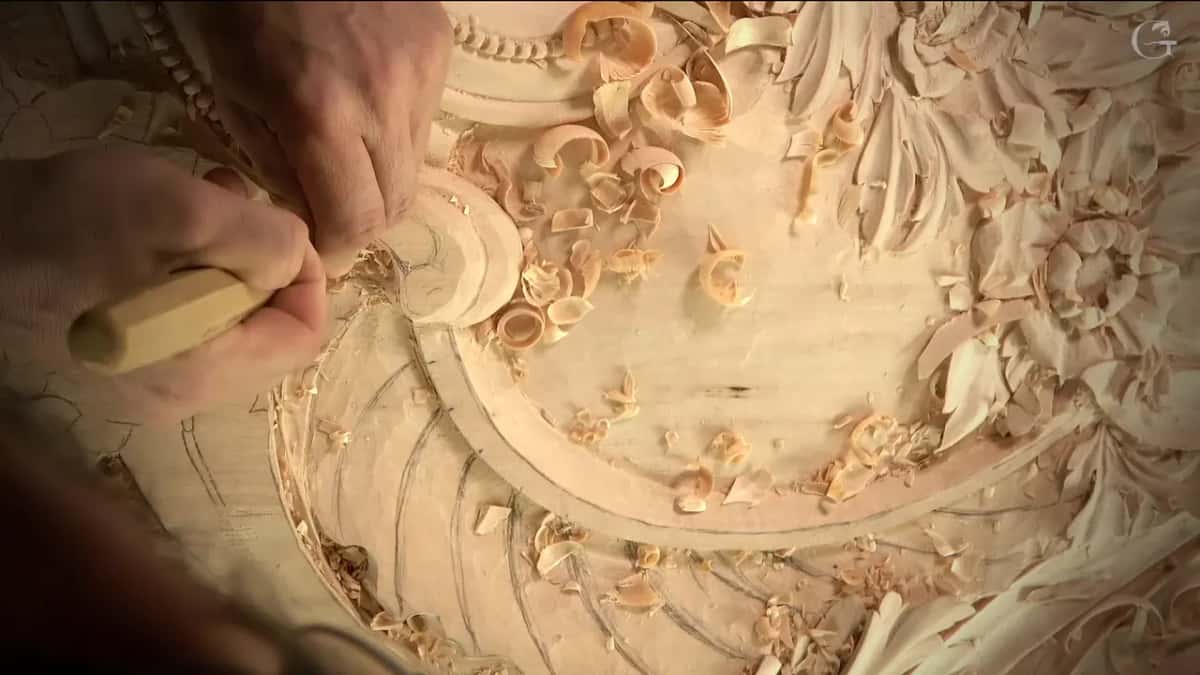
The last fork was the head of that leaf, and whether it should point high or go downhill. Downhill would make it more three dimensional, let's say. But the head will be seen from one point of view, and if I made it low, that point would be lost, and you wouldn't be able to tell it's a canvas. So I kept it high, just for that sake.
What did I say on a livestream about carving from my head?
During a livestream in October 2020 a viewer asked me in Russian whether I look at the photo while I carve, and I put his question into English for everybody first. I answered him in Russian before I switched. No, I don't look. The carving I do, I design myself. In English I said it again for everybody else, that I'm not looking at the picture or pattern when I'm carving. I have it in my head, because I actually designed it myself.
You can watch that answer on the October 2020 livestream. It sits right beside the workshop 45 page, which is about holding a form in your mind's eye while the wood is still a block.

During a livestream in April 2020, someone watching said the reason they go to this school is that I do freehand, and they learn freehand here. You're talking about the drawing, I said. Yes, I do actually. Sometimes I draw right on a piece of wood, just with the hands. If you're referring that to the drawing, I do that.
That is exactly what happened on the leaf in lesson 143. The divisions went straight onto the wood where they looked right, the partners went over onto the far face, and the drawing lived on the relief it was meant for.
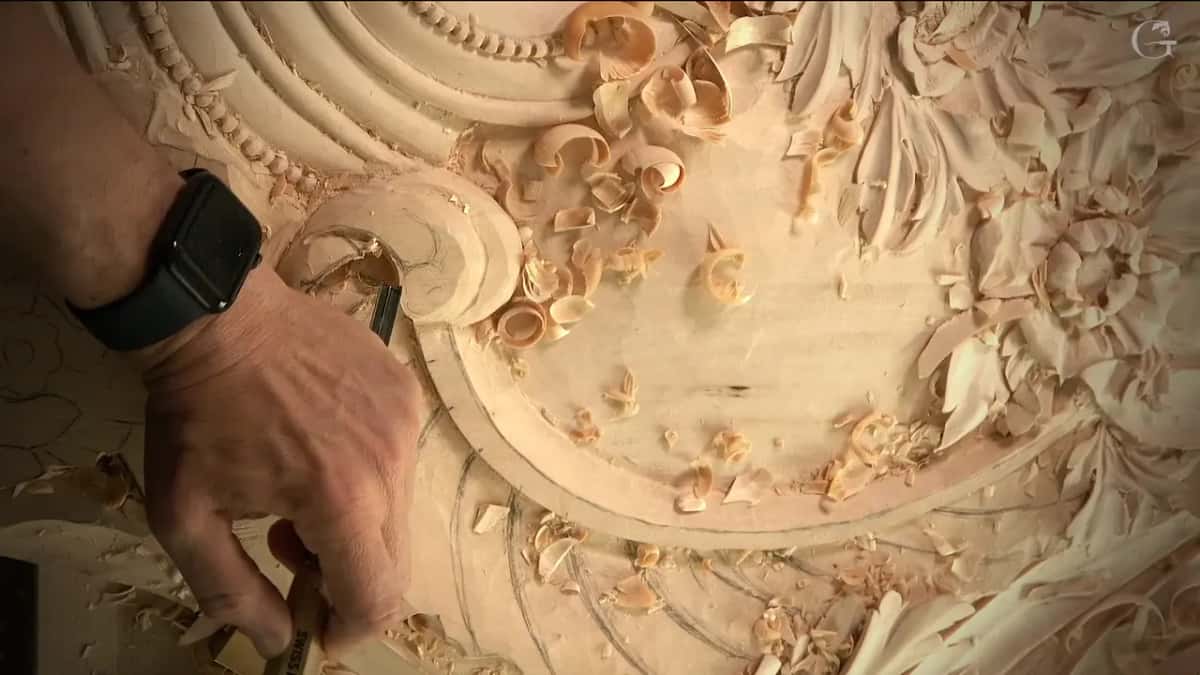
Which other lessons say the same about the picture?
More than once, and twice with a warning that you'd have to wait. In workshop 10 of the Venice Room I told you it's sometimes impossible to see what I'm trying to achieve, because I have a picture in my head and you have to wait until I develop everything.
Workshop 27 has almost the same line, about a detail that is hard to envision, with the picture already in my mind. Designing the furniture panel, in lesson 5, I said it's almost impossible to see what I see, since the picture is already set in my brains, and that's so hard to explain. For the lily box, in lesson 2, I made a drawing with the shades to help you visualize it.
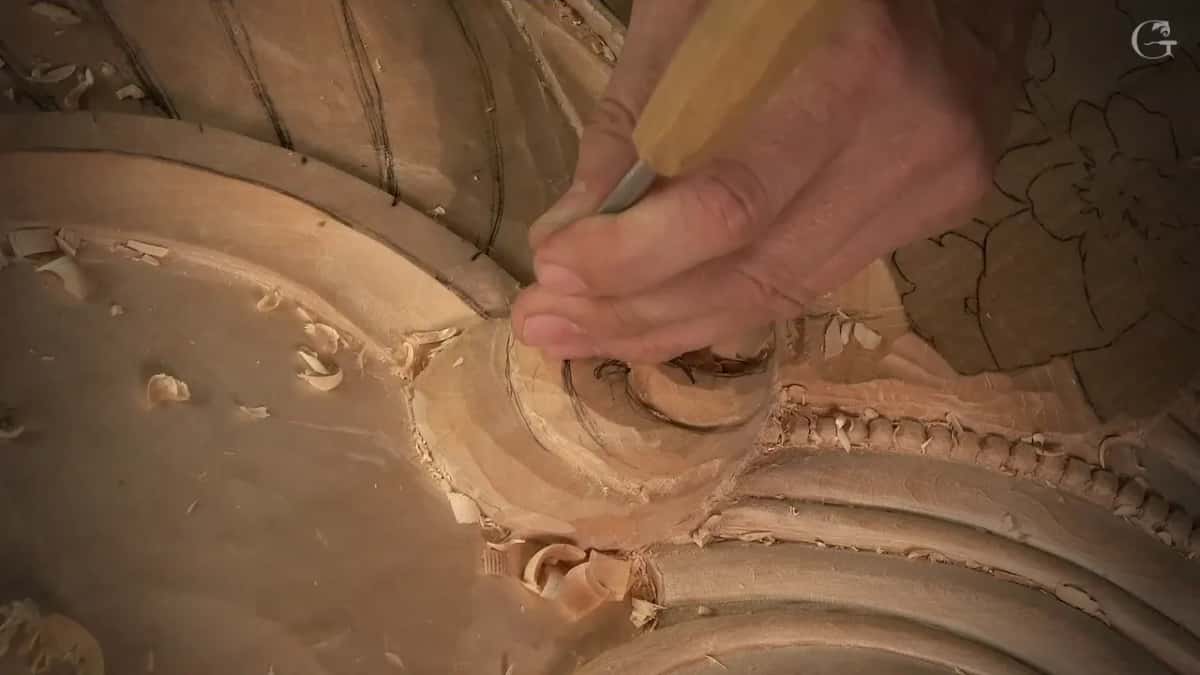
On the grape onlay, in lesson 4, I said you really don't have to see that form before you carve. How a drawn pattern gives way, once the wood shows you something the paper couldn't, has a page of its own from workshop 2. Put all of it next to lesson 143 and it's one story told on different carvings, with the same man hoping you follow his design logic.
Where can you watch lesson 143?
All three parts are on the school's site, and every fork above happens on camera, out loud, including the relief I talked myself out of. Part one is the big hollow, part two the divisions, the eyes and the opening, and part three the heights, the point and the head. It closes Part 12 of this Venice Room ornament, and lesson 144 opens Part 13 right after it.
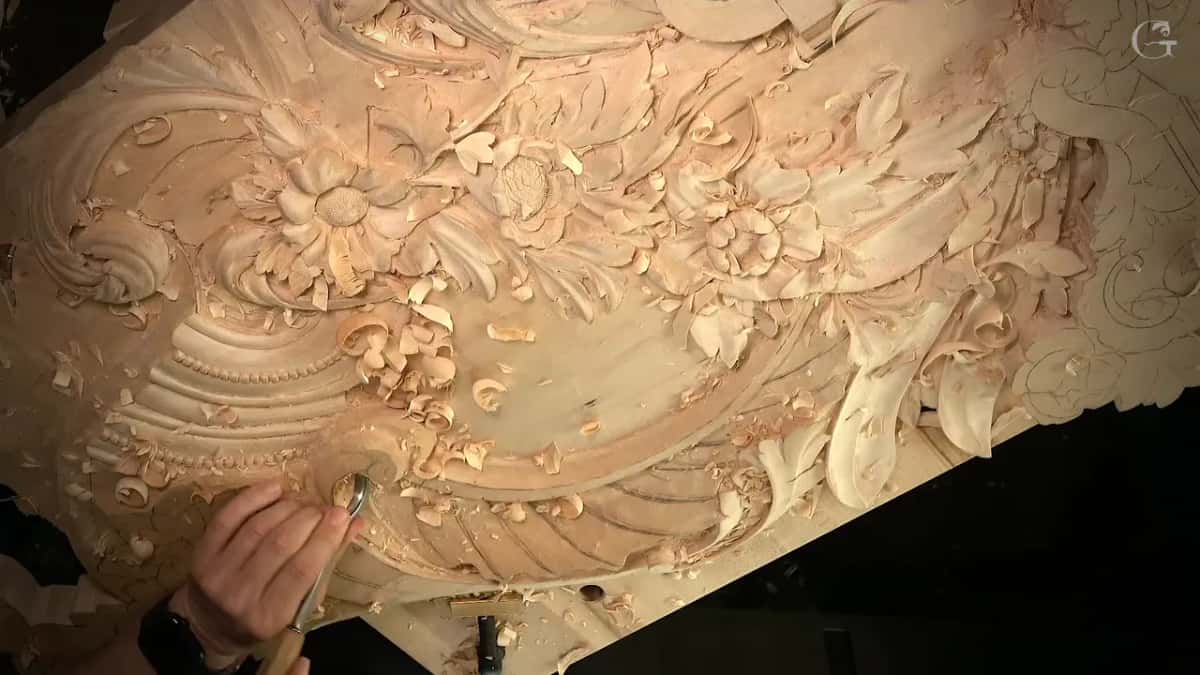
The videos open with tuition to the school, monthly or yearly, and it renews automatically until you stop it. A board, a gouge and a first idea are what I had on that bench.
How it's done
- Begin with one idea. Lesson 143 started from an initial idea with nothing cleaned up. I was happy with that.
- Draw on the wood. Put the divisions where the area looks good for them, then add an extra one if a spot asks for it, like I did.
- Pair up across the curl. Where a leaf curls over, give each division a twin on its other face, moved a little away from it.
- Make the small version. A tiny dark spot at 2 mm came before any opening.
- Pick the lighter height. Two heights for one part both working? Then try the side that looks lighter to you, the way I did on this leaf.
- Keep the head where it reads. I kept the head of that leaf high, so its point would still read from the view it will have.
Frequently asked questions
Do I need a finished drawing before I carve a leaf?
The leaf in lesson 143 started from a first idea. Its divisions went onto the wood as I worked, one extra included, and each one got its twin over the fold. The height of each part and the opening waited until I could see the wood.
Do you look at the pattern while you carve?
A viewer asked me that on a livestream in October 2020, and for anything I designed I said I don't. The design was mine, so I had it in my head already. I gave him the answer in Russian first and again in English.
What do you do when an opening might help?
On that panel I dug a small shadow spot at 2 mm first and said I didn't know yet if I needed to go through it. A little later I decided to open it anyway, working in carefully, and I felt I had made the right decision.
What to carve next