
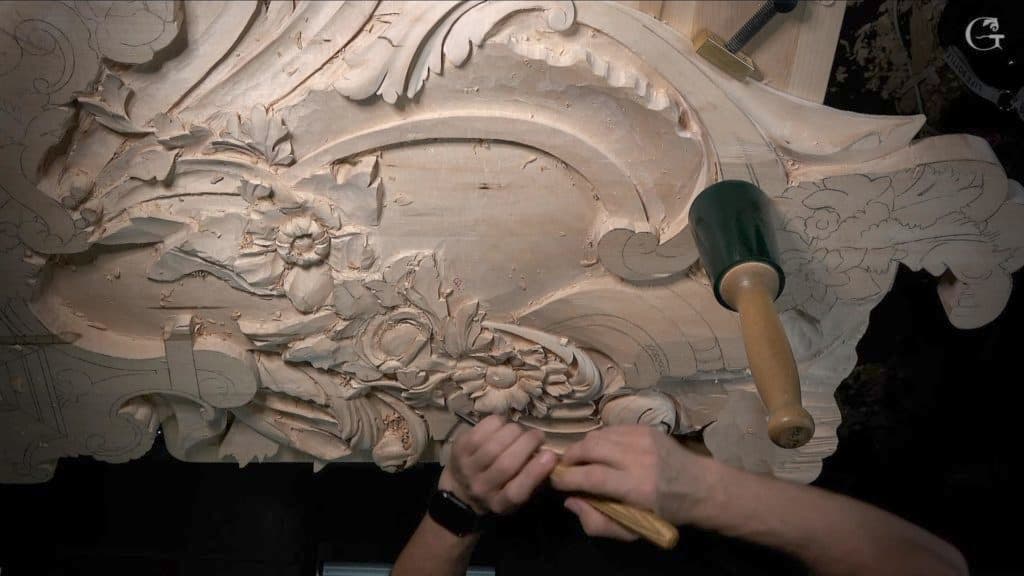
Alexander Grabovetskiy, woodcarver, School of Woodcarving · Published 2021
Do you need a magnifying glass for wood carving?
Quick answer: A magnifier is for the tiniest part of a carving. In Venice Room workshop 139 it came up once, where two lines at the center of a flower closed from about 1 mm (under 1/16 in) to almost nothing, and I said one helps a lot if you have it.
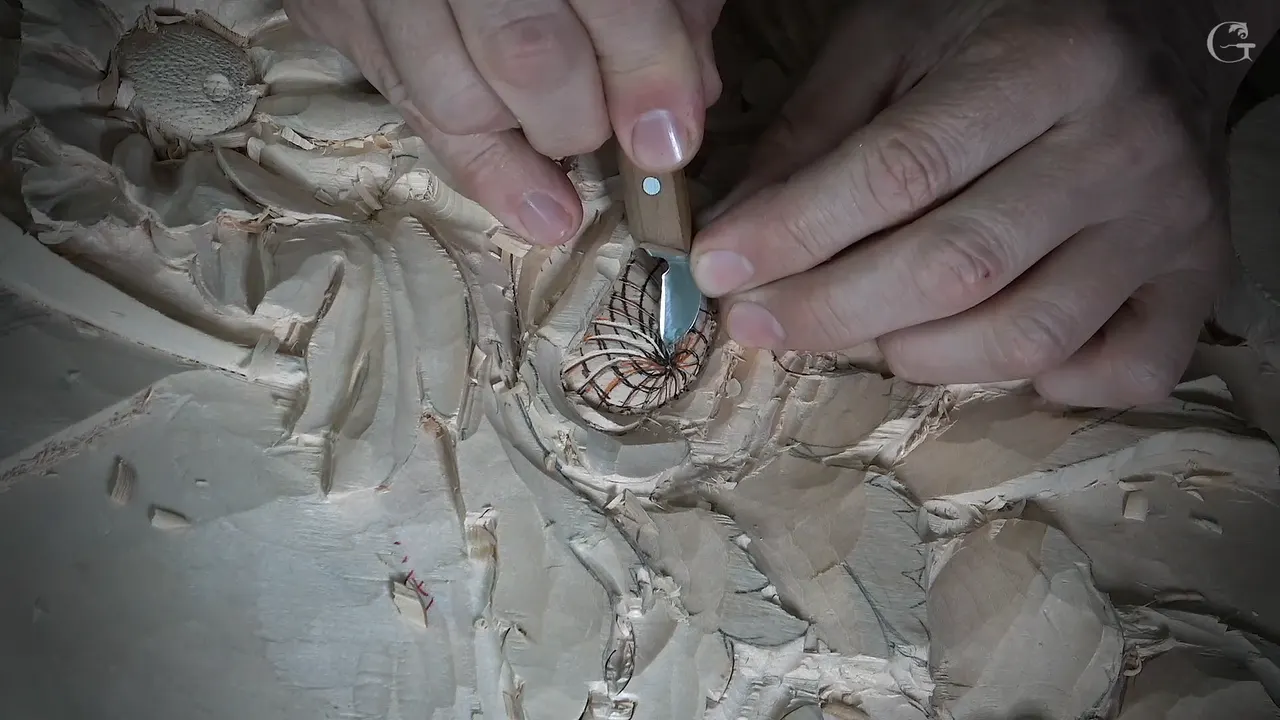
A magnifier is what comes out in my lessons when the work gets smaller than my eyes can follow. In workshop 139 of the Venice Room it came up only once, close to the middle of a small flower on a big relief panel, where two lines about 1 mm (0.04 in) apart ran together until there was almost nothing between them.
If you have been looking at magnifying glasses for woodworking, here is how small the work was when I wanted one. Is a line that thin hard to follow with the corner of a blade? Is it harder still where it fades out to nothing? That second place is where I needed to see better.
By the end you will have seen how small the work was each time I said a magnifier helps, on that flower and in other courses.
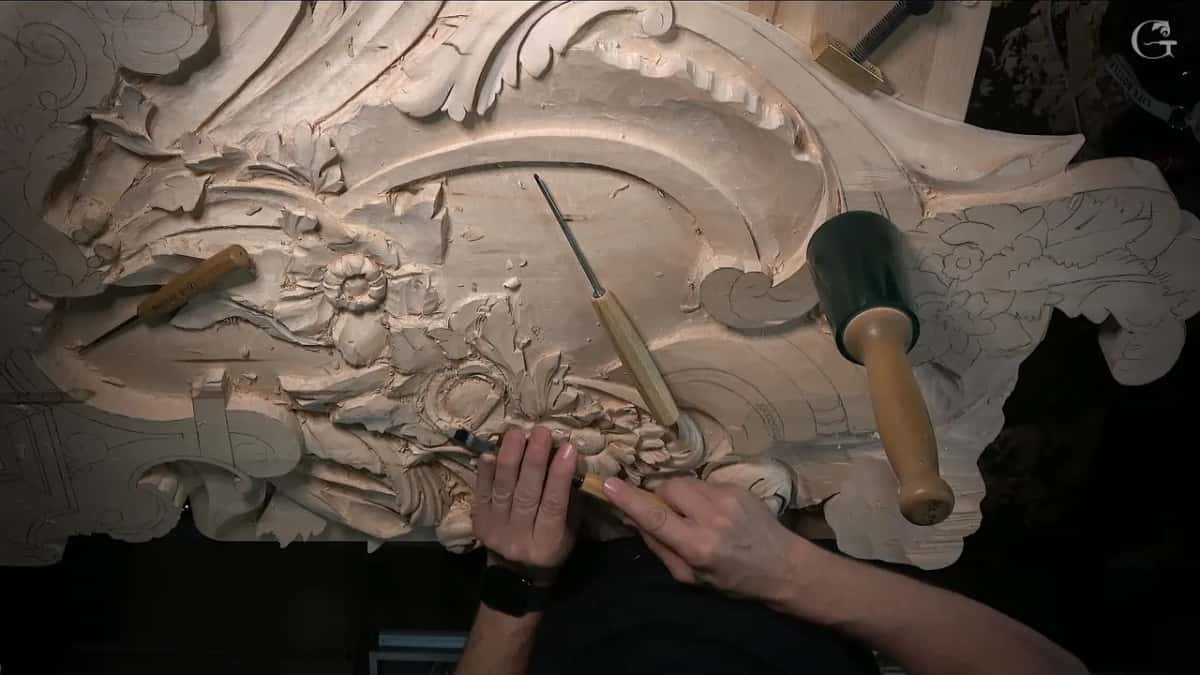
What workshop 139 shows about seeing small work
Only the V work's second pass brought the glass up, where the gap closed toward the center.
I said it helps a lot, for anyone who has one.
My light came right after, because without it I just could not see.
The rest happened off camera.
In other lessons the magnifier lamp came out for the tiniest work.
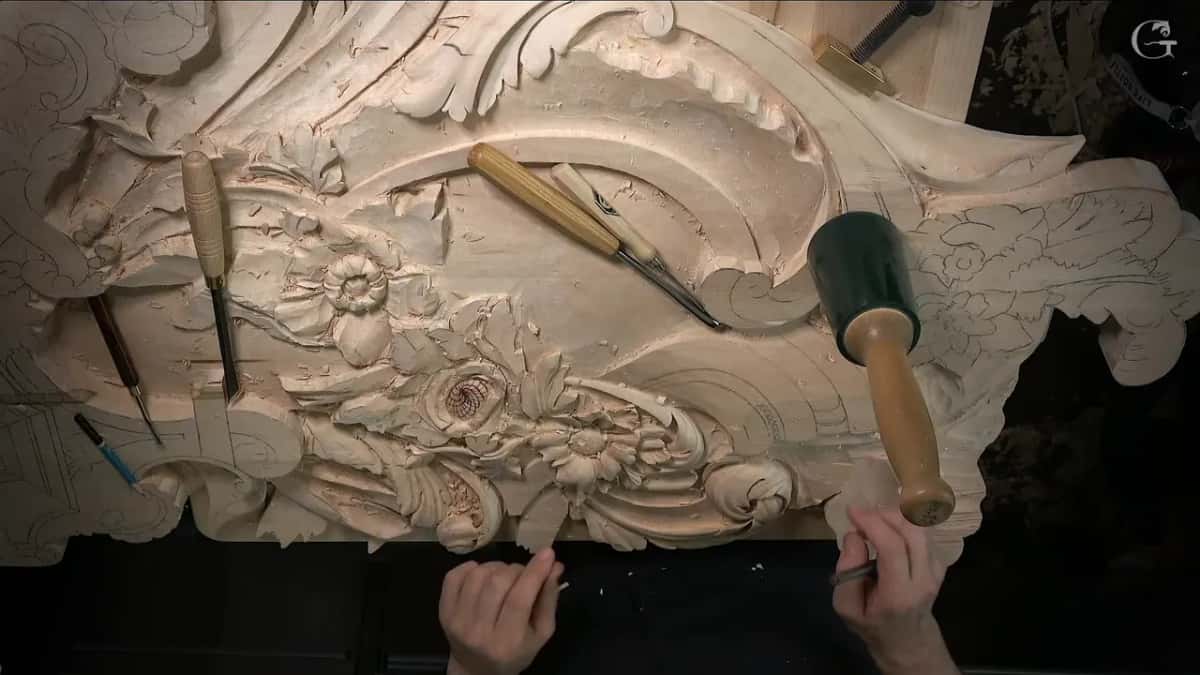
When did the magnifier come out in workshop 139?
The glass came out on the second pass of the V work, in the middle of a small flower. By then the middle had a grid drawn on it, one set of lines running to the center and a second set swirling the other way, more like you would see in nature. I had gone around every line of the first set once, almost straight down, with a skew chisel. That first pass didn't need to be deep, I said, but still deep enough.

Then came the pass that makes the V. I came back about a millimeter away from each line, angled the blade, and closed each one into a V. One millimeter at this point, I said, and almost nothing when we get closer to the center. Near the middle it doesn't really have to be anything.
Right there, with the gap gone, came the only line in the whole lesson about glass. But if you do have a magnifier glass, that would help a lot.
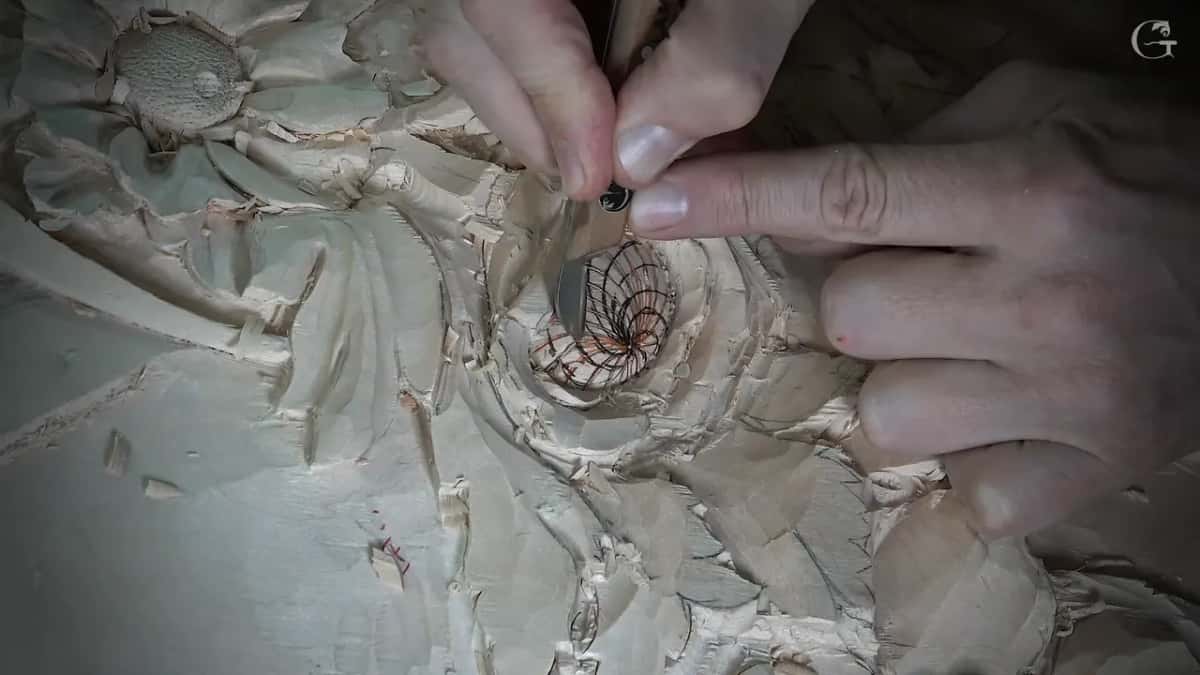
For that part I had a small knife in my fingers, and I told you whatever knife you have, you're still going to be able to use it. If you need to change your direction, I said, just change the direction. That's it. The second set got the same treatment later: one millimeter away, then a V in the opposite direction. Earlier, for the straight-down passes, the heel of the tool was an option too, I said.
Half a minute after the glass, I said it again in plainer words. I really need to see better.
Where did the grid on that flower come from?
From a change of mind, right on camera. Inside the flower I wanted some kind of grid, and I stopped to think what kind of grid I want to get. Let me do something different, I said, and I cleaned the middle first.
Then came a middle line, one point and another point, and a center that lines up with the rest of the movement really good. Everything goes to the center, I told you, with multiple lines, and I think that's going to look really nice. Those lines all meet at the center, and that is where the V later closed to almost nothing.
How small did the tools get before that?
Small, and they stayed small all through the lesson, long before the glass came up. The first job was rolling the petals of a flower underneath the secondary ones, and for that I took a number three spoon. The one millimeter tool took it deeper. Spooning got too fragile there, so I hit it with the mallet in an undercut motion instead. Clean up, of course, I added right after.
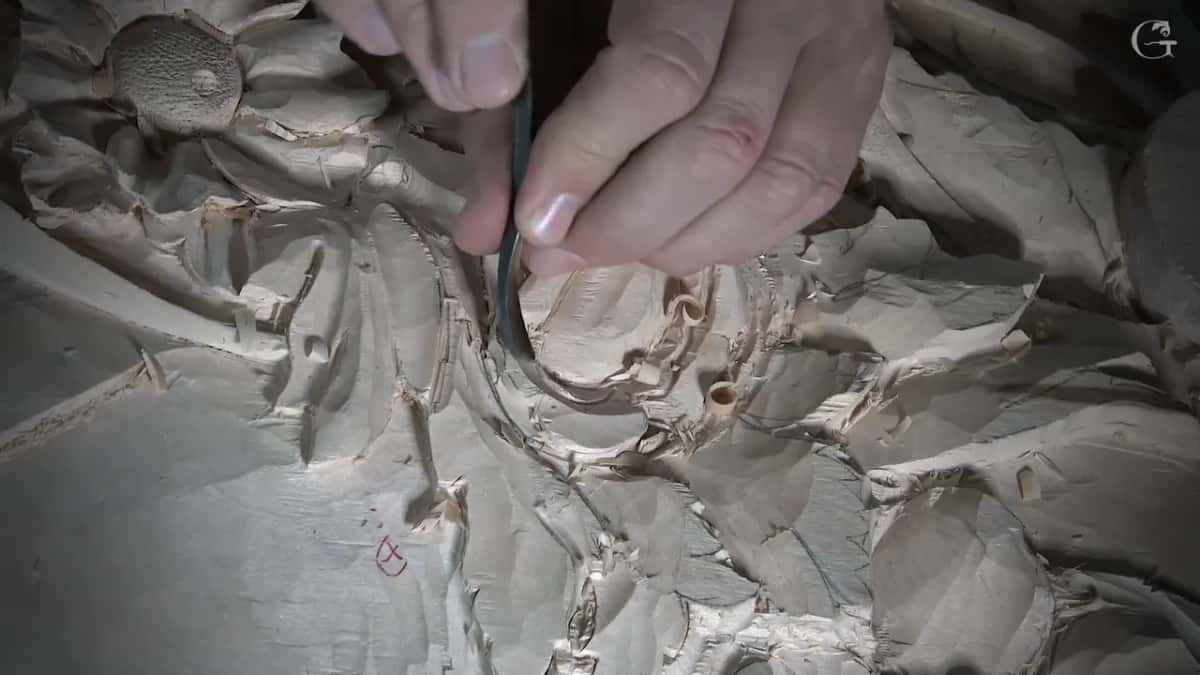
The other side got maybe two millimeters, 2 mm (0.08 in), to create a deeper shadow. The half millimeter would come a little later, I told you. I needed to roll another one too, and create the separations.

Then the mass around the flower. For that I used one millimeter, no more than that, and went all the way around. On some spots I switched to half a millimeter, 0.5 mm (0.02 in), just to get that shadow even deeper. One side still needed to be all surrounded, I noticed, and I said I hadn't taken care of it yet.
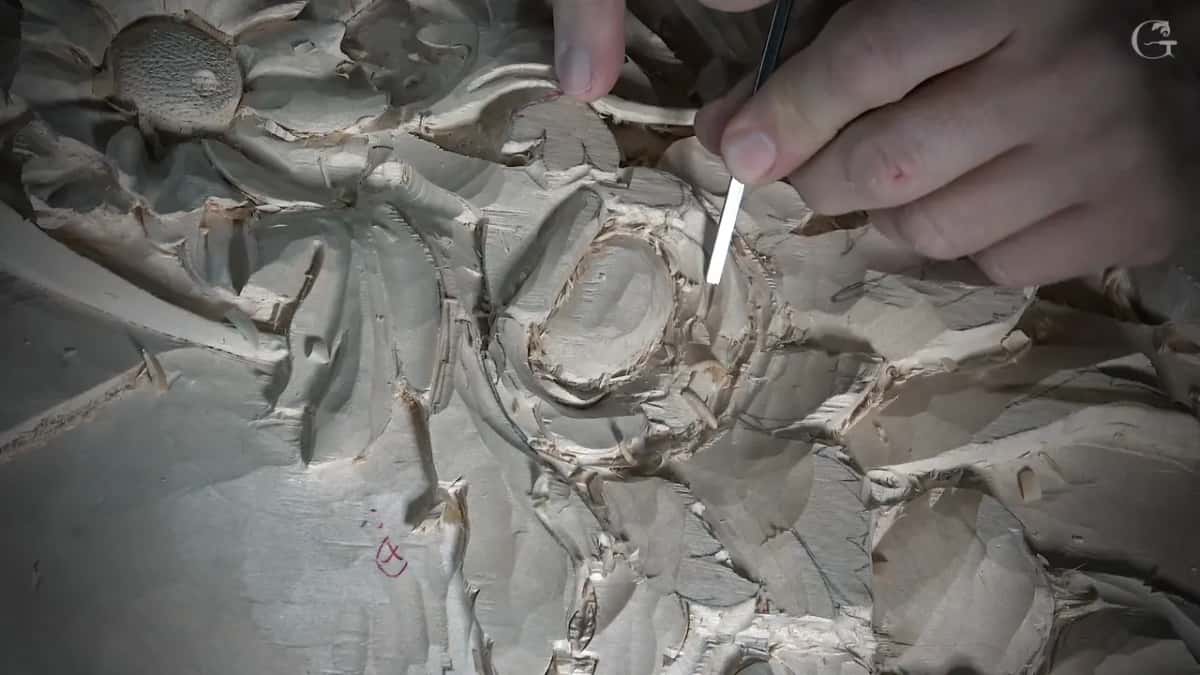
A small detailing tool came next. Then a flat, about a number three, cleaned it until everything was just looking good, and I said that has to be done all around, exactly the same idea. I know it looks kind of messy, I told you then, but you should be able to catch the main idea already.
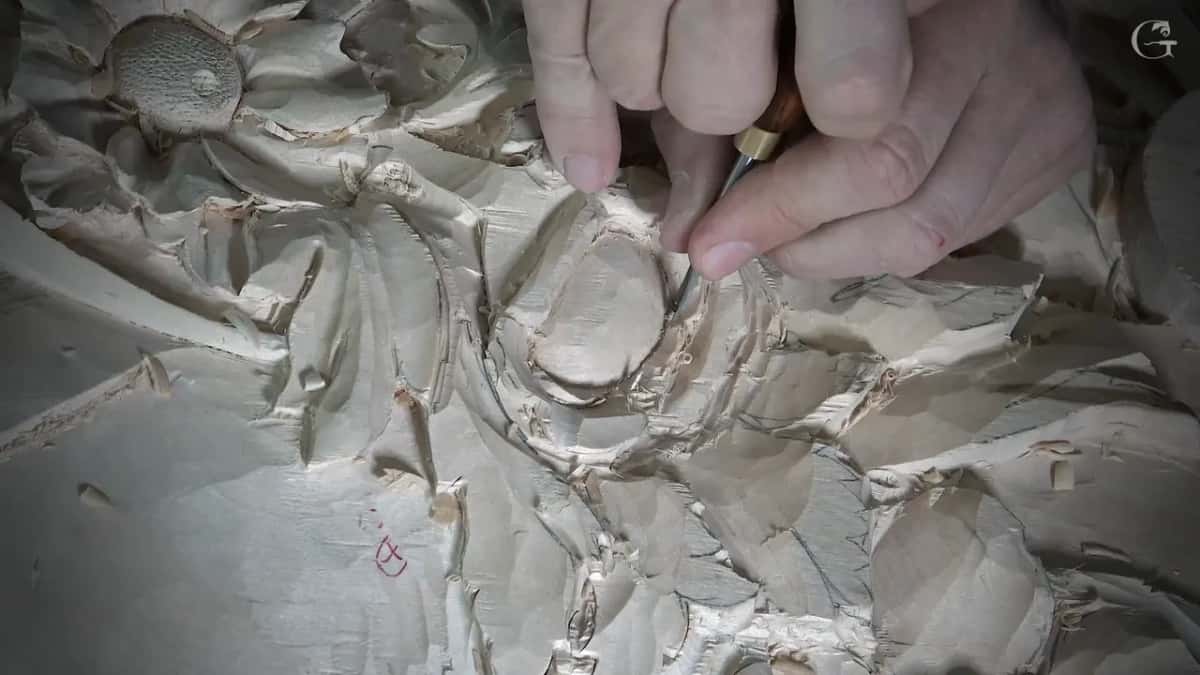
Here is that whole run in one place, in the order the video shows it.
Size | Where | Why |
|---|---|---|
One millimeter, 0.04 in | Deeper under the petals, then all the way round | clear the surrounding mass |
Two millimeters, 0.08 in | The other side of the rolled petals, near the edge | for a deeper shadow |
Half a millimeter, 0.02 in | Some spots here and there, after the one millimeter | that shadow even deeper |
Flat, about number three | Cleaning up until everything was just looking good | same idea all around |
The V lines | A millimeter apart outside, almost nothing by the middle | help from a magnifier |
None of the first four rows brought the glass up in the recording. The V did.
What goes wrong when you can't see the line?
The first thing I lost was track of the lines. I had put the first set on in orange for you to see it, and I said different colors make it easier for me to see, too.
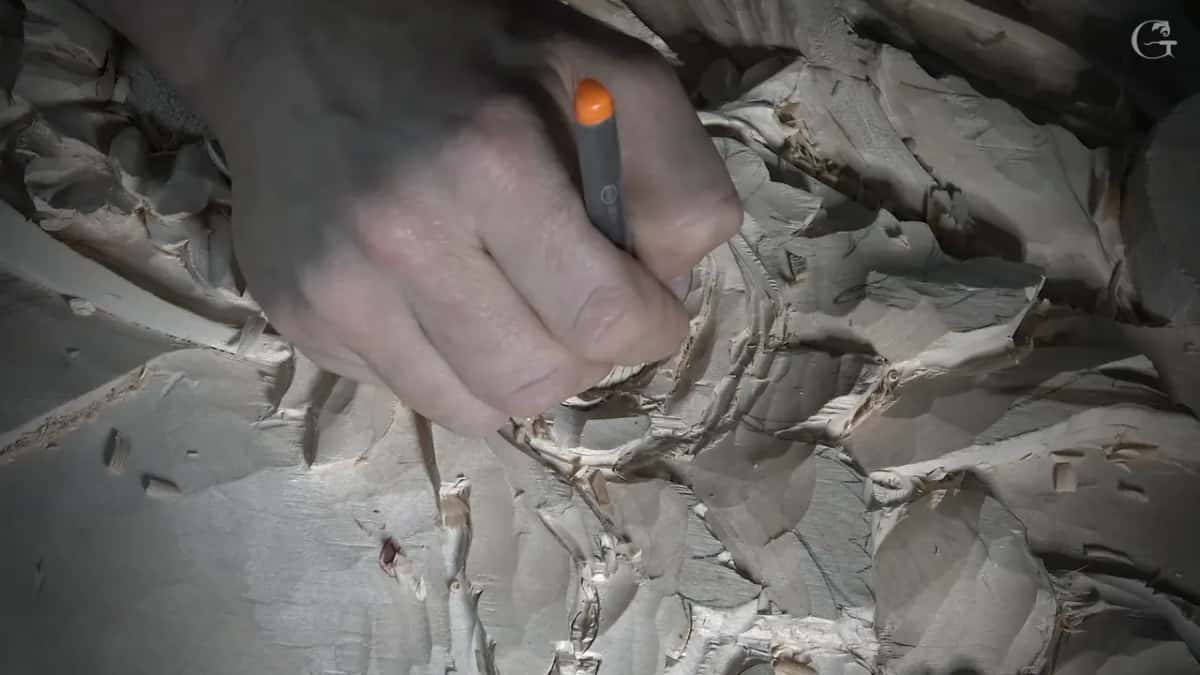
Even so, a little later I said I don't see which ones I had done and which I hadn't. Then the wood started to chip. See, I'm chipping, I said, so I've got to be more careful right now, and sometimes it's easier, sometimes it's not as easy.
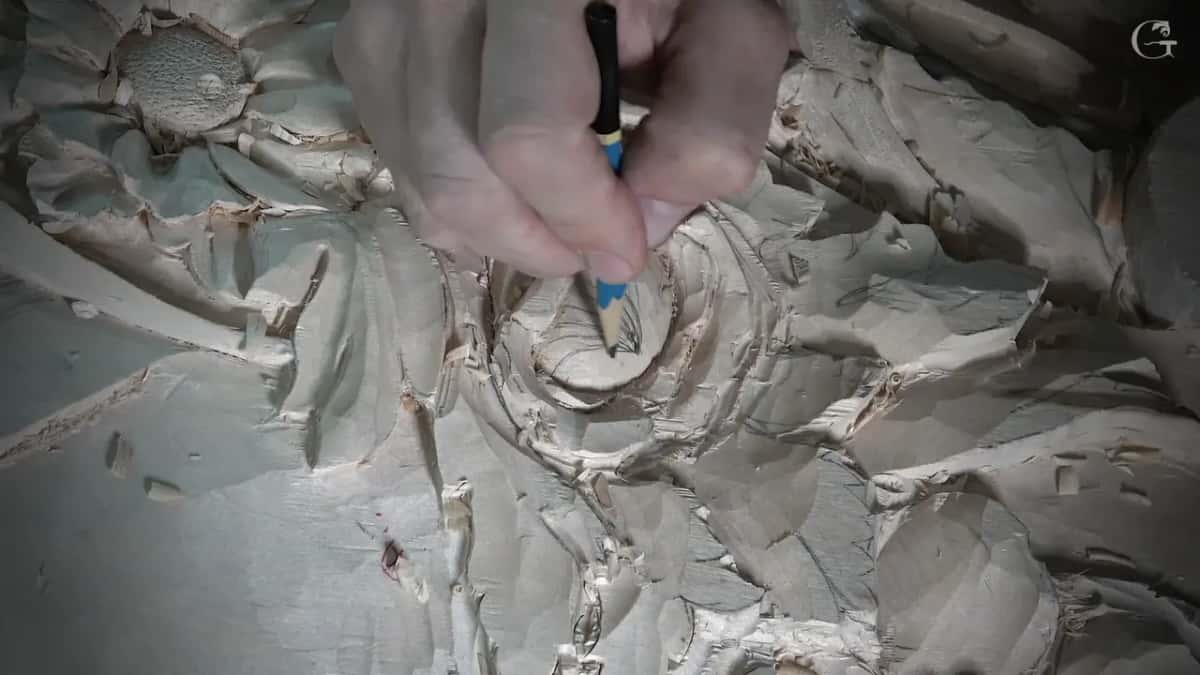
The grain changes direction along those lines, and I said I have to be really careful with that. I don't want to miss any, I said, going around them all.
How did I show you work that small on camera?
By moving the view for you, and by saying so when it still wasn't enough. Once the lines were drawn, I gave you the view from above. Later I checked which camera you were on.

At one point I said I know you don't see it, but it's the only way I can do that pass. Toward the end I said you should probably see it a little closer, and got a different angle for you. Through the texture you still see those lines, I said then, you still can detect them. And when I thought you might not see it at all, I apologized.
Does the light matter as much as the lens?
In workshop 139 both came up inside one minute, the glass first and then my light. I'm going to pull my light, I said. Otherwise, I can't just see.
In the April 2020 livestream I said the advantage of my lights, the ones with the magnifier glass, is that I can get really close and work on micro details. I can see a lot better with them, almost like you see on the camera. Sometimes, I said, the people watching me see a lot better than I do.

Carving the Lily Box, workshop 11, I said much the same, that on a big screen you sometimes see much better than I do, even when I'm using a magnifier.
Where the lamps go on the bench is its own question, and my page on the most common livestream questions takes it on. Reading tool marks with a lamp set low has a page from the Greek acanthus as well.
Which magnifying glass for woodworking do I use?
In my lessons two kinds come up, a lamp with a magnifier glass in it, and magnifiers I wear on my head. About my lamp I said it's really just a normal magnifier glass, that you can buy them really cheaply, and that mine is a little more expensive.

On the Tray of Blessing, workshop 7, most of what was left was tiny, tiny strokes, and I said I probably need my magnifier. Not the glasses, I said, the rubber magnifier thing. I couldn't find the word for it on camera. Helmet, not a helmet.
Over on the Floral and Molding panel, workshop 7, I showed a set of those magnifiers with lenses you can swap, and they go right over my own glasses.
Tiny carving came first, each time.
What do my other lessons say about the magnifier lamp?
Mostly that it helps, in very few words. Back in the Furniture Panel, workshop 20, the lamp squeaked on camera, I asked you to forgive the noise, and I said it just helps me a lot.
Two workshops later on the same panel I said I can't see without the magnifier lamp on dark wood, which is hard to see sometimes. In Hashemi Flowers, workshop 49, I said that when I'm off camera and not trying to teach anything, I use the lamp with the magnifier glass and can see much better.
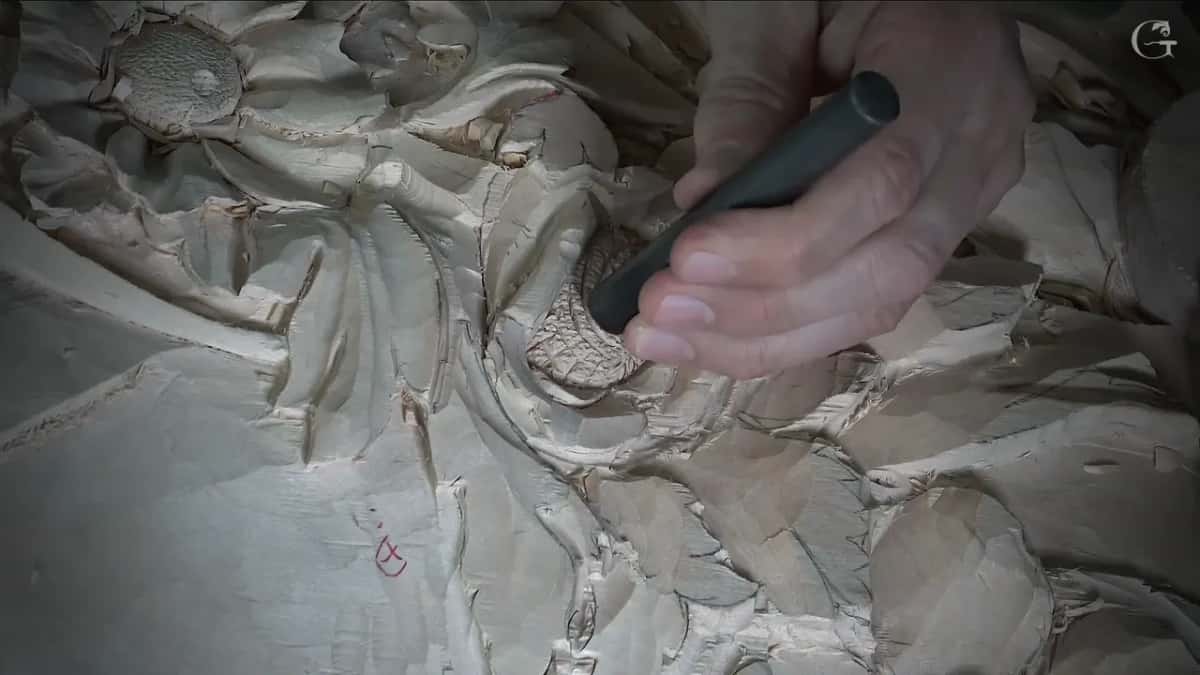
And in workshop 24 of the Venice Room I said the magnifier lamp would come later, for an even better result, which is how my page on fine detail on a big carving tells it.
Workshop 139 put it late as well, after the grid was drawn and the first pass was done.
Why is so much of the smallest work off camera?
In this lesson there were two reasons, and I gave both on camera. The rest of the V work went off camera because I really needed to see better, otherwise I'm going to make a mistake, and I don't really want to do that.
The leafage around the flowers moved off camera too, for a plainer reason. The client asked me to go quicker, and I know it takes a long time, especially when I'm filming. The idea is exactly the same everywhere else, I said, so it's repetition.

Earlier, at the cleaning stage, I said you don't really need to see everything, not in this case. And about the V lines themselves I said I could spend a lot longer, definitely, to get them to perfection. I really don't need to, because I also want to texture that middle with my punch. Let me get a bigger one, I said, and later that it just makes it much quicker, and I think it does a great job.
Where does plain eyesight do the job?
In the layout, and in the roundness of the flower. I drew the second set of lines more like a golden ratio arch, and I said it twice. I'm just eyeballing it. But I think that's going to give me the true three dimensions, I added, and really nice lines movement.
I didn't count the lines by the Fibonacci sequence this time, although I said it's a good idea, and to always use it for how many lines you've got.

Before any of that, most of what was left on the flowers was concaves and convexes all around, exactly what I had done on the others, plus the cleaning. It doesn't need to be at the same spots like mine, I said, but everything's supposed to be kind of wavy. Here is that type of flower, I said of the small one, which is a really simple flower. It's simple, but looks good.
I took a concave right to the middle of it, in different spots, and then the whole thing had to feel really round. Slice by slice, in all the directions, I don't want to see even one flat spot, or it's not going to look three dimensional. And it did come out really round. Only when the lines closed up did I need the glass.
Where does workshop 139 sit in the Venice Room?
Workshop 139 is one short lesson in Part 12, between workshop 138 and workshop 140. The flower center it belongs to is laid out in more detail on the page for the whole part, how to carve shadows into a relief carving. Every workshop of it opens with tuition to the school, monthly or yearly, and it renews automatically until you stop it.
A last small thing from that video. The orange on those lines went on so you could see them, and it helped me too.
How it's done
- Clear the mass with small tools. Circle the bloom with a 1 mm tool, nothing bigger, then use a 0.5 mm tool on the spots that need a darker shadow.
- Mark the first set in orange. Put the lines on lightly, not too much color, only enough to see them.
- Keep the first pass shallow. Take it almost straight down with a slight angle. Not deep, but still deep enough.
- Close each line into a V. Step back roughly 1 mm, tilt the blade, and let that space shrink to nearly nothing toward the center.
- Bring in the glass and the lamp. Once the lines get that close, put on a magnifier if you own one and pull your light near the work.
- Mind the grain on the curves. Along the lines the grain changes direction, and if the wood starts to chip, be more careful.
Frequently asked questions
Can you carve without a magnifying glass?
Most of workshop 139 went by on camera without one being mentioned. What brought it up was the V work, on its second pass, where the gap near the flower's middle closed to almost nothing, and even then my words were that one is a big help, if you do have one.
What kind of magnifier do you wear for carving?
One that sits on my head. For the Tray of Blessing, with tiny strokes ahead, I said I'd probably need the rubber magnifier thing rather than my glasses, and on camera I could not come up with its name. Helmet, not a helmet, was as close as I got.
Why pull the lamp closer for fine carving?
Right at that flower's middle I said plainly that without my light I just can't see. In a 2020 livestream I said that my lamps let me get really close to micro details, so I see almost as well as the camera does.
What to carve next