
Alexander Grabovetskiy, woodcarver, School of Woodcarving · Published 2021
Do you carve on the line or next to it?
Quick answer: How close the tool goes to the line is decided by what that line must do next. In lesson 140 of the Venice Room I came very near it while lowering, went straight down on it with a wide number 2 to keep it, and kept a little beside it where the layout came out uneven.
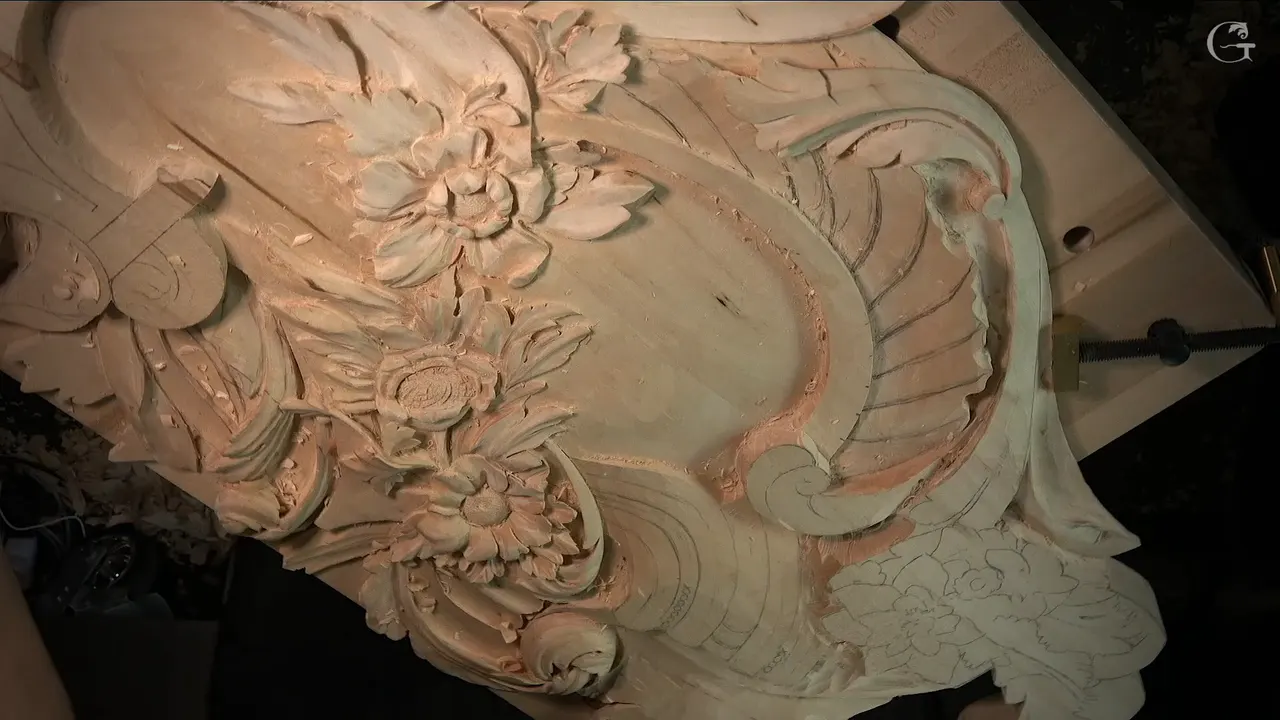
Distance from the line is a choice you make again at each stage, and what decides it is the job the wood past that line still has to do. In lesson 140 of the Venice Room I did three different things on one band of a big relief panel. While lowering the wood, I came very near the line. Later a wide number 2, 30 mm (1 3/16 in), went straight down onto it. Where one side had come out a little wider, I kept a little to the side of it. So before carving on the line, look at what the next pass will need from it.
Have you drawn a clean line on your board? Is the gouge already sitting beside it, ready to go in? Then stop for a second and think first, the way I did on camera, and put the edge where the next pass needs it.
My own lesson comes first, part by part, with every tool I named. After it you get what I said about the line in other courses, above all on a table apron, a flower rosette and a modern acanthus, each one linked so you can go and watch it yourself.
The band in six lines
While I lowered the wood on that band, the 7 mm worked right up beside the line.
Part one left the middle convex rough.
Once the band had a shape, the number 2 dropped onto the line, outside first and then inside.
Grooves on both sides left the bead strip standing higher than the wood around it.
One space came out wider than its twin, and my first groove sat a little beside the line.
On a shallow apron I went very near.
Beside a flower I stopped short.

Do I carve on the line when I first lower the wood?
Close to it, not on it. The first step in lesson 140 was to lower the section between two elements, and for that I took the same tool again, a number 11, 30 millimeters wide. A big tool like that gets you to the final depth quickly, and on the video you can see how fast it goes. That isn't always possible, and in one spot another part of the carving was in my way, so I couldn't do too much there. I like big tools, and a whole page covers what a large carving gouge is used for.
A bigger tool also meets a lot more resistance. You have to be strong to push it, or just use a mallet, and a mallet is always a good idea.

When I stopped, maybe an eighth of an inch lay between the upper point and the lower part, about three millimeters. Enough, I thought. I hoped it was enough, and I still didn't know whether I would have to lower it more.
A smaller tool came next, the 7 mm, for the side passes. I did one side and then the opposite side, and at one spot I said I could probably lower it even more. On camera I said it plainly, get really close to the line.
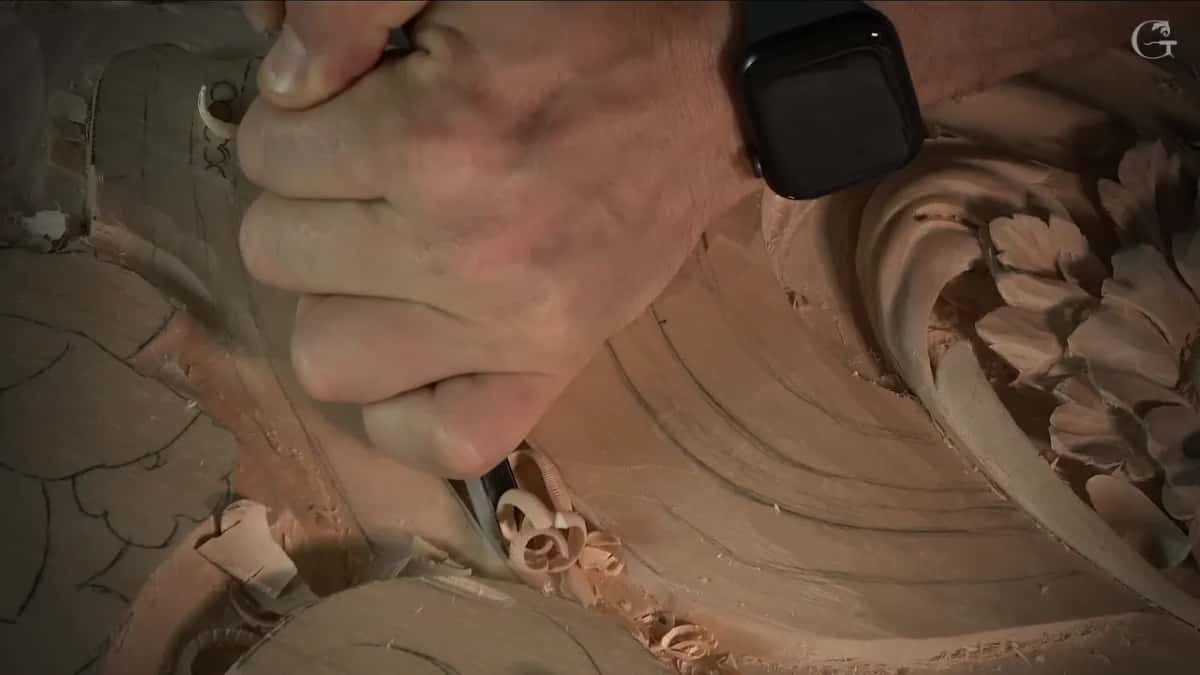
The line itself waited for part two.
What happens in the middle of the band before the line is set?
A rough convex, and nothing finished yet. In the middle of that band I wanted to see some kind of convex. I said I would blend it a little later with some kind of flatter tool, and that I didn't need to do it right away. Then I changed my mind on camera and took a number 5 sweep, a 13 mm (1/2 in) back bend, to get rid of some of the ridges.
Perfect could wait, I said, because more details were coming inside.
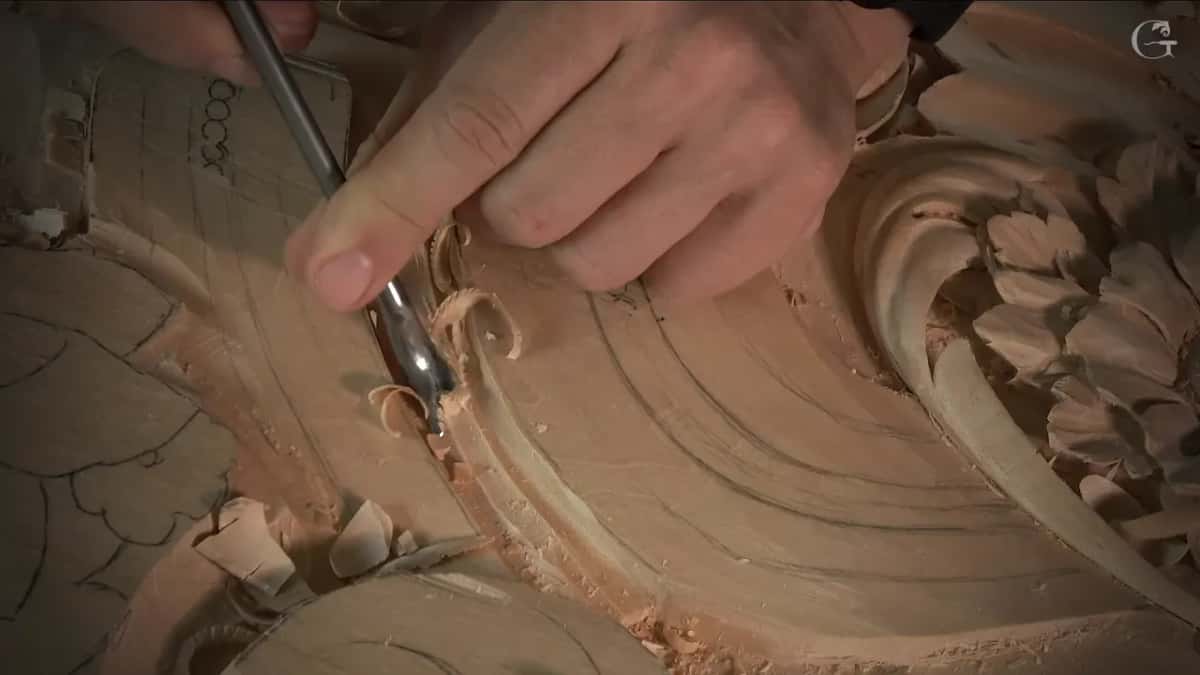
The grain made me work the back bend from the opposite direction, and then the opposite side again. Right after that I said I had a concave now, then caught myself. Convex, I'm sorry, not concave, convex right in the middle.
I cleaned it again with the number 11 at 7 mm, a little bigger than a quarter of an inch, and I said I could go even smaller, maybe 4 mm (5/32 in). I liked it so far. I could have walked around again and taken it to an even better shape, but I didn't see any reason for the final clean pass yet, not until I had everything established. That final pass has its own page, the cleanup cut.
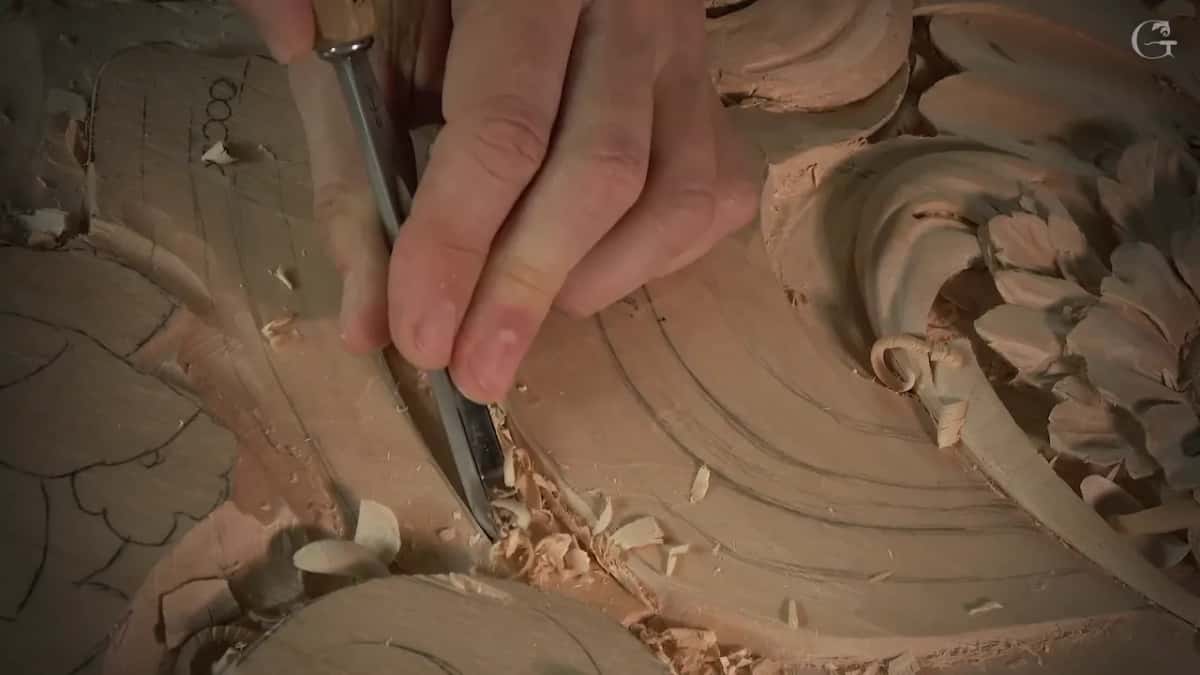
When did the tool go onto the line itself?
In part two, once the band had been lowered and the middle roughly rounded. Early on I called the band somewhat like an architectural element. Beads were going inside it, and I said the overall picture would look really nice.
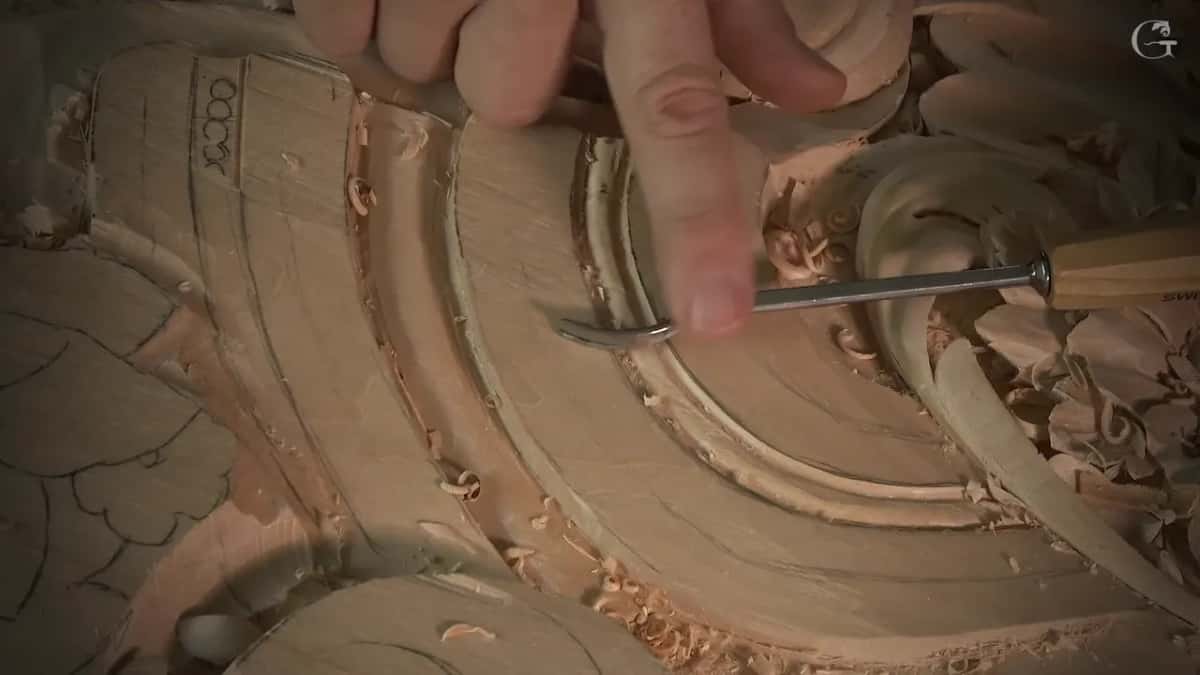
The next step, I said, was a pass straight down, 90 degrees from above, following this line and then the one on the inside. Straight down. I thought a number 2 would do it, so I took a big one, 30 millimeters, and hit right on the line.
My reason is on the video in plain words. I didn't want to lose that line, because there was going to be some shape on the inside as well.

Then the inside line got the same operation, and the same tool fit perfectly with no problem. A number 2 is almost flat, but not flat, with just a slight sweep to it.
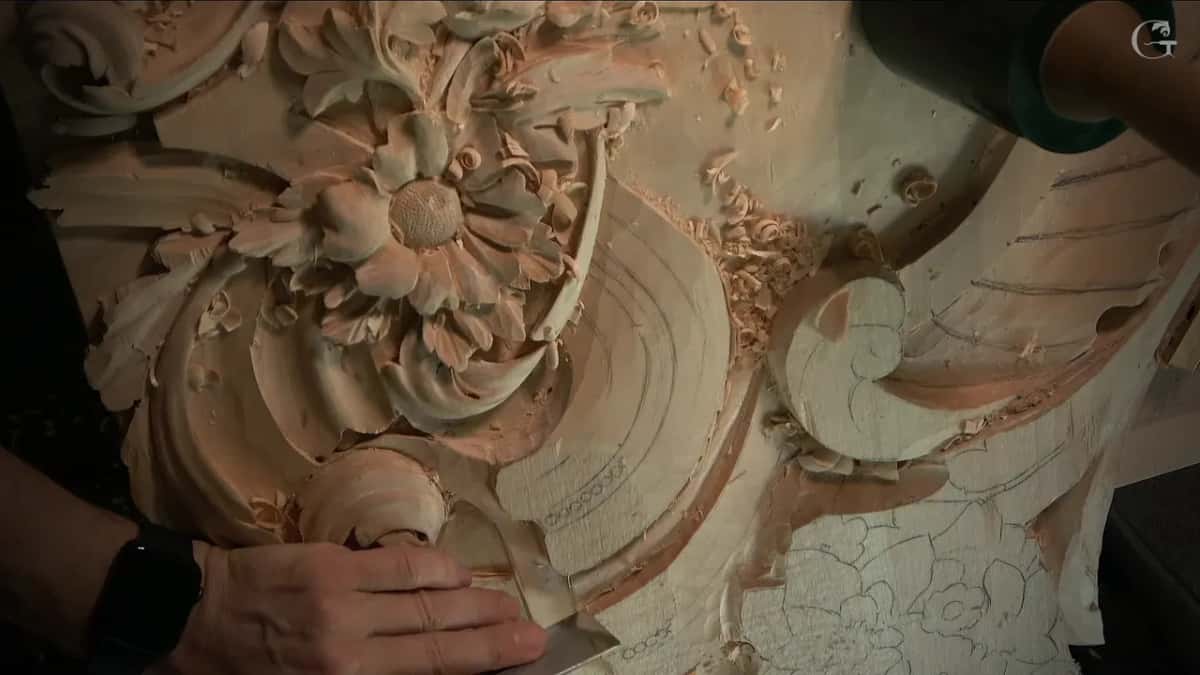
This is one band at one stage. By then the wood between the two elements was already lower and the middle already rounded, and I am only telling you what I did there.
Next came the 4 mm to clean all that mess, and I said a smaller one, maybe 2 mm (5/64 in), would be better. So I switched and cleaned the inside with the 2 mm. Not the final cleanup, I said, and I tried to keep each pass as long as I could.
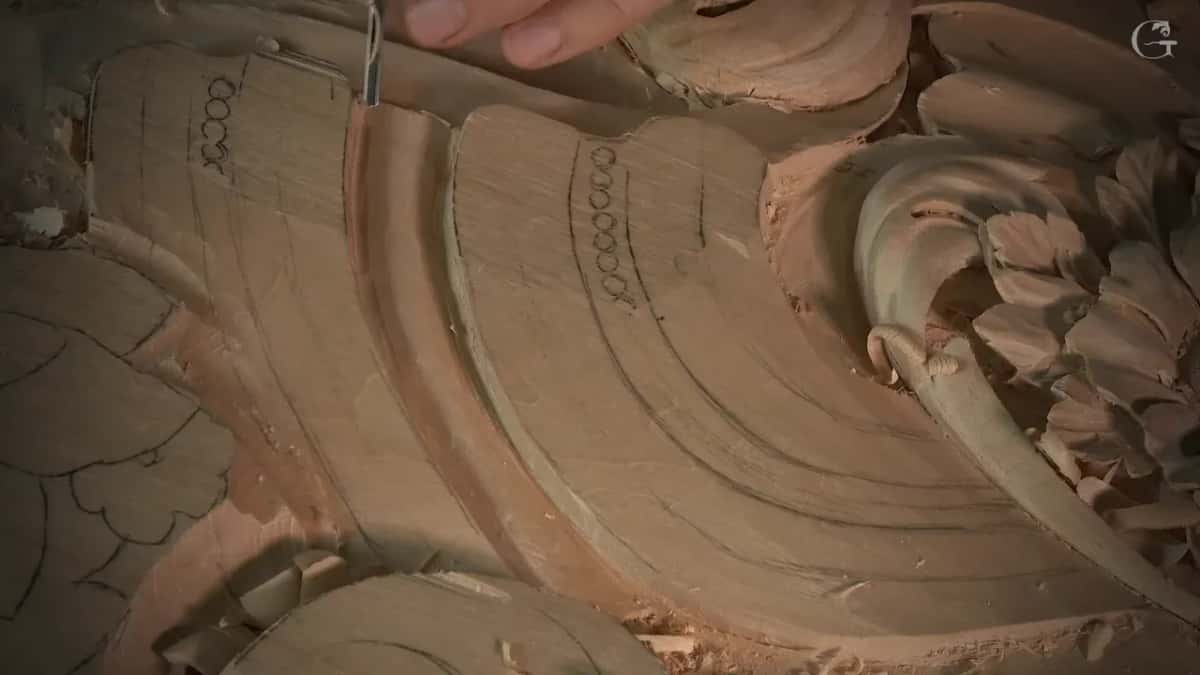
With the 4 mm I planned a couple of passes to take out this section and that section, but leave my beads higher. The bead strip itself belongs to other pages, the half round molding I carved in Part 5 and a bead molding along a curve from Part 1.
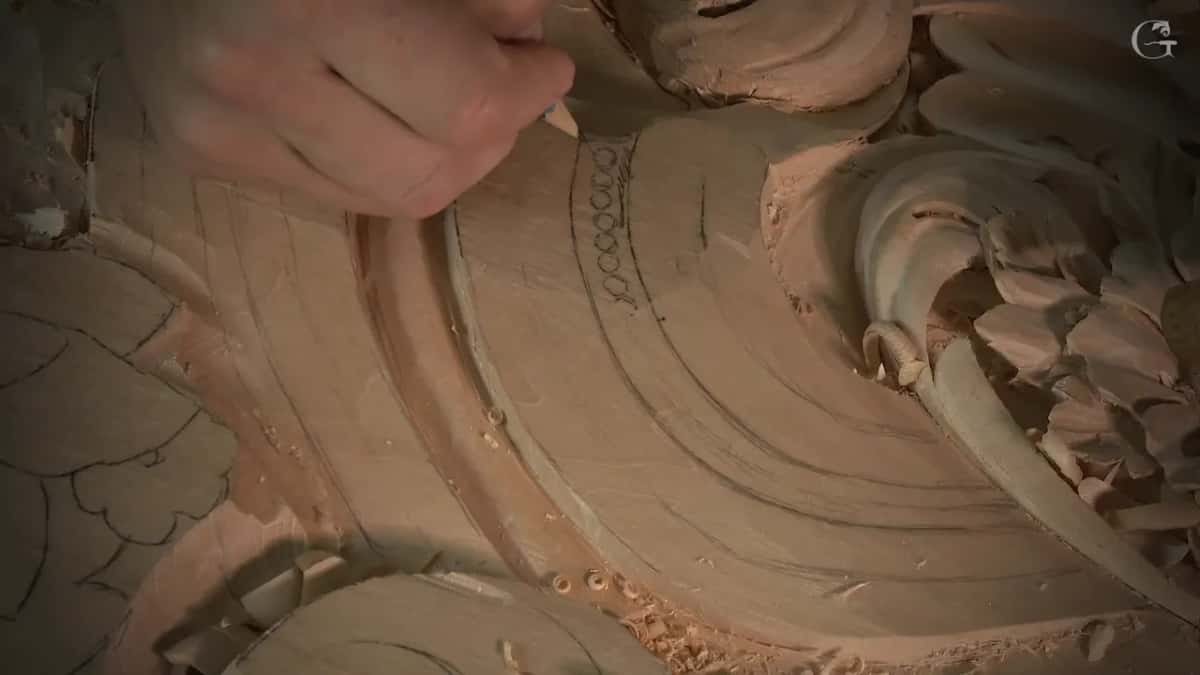
Why would you keep a groove a little off the line on purpose?
My layout was a little uneven. Part three opens with the beads. I wanted to make sure I had plenty of material for them, and 4 mm looked a little too big, so I went down to 2 mm as the more appropriate tool. And yes, I was eyeballing, just trying to get nicer lines.
Okay, let me do it, I said, and right after that, let me think first. The distance here and the distance there were supposed to be equal, and I had this side a little wider. So I stayed a little on the side of the line.
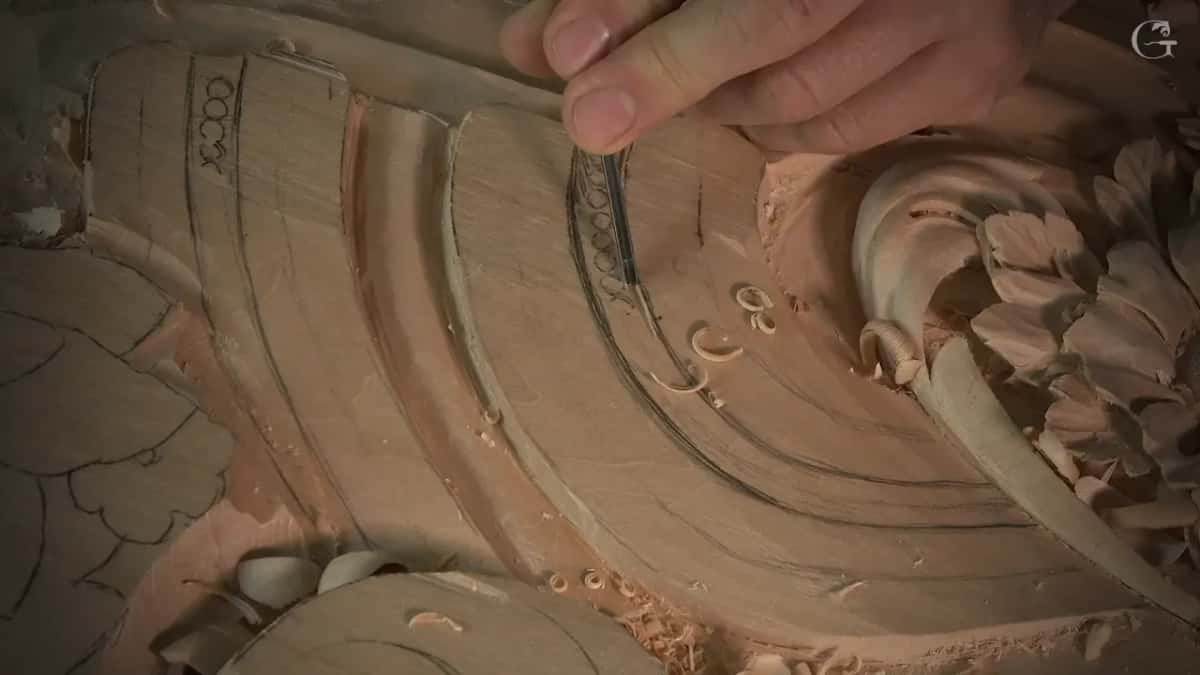
That first groove ran the whole length with the 2 mm number 11, since the bead goes the whole length too. I decided to make at least one pass right away and leave some of the mess around it for off camera. You would still get the idea, I said.
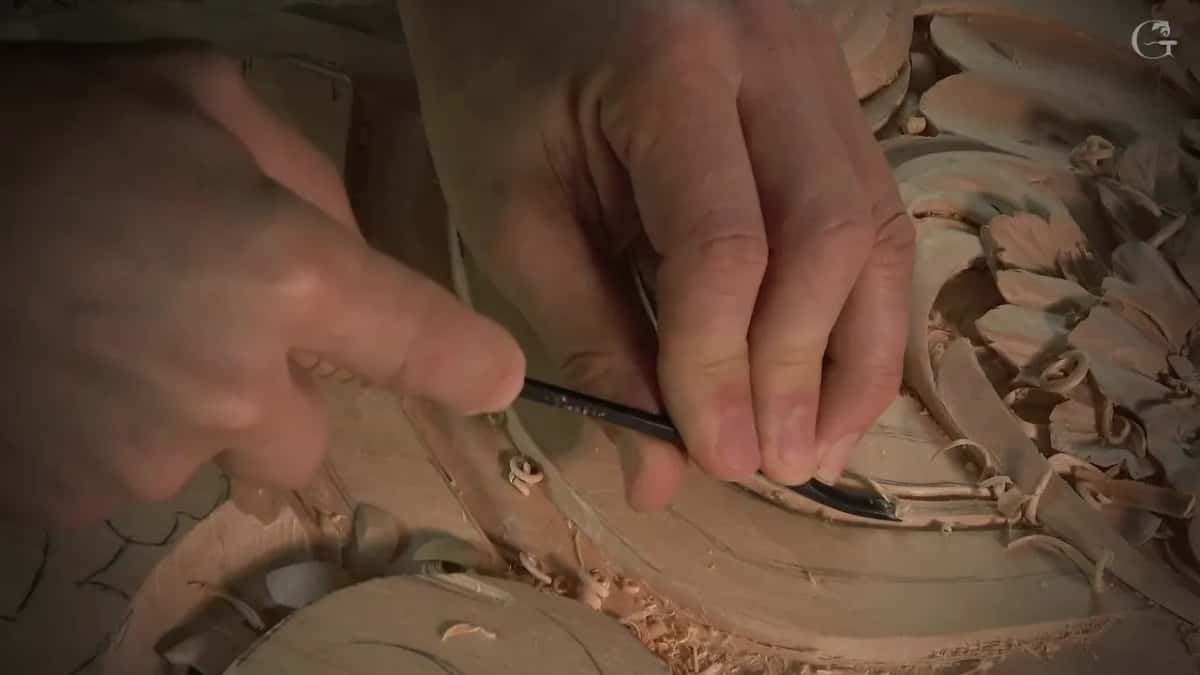
After that I could go deeper and closer to the final beads with a 3 mm (1/8 in), along the strip and then on this side. At one point it would not go deeper. It was already tearing, and I told you I would have to go back to 2 mm to get it much cleaner. Before that, I took a back bend.

That back bend gave the strip a preliminary convex, only the first step, and I said another tool would take off the edges after it. The back bend was a Henry Taylor, and I kind of like how those tools feel. The last tool I picked up in this lesson was a number 8 back bend, 6 mm or a quarter inch, for a quarter-inch bead, and the stamp on a Swiss handle has its own page.
Where the edge went at each stage of lesson 140
Here is the whole band in one place, stage by stage, with what each stage was getting ready for.
Stage | Edge | Next |
|---|---|---|
Lowering between elements | my 7 mm number 11 worked near it | a convex in the middle |
Rounding the middle | the 13 mm back bend took ridges off | more details were still coming |
Setting both walls | the 30 mm number 2 dropped onto it | shape on the inside too |
Cleaning the inside | 4 mm, then 2 mm, not final yet | beads left standing up higher |
Opening the beads | the first 2 mm groove sat slightly aside | going deeper with 3 mm |
Rounding the strip | one back bend gave a preliminary convex first | a quarter-inch bead to come |
How close did I go on a shallow carving?
Very close, on a table apron. During workshop 15 of the Dining Table Apron course I was outlining a part that was not too deep. Since it wasn't that deep, I said, I was getting really close to the actual line and felt safe, not stepping out an eighth of an inch (3 mm). A moment later I said, let's outline those, and went on.
In the same breath I said that in limewood or basswood, as it is called in the United States, I would probably just use a gouge.
When do you stop short of the line?
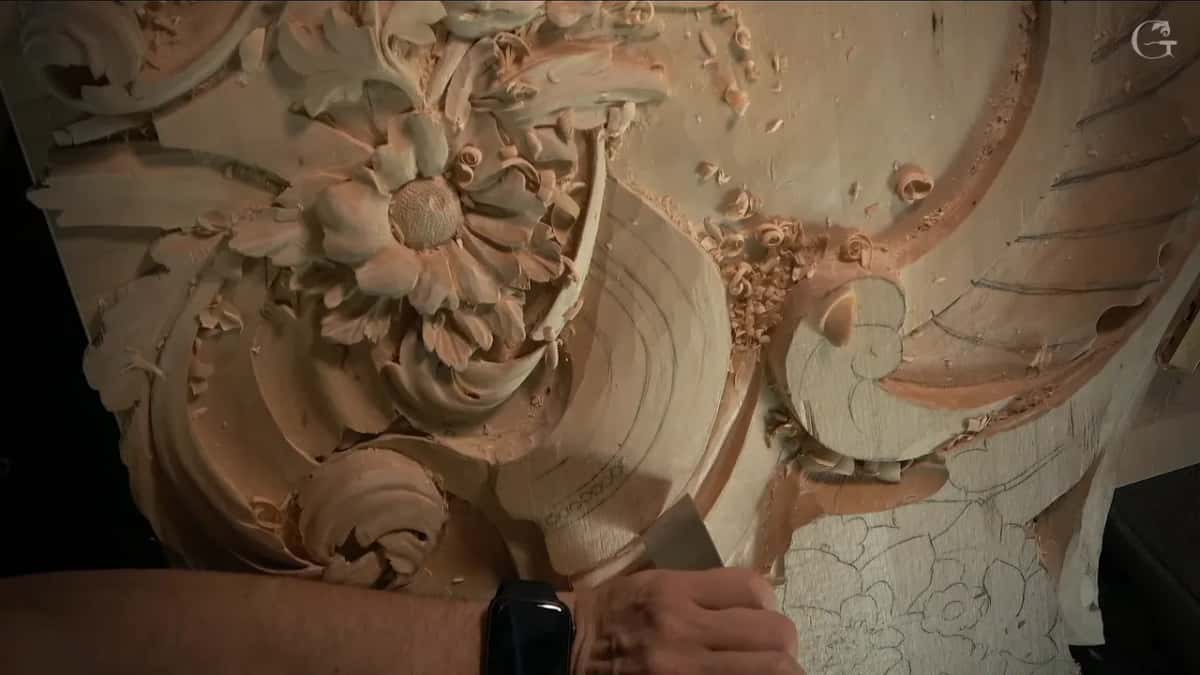
When a delicate part sits right behind it. My Flower Rosette course, lesson 1, has me taking most of the material away, and I told you to be really careful how you do that. I was not going to go all the way to the line. When you hit that line, you can easily destroy the flower part. Then I reached for just a number eight.
On the Modern Acanthus, in lesson 2, I went just to the line and pretty much almost all the way, to the 3/8 of an inch (about 10 mm) I had mentioned. A little later in that part a 10 mm number nine went a little closer to the line, really carefully.

Is there one distance for every carving?
Nothing in these lessons gives one distance for every job. Back in lesson 16 of the Furniture Panel course, one pass had been almost on the line, my chopping point, and then I said I needed to stay away a little from it. Lesson 38, in a later part of that series, has me asking you to find the right sweep that can just get you to the line; it doesn't have to be perfect, and close enough should be good. For the Corinthian acanthus I told you to place your tool on the line and make your move inside.
Our article on grain directions puts the start of the work simply, with the gouge set just clear of the pencil line and carving away from it. That matches what I did while lowering this band, close by it and not on it. What happens to the line after that depends on what the wood still has to do.
What you see in the three parts of lesson 140
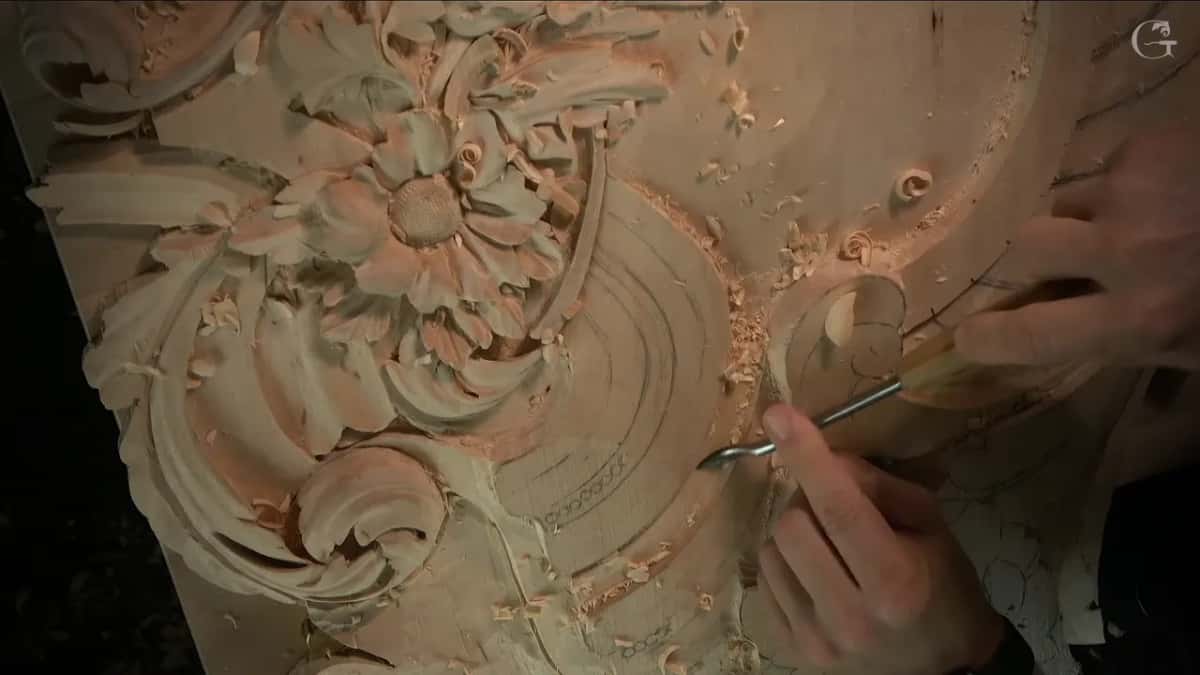
Each part runs about seven minutes. At the start I said that area would get maybe a little cleanup, nothing too extreme, and that I really needed to catch up on speed. Before the first pass I turned the board and showed it to you from different points of view, and then said I didn't know yet, but I thought I would jump back on this area. Part one is the lowering and the rough convex. Part two is the number 2 set down on both lines and the inside cleaned, with the plan for a high bead strip at the very end. Part three is the groove that moved off the line, the 3 mm going deeper, a back bend rounding the strip, and a second one picked up for the bead. In part three I also told you the piece looks much better in real life than it does on a screen.
I had a couple of acanthus leaves there too and wanted to do something different with them, a double acanthus, though I wasn't sure I would, since I didn't have enough depth. The rest of the leaves, and a little cleanup on the flowers, I planned to do off camera, the same idea as the leaf before. Lesson 139 comes right before this one and lesson 141 right after, in Part 12 of the Venice Room.
Every lesson named on this page opens with tuition to the school, monthly or yearly, and it renews automatically until you stop it. Would you like to watch the number 2 go down on that line? See the first groove slide a little off it? Parts two and three have both.
How it's done
- Lower the section first. On this band the wood between the elements came down about 3 mm, roughly 1/8 inch, with a number 11 thirty millimeters wide, and 7 mm side passes stayed close by.
- Leave the middle rough. A 13 mm number 5 back bend took the ridges off a convex that was still allowed to be rough.
- The number 2 on the line. After the lowering I set the number 2 straight down, 90 degrees from above, on the outer line and then the inner one, so I would not lose it.
- Clean the inside. Passes with the 4 mm and then the 2 mm cleaned it, short of the final cleanup, each one as long as I could make it.
- Leave the beads higher. Grooves on each side took wood out beside the bead strip and left it standing up.
- Move aside where the layout is off. One space was a little wider than the other, so my first groove went a little to the side of its pencil line.
Frequently asked questions
How near the line does roughing go?
Close, but short of it, in lesson 140. My number 11 at 7 mm worked right beside it while I lowered the section between two elements, and the vertical pass on it waited for part two, after the band had its convex.
Why go straight down on the line with a number 2?
On that band I didn't want to lose the line, because there was going to be shape inside it as well. That tool, 30 mm (1 3/16 in), is almost flat with a slight sweep, and it fit the outer line and the inner one with no problem.
What if the layout comes out wider on one side?
Mine did, on the bead strip in lesson 140. Two spaces were supposed to be equal, one ended up a little wider, and I held my first 2 mm (5/64 in) groove slightly aside. And I was eyeballing it, just trying to get nicer lines.
What to carve next