
Alexander Grabovetskiy, woodcarver, School of Woodcarving · Published 2021
How do you carve a leaf that goes under one leaf and over another?
Quick answer: A leaf that crosses its neighbors is a leaf with two sides doing opposite jobs. One side goes low and hides. The other side flips up above a long leaf, and that raised side carries the high point on top. In lesson 133 of the Venice Room, that turned one leaf into part of the bunch.
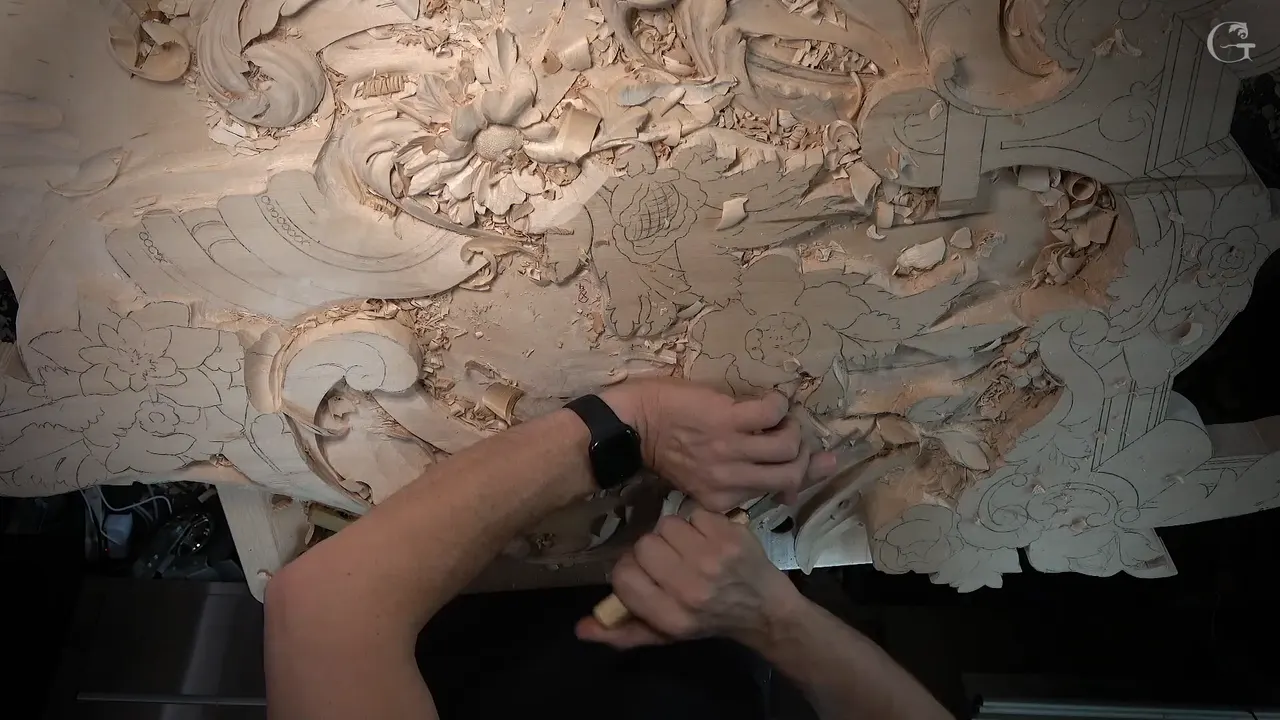
Carved leaves read as one bunch when a single leaf does two things at once. One of its sides drops down and hides beneath its neighbor. Its other side flips up over a long leaf and carries the high point on top. In lesson 133 of the Venice Room I did that to one small leaf, and afterwards I told you it belonged to the bunch and made sense now.
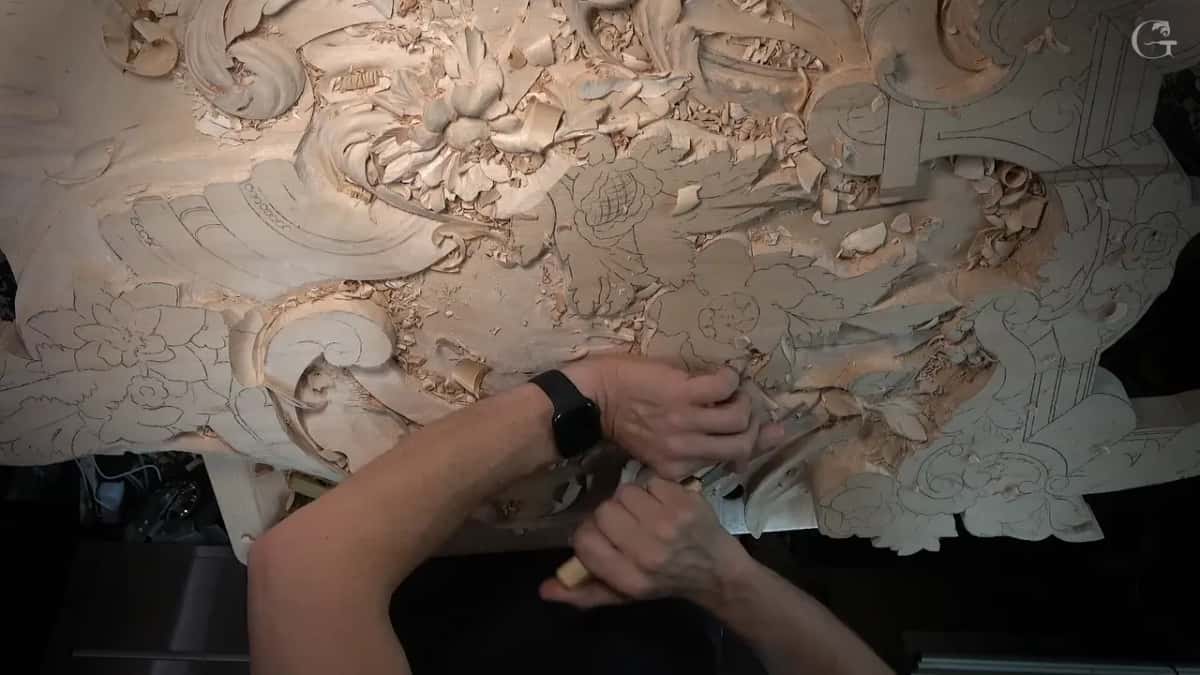
Have you ever looked at a real branch of leaves? Did some of them hide behind a neighbor while others lay over something else? A carving can ask one leaf to do both jobs. Here you get my lesson 133 first, then what I said about the same move on two rosettes, each lesson linked so you can watch it for yourself.
One leaf from lesson 133, in five short lines
- The leaf had to look like it grew from the same bunch as the others.
- One side went down beneath a neighbor.
- Its other side, the raised one with the high point, flipped up above a long leaf.
- I cleared the extra wood using a number 11.
- After that I said it was part of the bunch, and that it made sense.
What was I doing to that leaf in lesson 133?
Most of the first part was one job, repeated around a whole group of leaves. I got on the edge with whatever gouge felt right, a number 5 at 3 mm (1/8 in) in one spot, a 2 mm (5/64 in) number 11 in another, and a small spoon to clean out a separation. It did not have to be exact there, I said. Some of the classical rules can still be applied, though. Not all of them. It is going to look just awesome, I said, and then, I hope it's going to look awesome.
One corner could be a little lighter, I thought. A small number 3, an eighth of an inch, went in there and made another separation.
At one point I called a tool a micro tool and corrected myself on the spot. It's not a micro tool, I said, it's a detailing tool.

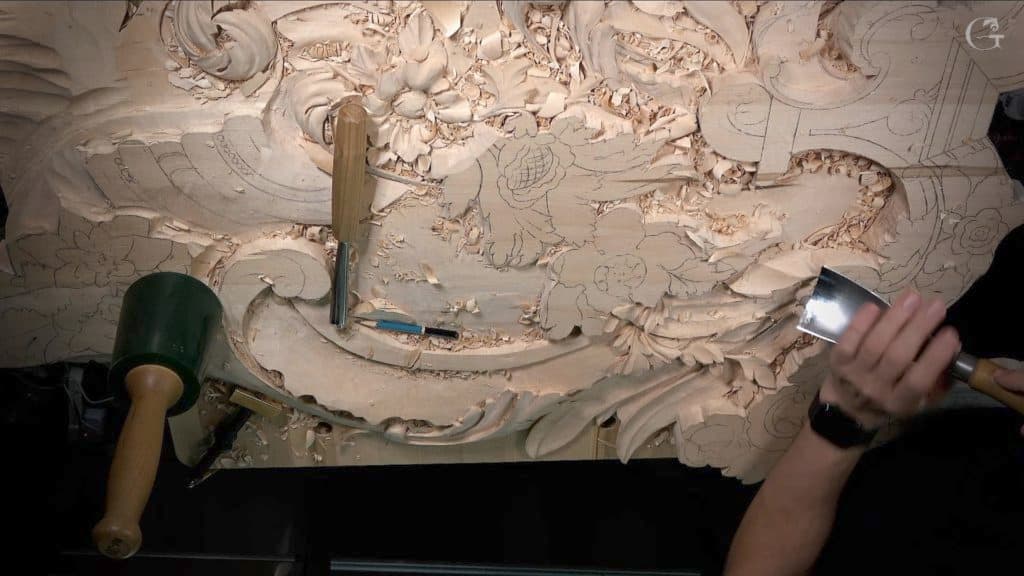
At one leaf I stopped and said that this was what I wanted to show you. Looked at from above, it had to grow from the same bunch, coming out from under one leaf and going on top of that long movement. I called that a little challenging.
Whether you could see from the camera how it was supposed to be, I could not tell. I think this is the best angle, I said, before carrying on.

First in was a number 2, moving one way, although I said a number 7 would probably be better. After that I came back down like this, raised one side, and let the concave run that way.
Where does the high point of that leaf go?
Right on top. I pointed at it at the start of the second part. That's the high spot, I told you, the high point raised up right on top.
Before any more wood came off, I needed to redesign how I wanted to see this guy. I redesigned it right there, something like that, and went on to the sides.

Does one side have to tuck underneath?
I was not sure. Getting one of the sides to go right underneath might be something interesting, I told you, and then I asked out loud whether I had to do it at all. Maybe not. Maybe it was going to be too much.
Then I re-established some separations. This side had to go all the way down, underneath of this leaf, and that side was flipping above that long leaf.
So one small leaf ended up with two jobs. Its low side hides, and its high side rides over a neighbor. Neighbors that each curl their own way are a different question, and lesson 77 answers that one.
How do you make room for the side that goes under?
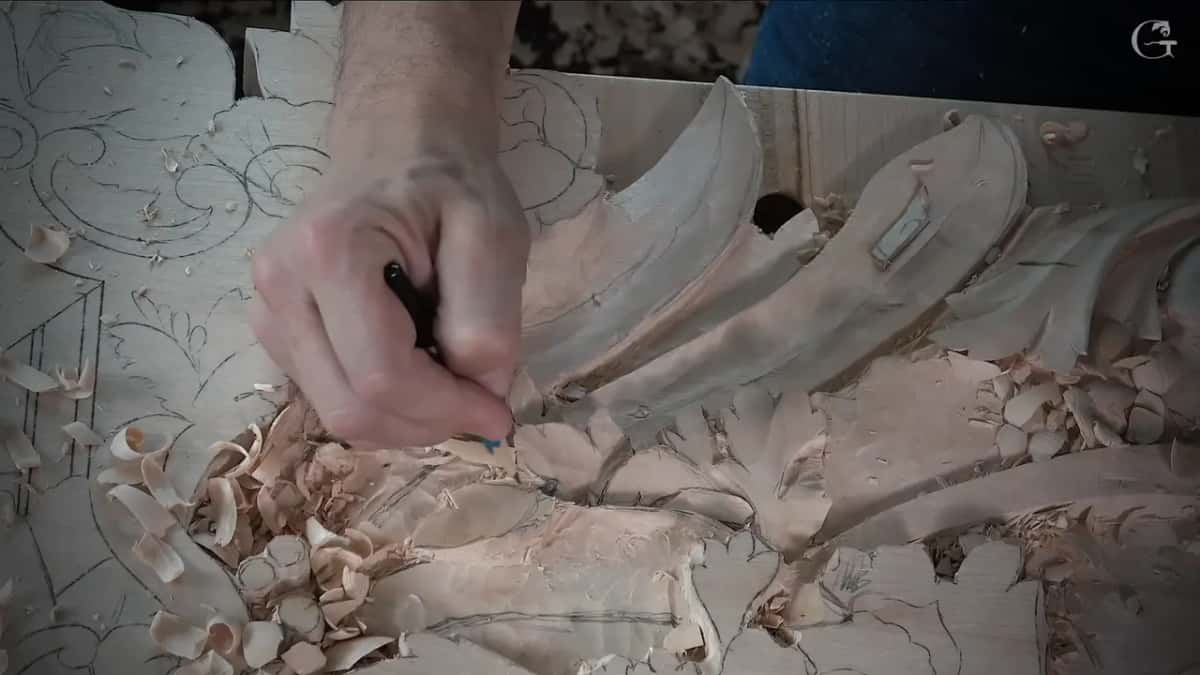
A number 11 did the digging. I took away some excess material first, then relieved a little of that area and excavated a little deeper around it.
I liked how it looked so far. The third part brought me back to a small triangle in one corner of the same group. That leaf has to go right underneath of this one, I said, and I needed to be careful how I came at it. A 1 mm (1/32 in) tool went in first to kind of pre-establish, and then a 3 mm (1/8 in) number 11 undercut it carefully, one way.

Then came an oops. I was working against the grain there, which is okay, I said, but you have to be more careful. I even said I should probably use a mallet for more control. But it's okay, I added. The next tool I took was a flatter one, for the stem.

When do carved leaves start to look like one bunch?
For that leaf, it happened as soon as the separations were back and the extra wood around it was gone. I said it out loud, twice. Now it's a part of this bunch, and it makes sense now.
The undercut under that leaf had not even started. What I had done by then was separations, a little relief and a deeper hole beside it.
Back in the first part I said much the same about the whole group. You should already be able to catch some of the movements, I told you. They were showing up even before we undercut.

How far under did the gouges go?
I started going underneath that leaf with a bigger tool, maybe 10 mm (3/8 in). Right away I had to be careful not to touch the edge, and I said I might have to switch to a smaller one and come at it from the right position.
Later I said I would go all around those areas with a number 11, starting at 3 mm and as close as possible to the line drawing, then about 2 mm, and 1 mm in some spots.
I know it does not look really good yet, I told you in the middle of all that. But it will.
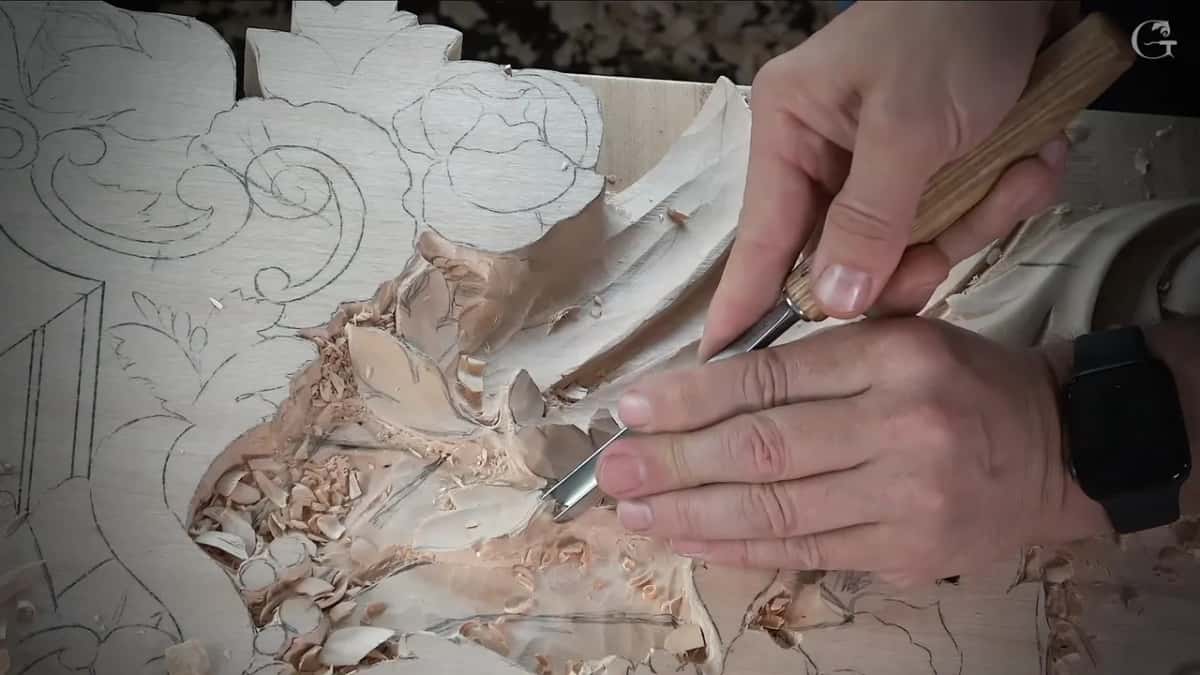
What happened on the side I lowered?
Lowering, first of all. I brought that side down with 3 mm of number 11 and went underneath carefully, even if it was from the wrong position. With sharp tools, I said, I should be safe. One line got connected to the other side, and a number 3 set a first border.
Two millimeters of number 11 excavated that area carefully. I wiggled it a little, because the part was getting weak, and I said so plainly. It is a somewhat weak part. But I need that shadow, I really need that shadow.
So I went a little deeper there, and then deeper again with a 1 mm tool.
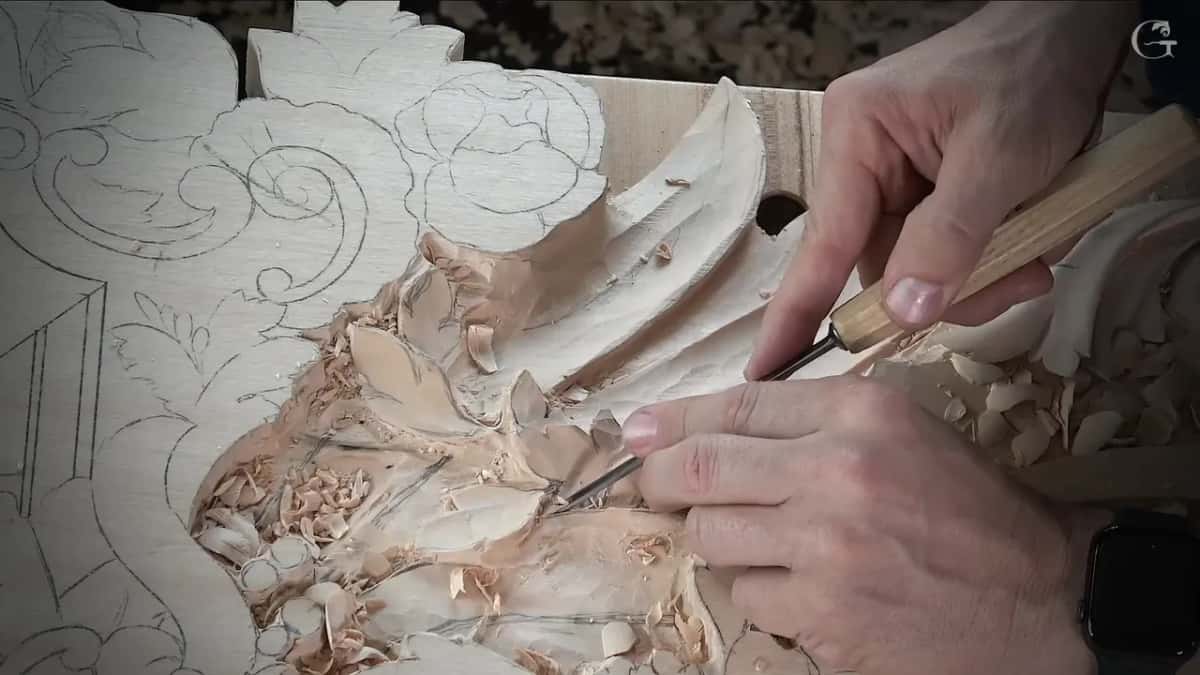
Does the stem of the leaf go under as well?
It does. Inside one spot I needed a transition, I said, where the stem of this leaf passes right under this leaf. A micro tool made the twist there. If I would just force it, I told you, I could break that area, and I didn't want that. Even if the spot sat a little lower, I'd be safe.
Early in the first part I had said the same thing another way. I did not want to force it, because it becomes fragile, and I could break it.
In the third part a flatter tool took that stem right underneath, a number 1 with a double bevel. Destroying the little edge of that movement was okay, I told you, and I could even give it somewhat of a concave look. All of it still had to be undercut later.
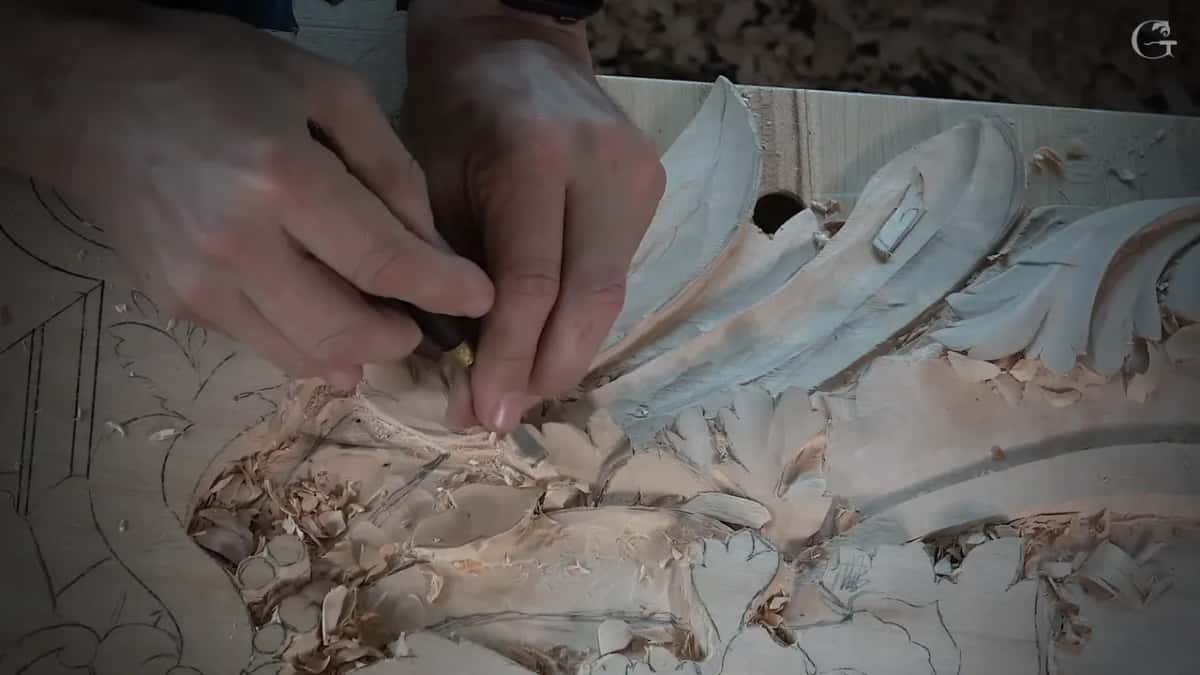
Each move on that one leaf, side by side
| Move | Tool | Where | Said |
|---|---|---|---|
| Found the angle | number 2 first, a 7 maybe better | From above | I thought that angle was best |
| Raised one side | no tool named, just the high spot | On top | that's the high spot, I said |
| Redrew the leaf | redesigned it, something like that, then separations | Whole leaf | how I want to see this |
| Cleared the extra | number 11 first, then relieved and excavated | Around it | now a part of this bunch |
| Went in underneath | maybe 10 mm, then a smaller one | Under it | careful not to touch the edge |
| Opened the triangle | 1 mm, then a 3 mm eleven | One corner | against the grain, which is okay |
| Took the stem | a number 1 with a double bevel | Right underneath | okay to destroy the little edge |
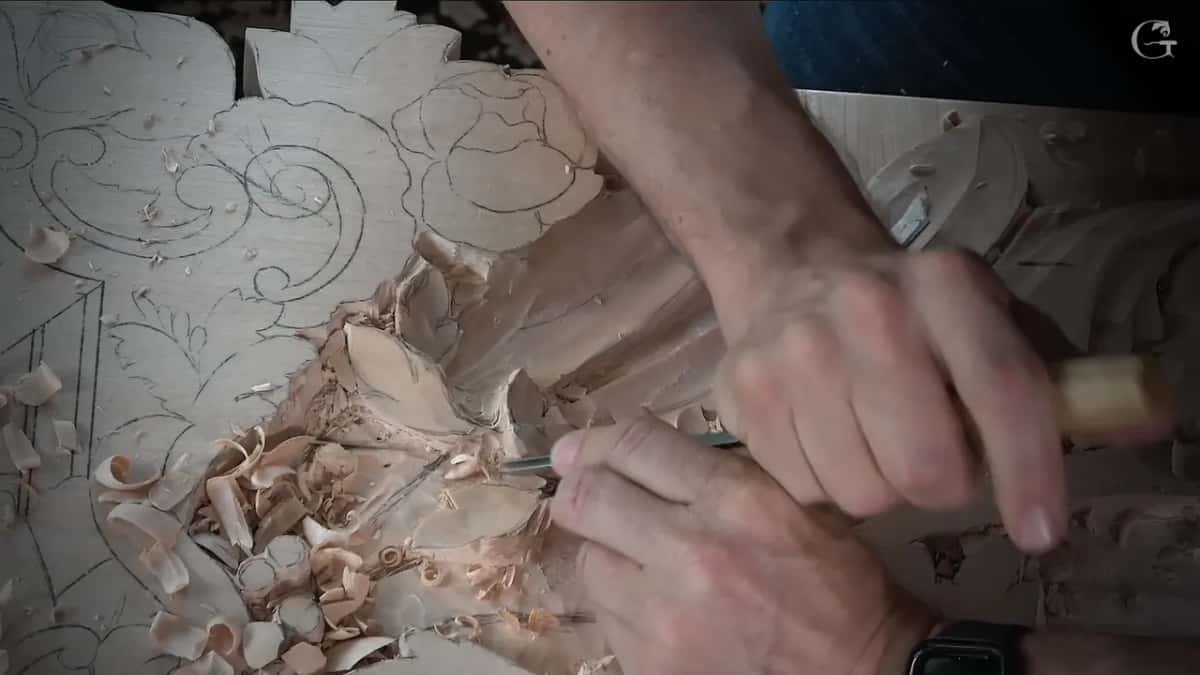
Why does a petal go under another one on a rosette?
Working the Venetian flowers rosette, I said a separation between two petals is never an open one. Just a V between them does not look as nice. One of the petals is supposed to go underneath the other, this one under that one or the other way round, and that way it looks more natural.
Earlier in the same lesson I said it another way. Some petals go underneath another one, so there is more going on than the divisions, and you get some interesting movements.
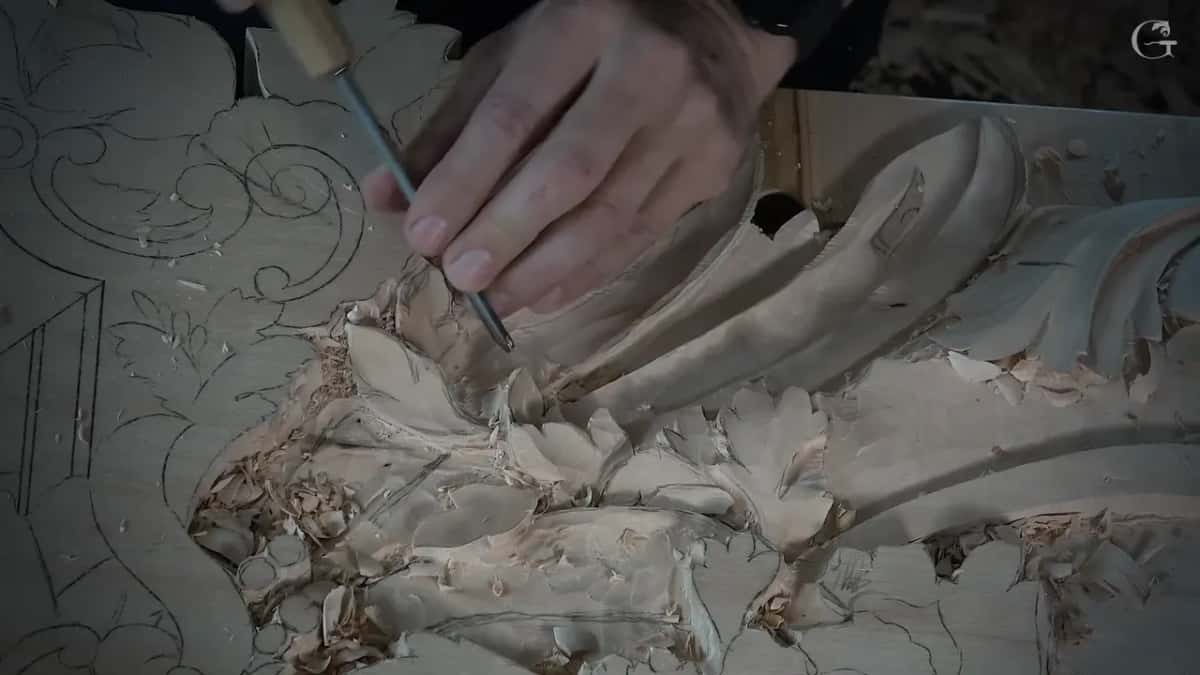
Who decides which petal goes where?
On that rosette I did, with the wood in front of me. Let's make the decision which petal is going to go where, I said. I chose one part to go underneath of a petal. For that I wanted a small flat tool, like a number 3 or so.
Then I wondered out loud whether another part could go under a different petal instead. I wasn't sure how that would look. In the end I said I thought this part would go under this petal.
What does a part that dips under and comes back up look like?
A mountain. Later on the same rosette one part went under and came back up. It goes underneath and then raises up, I said. That's a mountain on top, and then it goes downhill.
A few minutes later I went deeper in one area, almost a quarter inch on the inside in some spots, about six millimeters in. Seen from above it just goes underneath, I said, and that gives a beautiful shadow.
My leaf in lesson 133 made the same trip, down on one side and up over a long leaf on the other.
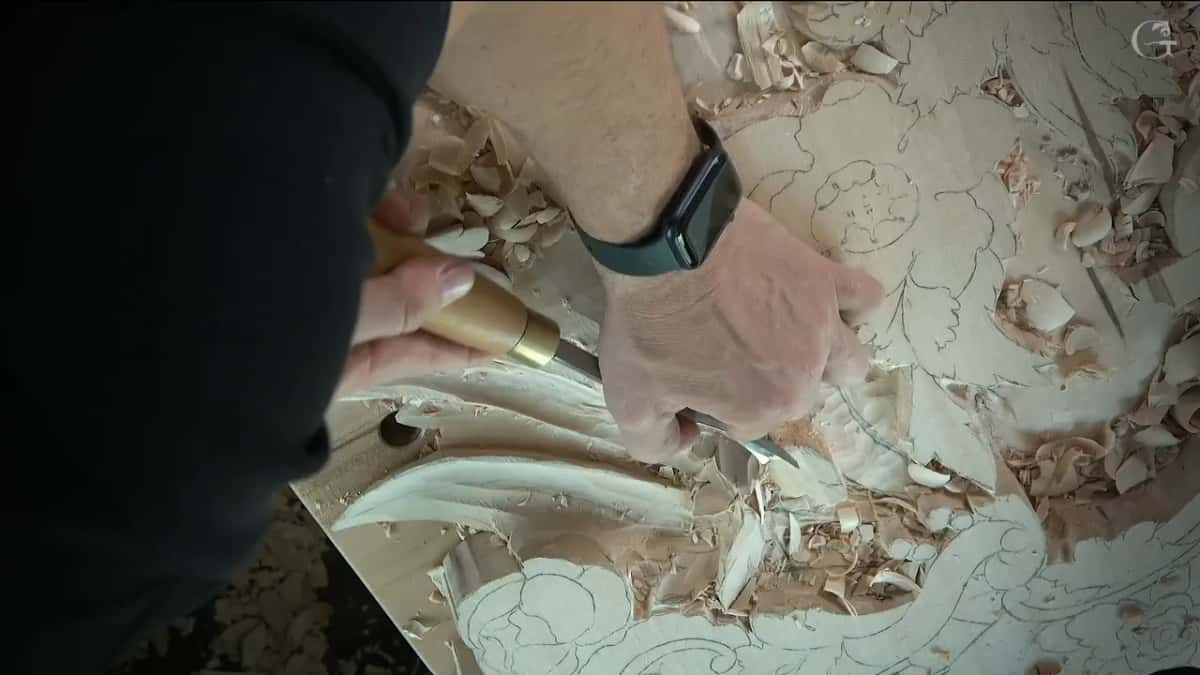
Can a leaf come out from under a berry?
On the chamomile and bow rosette I planned one that way. One leaf would go underneath its neighbor later on, I said, and the second one could actually come from below the main berry. Berry or not berry, whatever you call it, that one would come from underneath.
Further on I did not take one part all the way down, because I wanted it to feel like the leaf was going underneath. I did not want to be too low there. I still needed some meat, I said, otherwise it would not be able to hold itself.
Is acanthus built on the same idea?
Lesson 10 of the Roman acanthus course has me showing one leaf going under another and carrying on past it, and saying the whole idea of acanthus is an interweaving.
Drawing a furniture panel, I said everything has to interweave and be organically connected, and right then my own drawing was not.
For the Hashemi flowers I planned one part above and one below and called it like a basket weave.
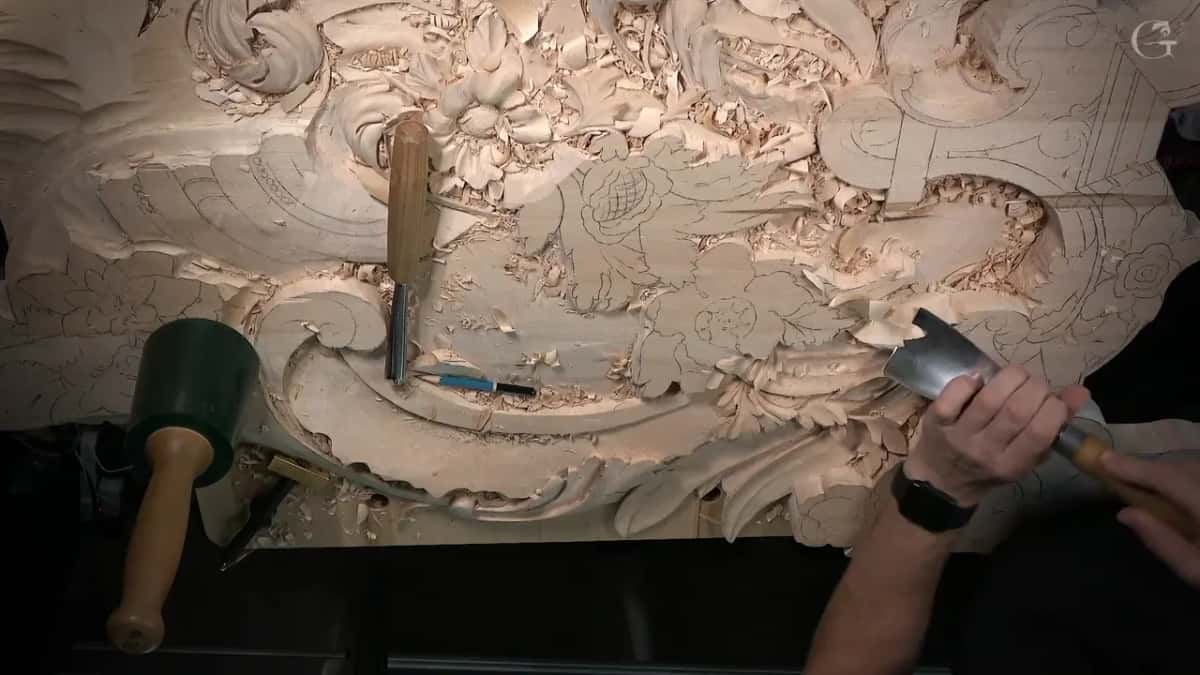
What did I leave for later in lesson 133?
Plenty. I could not show you how once I got close to my work, because the undercut spots would be really tiny, so most of them would be done off camera, probably. Please forgive me for that, I said. I also said I had to rearrange my table.
Right after that apology I made a mistake and blamed it on talking too much. In this case it's okay, I added, though I should watch it.
I left the leaves as they were for now, because there was still a shell to do and a clean up, and jumped on a flower. I still kind of did not like that flower, I admitted, but it was what they wanted.

Where can you watch lesson 133?
Lesson 133 sits in Part 12 of the Venice Room, between lesson 132 and lesson 134. The leaf that joins the bunch starts near the end of its first part and carries on into the second. The triangle and the stem open the third part, just before that flower, on a relief panel.
The wall carved beside one leaf lying over another has its own page in the Greek acanthus course, and bands carved to look woven are in Hashemi flowers 26.
Every lesson named on this page opens with full access to the school.
Would you like to see that leaf slip under? The second part of lesson 133 shows it in its first two minutes.
How it's done
- Find the angle first. Look at the leaf from above and find the angle you think is best. I picked mine before any gouge went in.
- Raise the side that crosses. Mark the high spot on top and raise that side, then shape the concave.
- Redesign it on the spot. Redraw how you want to see the leaf. I redesigned mine right there, before any work on the sides.
- Send the other side down. Put the separations back. Send one side down under its neighbor and let the other flip above the long leaf.
- Clear room using a number 11. Take off the extra material, relieve the area a little and dig deeper next to the leaf.
- Go under with care. Start underneath with a bigger gouge, and switch to a smaller one when the edge gets close. Keep clear of the edge itself.
Frequently asked questions
Which gouge started the leaf that crosses over?
My number 2 went first, moving in one direction, and I said out loud a number 7 would probably be better. After the redesign, a number 11 took the extra wood off around the leaf and went deeper beside it. For going underneath I picked up something bigger, about 10 mm or 3/8 in.
How did you know the leaf belonged with the others?
Once the separations were back and the extra wood was gone, I looked at it and said so out loud, twice. It makes sense now, I told you. No undercut had touched it yet at that point in the second part.
How deep did you go under the rosette petals?
Almost a quarter inch in some spots, about six millimeters on the inside. Looking from above, that part just goes underneath. That was on the Venetian flowers rosette, where I said that going in that way gives me a beautiful shadow. Both numbers are the ones I gave out loud.
What to carve next