
Alexander Grabovetskiy, woodcarver, School of Woodcarving · Published 2021
What does full 3D mean in wood carving?
Quick answer: Full 3D is a carved shape that holds up when you view it side on as well as from above. My lesson 138 flower in the Venice Room stayed relief carving instead. Small rolls under its edge from a number 7, and undercuts with small number 11s, gave it a 3D feel.
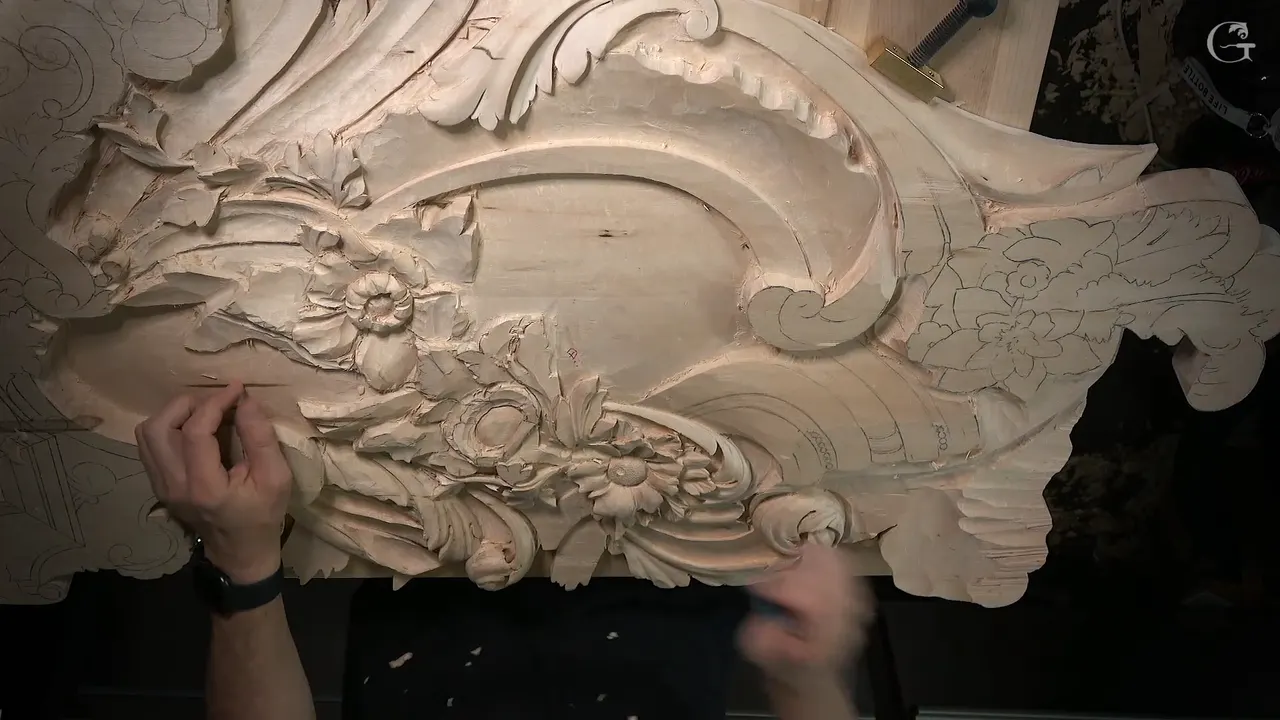
Full 3D is my word for a carved shape that still makes sense from the side, rather than just from straight above. In lesson 138 of the Venice Room I carved a flower that stopped short of it. This flower is more like relief carving, I said on camera, very much relief, and it's not truly 3D. It still had to feel like 3D. I got that feel by rolling it little by little underneath, so relief wood carving hands you two things with almost the same name.
Have you seen a carved flower that seems to sit on top of the board? Did it make you wonder how deep the carver went behind it? Lesson 138 comes first below, and after it come my own words on relief and full 3D from twelve other lessons, each one linked so you can watch it.

Relief, a 3D feel and full 3D, in five lines
- The design stays attached to the board in relief carving, while the background around it gets lowered.
- My lesson 138 flower was relief.
- Rolling and an undercut gave it that feel, first a 2 mm veiner beneath its edge and then a 1 mm one.
- I went after full 3D on the hazelnuts and on a Venetian rosette, and the rosette got a full circle undercut beneath it.
- A grape leaf about a 16th of an inch (1.5 mm) deep looked full 3D once I undercut it.
What is relief carving in wood?
Relief carving in wood is carving where the design stays part of the board and you lower the background around it. I laid it out plainly in a techniques lesson on the different shapes of a V tool. There was a block of wood, then the design on it, then the background you lower down, and one part of it, I said, we call the wall. You're looking at the side, I told people. That is your canvas, and that is your background.

Wikipedia's page on relief sets it against sculpture in the round, a piece that stands free, and my page on high relief on a Venetian ceiling agrees that relief keeps its back in the board. In my first cuts course I told beginners that their knife work was neither chip carving nor relief carving, that it would be like a relief but not true relief.
And you do not need a wall of tools for it. On a small flower rosette I showed that if you don't have too many tools, you're still able to do low relief carving with just a knife, and I said you can probably do a lot more than low relief that way.
What did I carve in lesson 138?
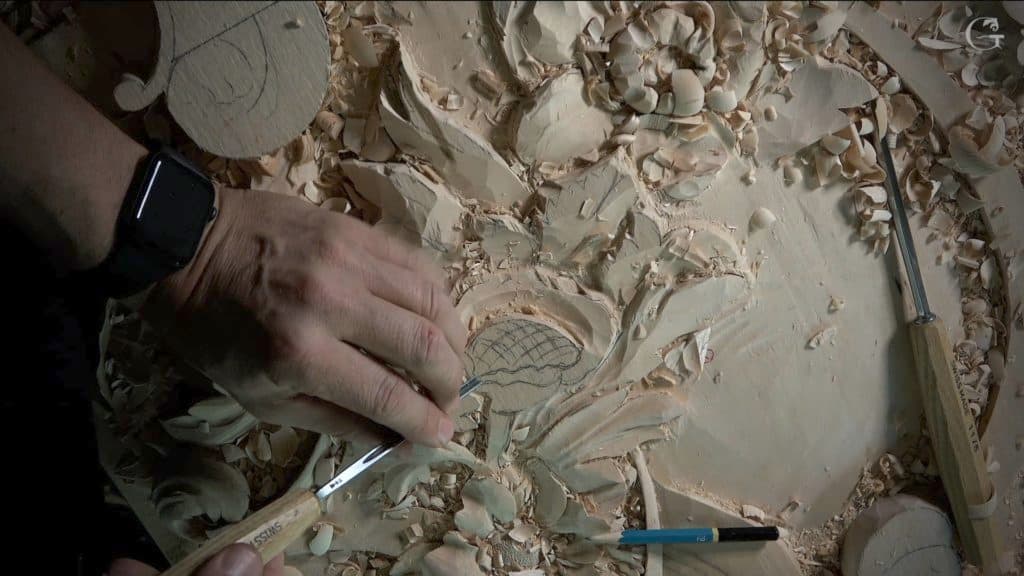
A flower, with leaves around it that are not acanthus leaves, so you can be really creative with them, as I said at the start. I did not show you every leaf. The idea is going to be the same on each one, I said, some concaves and some convexes. On one of them I wanted a slope all the way, a movement that need not be flat. So I took the big number 7, a gouge three inches wide (about 76 mm), and laid it almost right on top of that surface.
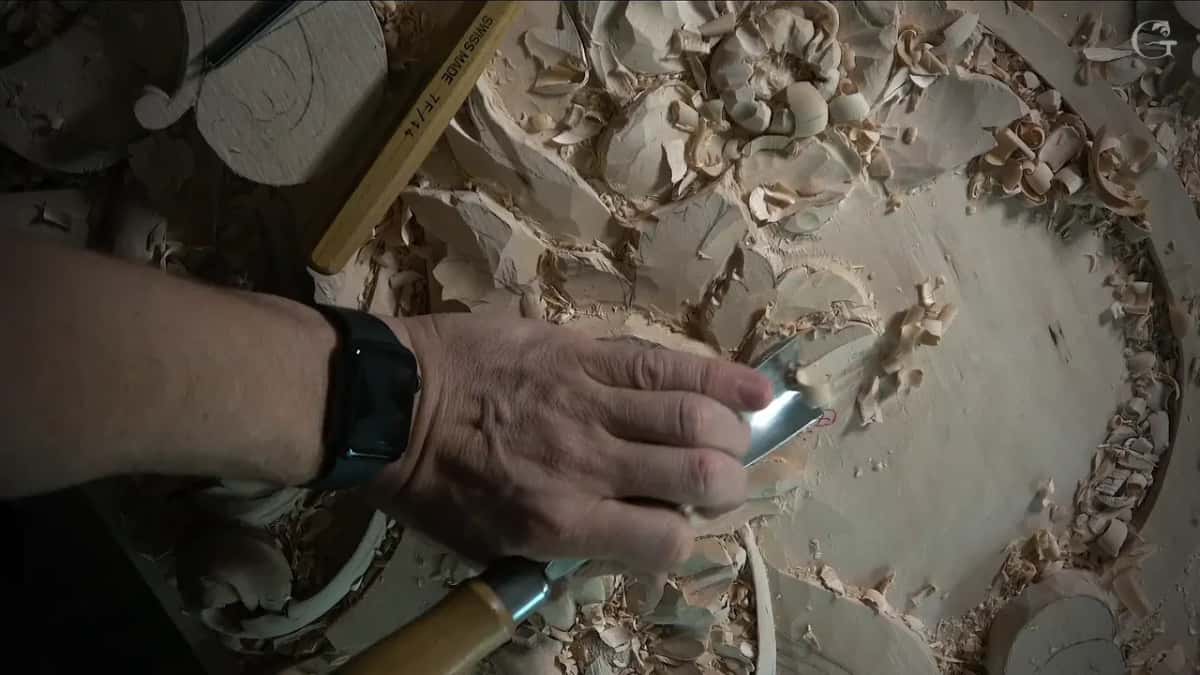
After that I went to attack the flower. I walked around it first, a number 7 in hand, and chopped straight down on whatever boundaries I had. The lower part could go much lower. My 30 mm number 11 (about 1 3/16 in) went in from two sides, and I said it could go really low, almost to the level of the leaves.
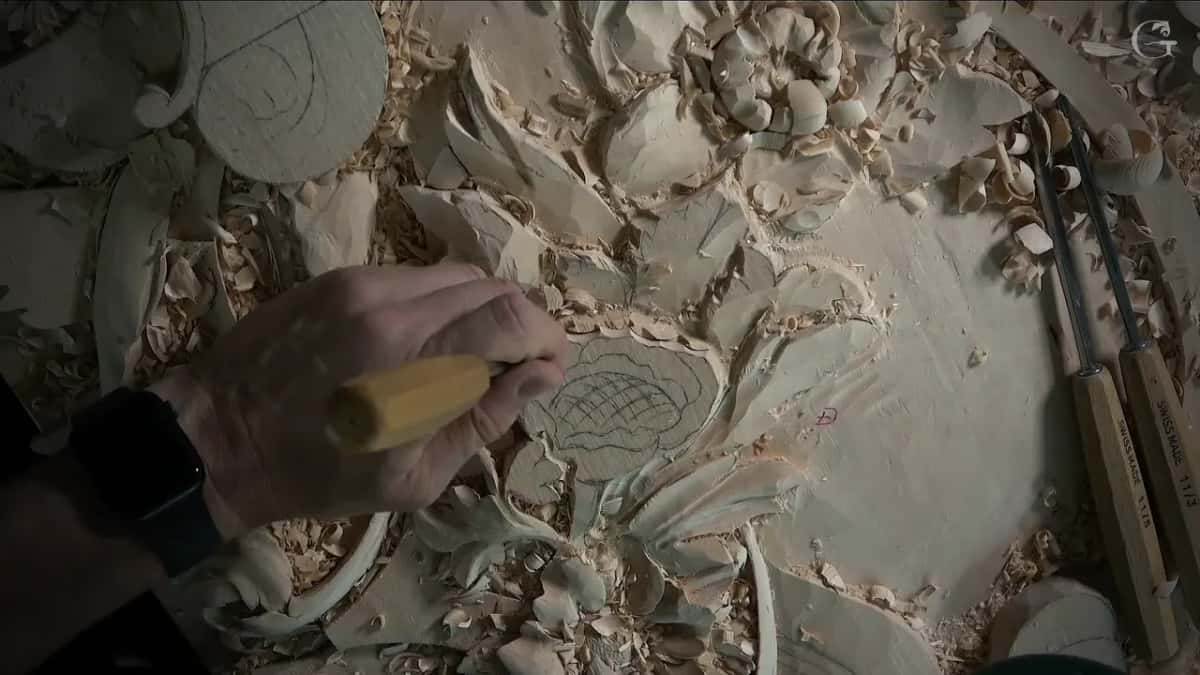
A smaller number 11, maybe 10 mm (3/8 in), brought me closer to the middle part and deeper again. That's probably my limit, I said. Then I chopped straight down on that middle part, not right on the line, using a number 2 that just happened to be lying on my workbench. It doesn't have to be a number 2. It could be a number 3 or whatever fits, I said.
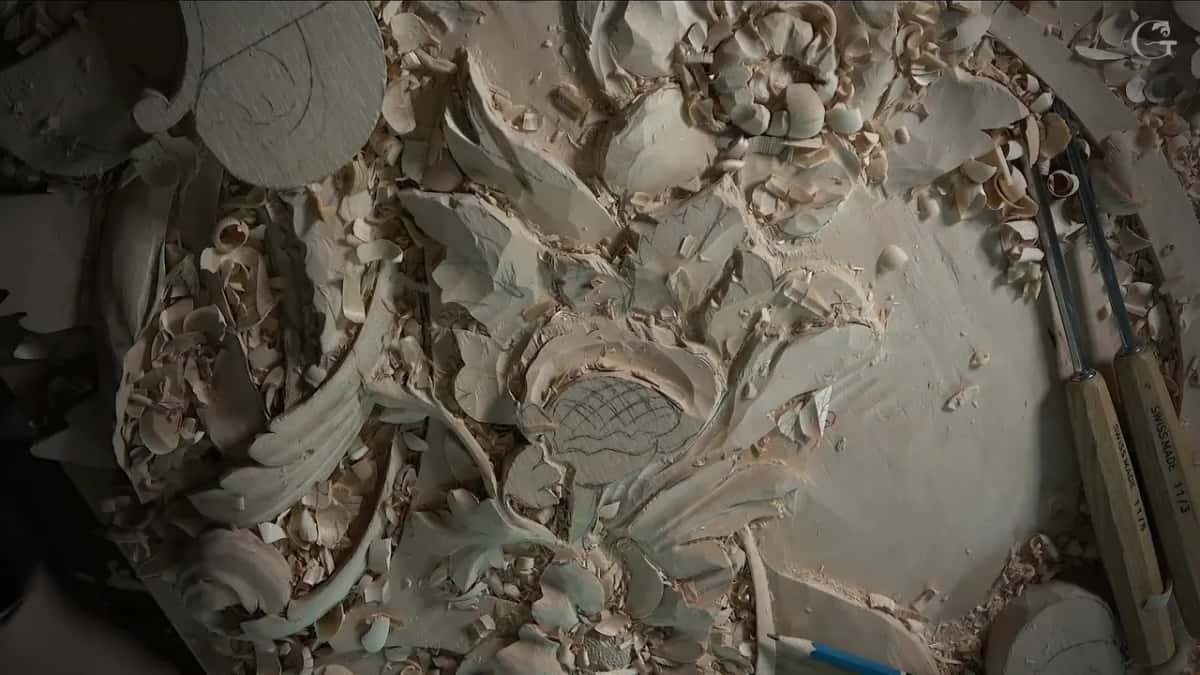
Next a 3 mm veiner went around the area that would be the high spot, and I said I could have used a big one there too. The last job in that first part was to roll it and blend it until it felt round. A number 2 upside down was my pick, though I said any knife will work in this case.
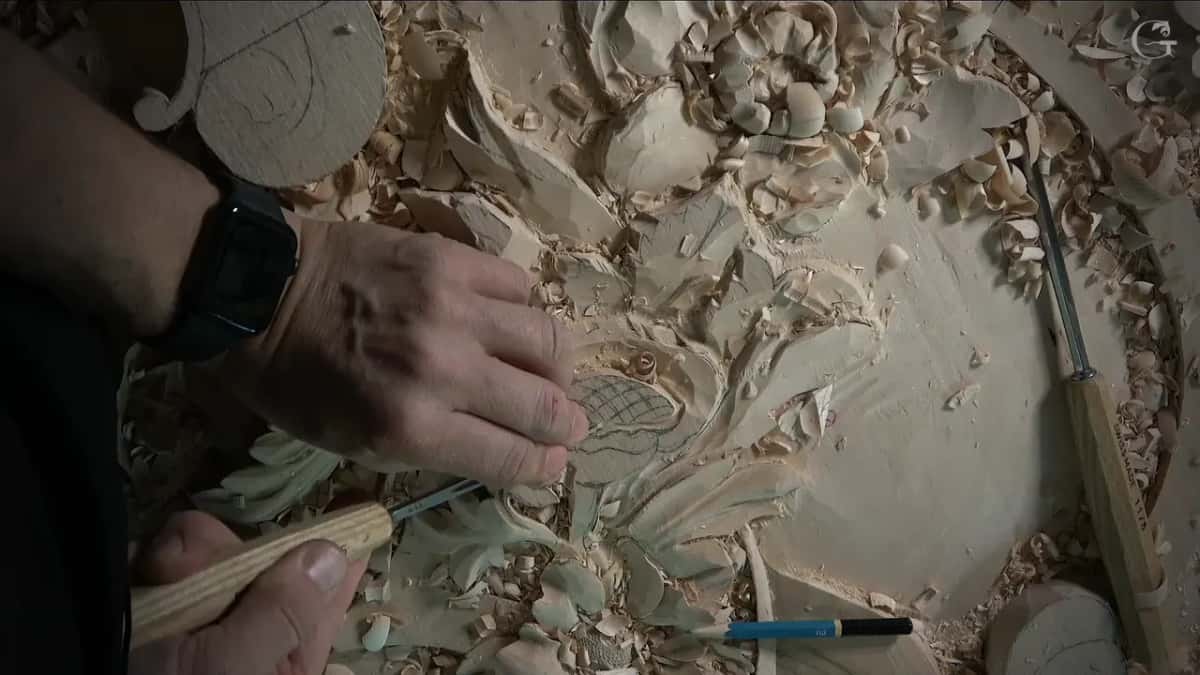
When did I call that flower relief and not 3D?
In the second part of lesson 138, once I could point to the stem and the petals. Before that I said one side was going to come down completely, and I had to make sure I was not losing the picture, so a straighter tool, a number 3, went straight down there. Here's my stem and my petals, I said, and this flower is more like relief carving. It is relief carving, very much.
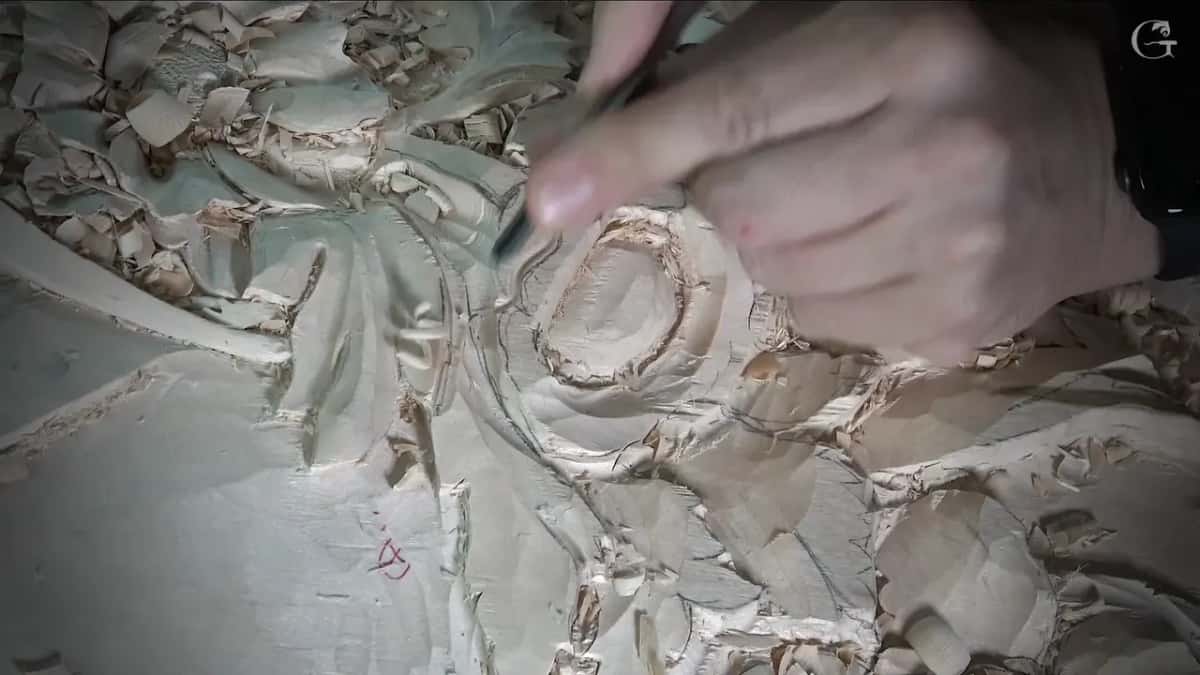
Then all of it had to come down again, first with a big number 11 and after that a 5 mm one. Even lower. A straight tool was not going to fly there, and I needed some kind of spoon, I said.
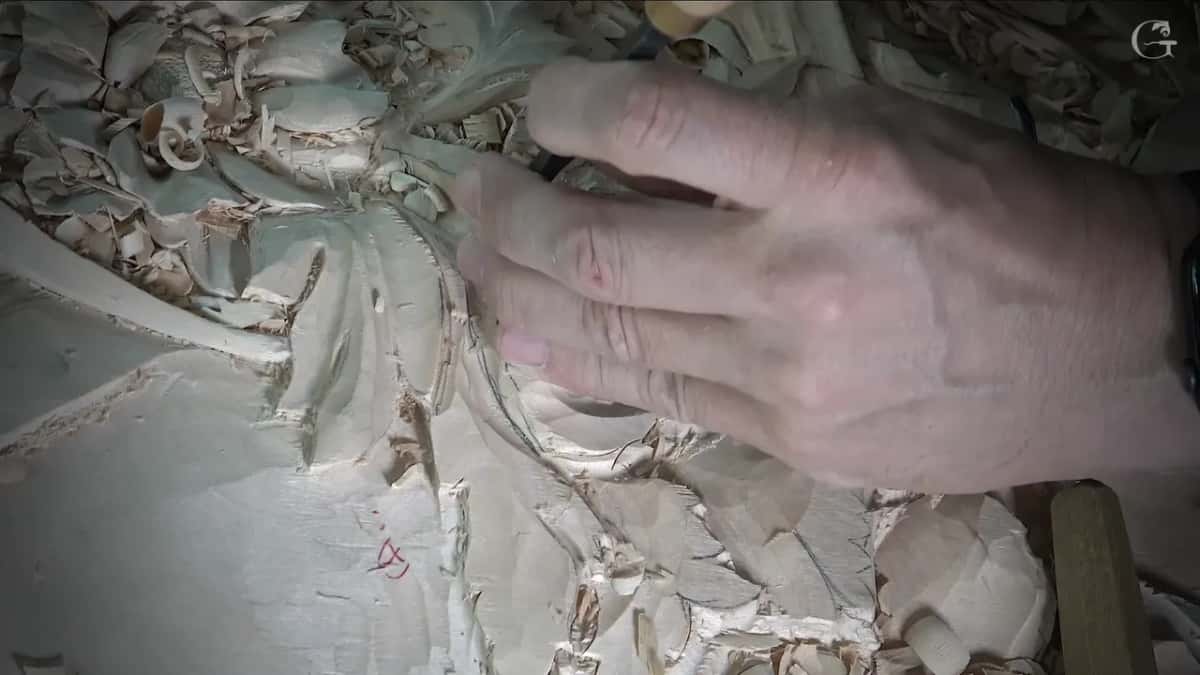
The third part put both words side by side. It has to be true relief, I said, for you to feel it like a 3D, but really it's not full 3D. And that is done by rolling little by little underneath.

What does rolling underneath do for the flower?
Rolling it underneath gave that flower what I called a feel of roundness. I attacked it from another position first. It has to feel like it's really round, I said, though it doesn't have to be perfect, since there are going to be some details on the inside. The roll itself stayed small. It's not really a pronounced roll, I told you, but it still has to feel like it's rolling from underneath, and it does indeed.

On the far side I rolled it the opposite direction with a number 7. A number 3 would work as well, I said, if you take a little at a time, and what I was after was the feel that it goes from inside, goes up, and then rolls back. In between I chopped out some parts I did not really need and started my separations, and one of them could go right underneath.
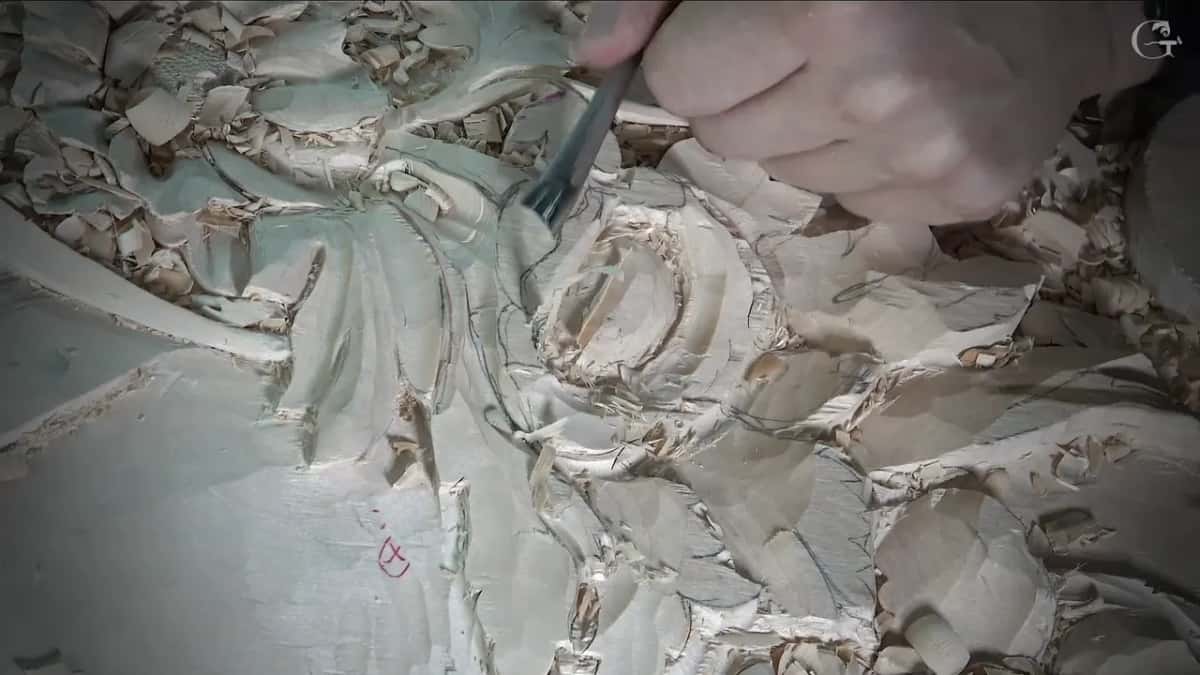
Near the end I rolled the petals the other way too, with the number 7 again. It's going to give me even more dimension, I said, then caught my own word. Not dementia, dimension. Those passes made room for secondary petals growing from inside, and a 2 mm number 11 went around them to bring them out. And if you would ask me what type of flower that is, I have no idea. Some kind of flower.
How far under the line did the tools go?
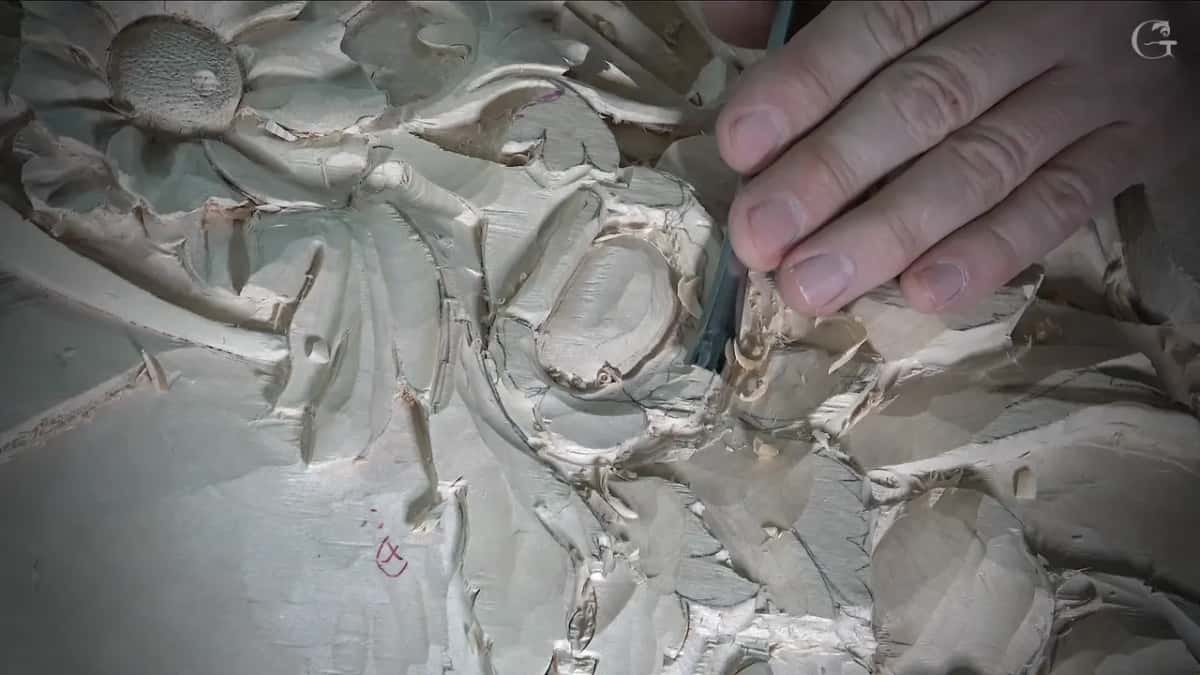
Two millimeters with a number 11, and then one millimeter right underneath it. I stopped to think first, 2 mm or even 1 mm, chose the 2 mm, and said no more than that. The undercut went all the way around, and while it went I said it was really important for me to create that round feel. After it my back bend blended everything nicely, and the 1 mm took out whatever the last pass had left underneath.
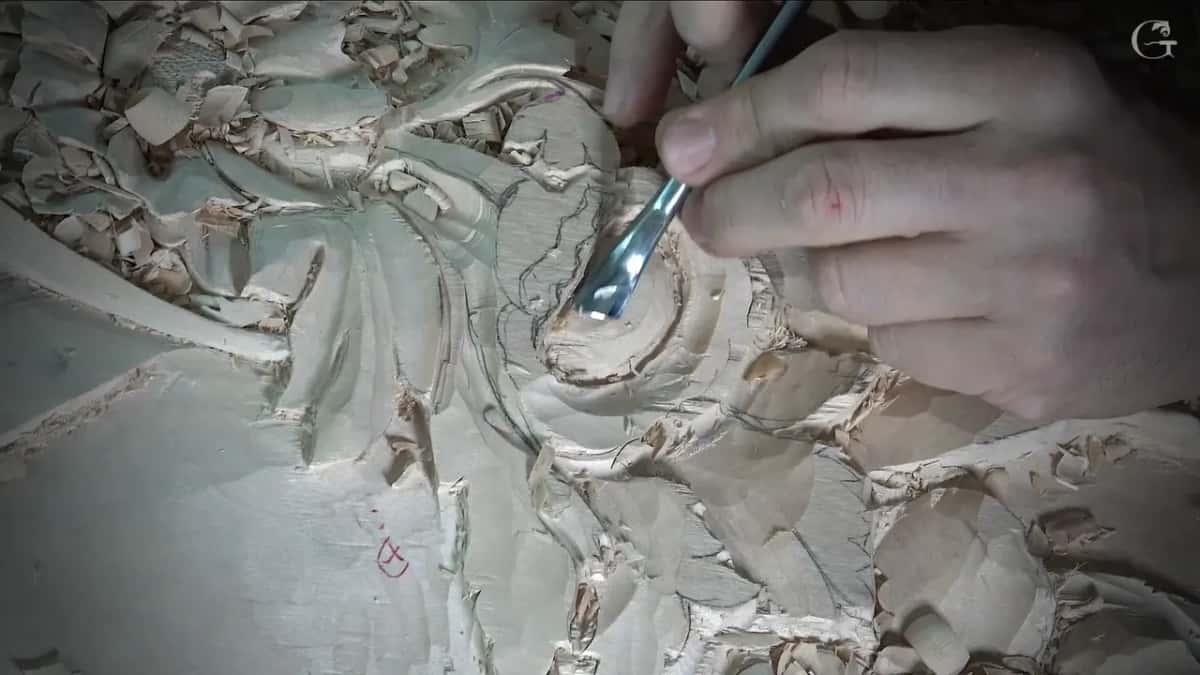
I was not sure you could see it from above before the petals, so I vacuumed the chips away, and I redrew some lines for what came next. Later a 3 mm #11 cleaned the area around the flower. I cannot be too deep, I said, but I still had some of the material left, so I was okay. I should be safe.
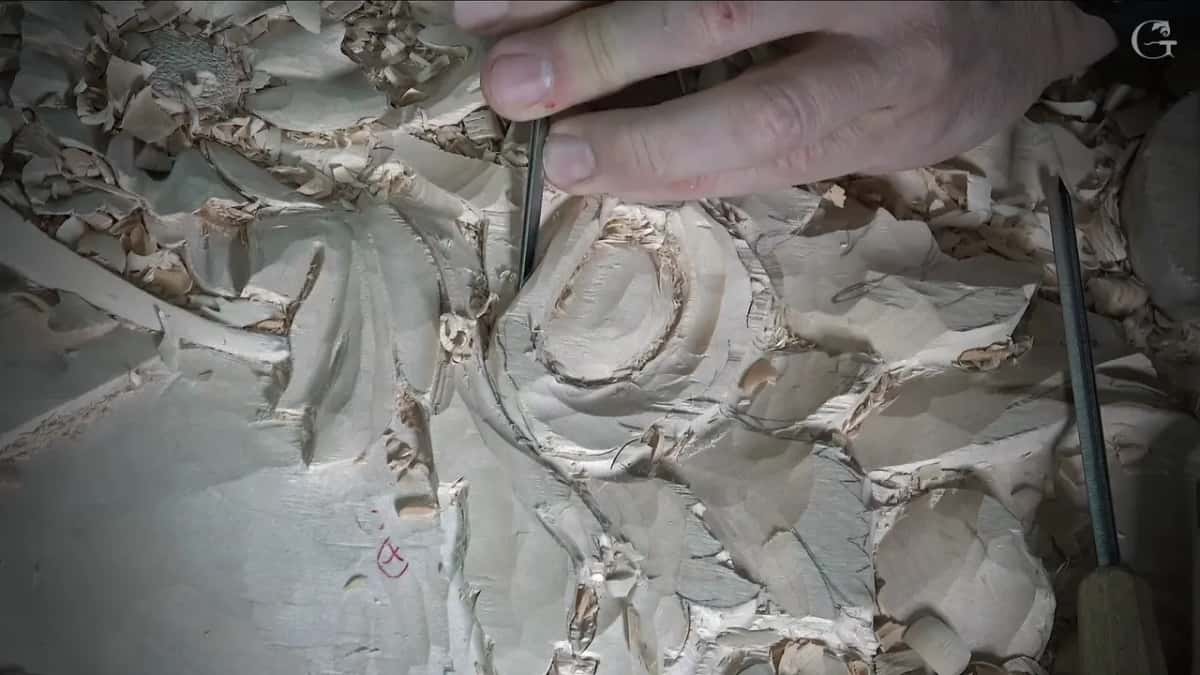
Where each piece landed on my benches
Seven pieces sit on this page. Each row keeps a word or two I really said on camera about it.
| Piece and lesson | What I did or said there | My word |
|---|---|---|
| Venice Room 138 flower | Rolled slowly underneath, and still relief carving | Like a 3D |
| Grape leaf vase, lesson 3 | About 1.5 mm deep, then undercut with 1 mm | Looks full 3D |
| Hazelnuts lesson 2, nuts | Big chunks blocked out first, then the side view | Equal, equal |
| Hazelnuts lesson 4, leaf | Raised up first, then sloping downhill a little | Much nicer |
| Venetian rosette, lesson 5 | Undercut a little underneath to make the circle | Full circle |
| Blessing tray, lesson 4 | One pass straight down, then cleaned up | My limit |
| Blessing tray, lesson 8 | Deeper, since plenty of the material was left | More 3D |
Hazelnuts, and a full 3D from the start
I told students in the second hazelnuts lesson that I was planning to do a full 3D, and that it is really important to create full 3D shapes. I got the chunks by their size and blocked out the big ones first. One leaf sits higher than the hazelnuts, and that matters, but I still had to get the full size. The question I had, looking at that wood sideways, was where the leaf would be and where the hazelnut itself would be. Under those leaves I usually like a really deep undercut, for a really good shadow.
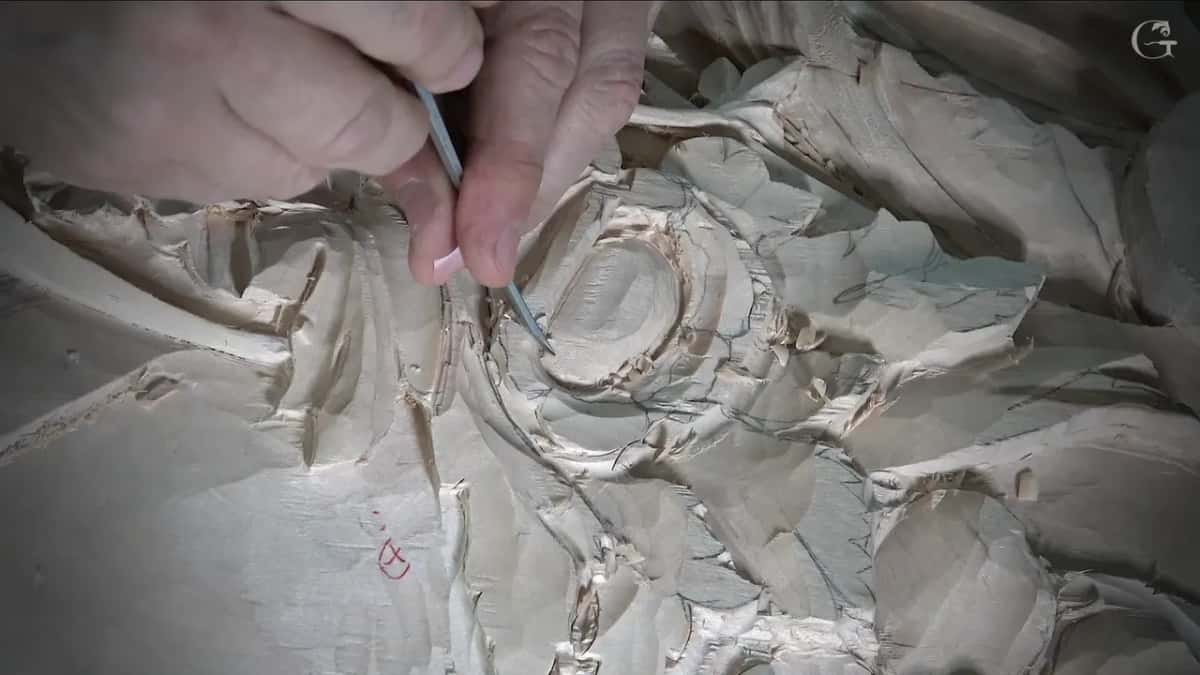
Later in that lesson I checked the side view again. From straight down the shape is oval-ish overall, but really I want to make sure it has a full 3D, I said. Then one part came down slightly so I could see how much more there was to excavate. Some minutes on I said it once more. I am after a full 3D, equal, equal, equal, equal, and by then it did look pretty equal. After that I had to find the center of the whole chunk. Those nuts would be about three-quarters of an inch (19 mm).

The fourth hazelnuts lesson had a leaf that could just be raised up and then go downhill slightly. Seen side on, I thought it would look much nicer, and it would still give me the feel, like a full 3D feel.
How can a very shallow leaf pass for full 3D?
An undercut under each leaf did it on my vase with grape leaves, once all the concaves were done. We want to make it look like it's glued on, I told students, and of course it is not glued on. The vase is a solid piece. That grape leaf was only about a 16th of an inch deep, and it does look like a full three dimensional piece. For the undercut I took a number 11 of one millimeter, and I said half a millimeter would give an even better result.

Where did a rosette need the full circle?
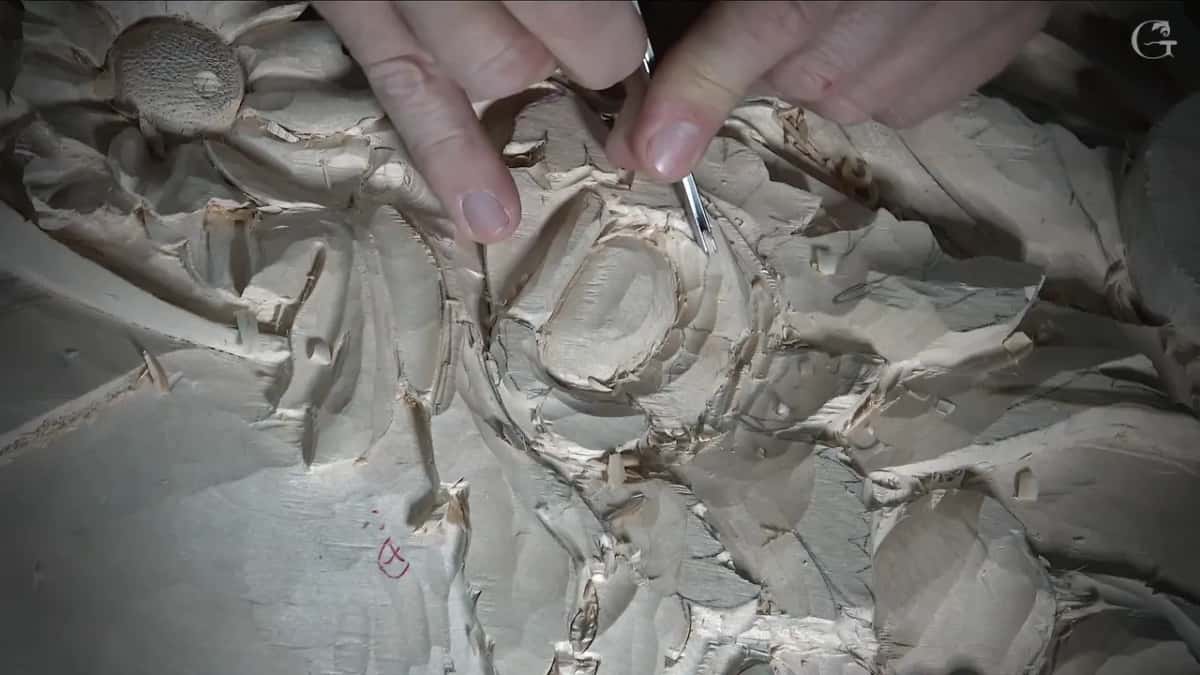
Where one part of the Venetian flowers rosette had to complete the overall movement. It's a full 3D, I said, so I need to undercut underneath a little bit and just create the full circle. I attacked it carefully, then with a smaller tool, and I said a small number 11 alone could do the same operation. Earlier in that rosette lesson I had gone kind of deep so it would be full 3D. The inside would be cleaned later, but already my shape was somewhat round.
Is there a limit to how far you take it?
The eighth lesson of the Tray of Blessing, the Cabernet Sauvignon tray, came down to the wood I had left. The deeper you go, the more 3D it is going to look, and I could do full 3D in that case because I had plenty of the material. Back in the fourth tray lesson I showed a pass straight down and then a cleanup, and I called that probably my limit, because I wanted it to just look full 3D. Going from down, up, up, up there and then sliding it down again was a good idea, I said. In the first tray lesson I told students I could leave one part up, but first of all we were going to do the full 3D, with that part higher than the main tray.
Why look at a carving from every side?
A drawing is flat, and when you carve in real life you see the work from all points of view. While carving the modern acanthus I said that no matter how long you work on a 2D drawing, carving shows you different angles, and you realize it is better to change a little. So my first stage is the overall shape, and only once I have it do I check it from all the points of view and change it.
For the Hashemi flowers I put the whole idea in one line, truly full three dimensional, where you can see from the side and it still makes sense.
Every lesson named on this page, lesson 138 among them, opens with full access to the school.
Would you like to see that roll go in under the petals? Want to watch the small veiner work around the edge? Lesson 138 sits in Part 12 of the Venice Room, between lesson 137 and lesson 139.
How it's done
- Lower the wood around the flower. In lesson 138 a number 11 of 30 mm went in from two sides, and I said it could go almost down to the leaves. A 10 mm one came closer to the middle after it.
- Go around the high spot. Use a small veiner, 3 mm, around the part that stays highest. I said a big one would have done it too.
- Roll it and blend it. Make it feel round. I named a number 2 held upside down, and I said any knife would work there.
- Undercut beneath the edge. Two millimeters, number 11, no more. Then 1 mm right underneath, and my back bend to blend everything.
- Roll the far side the other way. Take a number 7 slowly, so the edge seems to come from inside, rise, and roll back. I said I could still use a number 3.
- Bring out the secondary petals. Go around them with a 2 mm veiner.
Frequently asked questions
Is relief carving 3D?
A relief has real depth, but its back stays in the board, while a piece carved in the round stands free. My flower in lesson 138 was relief carving from start to finish, and small rolls under its edge gave it the look of a 3D shape without making it one.
What makes a shallow relief look full 3D?
An undercut under each leaf did that on my grape leaf vase. Each leaf sat about a sixteenth of an inch deep and still looked like a whole 3D form. I went under with a 1 mm veiner and told students half a millimeter would do even better.
Can you carve relief with just a knife?
Low relief, at least, even if you do not own many tools. On a small flower rosette I said a knife alone can probably take you a lot further than low relief, and I lowered part of that rosette as I talked about it.
What to carve next