

Alexander Grabovetskiy, woodcarver, School of Woodcarving · Published 2023
Do you have to follow a carving pattern exactly?
Quick answer: A carving pattern is a plan for where each part sits, and it bends once the wood shows you something the paper could not. On a Venice room commission, my design modeled in 3D changed within one lesson. One shape moved for working room, a detail merged into the movement beside it, and the gouge stayed outside one messy line.
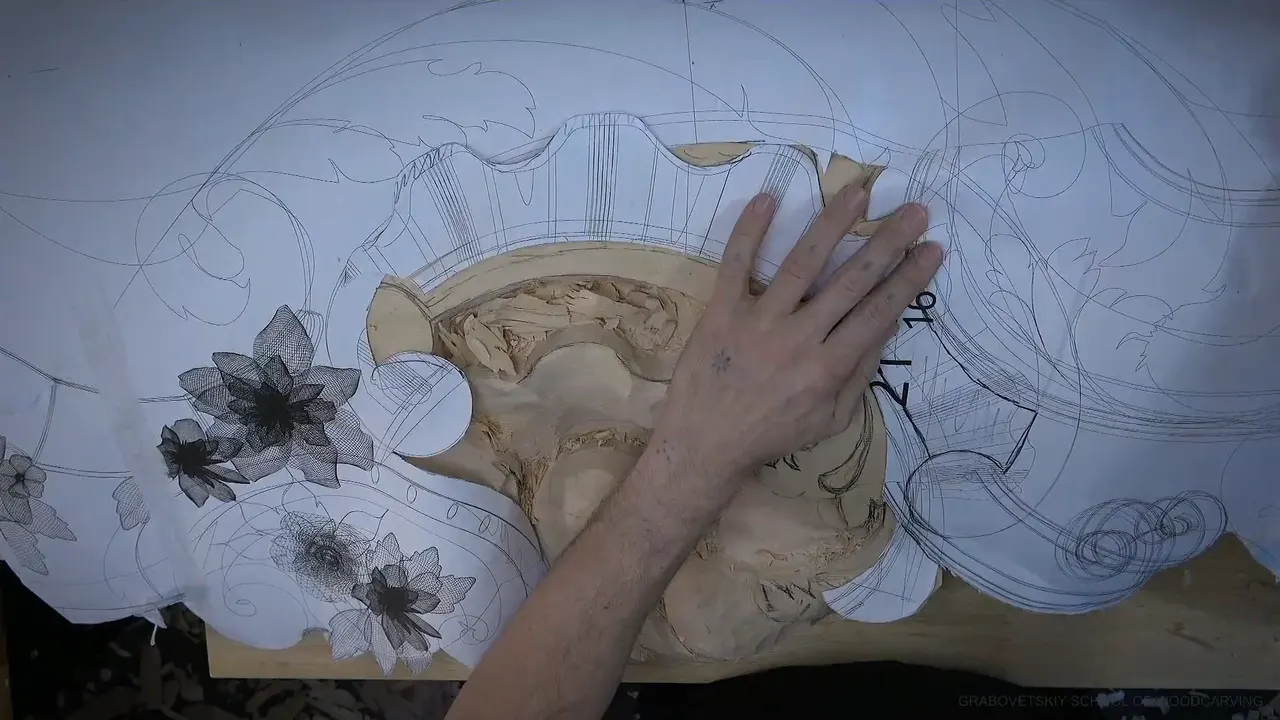
A carving pattern is a plan for where each part goes, and I keep adjusting it at the bench whenever the wood shows me a better movement. I modeled this one in 3D for a client, printed it at full size and pinned it to a ten foot board of lime. Then I changed it anyway. More than once, in one lesson, with the camera running.
Would you like to watch a drawing meet the wood for real? Do you want to know which lines I guard and which ones I let go? Workshop 2 of the Venice room shows you both, on a real ten foot board.
I'm going to be honest with you. This is paid work for a client, a whole room in the style of mid 1400s Venice, and in places the video runs at the real speed of the job. I'll show you what I changed and why, and then the few lines I never let go of.
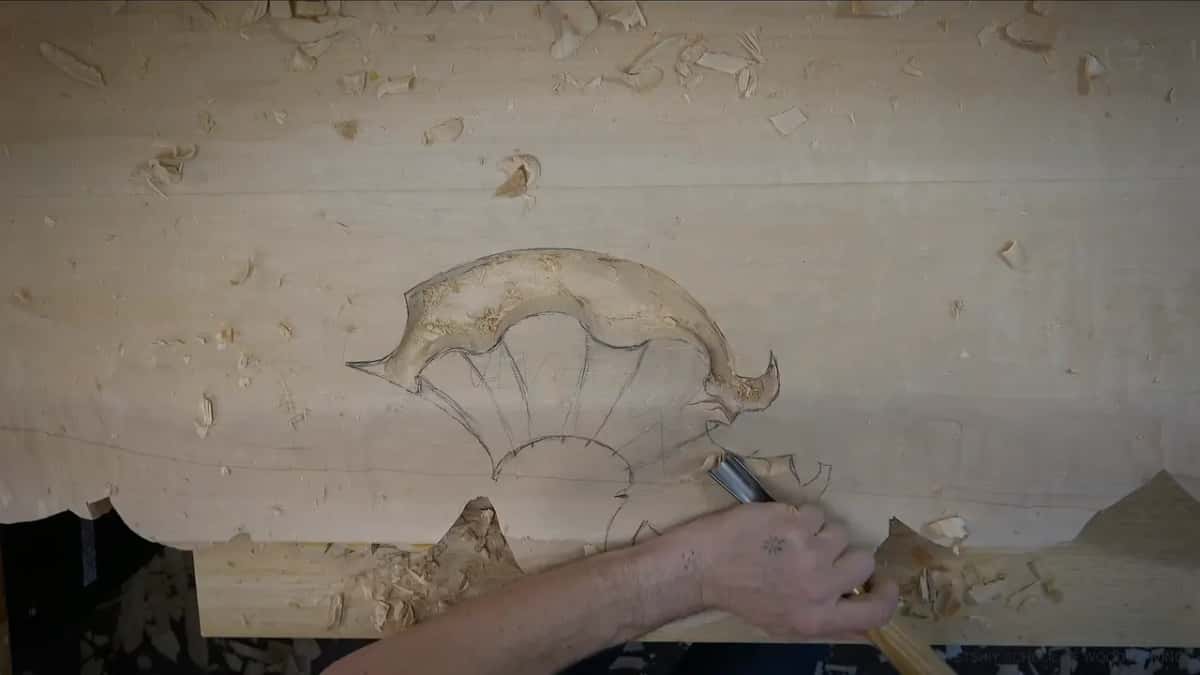
Where I follow a carving pattern, and where I stop
The outer line gets measured to the millimeter, because the framing in that room is built to my design.
Inside that line, the movements bend to fit the wood in front of me.
A detail I disliked became part of its neighbor.
One element moved over so that I had about half an inch, 13 mm, of room to work.
Where the drawn line was a mess, I carved just outside it.
Lines I'll need later get a chop from a #5 before the waste around them comes off, so the roughing can't take them.
More than once, I reach for the paper again.
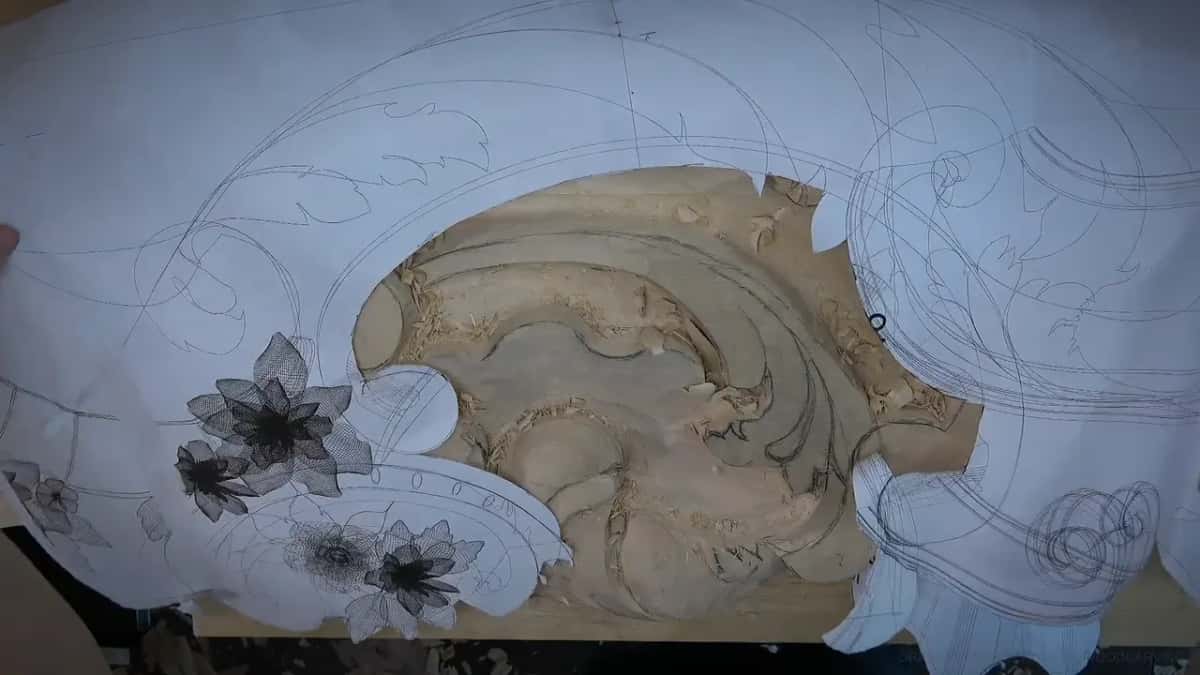
Why did a design modeled in 3D still change?
A screen and a board of lime are two different worlds, and I said so out loud in video 2-6. That was in the 3D program, I told the camera, and I need to change the movements to suit the real world. A few minutes later I was at it again, changing the design a little, because in real life I want to see it nicer than what I did on the computer. Both times I meant it.
How the drawing got made is a story the course overview already tells: CAD, then Rhino and Blender, pulled out as a wireframe for a clean line. I warned you about the rest in the twelfth video of workshop 1, where I said that in real life you have to actually do some changes.

Some changes start with a look from the side. It could look really nice from above, and the three dimensional movement still has to move nicely in three dimensions, so I keep checking from my side and fixing what I see. Part 2-9 caught me at once. Seen from the side, this bumps too much, I said, and that is just no good. Better to fix it right away.
On a small flower panel I judge a flow line by turning the work. This board is ten feet long, so I step to the side instead, and later I step back farther and look again at how the whole movement works.
A loose flower drawing is a different case, because there the gouge is meant to settle the petals. This drawing was a precise model, checked and agreed on, and it still moved.
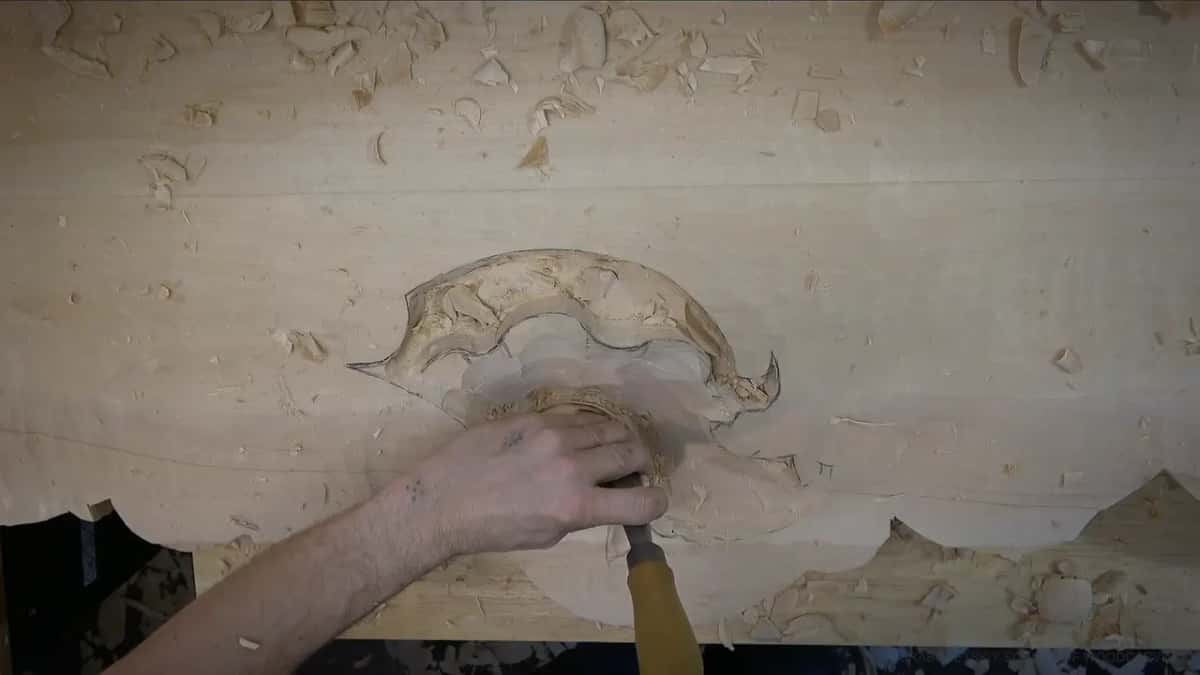
What did I change in workshop 2?
Seven things moved, all of them on camera, and here they are in the order they come.
| Where | Change | Reason |
|---|---|---|
| Video 2-6, early | Movements adjusted away from the 3D shapes | For the real world |
| Later in 2-6 | Design made nicer than the computer version | I want it nicer |
| End of 2-6 | Picked which of two shapes rides higher | Only one made sense |
| Well into 2-9 | Disliked detail folded into the next movement | Nicer, and flows better |
| Early in 2-10 | Element moved a little for working room | Too little space there |
| Later in 2-10 | Wrong position kept on purpose, for now | Movement still unfinished |
| Late in 2-13 | Stayed wide of the original drawn line | Line looked really messy |
Lots of different movements were going on in 2-9, and I said I had to change a little something. I didn't like one detail, so that bit of acanthus became part of the movement next to it. That looks nicer to me. The line had to flow better too, and once it did, I told the camera it was good.
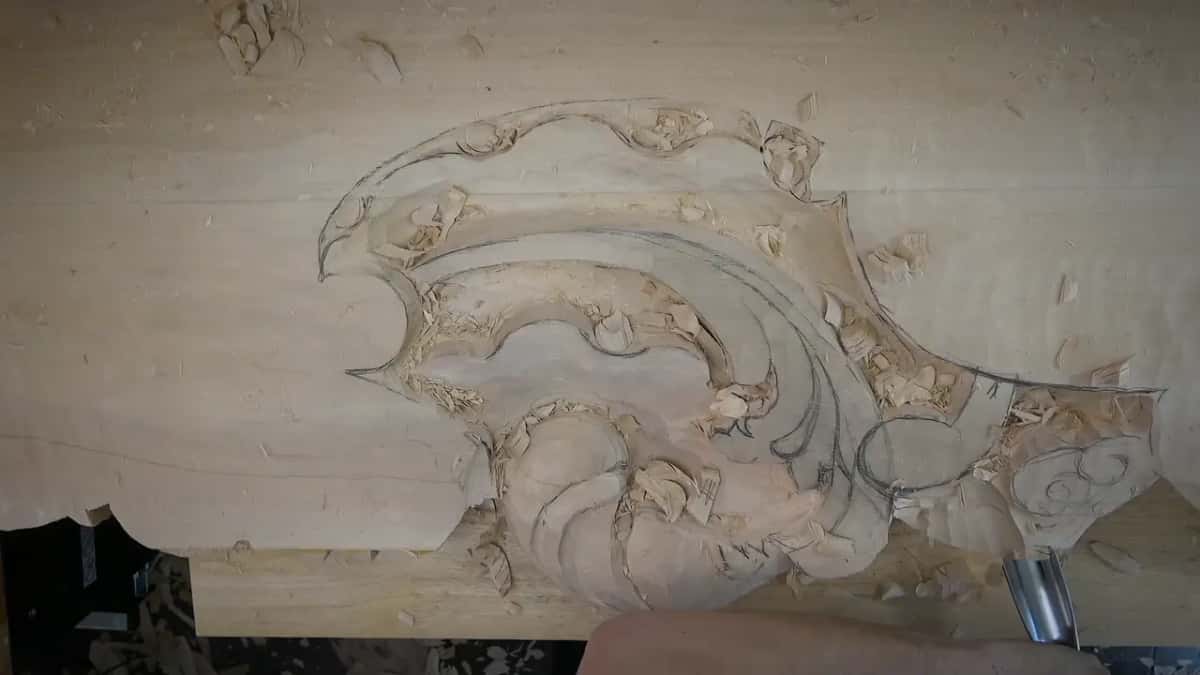
The working room came from plain need. This space is too little, I said in 2-10, and the element needed to move a little to leave about half an inch, 13 mm, for me to work in. One position I left wrong on purpose. I should change that position, I said, but it's okay, because I still have to make the overall three dimensional movement of this part.
Near a big opening with a couple of swirls, the drawn line looked really messy, so I carved a little outside the original line. That was part 2-13.
Which lines do I refuse to lose?
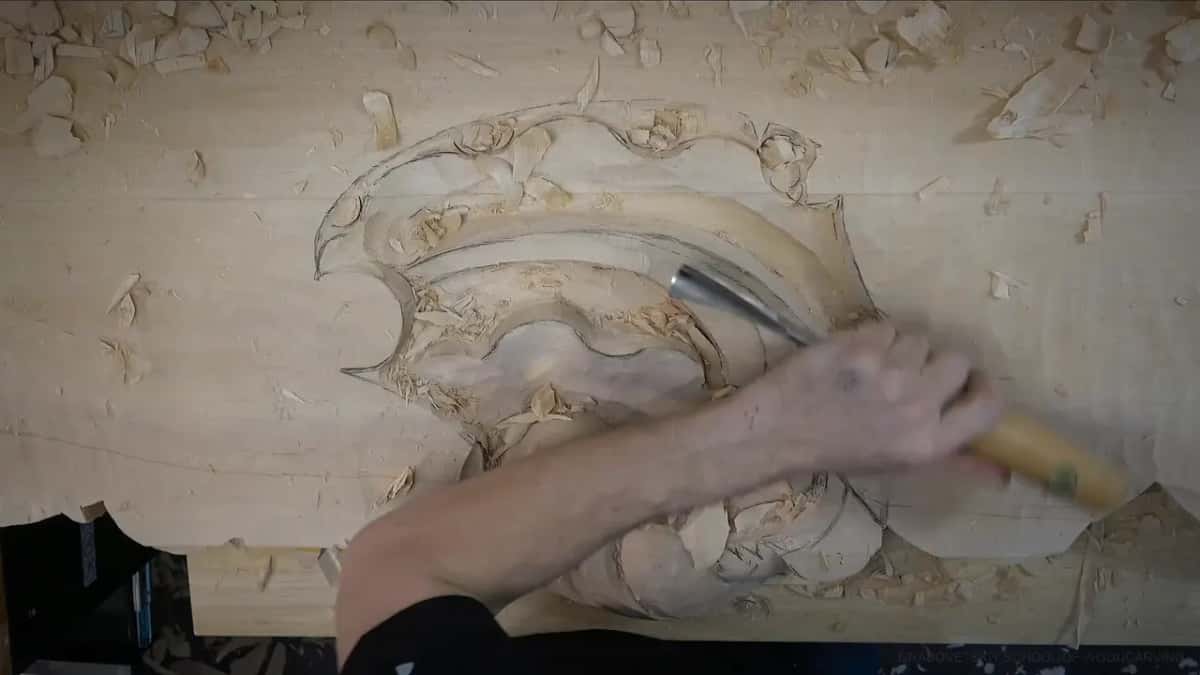
The lines that carry the idea get guarded. Pencil details are cheaper. The very first thing I said in 2-5 was that I need not lose the overall idea. When the big 80 mm (3 1/8 in) gouge came out in the first video of the lesson, I said I was not afraid of losing the details I drew. Those can be drawn again, and in 2-10 I did exactly that. The main shapes are another matter. I outlined one first in 2-13, because I don't want to lose the idea.
Some lines must survive the roughing. Before the gouge comes near one of those, since I need it after the waste around it is gone, I chop straight down along it with a #5, just for my reference. I really don't want to lose it, I told you in 2-4. Then the waste can go. A future movement got the same straight chop from a #5 in 2-12, so I would not lose that one either.
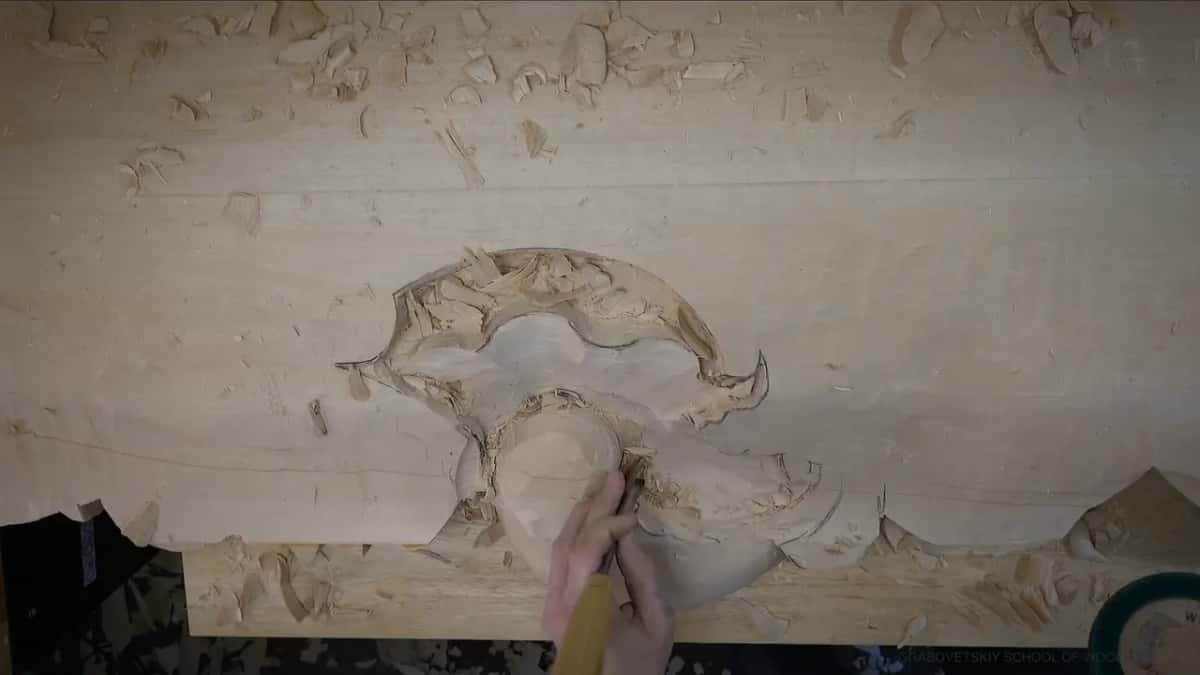
Cleaning follows the same rule at this stage. I took some of the mess away in 2-12 and said it was not the final cleaning, only a first pass so I would not lose the details I had just set in. The final cleaning of this project comes much later.
How do you find your place once the lines are gone?
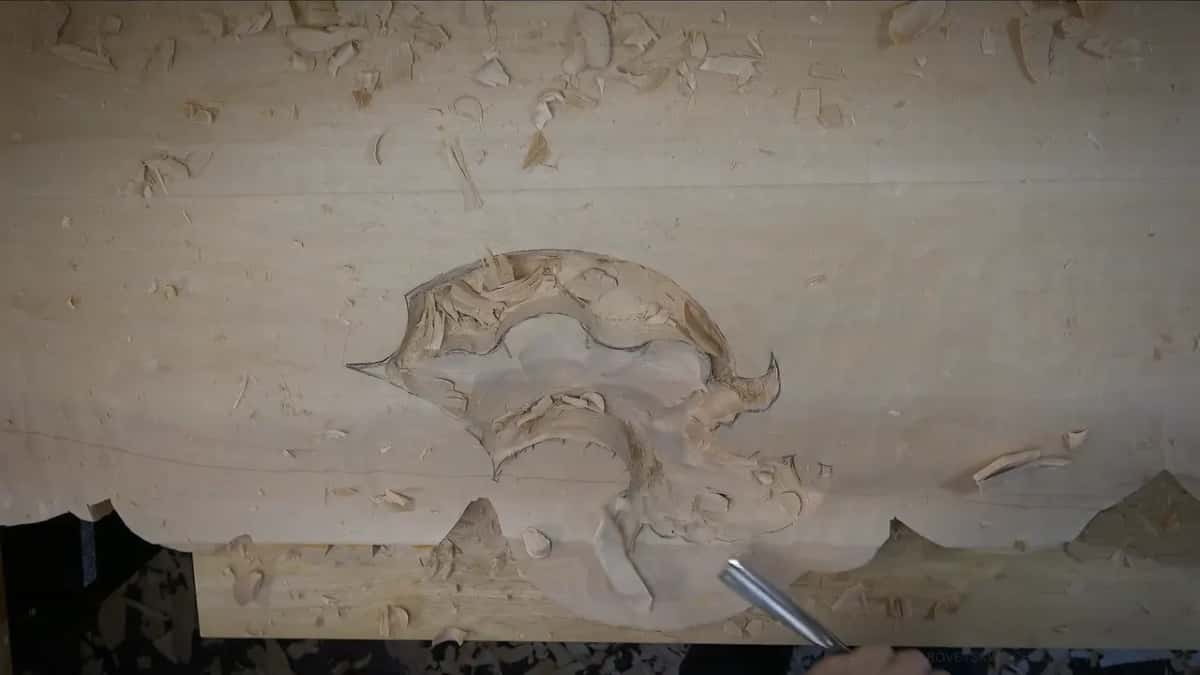
I go back to the paper. Before shaping one part in 2-4, I said I needed my drawing to find the right position, how it is supposed to be. Later you hear it again, need to find my paper, just before I lay out the next movement in 2-13.
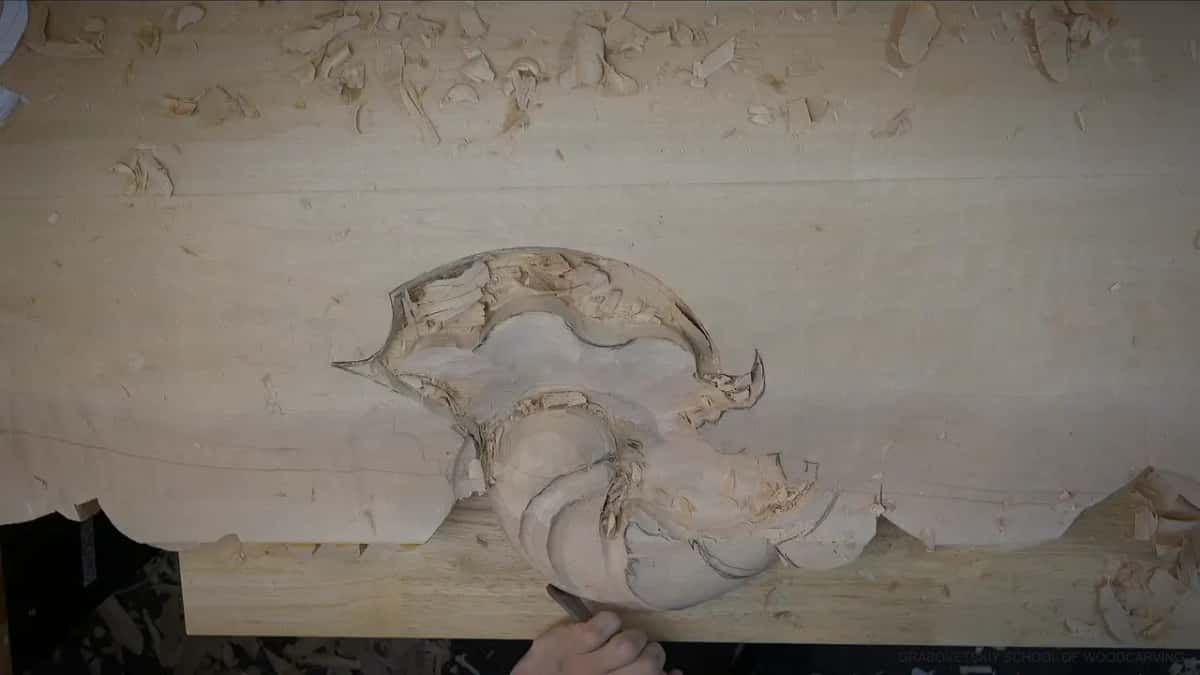
I drew new lines on the wood in 2-10, rubbed one out, and only then said I could clearly see what was going on. Sometimes a mark makes no sense to me at all. I had no idea what one mark was in 2-5, carved that piece out, and that helped me figure out what was going on around it. It happened again in 2-9, where I admitted the lines were a little confusing for me. I carved one part first to learn exactly where the future acanthus sits, and when a line still made no sense, I carved the acanthus line anyway.
And sometimes I'm just wrong. Near the end of 2-13 I took one shape for a second movement, then stopped, said I was wrong and apologized, because it was the same part. After that I got the big gouge and started digging in.

Plenty of what I do mid-lesson looks odd from the outside. Back in 2-7 I admitted that it doesn't make sense for now what I'm saying, but it's okay, it will make sense. Two videos later I said it again. Hope it makes sense, and it will.
Is it a mistake when the wood drifts from the drawing?
I said in 2-10 that if a spot is not exactly how I planned, it is okay. Then, in the same breath, I added that I needed to fix it right there, because it did not look good. So a spot can be off the plan and stay. A spot that looks wrong gets fixed while there is still wood to fix it with.
A slip of the tool is a different problem, and I wrote about adopting a slip on a flower panel. Nothing slipped here. When I saw in 2-9 that I was off slightly, the line simply had to go a new way.

Around then I also apologized for mumbling. Like I promised, this is real work for me, and it is still a lesson you can use for all types of carving, just not made the normal way. I asked early in the next video whether the music in the background helps you or distracts you. I keep it low. When it's too quiet, it's just boring for me.
Why does wood left in the middle matter so much?
Changes need spare wood. I kept plenty in the middle of this board. I made the claw higher than its neighbor in 2-10 and chopped that side down from underneath it. Then I told you that now you probably know why I left so much material right in the middle.
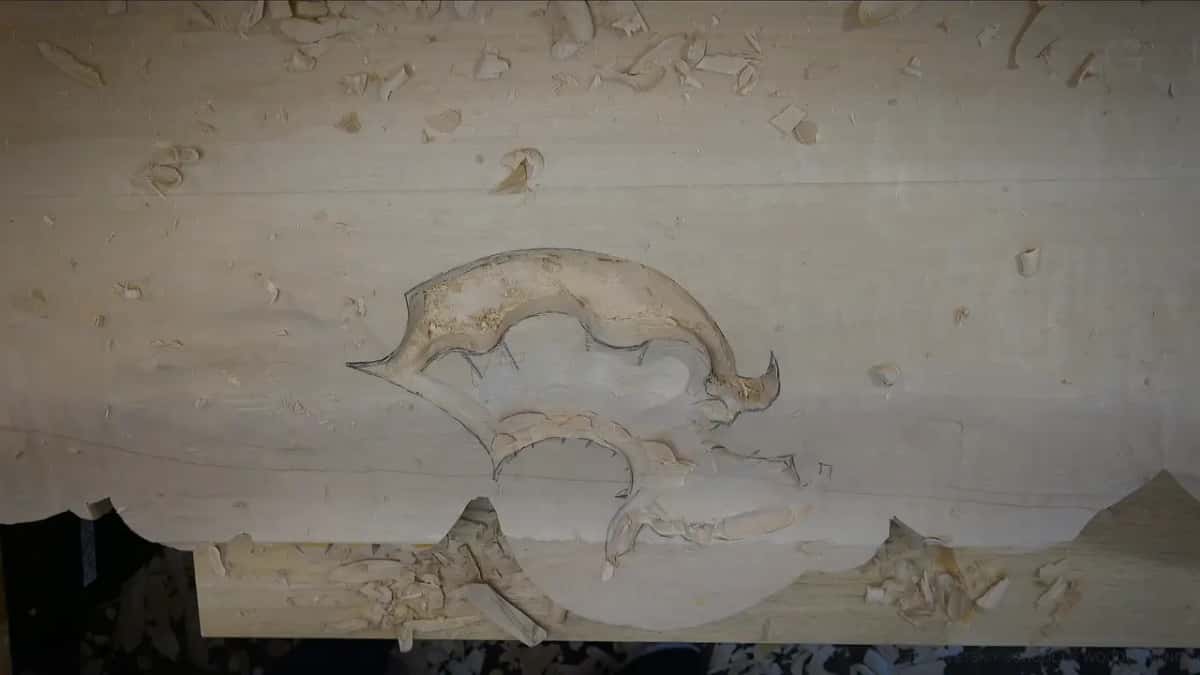
Depth got decided at the bench too. Digging the shell of this relief in 2-2, I checked the depth, about 20 mm, three quarters of an inch, and said that was not enough. I kept going, because I think that is a focal point of the overall design and I need to draw attention to it. At a wall of about 25 mm (1 in) I wanted more still, since it was going to be a big bowl and I wanted it to look really nice. The next video opens with one word, beautiful. In my opinion, I added. Some movements went down an inch and a half, 38 mm, in 2-11, because I want to see them deep. Knowing where to stop matters just as much. At one spot in that same video I said that's enough, that pushing it would be a mistake, and a moment later went deeper in another spot.
Even so, I keep some meat. The board has six inches (152 mm) of wood to the back, yet there is not that much right where the shell sits, and the final look of that shell is not settled. At the end of the lesson I left some meat again, because it is much easier to clean everything later and get to the final destination. Plenty of wood even let me carve against the grain for a moment in 2-12. I know I probably shouldn't, but there was still enough material to do it safely.
Who decides which part rides on top?
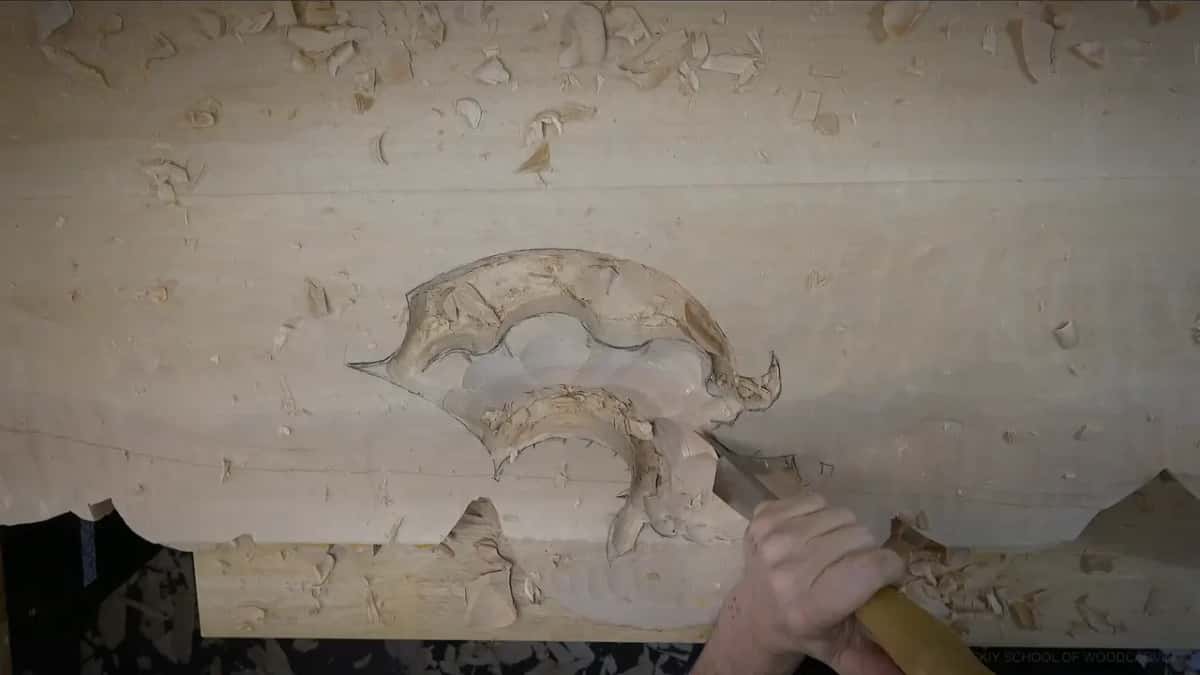
I do, in the wood, one pair of shapes at a time. The claw has to be the main movement, so the part beside it can go underneath, and I make a separation along the line between them. Late in 2-6 I weighed two shapes out loud. I could make either one higher, but only one of them made sense, so that one went up.
Overlap makes it safer. Earlier in 2-6 one part had to overlap its neighbor, so I could make the separation safely and even go deeper there if I wished. Where a part would be rounded later, I stopped short of the full depth.
Height also has to survive the slope. One shape in 2-12 stayed much higher because it will sit above its neighbor, and I want it visible. Even if I slope it slightly, it still sticks out.
I called the first one a big claw in 2-2, an acanthus movement that would be unique, almost complicated. By the way, I call these claws, but not everyone does. The more accurate name is the head of the acanthus, and workshops 13 through 25 carve that head. That one needs the full depth, because I want it to look really round. Part of the head got too bulky in 2-14, so I turned a #7 upside down and took it back. If acanthus is new to you, carve a single Roman acanthus leaf first.
Where does this lesson lead?
Workshop 3 picks up right where this one stops. If you want the thinking behind a design like this, that is Principles of Design. The tools course covers gouges like the ones above. I even tried a big rasp in 2-7, said it works fine, and put it down, because a number two or three gouge gives a much quicker result.
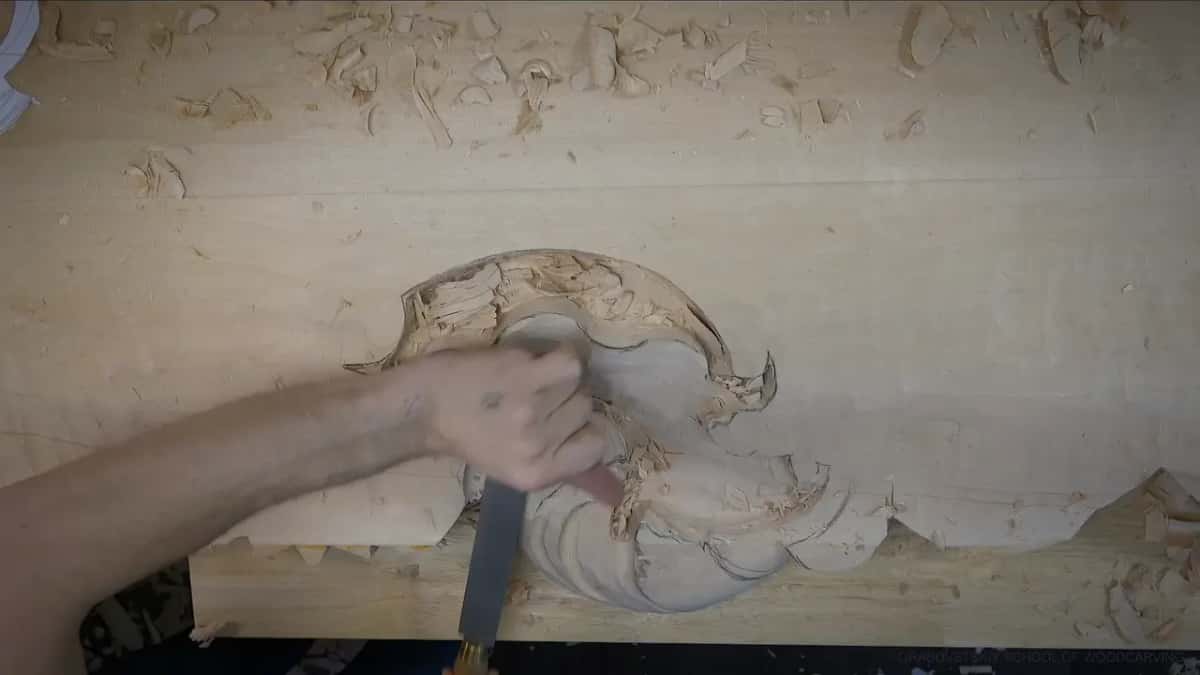
Would you like to carve your own pattern this way? Keep the paper close, guard the lines that carry the idea, and let the wood correct the rest. Never held a gouge? Pick a first project and come back to this room later. Everything above is inside the tuition. After this board, the same drawing becomes the pattern for the corbel.
How it's done
- Keep the drawing within reach. Leave the full size paper on the bench. You will reach for it whenever a line disappears under the gouge.
- Protect the lines you will need. Sink one straight chop along each of them before the waste nearby comes off.
- Rough the big shapes first. Work the large forms with the widest gouge that fits, and let drawn details go.
- Look across the surface. Step off to one side and sight across the board, then step back farther and take in the whole movement.
- Settle which shape rides higher. The main movement stays up, and its neighbor drops away and slips underneath it.
- Rework what looks wrong. When a detail fights the flow, fold it into the next movement. Where a line wanders, stay a little outside it until the form settles.
- Hold back some depth. Keep some meat wherever the final shape is still undecided.
Frequently asked questions
Can you change a carving design after you start?
You can, as long as there is still wood where the change has to happen. On the Venice board I moved one element to make working room and folded one detail I disliked into the movement next to it. Both moves came while the surface was still rough.
Why carve outside a drawn line?
Mine was a real mess near a big opening on the Venice board, so I stayed a little outside it. Extra wood there is easy to take off later. I leave meat in other spots for the same reason, because it makes the final cleaning much easier to finish.
Does carving a large panel need a 3D model?
A client job like this Venice room used one, so designers and architects could check it and agree on it. The model still left movements to settle. I adjusted several of them while carving, once the shell and the claws began to take shape.
What to carve next