
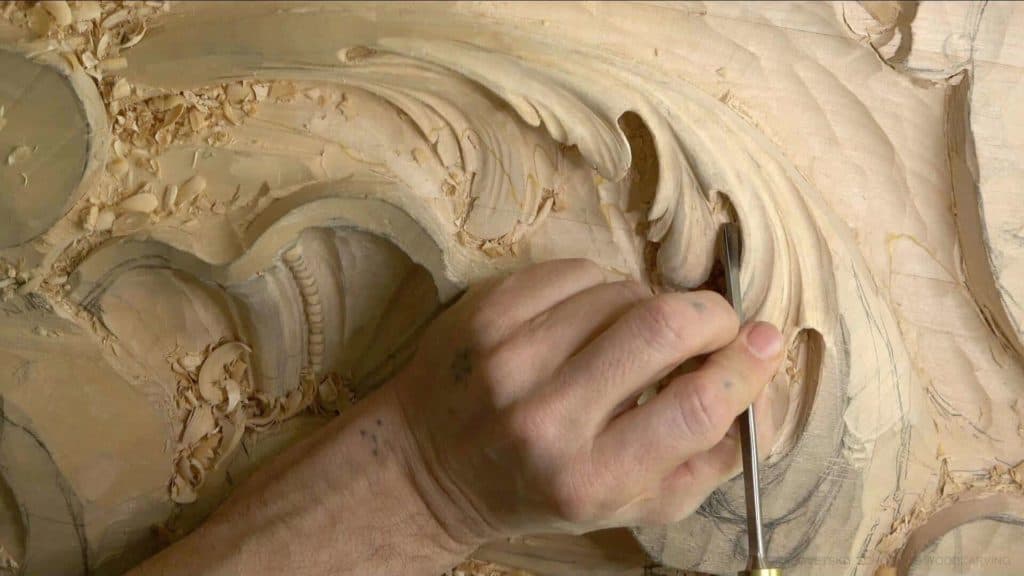
Alexander Grabovetskiy, woodcarver, School of Woodcarving · Published 2020
How do you add small details to a carved acanthus leaf without breaking the form?
Quick answer: Acanthus leaf detail is carved last, after the hollows and rounds are right. Tiny concaves from a narrow #5, notches that split a lobe, and long undercuts where splits begin all stay shallow. They throw small shadows, so the leaf gains movement while its overall shape stays exactly as it was.
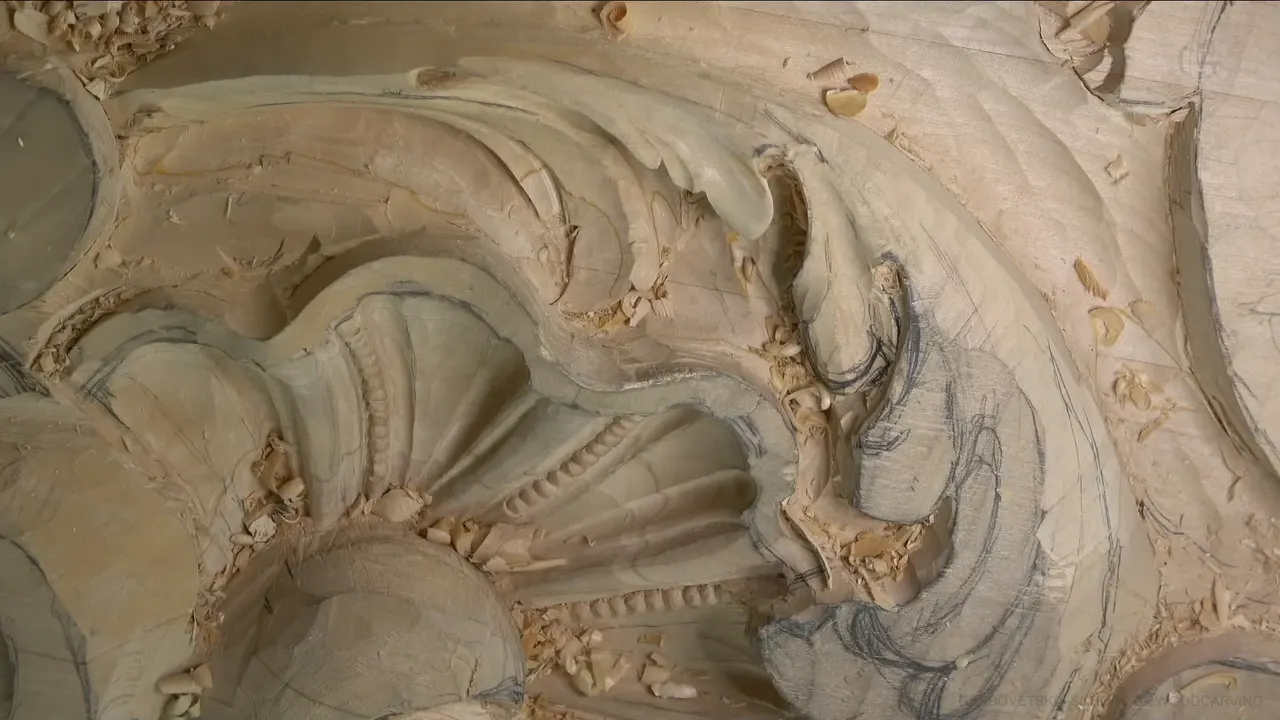
Detail on a carved acanthus leaf is the last and shallowest layer of work, small hollows, notches and splits added after the big form is right, so they catch the light without changing the shape under them. On my Venice room panel the smallest of them come from a #5 gouge only 3 mm wide. You can hardly see one. The whole leaf changes, though.
Would you like a carved leaf that looks alive and not stamped out? Want to see how shallow a cut can go and still show? Workshop 9 is mostly about those small cuts, about which tools make them, and about stopping before they take over the leaf they were supposed to serve.
You already know a leaf needs its hollows and rounds first. I'll show you what goes on top, and the one place where I went too deep and left it.
Let me tell you a story. Before this workshop I looked hard at one part of my acanthus, and I also studied more of the real 15th century acanthus from Venice. My leaf looked okay. That bugs me sometimes, when a carving looks okay and it is still not what I want. So the first thing I do on camera is go back into a leaf I thought was nearly done.
Six small rules for acanthus detail
Deep hollows and full rounds come first, and the small cuts wait until those look right.
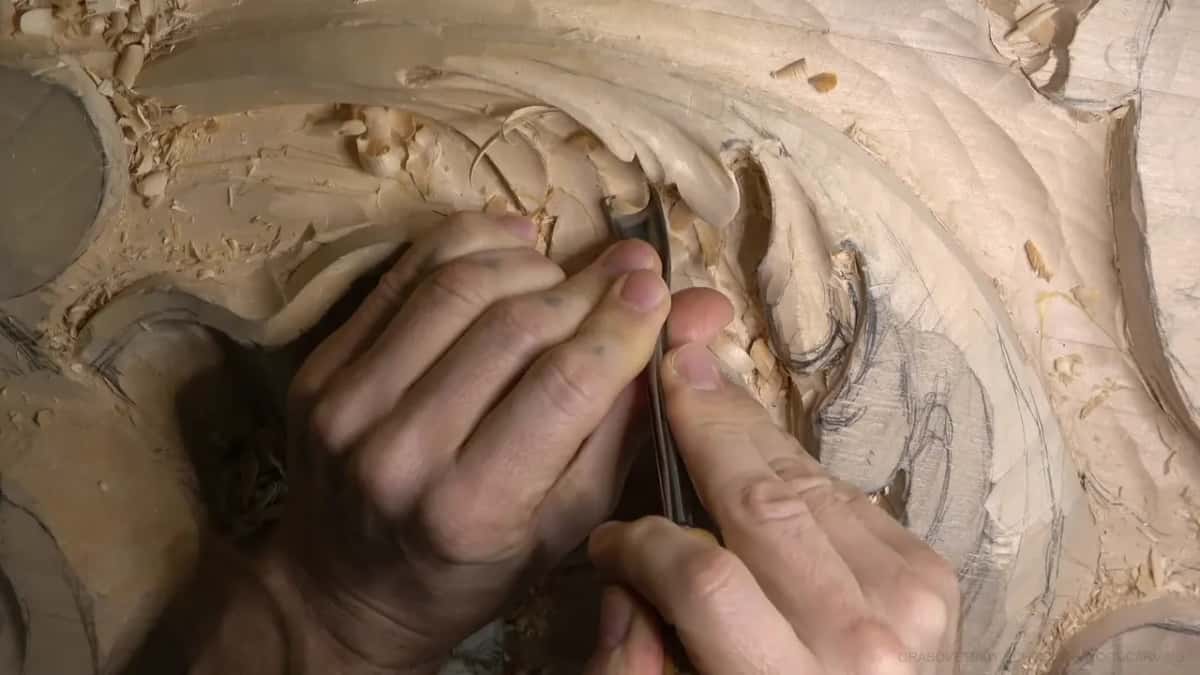
A #5 at 3 mm makes micro concaves you can barely see, yet each one breaks the light and leaves a tiny shadow behind.
Keep all of them shallow.
Split a lobe with a notch or two instead of scoring lines down it.
Round the convex parts with a back bend, or with an ordinary gouge turned over, and keep changing tools until the round looks right to you.
When a small cut goes too deep, blend it in.
What is a micro concave on an acanthus leaf?
A micro concave is a very small and very shallow hollow carved on the inside of a lobe, small enough that you almost miss it. When I researched Venetian acanthus I found they carved these on the inside of the leaf. Distracting? Not at all. Your eye stays on the main form.
What they do is break the light. Each one throws a tiny shadow, and that shadow is still catchable from across a room. That's light and shade at a very small size, and it moves the leaf without changing it.

My tool for them is a #5 gouge, 3 mm, 1/8 of an inch. I put one in the middle of a lobe, then another beside it, then a small one here and another small one there. Then I do exactly the same on the next lobe. That also shows you the main movement of the leaf, if you wish.
Don't confuse this with a micro pipe. A micro pipe is a raised ridge left standing between two hollows, and it catches light by standing up. Mine here are only hollows.

Why go back into a leaf that already looked fine?
I went back in because the leaf didn't look like its period, and a room like this one gets looked at by people who know the difference between styles. Those men in the 1400s really did big shapes. Mine needed a lot deeper hollows.
On camera I said I had to be really authentic to the era, and then I caught myself. Well, I'll try to be authentic, I should say. In this carving I have so many acanthus leaves that there is lots of stuff we can learn.
First a spoon gouge, a #9 at 15 mm, 5/8 of an inch. Then a #9 at half an inch, about 13 mm, and after that a #11 at 7 mm, a little bigger than a quarter inch, to make the hollow easier to read. I carved until the grain stopped me, turned around, and came at the same hollow from the other direction.

I know for some of you it really doesn't matter, as long as it's acanthus and it looks decent. Fair enough. I'd love it, though, if someone looked at my leaf and said, oh yes, that was obviously done back then. Looking straight at it, you'd call it about the same leaf as before. It's just more accurate now.
One idea I changed completely. I took away what I had carved from one side and carved it from the opposite side instead. A line was also running too parallel to its neighbor, and that is not good, so it had to curve closer and then go the other way. That was all form, not detail, and I did it before the first micro concave went in.
What keeps a small detail from getting lost?
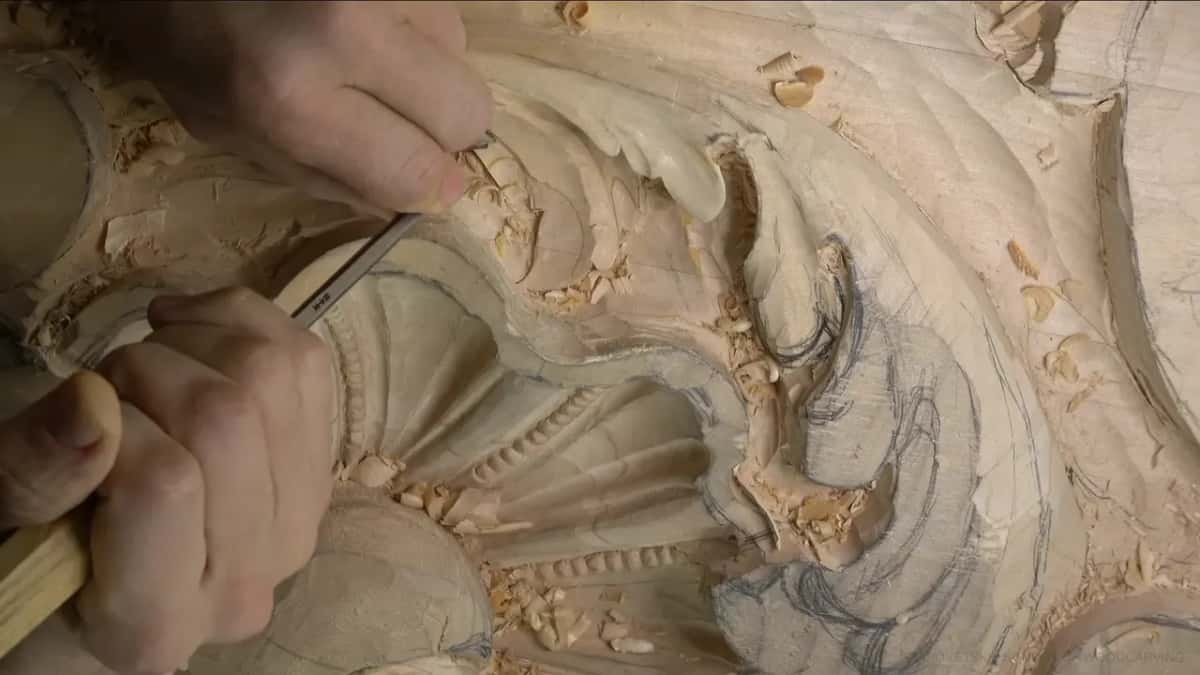
Put it where the big shape already helps it. On the first leaf I started a concave on a separation line, so the separation fell in the middle of the hollow and the edge next to it rose up. Then a 2 mm #11 made the shadow, and a 1 mm went in after it to exaggerate that shadow a little more. The edges stayed rough for a while, and that is absolutely normal at this stage.
I also carved one run starting from the far end. I wanted to make sure I wasn't losing that detail somewhere along the way.
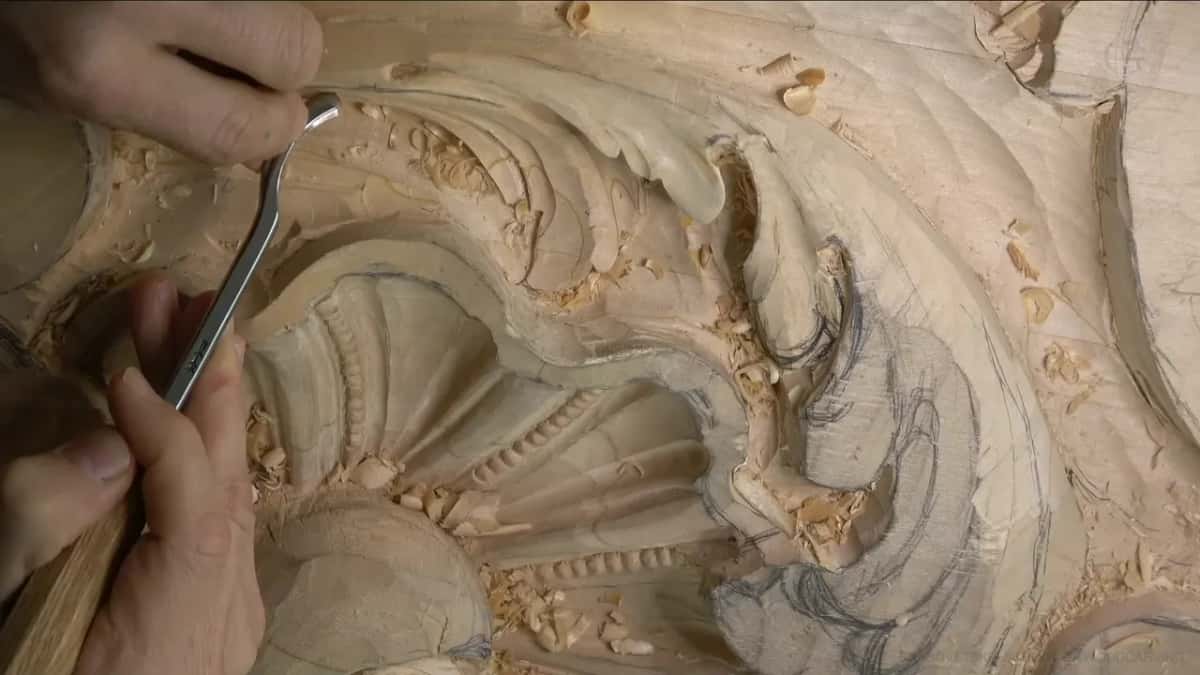
Tough grain is where small work gets hurt. One spot kept catching, so I changed direction, then changed it again, and pushed the torn fibers back in. A messy background does damage too. When the ground around a leaf looks too rough, you start losing the overall feel, and a little cleaning never hurts.
How shallow should the small cuts be?
Shallow enough that the big shape still reads first. I looked at a lot of different acanthus designs, and some carvers put lots of lines inside the leaf and cut them really deep. It just doesn't look right to me. Subtle is what gives the interest.
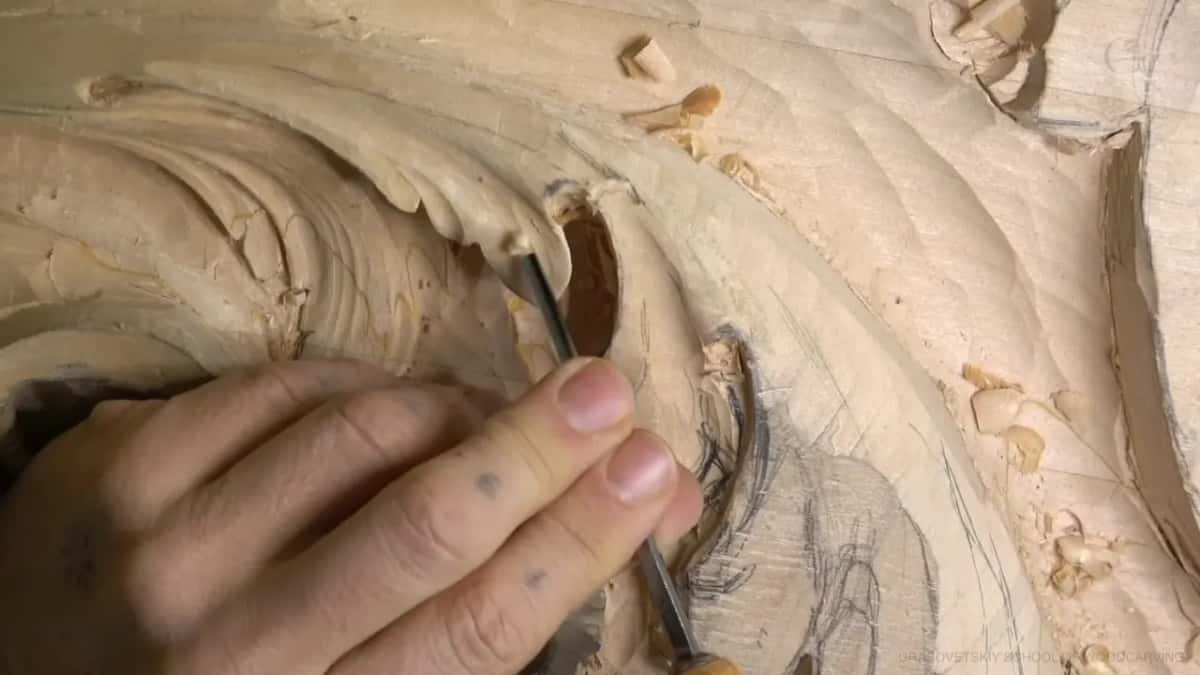
Even so, I went a little too deep once. I had swapped to a straight #5 for one hollow, the same size, because I thought it would work better on the side of the ridge. It sank further than I wanted. That's okay. I left it and moved on to the next one.
| Gouge and its size | What it does on this leaf | Its job |
|---|---|---|
| Straight #5, 3 mm (1/8 in) | Sinks the micro concaves that catch light | Light breaks |
| Veiner #11, 1 mm (3/64 in) | Tucks one leaf slightly under the next | Tiny excavation |
| Same veiner, 3 mm this time | Goes deeper where the 1 mm stopped | Extra shadow |
| Spoon #11, 2 mm (5/64 in) | Opens the long undercut where splits begin | Long undercut |
| #5 at 6 mm (1/4 in) | Tidies the second separation after the skew | Separation cleanup |
| Upside down #5, or back bend | Rounds the convex parts beside the pipe | Convex rounding |
Where one leaf slides under its neighbor, I want the lower one to really look tucked. I started with a #11 at 1 mm and made a tiny excavation there. It wasn't enough, so I came back with a 3 mm, still a #11, and that gave me the extra shadow. Small detail. But it helps make an extra movement.
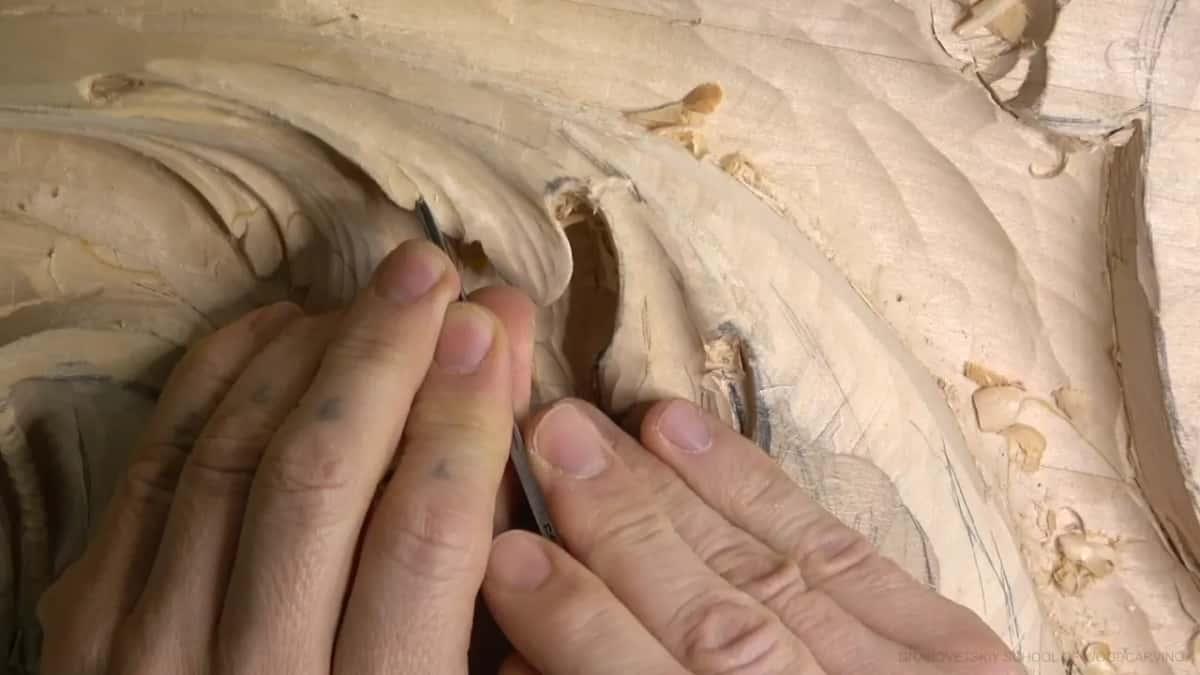
Here's a thing you only learn on a blank that was glued up from layers, like this one. Part of this leaf falls on a glue line. I can't carve that line away, but I can always put a micro concave somewhere near it, and that is what I did. You'll hardly see it with the light I had that day, and it doesn't matter. Even under a stain, a glue line like that looks just like the grain of the wood, pretty much.
Where do subdivisions and separations go?
Subdivisions go inside a lobe that is already shaped, where a notch splits one movement into smaller ones. The Venetian leaves had a lot of subdivisions, by the way. So on one lobe I cut a notch and split it, then split the lobe beside it as well. One of them ended up really close to the background, and I leave that for later, when I work the relief ground.

Another thing I found in Venetian acanthus is a long, deep undercut at the start of each split. For that I take a spoon #11 at 2 mm, about 5/64 of an inch, and then follow with a 1 mm to go even deeper. That puts an extra shadow on the inside. How the shape looks can wait, because I'll fix it after.

The separations themselves I keep brief here. They look easy to carve, but it all depends on the spot, and sometimes they give you the biggest problem. I used a skew gouge on one and a #5 at a quarter inch on the next. In some spots the Venetian carvers put them really close to the edge, and they liked many of them. Workshop 10 carries on with them.

Sometimes a subdivision grows into a whole new idea. Later in the workshop I decided to lower one part, not all the way to the background, and let an extra leaf grow from underneath it. I think it's a wonderful idea.
Should you carve extra lines inside the leaf?
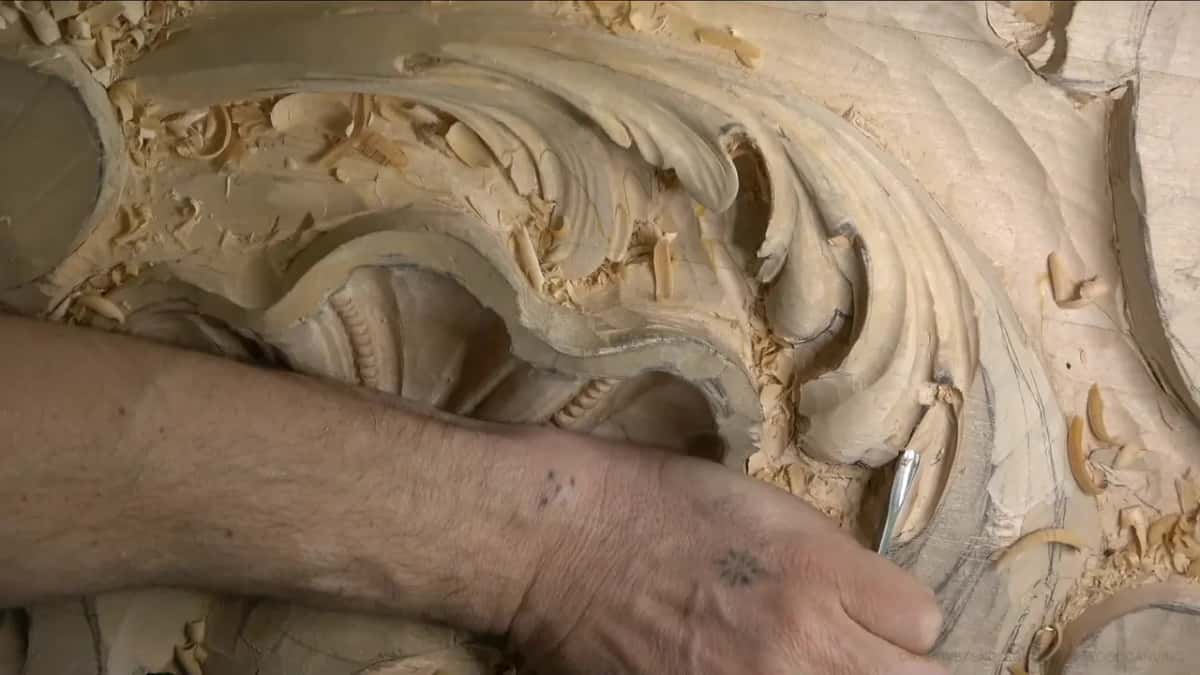
Sometimes, and only a few. An extra line somewhere, a little deeper and smaller, makes a bit of motion. I'm not the biggest fan.
The funny part is that those 15th century carvers exaggerated a lot, putting extra lines in and making every shape big. Venice was building in the Venetian Gothic style in that century. Here I keep those extra lines few, and that is my choice for this room. Yours can go the other way.

What rounds the convex parts beside the detail?
With a back bend, or with a regular gouge turned upside down, and both of them show up in this workshop. On the first leaf I needed the back bend, because without it that convex is almost impossible. Later a #5 upside down did the job, and I said out loud, that is better, much better.
Tools get tried and put back all the time here. I called one a number six on camera and a moment later corrected myself, it was a number seven. On another leaf I tried a #7 for the convex, didn't like it, and moved to a #6, which was good, though I still wanted more roundness. When a back bend is too big, I swap it for a smaller one. Sometimes I stop and figure out from what position it's better to cut before the next pass. Nothing about it is dramatic.

At the start of a pipe I like a full half of a round. I know it looks extreme at that stage, but it's okay. I really want that roundness.
I also had a new tool that I hadn't used much. It was grabbing a lot, too aggressive for that spot and not convenient, so I went back to the back bent, the old way. And a gouge that isn't sharp doesn't carve a convex at all. It rubs, and you can see it.
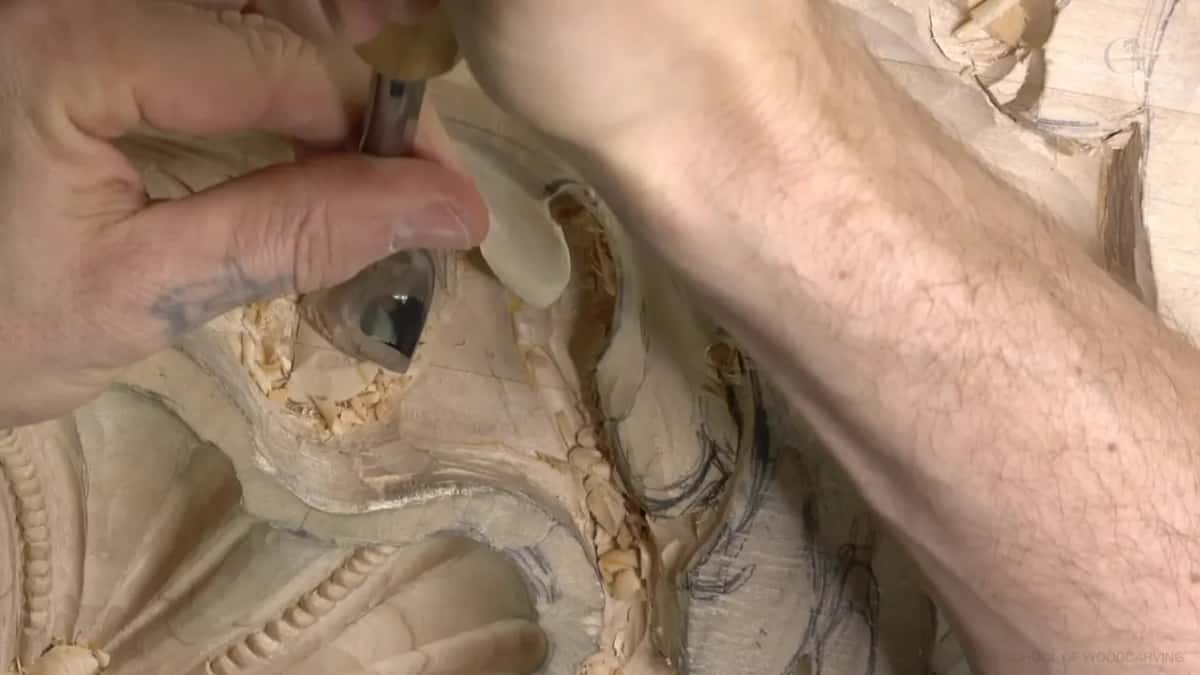
Under the leaves I use a #11 spoon to hollow out, not a straight gouge with a sharp undercut. The first reason is paint, and workshop 8 covers why a painted carving wants that. The second reason is that a smooth transition still lets me undercut on the inside.
What comes after the small cuts?
This panel will be seen from below, and that decides how deep I go in some places. That story belongs to the next block of workshops, where the acanthus head gets carved.
If you're wondering whether your tools are too thick for this kind of work, workshop 4 talks about that. Next door sit the shell in workshop 5 and the pipes in workshop 7. For hollows turned the other way, see how a back bent works inside a flower. A grape leaf with lobes split into subdivisions makes a good smaller project if this panel feels like too much for now.
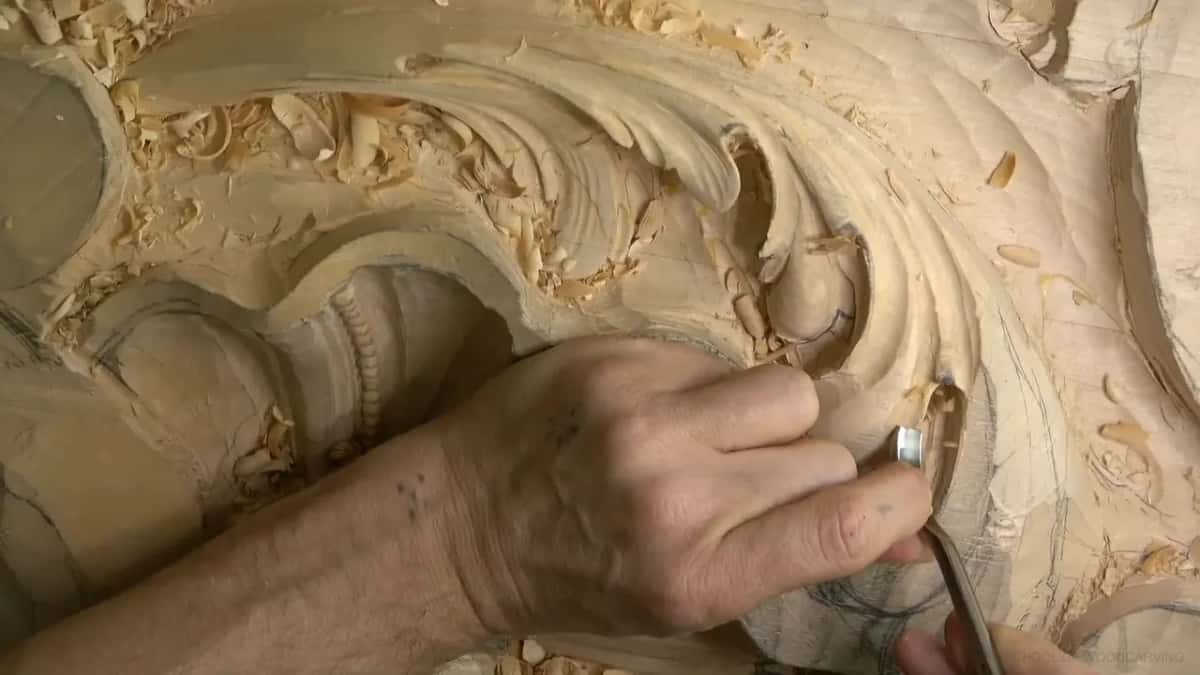
Never carved a leaf? Pick a first project, get a sharp #5 in your hand, and come back to this room later.
Everything above is inside the tuition, with all twelve parts of this workshop. The camera doesn't always see what my hands are doing, and once I just have to ask you to take my word and look from above.
Would you like to try one on a practice leaf? Carve the big hollow, then add three small ones with a #5, and step back to look.
How it's done
- Settle the big form. Deepen the hollows and redirect any line running parallel to its neighbor before fine work starts.
- Sink a few micro concaves. Pick up a #5 about 3 mm wide. Start at the middle of the lobe and add a second next to the first, then a couple of smaller ones.
- Tuck the lower leaf. Begin with a 1 mm #11 where one leaf slides under another, and move up to 3 mm if the shadow still looks weak.
- Notch in subdivisions. Cut a notch into a shaped lobe so one movement becomes several.
- Undercut where splits start. Run a 2 mm spoon #11 along the start of each split, then go over it again with the 1 mm for a longer, deeper shadow.
- Shape the rounded parts. Use a gouge turned over, or a back bend. A dull edge only rubs.
Frequently asked questions
What gouge makes the tiny hollows on an acanthus leaf?
My Venice panel gets them from a #5 at 3 mm, an eighth of an inch. Where a hollow had to sit hard against a ridge, a straight #5 of the same width took over. Both leave marks so faint that you mostly notice the shadow and not the cut.
How many micro concaves should one lobe get?
A few, and no more. On one lobe I set a single hollow at its center, a second right next to it, then two little ones, and stopped. Plenty of designs crowd a leaf with deep lines, and to my eye those never look right on Venetian work.
Should detail wait until the leaf is fully shaped?
Wait for it. In workshop 9 I first reshaped a whole leaf, with a deeper concave and a redirected line, and only afterwards started on micro concaves and notches. I wanted the big shape settled before any fine work went in.
What to carve next